deʃhipu
-
PewPew Pro
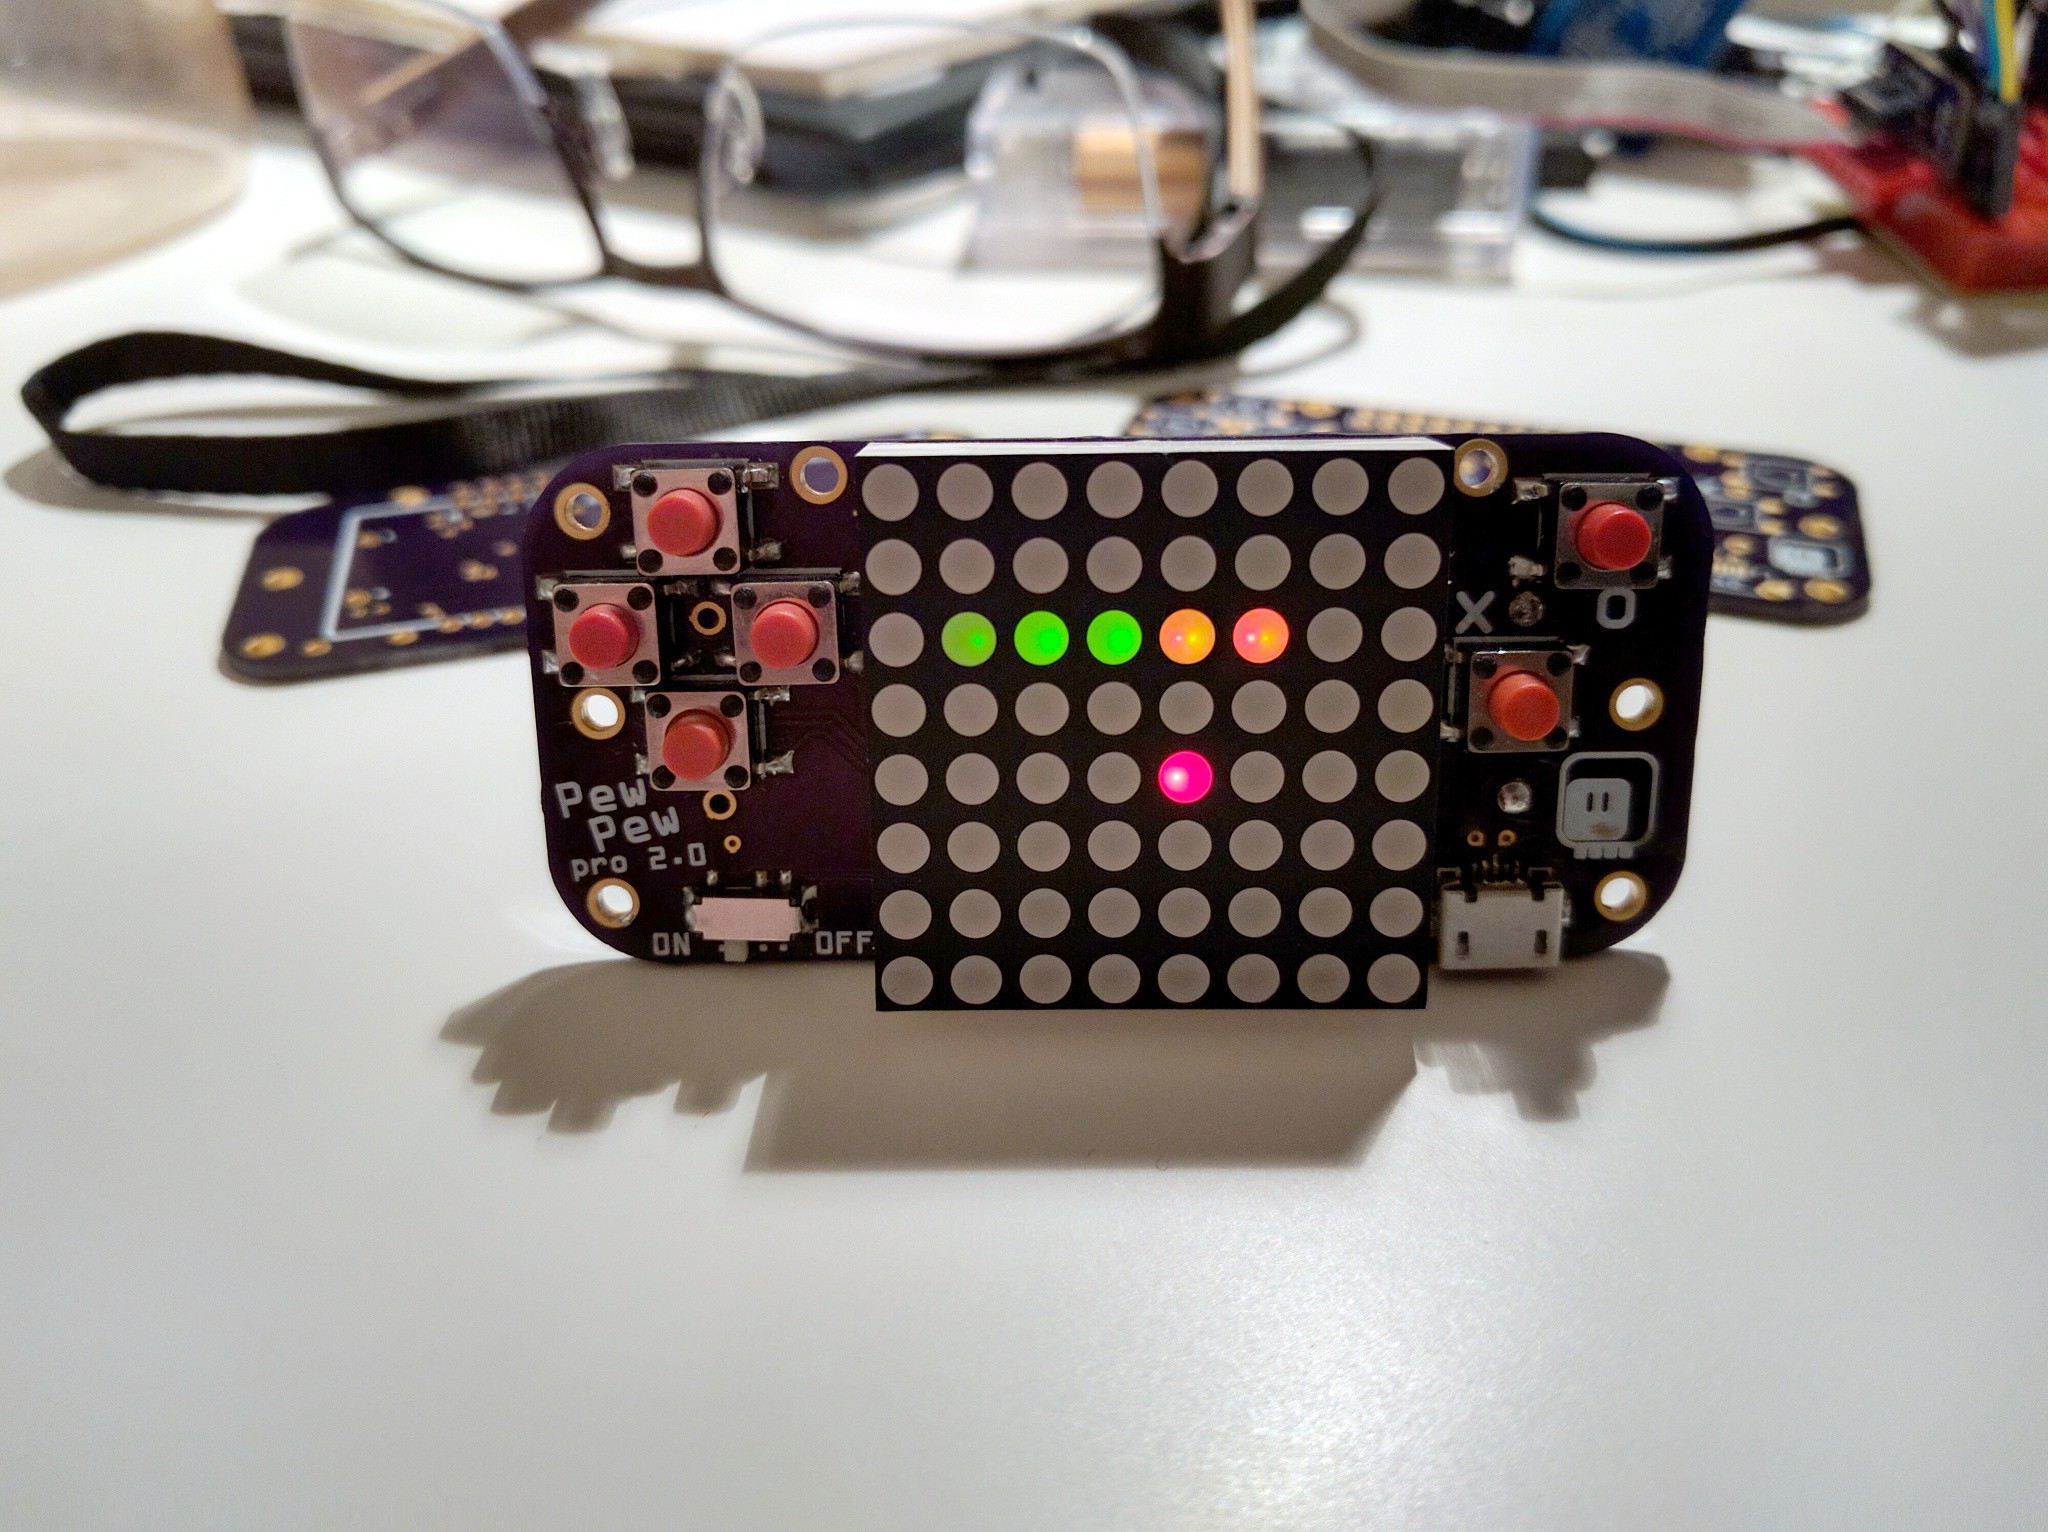
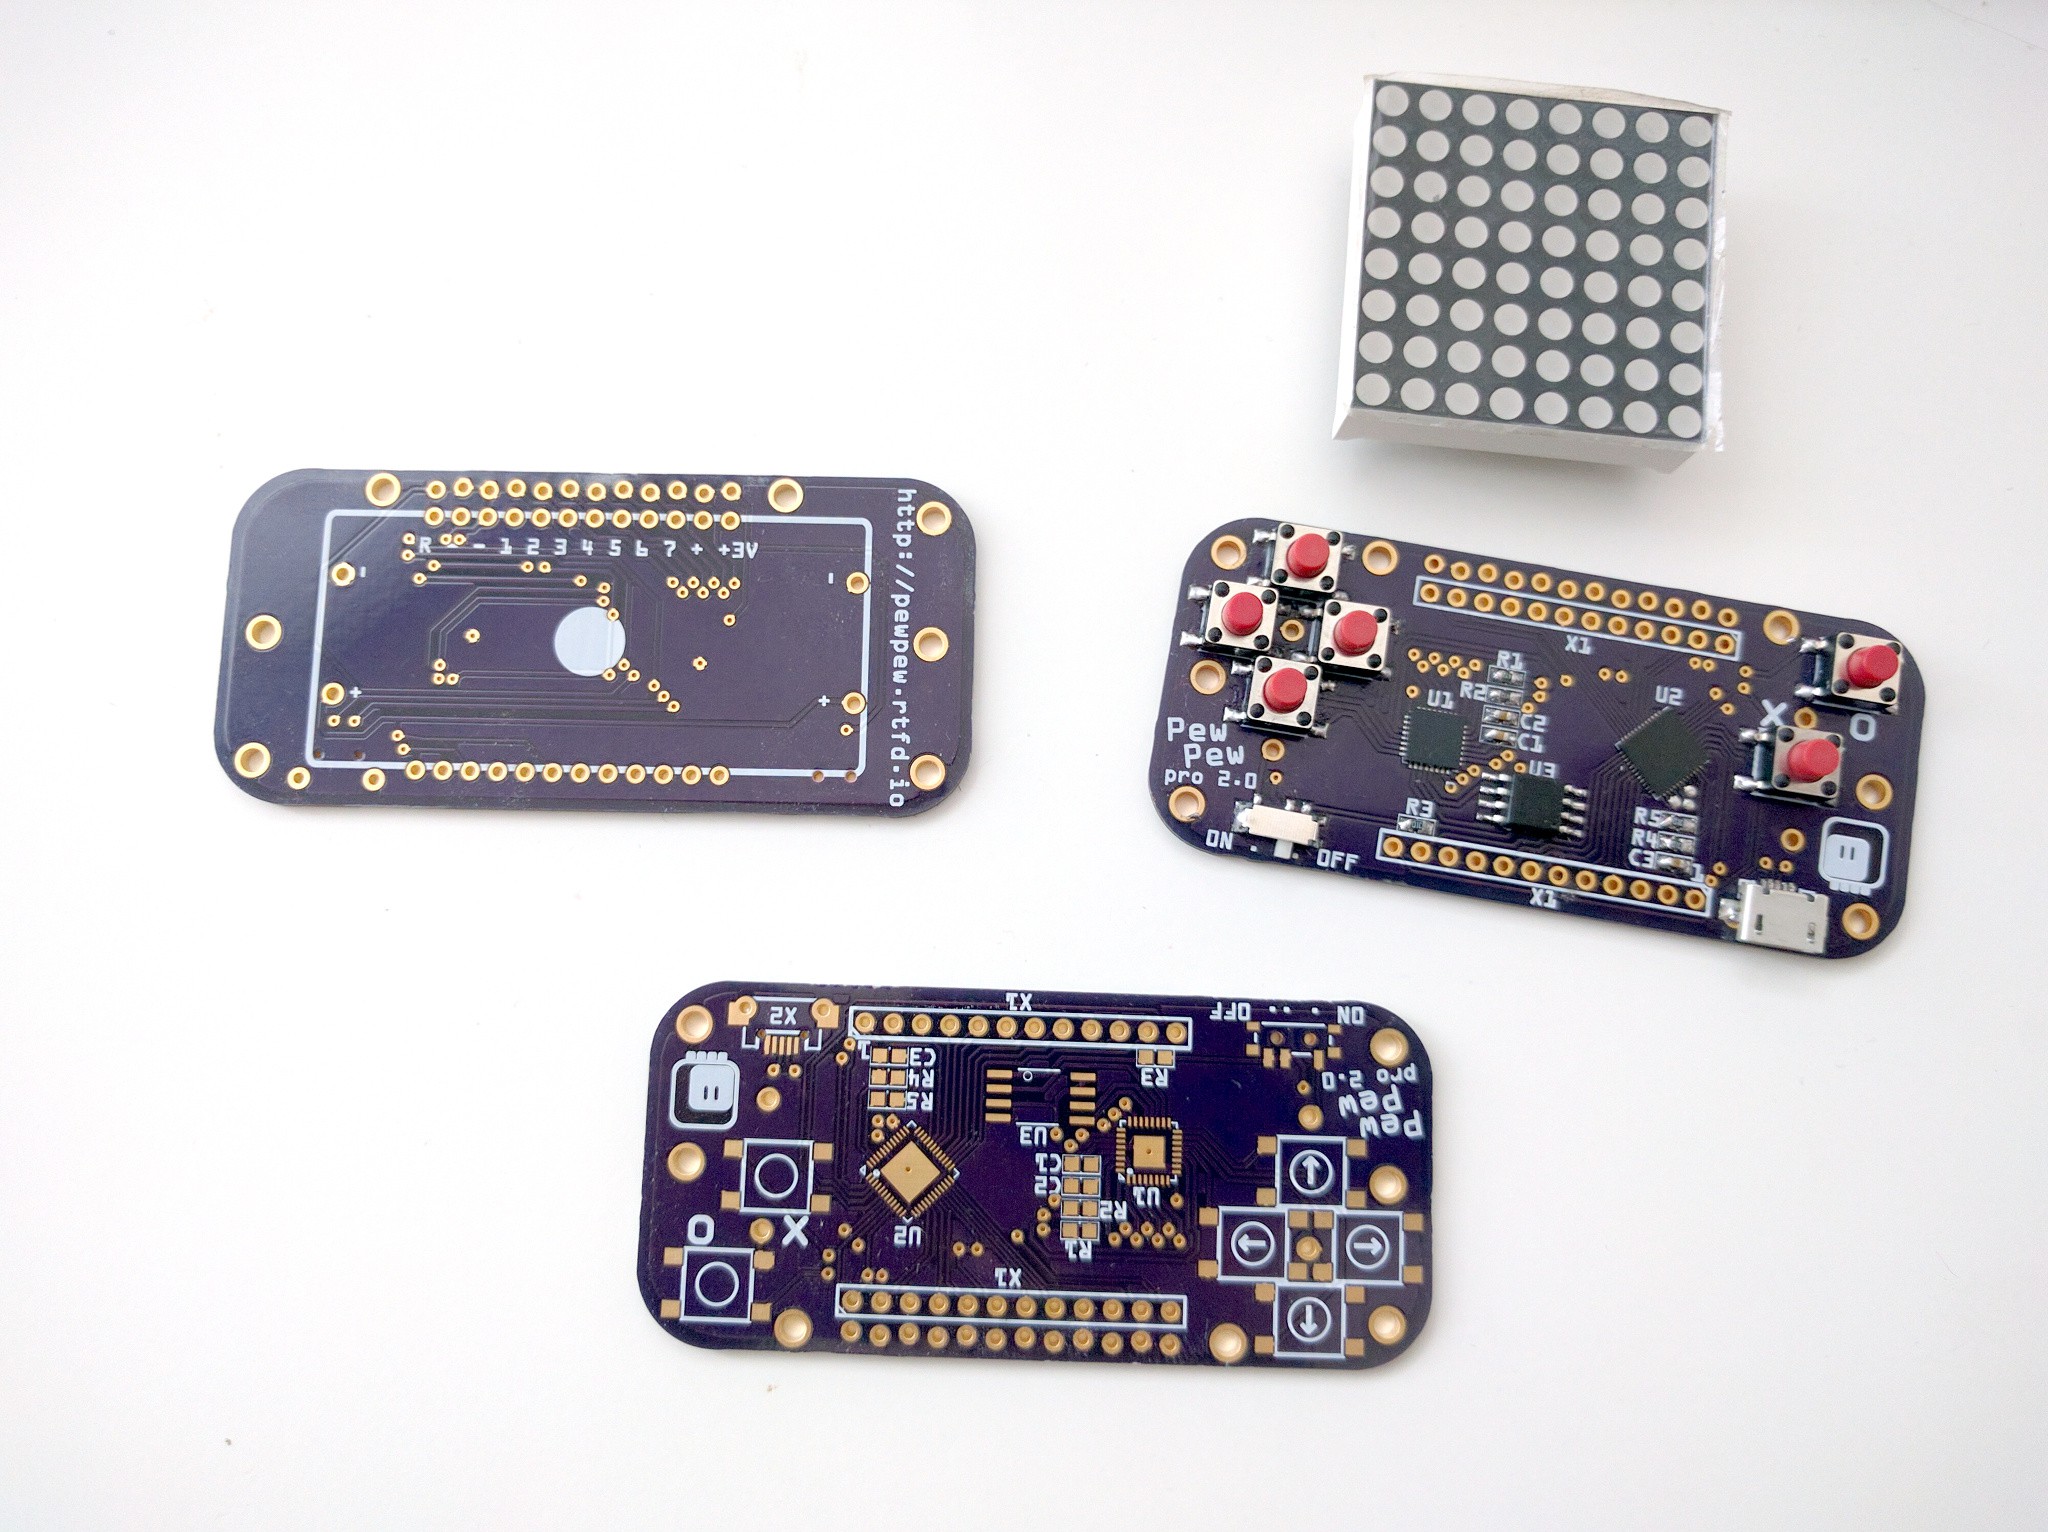
03/06/2019 at 19:24 • 1 commentI had a friend visiting a while ago, and I showed him my PewPews. He liked them, but remarked that he wouldn't mind a more feature-full version (the bi-color display, more shades, more memory) even if it meant the price would be higher. So I went ahead and designed such a version:
![]()
It's really just re-hashing of the version 5.x of PewPew, but in the horizontal form factor pin-compatible with the version 10 of PewPew. Under the display there is the SAMD21 microcontroller, a 2MB flash memory chip (for the filesystem), and an IS31FL3733 LED driver chip.
---------- more ----------![]()
Two of the chips come in QFN packages, so they are a bit of a pain to solder by hand, but I managed to do it without problems this time — I guess I'm getting practice. But I wouldn't want to make much more of them, and I don't think it makes sense to mass-produce those. So it's mostly a one-off prototype thing.
-
Gamepad
03/03/2019 at 22:59 • 0 commentsSince the new firmware is considerably smaller, it has more modules enabled by default. One of those is the usb_hid module, which lets PewPew act as a Human Interface Device over USB. That means we can pretend to be a keyboard, a mouse or a gamepad. To test this, I wrote a simple program that turns PewPew into a gamepad:
import board
import struct
import usb_hid
import pew


pew.init()
screen = pew.Pix()
for gamepad in usb_hid.devices:
    if gamepad.usage_page == 0x01 and gamepad.usage == 0x05:
        break
else:
    raise RuntimeError("Gamepad HID device not found")
report = bytearray(6)

while True:
    buttons = pew.keys()
    report_buttons = 0

    if buttons & pew.K_O:
        screen.pixel(6, 3, 3)
        report_buttons |= 0x01
    else:
        screen.pixel(6, 3, 1)

    if buttons & pew.K_X:
        screen.pixel(6, 5, 3)
        report_buttons |= 0x02
    else:
        screen.pixel(6, 5, 1)

    if buttons & pew.K_UP:
        y = -127
        screen.pixel(2, 3, 3)
        screen.pixel(2, 5, 1)
    elif buttons & pew.K_DOWN:
        y = 127
        screen.pixel(2, 3, 1)
        screen.pixel(2, 5, 3)
    else:
        y = 0
        screen.pixel(2, 3, 1)
        screen.pixel(2, 5, 1)

    if buttons & pew.K_LEFT:
        x = -127
        screen.pixel(1, 4, 3)
        screen.pixel(3, 4, 1)
    elif buttons & pew.K_RIGHT:
        x = 127
        screen.pixel(1, 4, 1)
        screen.pixel(3, 4, 3)
    else:
        x = 0
        screen.pixel(1, 4, 1)
        screen.pixel(3, 4, 1)

    struct.pack_into('<Hbbbb', report, 0, report_buttons, x, y, 0, 0)
    gamepad.send_report(report)
    pew.show(screen)
    pew.tick(1/12)
That's it. And it seems to be working!
-
CircuitPython 4.0
03/01/2019 at 16:08 • 1 commentIt's been quiet here for a while, but that is not because nothing was happening — on the contrary, it's because I have been busy with non-technical parts of this project. I spoke with several organizations and individuals who are interested in teaching using this device, and I had a talk at FOSDEM about it:
Right now I'm working on a secret project related to it — I will let you know as soon as I am allowed to.
In other news, I was putting off getting all the code cleaned up and organized, and finally yesterday evening I have bitten the bullet, so to speak, and upgraded the code to the current master of CircuitPython, and submitted a pull request upstream: https://github.com/adafruit/circuitpython/pull/1607 — hopefully it will get included in the 4.0 release that is coming soon.
I still plan to split the current repository into small individual subrepositories, so that it's easier to find the code you need, and easier to contribute.
-
Small Version Available on Tindie
10/21/2018 at 18:45 • 1 commentThe small PewPew has been just approved on Tindie, so you can order it already. The package will arrive tomorrow, but the approval process takes some time, so I started earlier. I wouldn't be able to send it on a Sunday anyways.
If you need a larger quantity for a workshop, contact me directly, and we can arrange it.
The product on Tindie still has the photos of the prototype — the final version has a red PCB and green buttons. I will update the photos when the package arrives. The final price is also a little bit higher than I initially anticipated, due to the duty tax.
-
Big Version Assembled
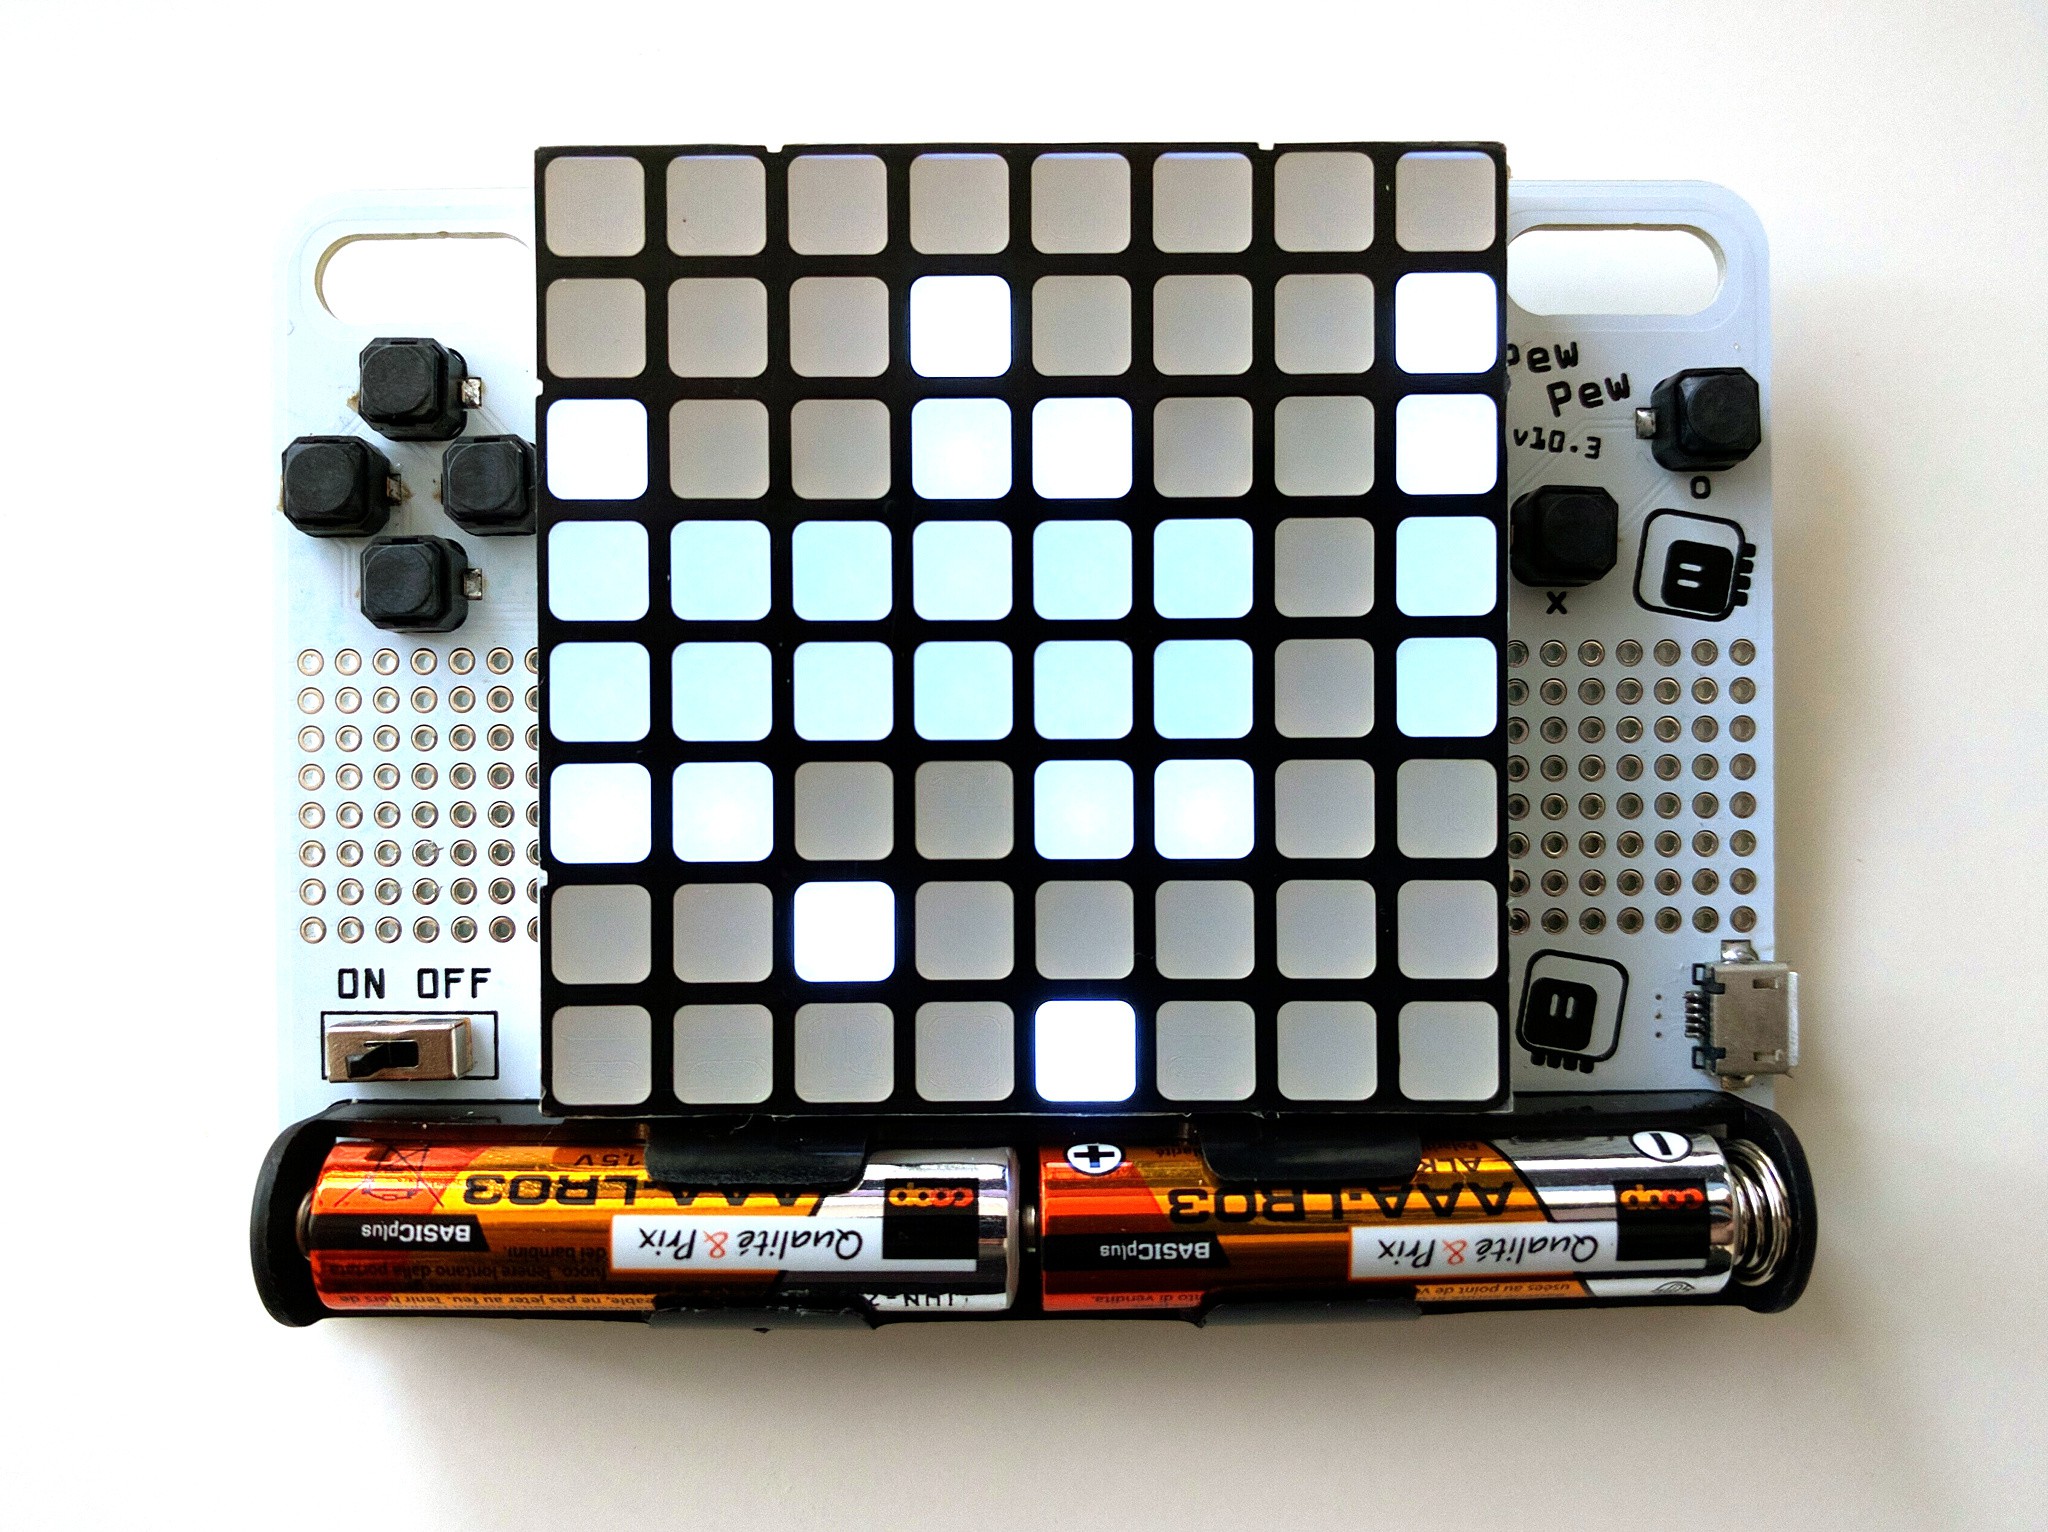
10/18/2018 at 15:59 • 0 commentsThe PCBs finally arrived from @Elecrow, so I assembled one to see how it works:
![]()
Generally I'm pretty happy with it, there are however two small things that I would correct in the next version:
- the direction buttons are too close to the matrix, and it's awkward to press the right button,
- the holes for the matrix are a bit too far apart, so you have to bend the matrix legs a bit to fit, but it also makes them fit tighter, so I'm not sure about this one.
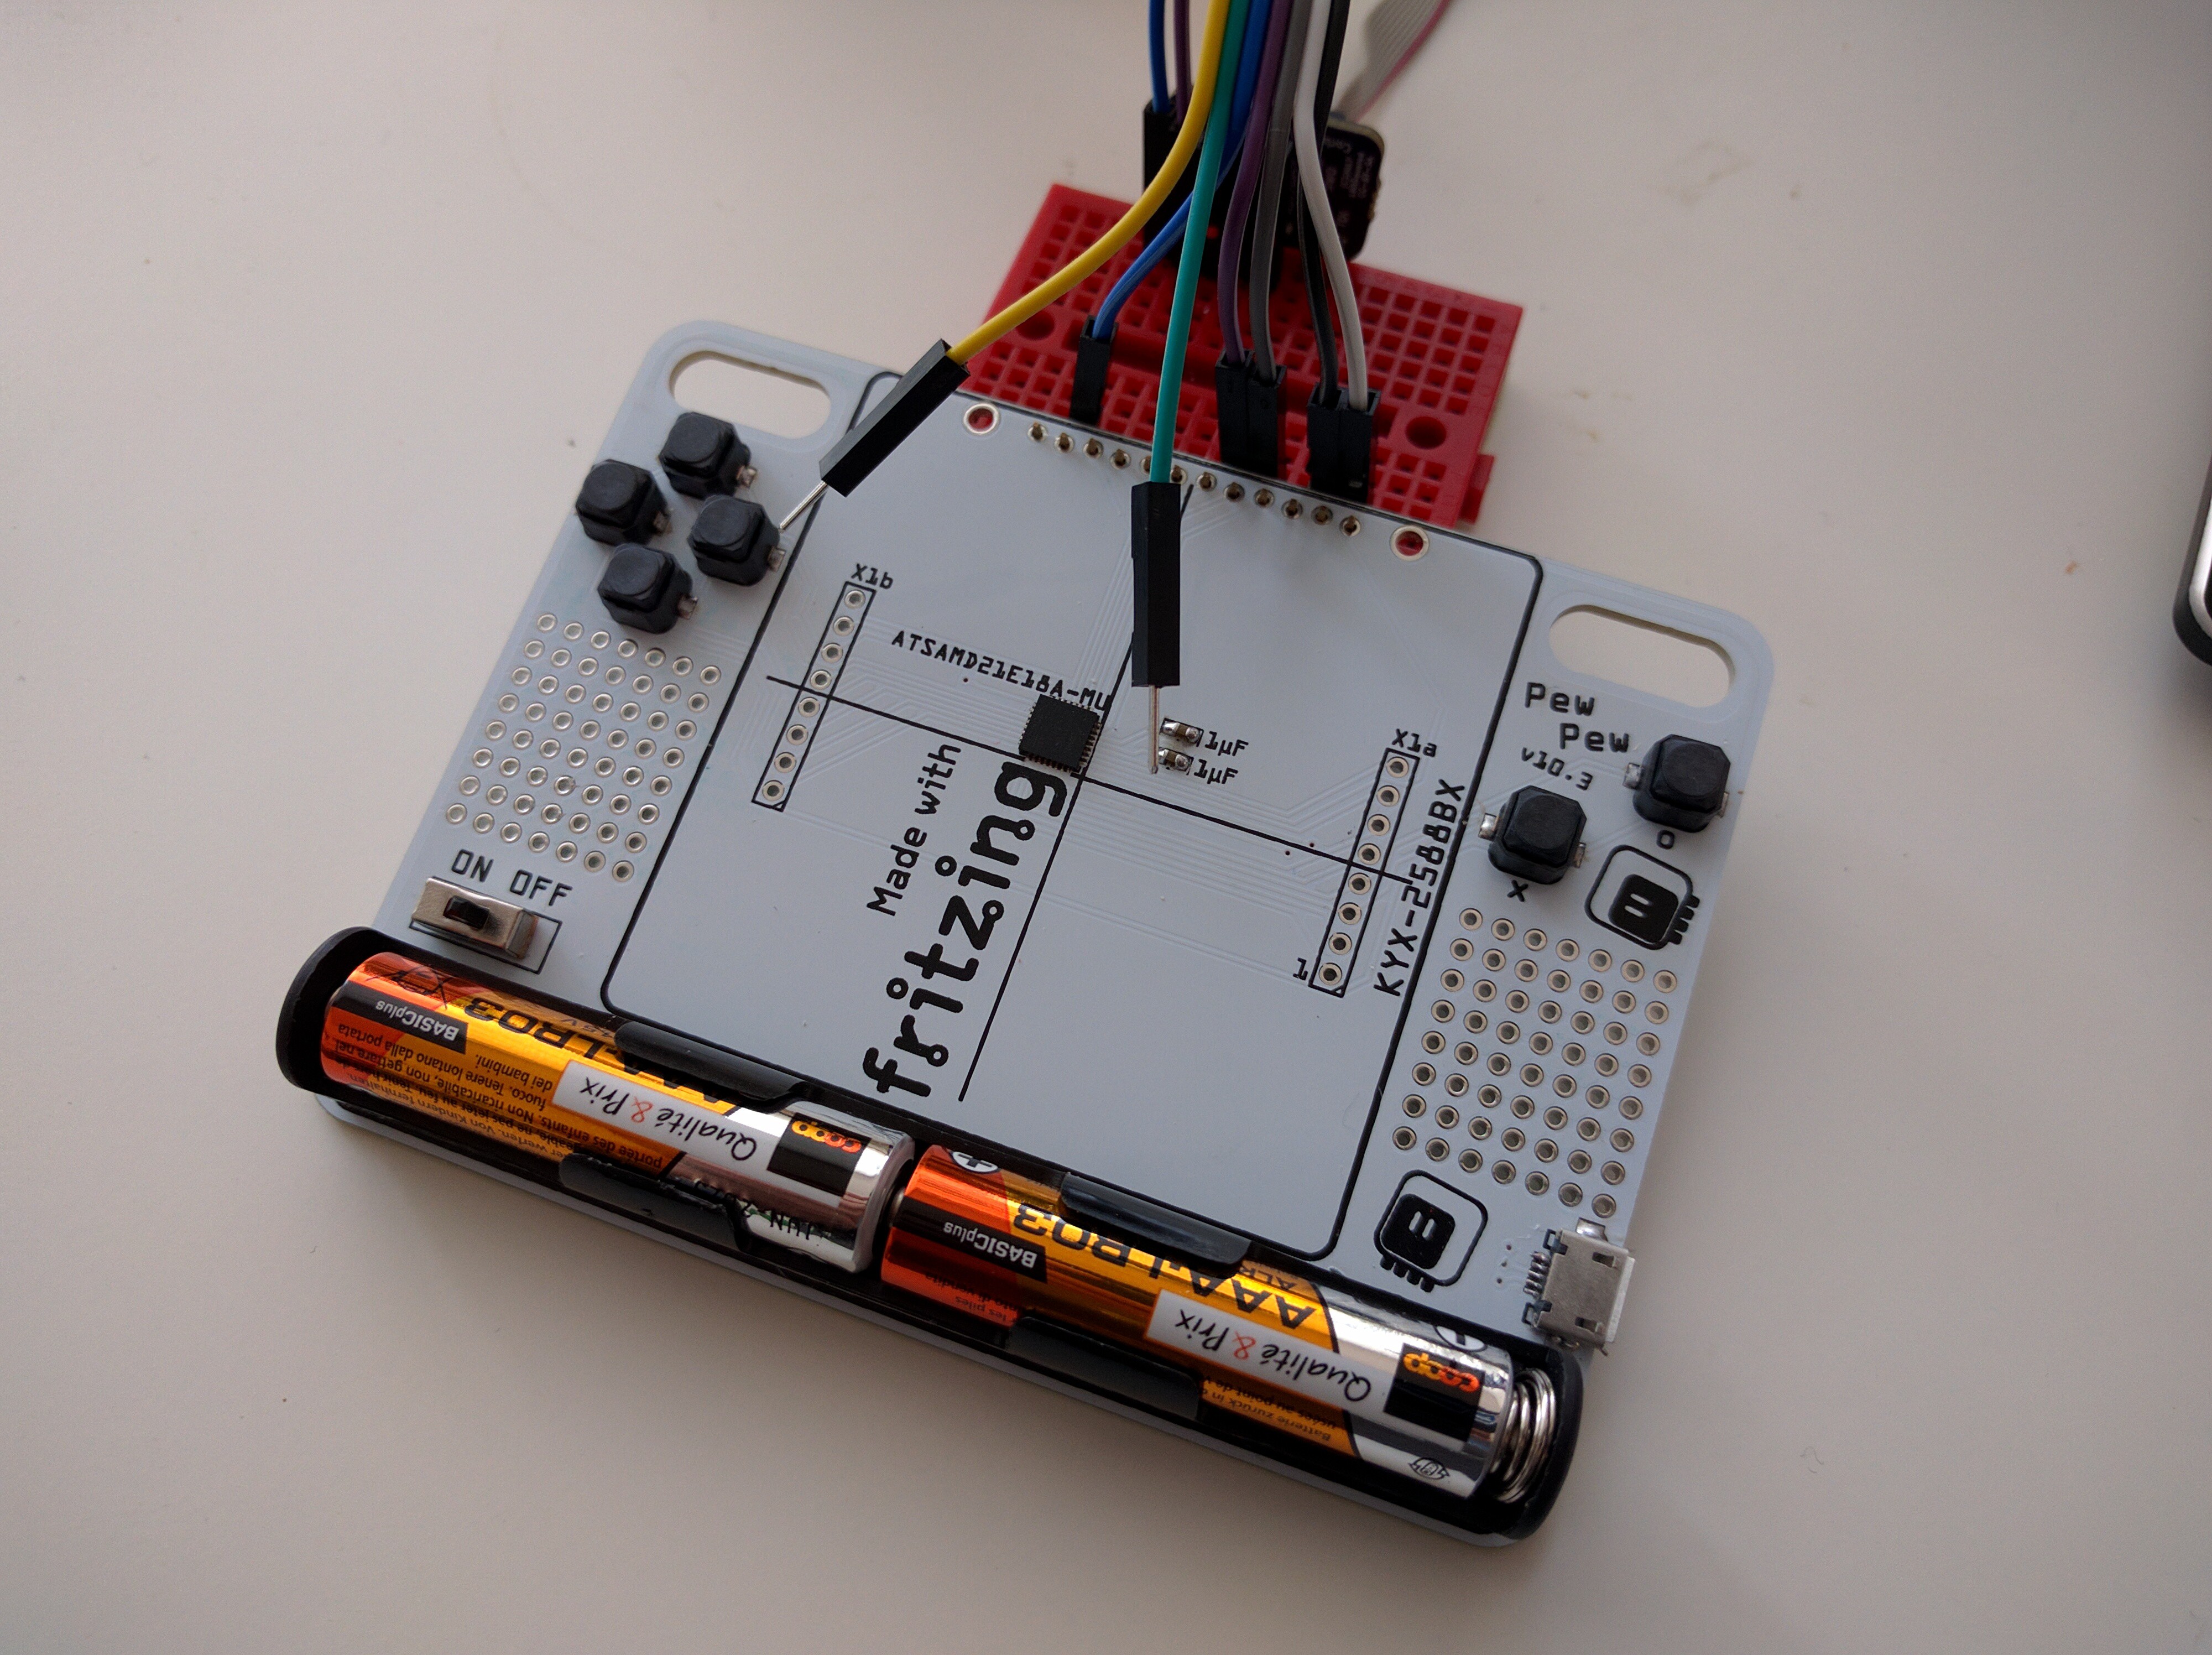
Otherwise it looks and works great, and I think I'm going to put some of them for sale on Tindie. Here's how they look like under the hood (while being programmed):
![]()
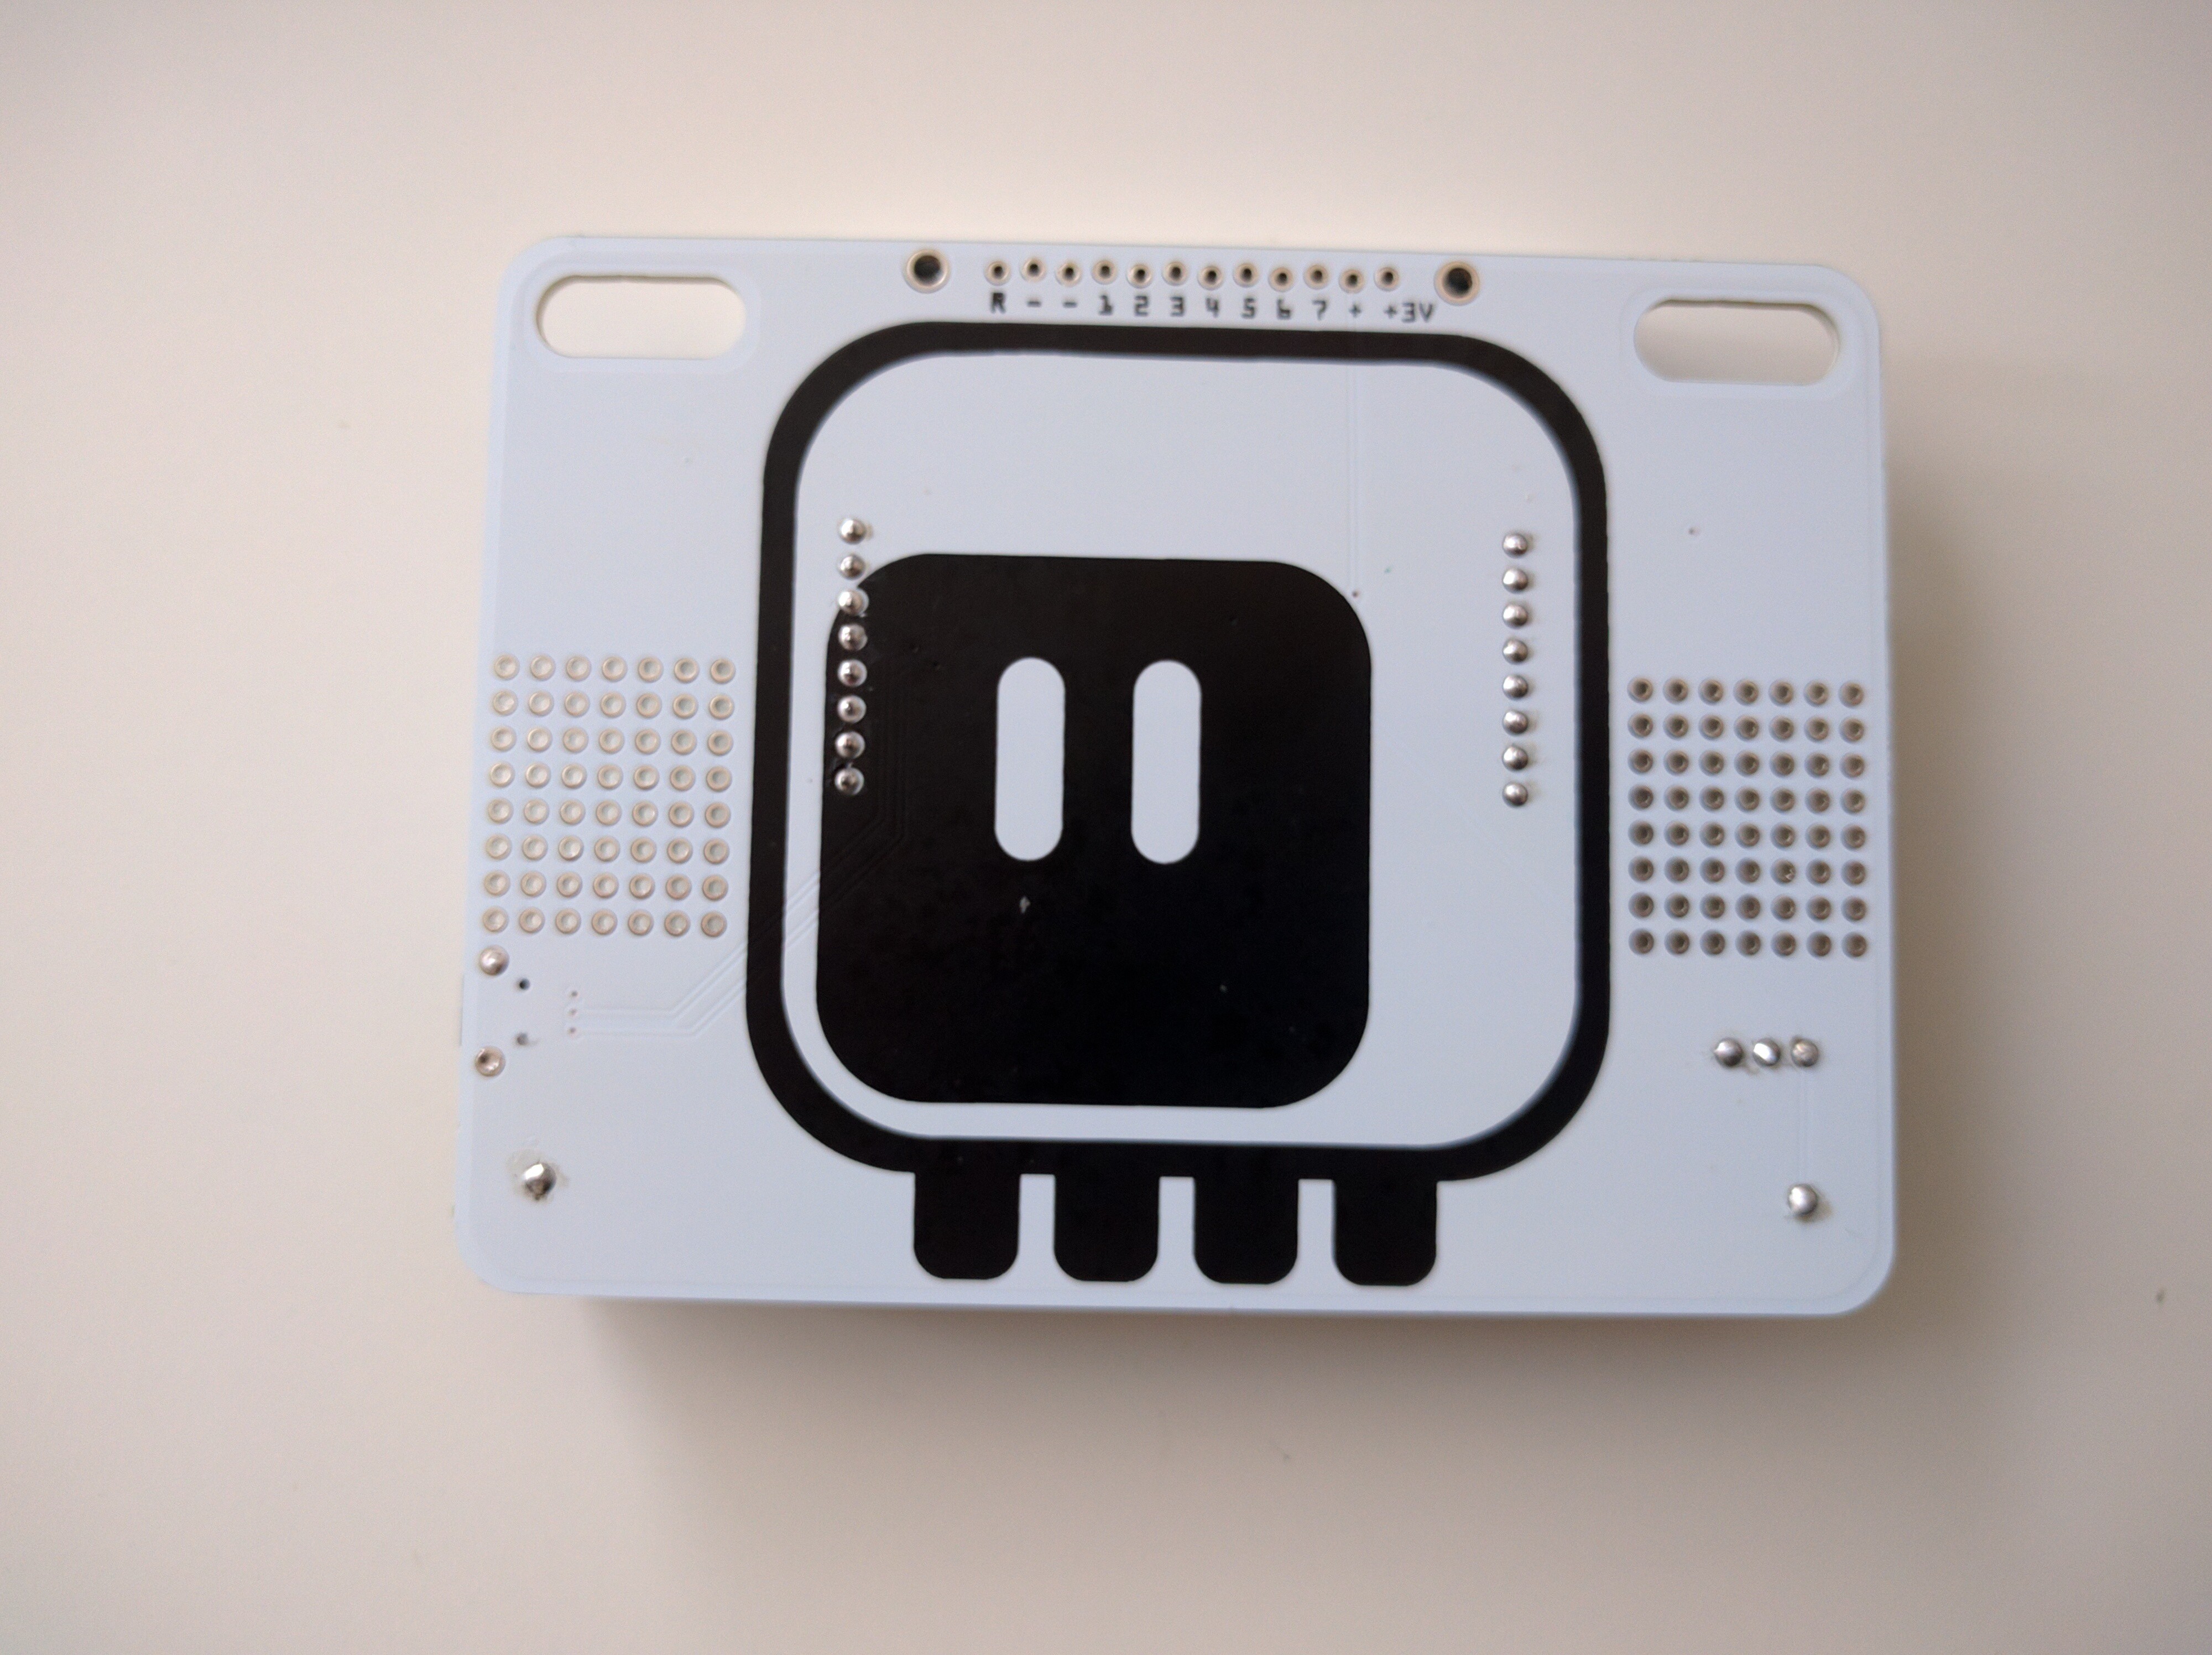
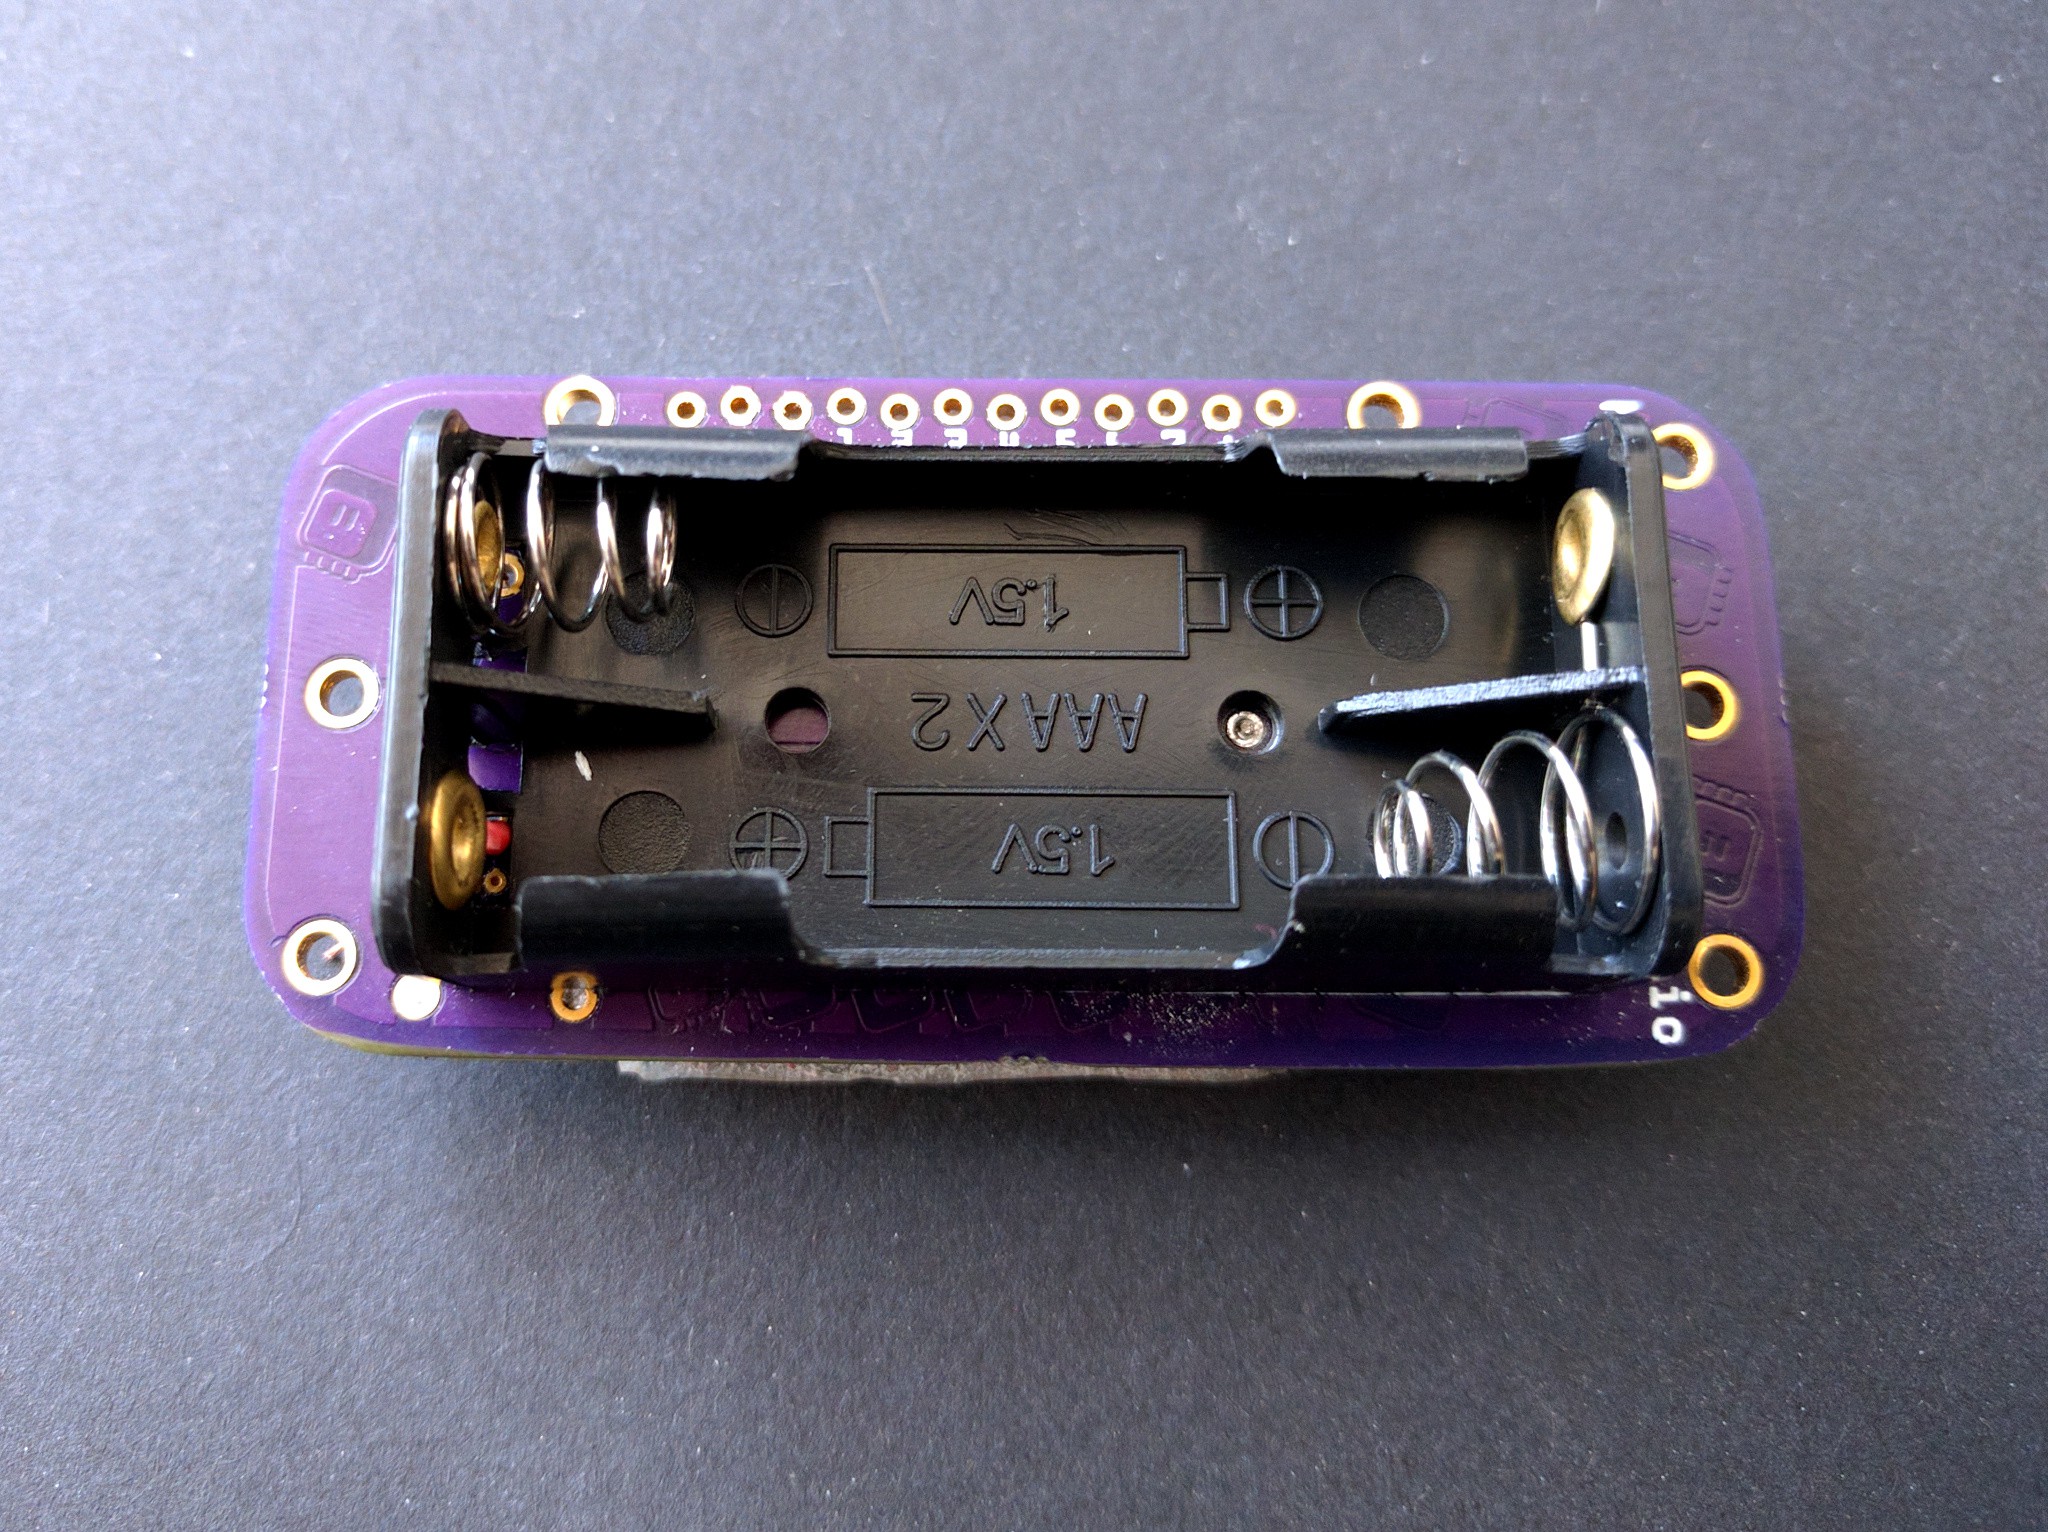
And here's photo of the back. There is plenty of room for a conference logo and/or name — hint, hint!
![]()
-
First Production Unit
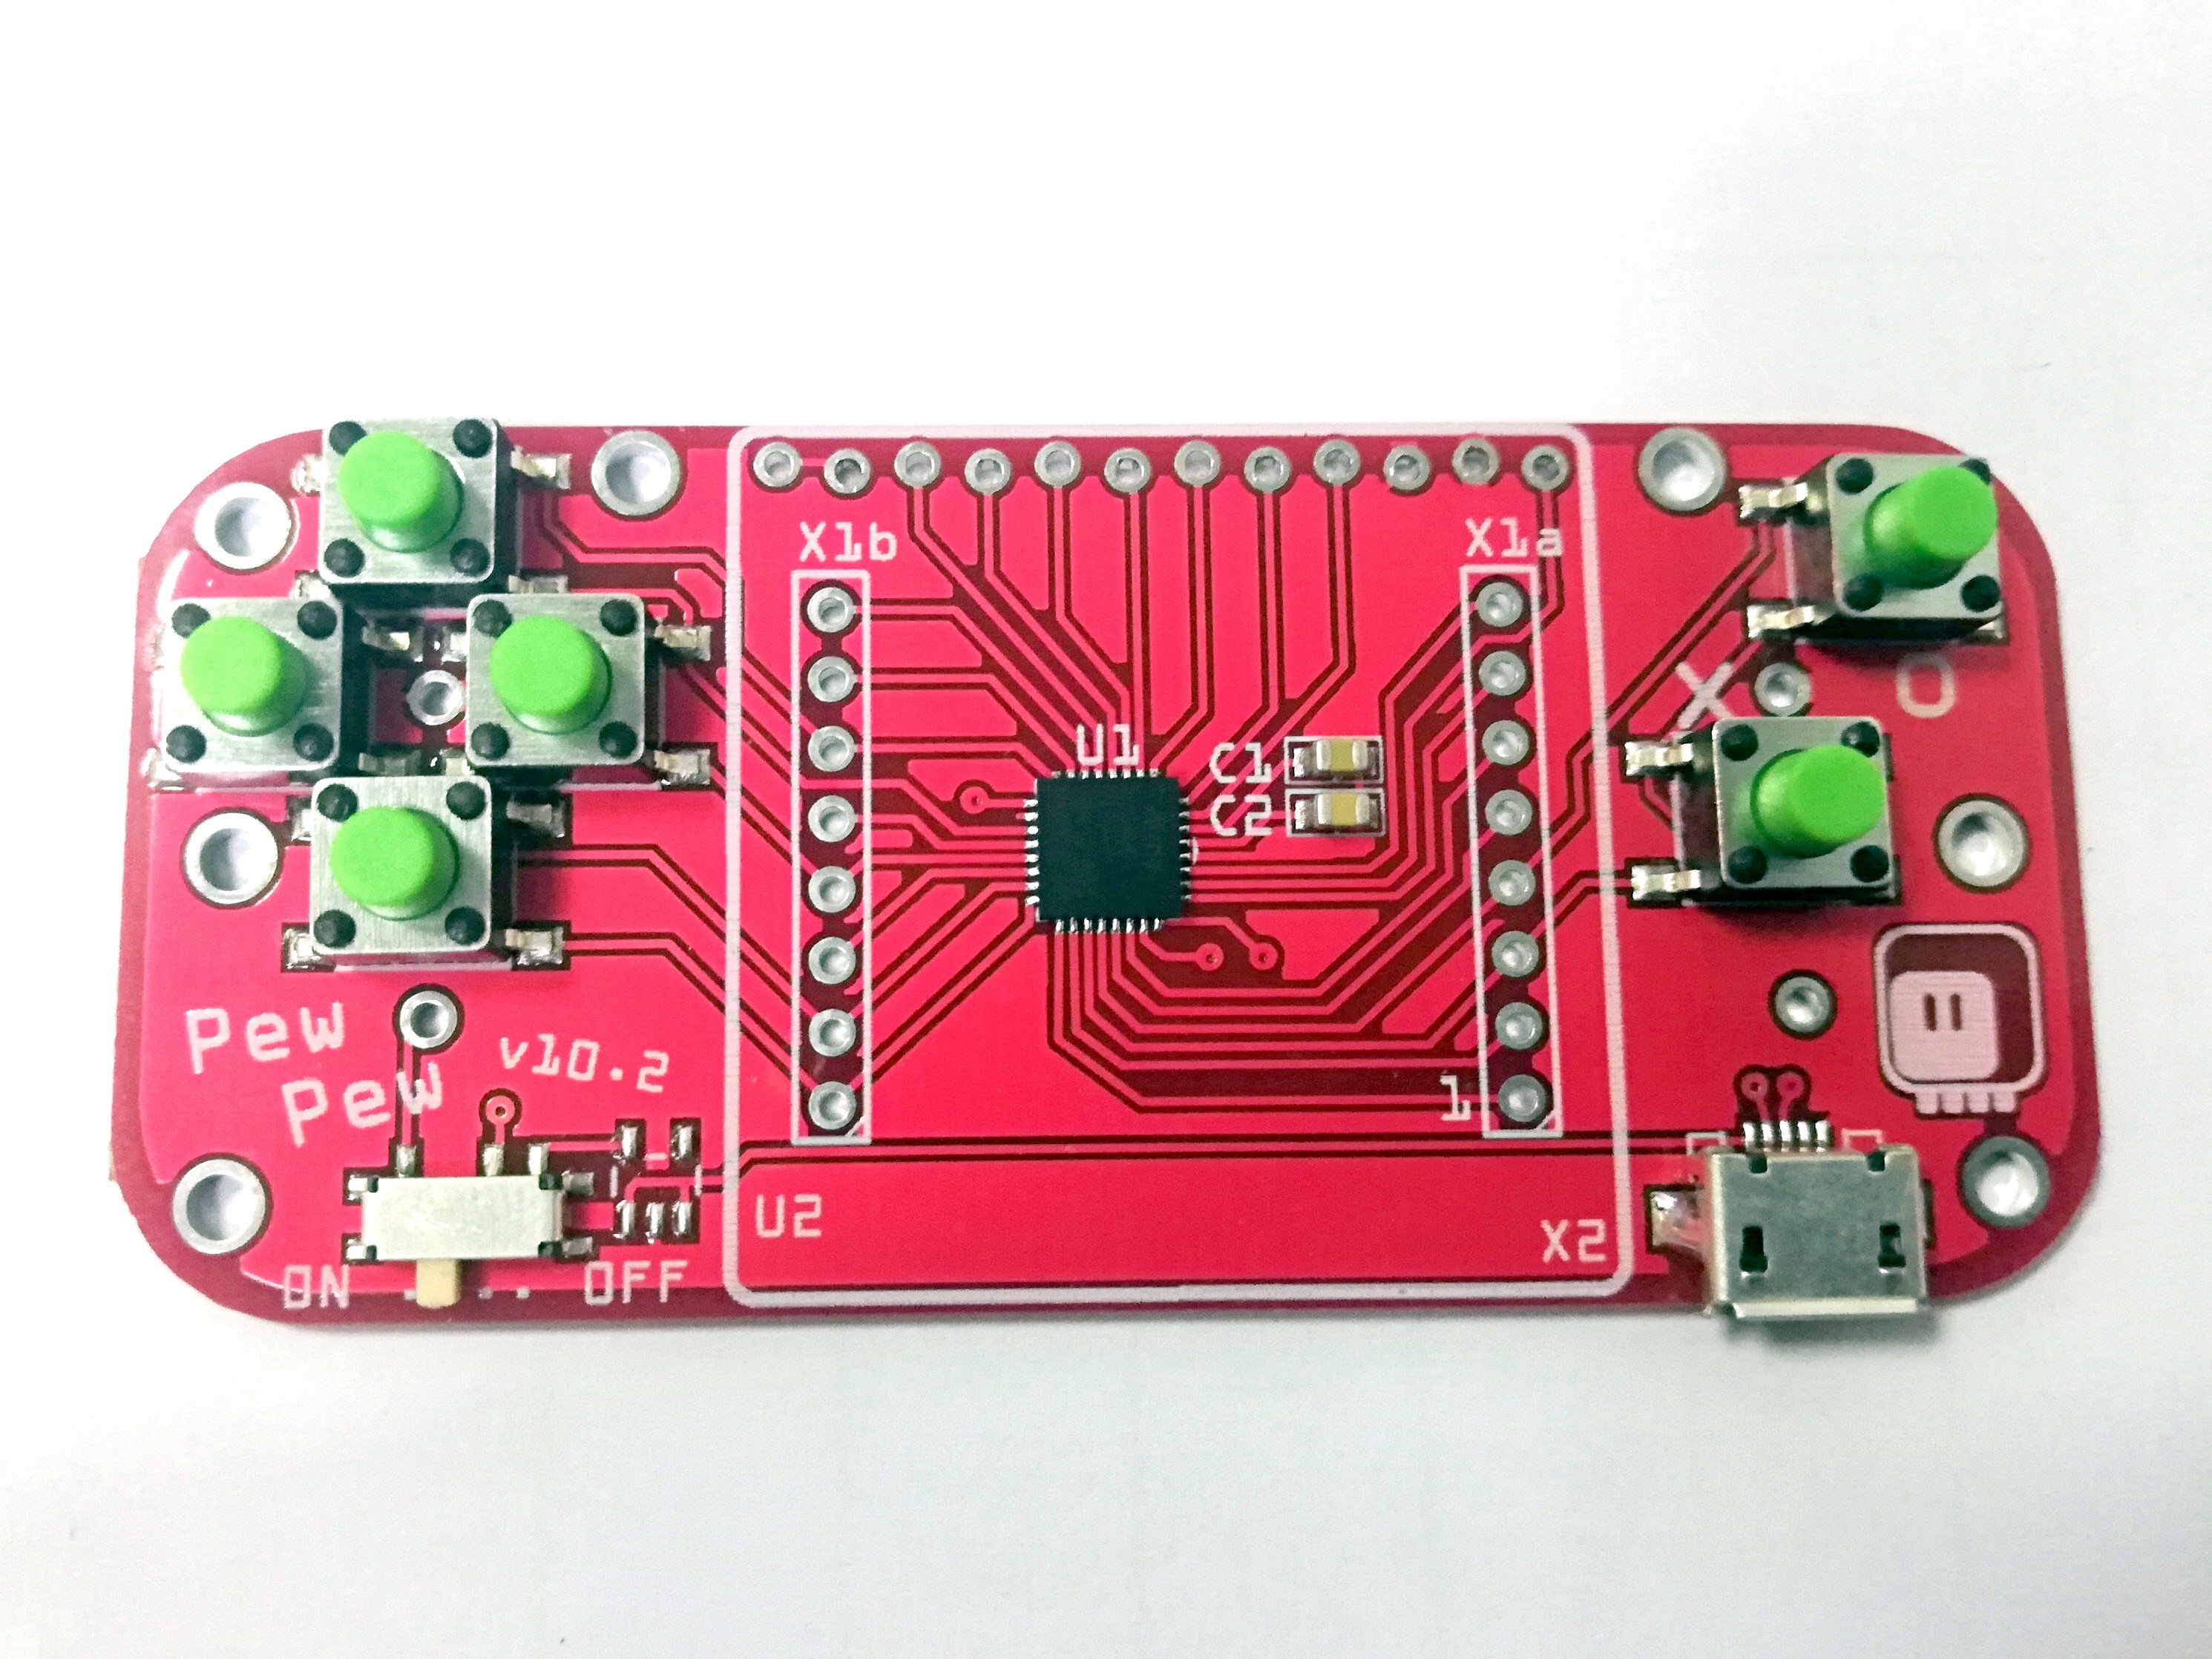
10/11/2018 at 09:35 • 0 commentsI just got a photo from @Elecrow of the first unit they produced (a prototype to test the process). The mass production should commence shortly.
![]()
As you can see, I have chosen slightly more lively colors than in the prototype: the switches are green and the PCB is red. Otherwise it's all the same. The LED matrix and the battery holder will come separately, to be soldered by the user.
-
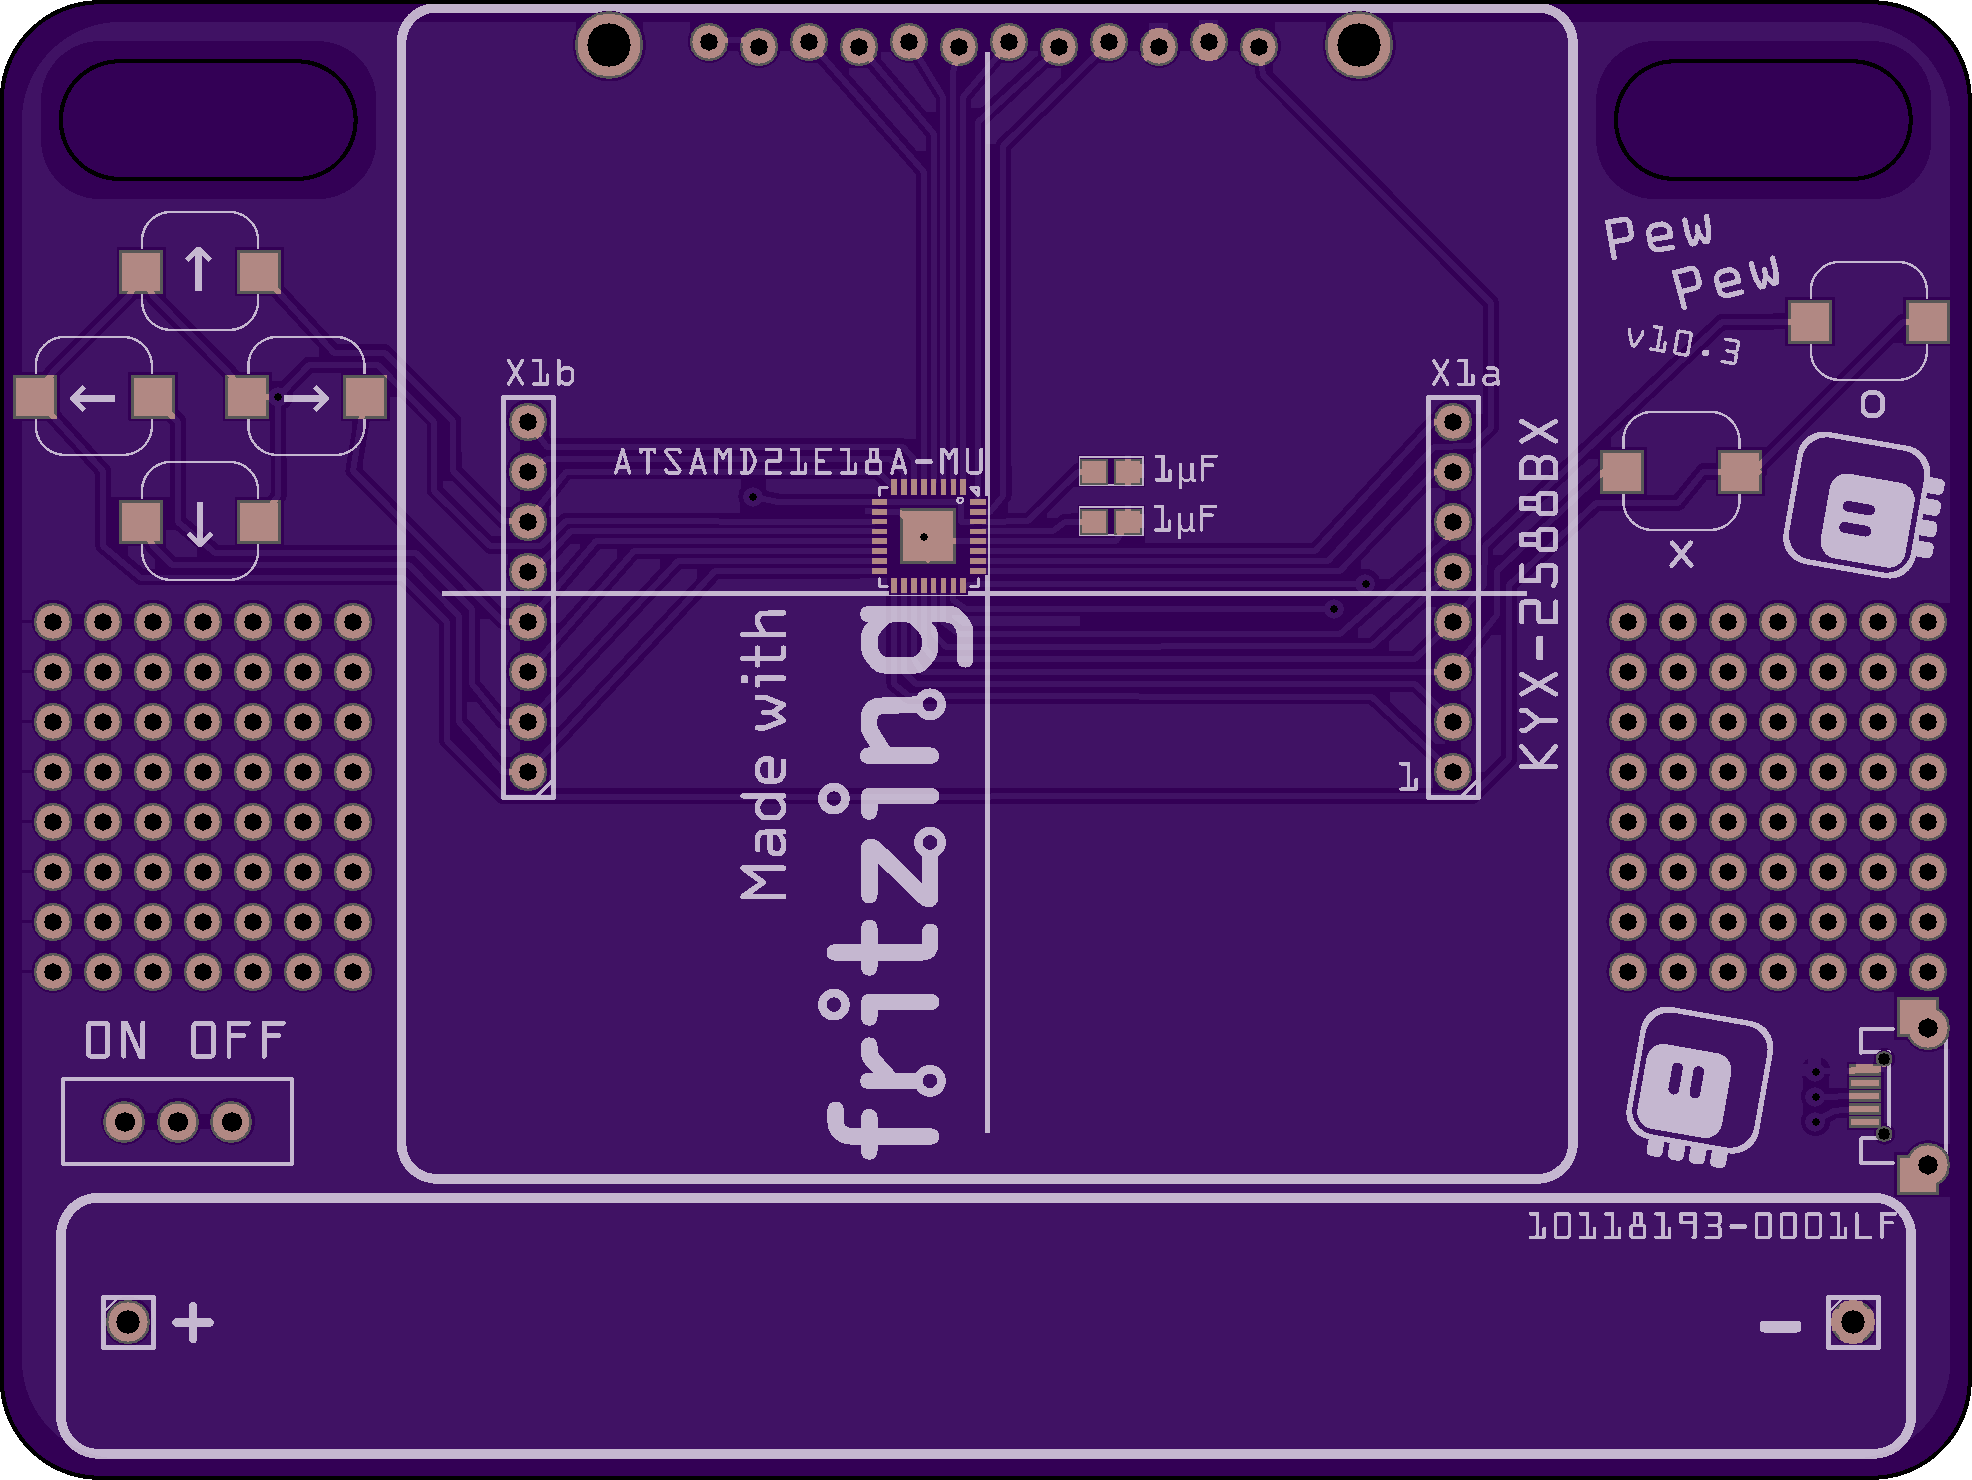
Big Version PCB
09/28/2018 at 08:33 • 3 commentsI resisted for a long time, but when three more color versions of the big 60x60mm LED matrix arrived, I gave up and designed a PCB for them. You might recall that I already experimented with them before, a few logs ago, just connecting them with wires. Now I prepared a proper PCB:
![]()
I switched to silicon buttons, like in the #µGame, and a bigger through-hole power switch. Also, the battery holder is now on the front side (so the whole thing is thinner) and uses inline configuration of the batteries. There are also two prototyping areas on the sides, and two large holes for a lanyard if you wanted to use it as a badge of some sort. The back side is clear (except for the prototyping areas, of course).
I ordered the PCBs from @Elecrow this time, and they have already fabricated and sent it to me, now I'm just waiting for it to reach me:
![]()
-
Extensive User Testing
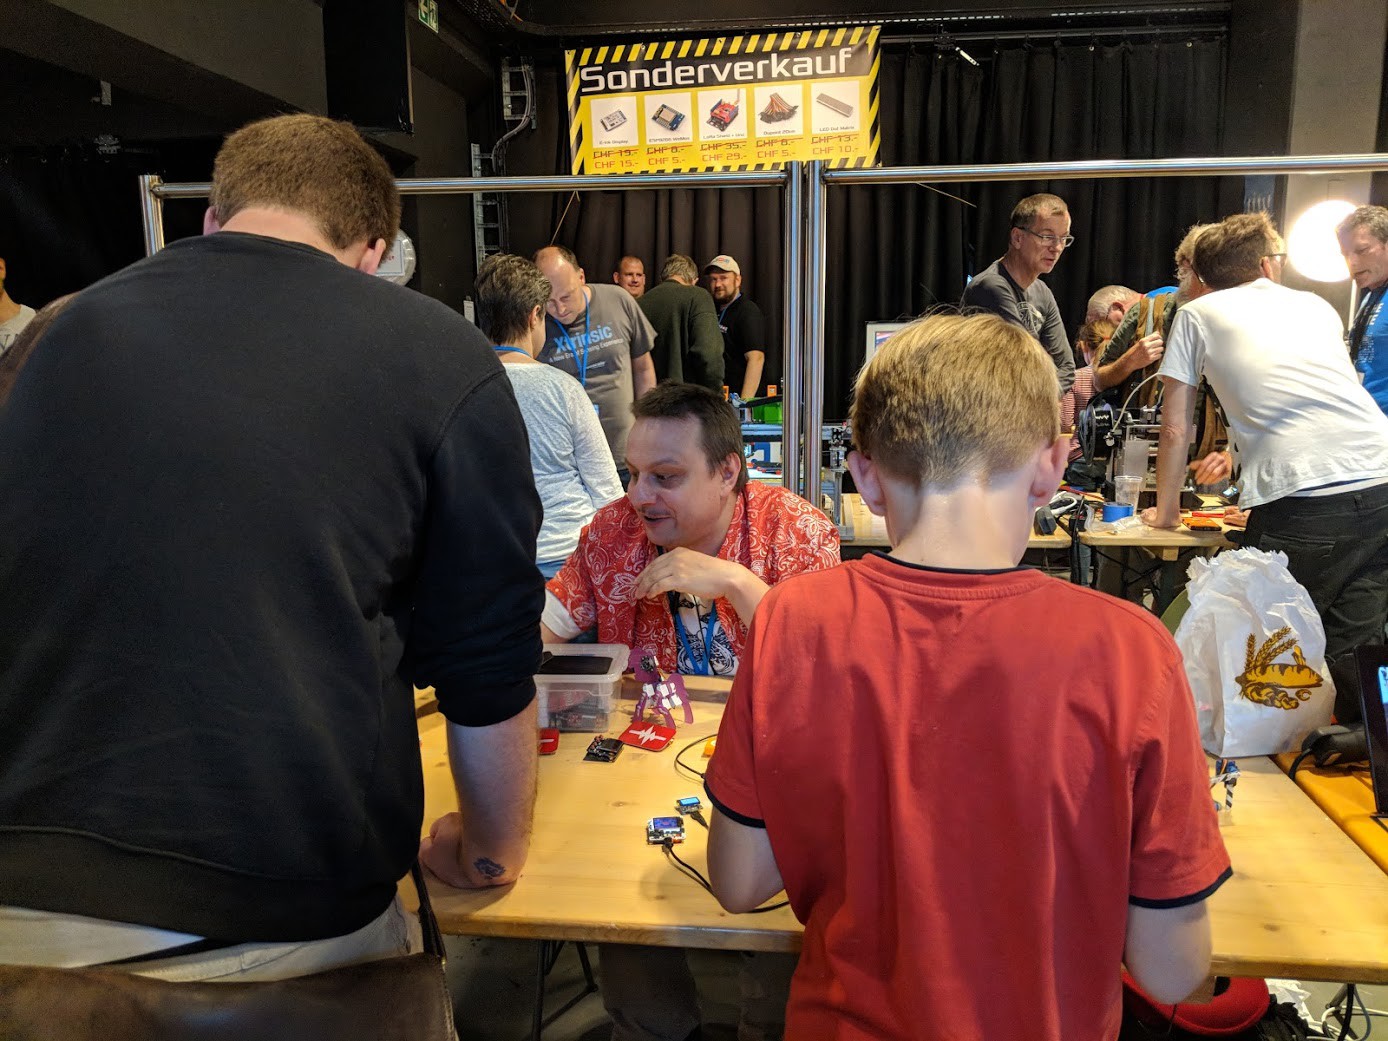
09/17/2018 at 19:15 • 1 commentI took a few PewPew prototypes to the Maker Faire Zürich, to show them off but also to have them tested by the actual target audience. I think they were a success, because we always had a couple of kids at our table playing them, even though the game selection wasn't that good (mostly snake, some tetris). But I got to see how people handle them, to test how long they last on battery power (around 14 hours on two AAA batteries) and, last but not least, they went through a crash course of actually being used by a lot of living humans. I'm happy to report that there were no injuries or defects on either side.
![]()
(Sorry for the silly face on the photo.)
In the worse news, I finally didn't have the time to write the code to control the robot. I naively thought until the last moment that I will have some free time during the event. Nope. It was eight hours of people talking to me non-stop. Which I guess is good, because it means they were interested. But no robots. Well, I had some of my robots walking around, but not controlled with PewPew. Maybe next time.
-
Controlling a Robot
09/13/2018 at 20:32 • 0 commentsThe Maker Faire Zürich is coming, and I need to show something. Sure, I could just let people play some games, but it's always cool to have something moving. Last year I had the #Deltabot controlled with #D1 Mini X-Pad Shield, this time I decided to use the PewPew to control a #MeArm.
![]()
The connections are rather simple, even if there is a lot of them — every servo gets its own GPIO pin, and power from the powerbank. Tested the servo movements with the REPL, and it all seems to be working fine. Now I need to write some simple code to control them with the buttons, and maybe to display some status on the display...
-
More Progress
09/05/2018 at 12:02 • 0 commentsThe AAA battery holders finally arrived, so I could complete the prototype:
![]()
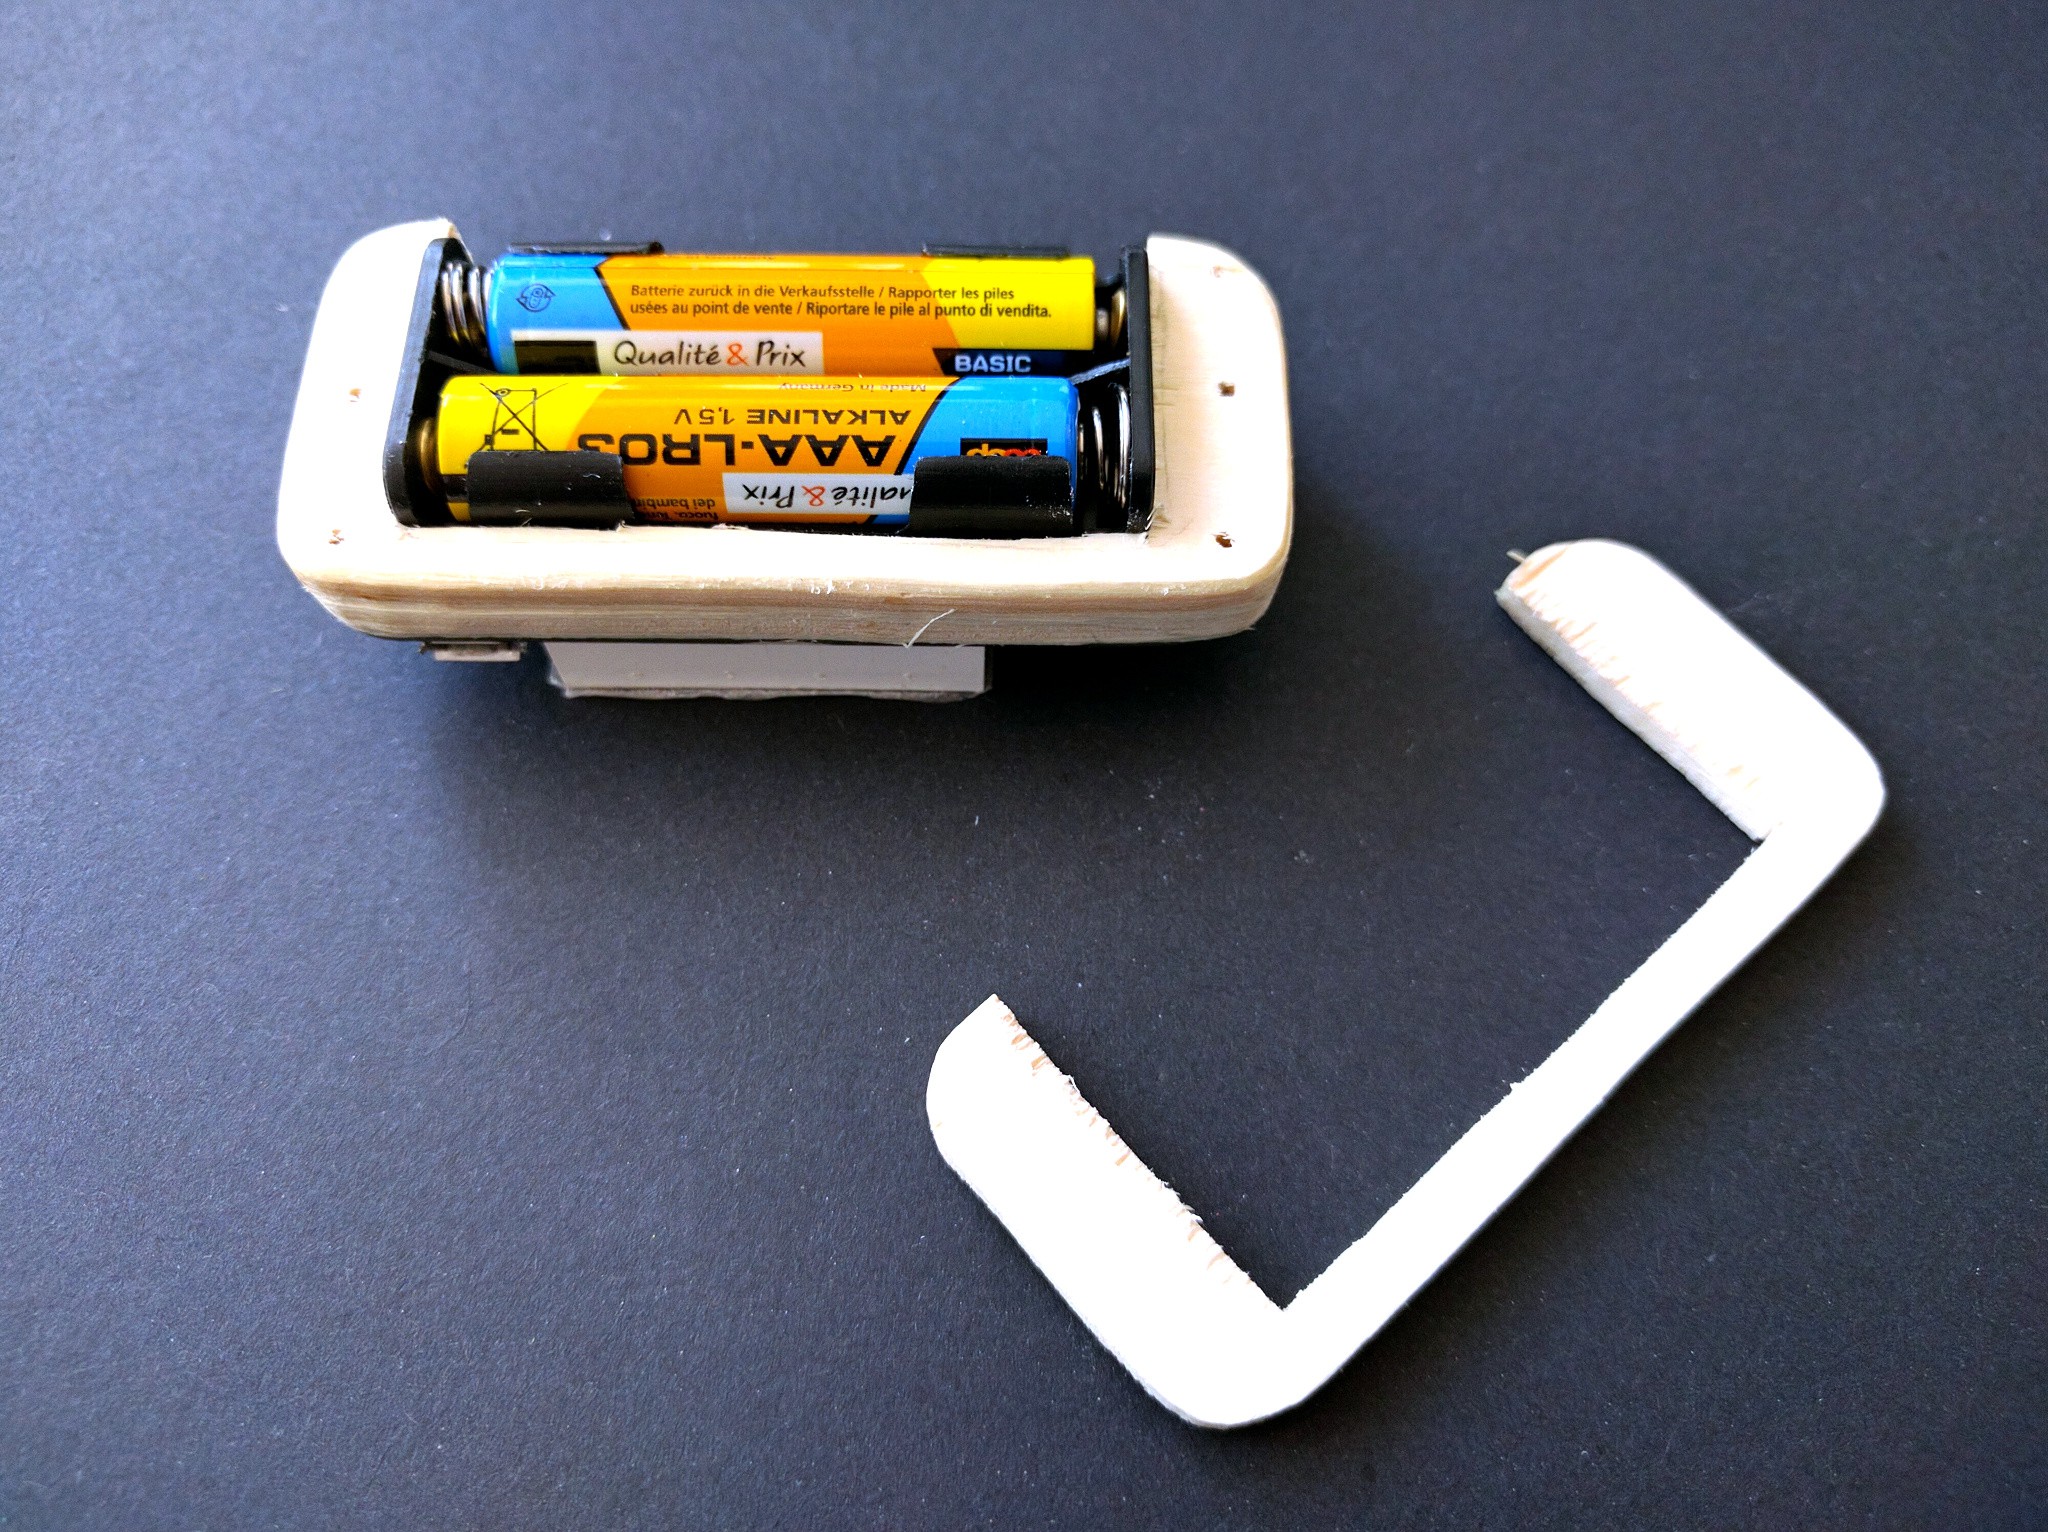
I also got to experiment with adding some wooden parts to the bottom, to make the whole thing a bit easier to hold. For now I cut them out of wood by hand, but ultimately they would be laser-cut out of acrylic:
![]()
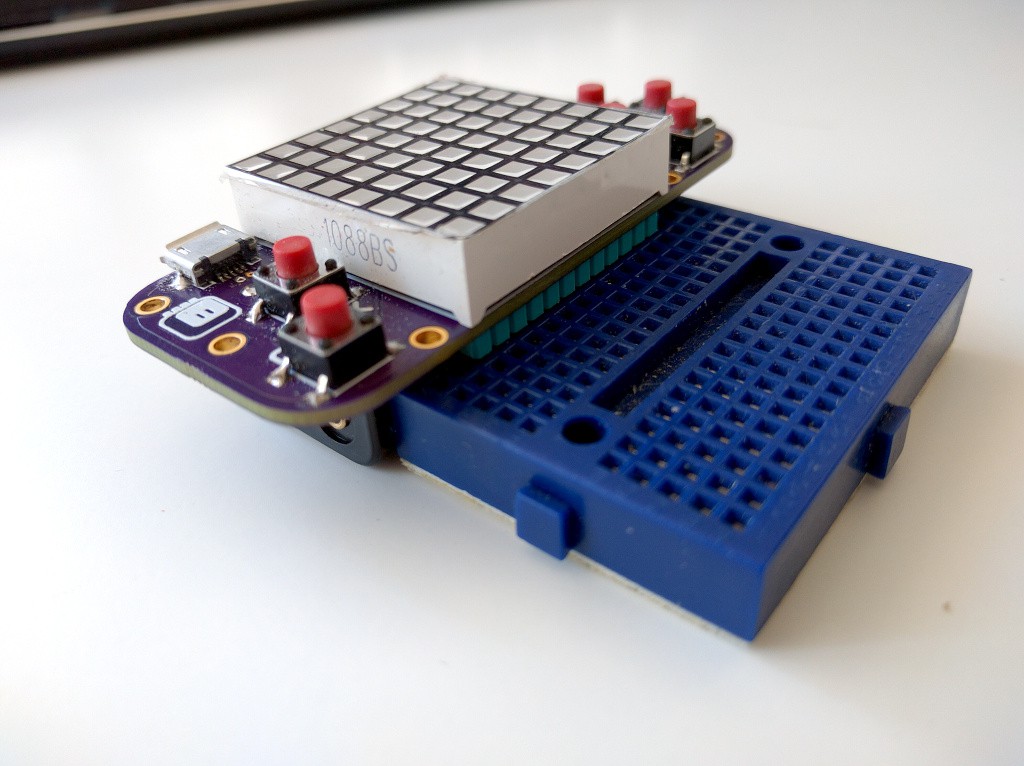
The whole thing fits very well with the mini-breadboard boards:
![]()
I will need to make a sticker with pin labels for the top of the display, so it's easier to see what is what.
Finally, I got the first responses from the fabs, and it seems that at small quantity (50 pieces) the price will still be relatively high, around $9, but at larger quantities (300 pieces) it can get as low as $6 (that's without the shipping costs and margins, of course). This is for a partially assembled kit, where you need to solder the matrix and the battery holder yourself.
PewPew Standalone
A Python-based micro game console, optimized for game development workshops.