For a few months now (i.e., before the battery got really bad), I've been thinking that I would like to take the innards of one of my USB batteries (i.e., four 18650s connected in parallel, plus a circuit that controls charging and discharging and converts back and forth between battery voltage and USB voltage) and put them in my tablet. 18650s are a lot thicker than the stock battery, so they'll stick out, but I think if I arrange them right, and make a 3D-printed cover, I can use the bulge as a handle, and also integrate a tripod mount. (Also, 18650s in a 2×2 physical arrangement will be narrower than the stock battery, leaving room inside the case for a ram stick or something.)
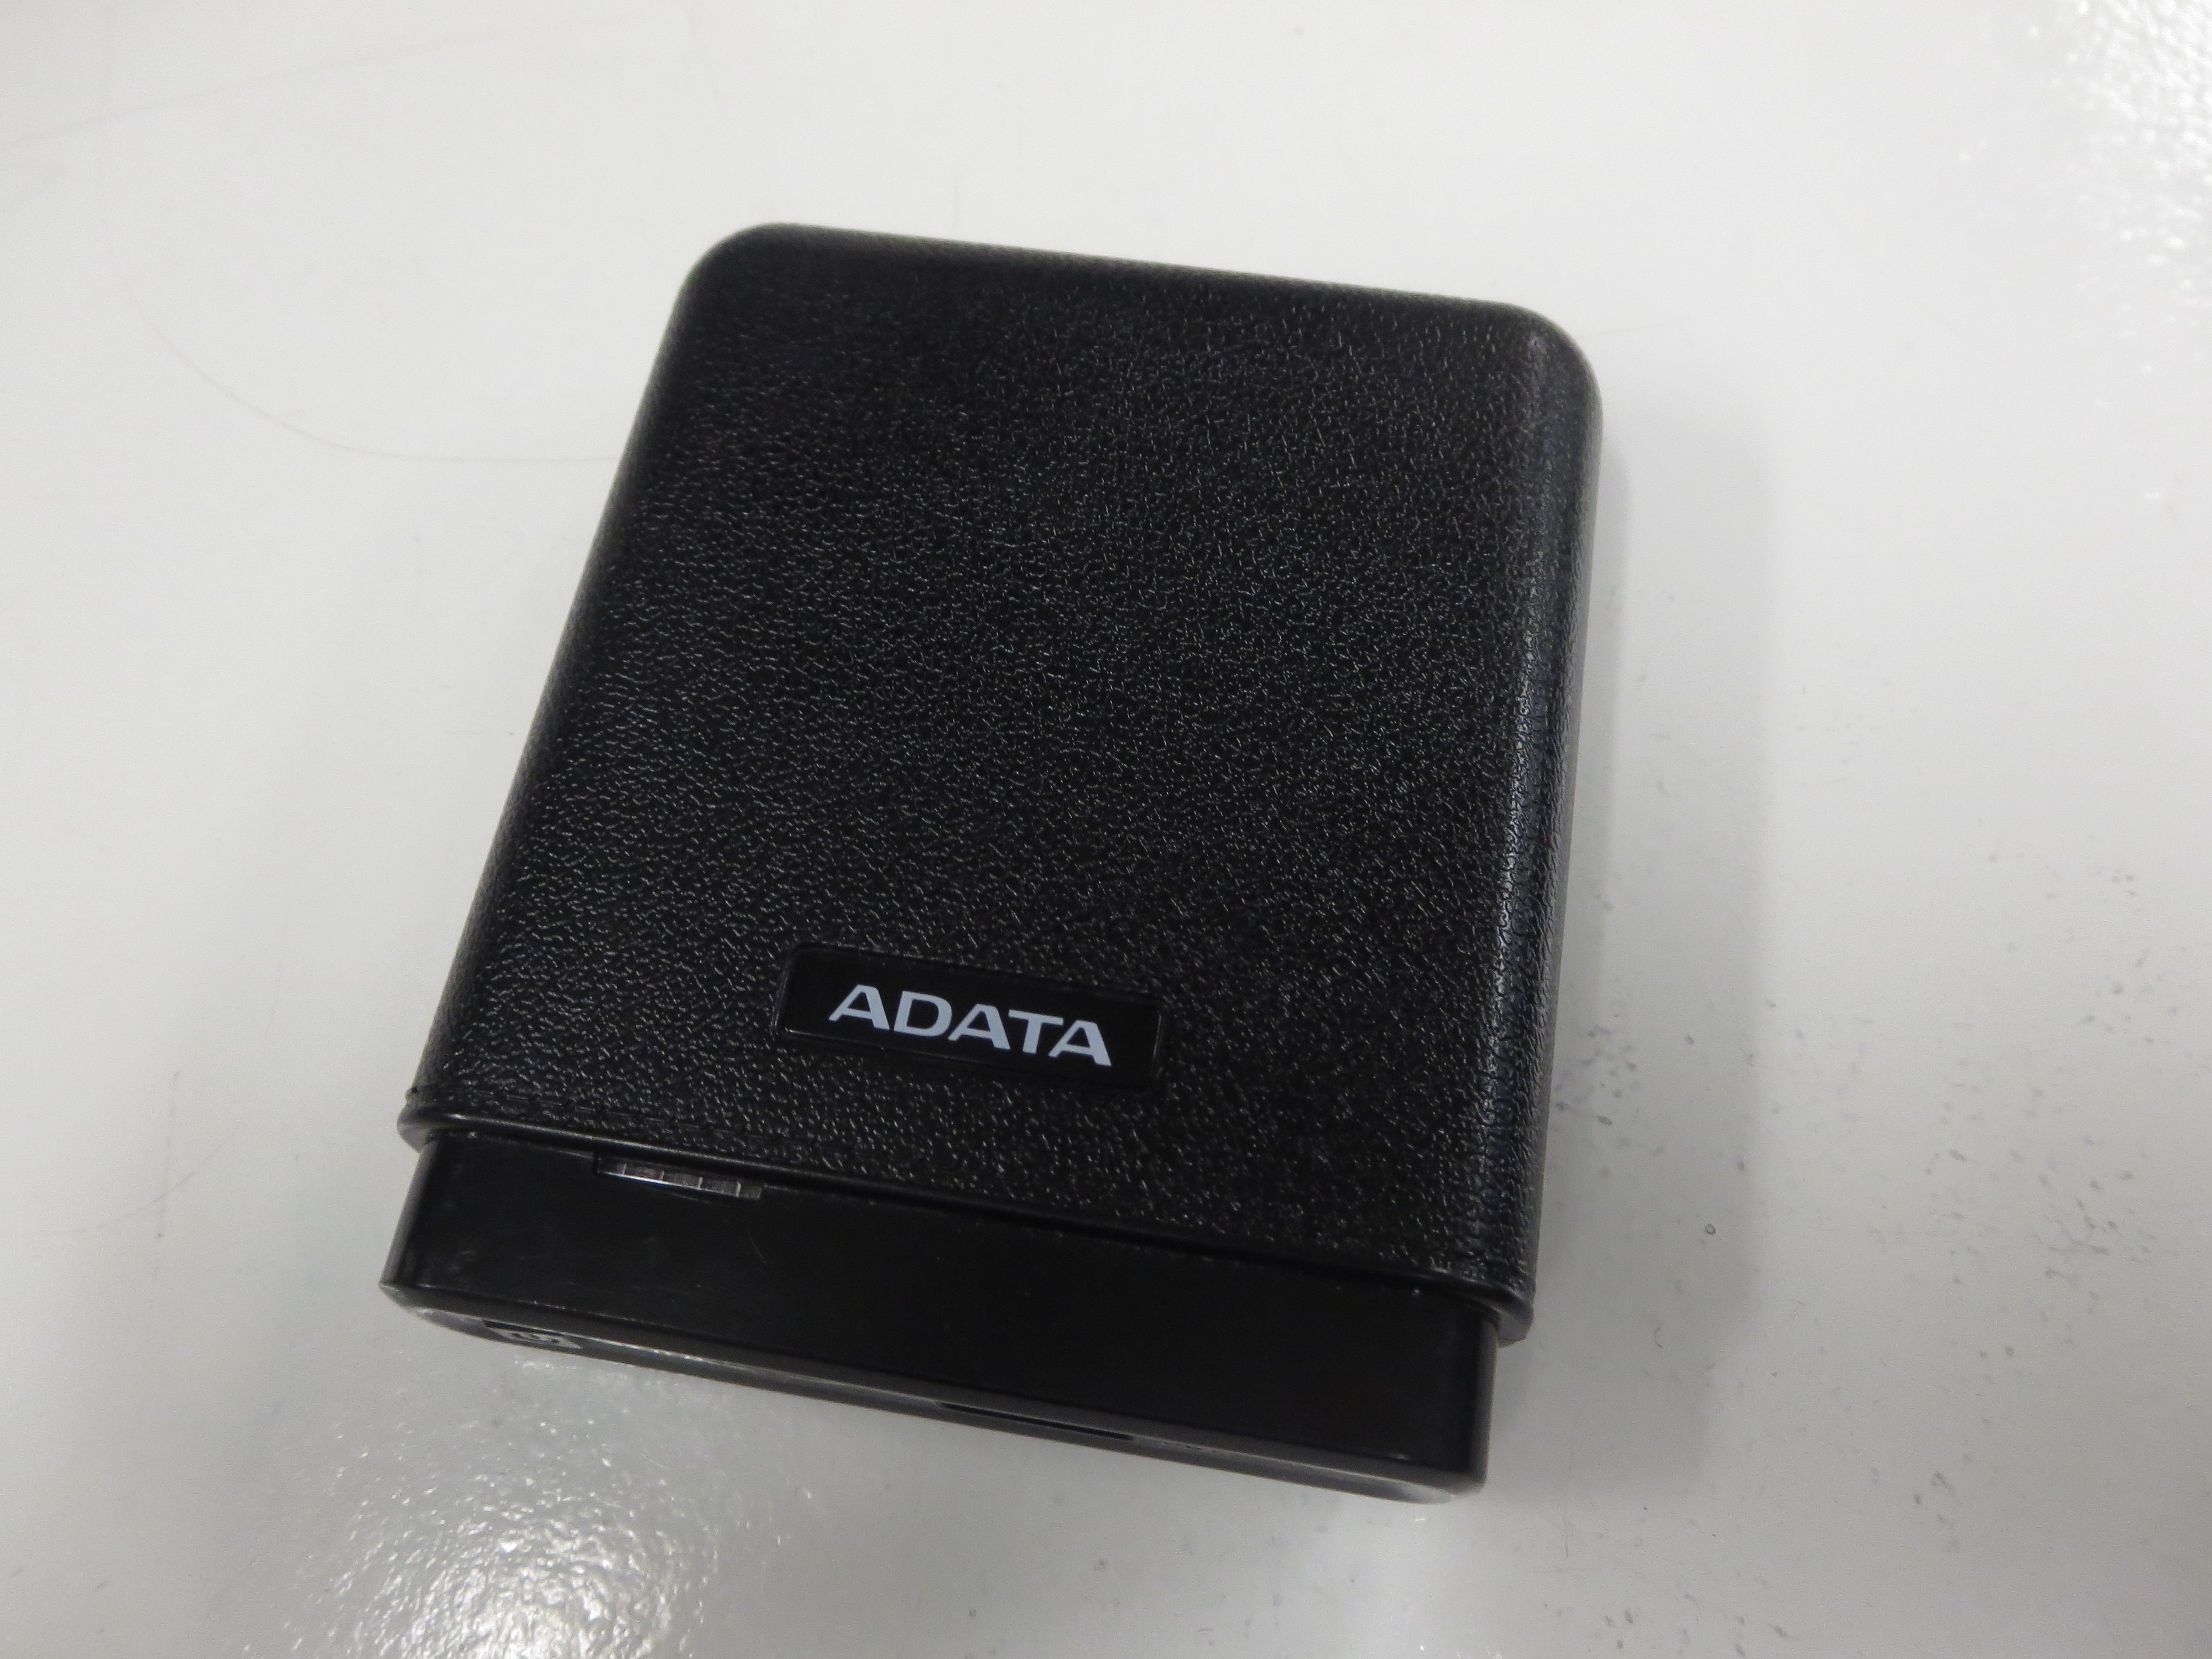
This is the USB battery I plan to use. It's an ADATA PV150. Memory Express sold it for a long time, with regular discounts, and it works nicely (though doesn't turn on automatically or allow passthrough), so a lot of people I know have this model. I think it's discontinued now, though, and the replacement looks from its shape like it doesn't contain 18650s. (You could still use it or any other USB battery; you'd just need to do the case mod differently.)
The cells are adhered to both case halves with double-sided tape. Try to take off the "back" shell piece (the side with the specs and regulatory logos on it), because the PCB is attached with screws to the "front" piece (which is the same piece of plastic that makes up the end with the ports).
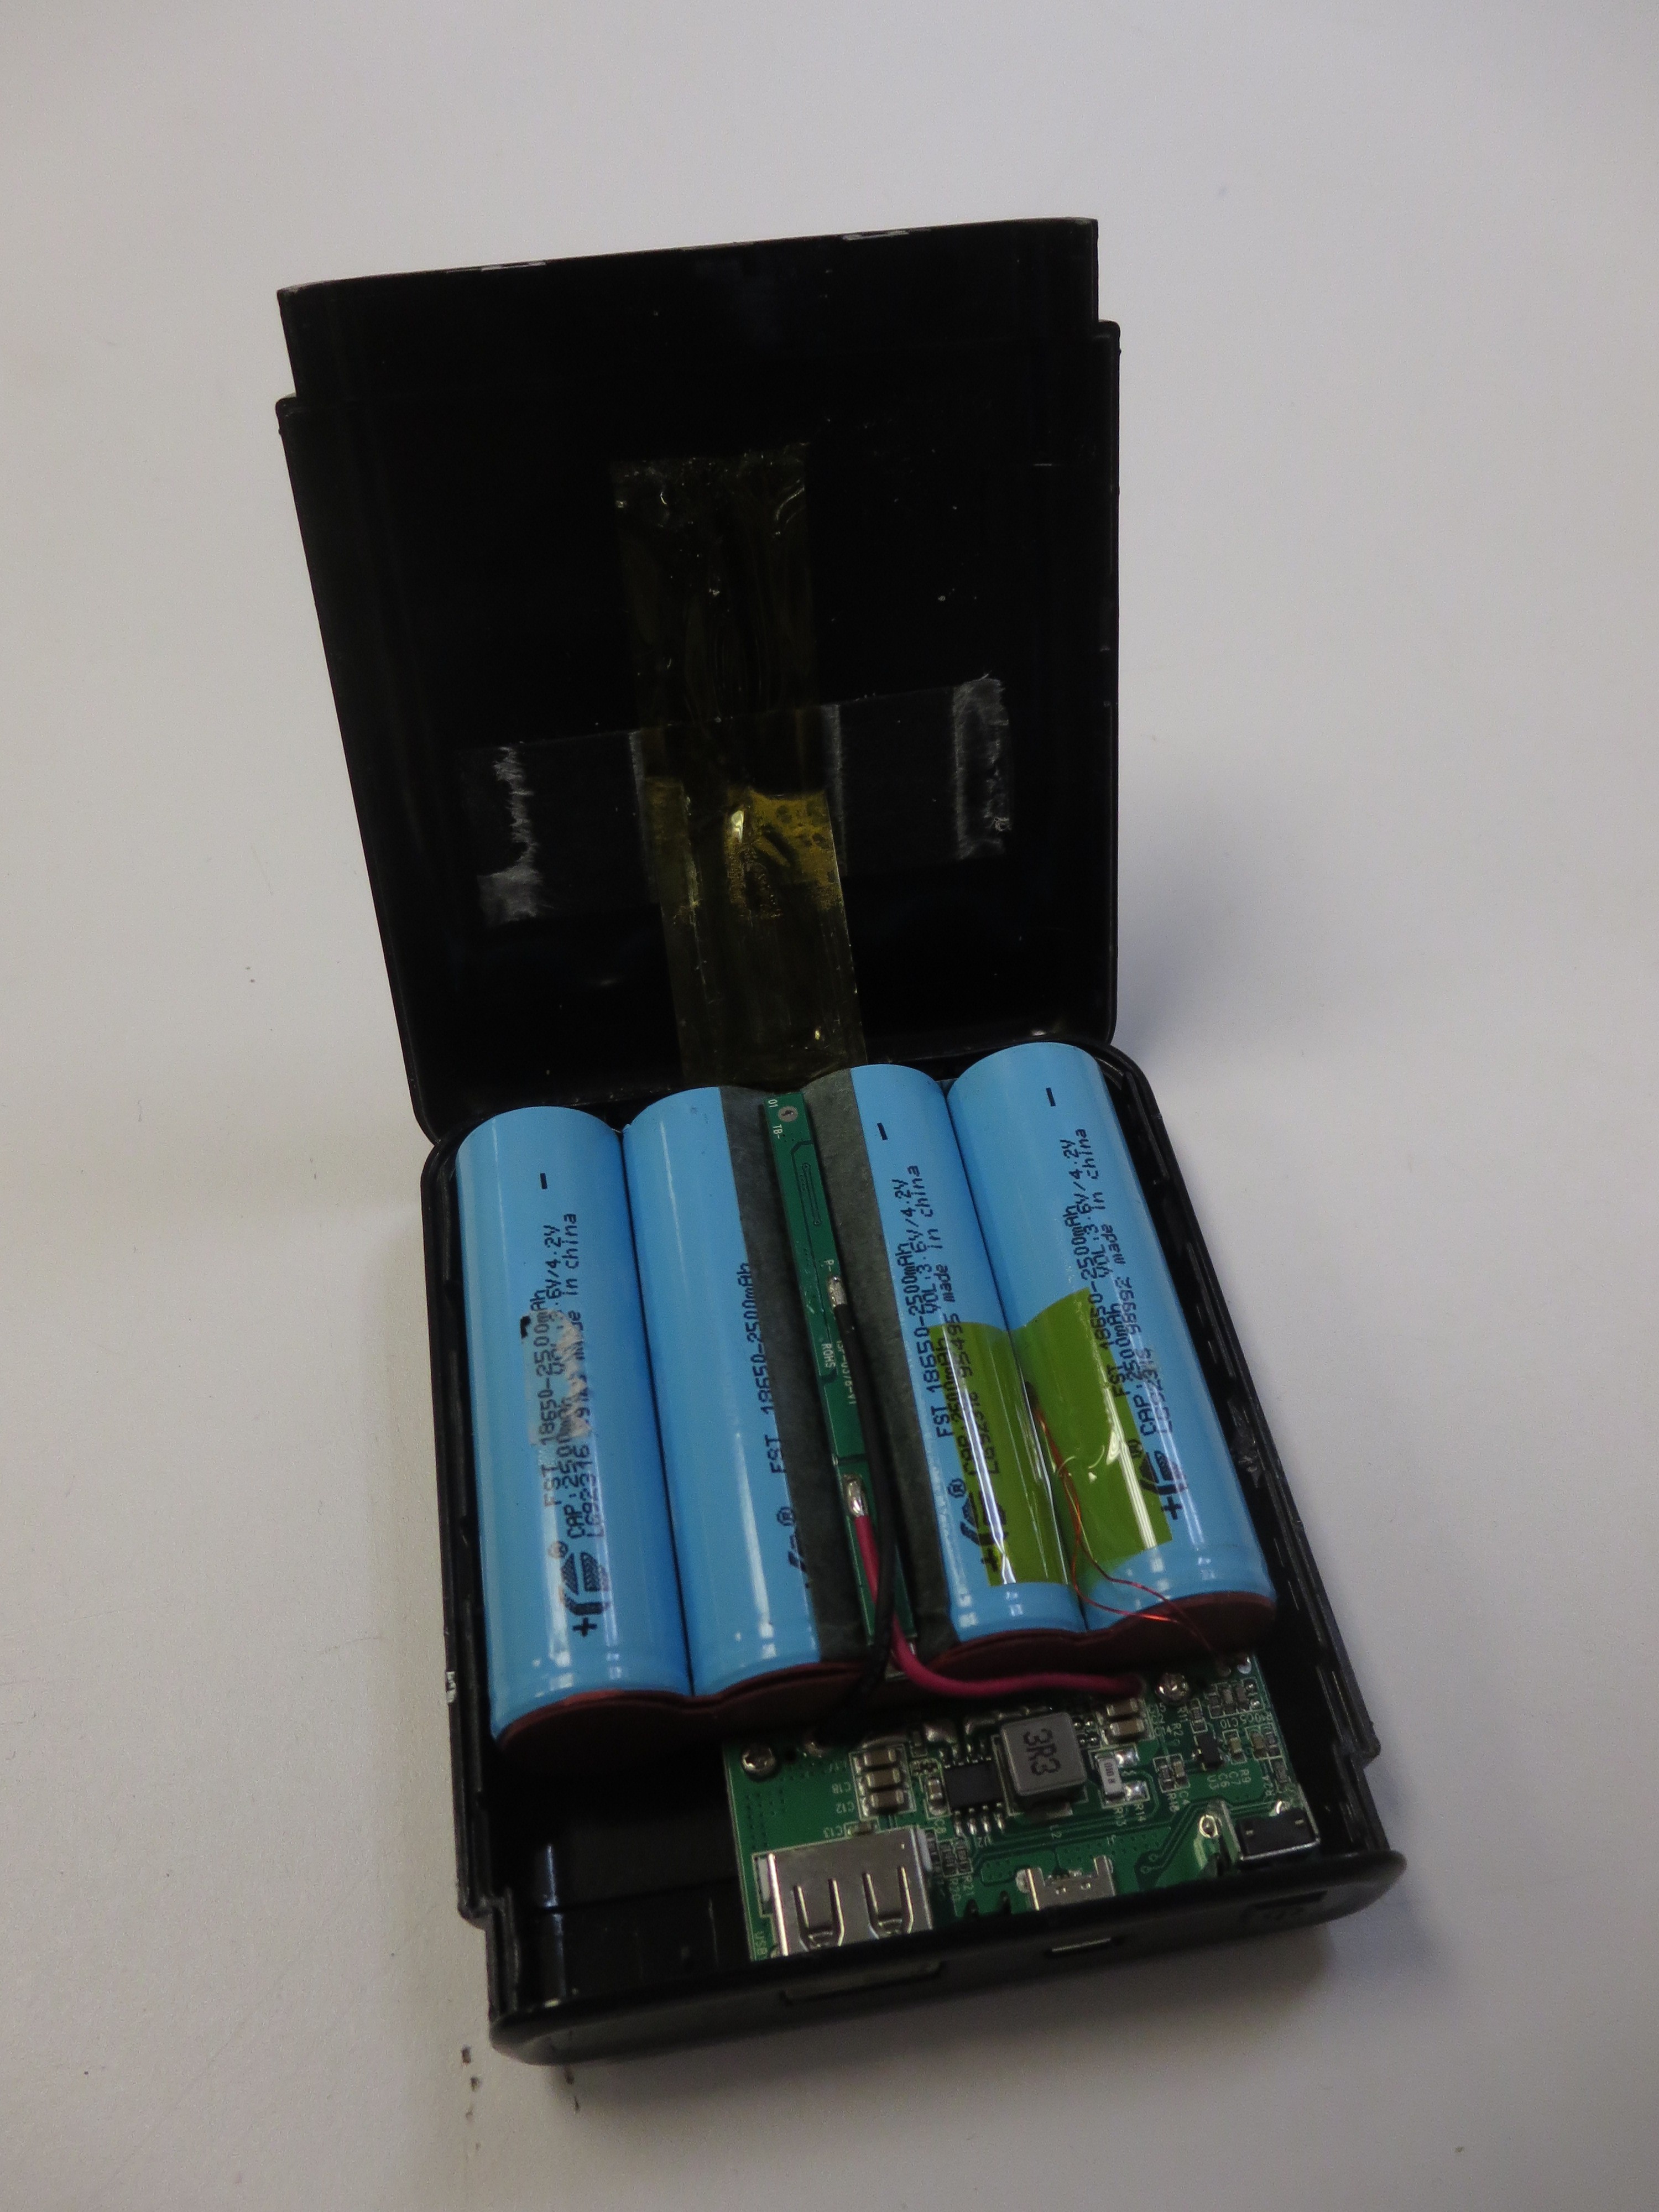
The reasons for integrating the USB battery's circuit, rather than just the bare cells, are that I would then be able to use my tablet to charge other devices, and that I would be able to supply power to my tablet using the USB battery's input port while using the tablet's own USB port for an OTG device. It would also provide a rough battery level indication without waking the tablet. And I want to use the USB battery's 18650s, rather than some out of e.g. laptop batteries, because they're relatively unused and because they've been connected in parallel for their whole lives and are therefore perfectly matched (or as close as any four cells can be).
This integration would mean that the two charge controllers (the tablet's and the USB battery's) would both be connected to the same battery simultaneously. That sounds like a really bad idea, especially because they're not even the same model, but I think it might actually be fine. (Any thoughts?)
But… while I've been thinking about that for months, I haven't actually done any of the design work on that integration, so I'm not ready to do it. And, the other day, it became urgent to replace my tablet's battery (as detailed in the previous log entry). So I needed an interim battery replacement, immediately, to keep my tablet going until I could design the USB battery integration.
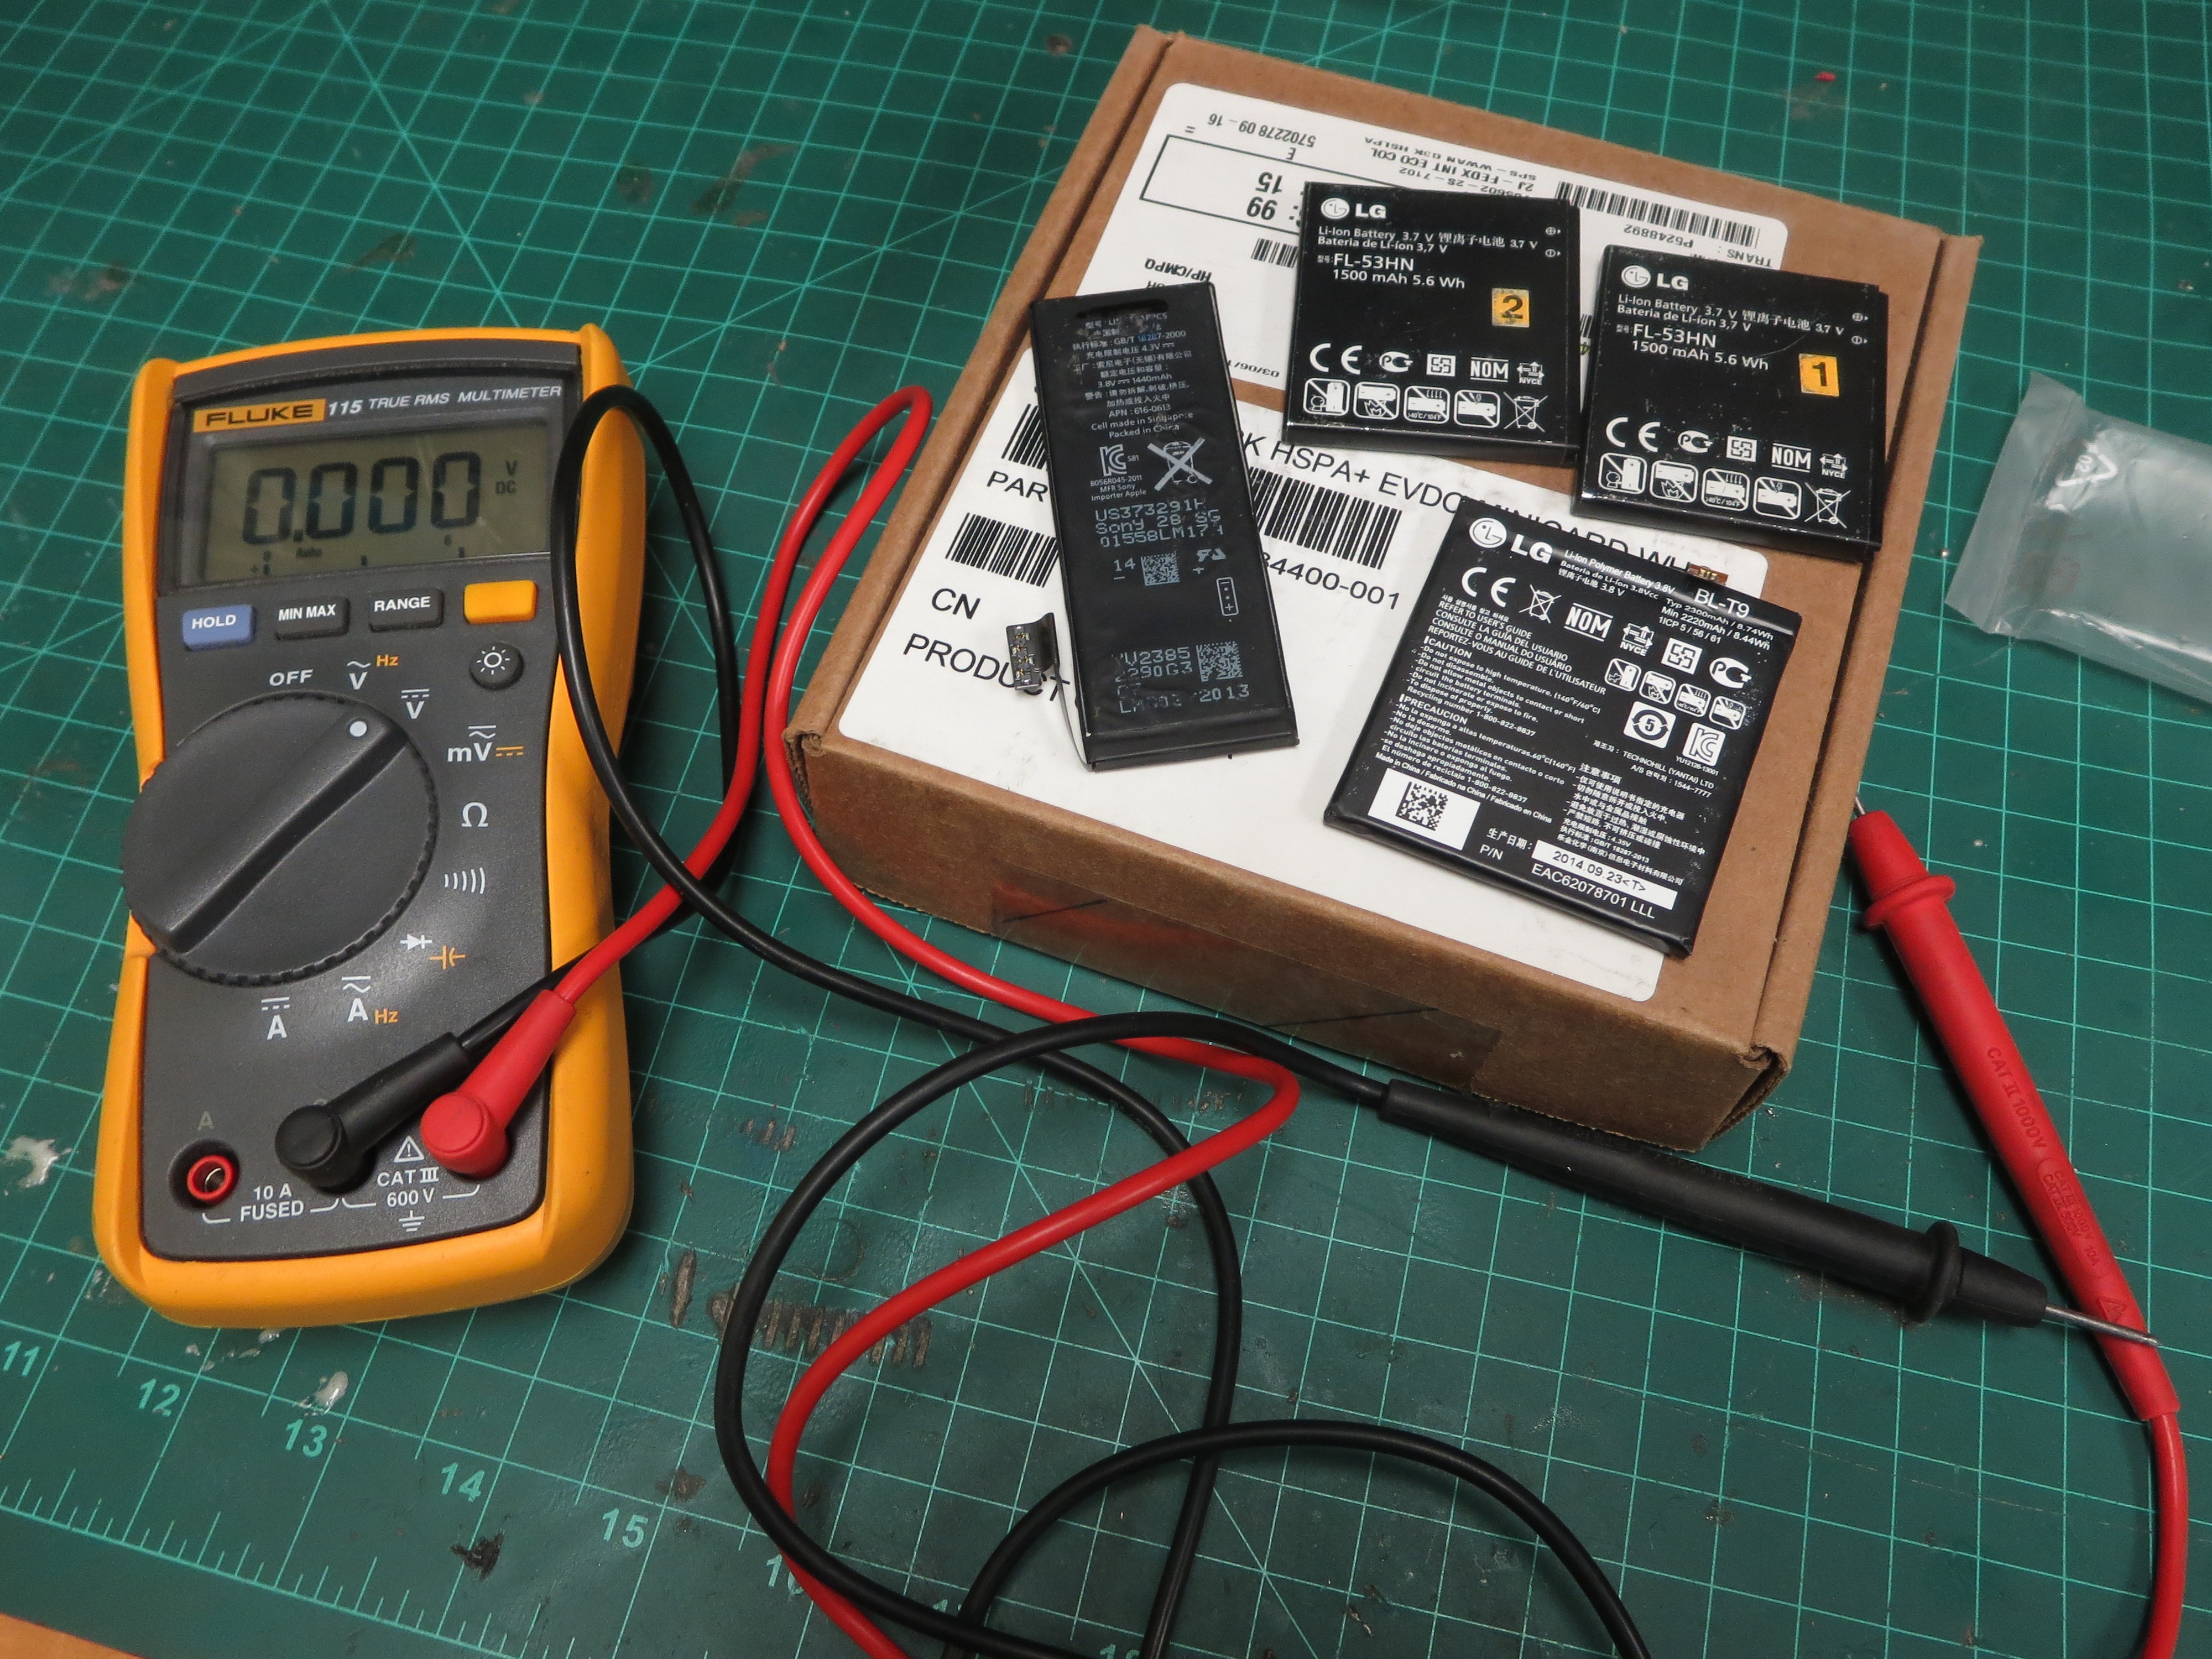
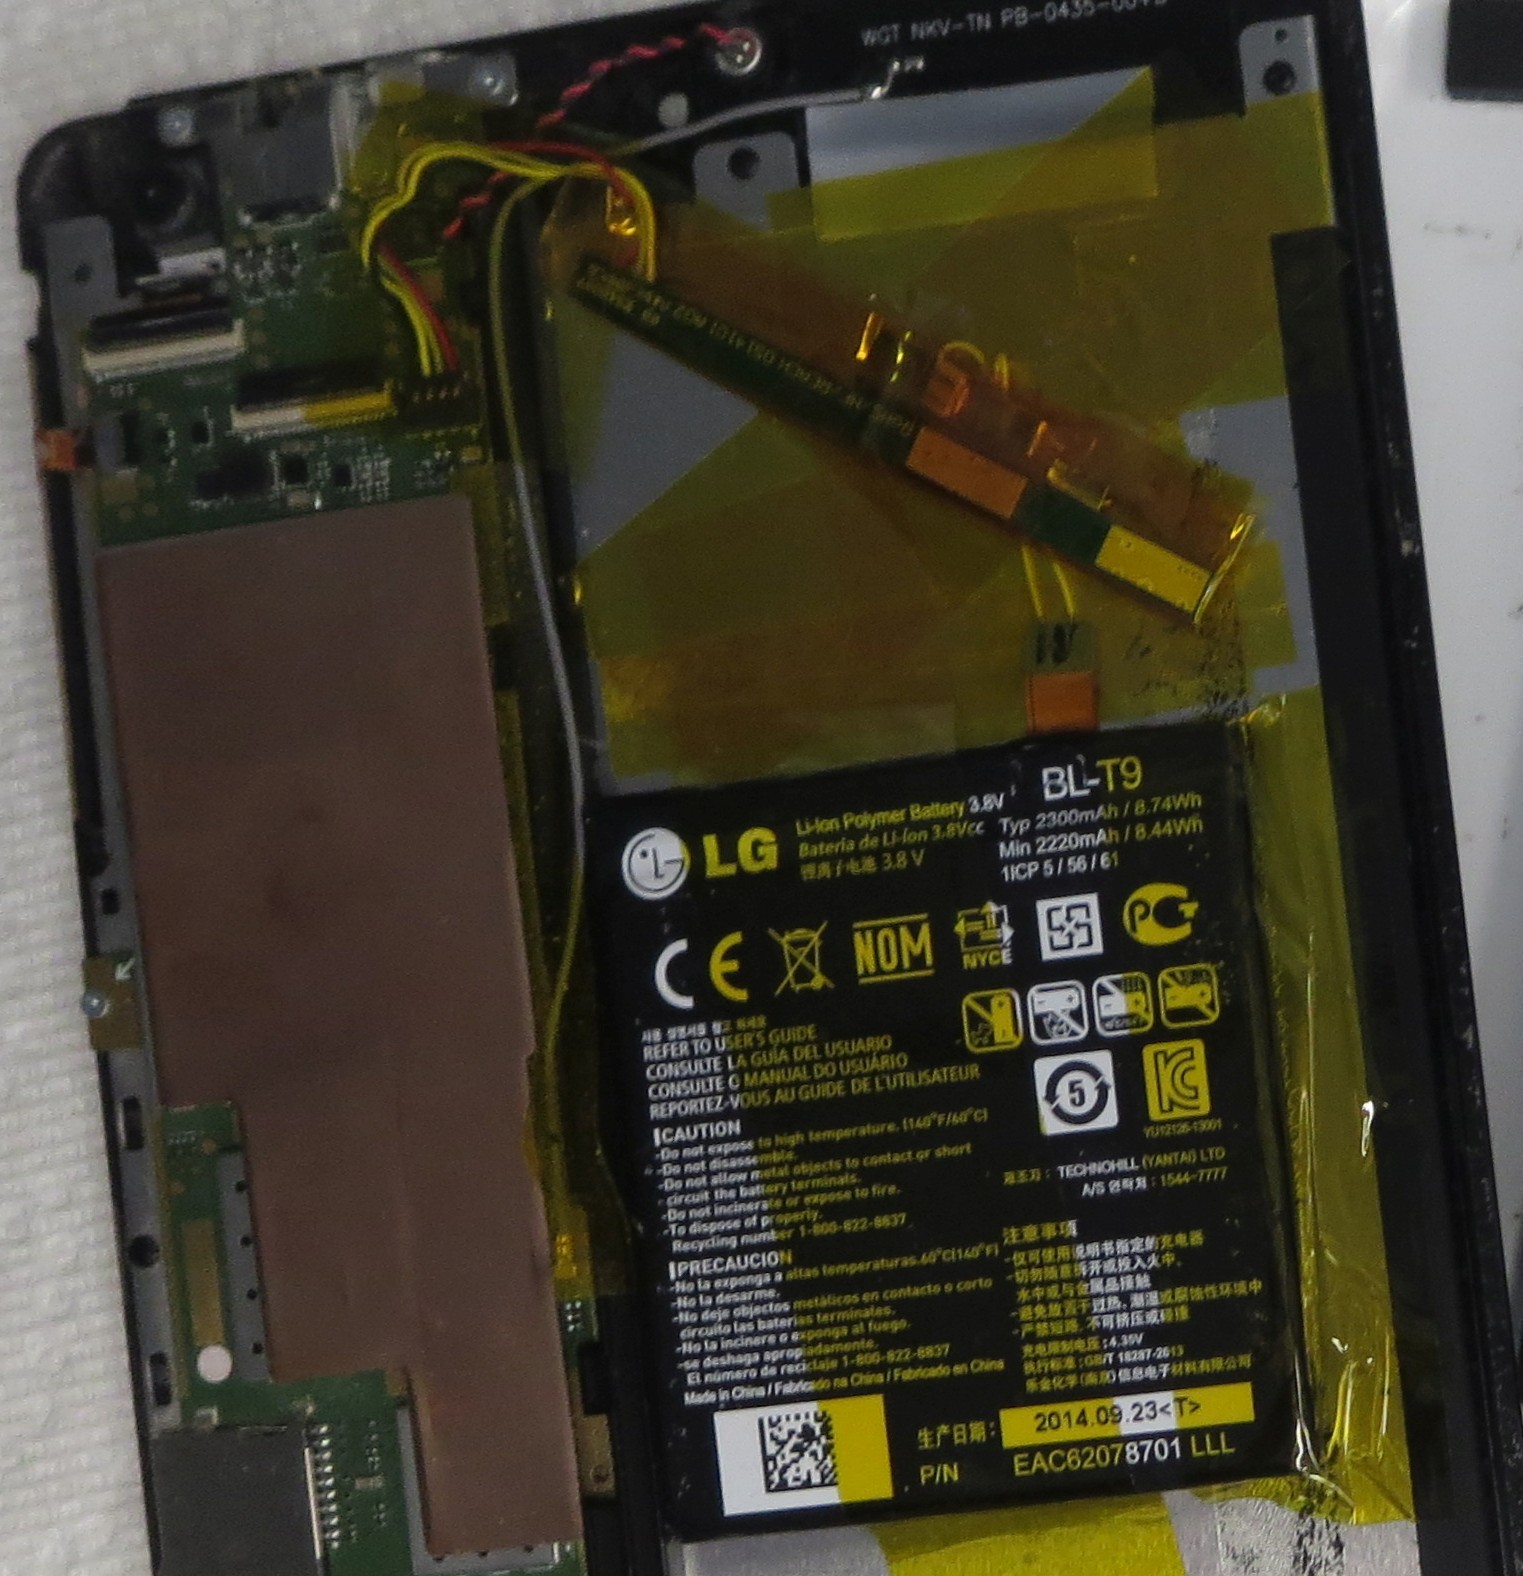
I got out a small cardboard box that I remembered putting some lithium-ion batteries in a while back. It turned out to contain four prismatic batteries (rectangular prisms, to be precise), and a bunch of 18650s (which I discounted, because, not knowing their capacities, I'd have to use only one, and because, not having designed the case mod yet, I'd have to mount it externally with wires). One of the prismatic ones was from an iPhone and showed 0 V. The other three were LG branded and all showed around 4 V. I chose the one that wasn't a member of a pair of interchangeable ones, because those might be useful for some future project. This was a BL-T9 (lower right in the photo).
i unplugged my tablet's stock battery, unwrapped it, and chopped the cell from the protection circuit with flush cutters. (I had, previously, attempted to look up the three chips on the protection board, with no results. The thermal fuse was a known and buyable part, though.)
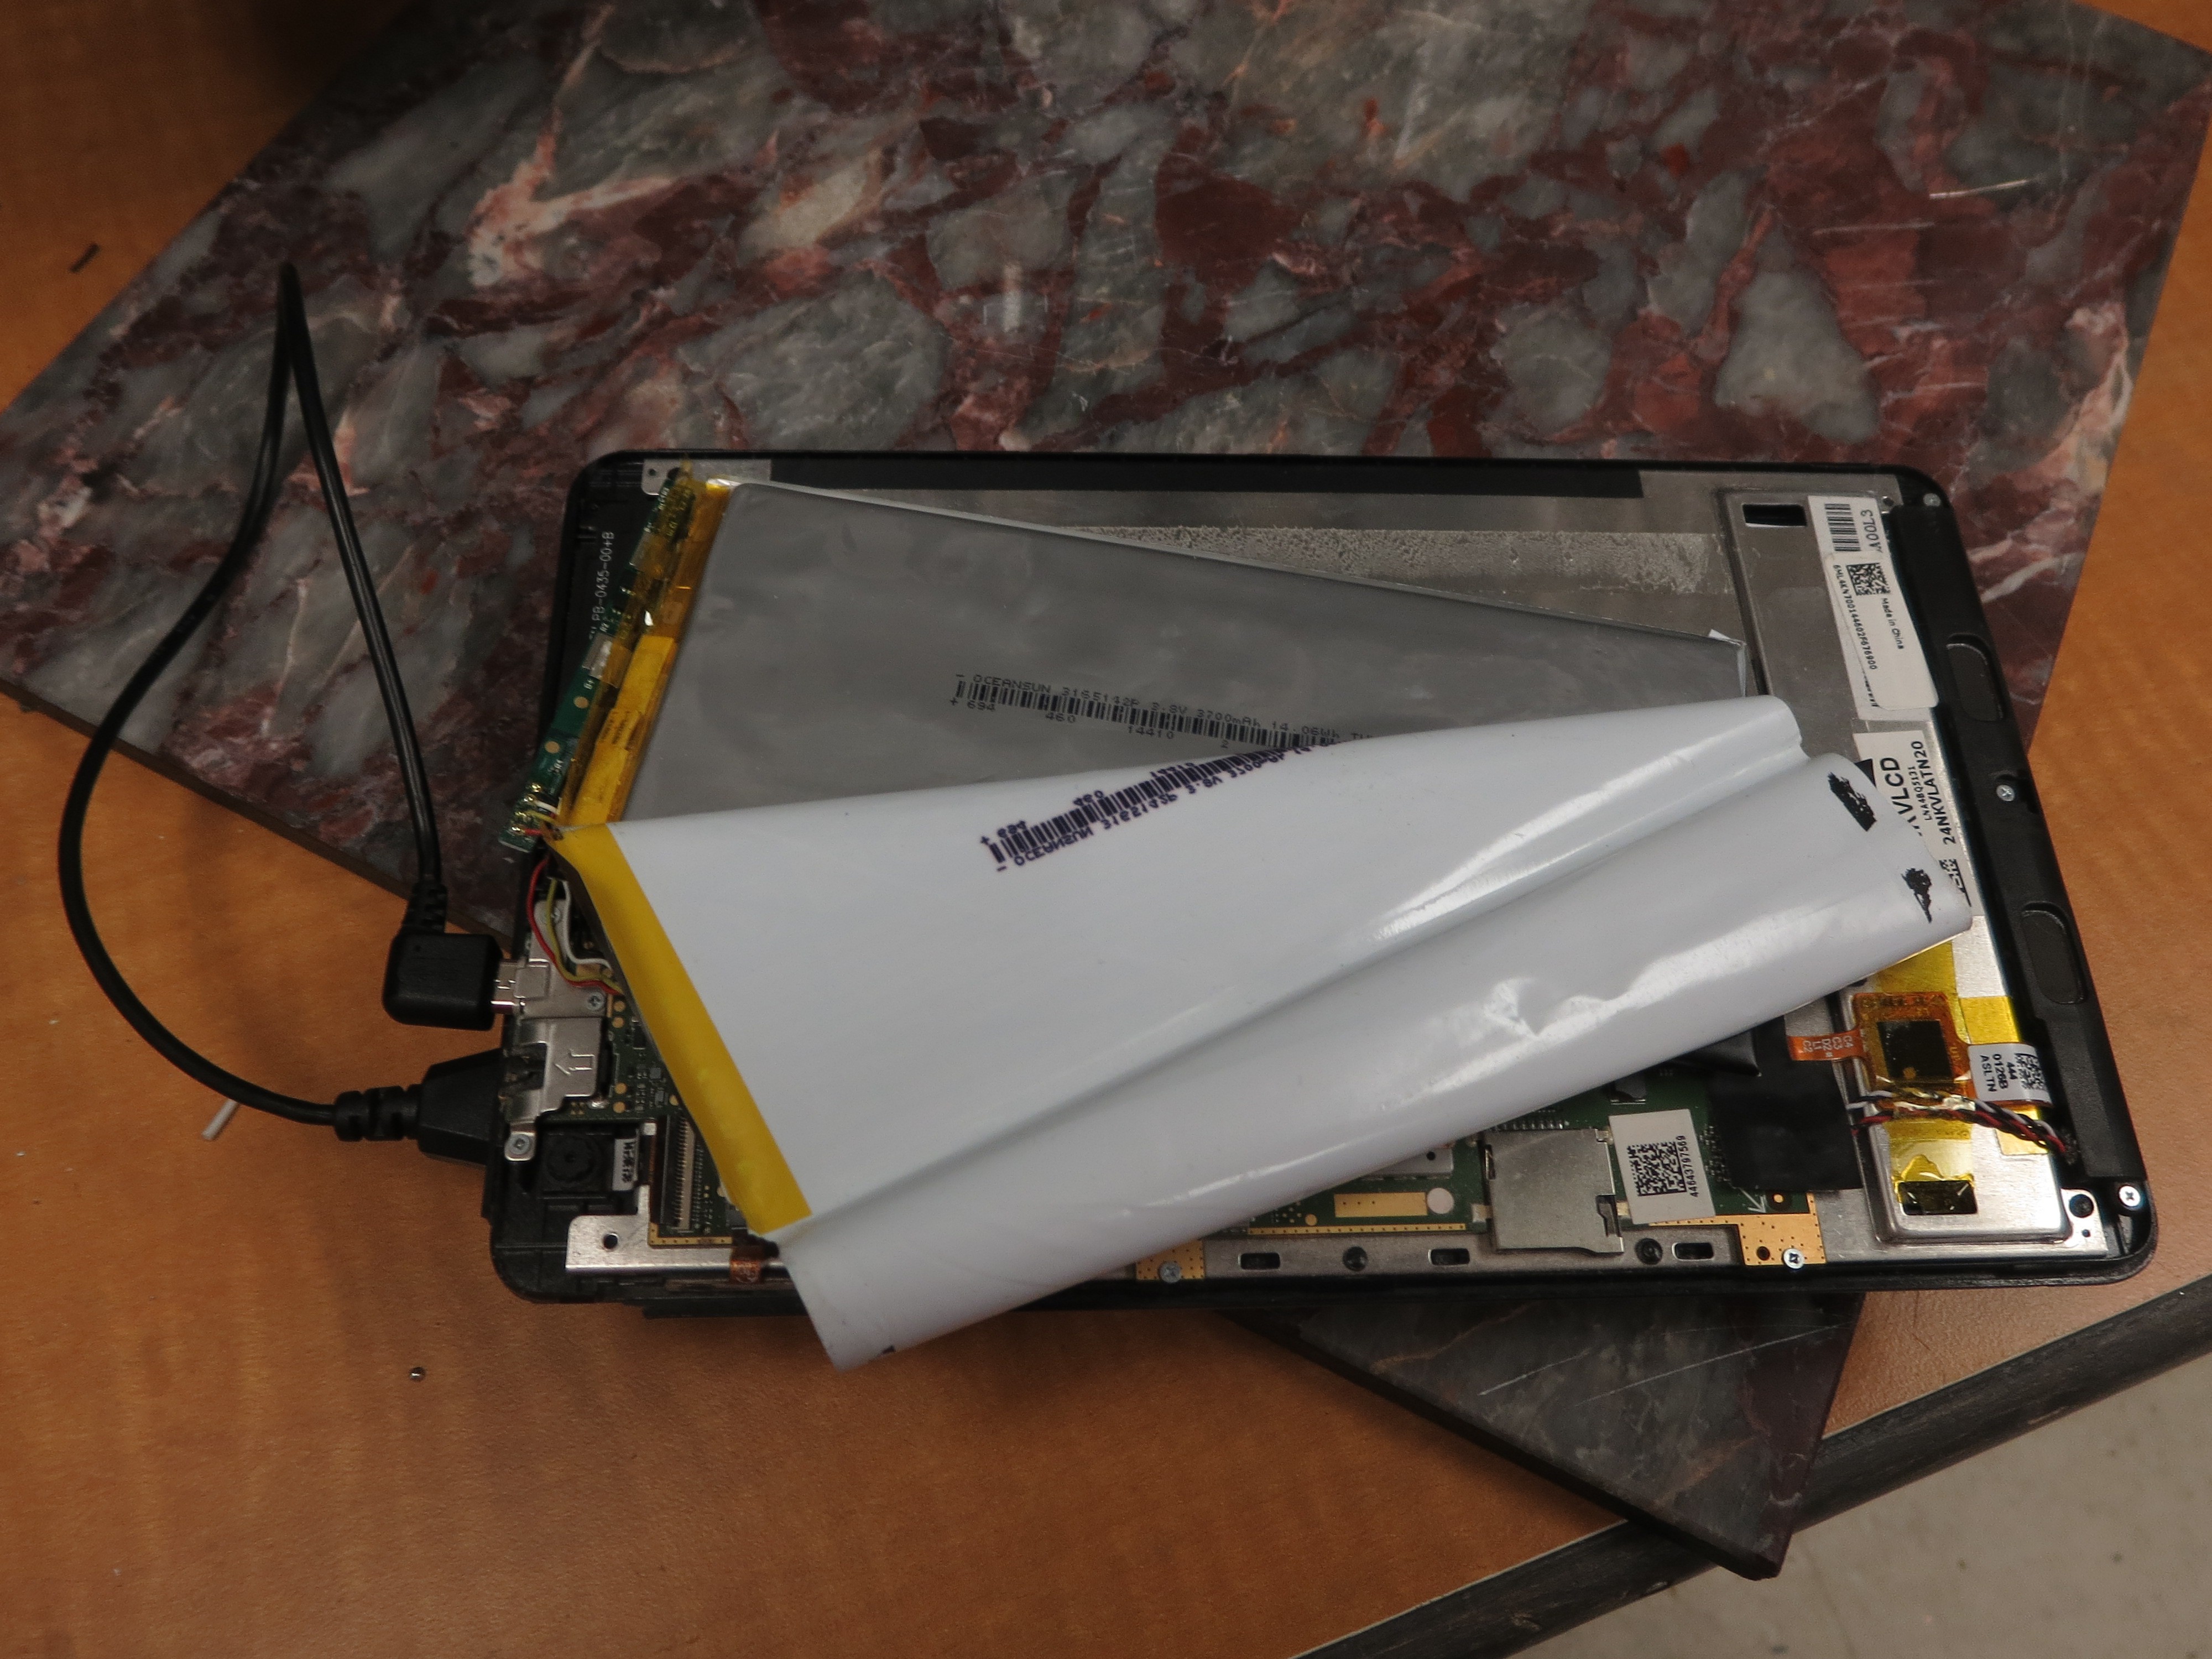
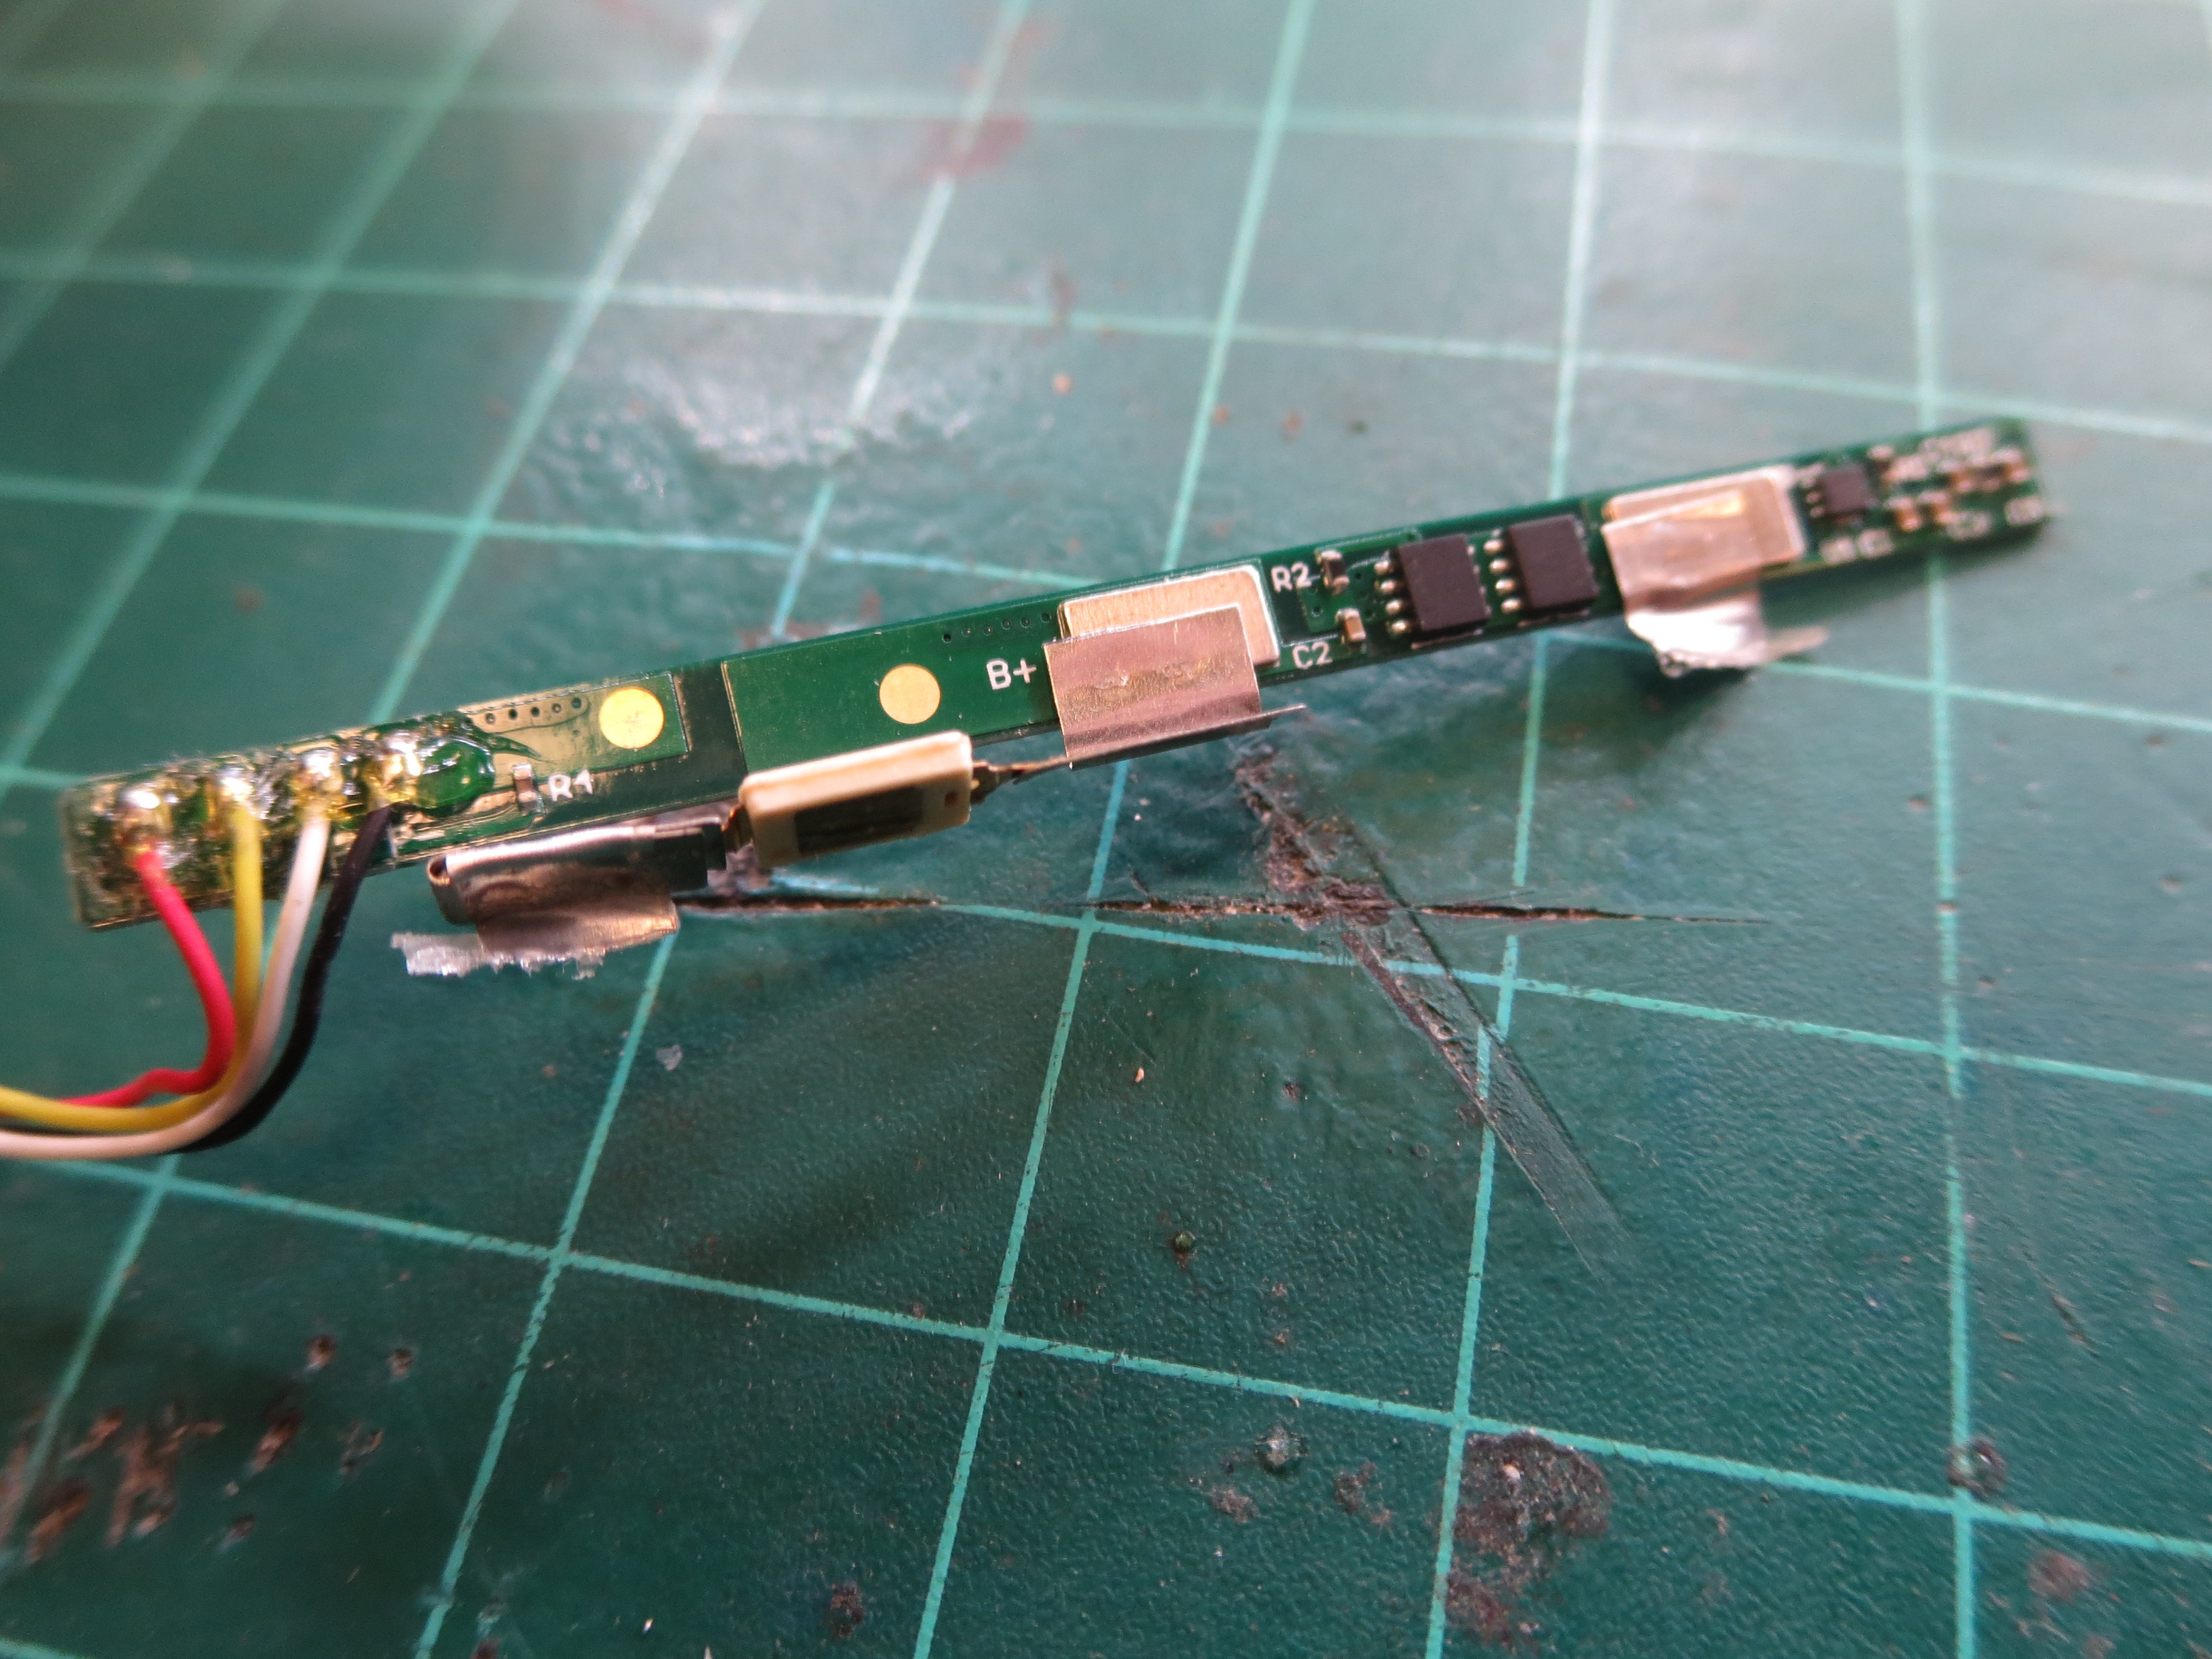
The protection circuit appears to use the cheat of using a fixed resistor (R4, right by the wires) instead of a thermistor, but I knew it was compatible with my tablet's motherboard, while I didn't know what the communication pins on the BL-T9 were. So I reused the stock battery's protection circuit as an interface between the motherboard and the new battery.
I connected it to the battery with 30 AWG Kynar wire (wire-wrap wire, aka bodge wire), because the battery's solder joints on its connector were very small.
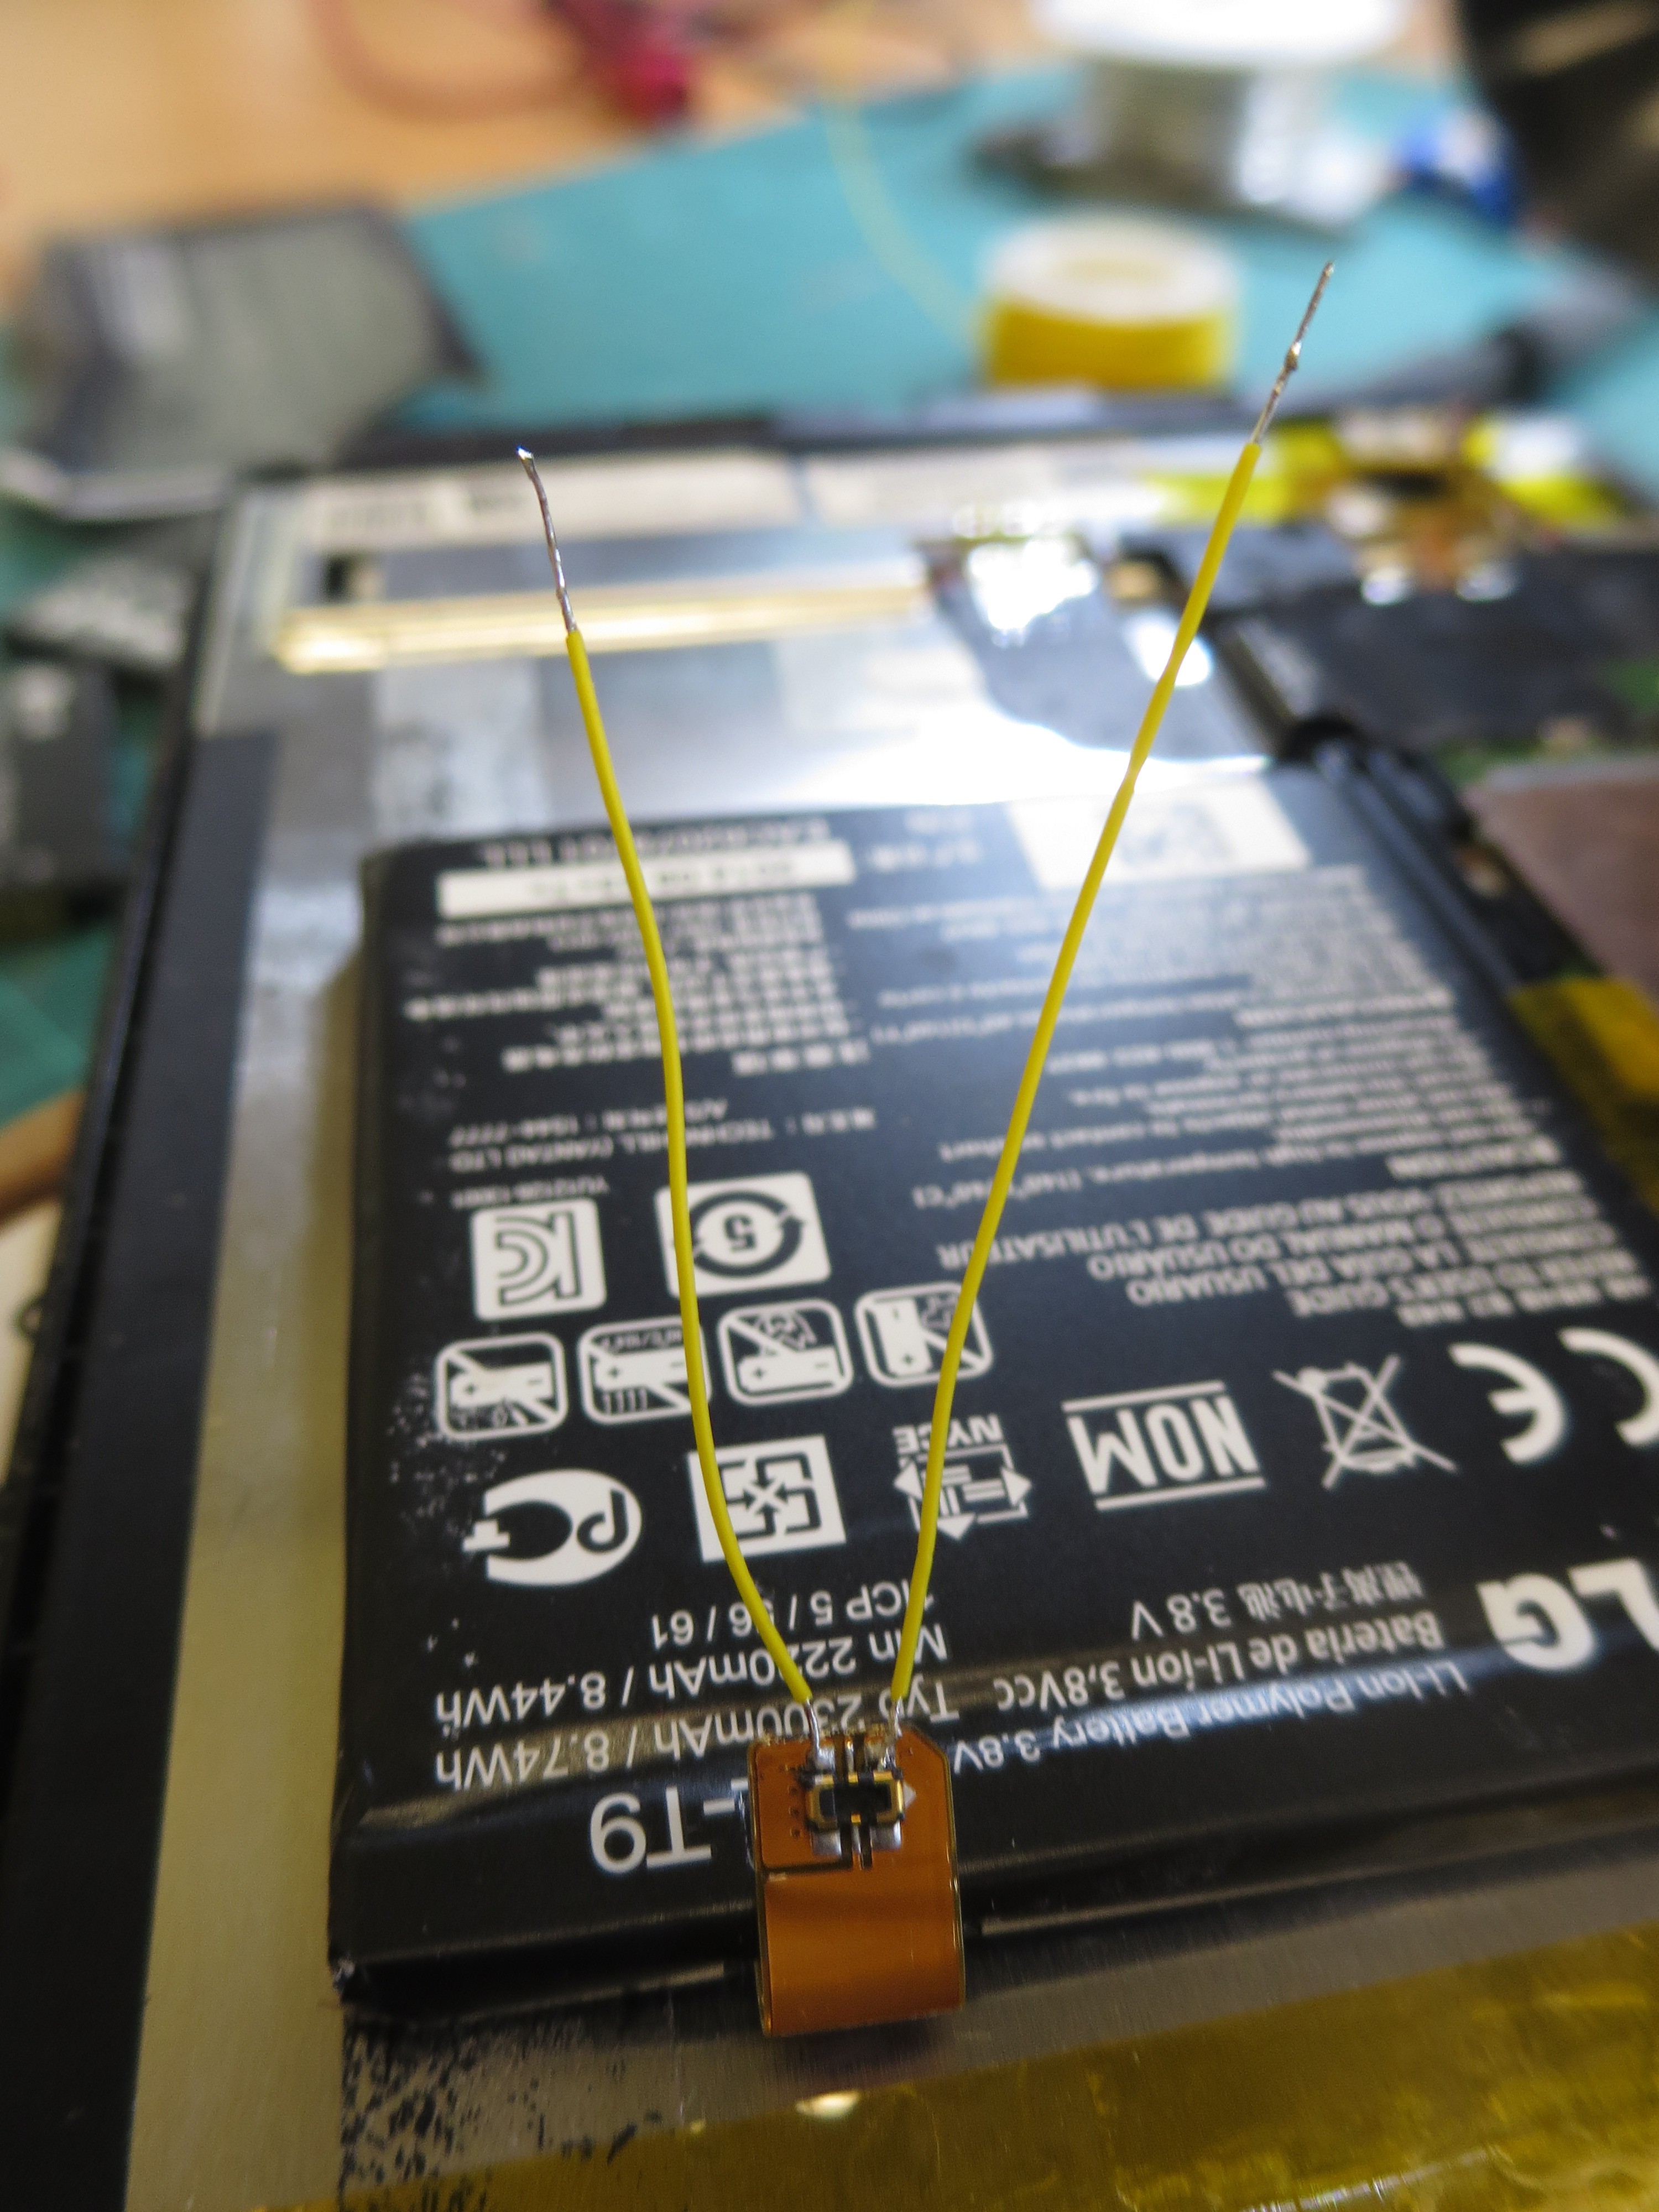
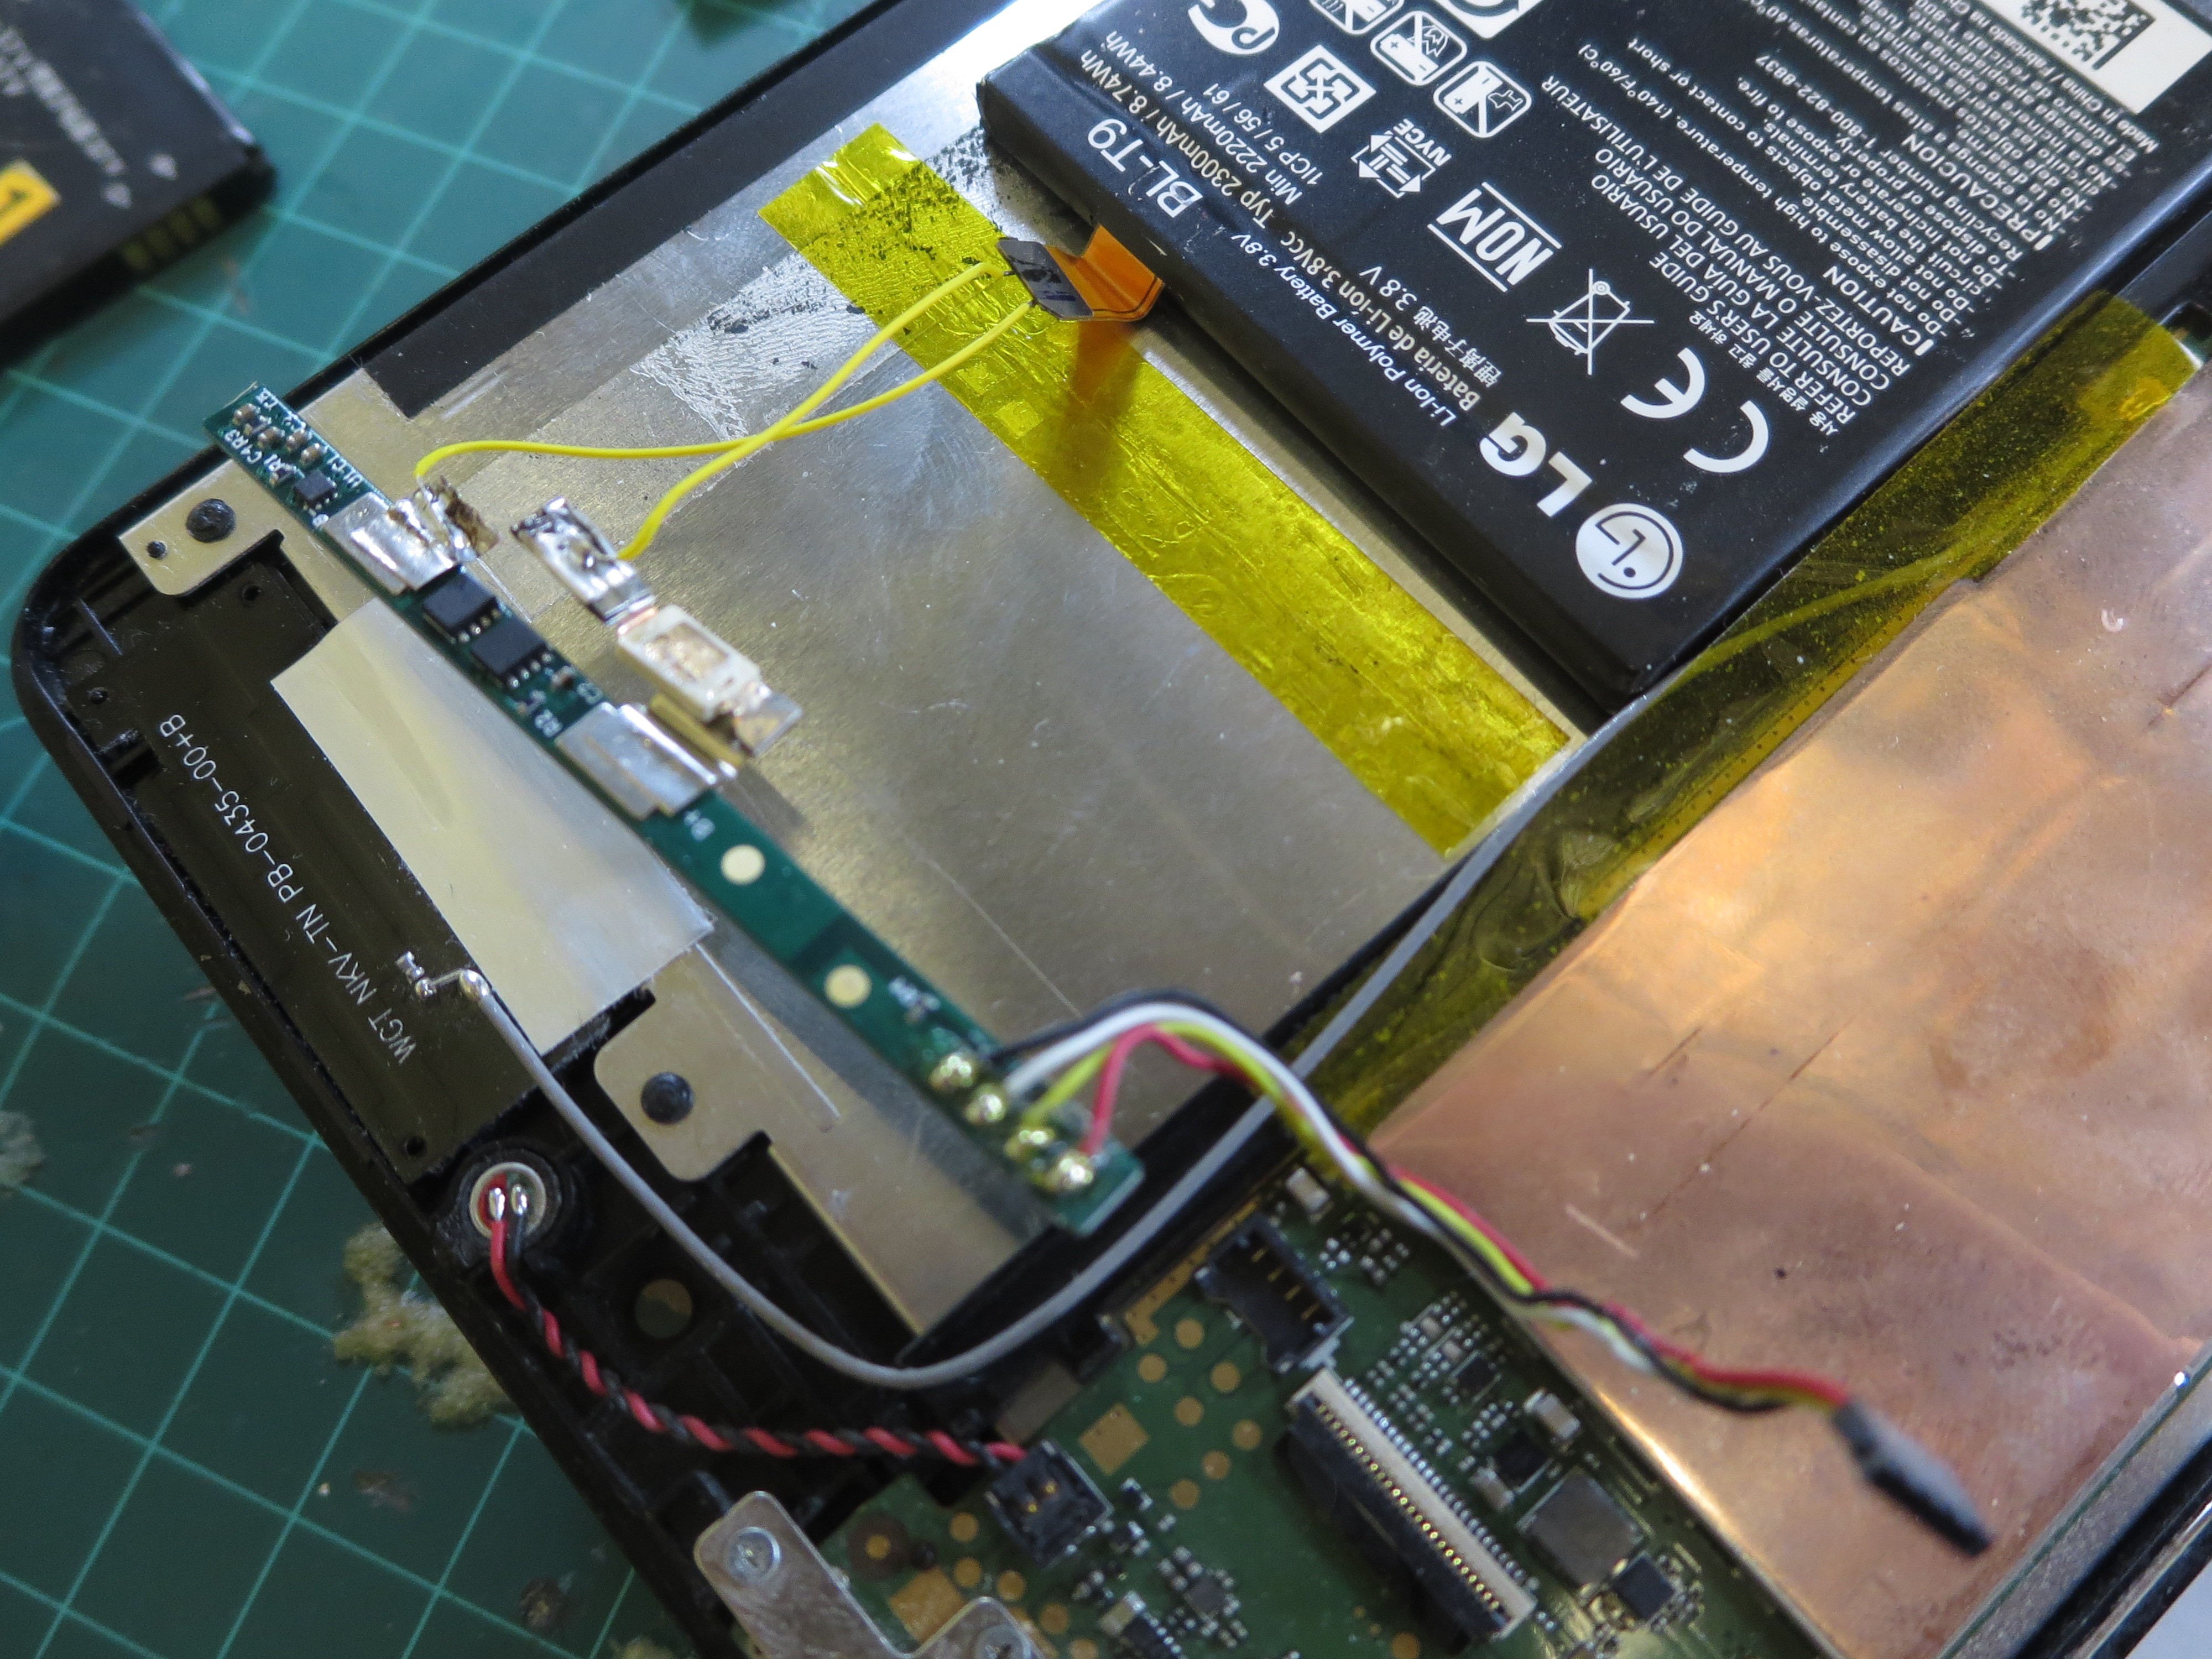
This took a couple of tries to make solder joints that held up to the wires being folded to fit inside the tablet. That 30 AWG wire conducts and holds heat surprisingly well, so it's not easy to hold with bare fingers while soldering. To tin the ends of it, I stood it vertically in the brass sponge meant for soldering tip cleaning (because the third hands were all on the other side of the room):
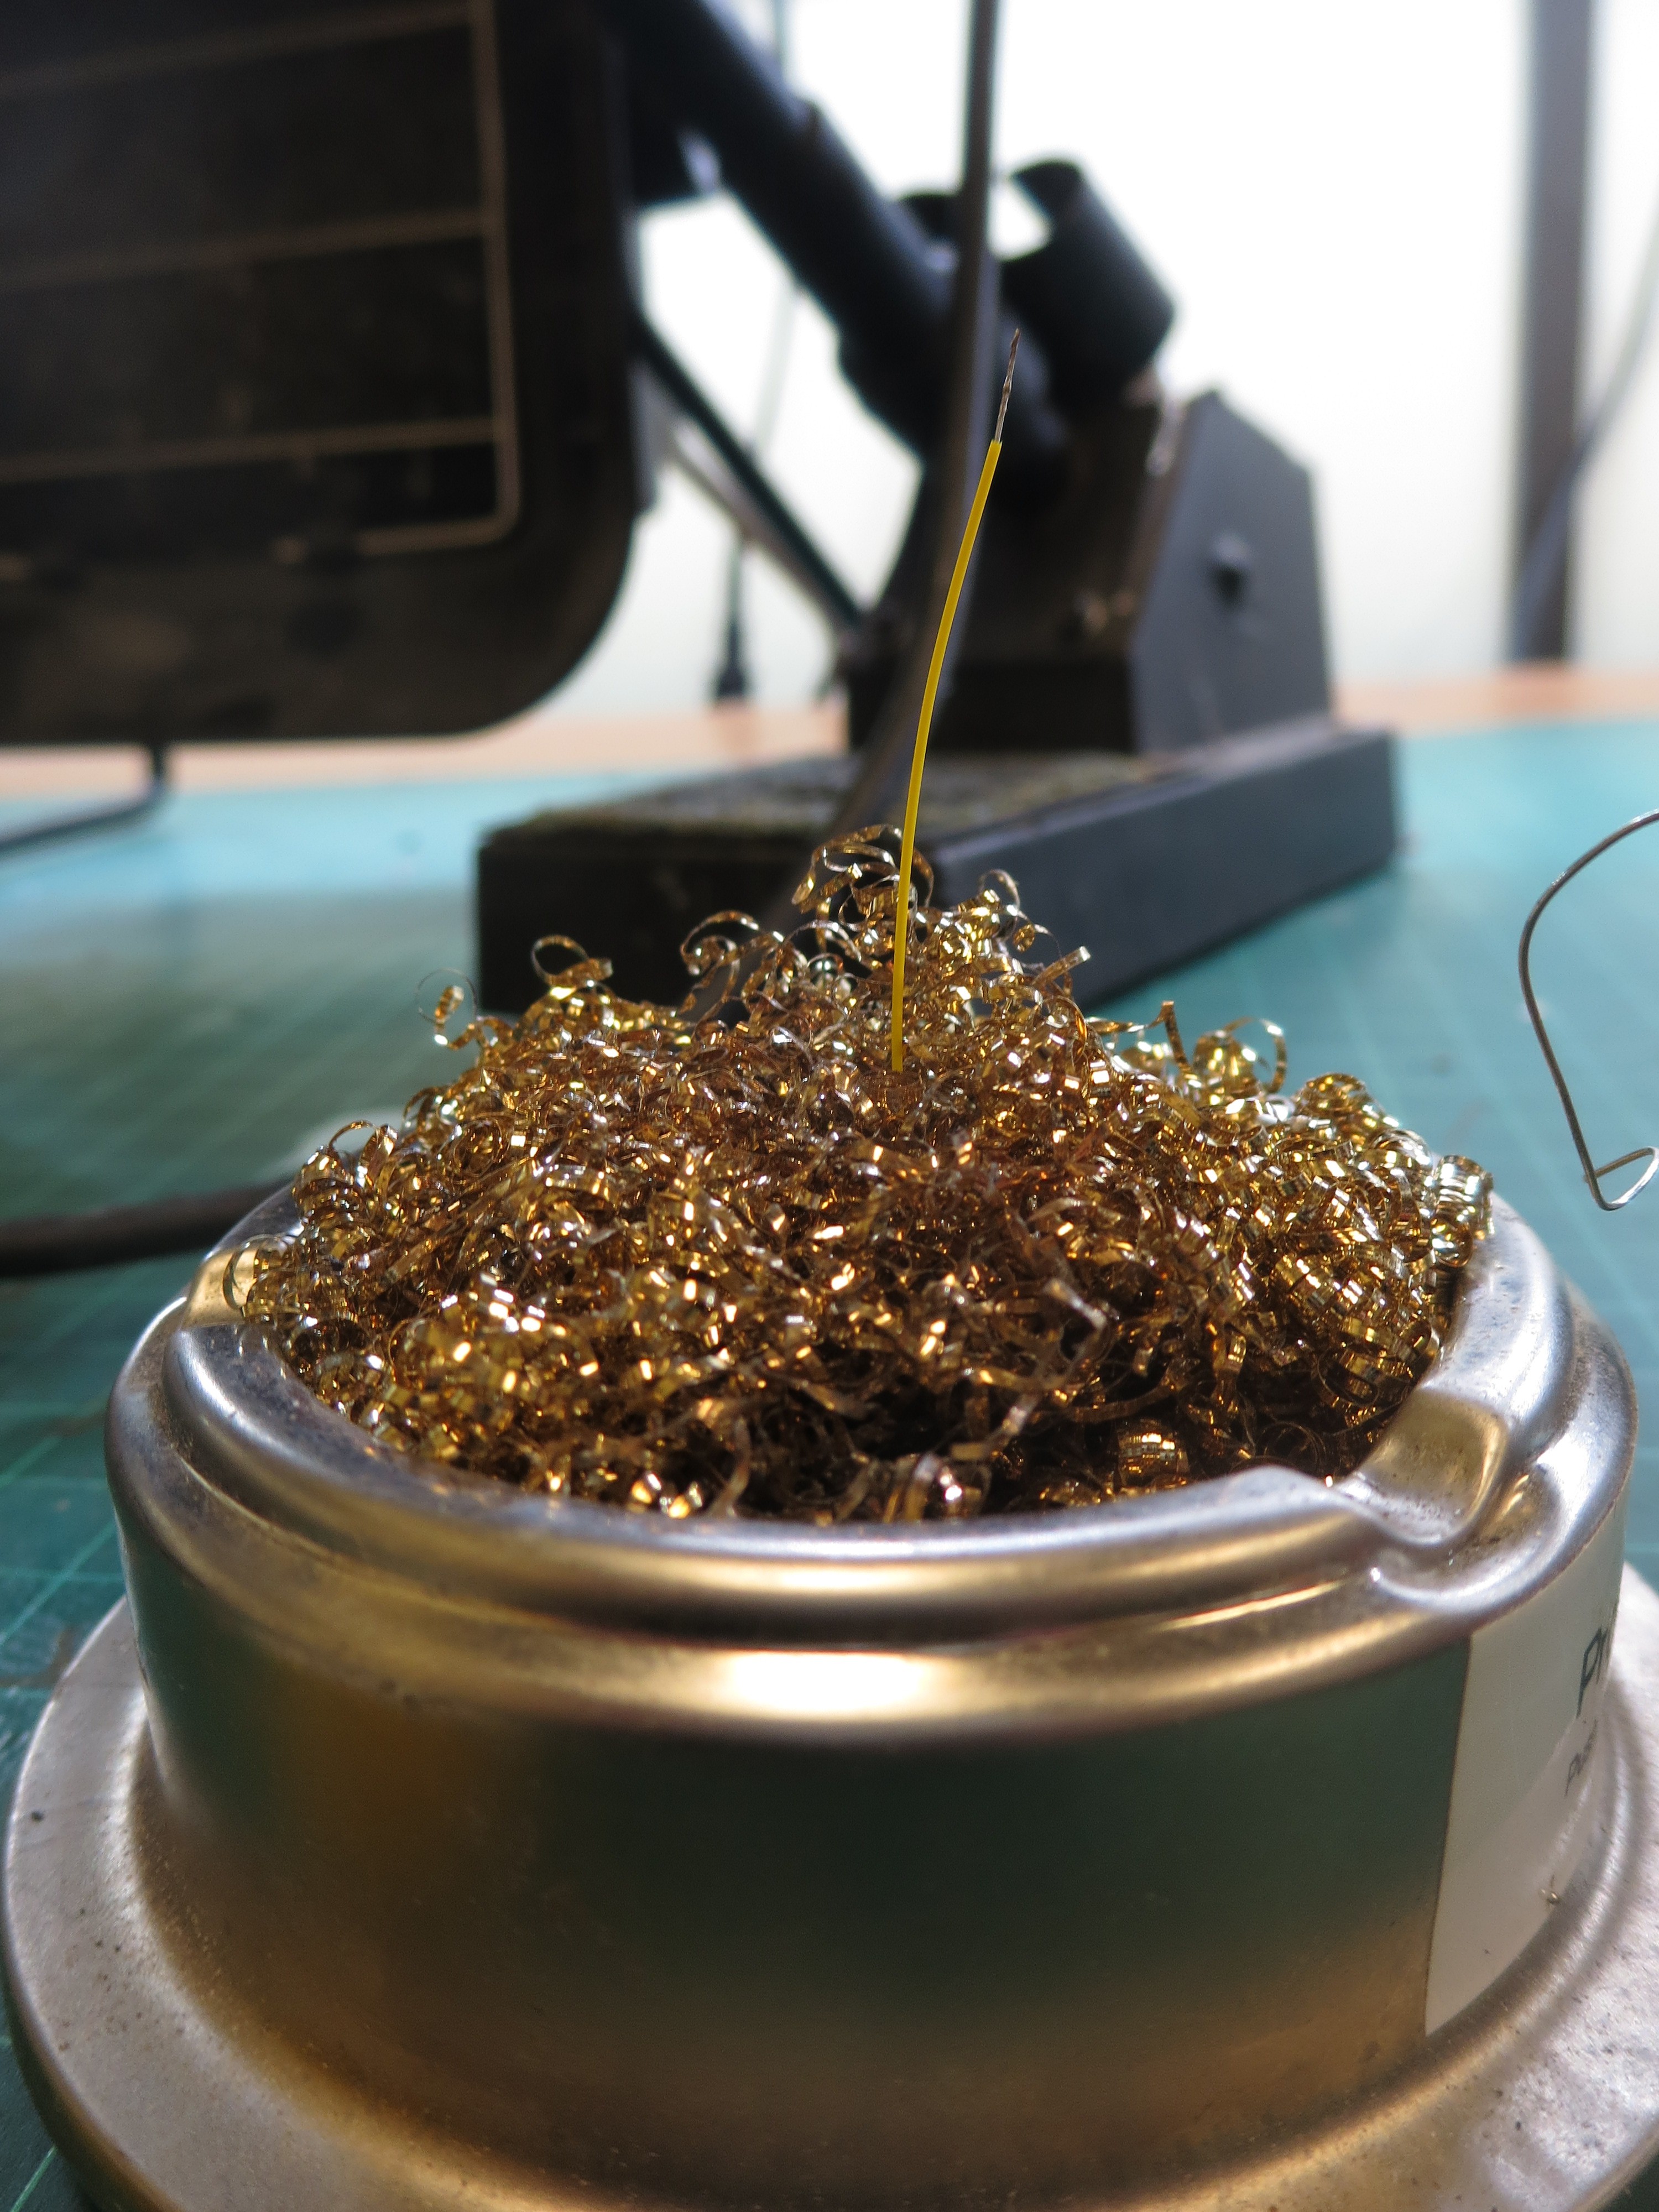
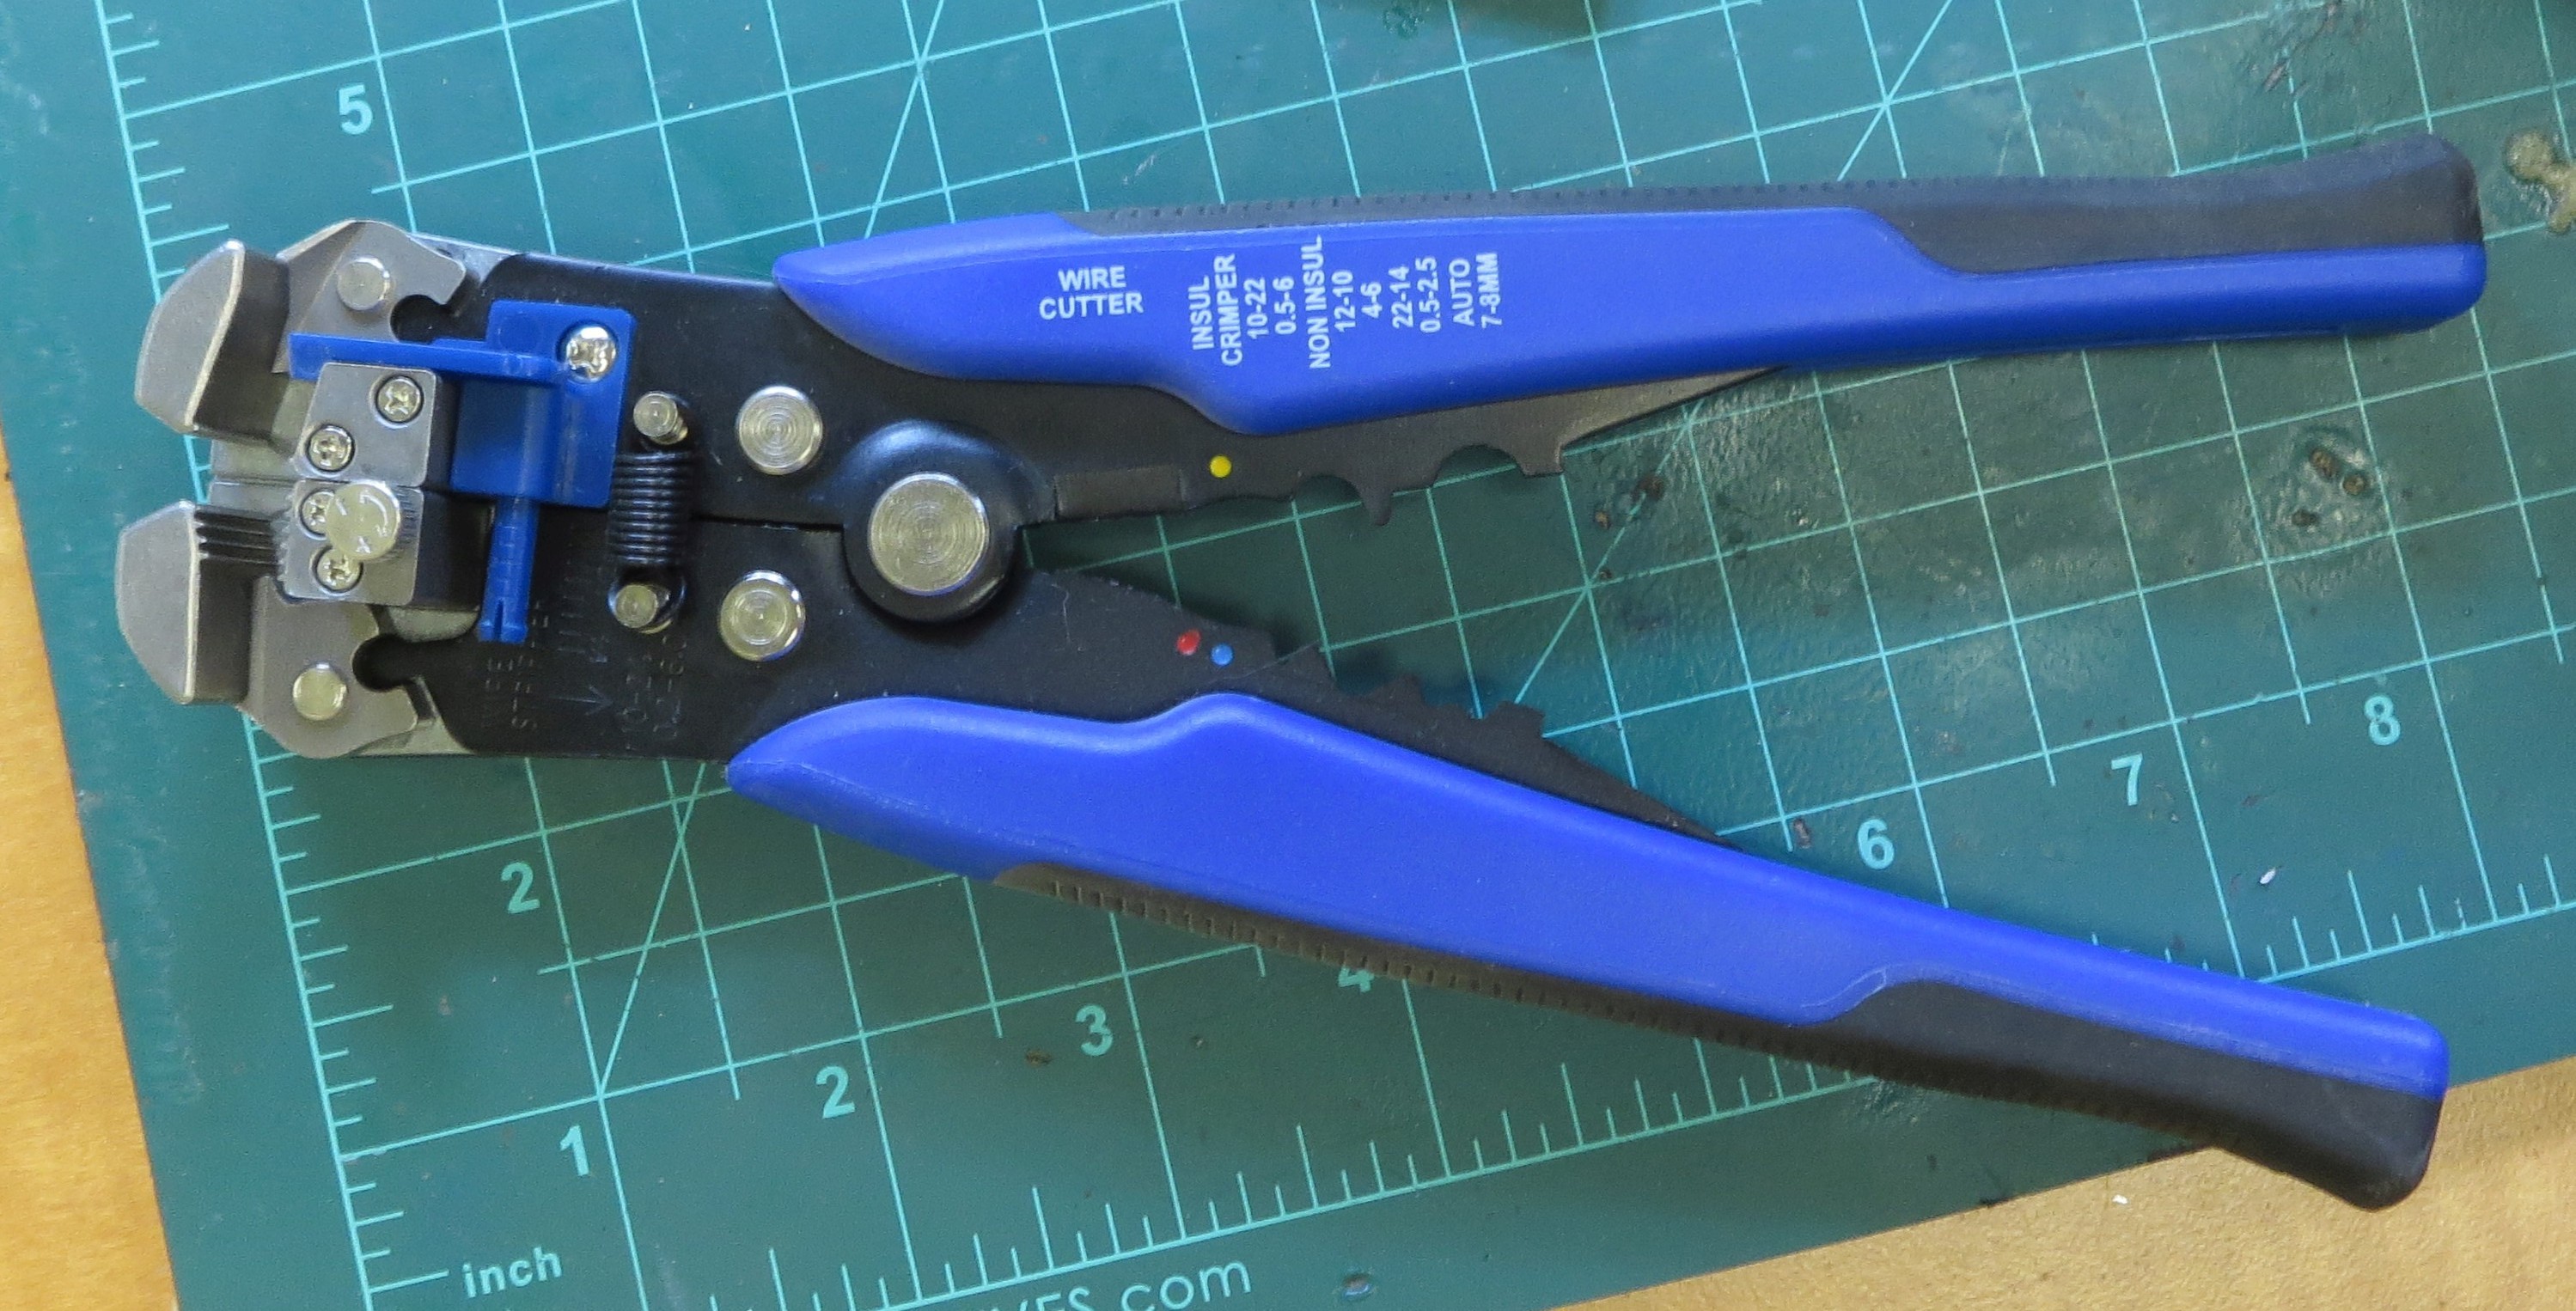
Also, stripping the Kynar wire would have been very difficult if I hadn't remembered that I had an autostripper that strips whatever wire you give it, without caring or even knowing how small it is. It's cheap and it works really well. I've heard it wears out quickly, though.
I finally got the battery installed, but when I measured the output of the protection circuit it was only around 40 mV. I guessed that this was because I'd chopped it from the cell, and it had interpreted the resulting 0 V at the cell terminals as the cell being damaged. Fortunately, when I then plugged it into the motherboard and supplied external power to that, it went right back to normal operation (I think). Here it is all installed and Kapton taped down (with the protection circuit completely wrapped for insulation):
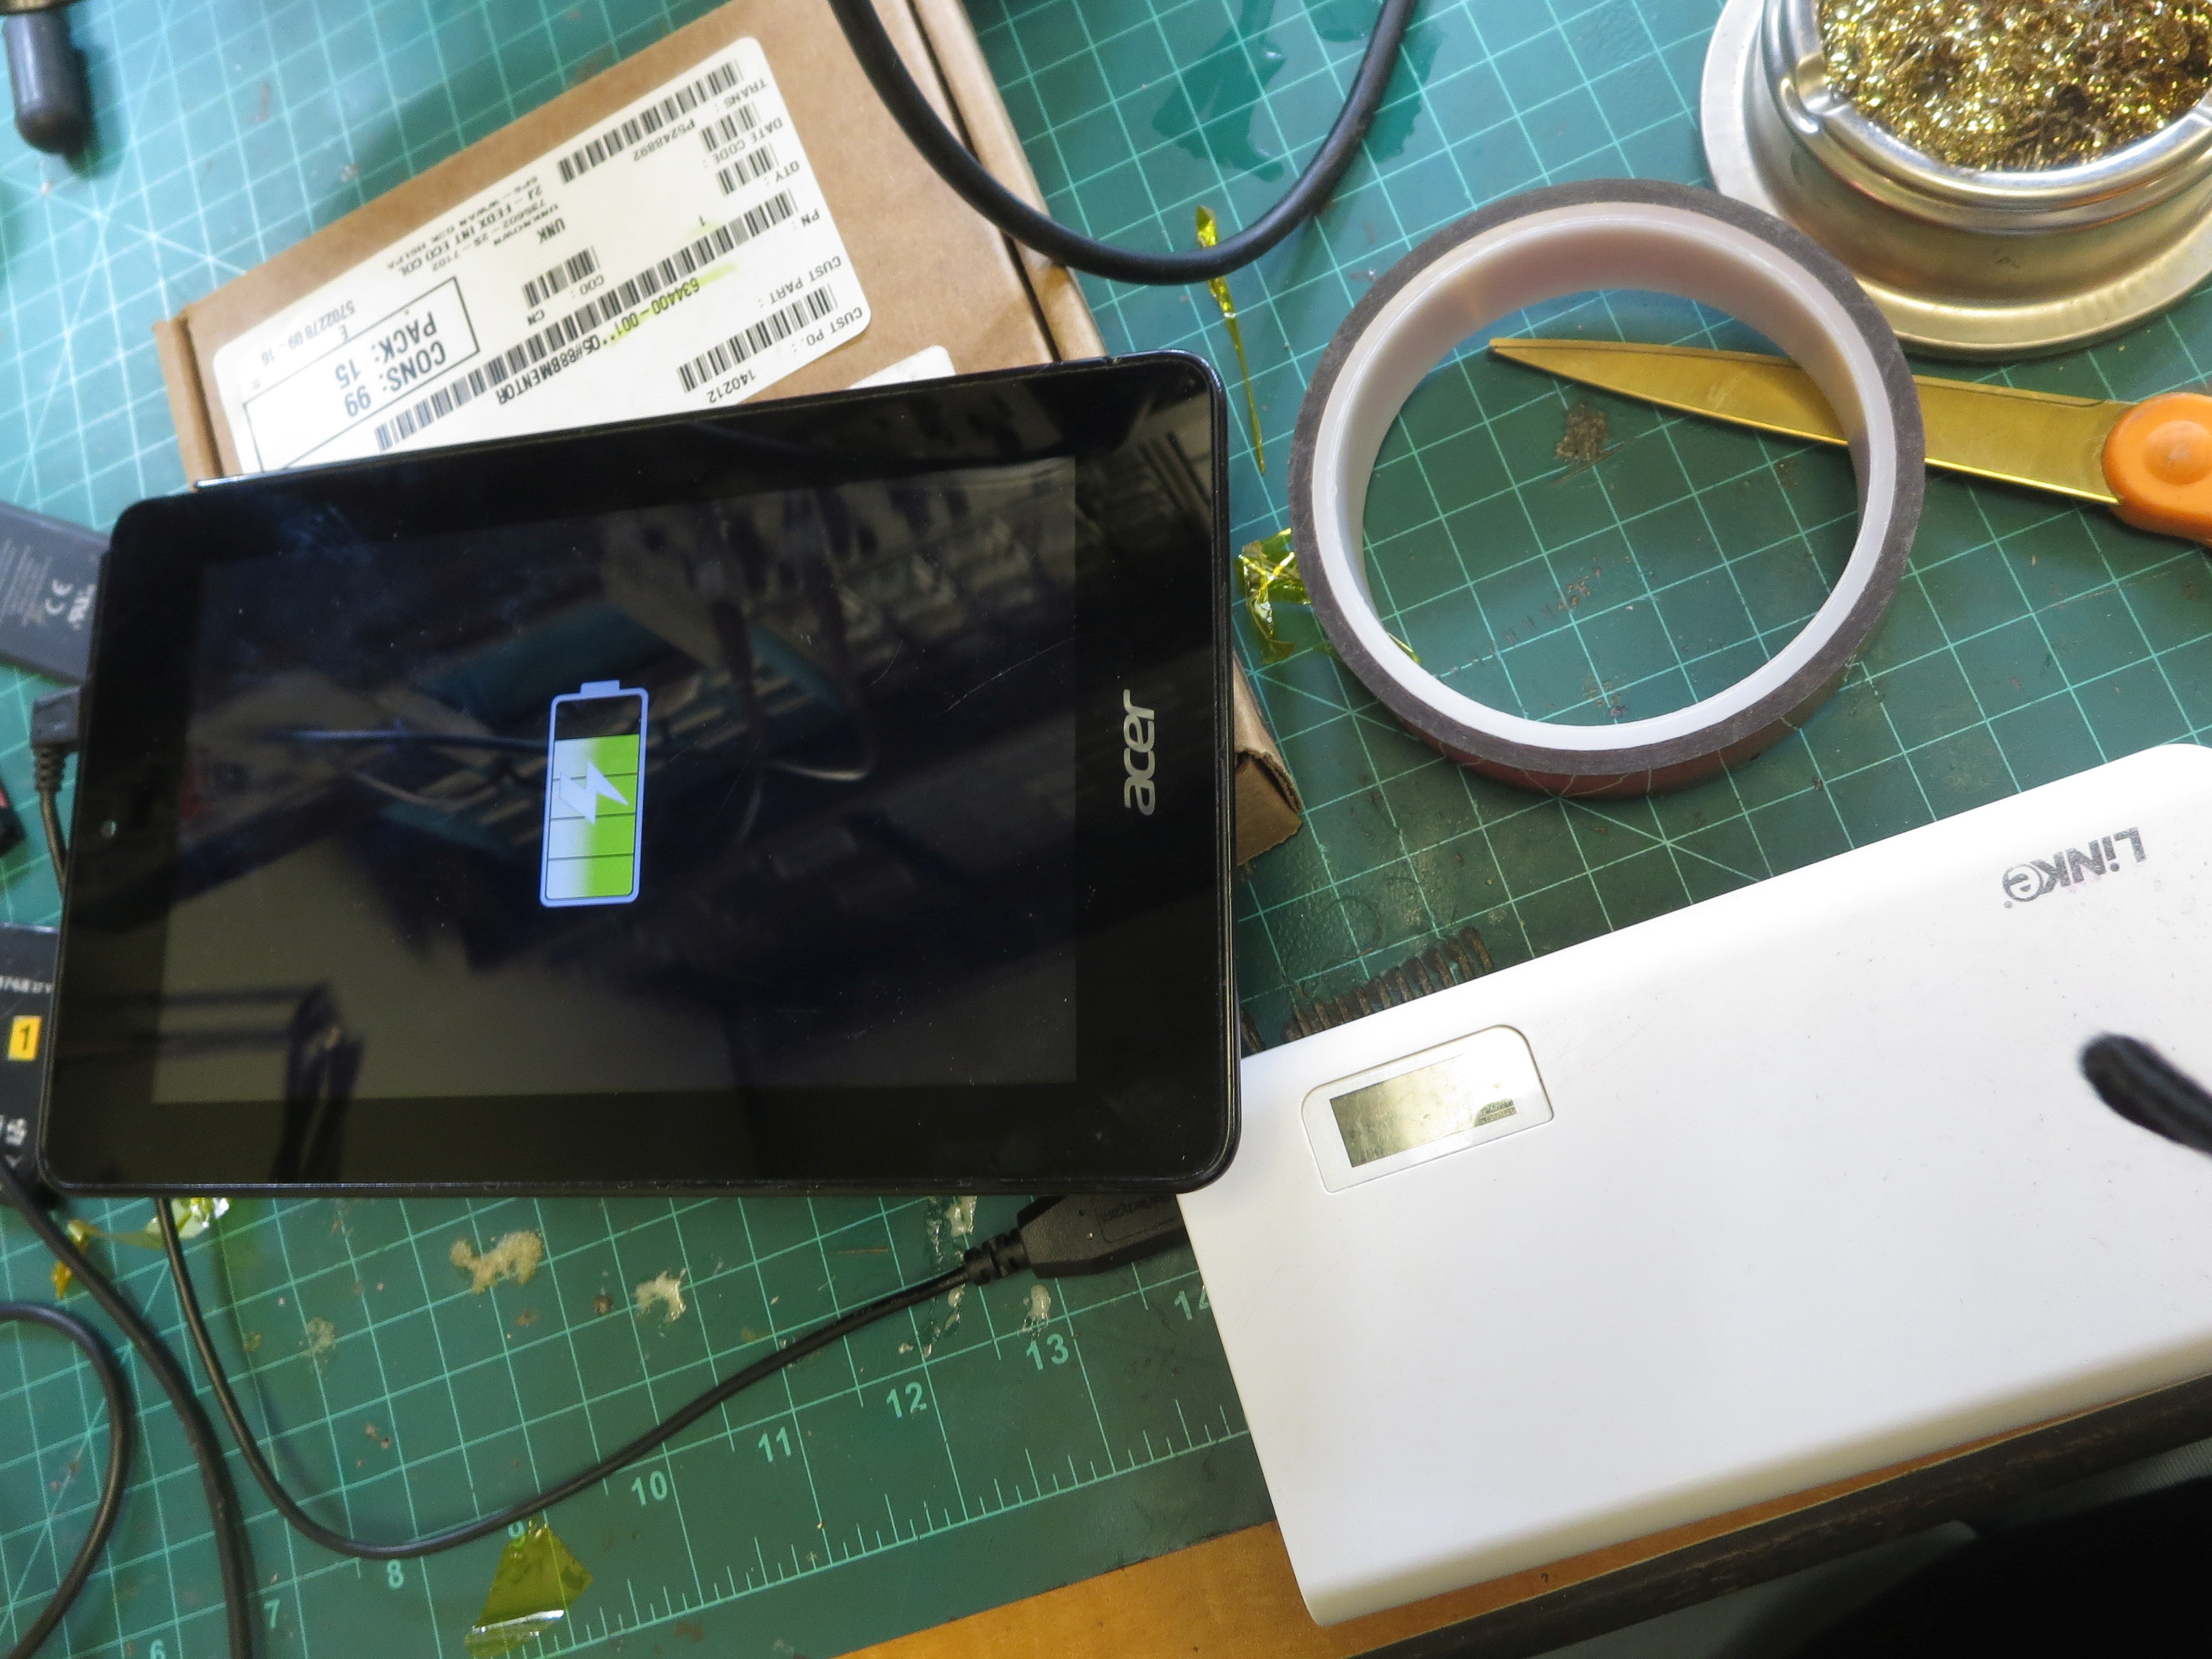
Then, I pressed the tablet's power button, and it displayed the 'charging battery' screen! Notably, it indicated that it was charging from 80% to 100% (the fifth of five segments flashing), while, with the stock battery, it had recently been indicating the battery's state of charge as always being near 100% even when it was dying.
I took this to mean that it liked the new battery, and so attempted to boot it. But it still didn't progress past the boot animation. :(
Then I tried to look up solutions online for this model of tablet not booting. What I found was that sometimes clearing Android's cache (from recovery, which is still accessible) fixes it, sometimes it needs a factory reset (also done in recovery), and sometimes it requires motherboard replacement because the eMMC (flash memory) is worn out.
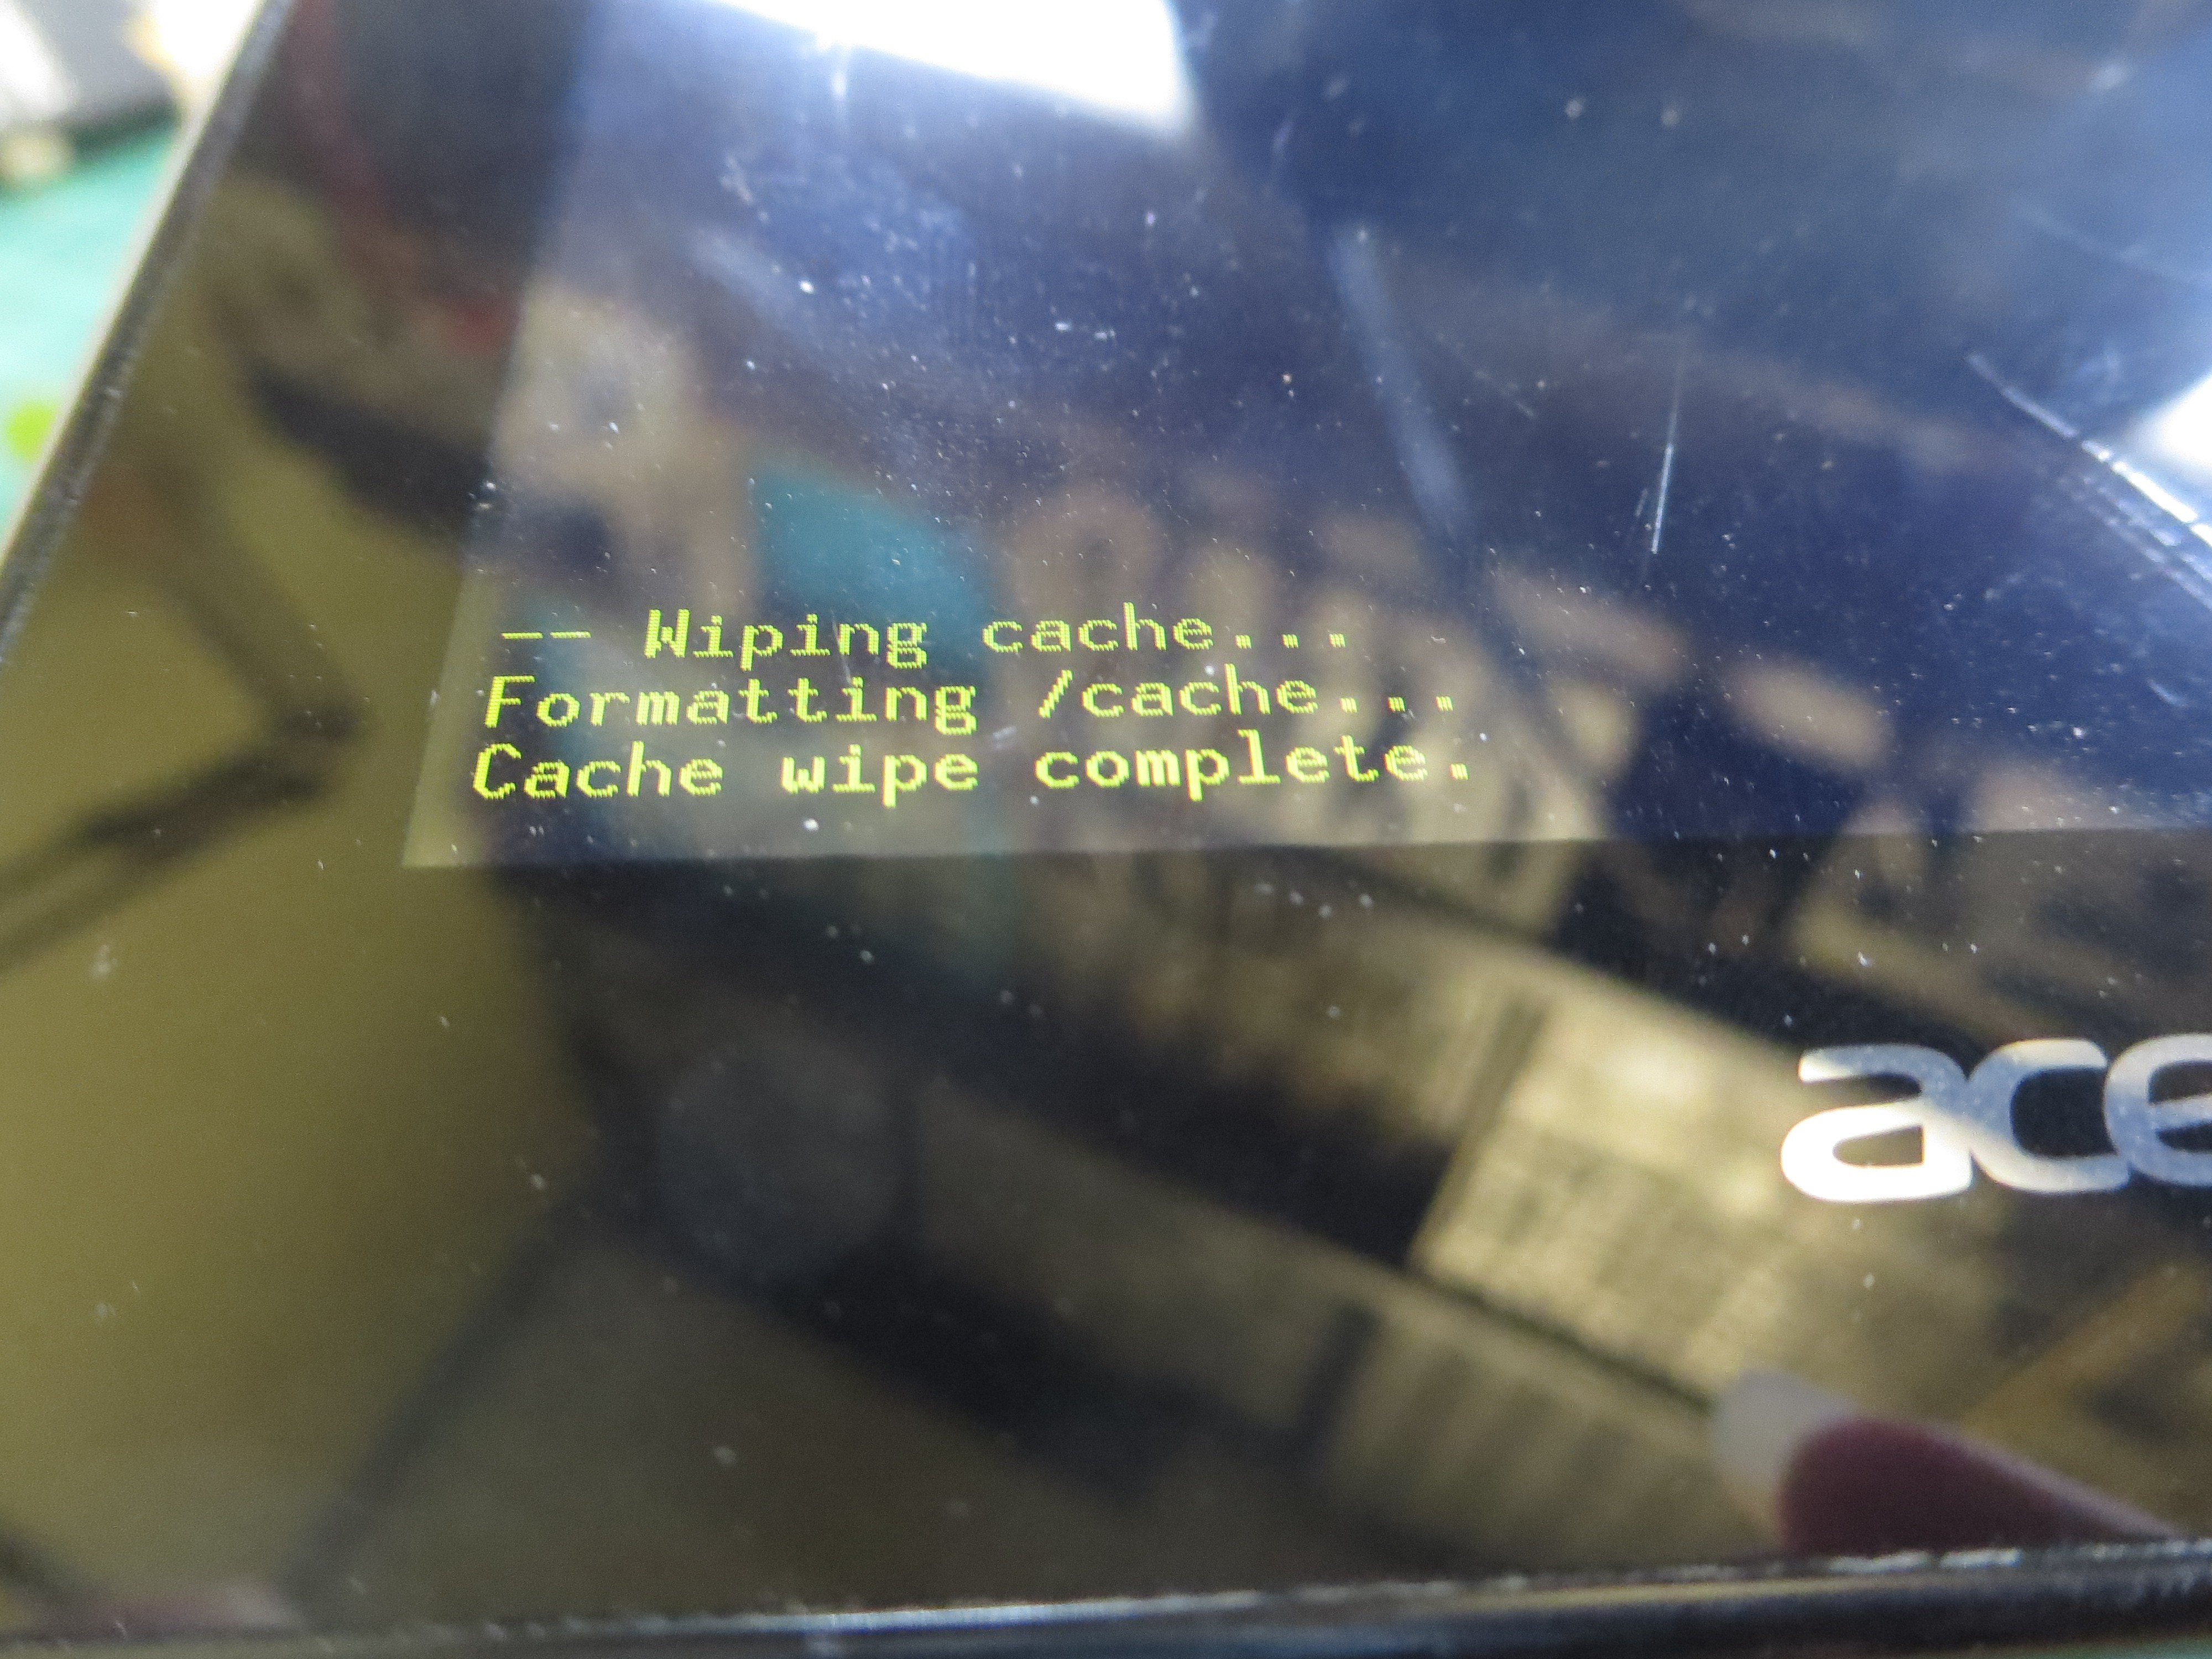
I have tried clearing the cache several times, which hasn't helped. I don't want to do a factory reset because I have un-backed-up data on there that I'd like to recover. And motherboard replacement (or at least eMMC chip replacement), while it may be necessary to make the tablet usable again, would also result in data loss. (Also, I'm pretty sure it's out of warranty, and I don't know if the part is even still stocked.)
Apparently there's a chance that I can boot a custom recovery without installing it (because installing it would require booting and having root) and use that with ADB to do a backup, so that's what I'm planning to try next. Then, if that succeeds, I'll try a factory reset and see if it boots.
If that doesn't work, I guess I'll have to remove the eMMC chip and dump the data from it directly. I have no real idea how difficult that will be, but I'm assuming it will be easy, because eMMC is just MMC that's soldered on (right?), and MMC is what evolved into SD cards, and SD retained compatibility with MMC (right?), so any SD card reader should be able to read it… I hope.
If the backup works but it still won't boot after a factory reset, then I guess I can consider just getting a new device to replace this one, and/or replacing this one's motherboard with a Raspberry Pi. I haven't done much thinking about that yet, and I hope I won't have to.
(Lesson learned, I guess: Always root and install a custom recovery, or the equivalents for a given device, as soon as you can, so you don't get stuck in a situation where you need to do so to fix a problem but can't anymore because of the same problem.)
 PointyOintment
Discussions
Become a Hackaday.io Member
Create an account to leave a comment. Already have an account? Log In.