TM
TM-
Blinkt Wiring
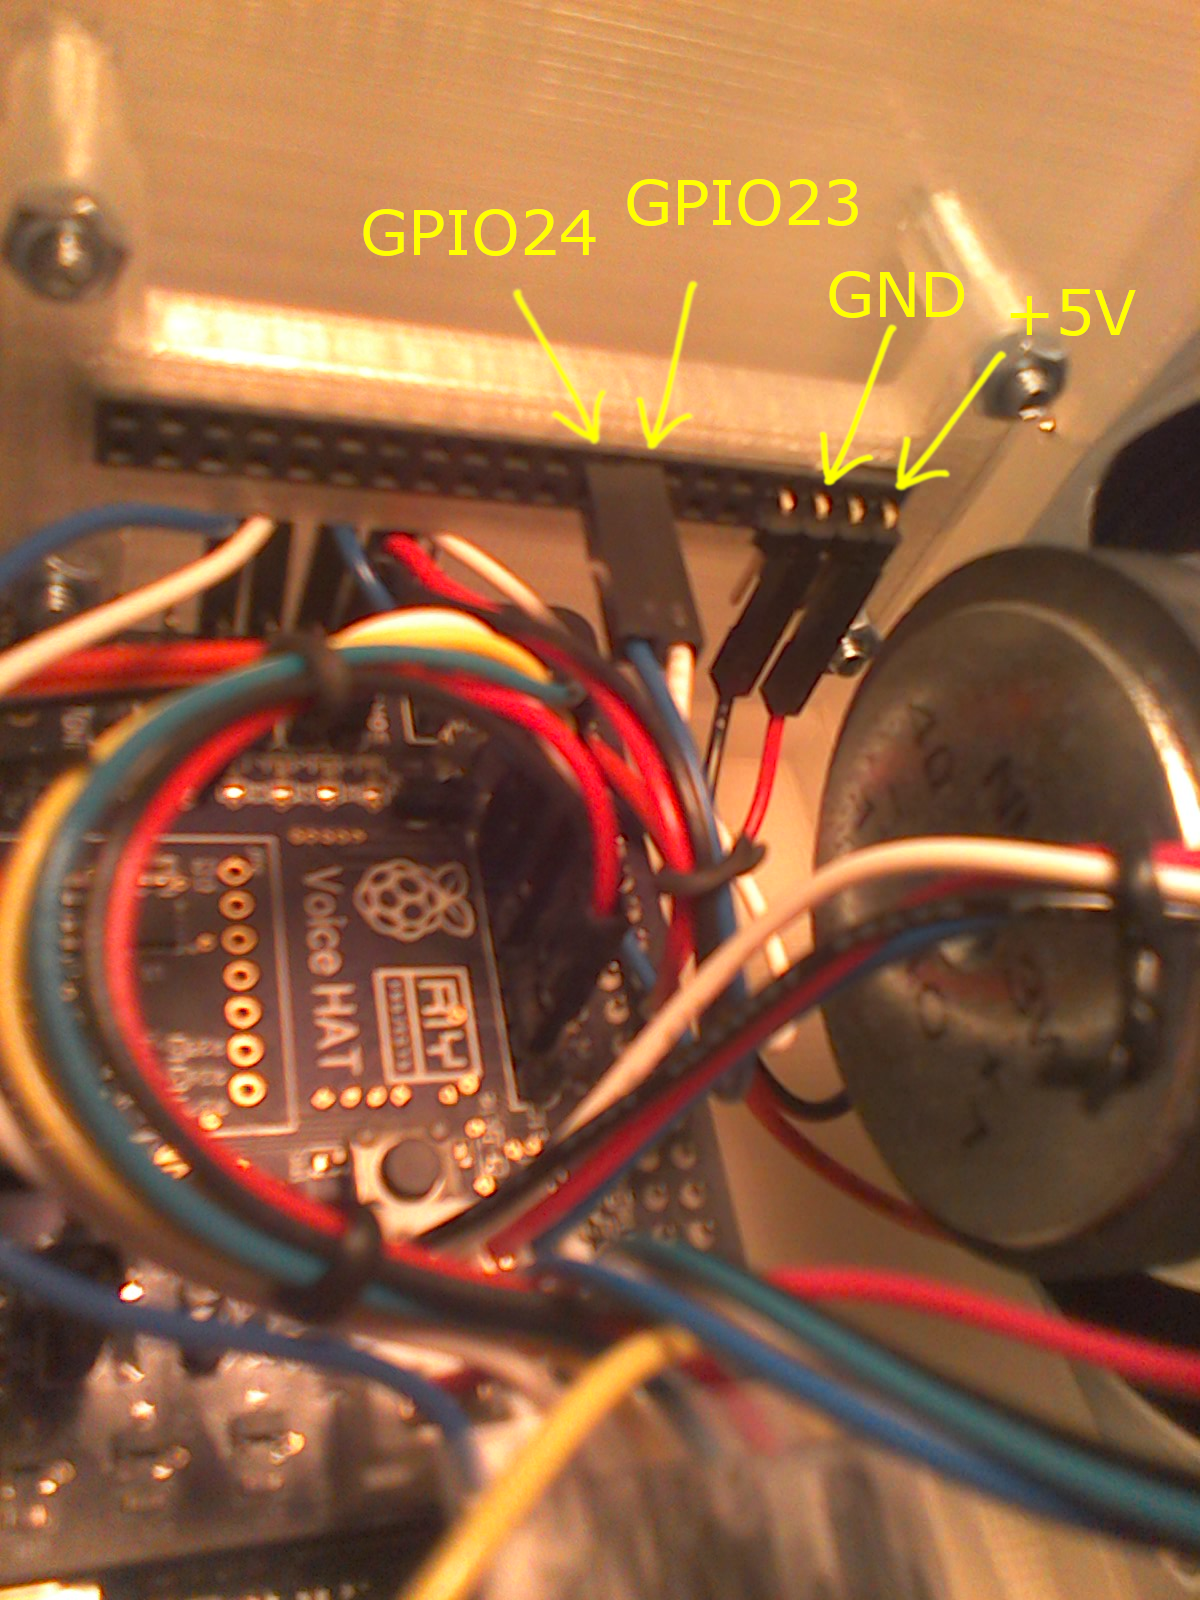
08/04/2018 at 22:15 • 0 commentsWhile I have the lid off the enclosure, and while my crappy Windows 8.1 tablet's camera is working I thought I'd post a close-up of the connections to the back of the Blinkt module. Online Blinkt pinouts are confusing as they are shown as though looking down on the the Pi header, i.e. as though you were looking through the Blinkt from the front.
![]()
It doesn't show in this photo, but the Blinkt is oriented with the rounded corners to the top.
The back of the speaker gets in the way of plugging Dupont cables into the back of the Blinkt at the right end, so I used a short piece of angle header and female cables for the +5V and GND connection.
You can see that the connections under the left end of the Blinkt are a bit cramped. You might want to connect the cables before attaching the right face of the enclosure.
That's enough GIMP 2.10 and Windows 8.1 for one night.
-
Das Blinkenlights
08/02/2018 at 21:04 • 0 commentsI've covered the fiddliest part of setting up a Blinkt server in the previous wiring log, so we may as well launch into a discussion of Blinkter.py, a flask server controlling a Blinkt RGB LED strip.
As discussed, the first thing to do is to make a local copy of blinkt.py, the Pimoroni Blinkt library routine. The Blinkt hardware is expecting a clock signal on the GPIO24 pin of its Pi header, and a data signal on GPIO23. We're instead going to use GPIO6 (Servo1-PIN on the Voice Hat) and GPIO26 (Servo0-PIN).
DAT = 26 # 23
CLK =  6 # 24
All we have to do is to edit blinkt.py and modify the definitions of CLK & DAT as above.
Now on to Blinkter.py, the server proper. The main program is very simple:
if __name__ == "__main__":
    global pattern, thread
    blinkt.set_clear_on_exit()
    blinkt.set_brightness(0.1)

    pattern = LIGHTS

    thread = threading.Thread(target=BlinkterThread)
    thread.start()
    app.run(host='0.0.0.0', port=9013, debug=False)
There's a global variable "pattern" which determines which pattern the server should be showing on the Blinkt. By default, pattern is set to LIGHTS, meaning show an array of 8 red (for now) or off LEDs. At startup the state of the eight lights is set to False, and the server will display nothing.
Next up, the main program starts a thread running BlinkterThread(), before launching a flask web-interface in the current thread.
def BlinkterThread():
    global pattern, h, s
    print 'THREAD: starting with pattern ', pattern
    h = 0.0 # used in pulse
    s = 1.0 # used in pulse
    last_pattern = pattern
    last_time = time.time()
    while True:
        current_pattern = pattern
        if current_pattern != last_pattern:
            last_time = time.time()
            print 'THREAD: pattern changed from ', last_pattern, ' to ', current_pattern
            blinkt.clear()
        if current_pattern == LIGHTS:
            show_lights()
        elif current_pattern == LARSON:
            larson(last_time)
        elif current_pattern == BLINK:
            blink()
        elif current_pattern == PULSE:
            pulse()
        elif current_pattern == RAINBOW:
            rainbow()
        elif current_pattern == MORSE:
            morse()
        else:
            break
        last_pattern = current_pattern
After a little initialization, the BlinkterThread just loops, on each iteration displaying an animation frame for the current pattern. (Modified versions of the Pimoroni examples.)
The flask routines in the main thread are very similar to piHole. If they seem cryptic, read through Matt Richardson's Flask Tutorial.
(This bit is pure Mumbo Jumbo, and can be safely ignored.)
func = request.environ.get('werkzeug.server.shutdown')Installation is the same as for piHole.zip and sysinfo.zip,
Unzip Blinkter.zip to /home/pi/Python, then:
sudo cp /home/pi/Python/Blinkter/Blinkter.service /lib/systemd/system
sudo chmod 644 /lib/systemd/system/Blinkter.service
sudo systemctl daemon-reload
sudo systemctl enable Blinkter.service
Browse to <your-pi's-address>:9013 to test.
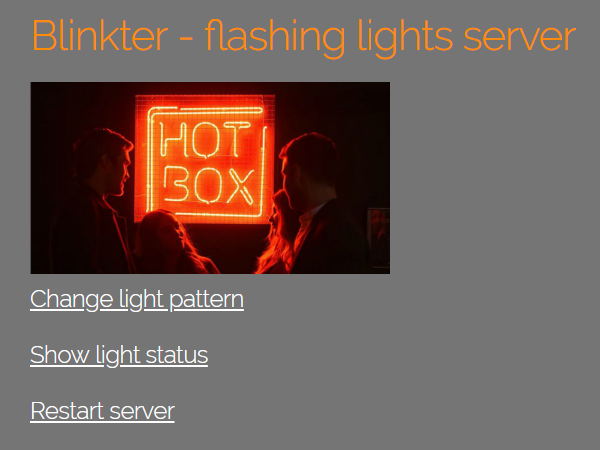
You should see a root menu like this:
![]()
Click "Change light pattern" to bring up the pattern menu:
![]()
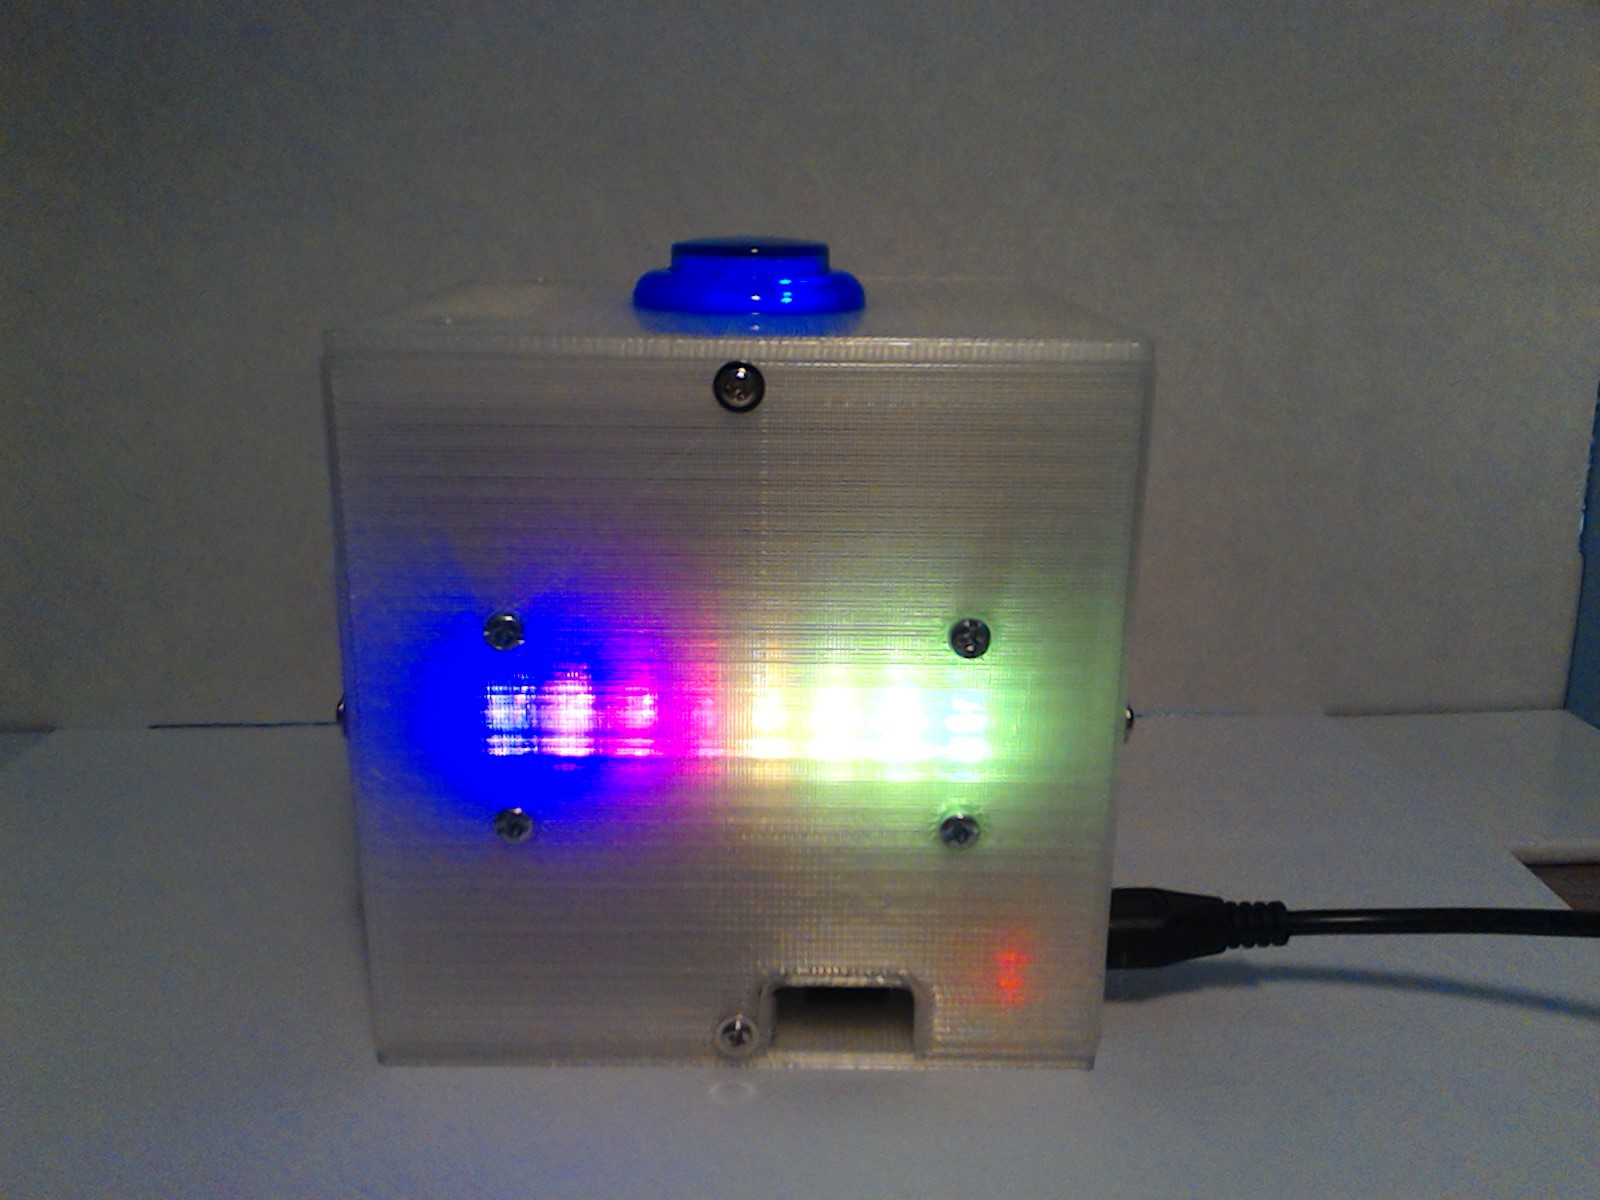
Select "rainbow" from the list box to get some bling:
![]()
-
A Note on Wiring
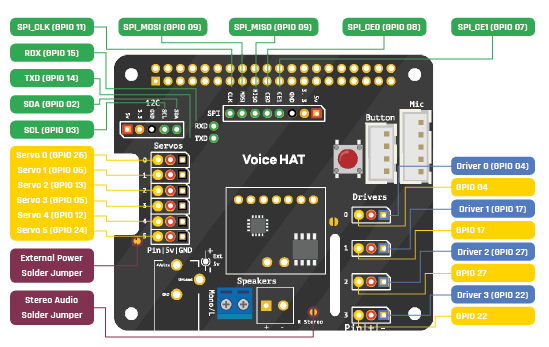
08/01/2018 at 20:53 • 0 commentsHaving hinted at wiring connections in the piHole GPIO screenshot, I thought I'd better give an overview of where we're heading. I fried the backlight on a Nokia 5110 by connecting to the wrong Voice Hat output and wouldn't want anyone to make the same mistake.
![]()
We're going to connect the Nokia backlight to GPIO22, labelled Driver3-PIN in the diagram above. You must use the "raw" 3.3V GPIO pin, coloured yellow in the diagram. The red coloured "Driver3+" output has been boosted to 5V and will blow the LEDs in the Nokia display. The display will also use the SPI pins (CLK, MOSI, CE0, GND & 3.3V) in the middle of the board (above the "Voice Hat" label), GPIO 5 (Servo 3) is connected to the RST pin of the display, and GPIO 13 (Servo 2) is connected to DC. To summarize:
Pi Pin Voice Hat label Display Pin GPIO22 Driver3-PIN (leftmost, yellow pin) LED/LIGHT GPIO11/CLK CLK SCLK/CLK GPIO9/MOSI MOSI DN(MOSI)/DIN GPIO13 Servo2-PIN D-C/DC GPIO5 Servo3-PIN RST GPIO8/CE0 CE0 SCE/CE GND GND GND 3.3V 3.3V VCC For the 5V cooling fan on the rear face of the enclosure we use the buffered 5V output of Driver2 (driven by GPIO27).
GPIO27 Driver2+ Fan +5V GND Driver2- Fan 0V By default, the Pimoroni Blinkt (8 "Neopixel" strip) uses GPIO23 for its DAT (Data) connectionn and GPIO24 for CLK (Clock). GPIO24 is exposed on the VoiceHat board (labelled Servo5-pin), but GPIO23 isn't. Fortunately, as we're not plugging the Blinkt directly into Pi header, we're free to hack the blink.py library to use different GPIOs, as long as we connect the outputs to GPIO23 & GPIO24 on the back of the Blinkt. We'll go over this again in a later log post, but for now, just note that we'll be using the following pins:
GPIO26 Servo0-PIN GPIO23(DAT) GPIO6 Servo1-PIN GPIO24(CLK) That's it for now. We'll post pictures of the connections in later logs. This post is just to ward off people frying LEDs with guessed connections.
-
A New Home for piHole
07/31/2018 at 20:08 • 0 commentsTime to port across the code from my previous "piHole" project, so we can send text-to-speech messages to the VoiceBox speaker. The code is pretty much unchanged from the old version apart from stealing Ashok's sysinfo style sheets for a consistent look ...
![]()
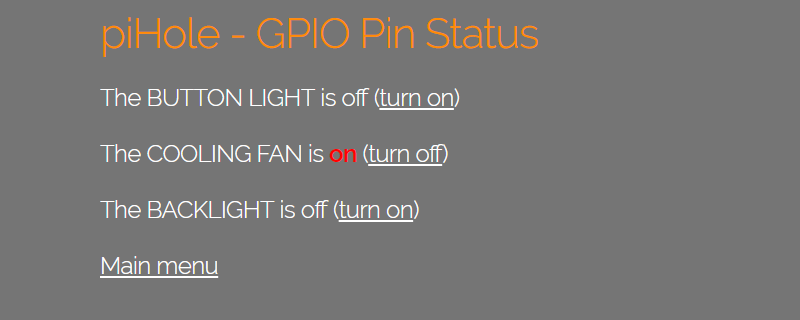
...and modifying the GPIO page to control VoiceBox peripherals.
![]()
A few notes on the GPIO controls:
- the AIY Voice software will reset the button light almost as soon as it's set (triggered by piHole text-to-speech announcing what it's done).
- the Nokia 5110 display backlight may use inverse logic (low=on), depending on your supplier.
To install, unzip piHole.zip to /home/pi/Python, then:
sudo cp /home/pi/Python/piHole/piHole.service /lib/systemd/system
sudo chmod 644 /lib/systemd/system/piHole.service
sudo systemctl daemon-reload
sudo systemctl enable piHole.service
Browse to <your-pi's-address>:9012 to test.
*** DON'T WIRE UP THE NOKIA DISPLAY UNTIL YOU'VE READ THE SECTION ON WIRING! ***
-
Adding a System Information Server
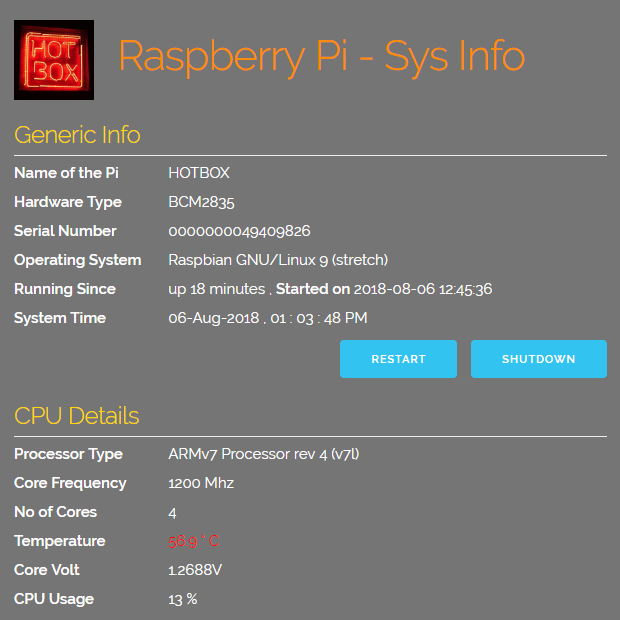
07/31/2018 at 16:50 • 0 commentsAs a first step, we're going to add a systemd process to provide system information via a flask web interface. This means that if your Pi's local IP address is (say) 192.168.1.99, you'll be able to browse to http://192.168.1.99:9010 from any machine on your local network and see your Pi's uptime, CPU temperature and other info.
![]()
The code we're using is a very lightly modified copy of Ashok Raja'a excellent system info code. The zip file also includes a Javascript routine to sort table entries (for displaying process info) by Stuart Langridge, and css style sheets by Dave Gameche. I know next to nothing about HTML, CSS & Javascript so I'm very happy to be able to stand on the shoulders of these three gentlemen.
To install, unzip the contents of sysinfo.zip into directory /home/pi/Python, creating a new sub-directory "sysinfo", with descendants "static" and "templates". (If you change this location, you'll have to change the contents of sysinfo.service to match.)
You'll need to use "sudo" to copy/edit the sysinfo.service file into the directory /lib/systemd/system and give the file the correct permissions by running
sudo chmod 644 /lib/systemd/system/sysinfo.service
When this is done, you can force systemd to read the new file by entering
sudo systemctl daemon-reload
and you can then start the service by running
sudo systemctl enable sysinfo.service
You can check on the status of the service by running
sudo systemctl status sysinfo.service
Now you can browse to <your Pi's IP address>:9010 to view the system info. You can also visit <your Pi's IP address>:9010/cpu_temperature for a cut down screen showing just CPU temperature that refreshes every 15 seconds.
Why port ":9010"? PiHole was arbitrarily set to port ":9012" (to match its hackaday.io project id) and the other web services have been numbered to fit around it. Change the port number in sysinfo.py if you have a conflict (or want to use your lucky number).
-
Replacing the Cardboard Box
07/29/2018 at 21:39 • 0 commentsI really like the cardboard box that comes with the Voice Kit. Unfortunately, after several cycles of assembly and disassembly, the box starts to look a bit lived in. I also wanted to add extra features like a screen and blinking lights. So, I broke out my copy of OpenSCAD and created a PLA plastic clone of the original.
![]()
I'm uploading .stl files for all of the parts of the box (including variants with no screen/fan/blinkt), but you really should download the source file (VoiceBox.scad) and play around. The program looks for a file of utilities (Utilities.scad) in a sub directory (Utilities) of the directory containing VoiceBox.scad (or a sub-directory of your libraries folder if you have one set up). Just edit the "use" statement at the top of the file if you have trouble.
I printed the case using Inland "Natural" PLA from Microcenter. If you're using an opaque filament you'll need to use the windowed version of the right face (VoiceBox_right_with_window_for_opaque_filament.stl).
The faces are held together with 2x6mm round head self-tapping screws with washer. I got mine from Newegg, you may prefer to salvage them from Happy Meal toys. You'll have to modify the "M15" constant used to define the screw hole sizes if you can't get anything small enough.
P.S. Print the front face last, and leave it to cool on the print bed overnight, maybe even with something flat and heavy sitting on it. If you're impatient and remove the piece from the bed while it's still warm it will bow in the middle due to contraction of the seven large circular holes.
VoiceBox
Adding a Flask web interface (and other stuff) to the Google AIY Voice Kit.