
The end of the journey finally...
As you might guess from the video above I finally received the case from Falbatech. It needed some little adjustments but now it's perfect.
Here's some pics.
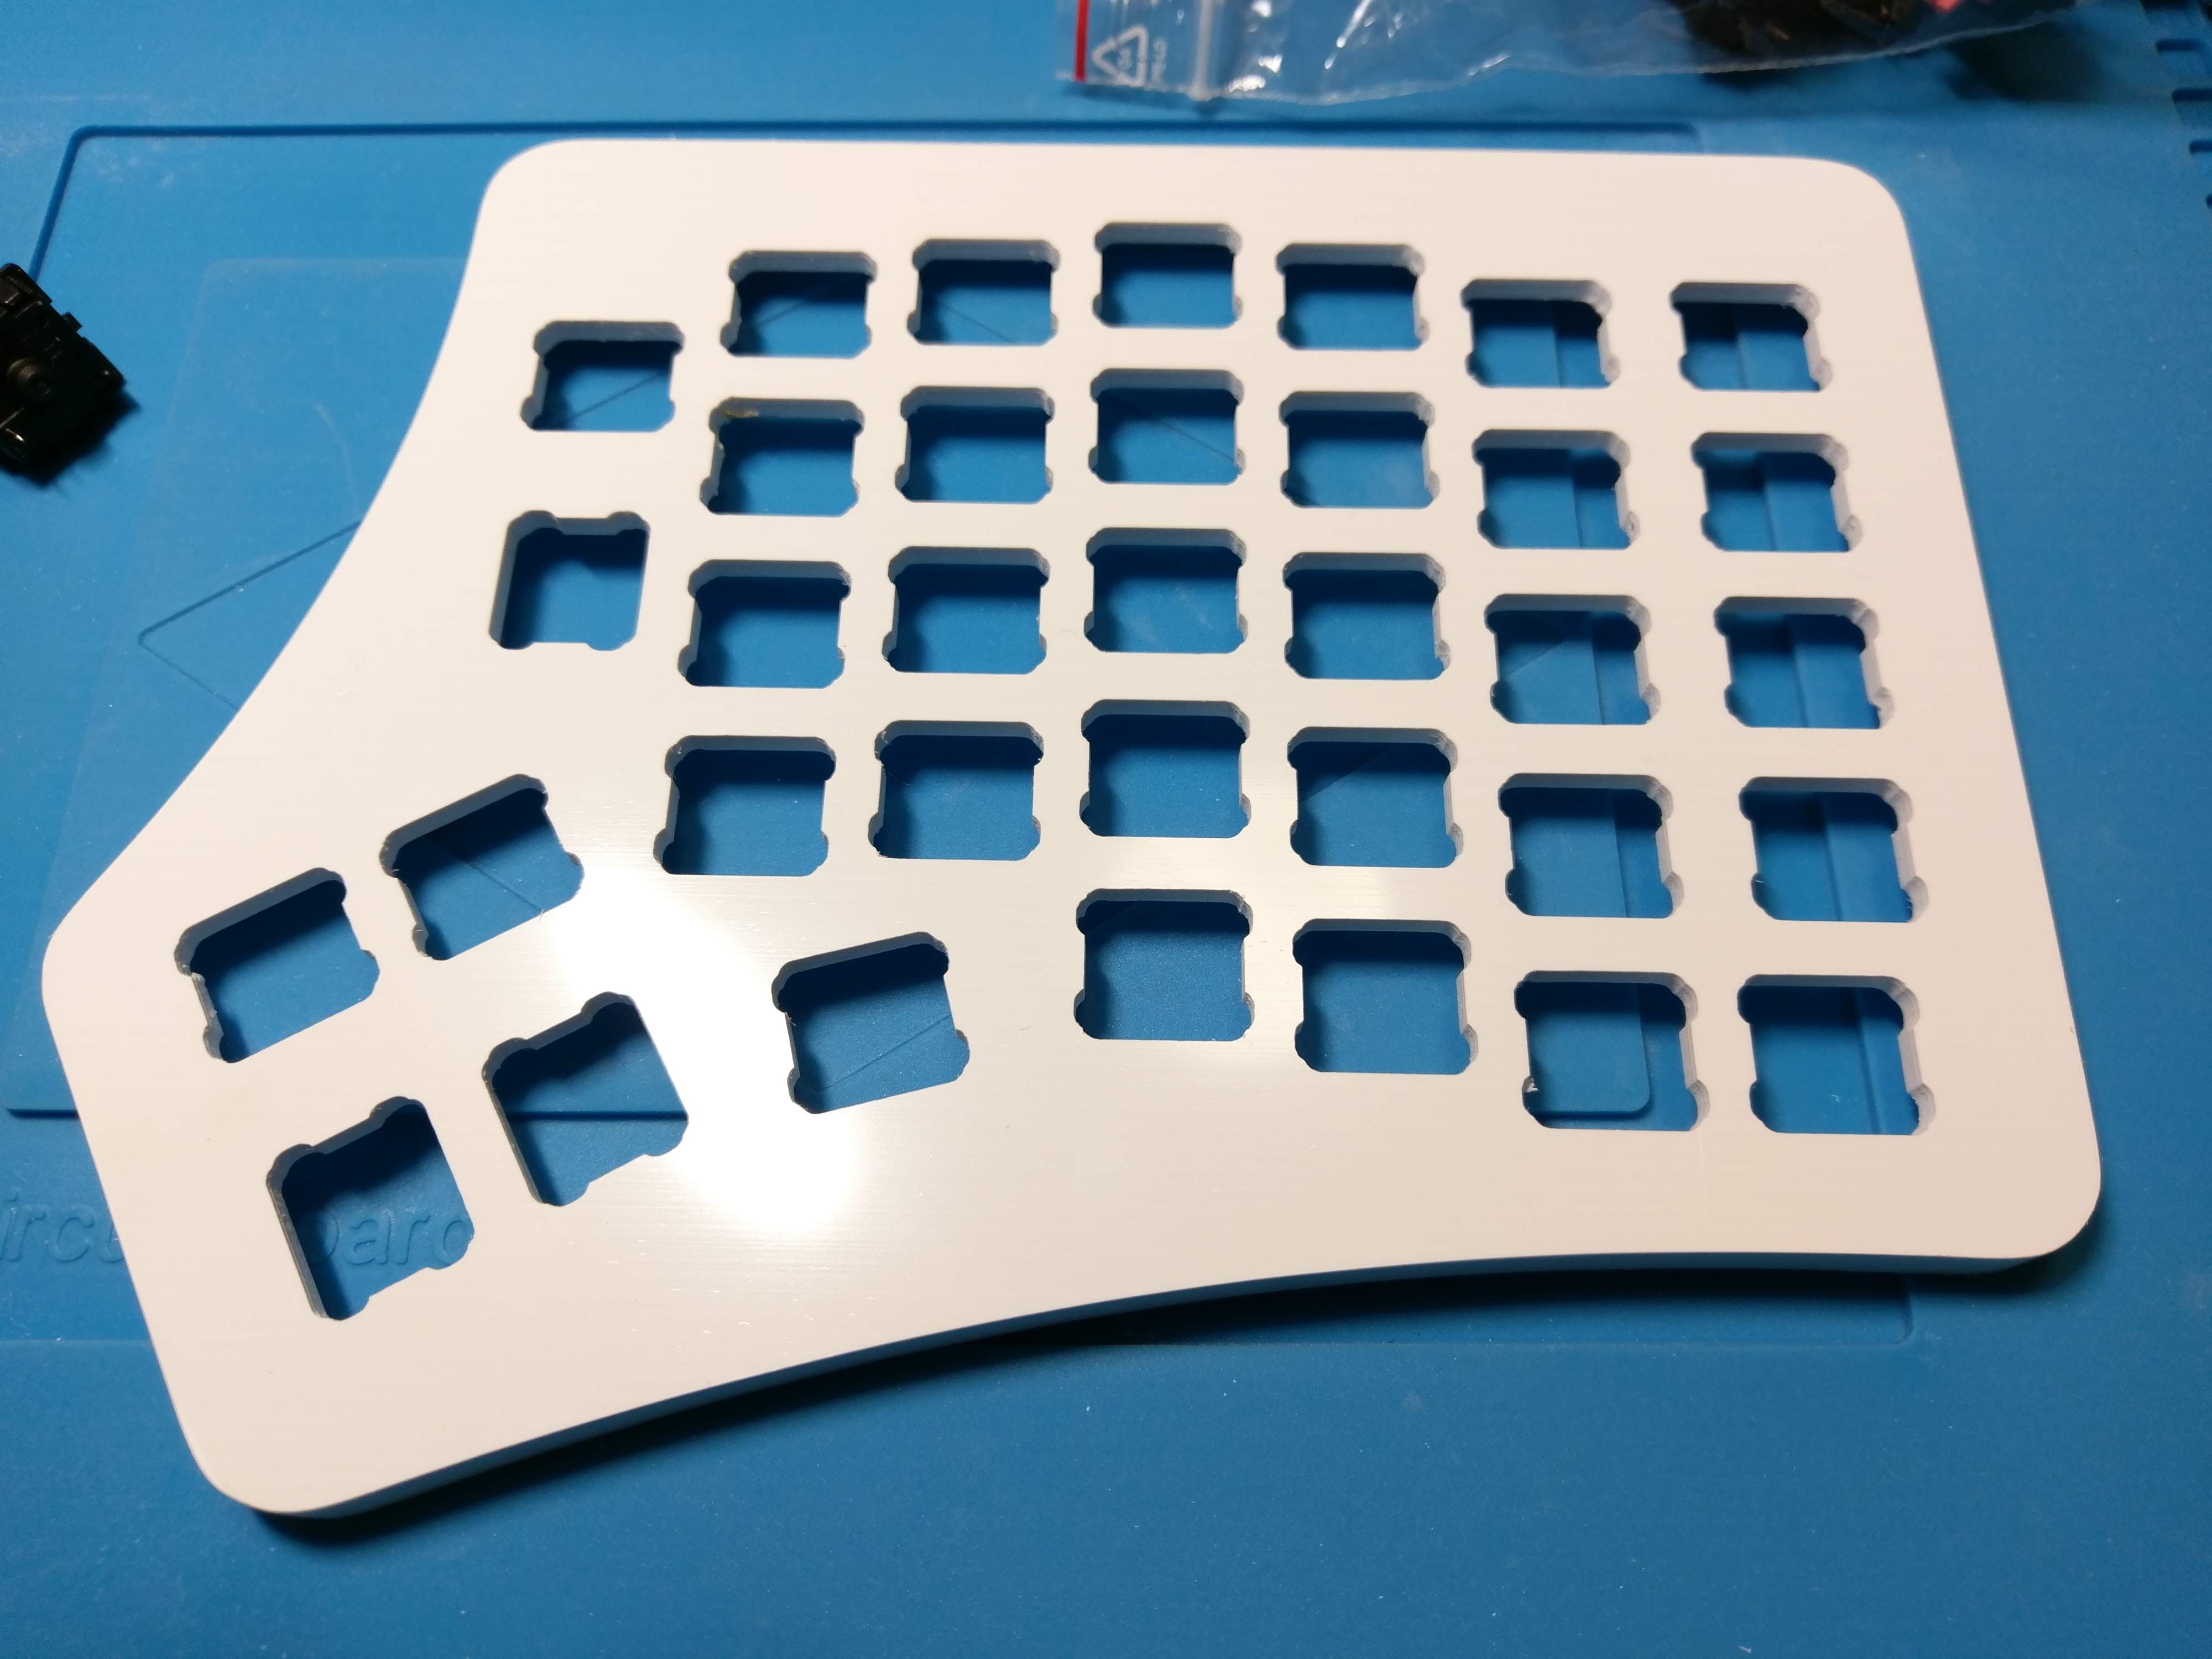

Everything's ready.
 Perfect fit.
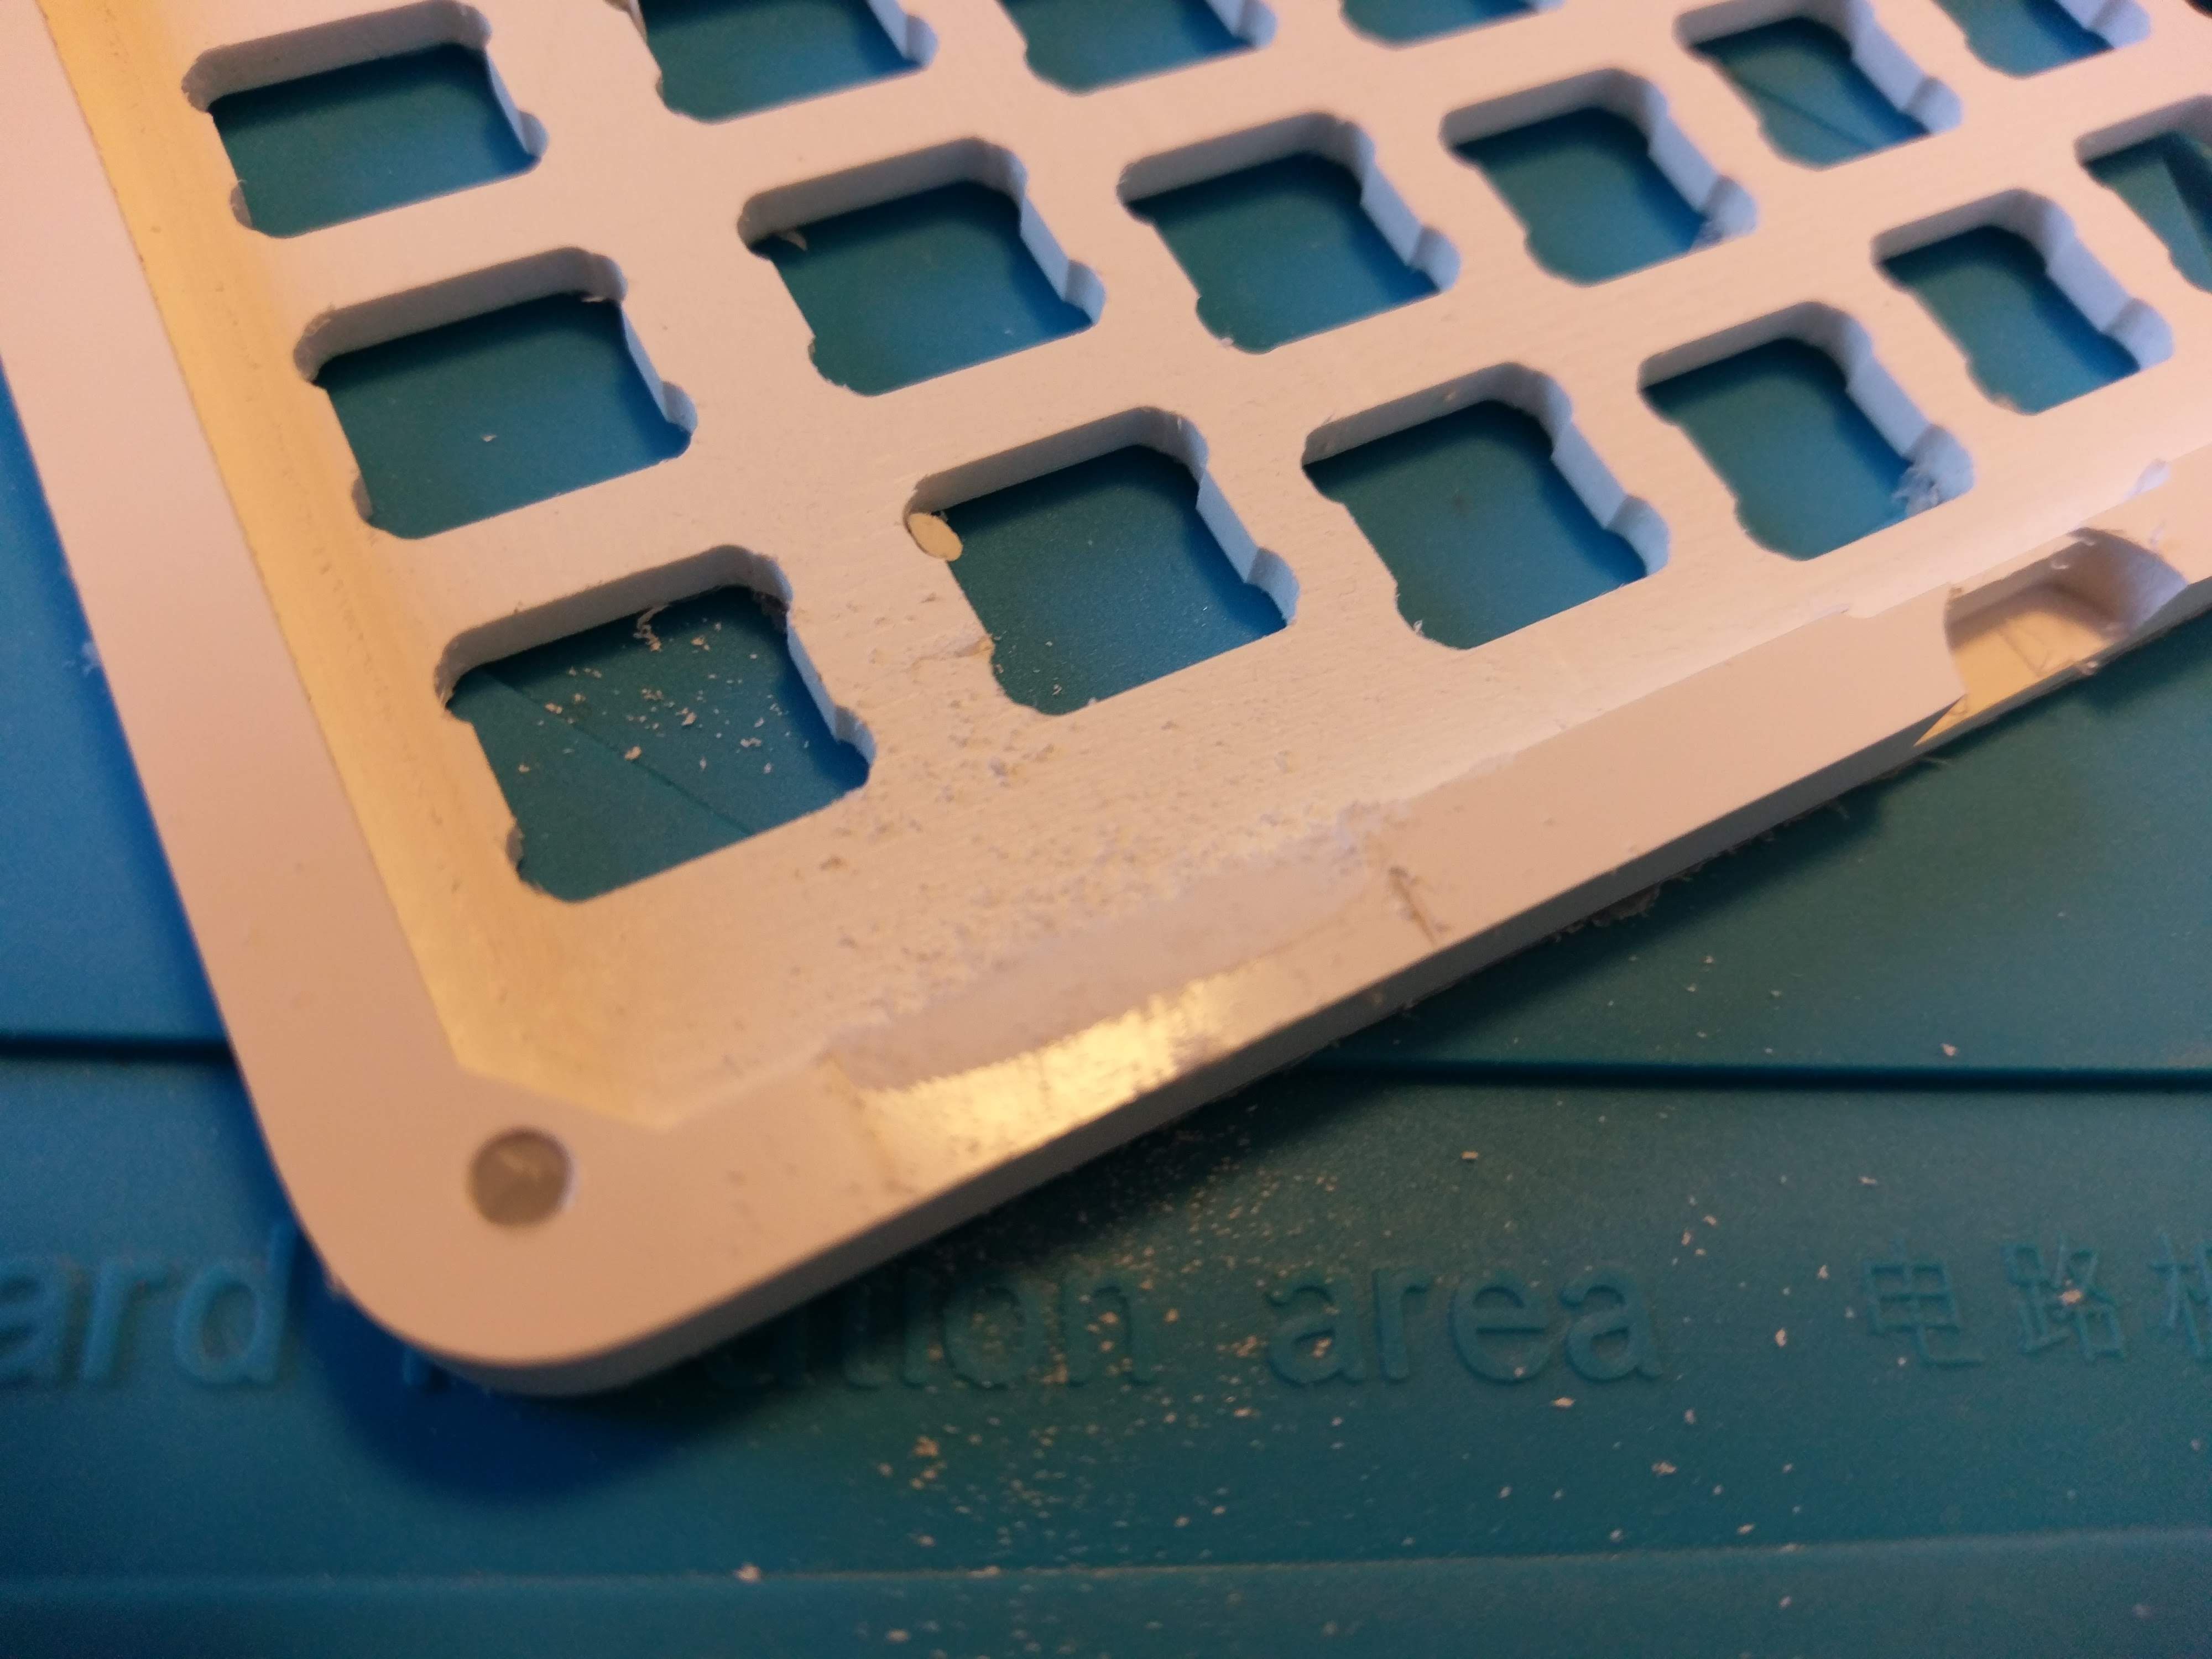
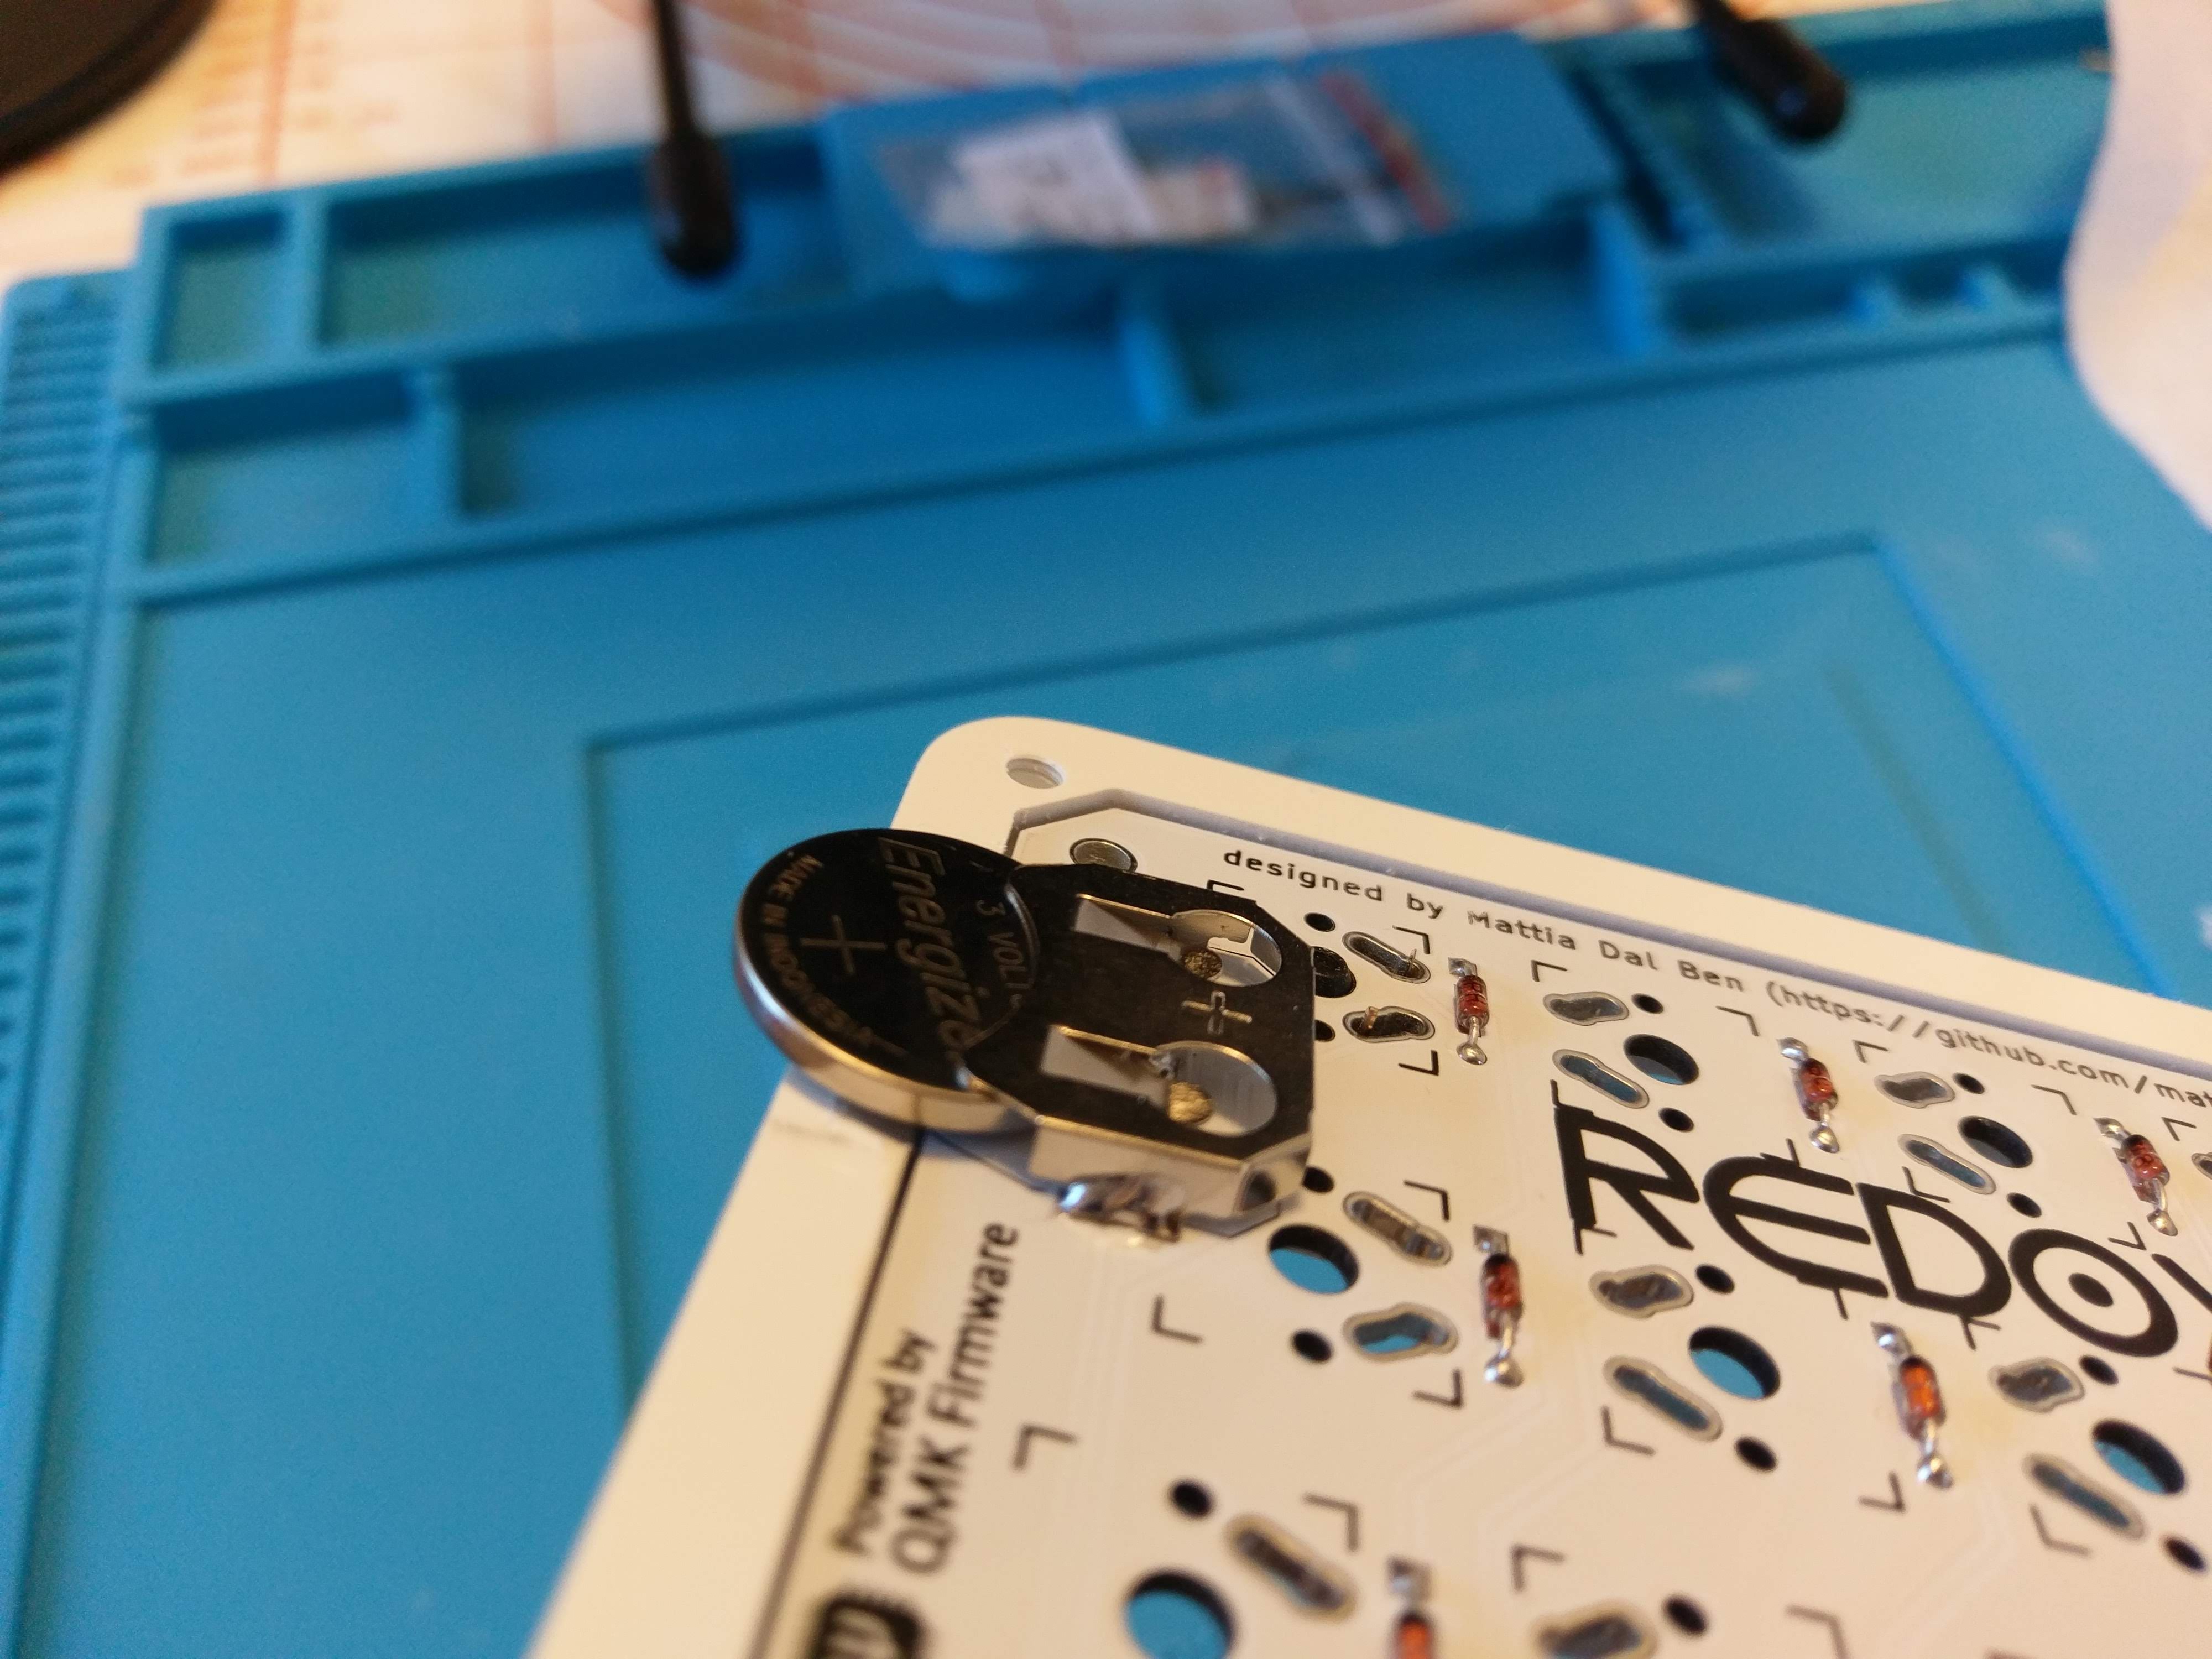
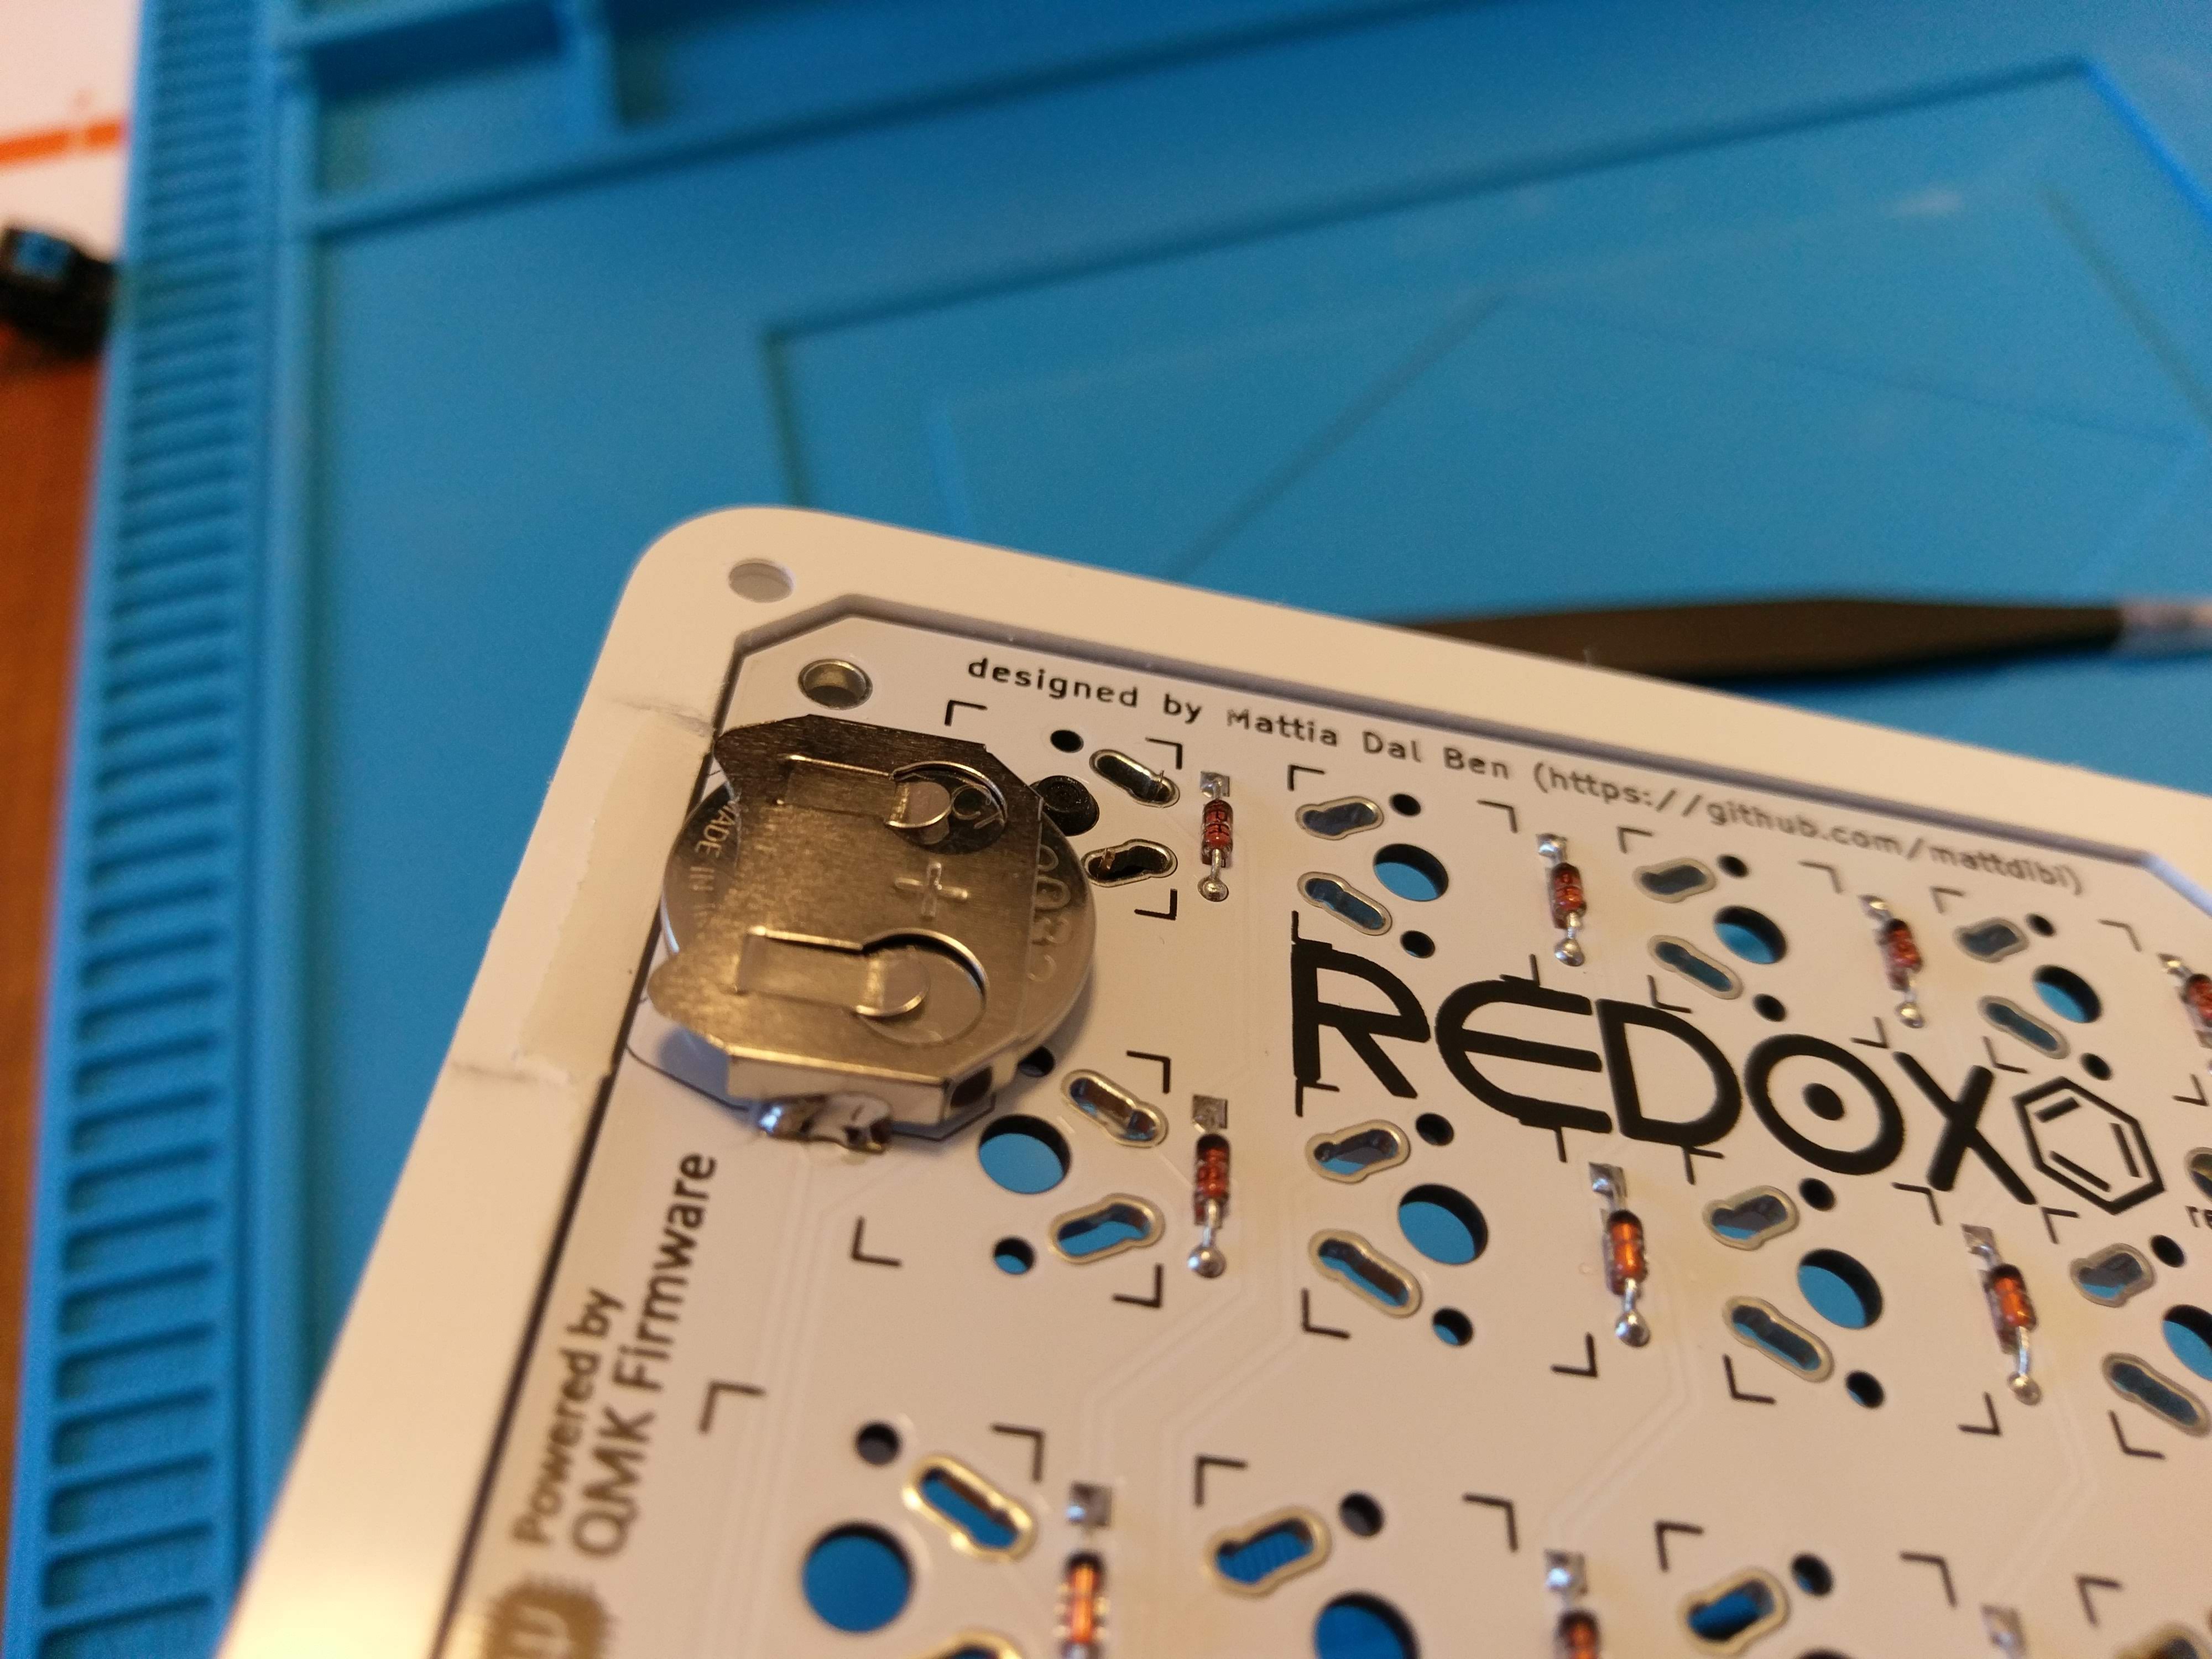
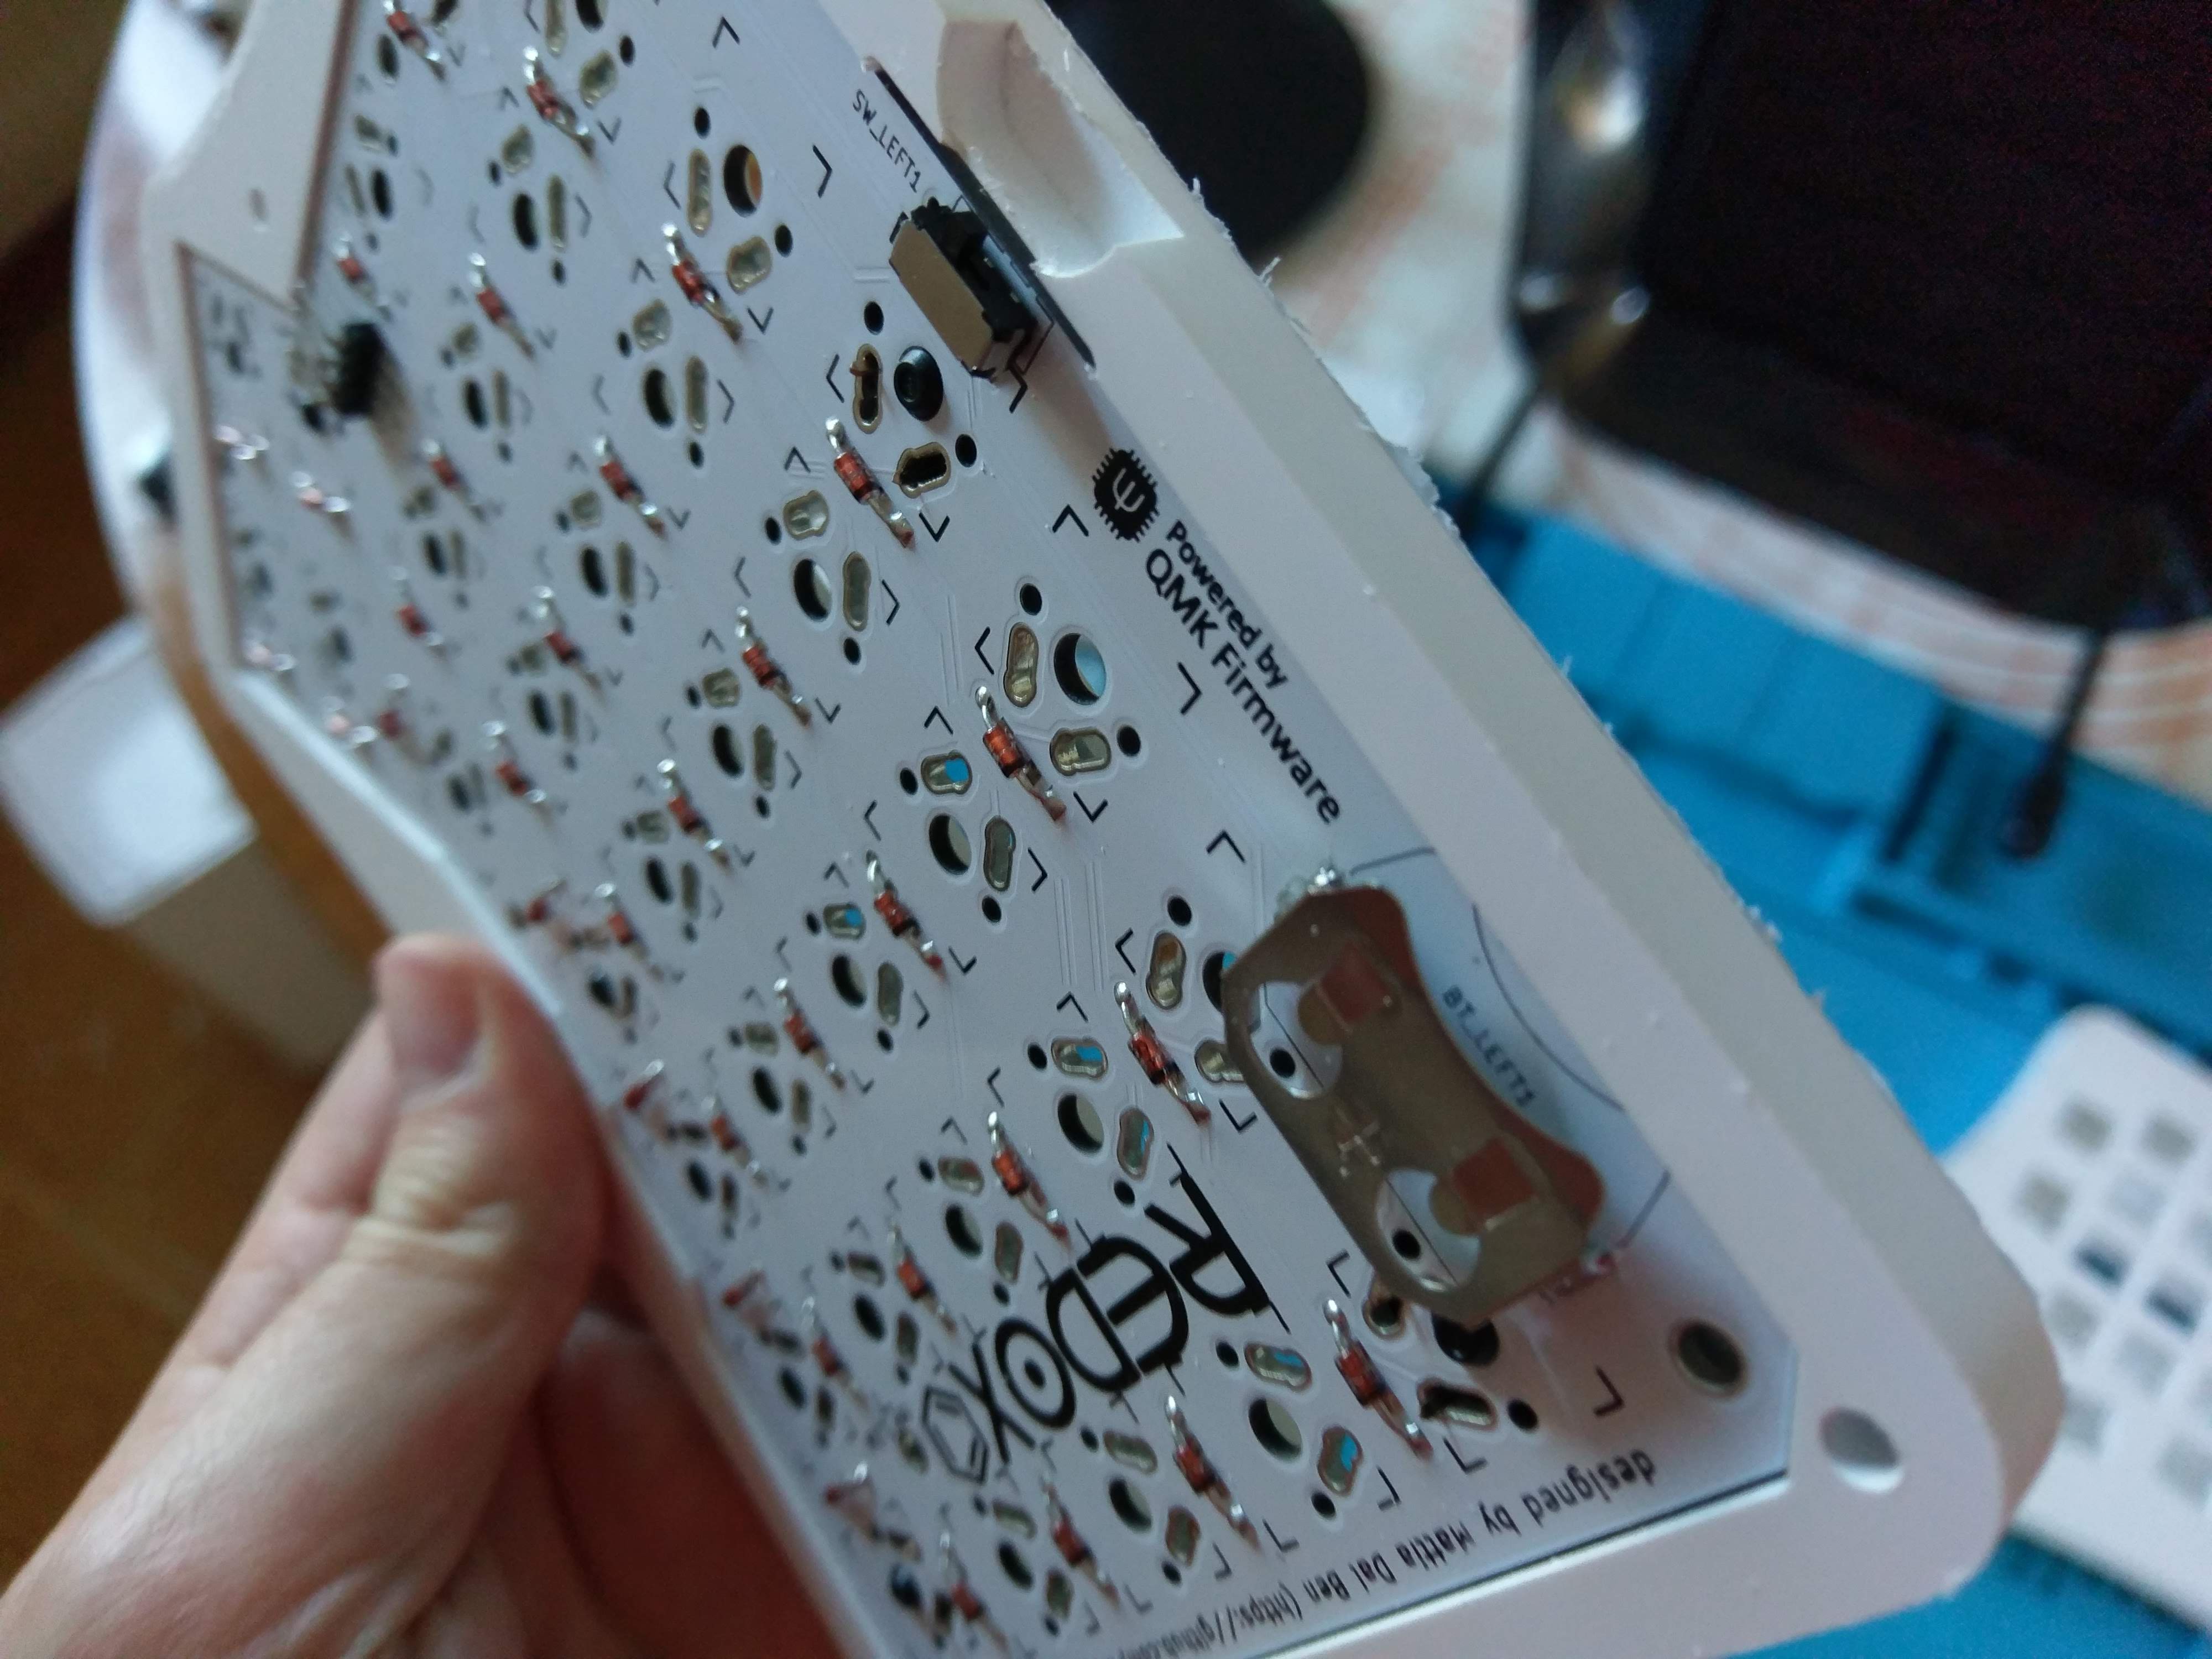 Well... almost perfect fit. This case is designed for the standard Redox, so I had to adapt it to my needs. As you might notice the battery is lower than the case border, it fits but it was difficult to remove it from the holder. All it needed was some filing.
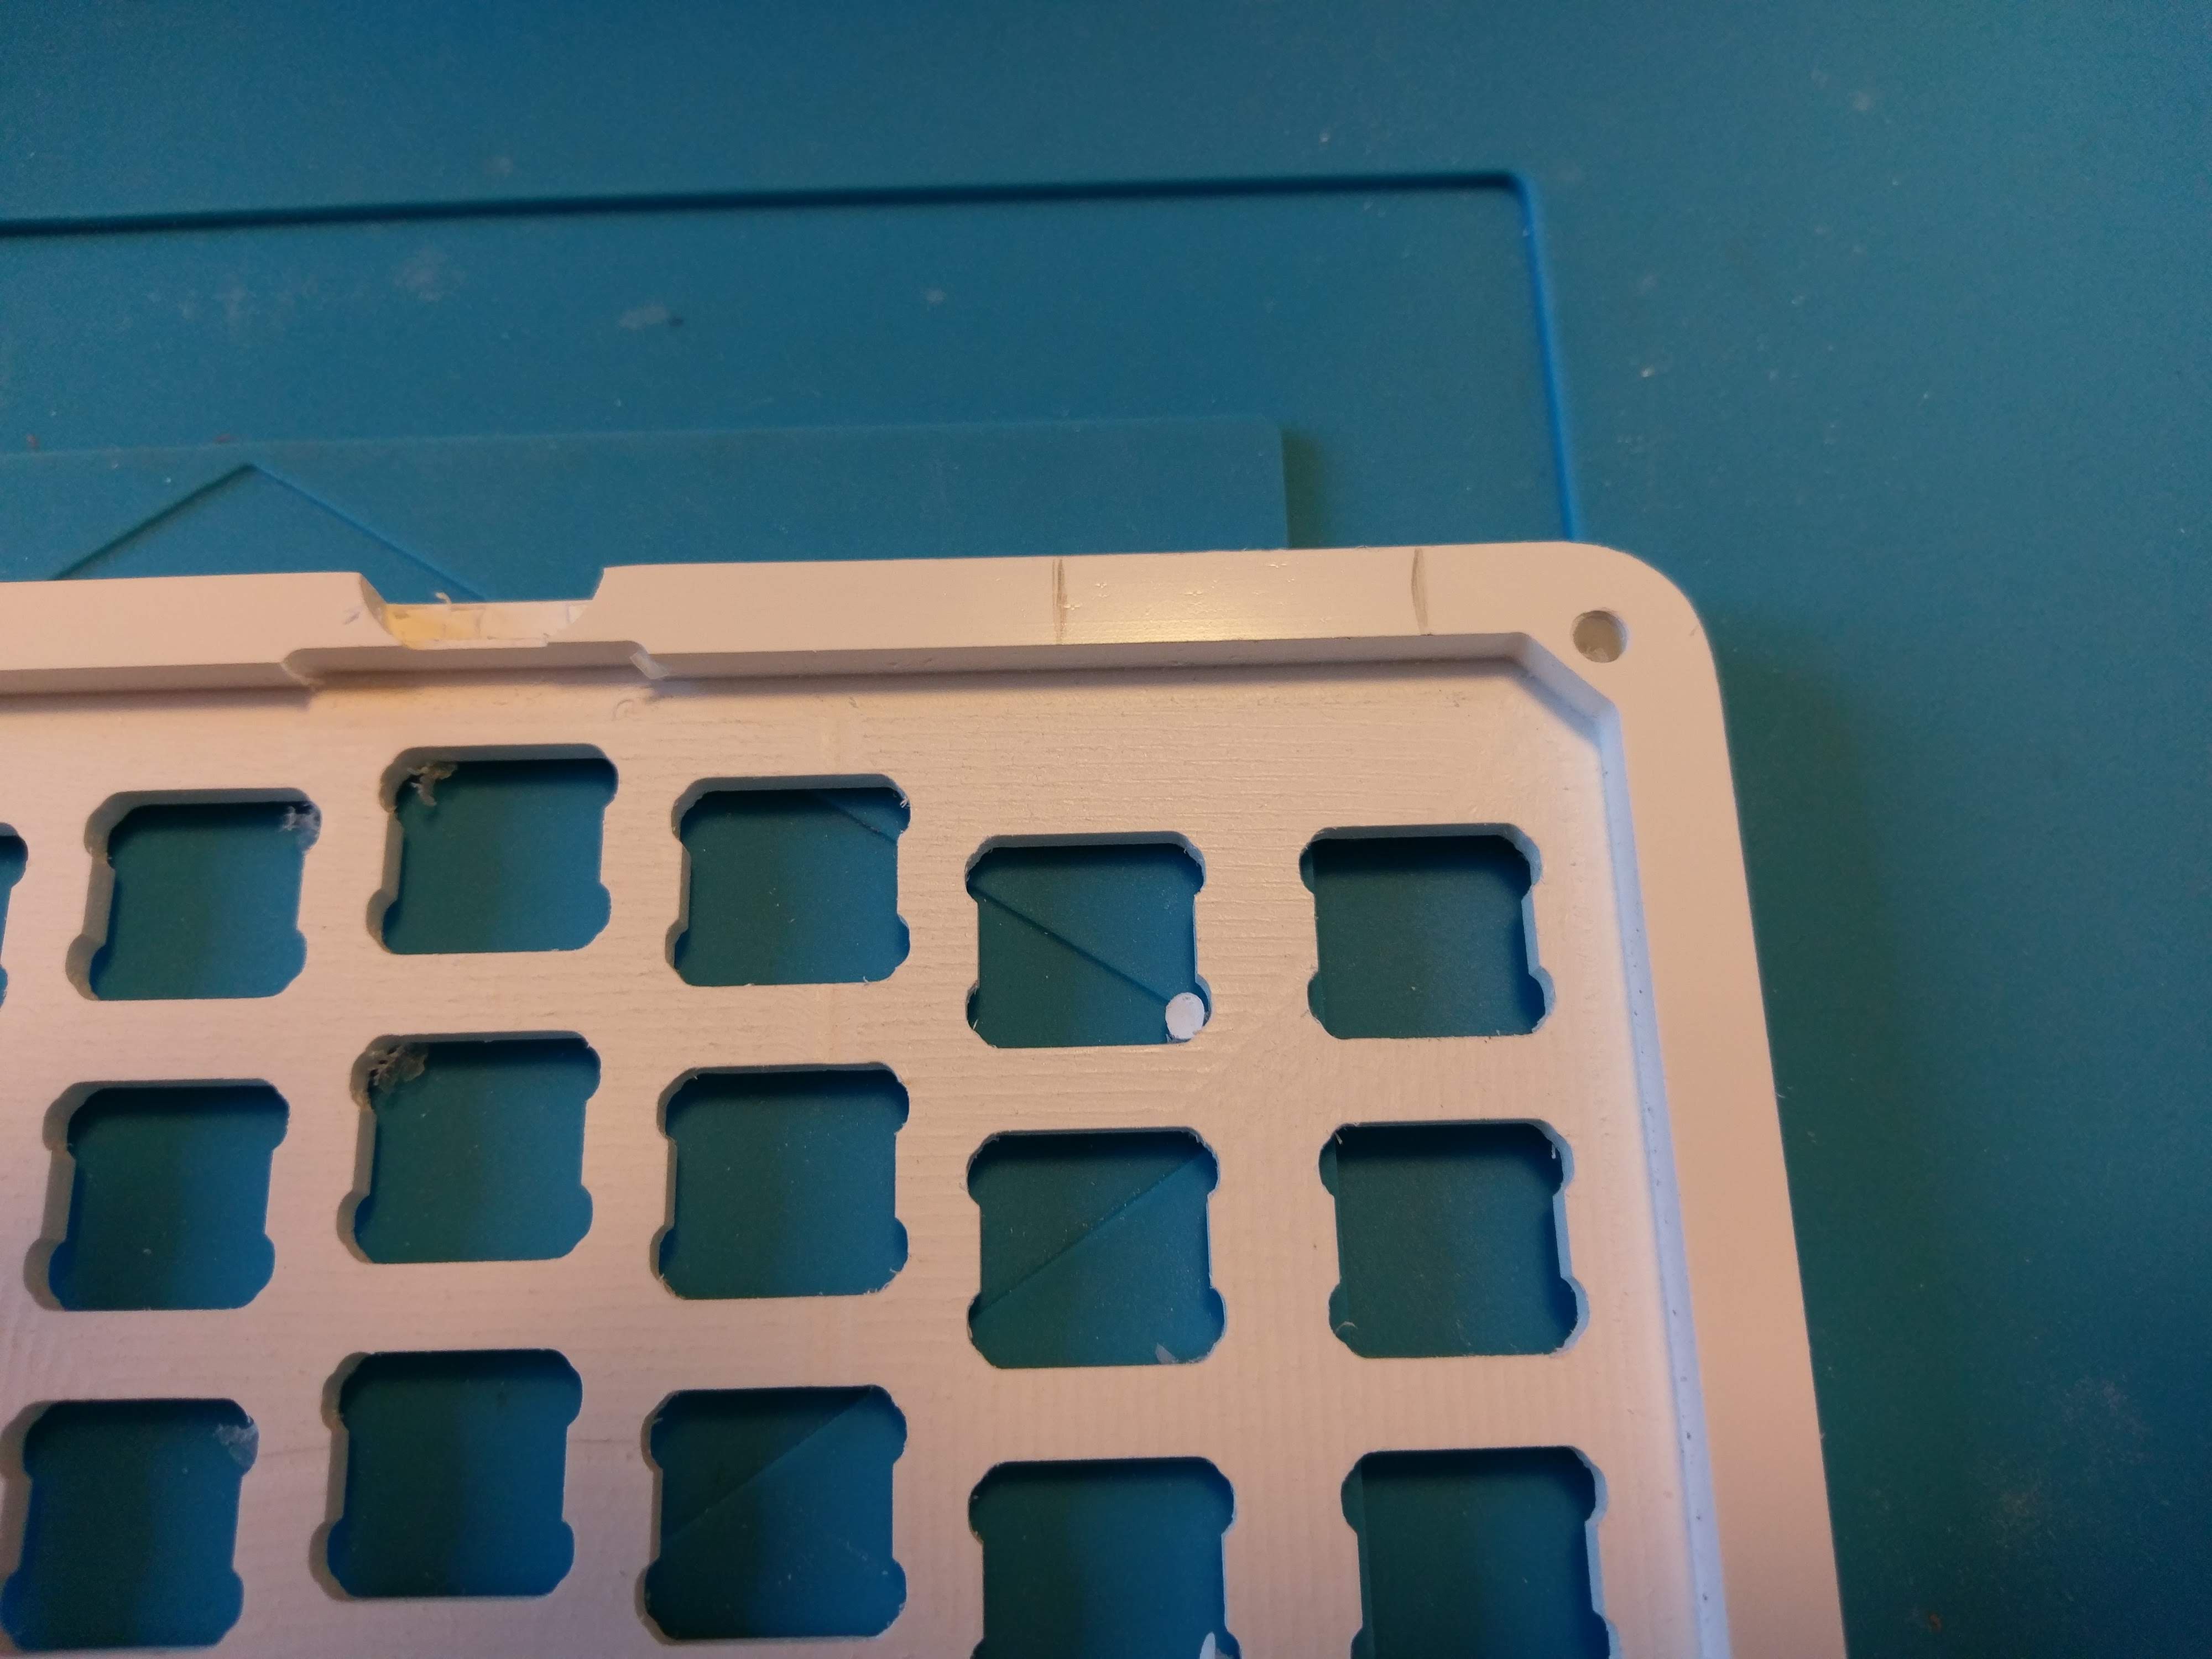 I traced some mark to know where to file.
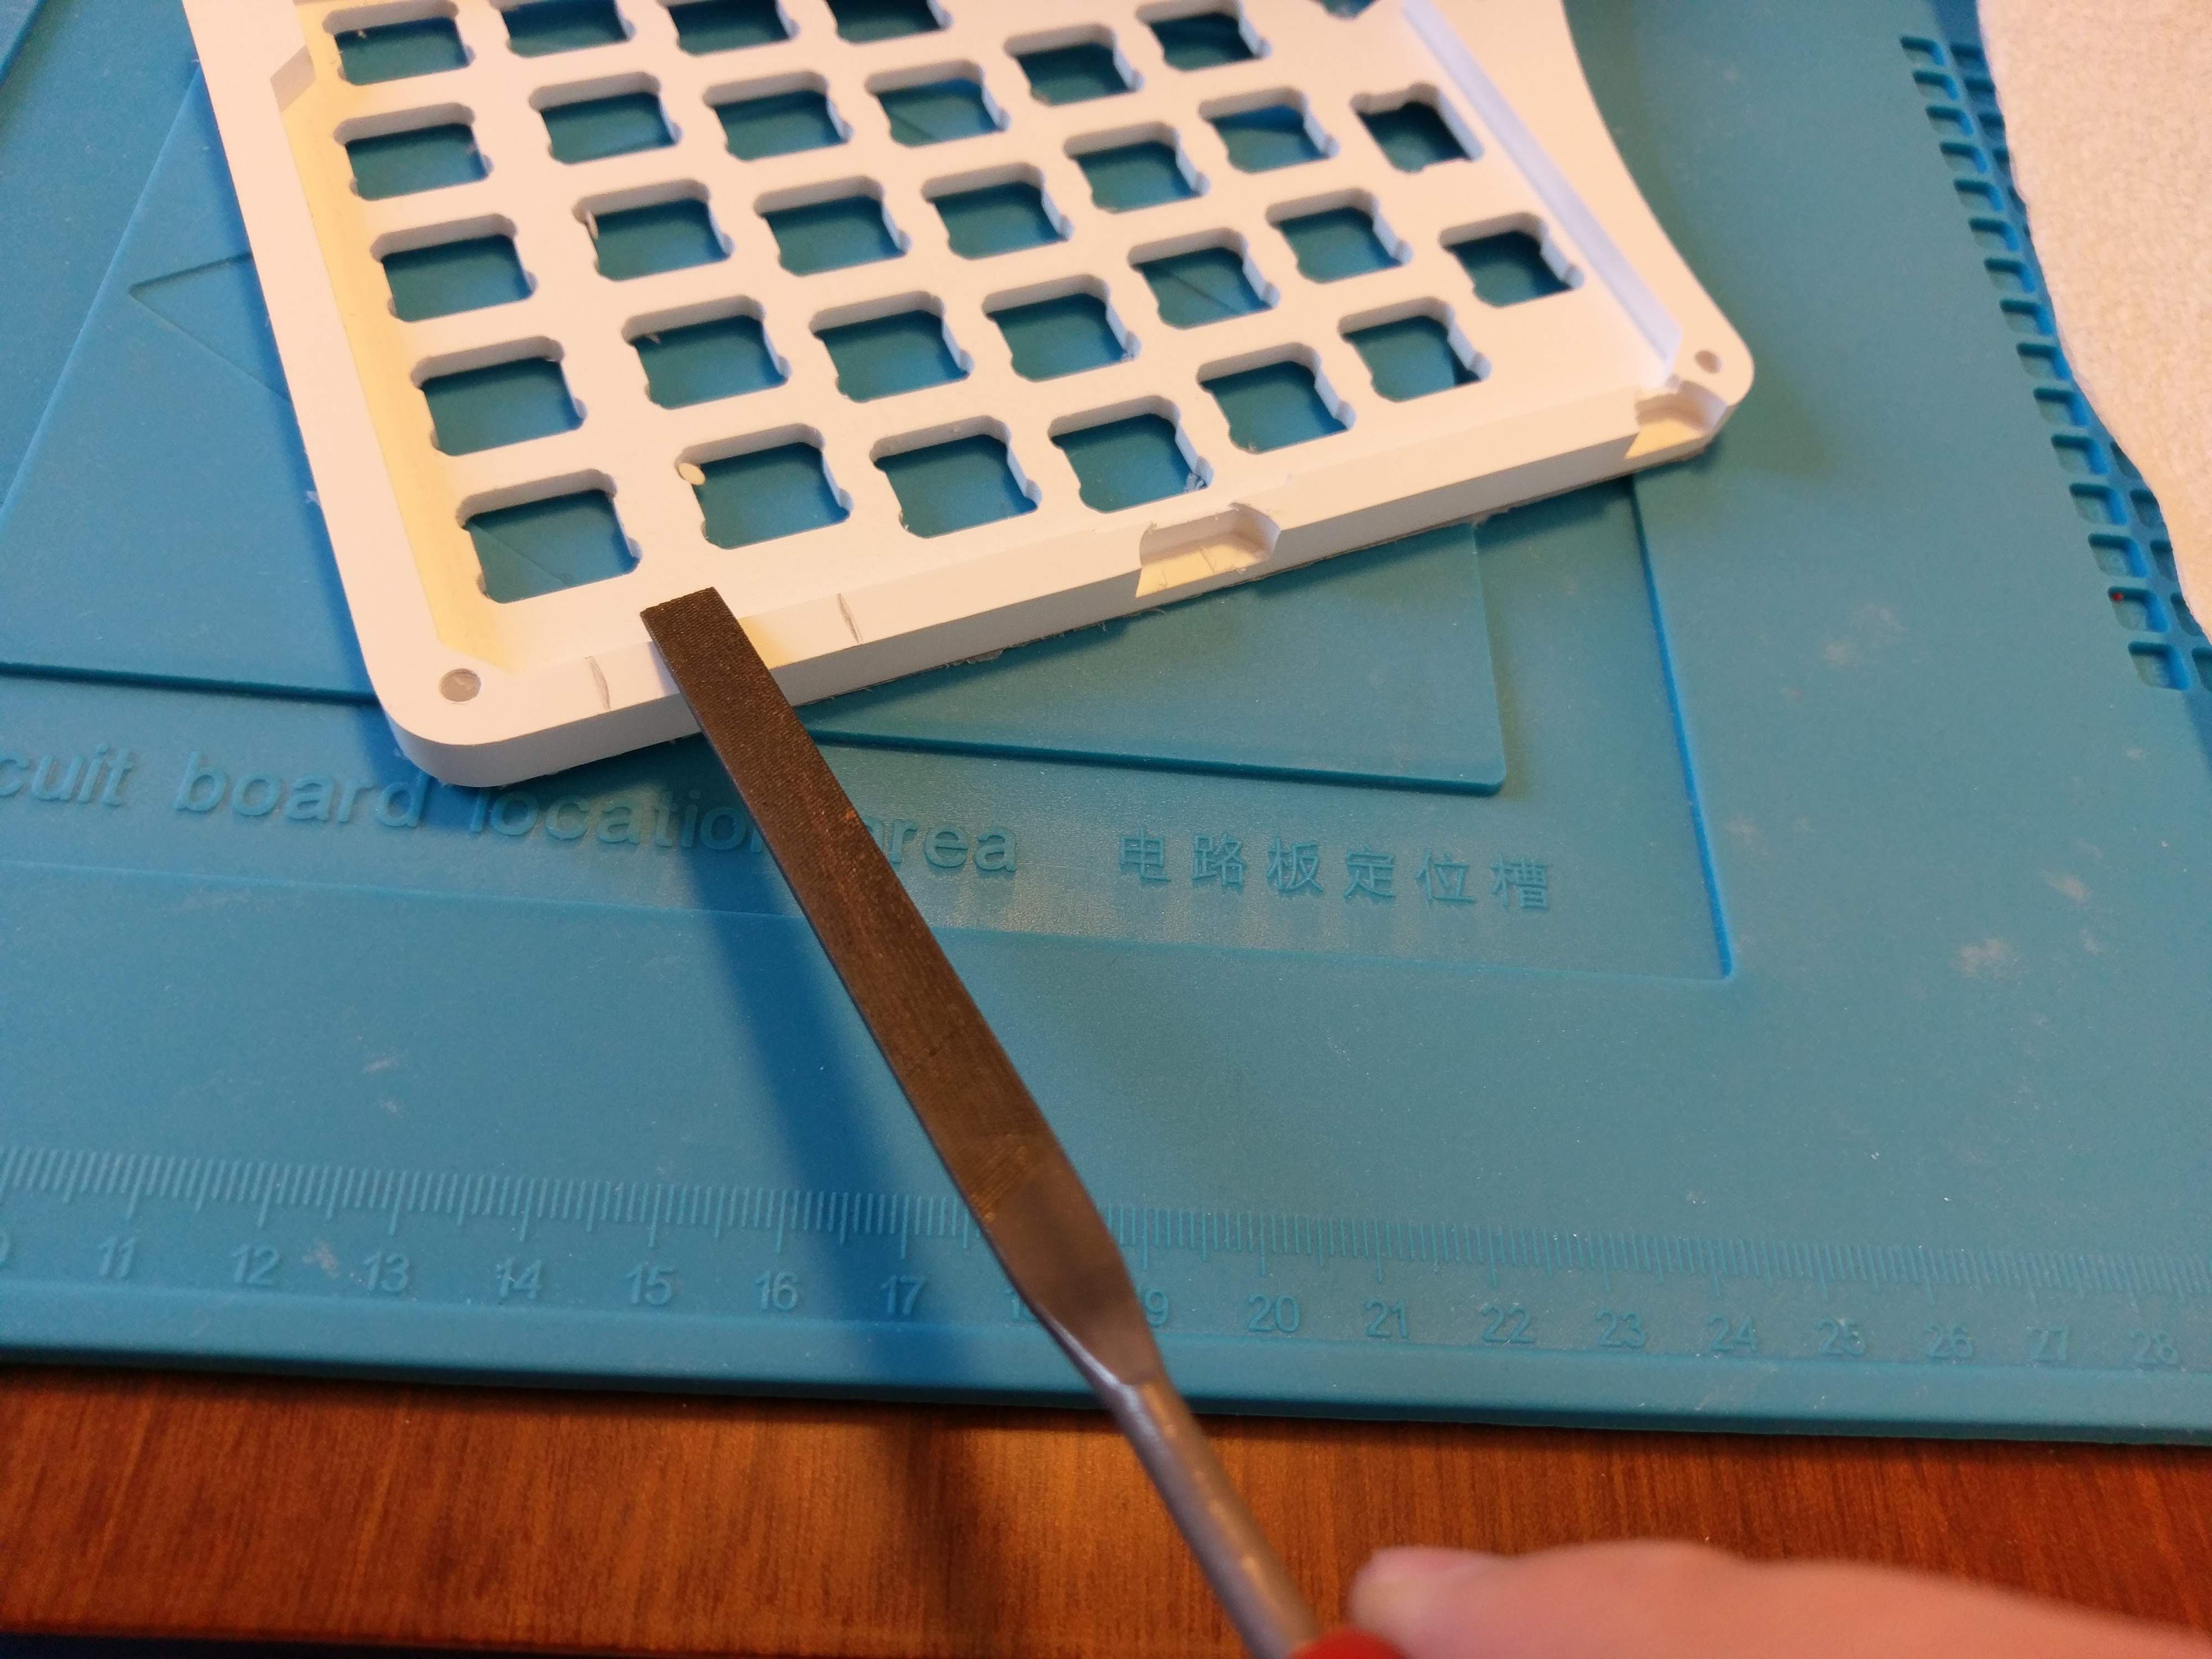
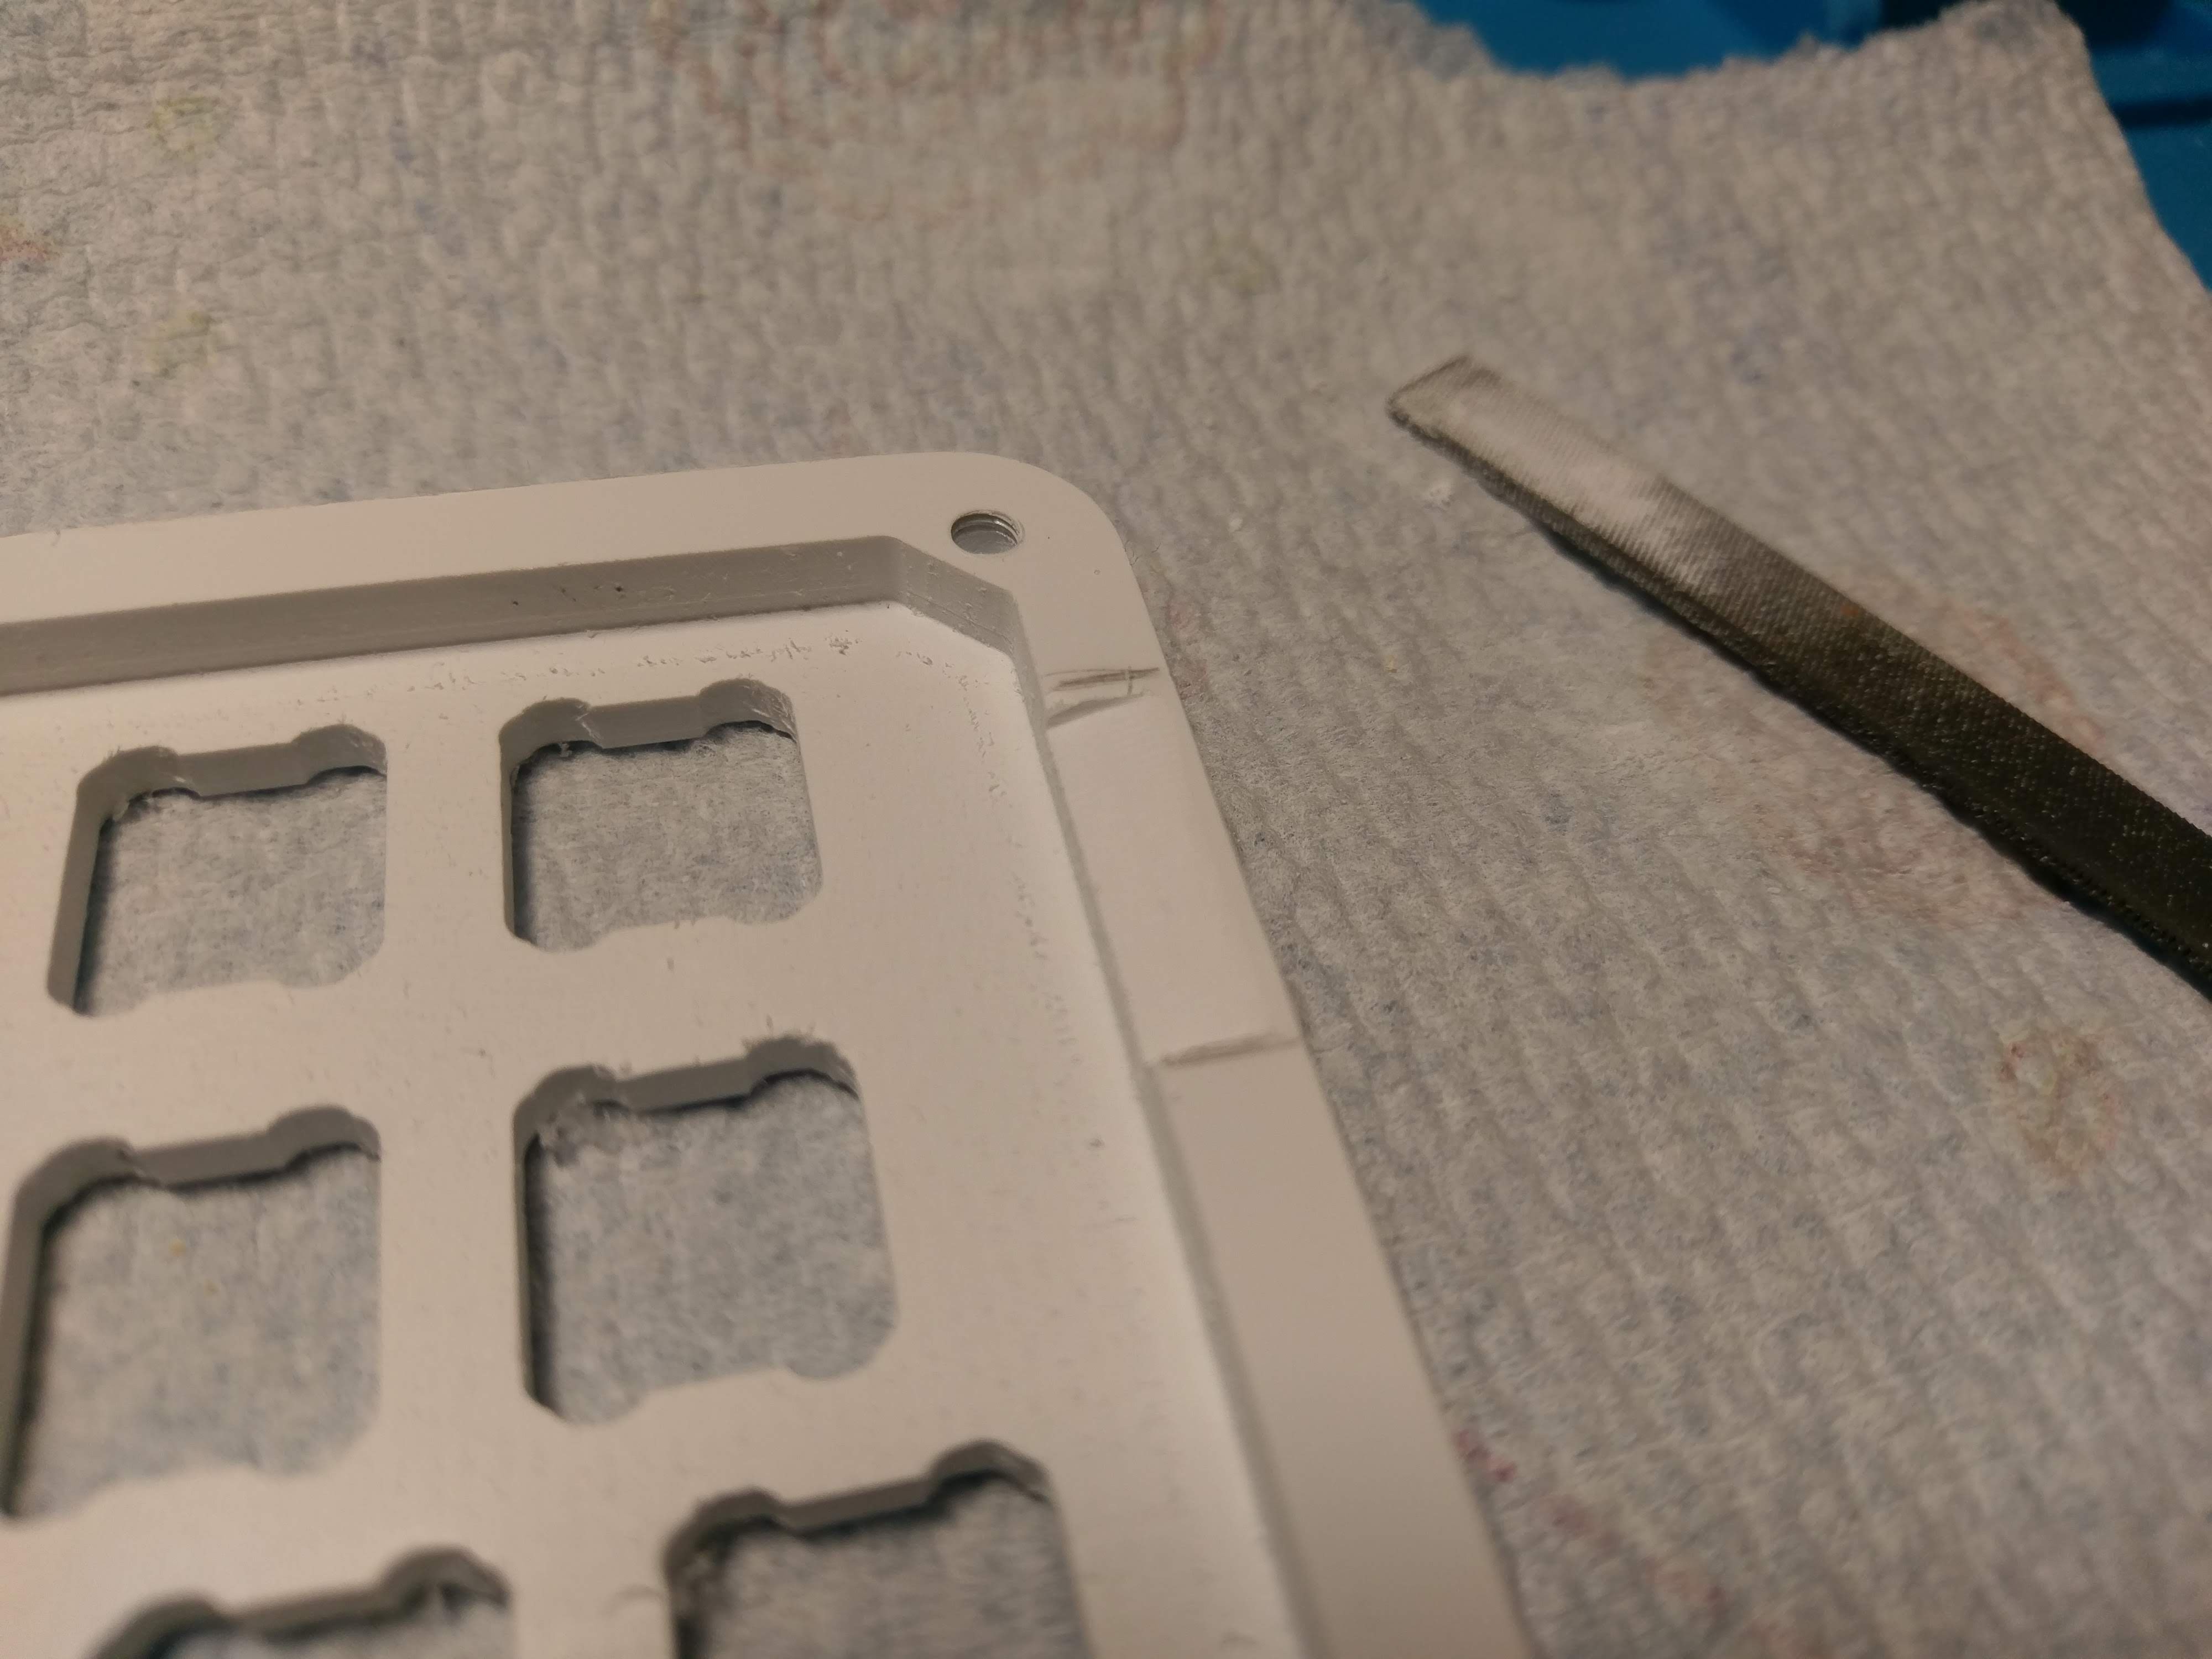 Perfect.
 Time to solder the switches.
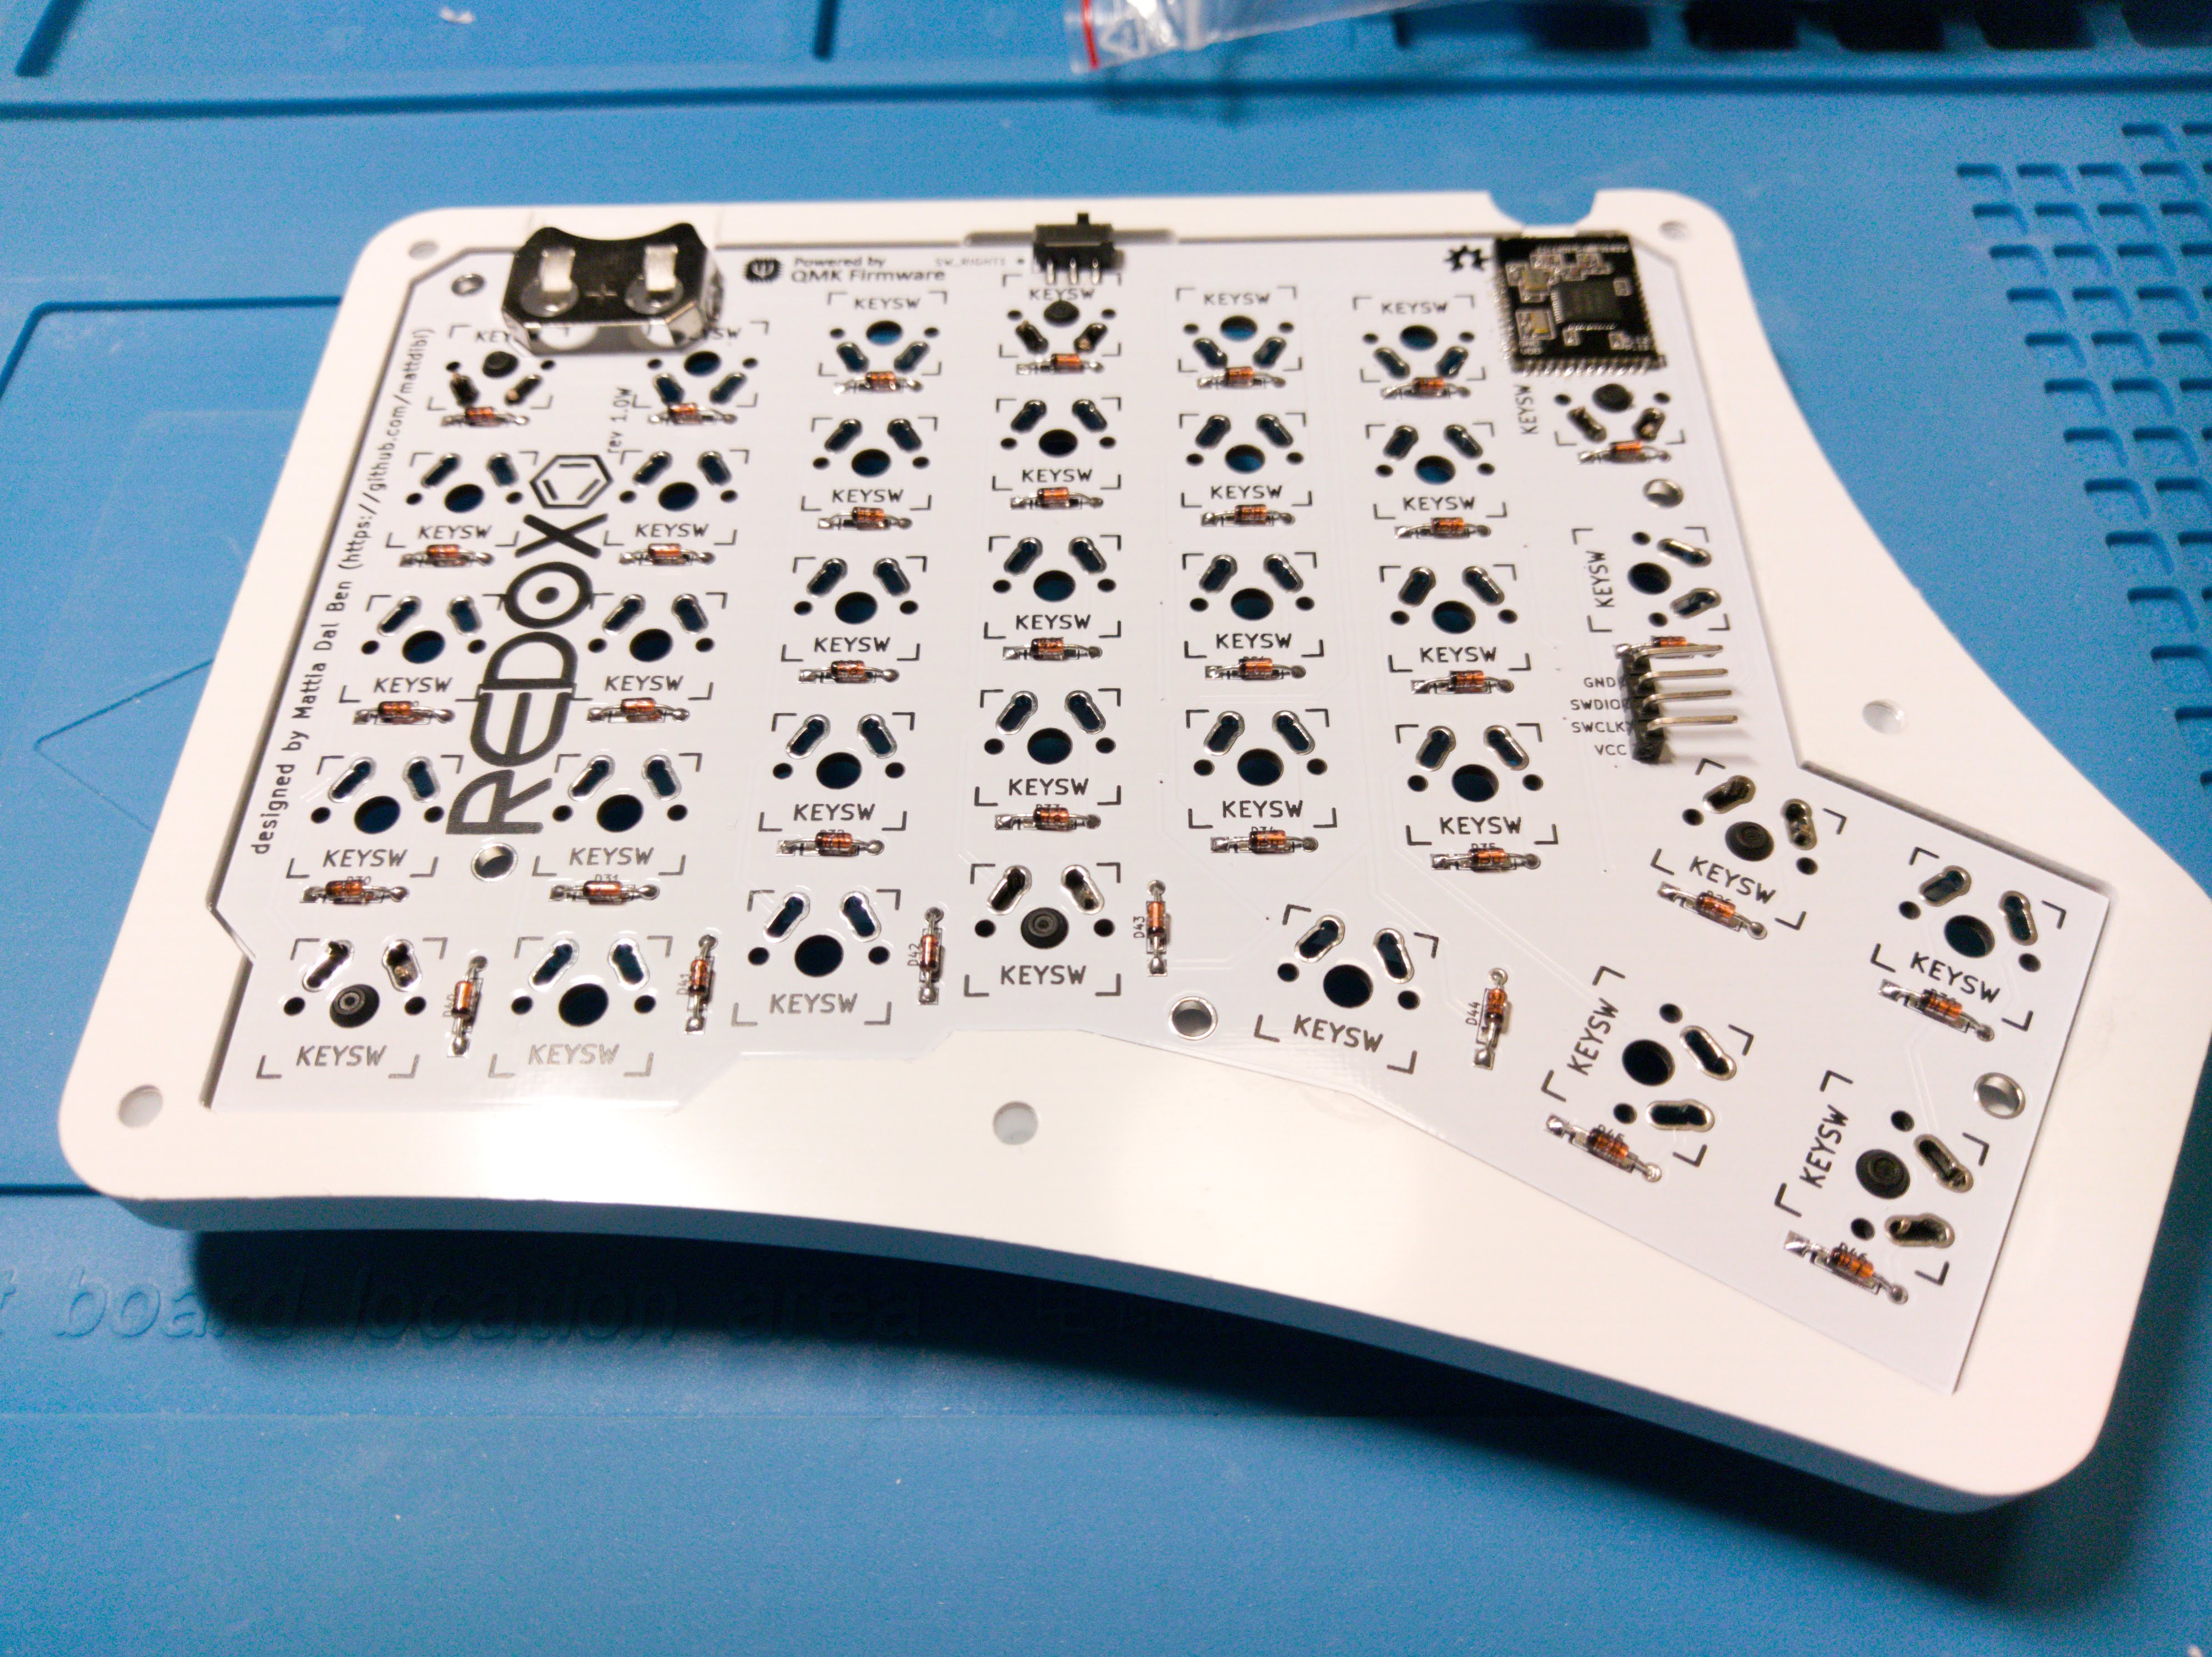
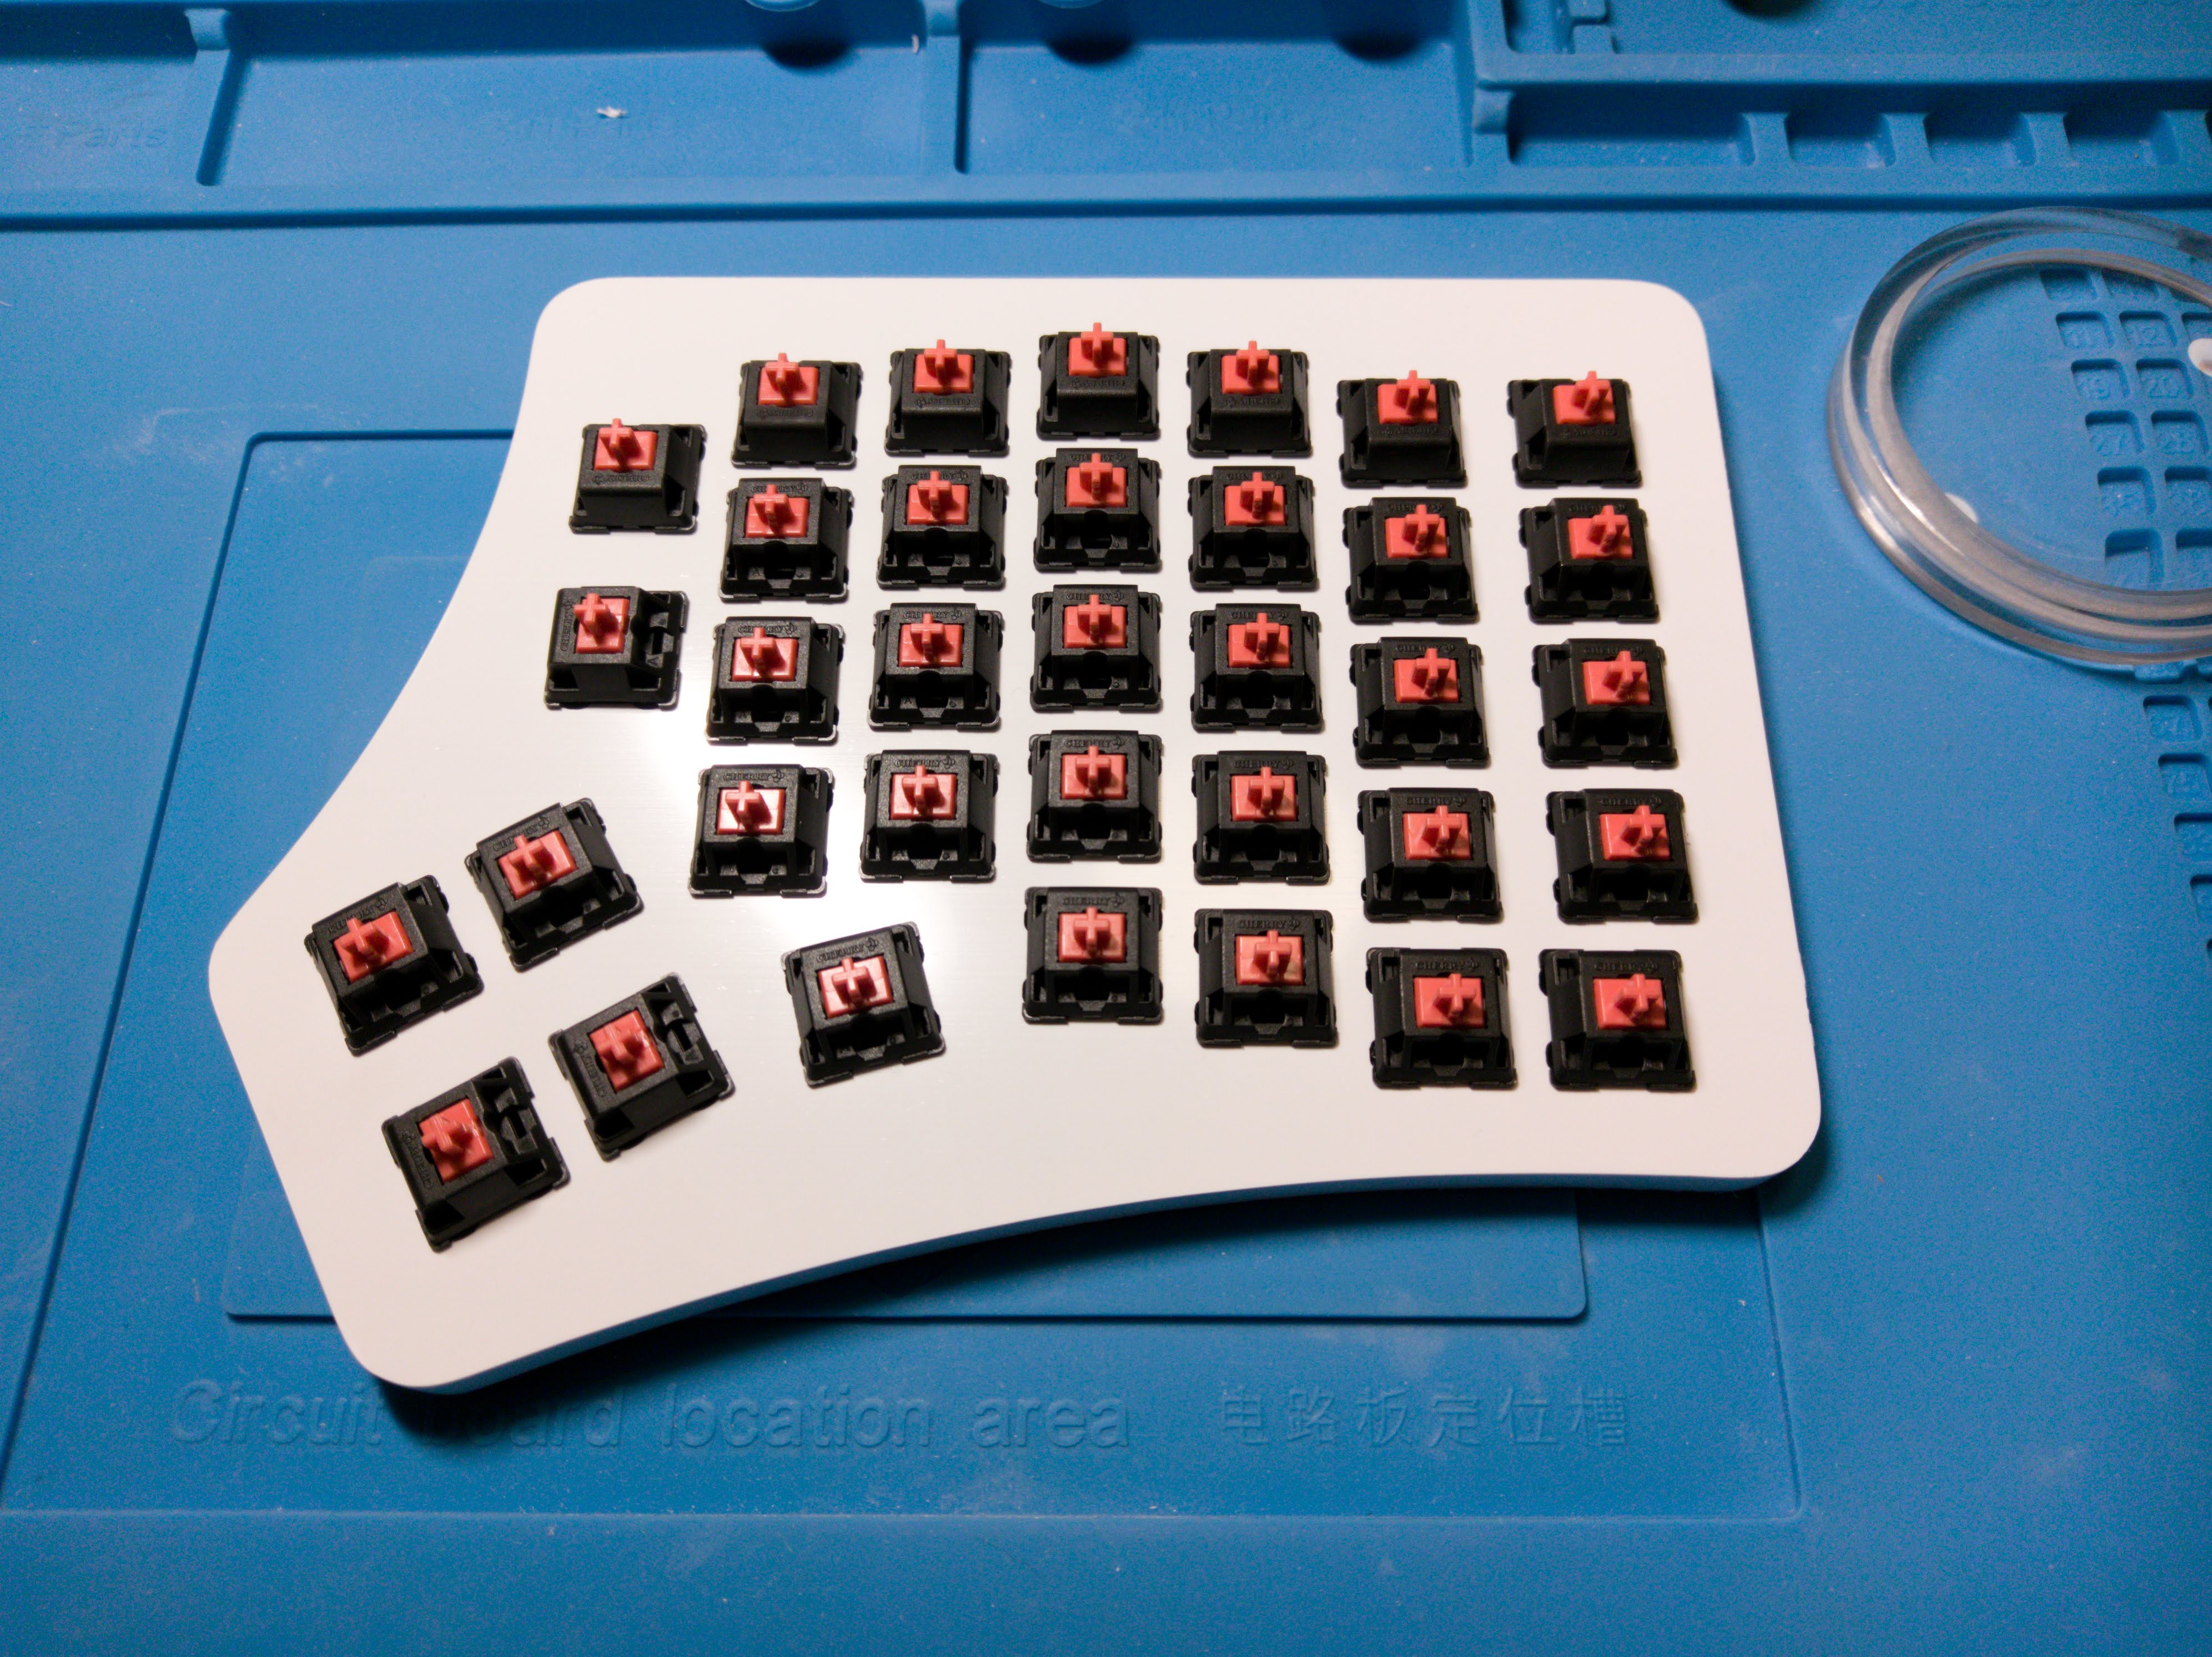
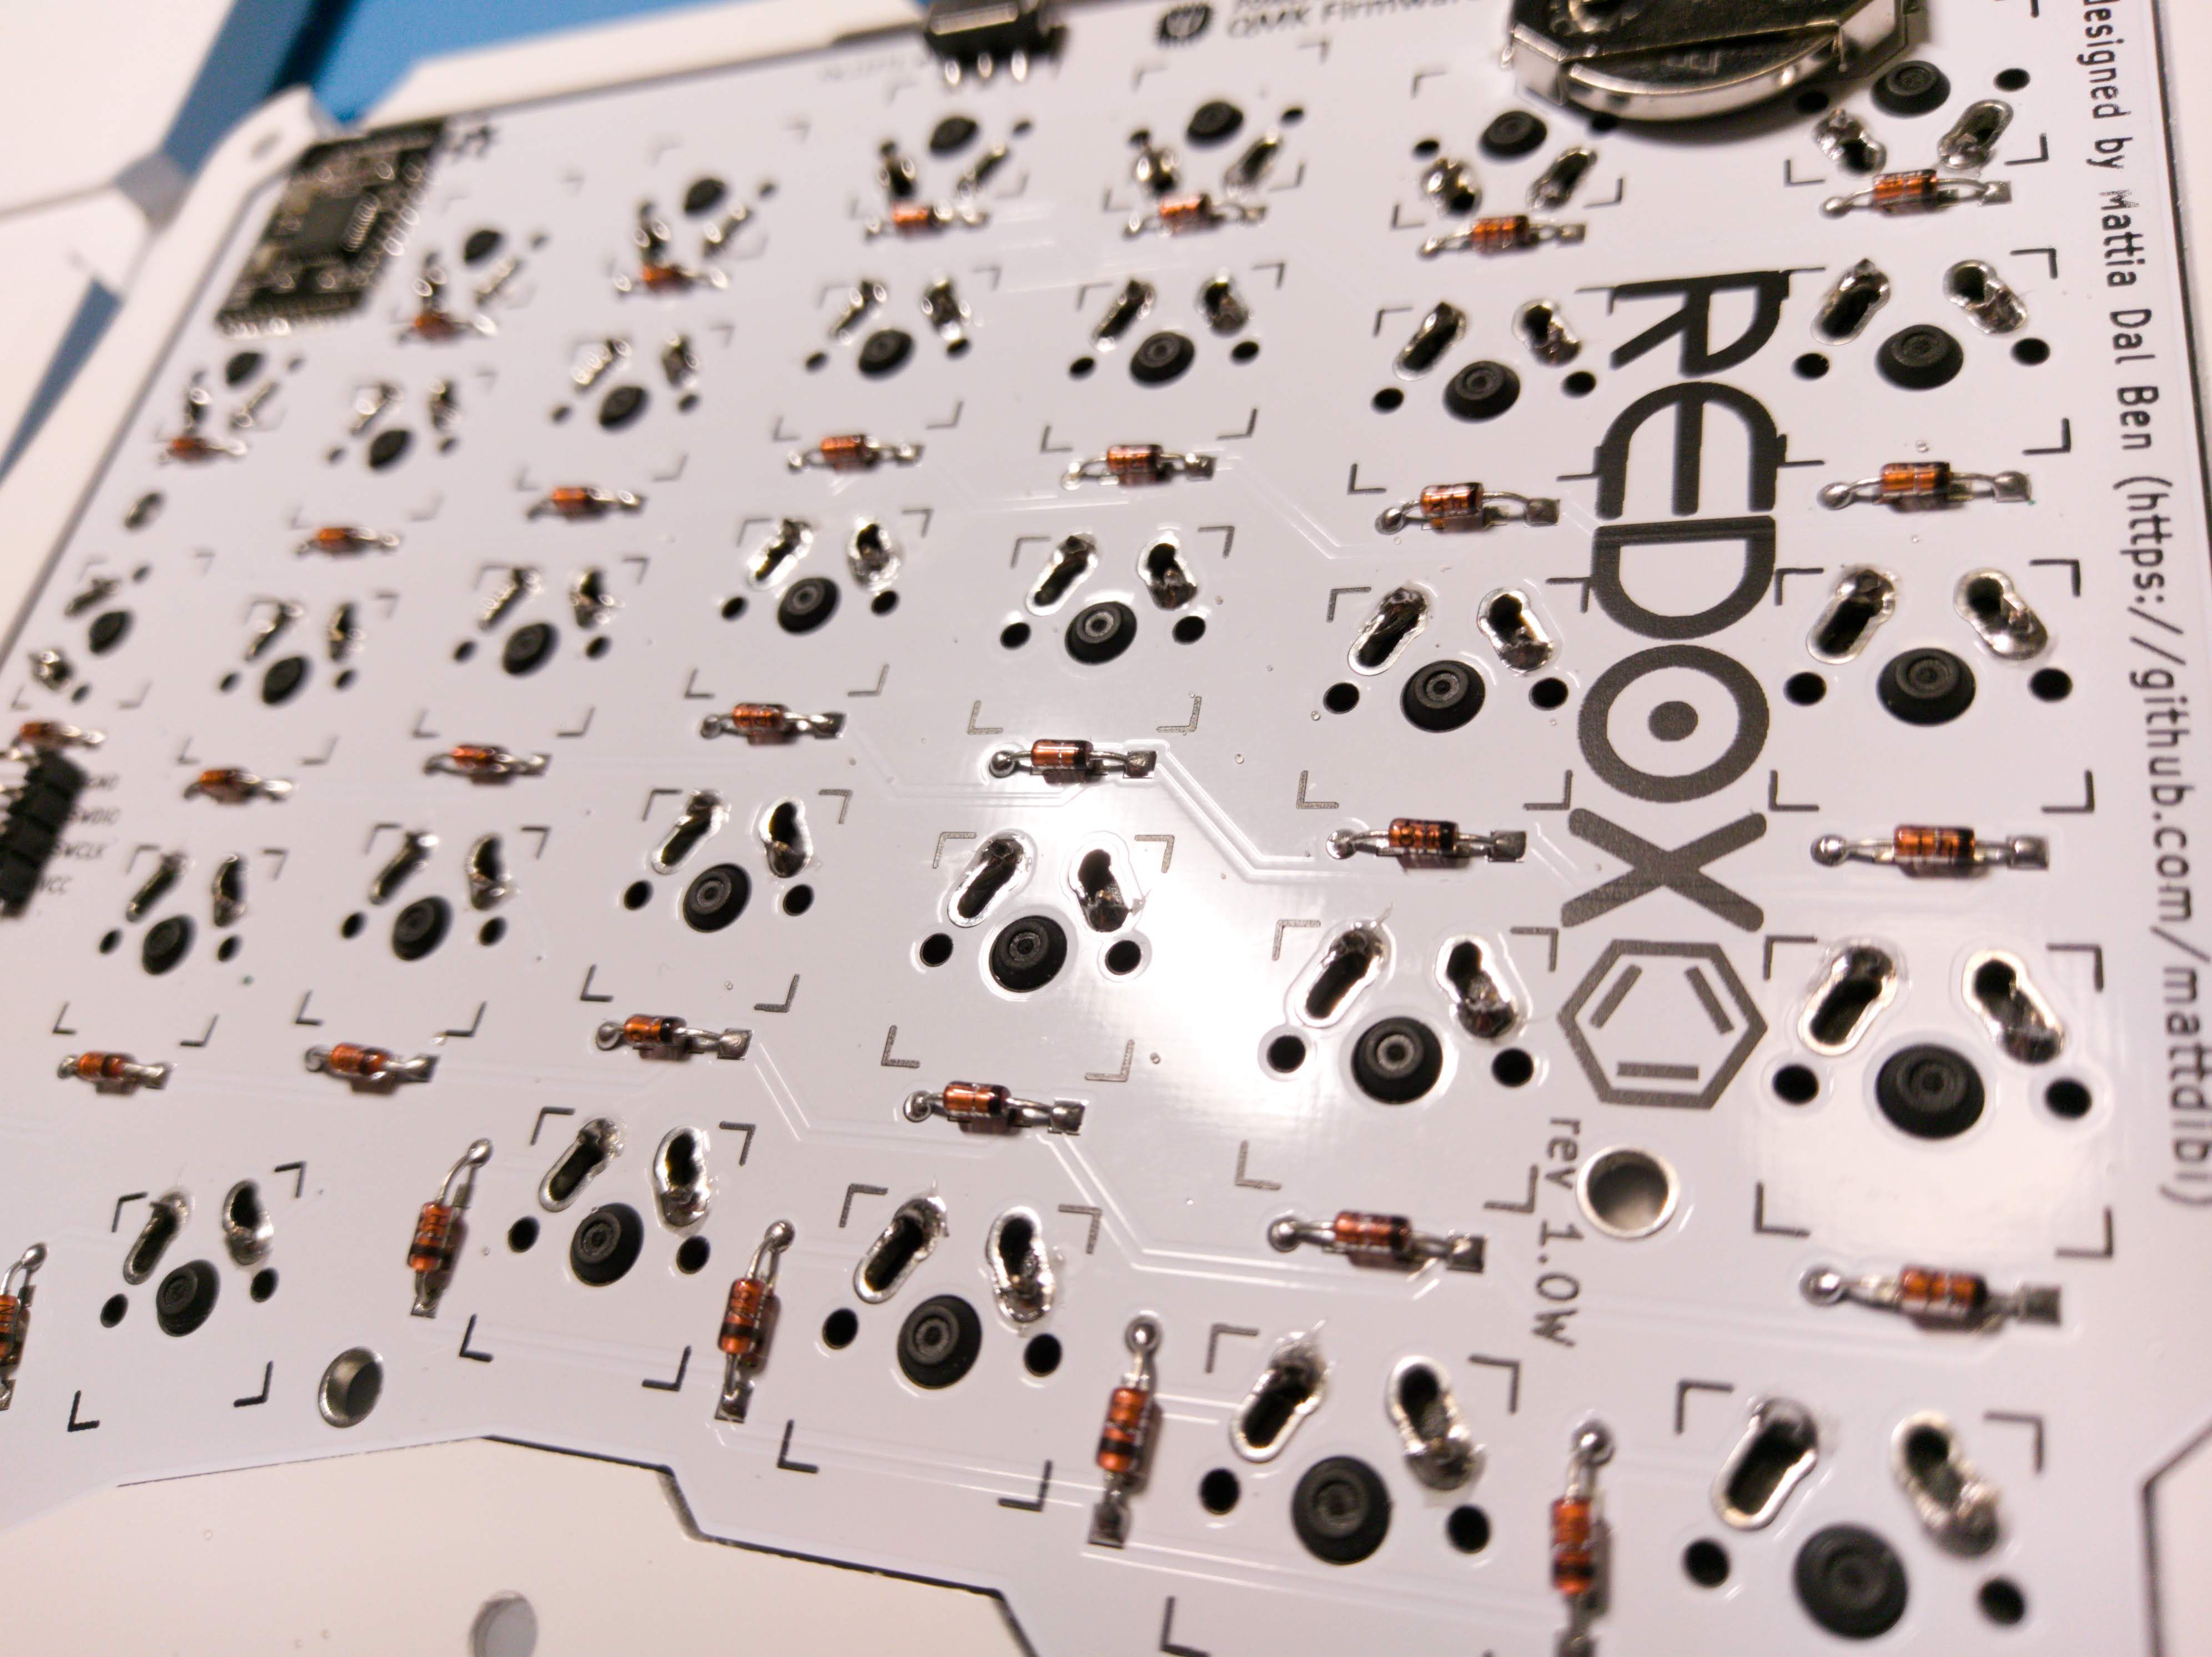 Rince and repeat.
I also assembled the Mitosis receiver separately. My breadboard-based receiver isn't as nice as this one.
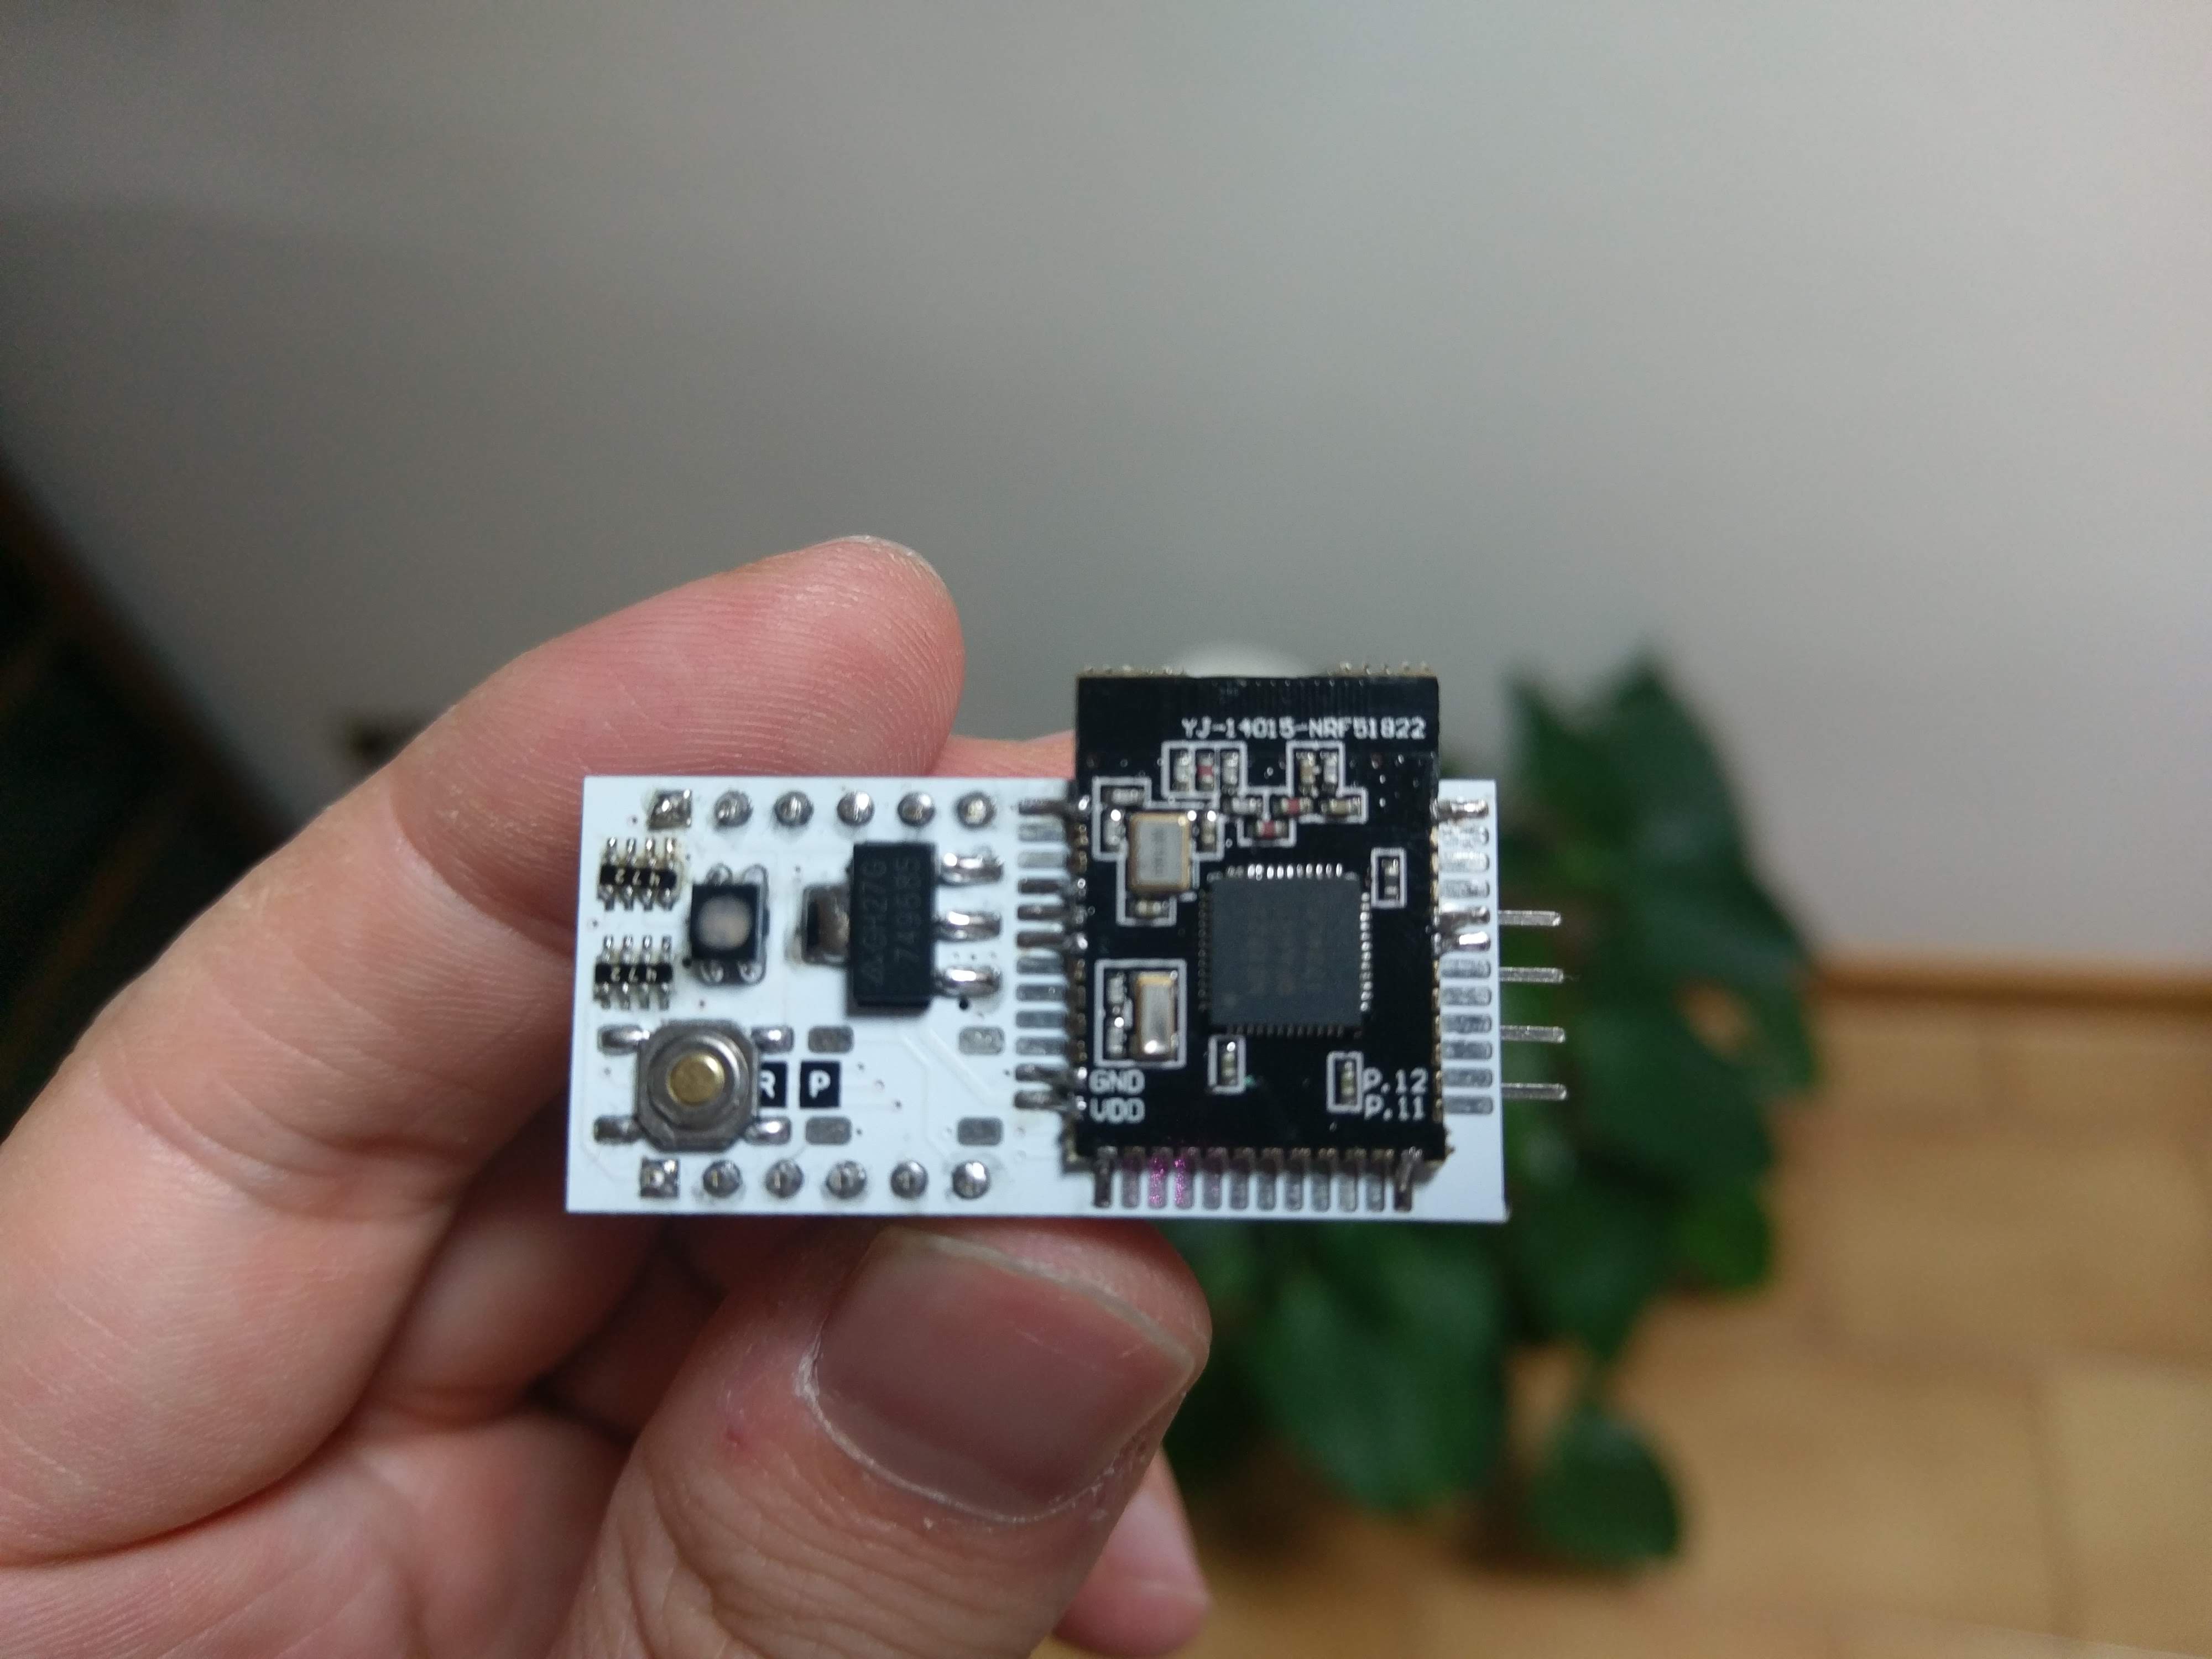
Sexy!
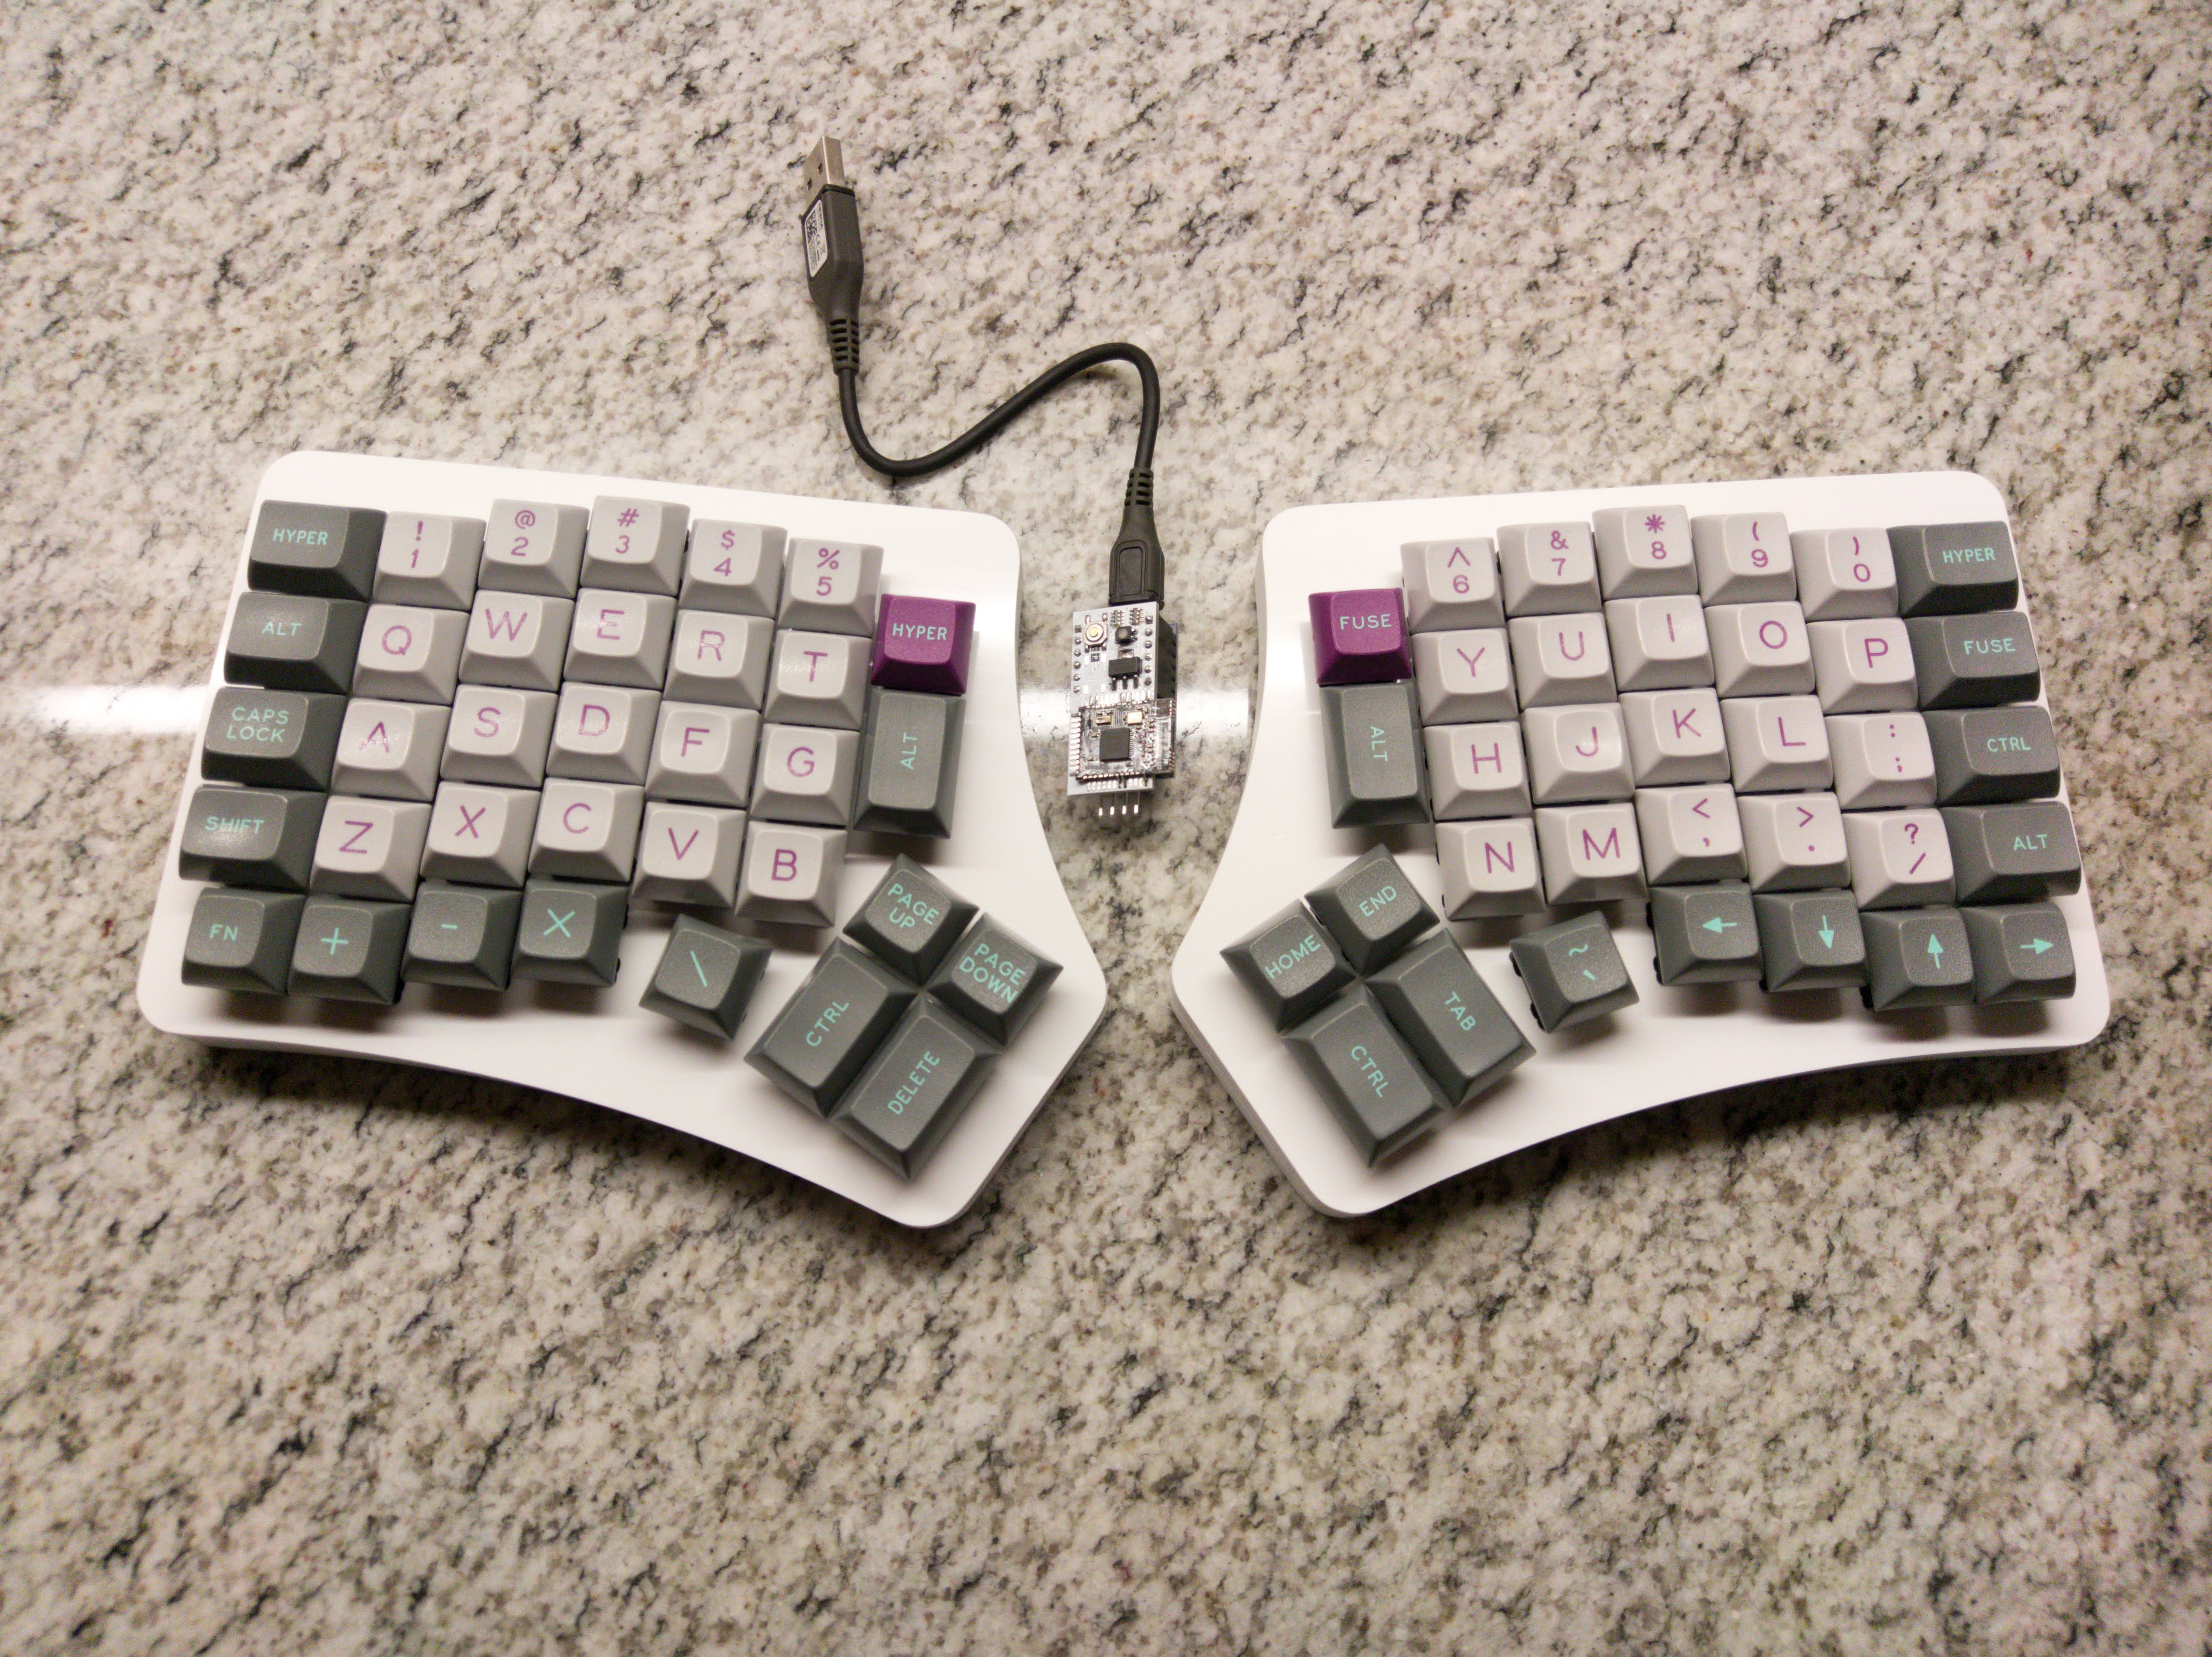
Here we are. The finished product.
I'm writing this log with it and i find it really comfortable to use without having a mess of cables around. I think that a split keyboard really shines when there's no cables to limit its positioning. I love it!
So... what now? I will put the assembly instruction on the Redox repository in the next few days and I will report on the battery usage whenever I can.
I hope you enjoyed this build as much as I did. It took me longer than I initially tought but I think the final product was well worth the effort.
See ya on another build! =D
 Mattia Dal Ben
Discussions
Become a Hackaday.io Member
Create an account to leave a comment. Already have an account? Log In.
hi, Mattia! it's quite a masterpiece, nice and clean! One question: do you ever thinked about backlighting? I understand this keyboard is made to work consuming little energy as possible, but what about - for example - smd led pcb-soldered (to gain space) with one on-off microswitch and rgb cherry mx switch? with double molded PBT keycaps (by the way, do they have necessarily to be DSA? ) the redox ultron keyboard could be even more usable...thanks again for your work! (e complimenti per il "made in Italy" :))
Are you sure? yes | no
Grazie mille! :)
LEDs were out of the equation as my main concern was power consumption. Here (https://github.com/mattdibi/redox-keyboard/tree/master/redox-w#battery-usage) some details. Even the more efficient LED will draw something in the order of mA which is an order of magnitude more than the current average consumption.
As for the keycaps nothing prevents you using DCS or whatever profile you want. It's just that DSA is easier to put on custom layout because it's not sculpted.
Hope this helps,
Are you sure? yes | no
Hi Mattia thanks for your work!
Why are you using a standard Redox case when you have the newly redesigned one?
Is it reasonable to 3d print the new case?
Are you sure? yes | no
What was the cost of everything, excluding man-hours?
Are you sure? yes | no
Let's see...
Transmitters:
- YJ-14015 x 2 = 5 EUR
- Keystone 3034 battery holders = 0.64 EUR
- JS02011SAQN slider switch = 1.20 EUR
- Cherry MX switches x 70 = 50 EUR
- Falbatech PVC case = 45 EUR
- PBT blank keycaps = 25 EUR
- 1N4148 diodes x 70 = 1 EUR (?)
- Wireless Redox PCB x 6 = 40 EUR (that was the MOQ)
Receiver:
- Arduino pro Micro = 2.5 EUR
- YJ-14015 = 2.5 EUR
- Mitosis receiver PCB x 10 = 5 EUR (that was the MOQ)
- RGB SMD Led = 0.80 EUR
- Voltage regulator = 0.30 EUR
- Resistor array = 0.10 EUR
- SMD button = 0.33 EUR
Refer to the bom for all the details: https://github.com/mattdibi/redox-keyboard/tree/master/redox-w
I left out the cost of shipping because it might differ for you. Also I had to pay customs for the PCB... (T_T)
Are you sure? yes | no
Oh man, this is awesome. Very curious to see how battery usage goes. I've been spoiled with a logitech solar keyboard for quite some time, so estimates on how long the battery lasts will be interesting.
Are you sure? yes | no
That's a good idea for another upgrade: make it solar powered/rechargeable!
Are you sure? yes | no