 Johann Elias Stoetzer
The next day, Saturday, we met at Elias' home to continue our work for this competition...
We still had a lot of fine work to do [very time consuming and a bit annoying, since progress seems to be slow than] - so this is us soldering again:

We managed to get the input modules connected time by time and wanted to make them look as "professional" as we could. It's nice to have some fast results on a breadboard, but taking it up the next level to eliminate bad contacts, wires popping out of connections etc, is important if you actually want to build something reliable...
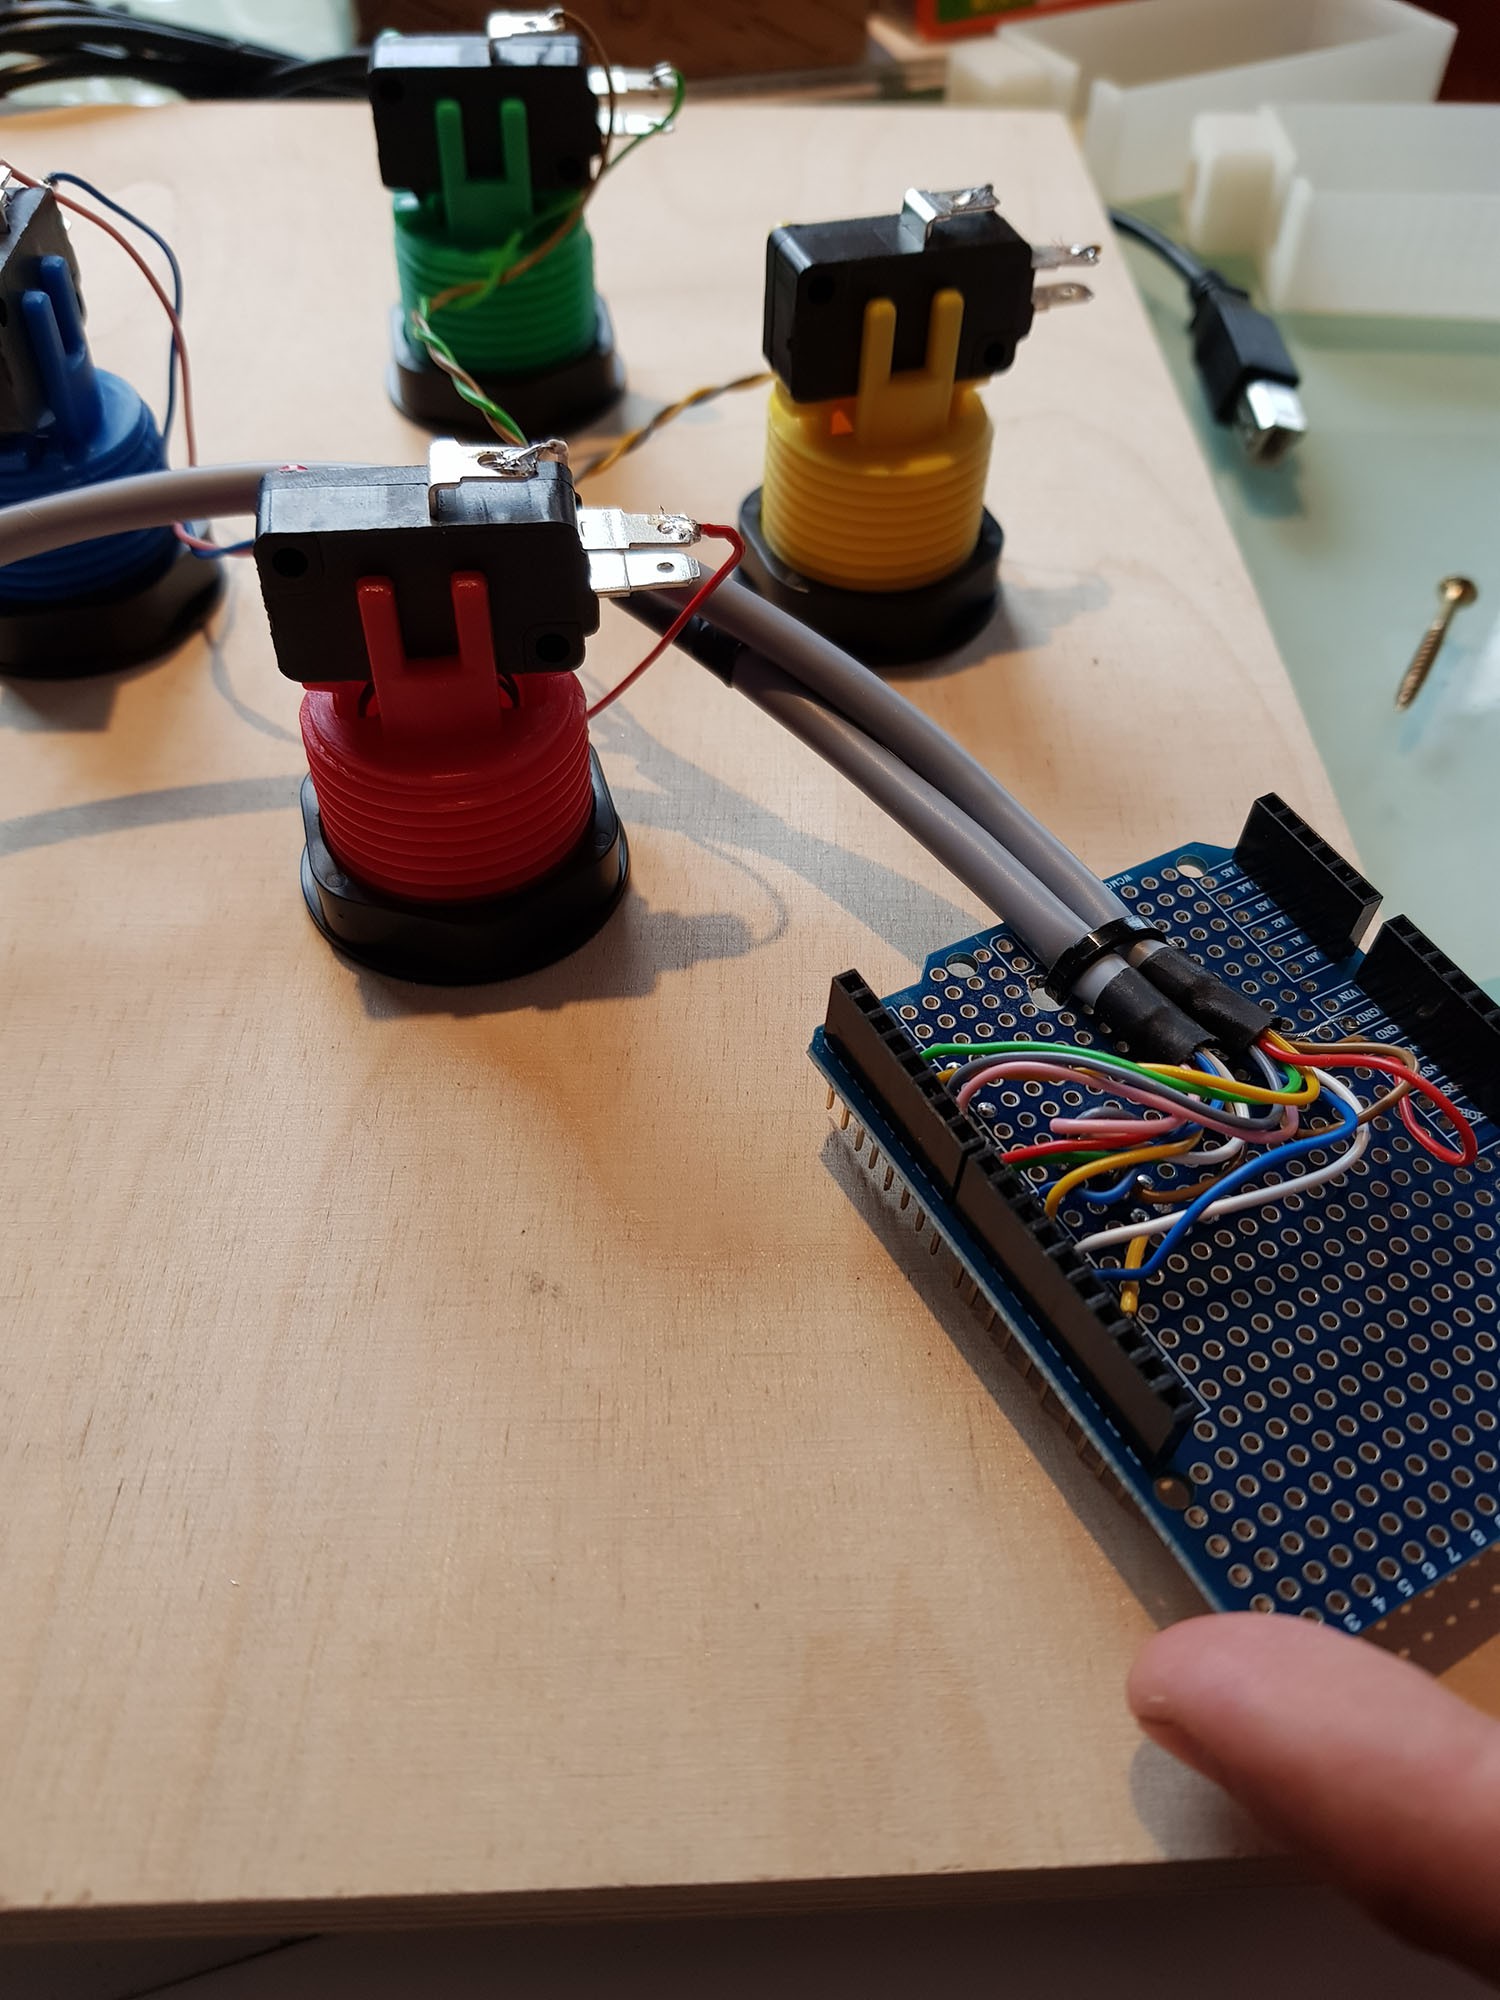
Here is a close-up of one shield connected to the "Arcade-Button"-Module with proper cable mounting:
 Next step is to do the same with the "Joystick-Module"...
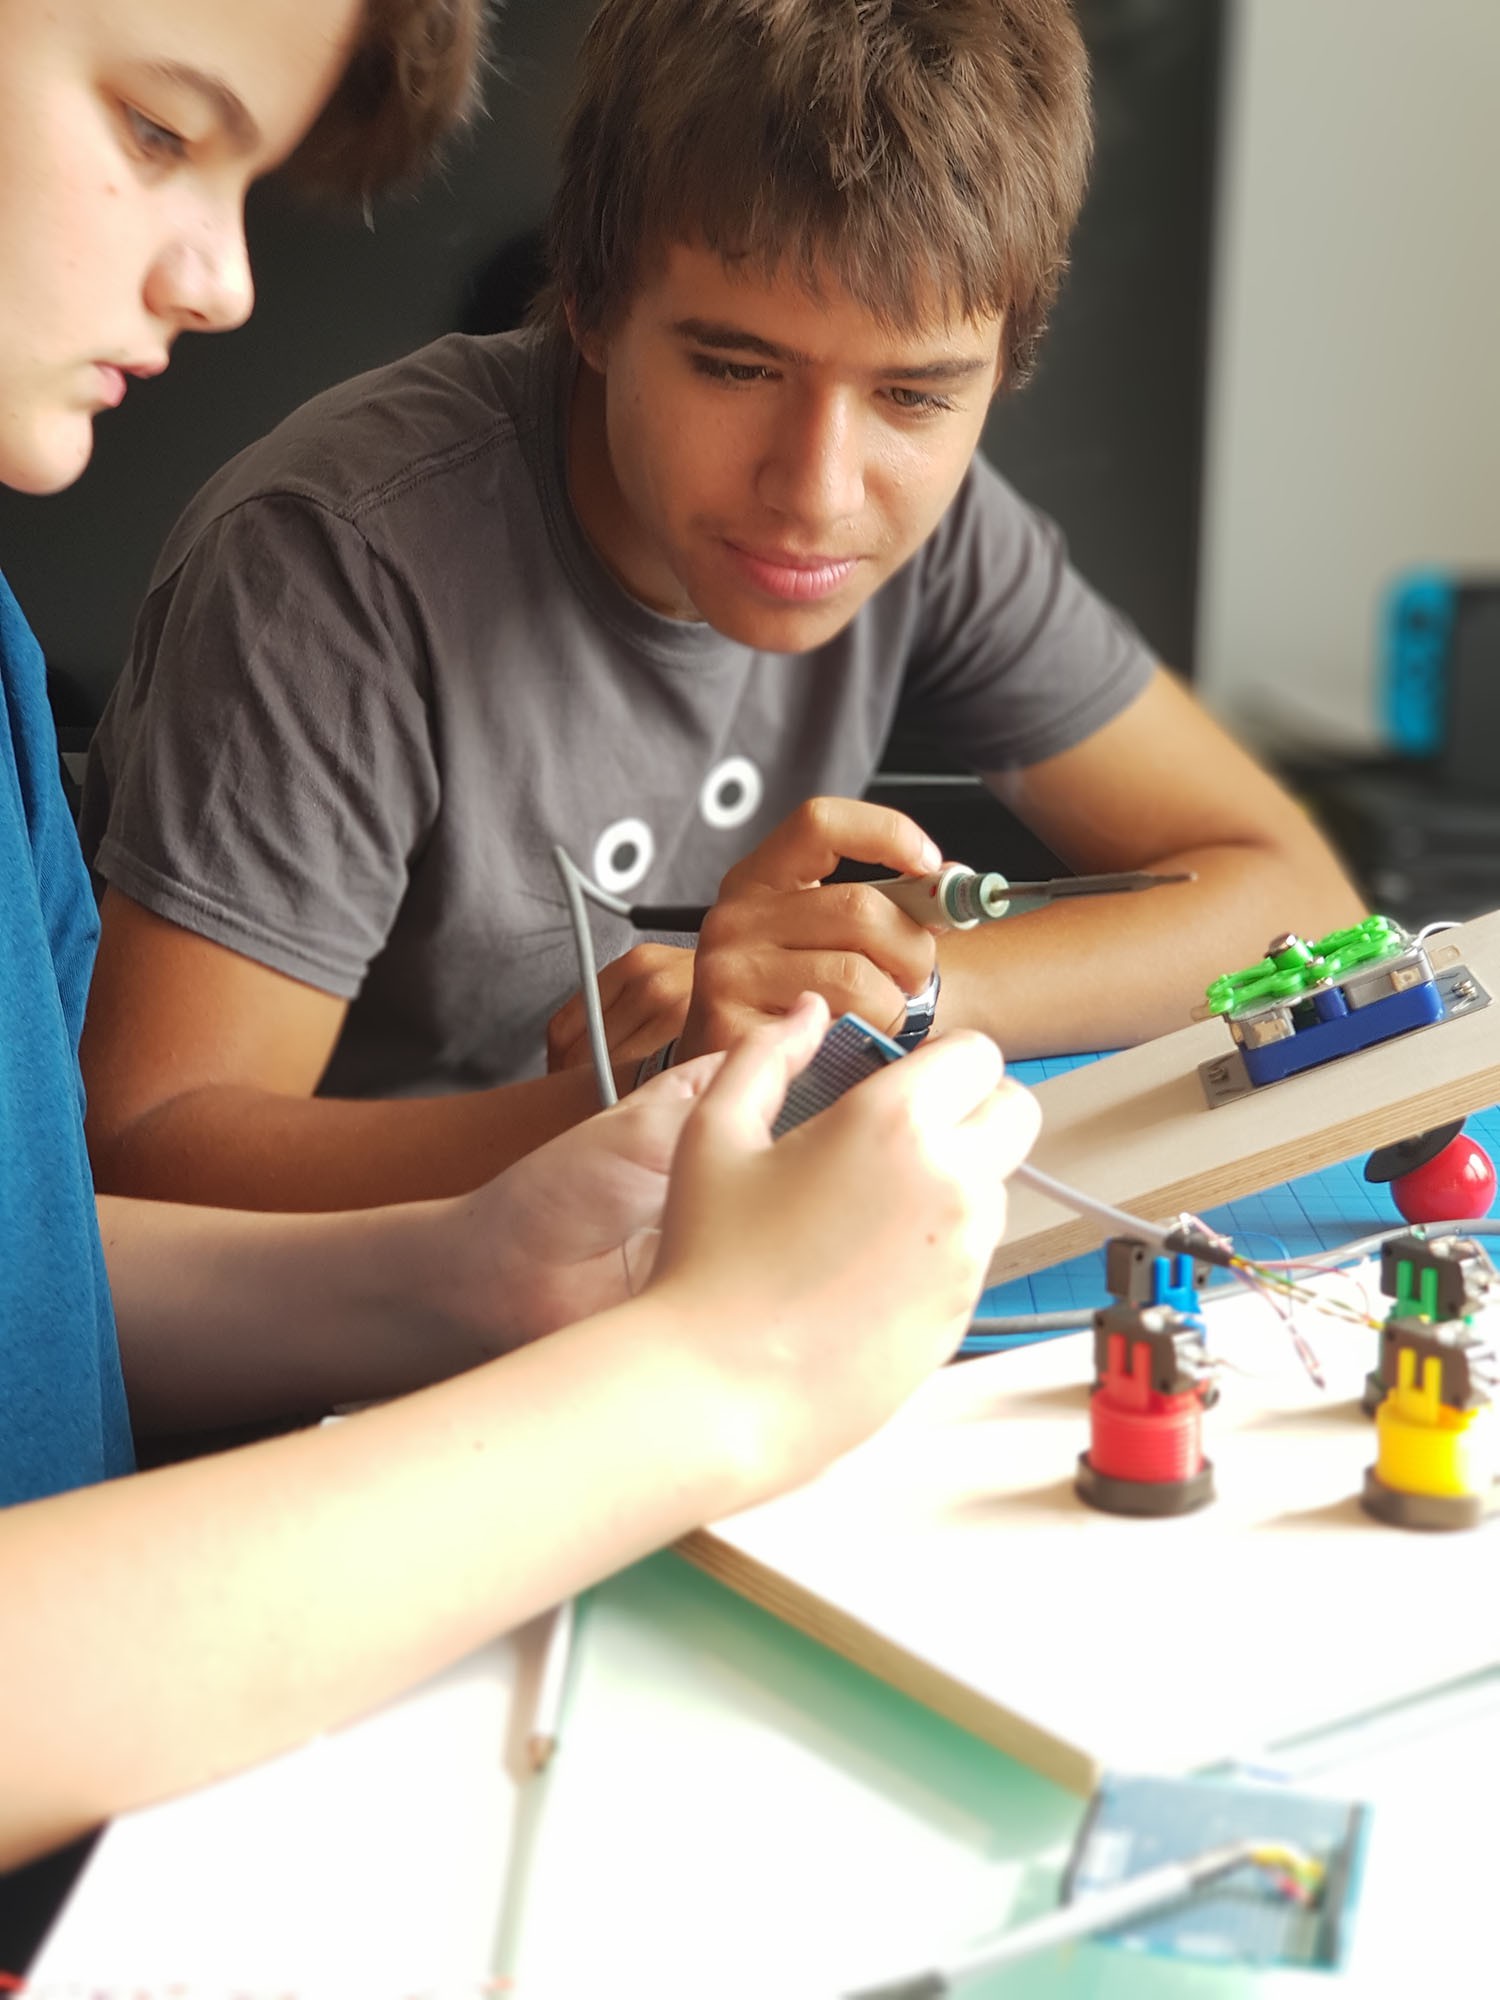
Yes, nearly done... It took longer than we expected ;-)
But we have two proper build prototypes, that can handle some rough input :-)
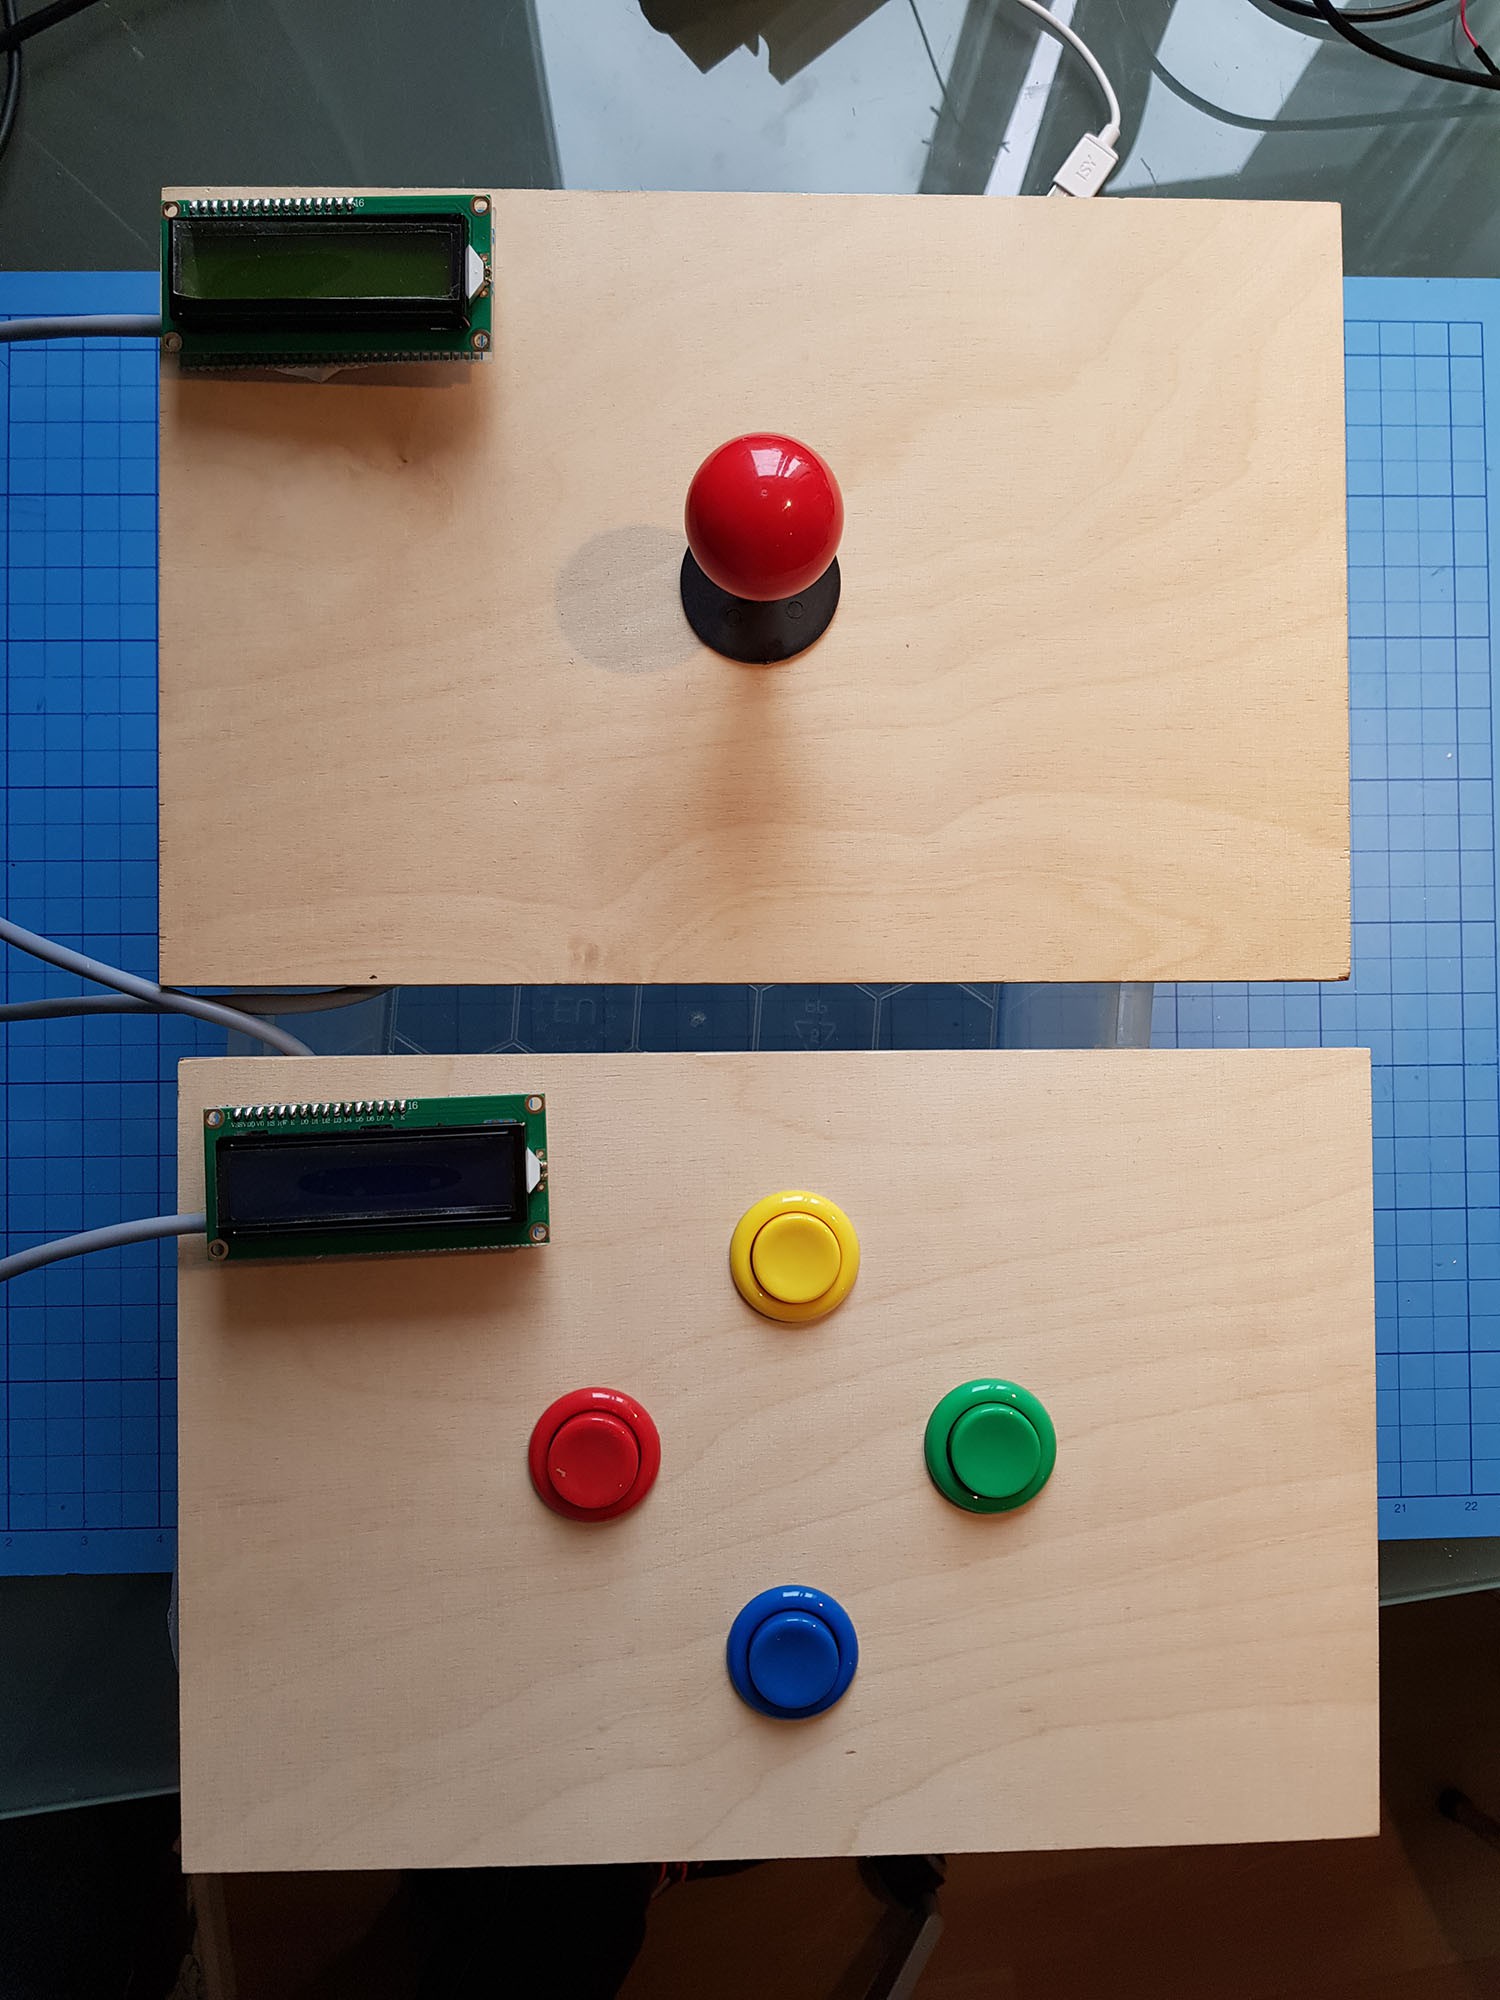
Each has got it's own Arduino and an LCD. Next: testing them :-))
Discussions
Become a Hackaday.io Member
Create an account to leave a comment. Already have an account? Log In.