 Cedric Anné
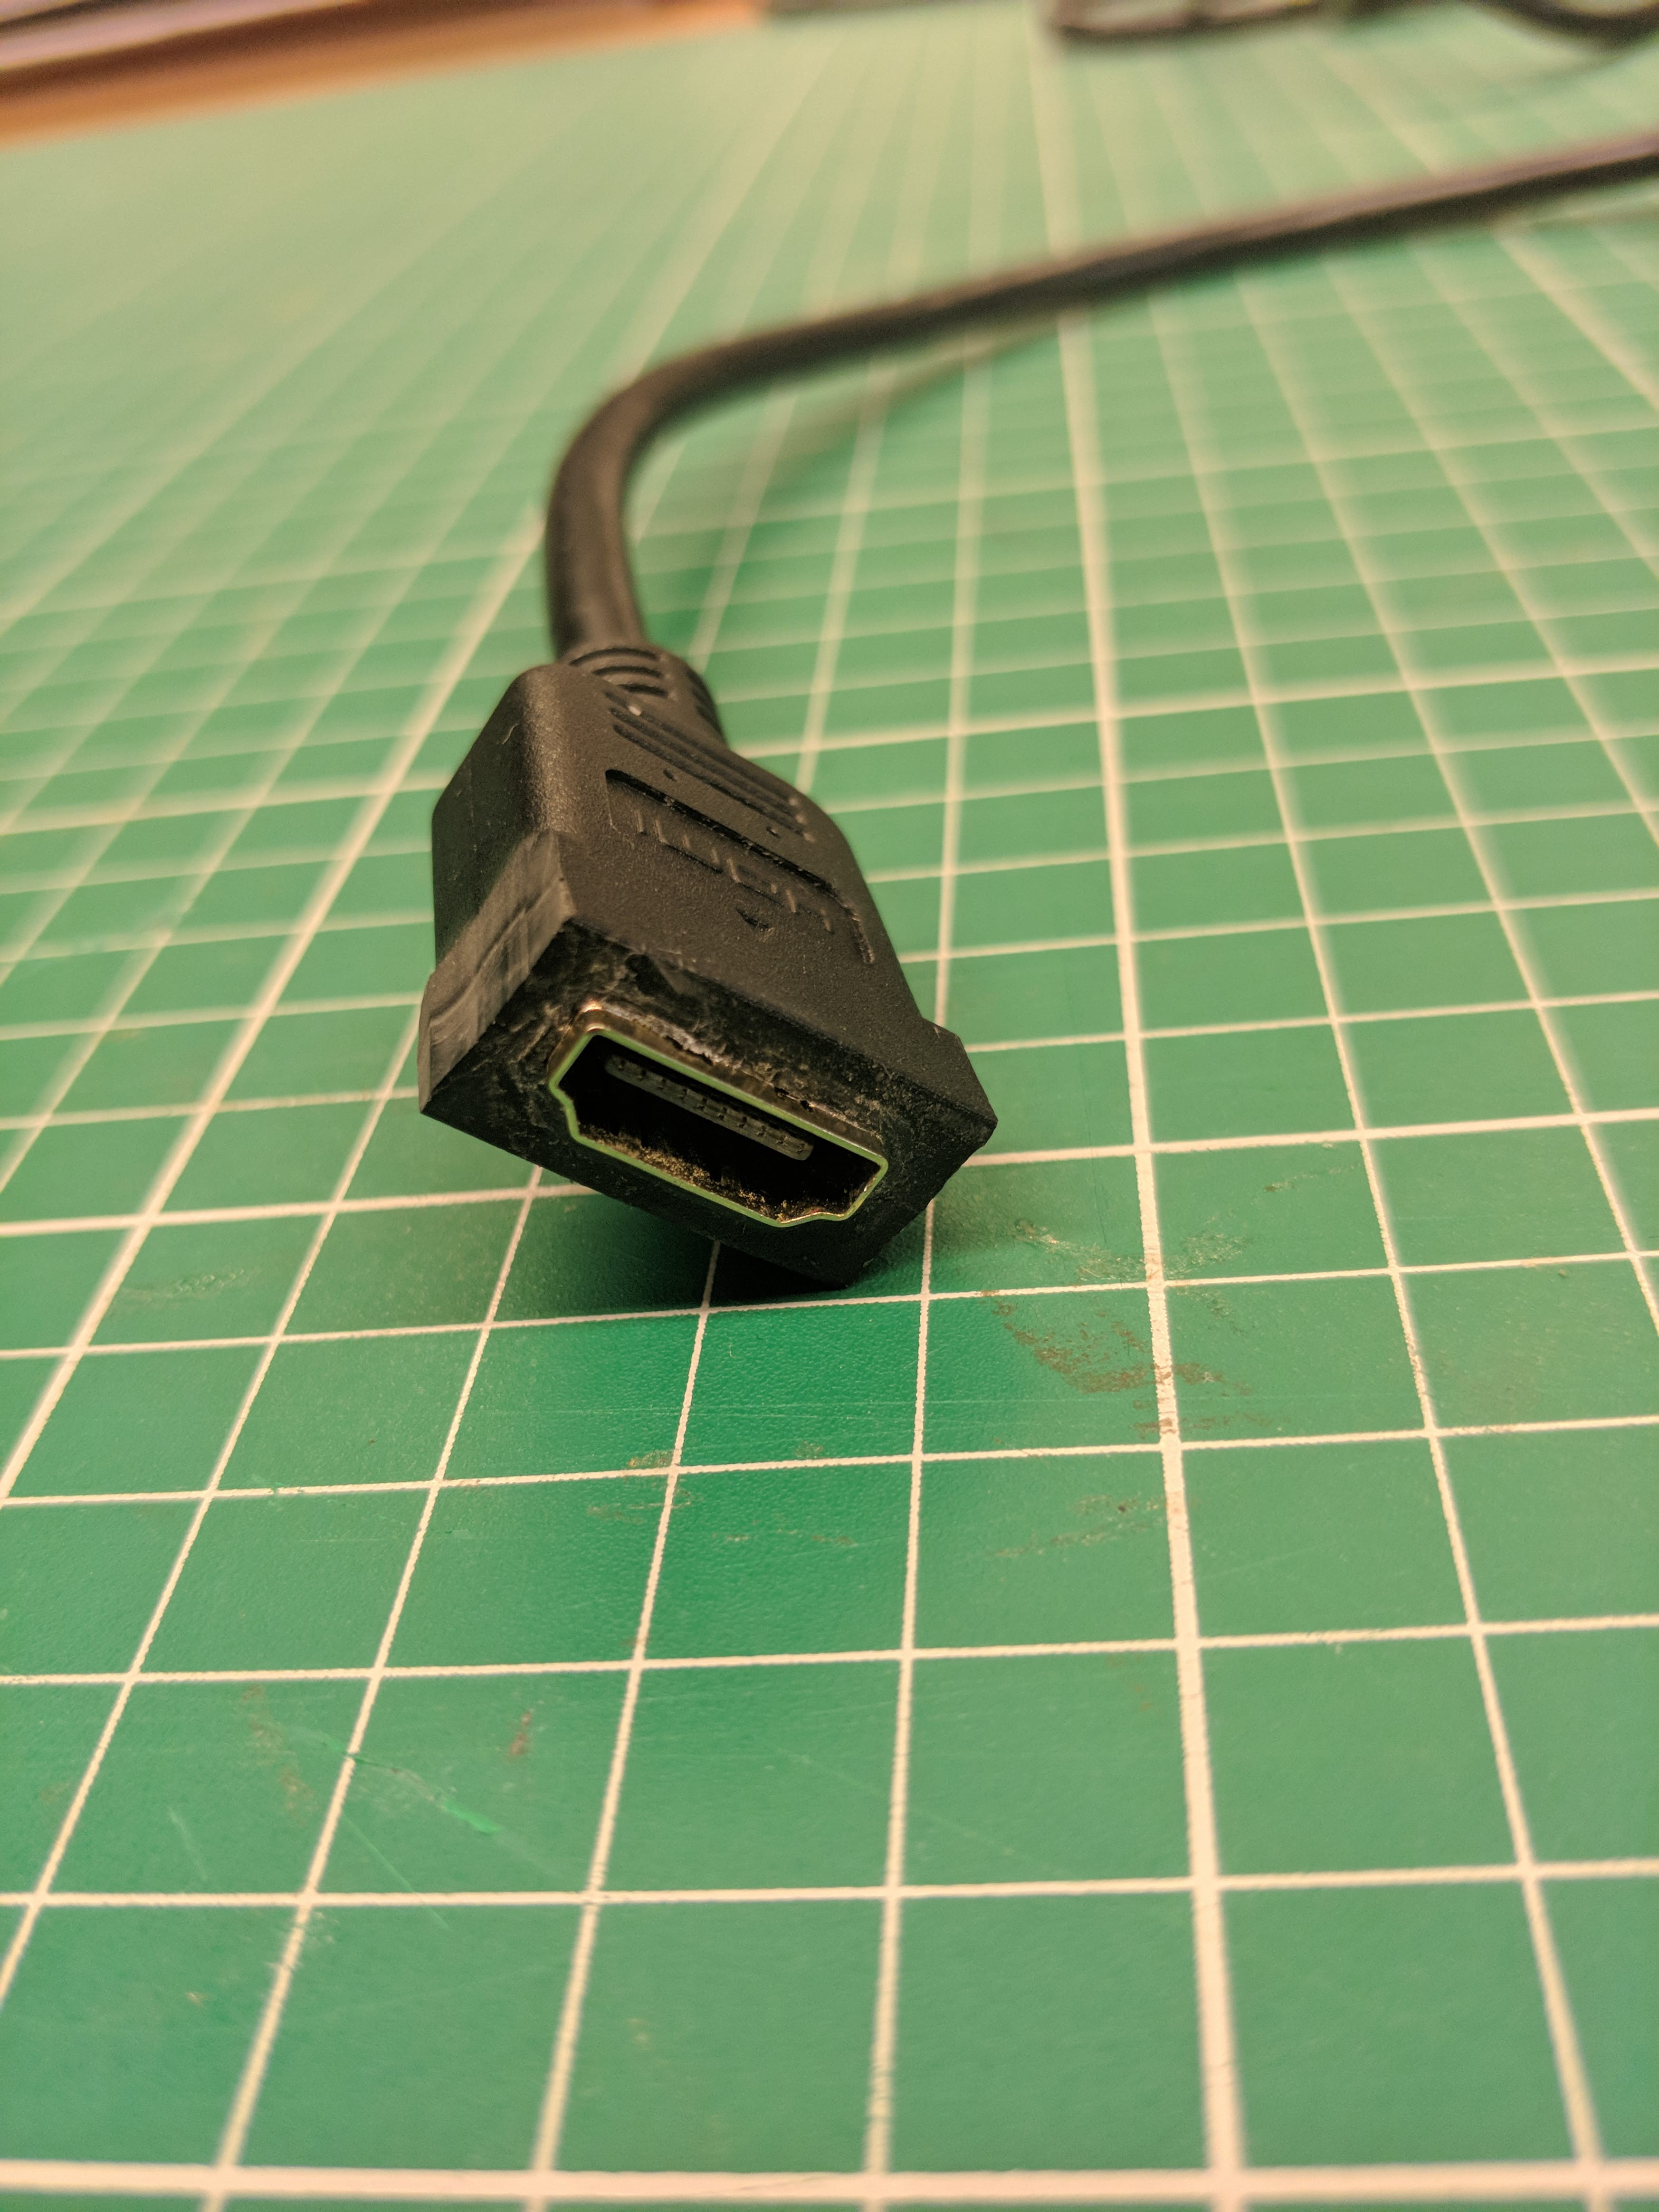
Some of the extension cables for the IO shield arrived, so I'm trying to finish the layout and print a final version.
A few of these cables have screw holes and extra protection that's going to be in the way, so I'm removing that with a box cutter.

I tried some test prints with the transparent PETG filament I bought some time ago and got pretty good transparency, but the geometry of the IO shield doesn't seem to work as well. Might need to work on that if I really want it to be more transparent.
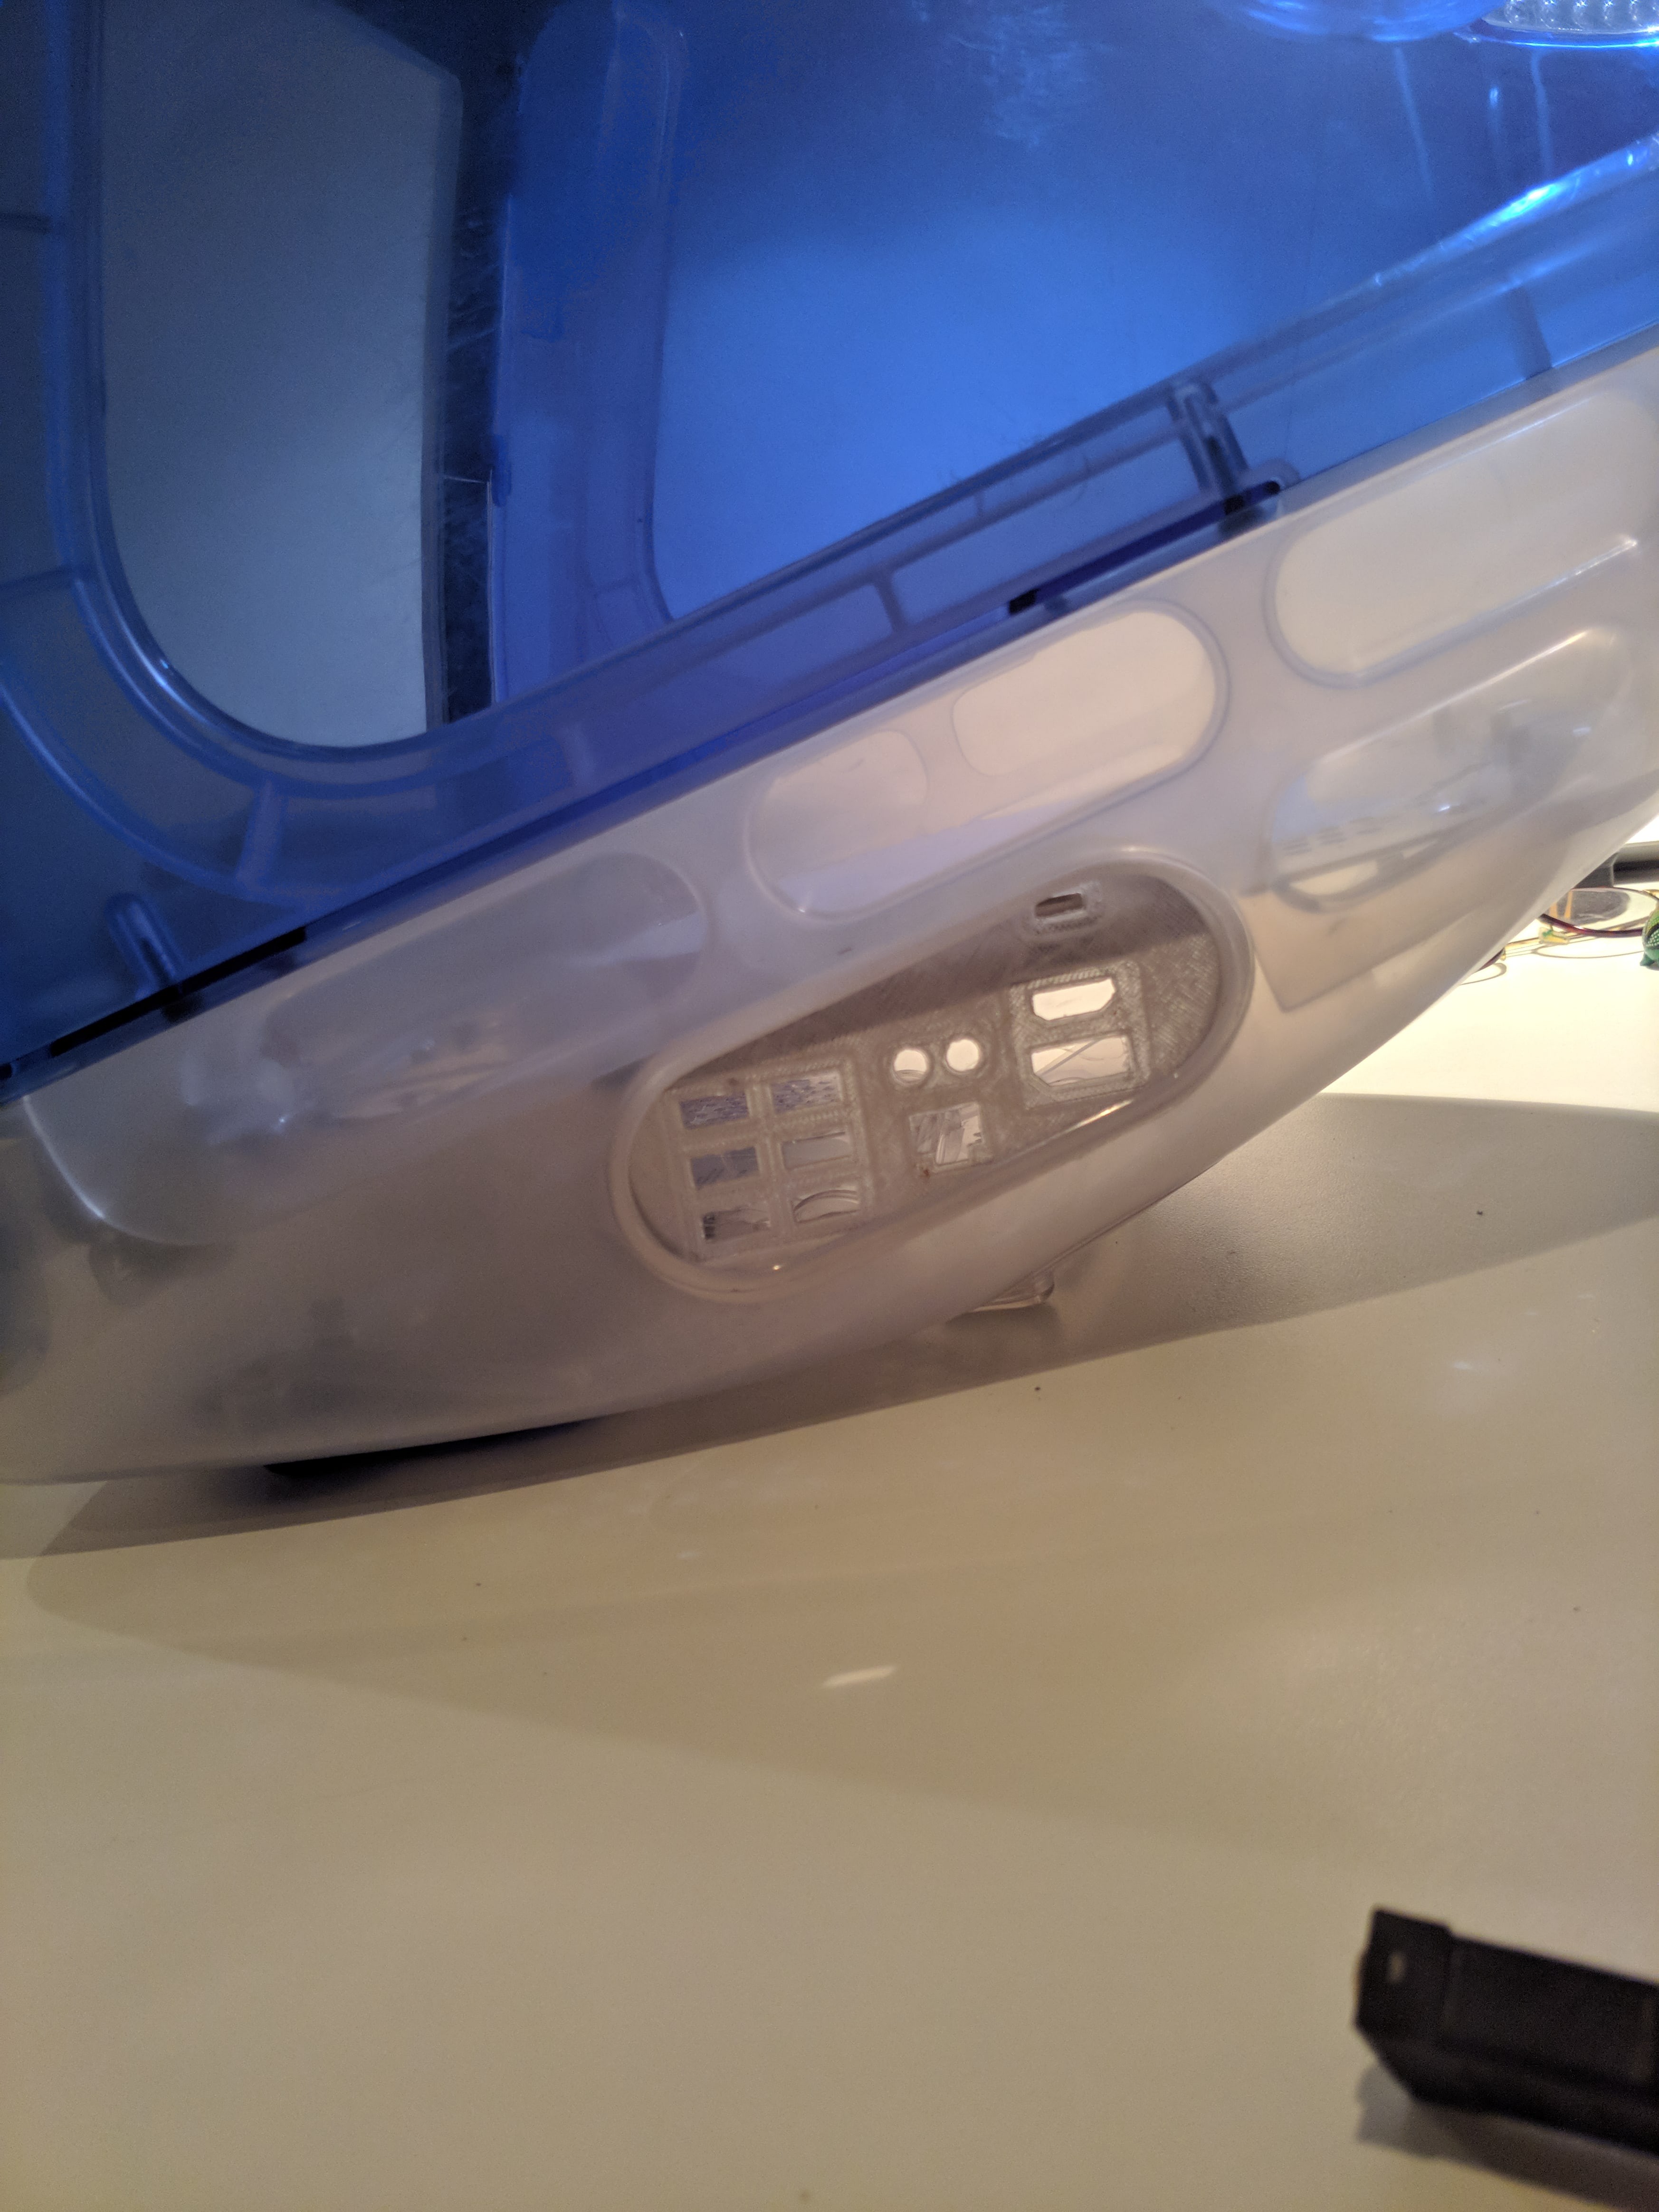
All in all I think it's coming along quite nicely.
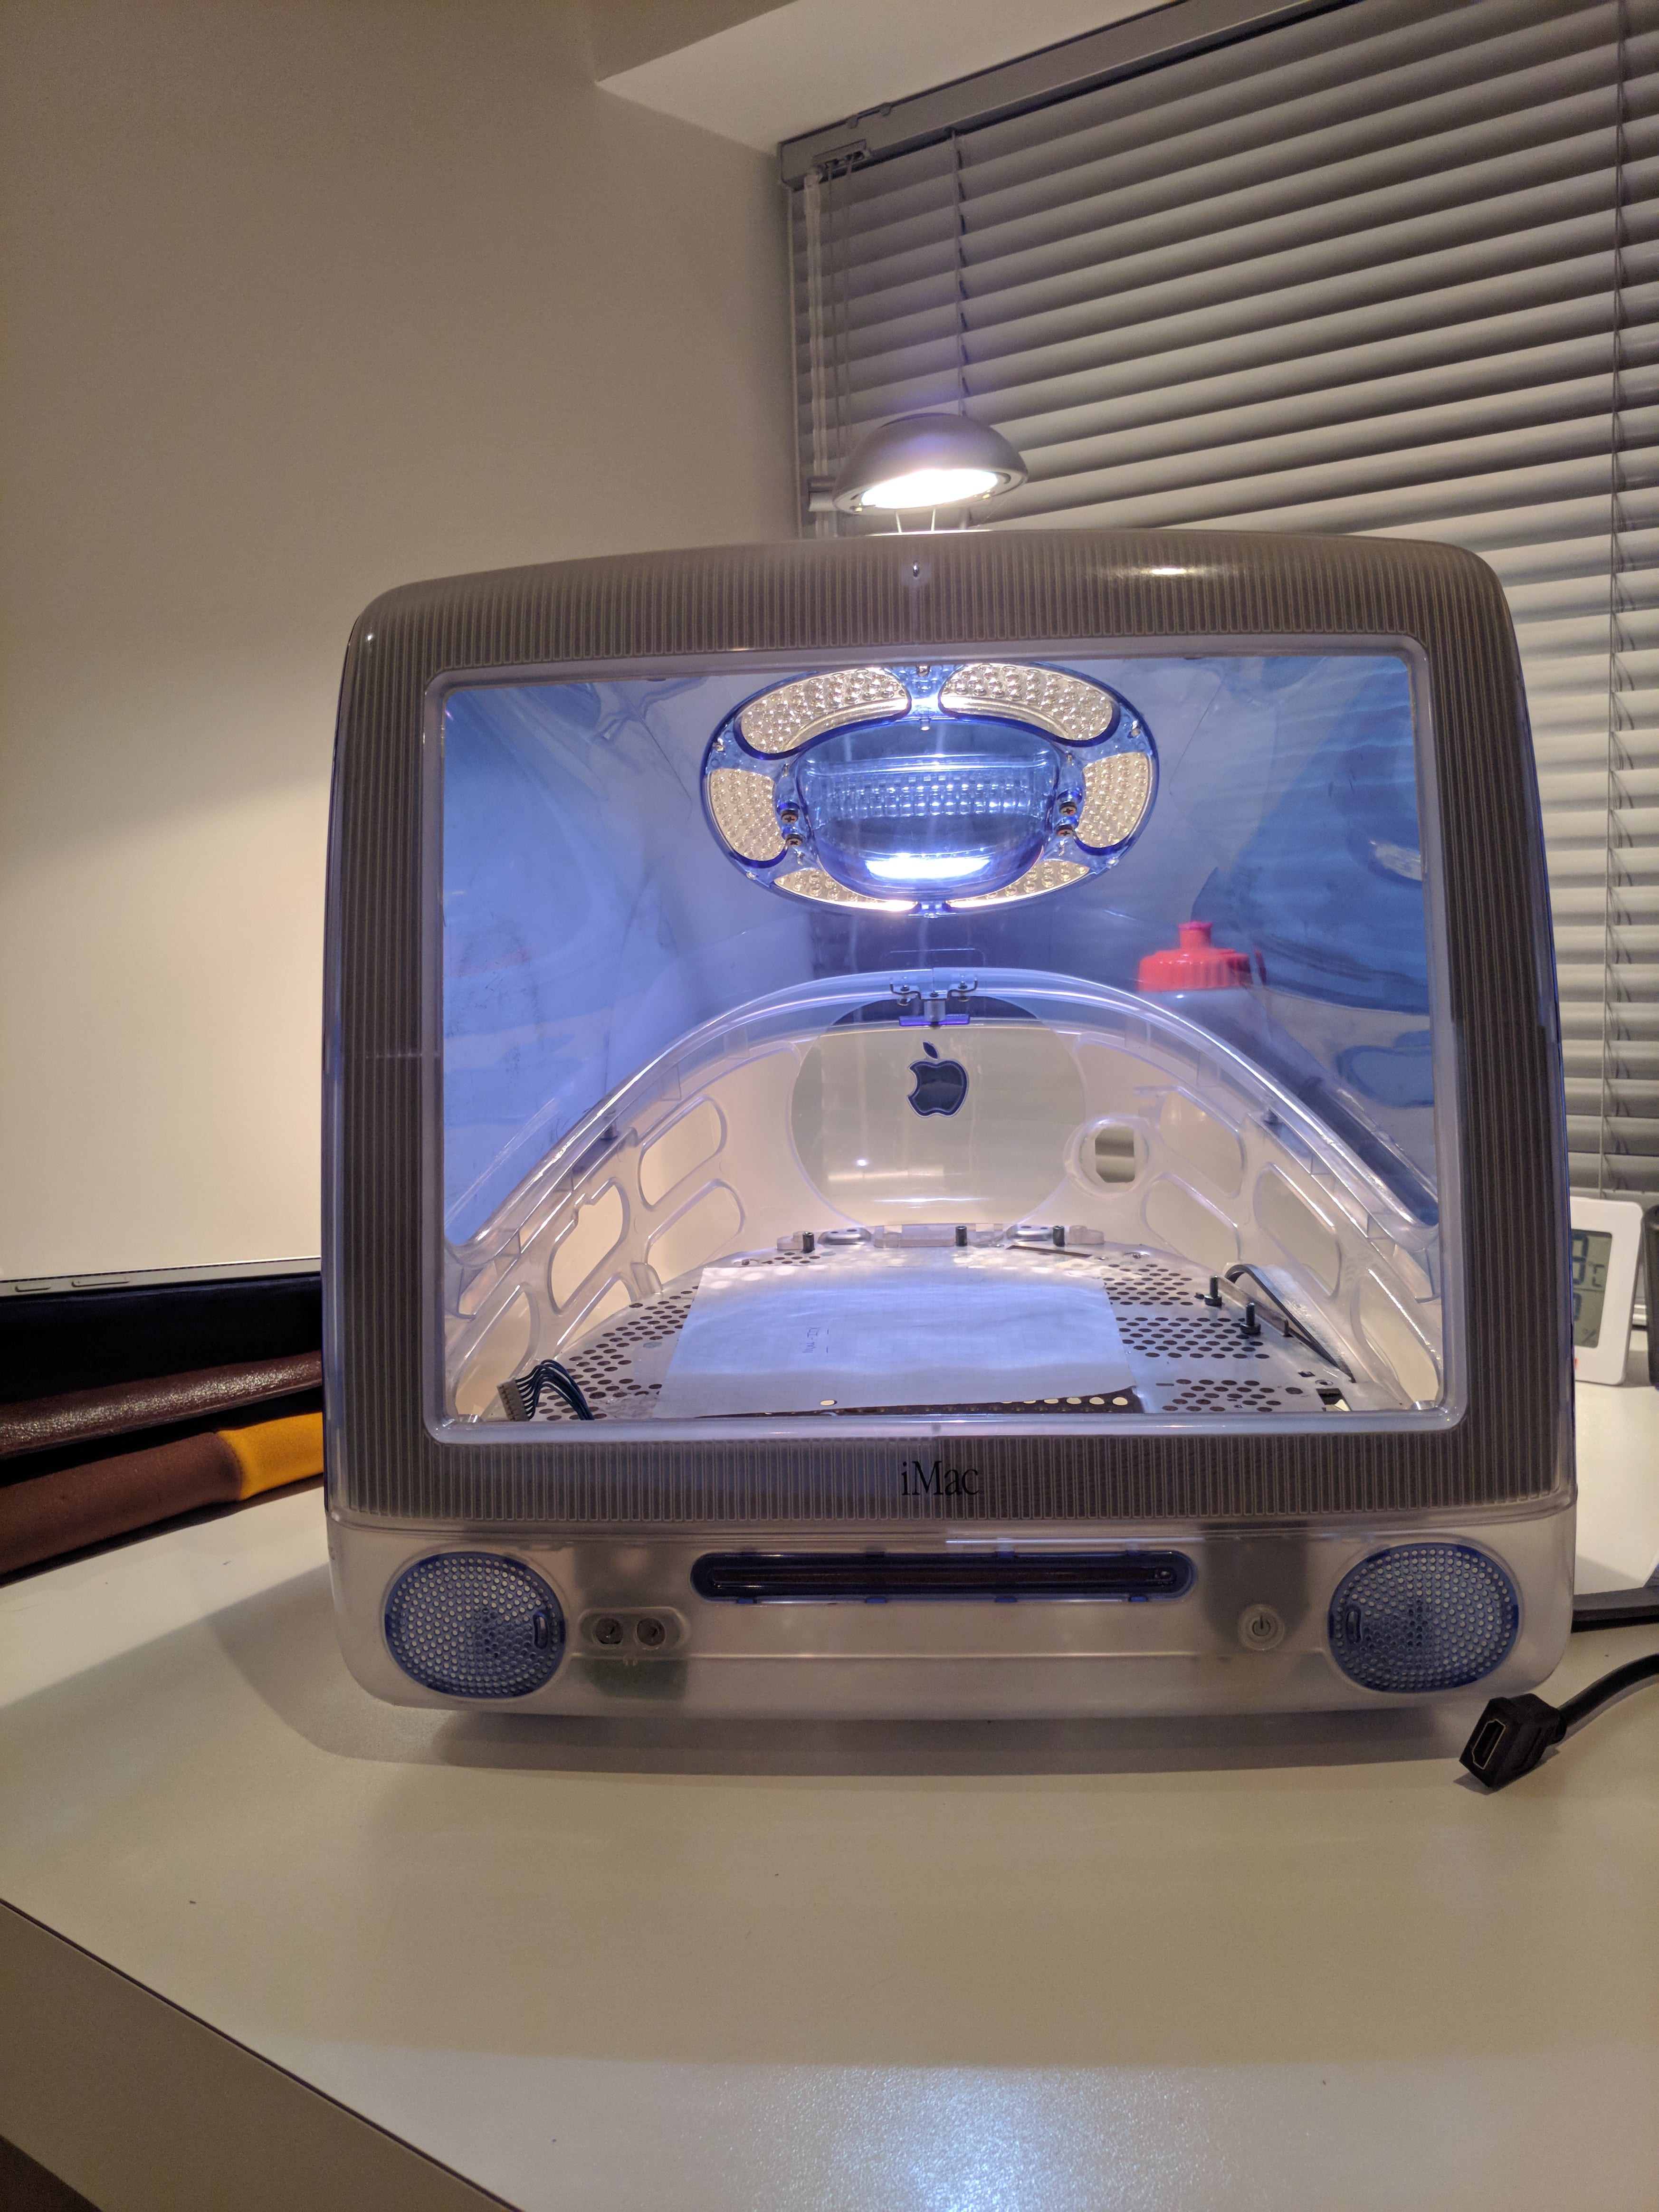
I'll be doing a few things next:
- Printing a final IO shield (more transparent)
- Using epoxy to glue the cables to the IO shield
- Printing the front bezel in a final plastic and using a 3d pen to weld the (glued) parts together
After all that is done, I can focus on mounting the internals.
Discussions
Become a Hackaday.io Member
Create an account to leave a comment. Already have an account? Log In.