 Cedric Anné
I'm in the middle of my exams at uni right now and all I can think about is this computer, so I went home and worked on that instead of studying... bad decision...
However (!) after waisting just a single day I did fix the entire bezel :D
So here's a step by step:
- Print all the parts for the bezel. I did mine at 0.2mm layer height and 100% infill. I've waisted enough plastic and I won't have this thing break on me :p (although that's still very much a possibility)
- Insert M4 nuts into the slots on each corner by melting them in with a soldering iron. Just put the nut as well as possible in the hole and heat it up with the soldering iron until it slides in. When it's in as far is it will go, put the LCD bracket on top and screw it in. Be careful not to push the nut deeper in or it could get stuck at an angle. Screwing the bracket in place while the nut is still warm will make sure that the plastic around it will still fit for the bracket.
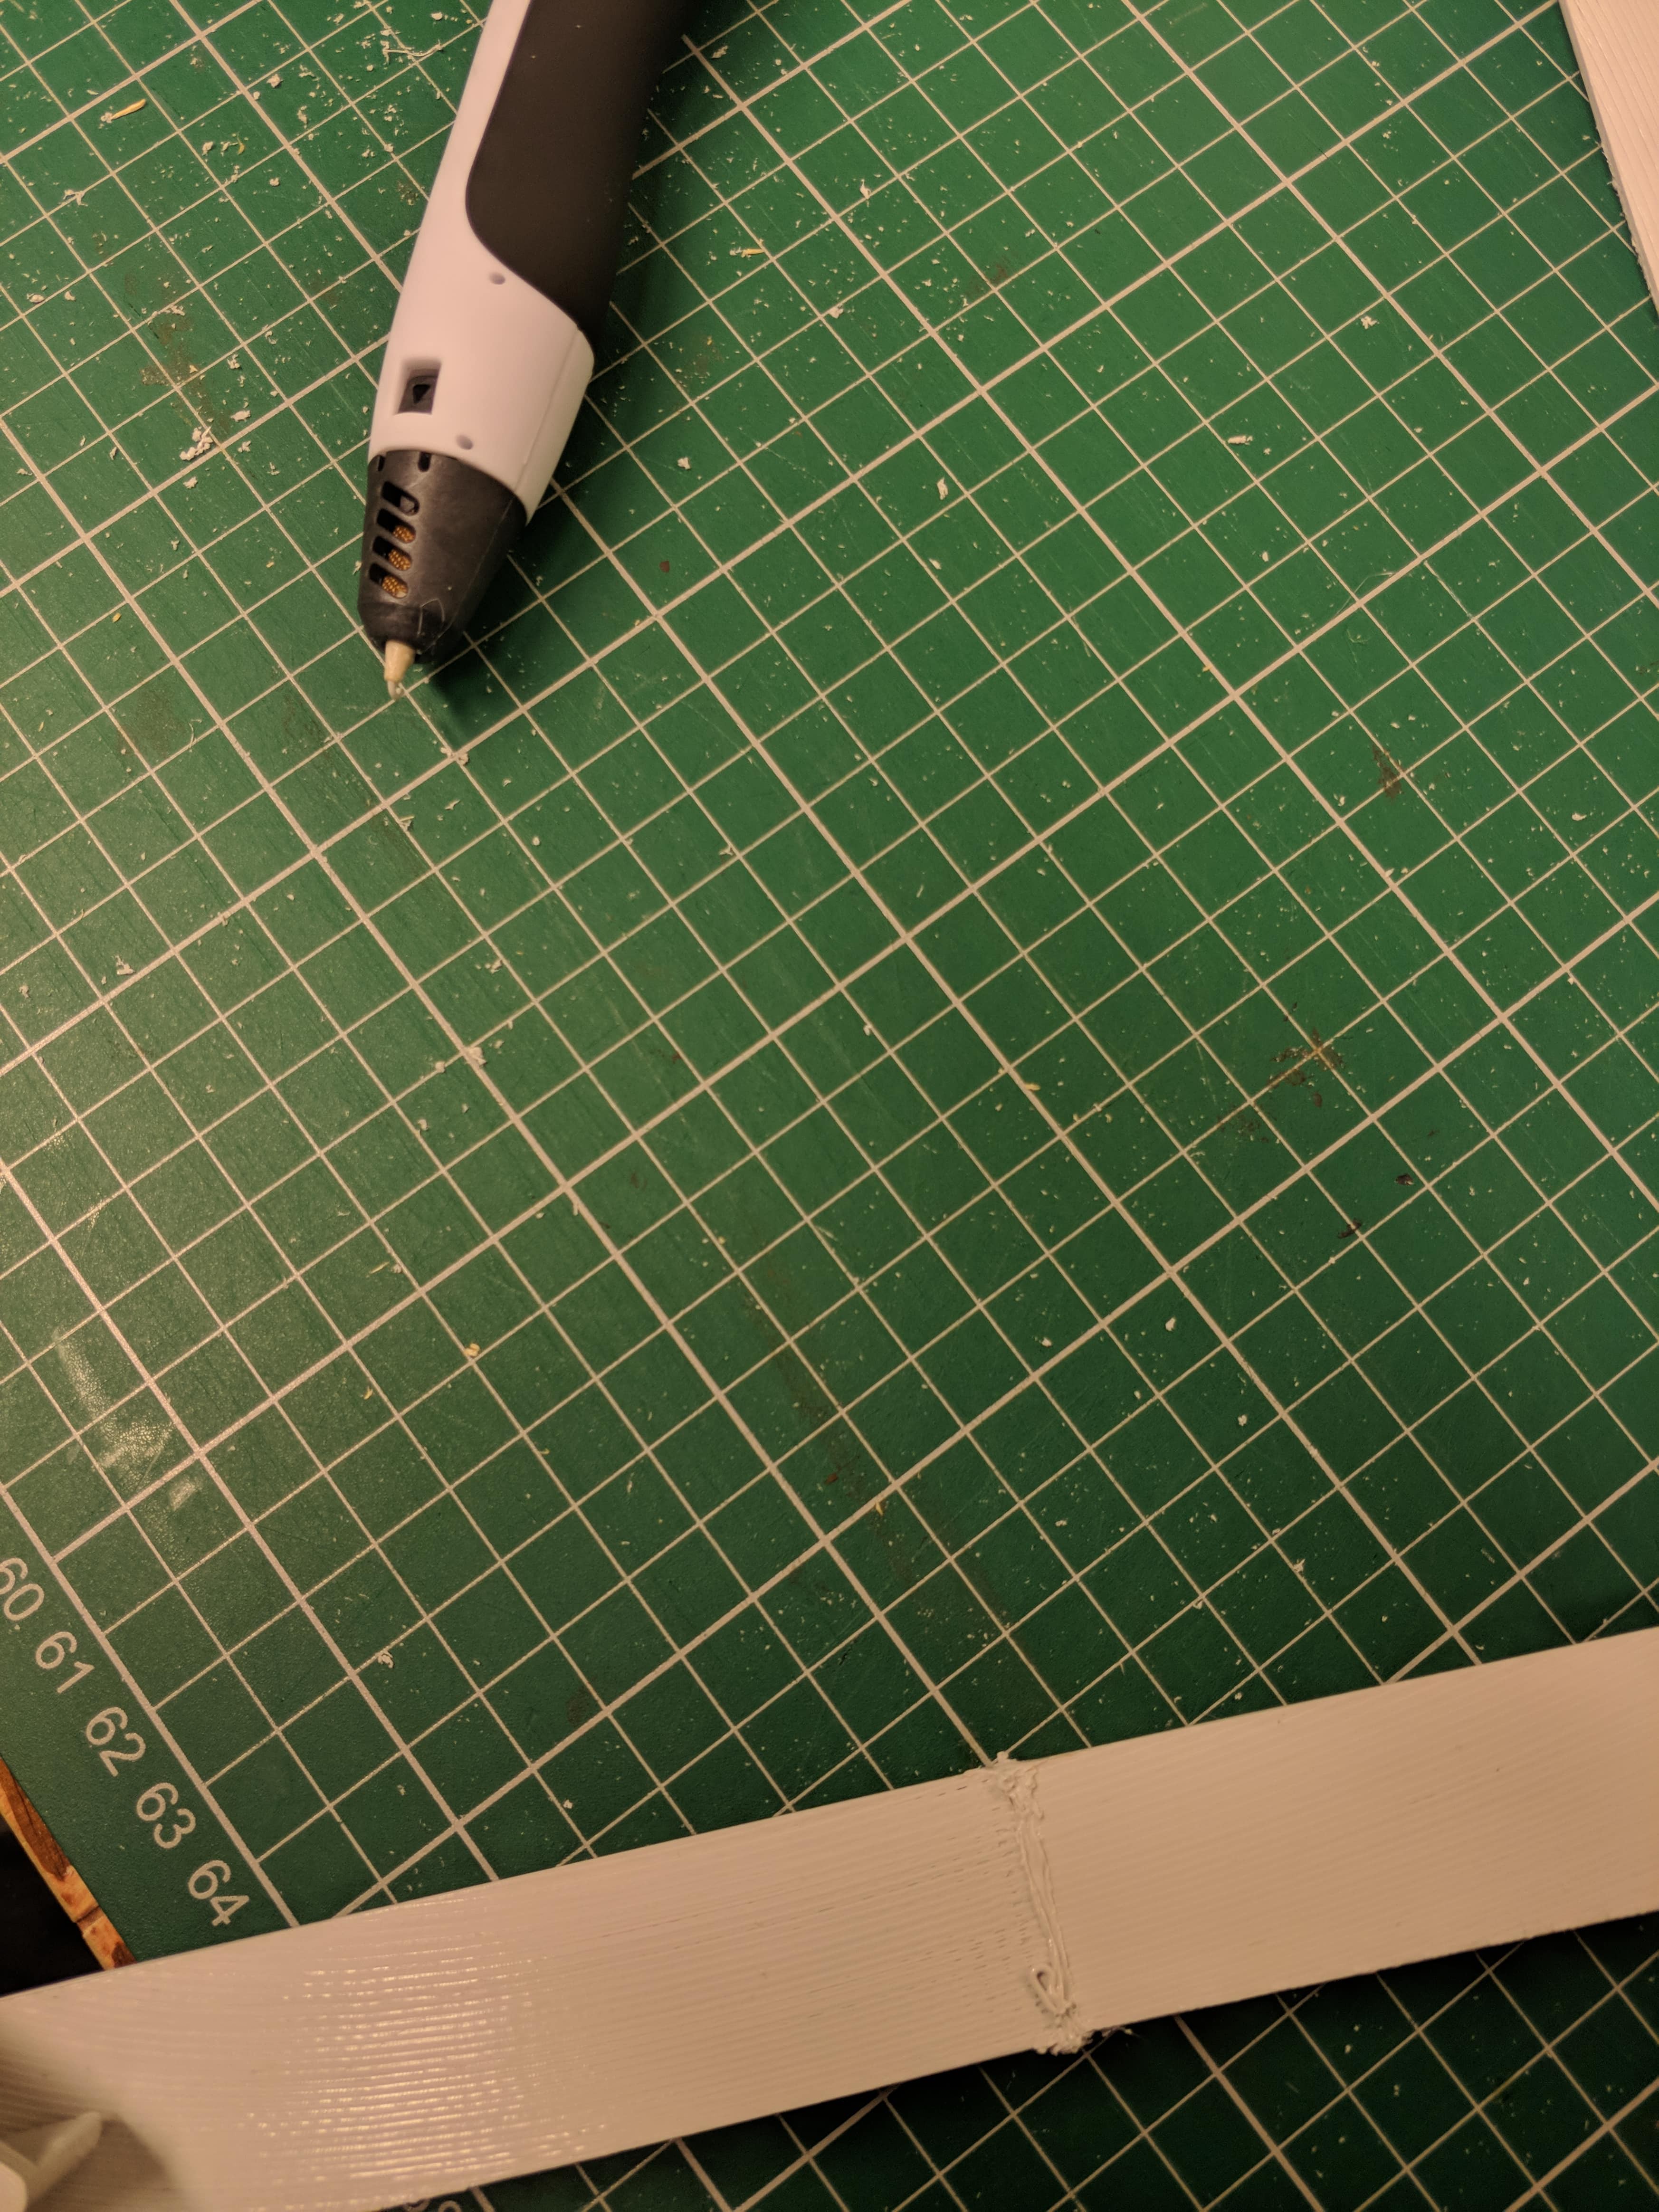
- Get some toothpicks and cut the tapering end off. Try and twist it into one of the holes on your parts. When you think it's in all the way, cut off the other end to about the same length.
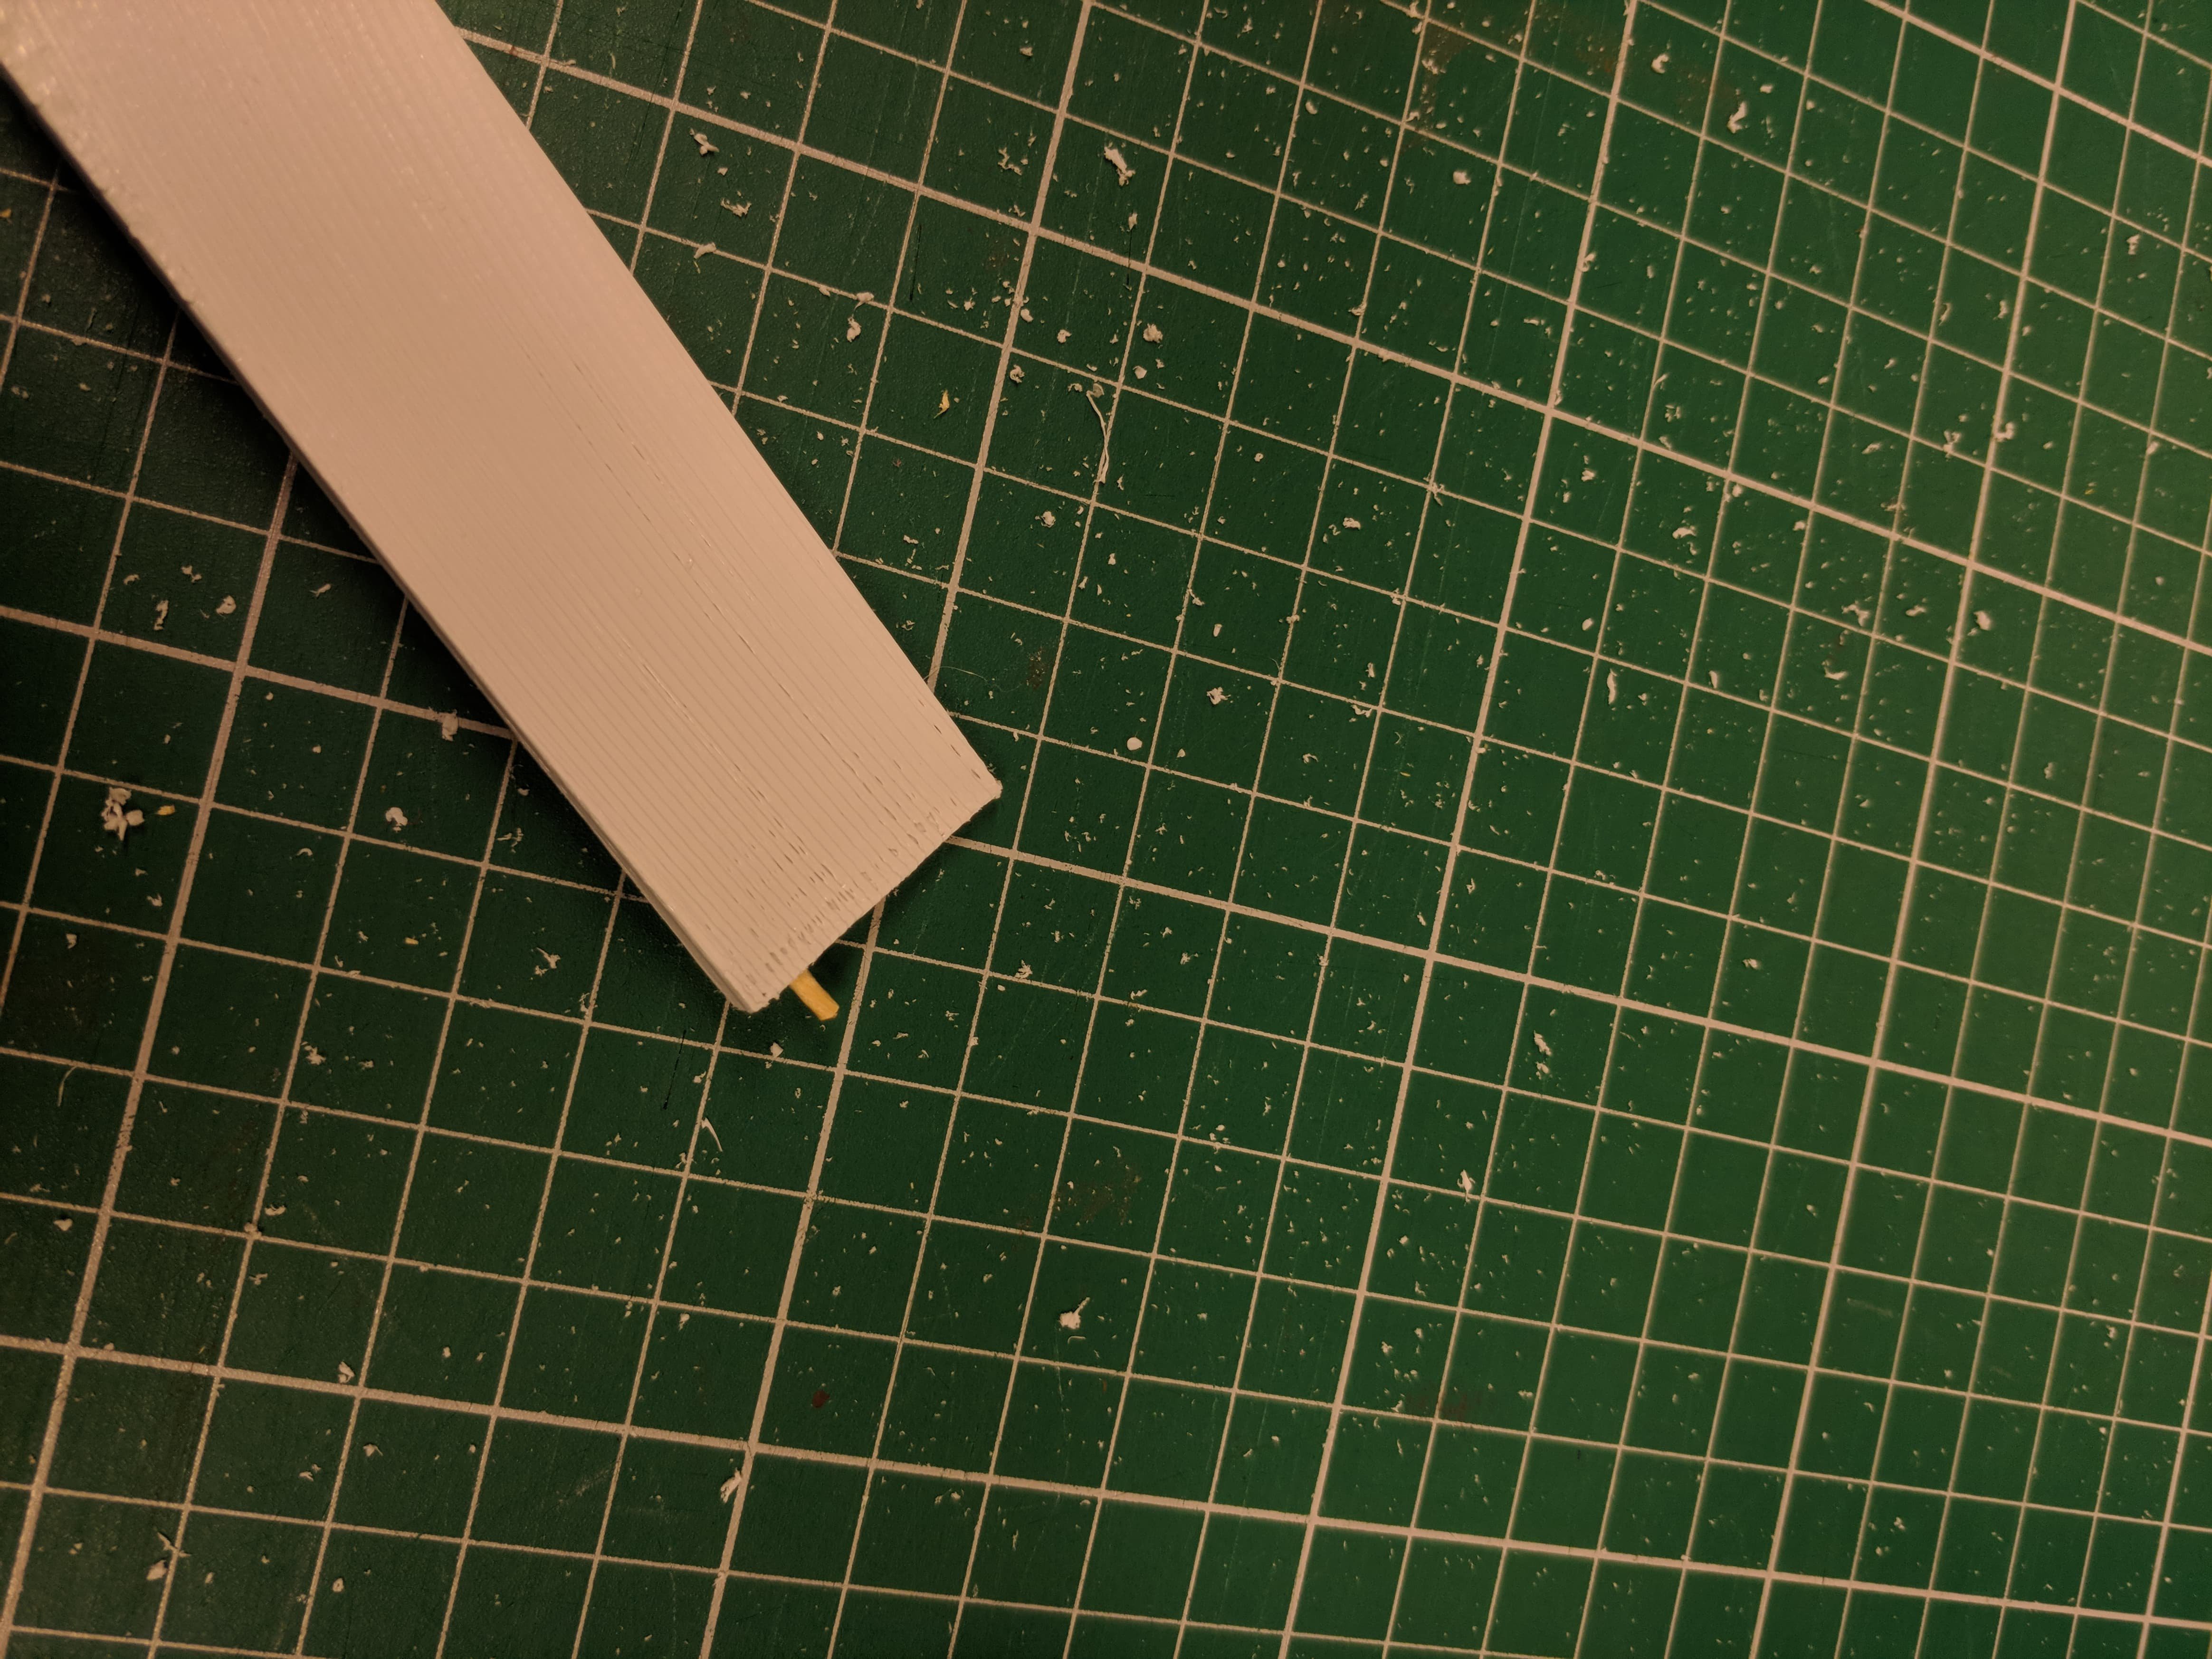
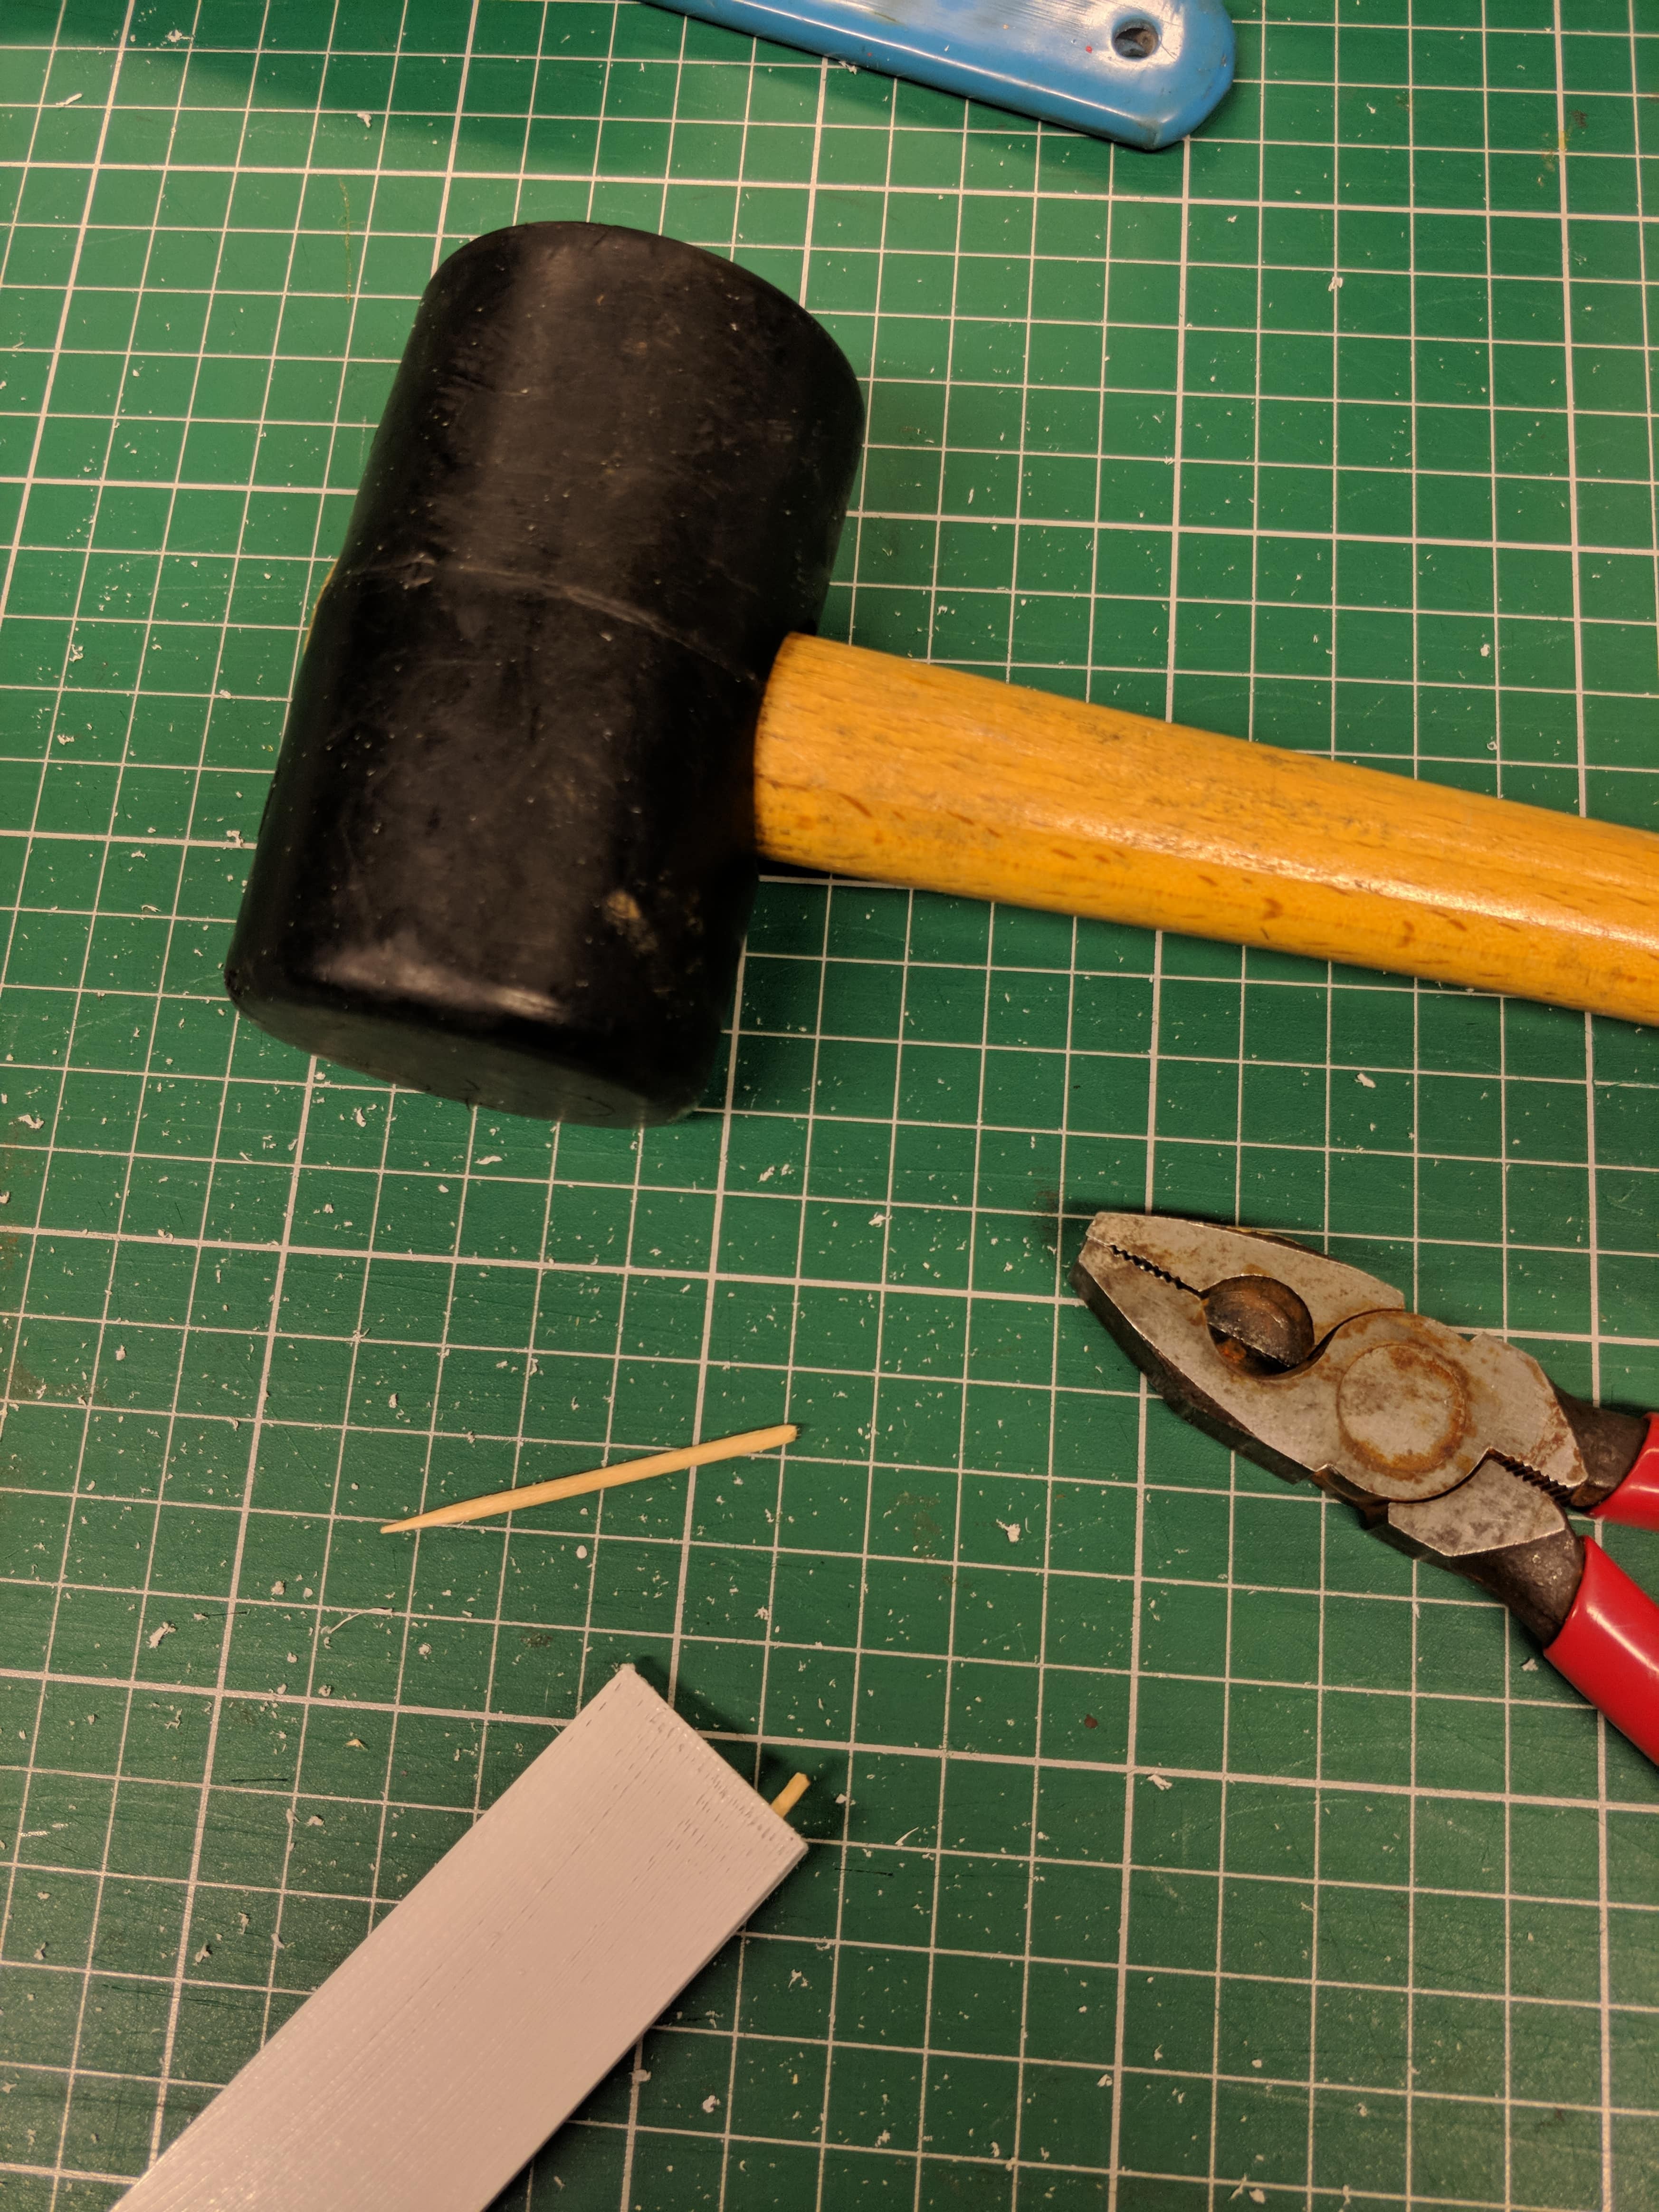
- Then take it out and twist it into the same hole with the other end, being careful not to break it in half. If it won't go in all the way, no problem, just use a hammer to tap it in gently.
- When all the holes are filled on one side, combine your parts and use your 3d pen to weld them together. Be sure to fit it in the outer bezel every step of the way to make sure it always fits, using a file to adjust when needed.
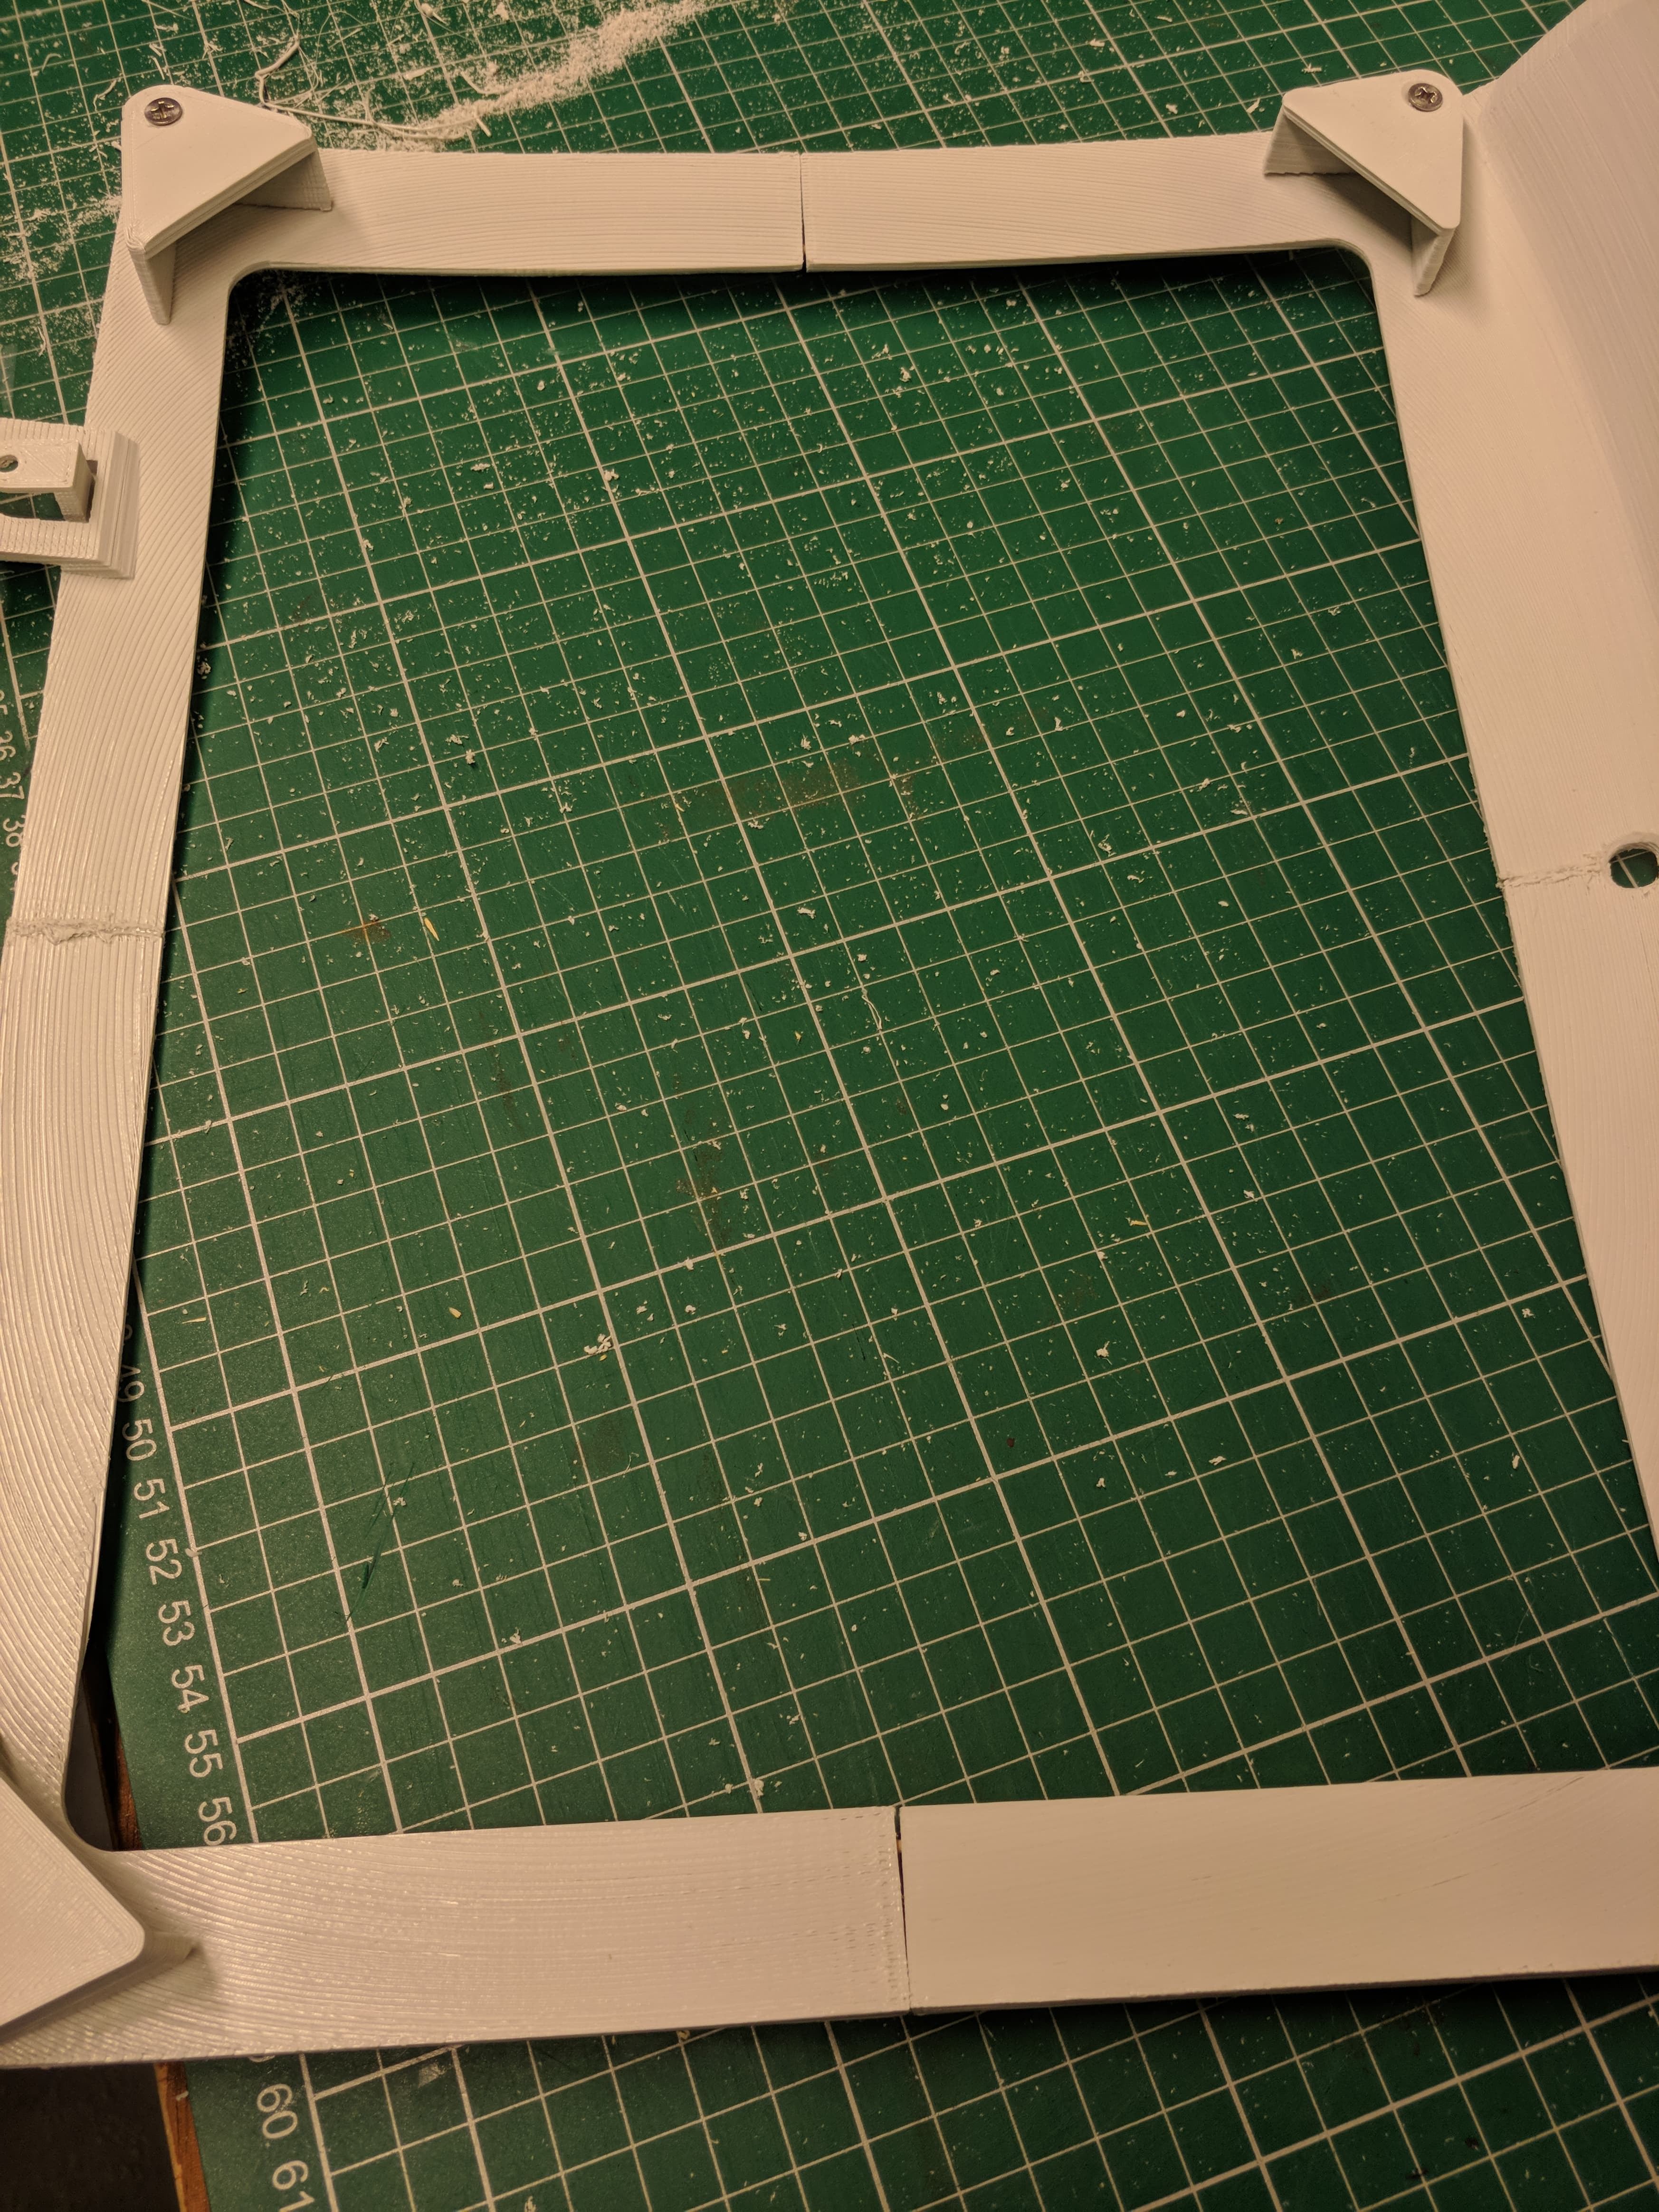
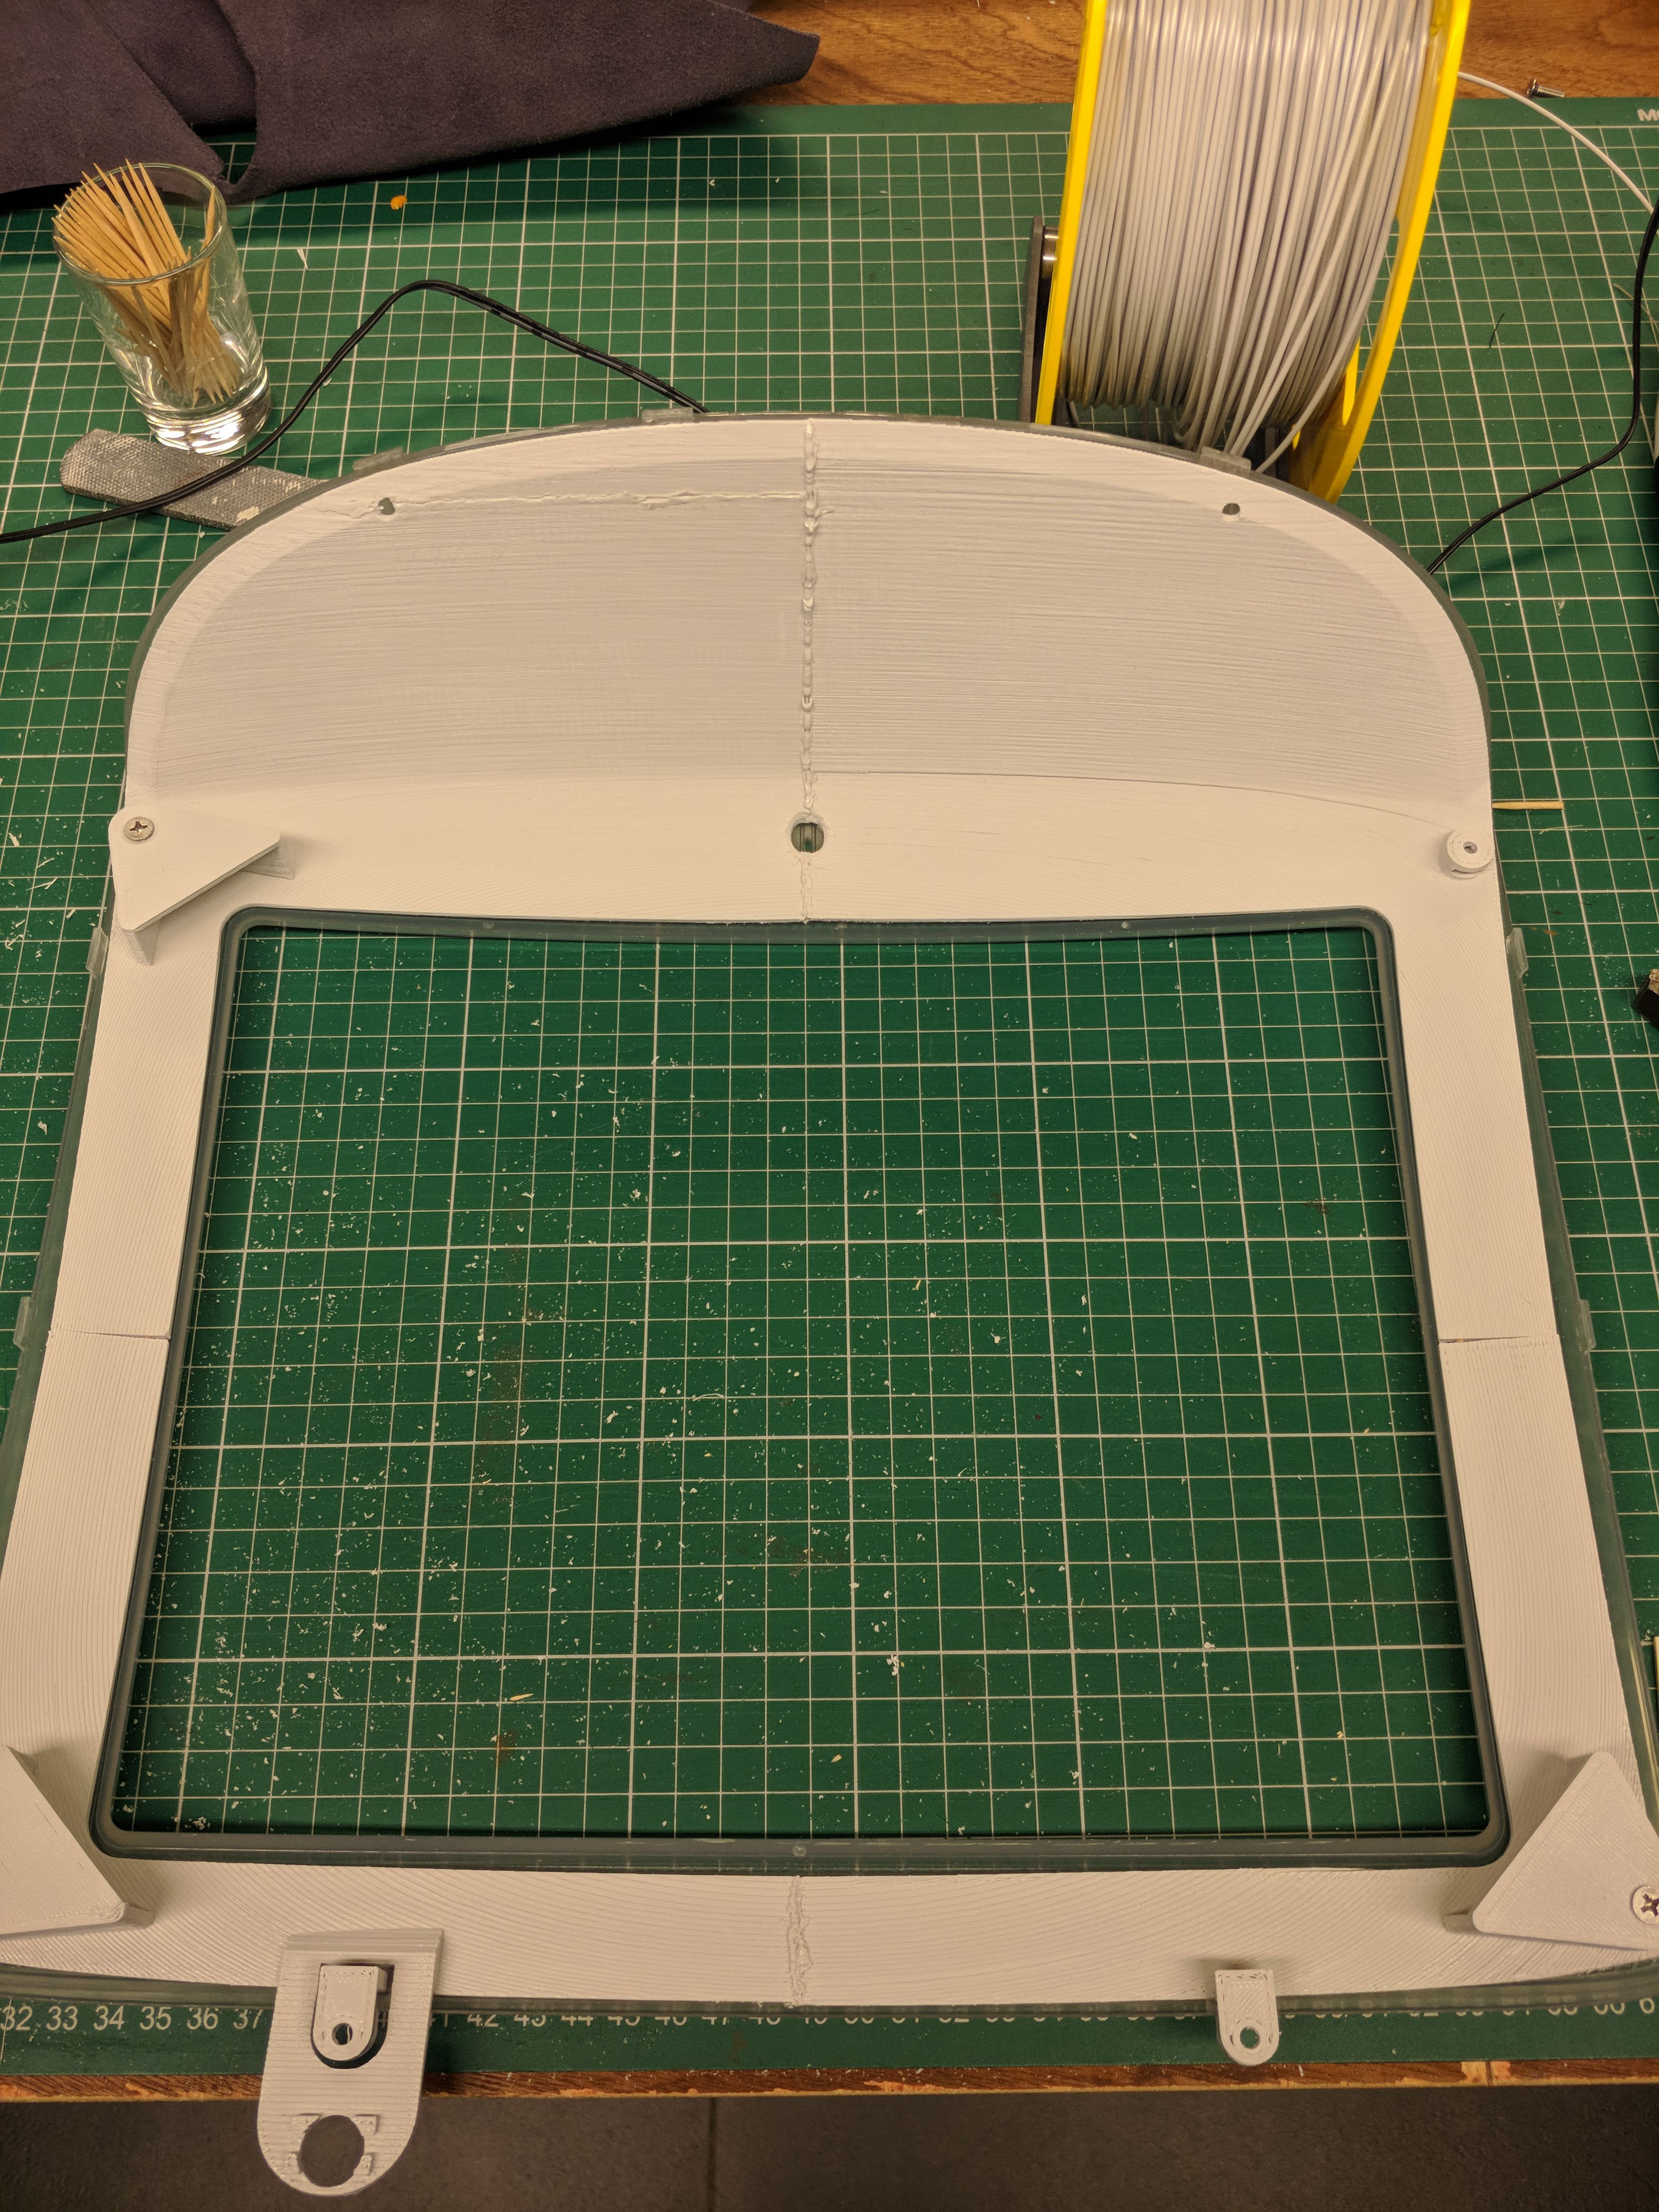
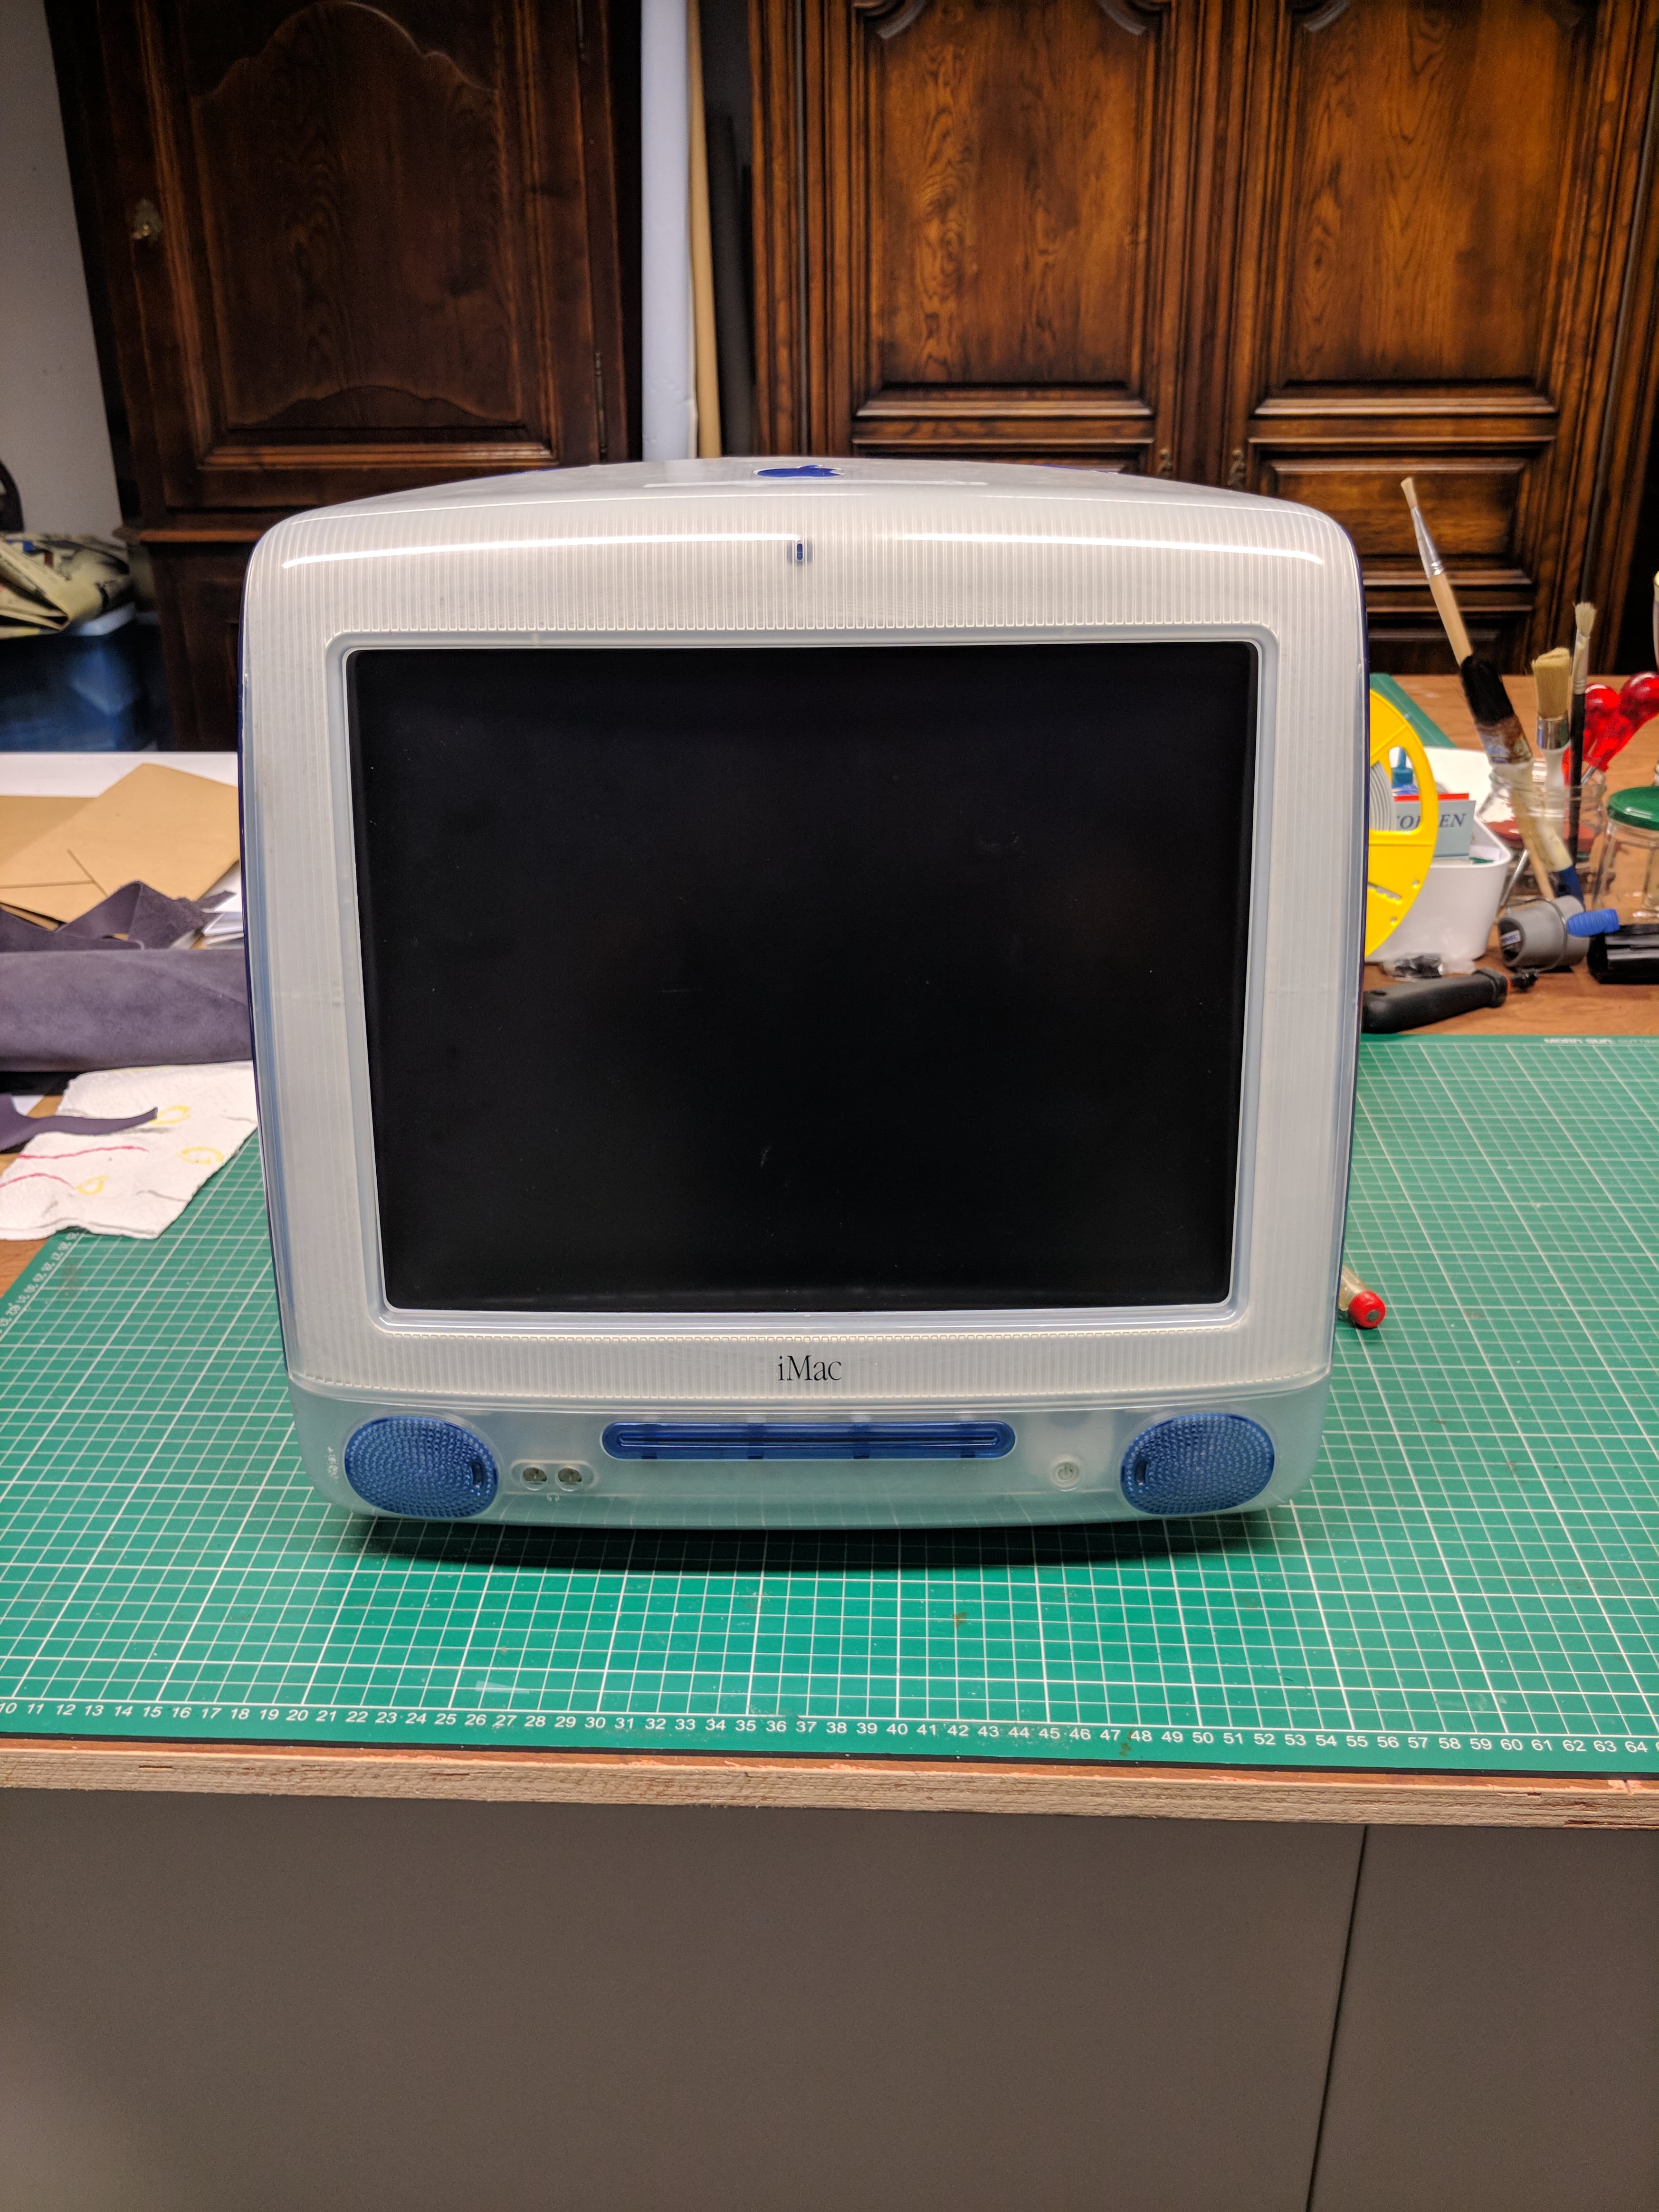
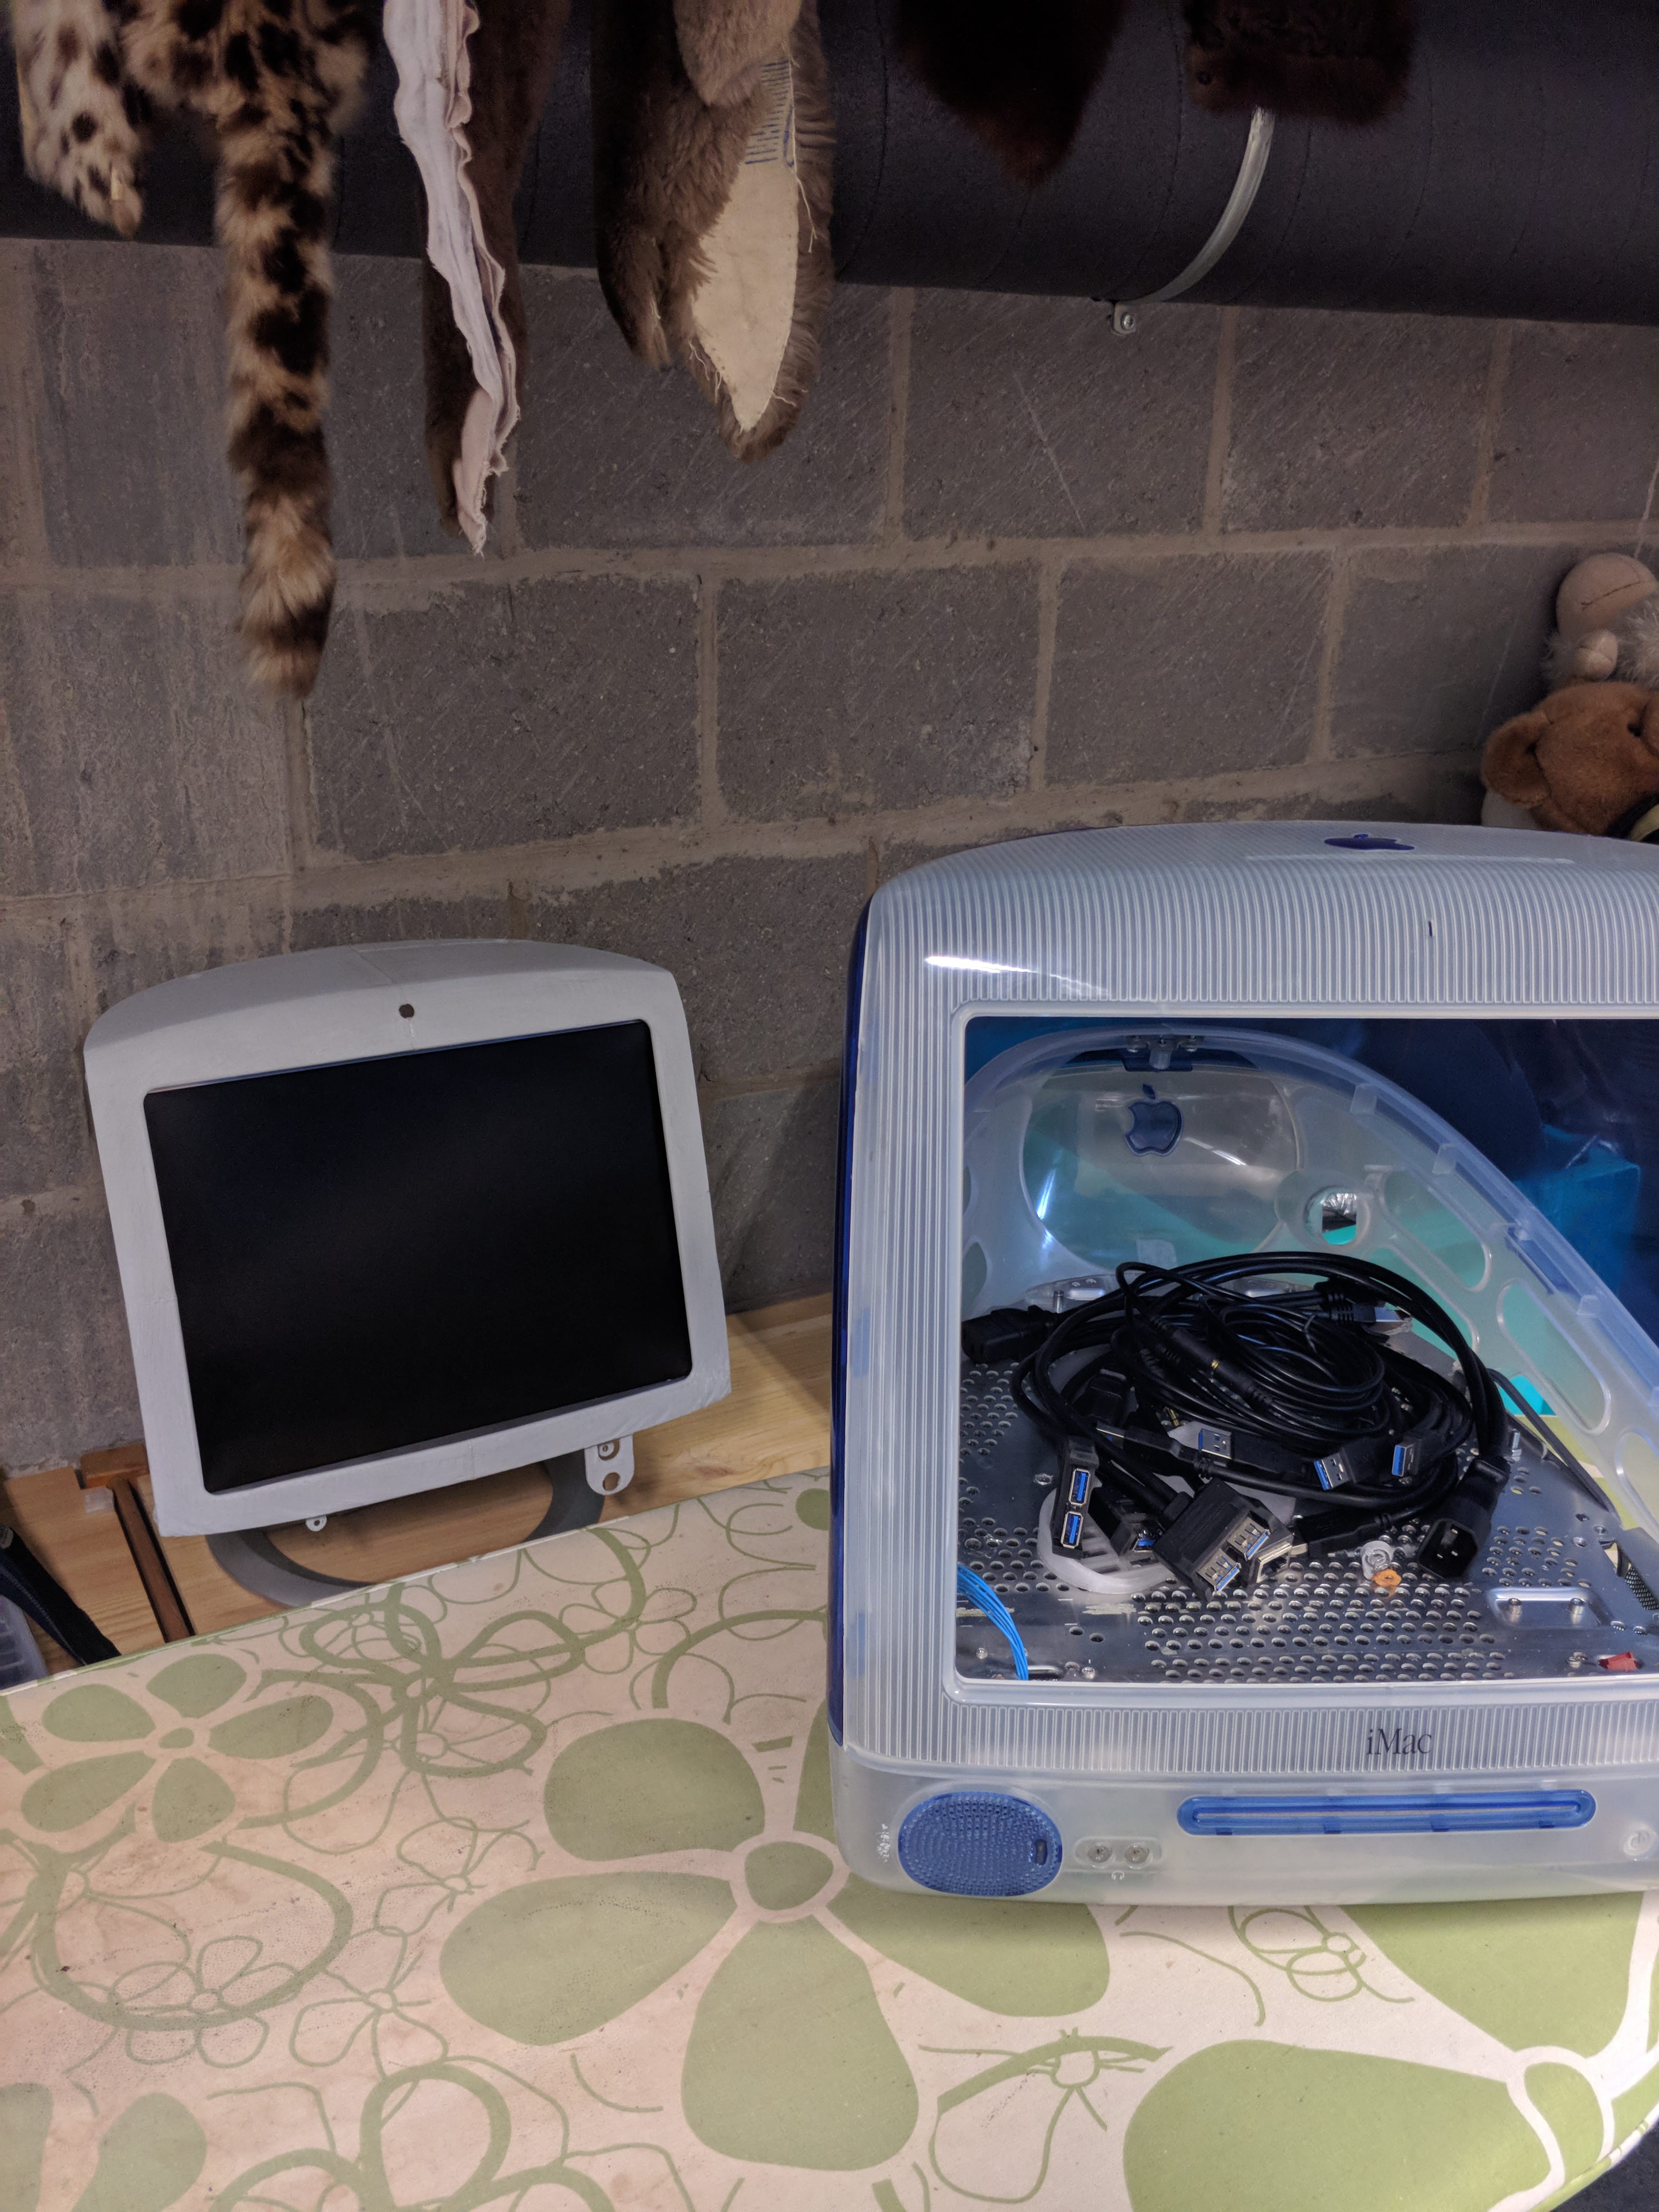
Once you've done this for all 4 parts, your bezel should be complete. Try if your LCD fits and bask in the feeling that this project is almost over.
I think it's beautiful, but this might be a 'my baby' kind of situation.
Discussions
Become a Hackaday.io Member
Create an account to leave a comment. Already have an account? Log In.