Goals
The first issue we attack is the integration of the sensor unit:
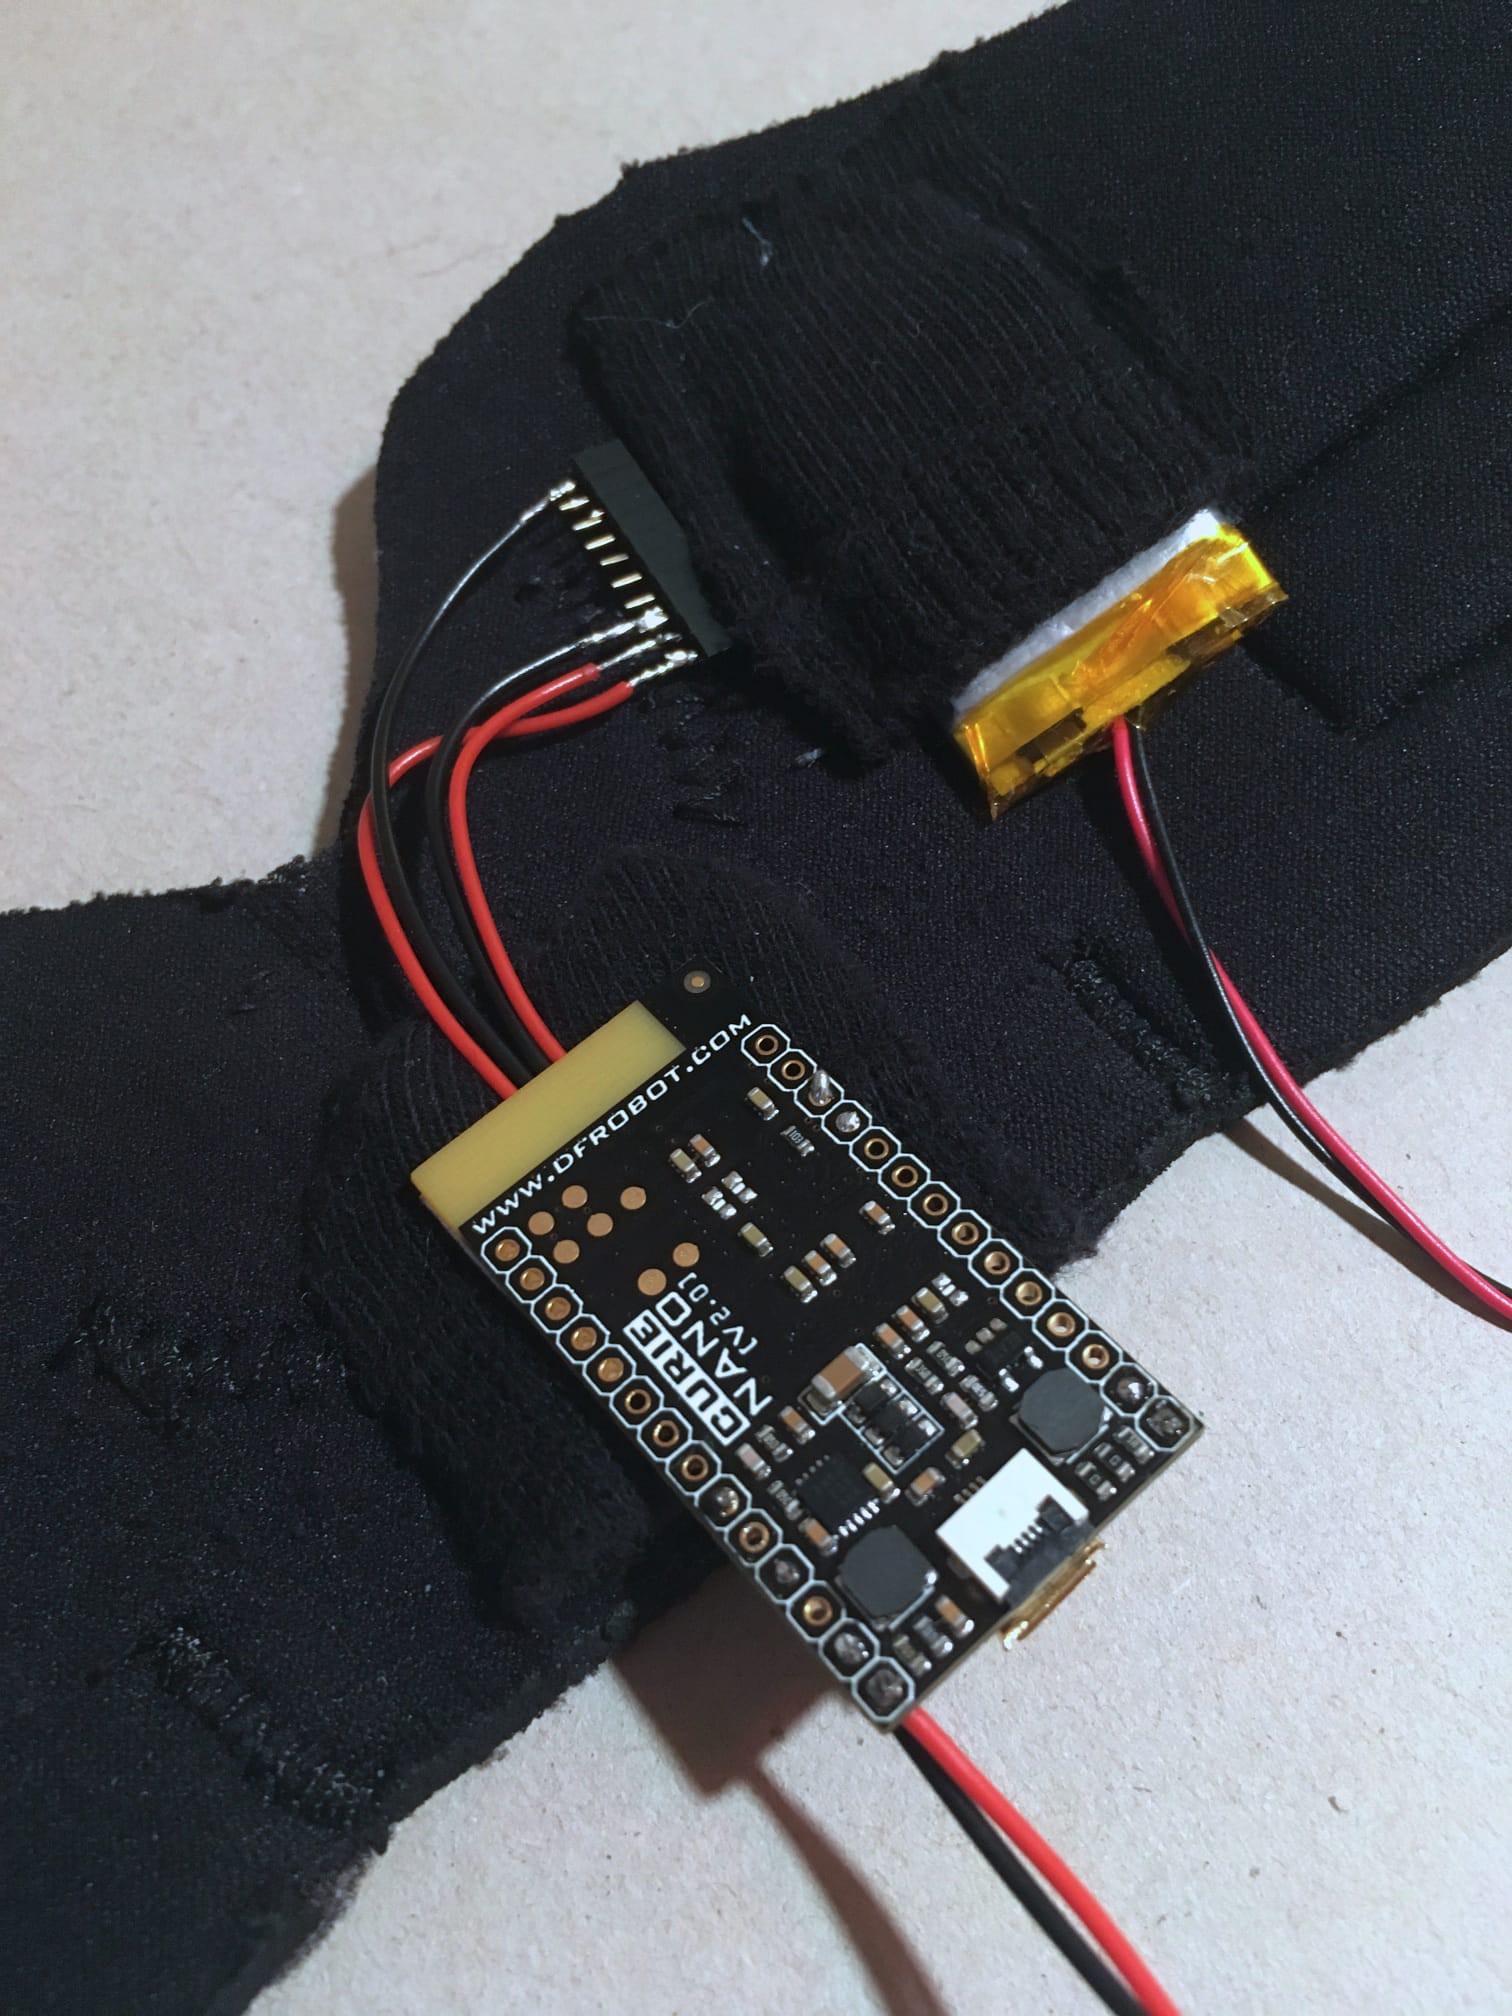
- Better form factor for easier wearability. It should be possible to sew the unit into the glove.
- Bring down latency: Lower latency for better performance experience through improved fusion of movement and sound
- Add a switch to turn it on and off
So far we had good results with using the custom Arduino design described in the last project log. But the bottleneck is at the clock rate of the MCU: It runs at 12 MHz and with all optimisations this gets us to a latency of ~4.5ms. This is already pretty good. But performing many concerts with this instrument showed us that the whole experience will benefit from decreased latency, even if it's only 2 or 3ms.
If you transmit the sensor data through wired serial connection, you can experience the difference, as latency drops to ~3.2ms. But who wants to perform with strings attached?! :o)
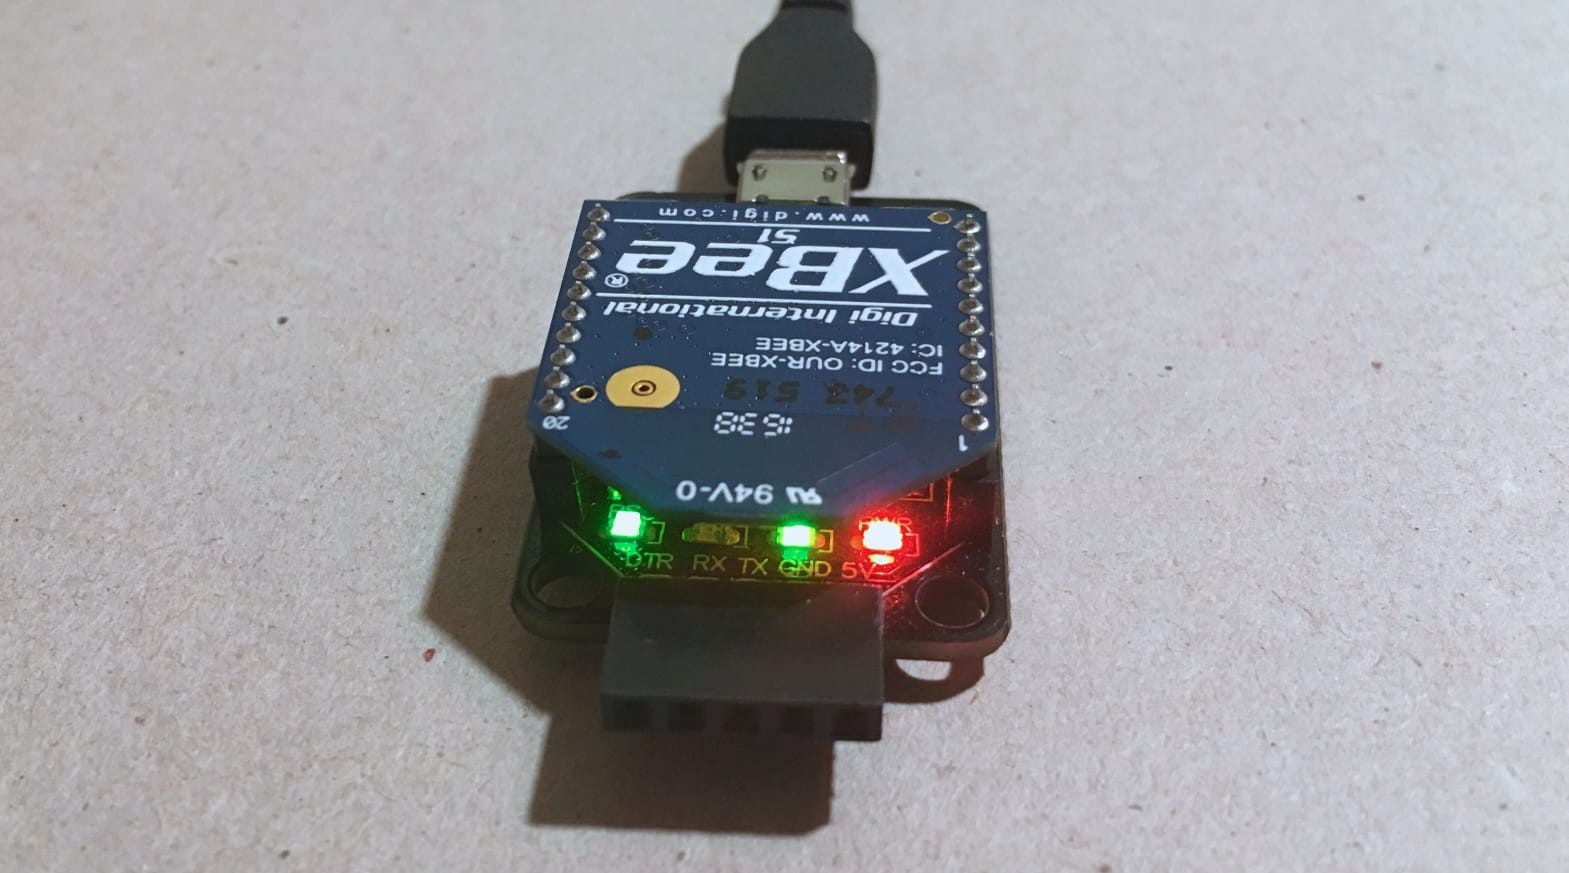
The first step we took is to replace the XBee Explorer Dongle by the DFRobot XBee USB Adapter V2 to hook up the XBee to the computer. This adapter features the Atmega8U2, allowing a faster and more reliable connection. Only by replacing this adapter we already gained 1.5ms!

Finding a new platform
The real issue is clock speed and the corresponding possible baud rate through wireless transmission. Coming from the Arduino Pro Mini (8 MHz, ~6ms, 38'400 baud) to the Sense/Stage Arduino (12 MHz, 4.5ms, still 38'400 baud) led us to increasing both clock speed and baud rate. The third parameter that could be an obstacle is the sensor sampling rate.
More recent Arduino boards show great specs but when it comes to the form factor, they disqualify. But one module showed amazing specs: The DFRobot Cure Nano.
- 32 MHz Clock Speed
- IMU (Sensor) integrated into the chip package
- Gyroscopes can be sampled at up to 3.2 MHz! The accelerometers at up to 1.6 MHz.
- runs at 3.3V with options for 5V
- secondary hardware serial port for connecting the XBee
- 23.5 x 48 x 5 mm.
Fantastic!
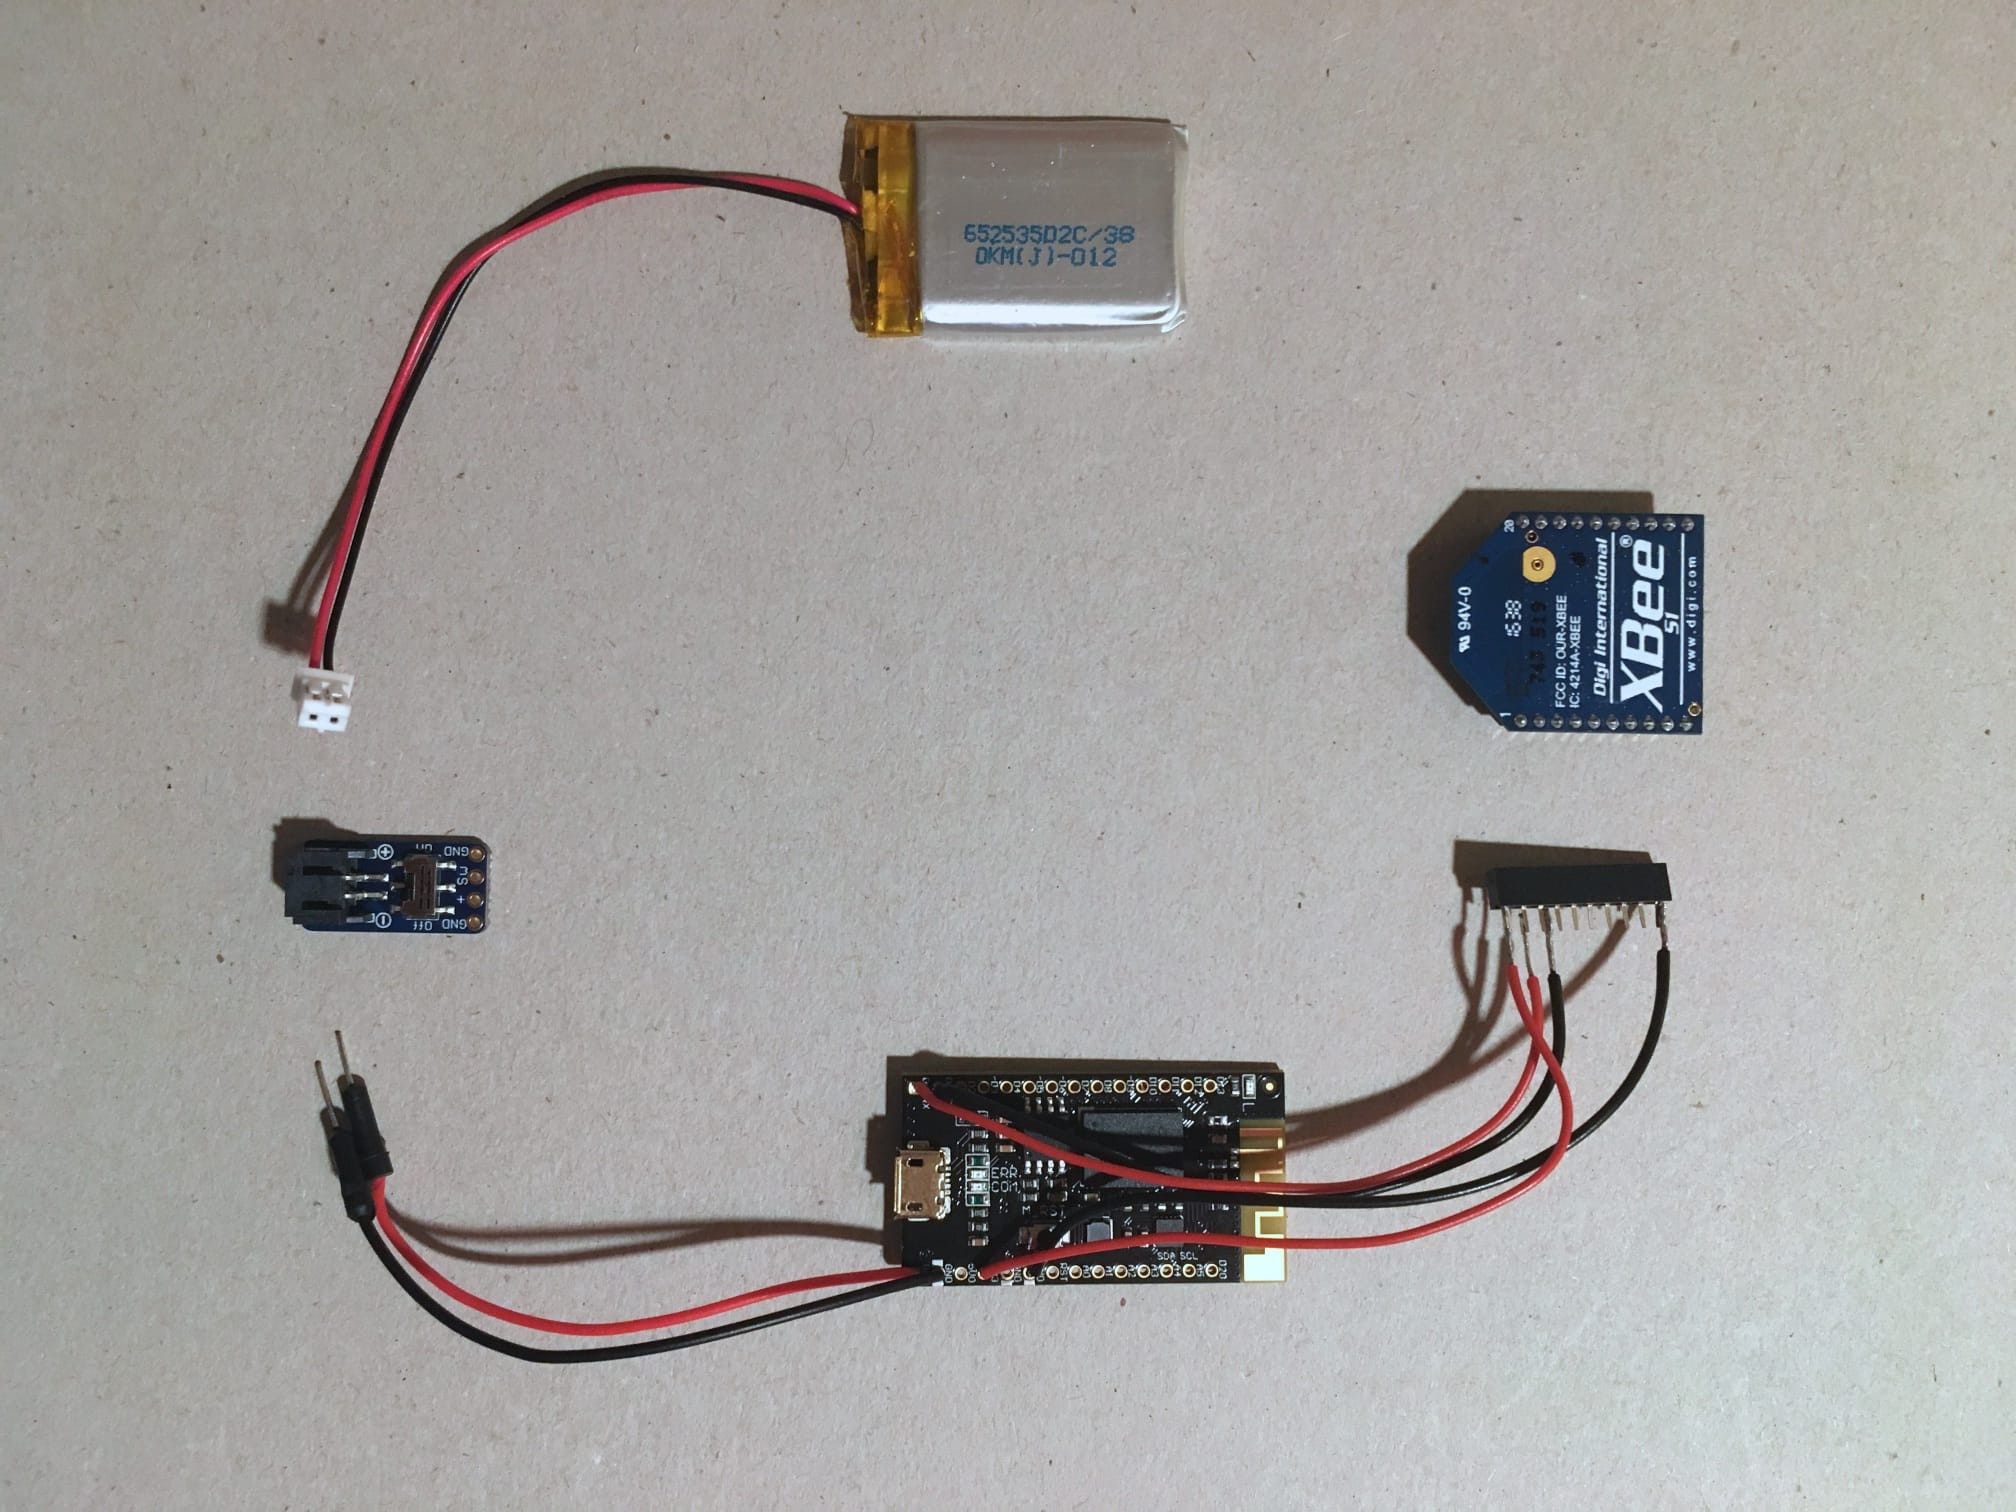
The only drawbacks to the Sense/Stage: There are no integrated XBee headers and no power switch. The missing XBee headers we use as an opportunity to move the antenna to an other position on the glove. By that we achieve better radiation characteristics (in other words: we reduce shielding the radiation by the hand or body of the performer). The power switch we also sew to the glove (for the prototype we go with the Adafruit switched battery connector "JST-PH").
If you want to add another 3 degrees of freedom: The Curie Nano even features a 3 axis magnetometer (compass)! That would allow to determine absolute direction during performance (i.e. for events where you point a objects on stage / in the room).

Reprogramming the sensor
We update the sensor unit code to run on the Curie Nano. This includes the following changes:
- Add include for the CurieIMU library (reference, install in Arduino IDE)
- Drop I2Cdev code (The I2Cdev library is included with the CurieIMU library)
- Replace the sensor library: We say good bye to the MPU6050 and welcome the BMI160.
- Change datatype of axis variables. This becomes necessary because the wrapper for the I2Cdev library defines other datatypes.
- Drop the XBee setup / transmission code. We use the hardware serial port of the Curie Nano
- Set accelerometer and gyroscope ranges and sampling rates
Great! With these changes alone we drop to a latency of 3.2ms!!
Increasing baud rate
The baud rate has to be changed in the settings of both XBees, the sensor unit code and testing sound module!
Increasing the baud rate delivered great latency improvements: at 115'200 baud we reached a latency of 1.3ms! But sadly the XBee connection became unstable (bytes got dropped frequently) to a degree that is not acceptable for performing on stage. Waiting for the serial buffer to clear (Serial1.flush()) and adding a millisecond after the transmission of each complete sensor reading brought back stability to the connection.
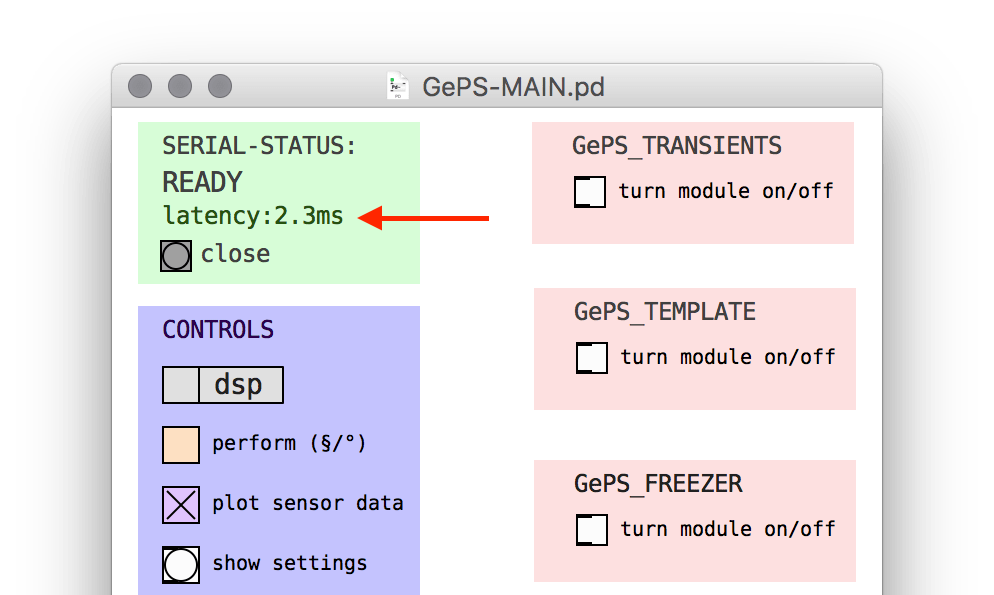
The latency is now at around 2.3ms which is still a fantastic improvement: half the latency of the Sense/Stage version and almost a third of the Arduino Pro Mini solution.


 Zed Cat
Discussions
Become a Hackaday.io Member
Create an account to leave a comment. Already have an account? Log In.