 Steve Hernandez
So, last year, I made a small wrist-mounted 3d flamethrower project featured on Hackaday: https://hackaday.io/project/28221-3d-printed-wrist-mounted-flamer-thrower .
This year, I decided to make some upgrades after analyzing the successes and shortcomings of the previous flamethrower. I ended up making 2 new devices, the 'Flame-O-Tron' and the 'Flame-O-Tron 9000'.
The Flame-O-Tron has 2 buttons, a trigger and mode select. A pulsing RGB led shows which mode is currently selected. It has : Single Burst , Continuous bursts, and continuous flame modes.
The flow of the gas is controlled by a flex sensor in the hand grip. When you bend down your hand, the Arduino changes the PWM of the solenoid. This allows the user to create a small flame or a huge blast!
The major parts of the Flame-O-Tron consists of:
- Arduino
- HV coil
- 3S Battery
- Solenoid
- 2 MOSFET driver
- Butane tank
- Schrader fill valve
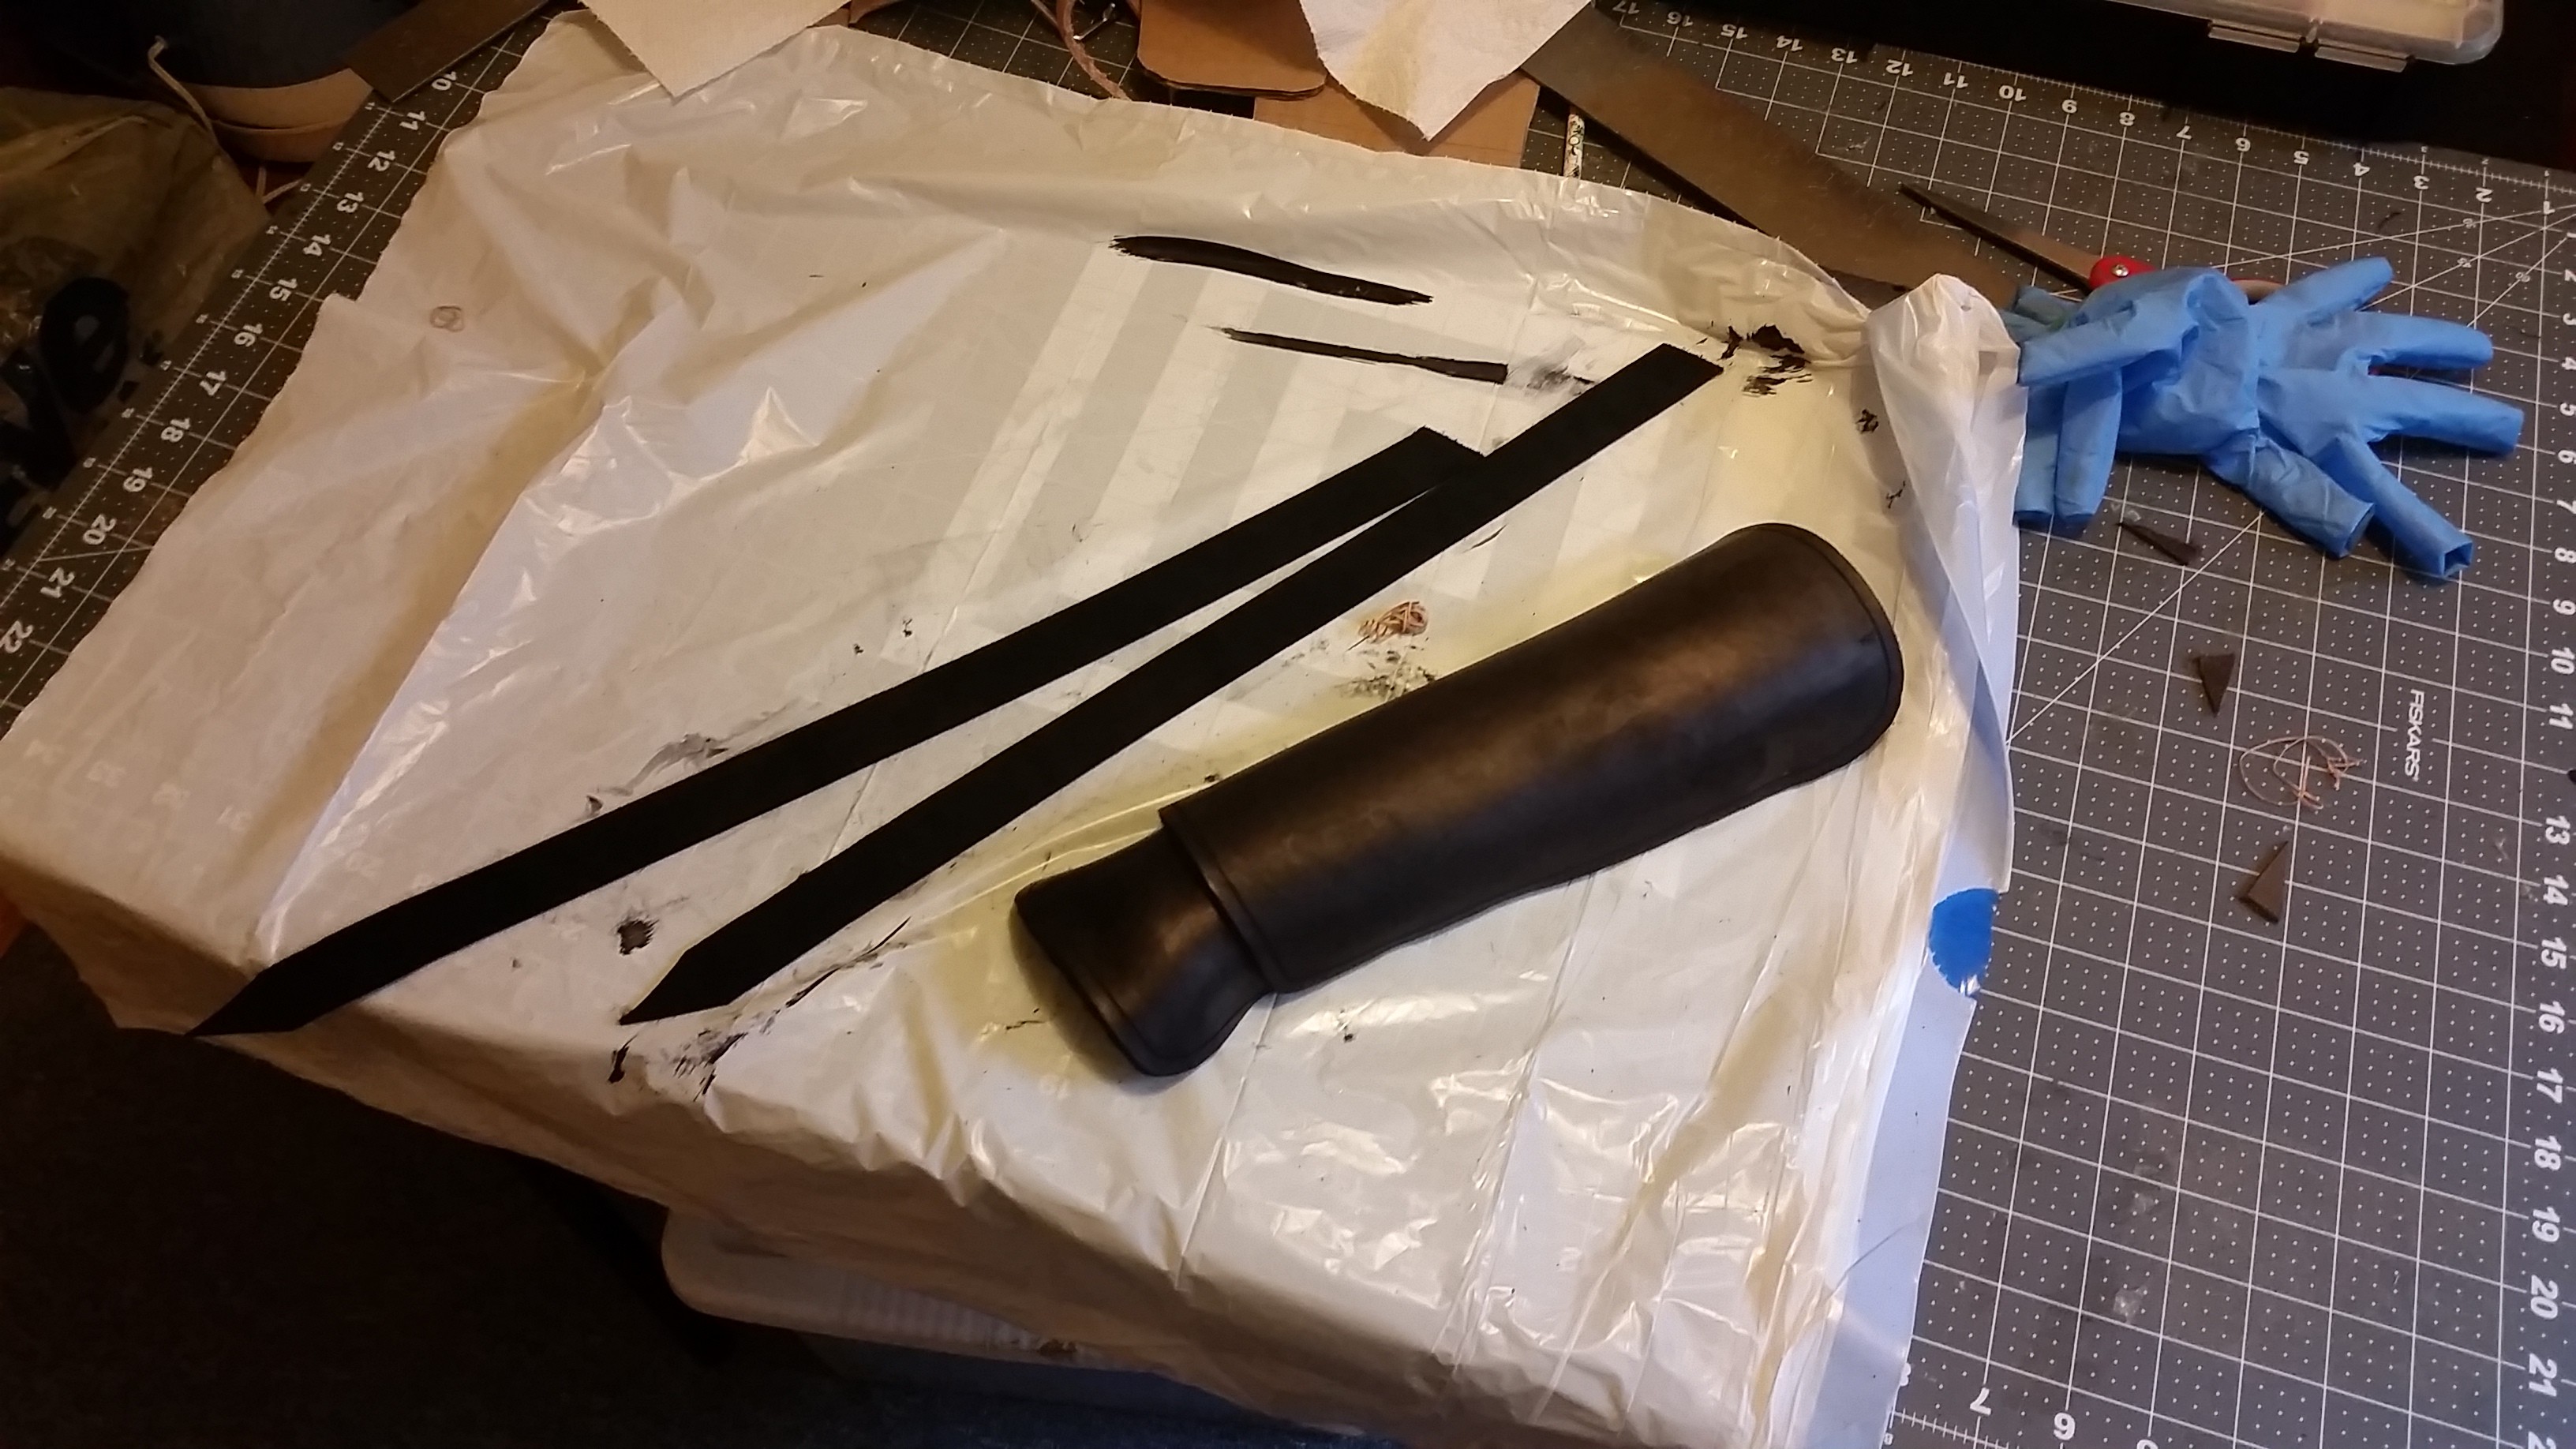
- Custom Leather wrist guard with straps
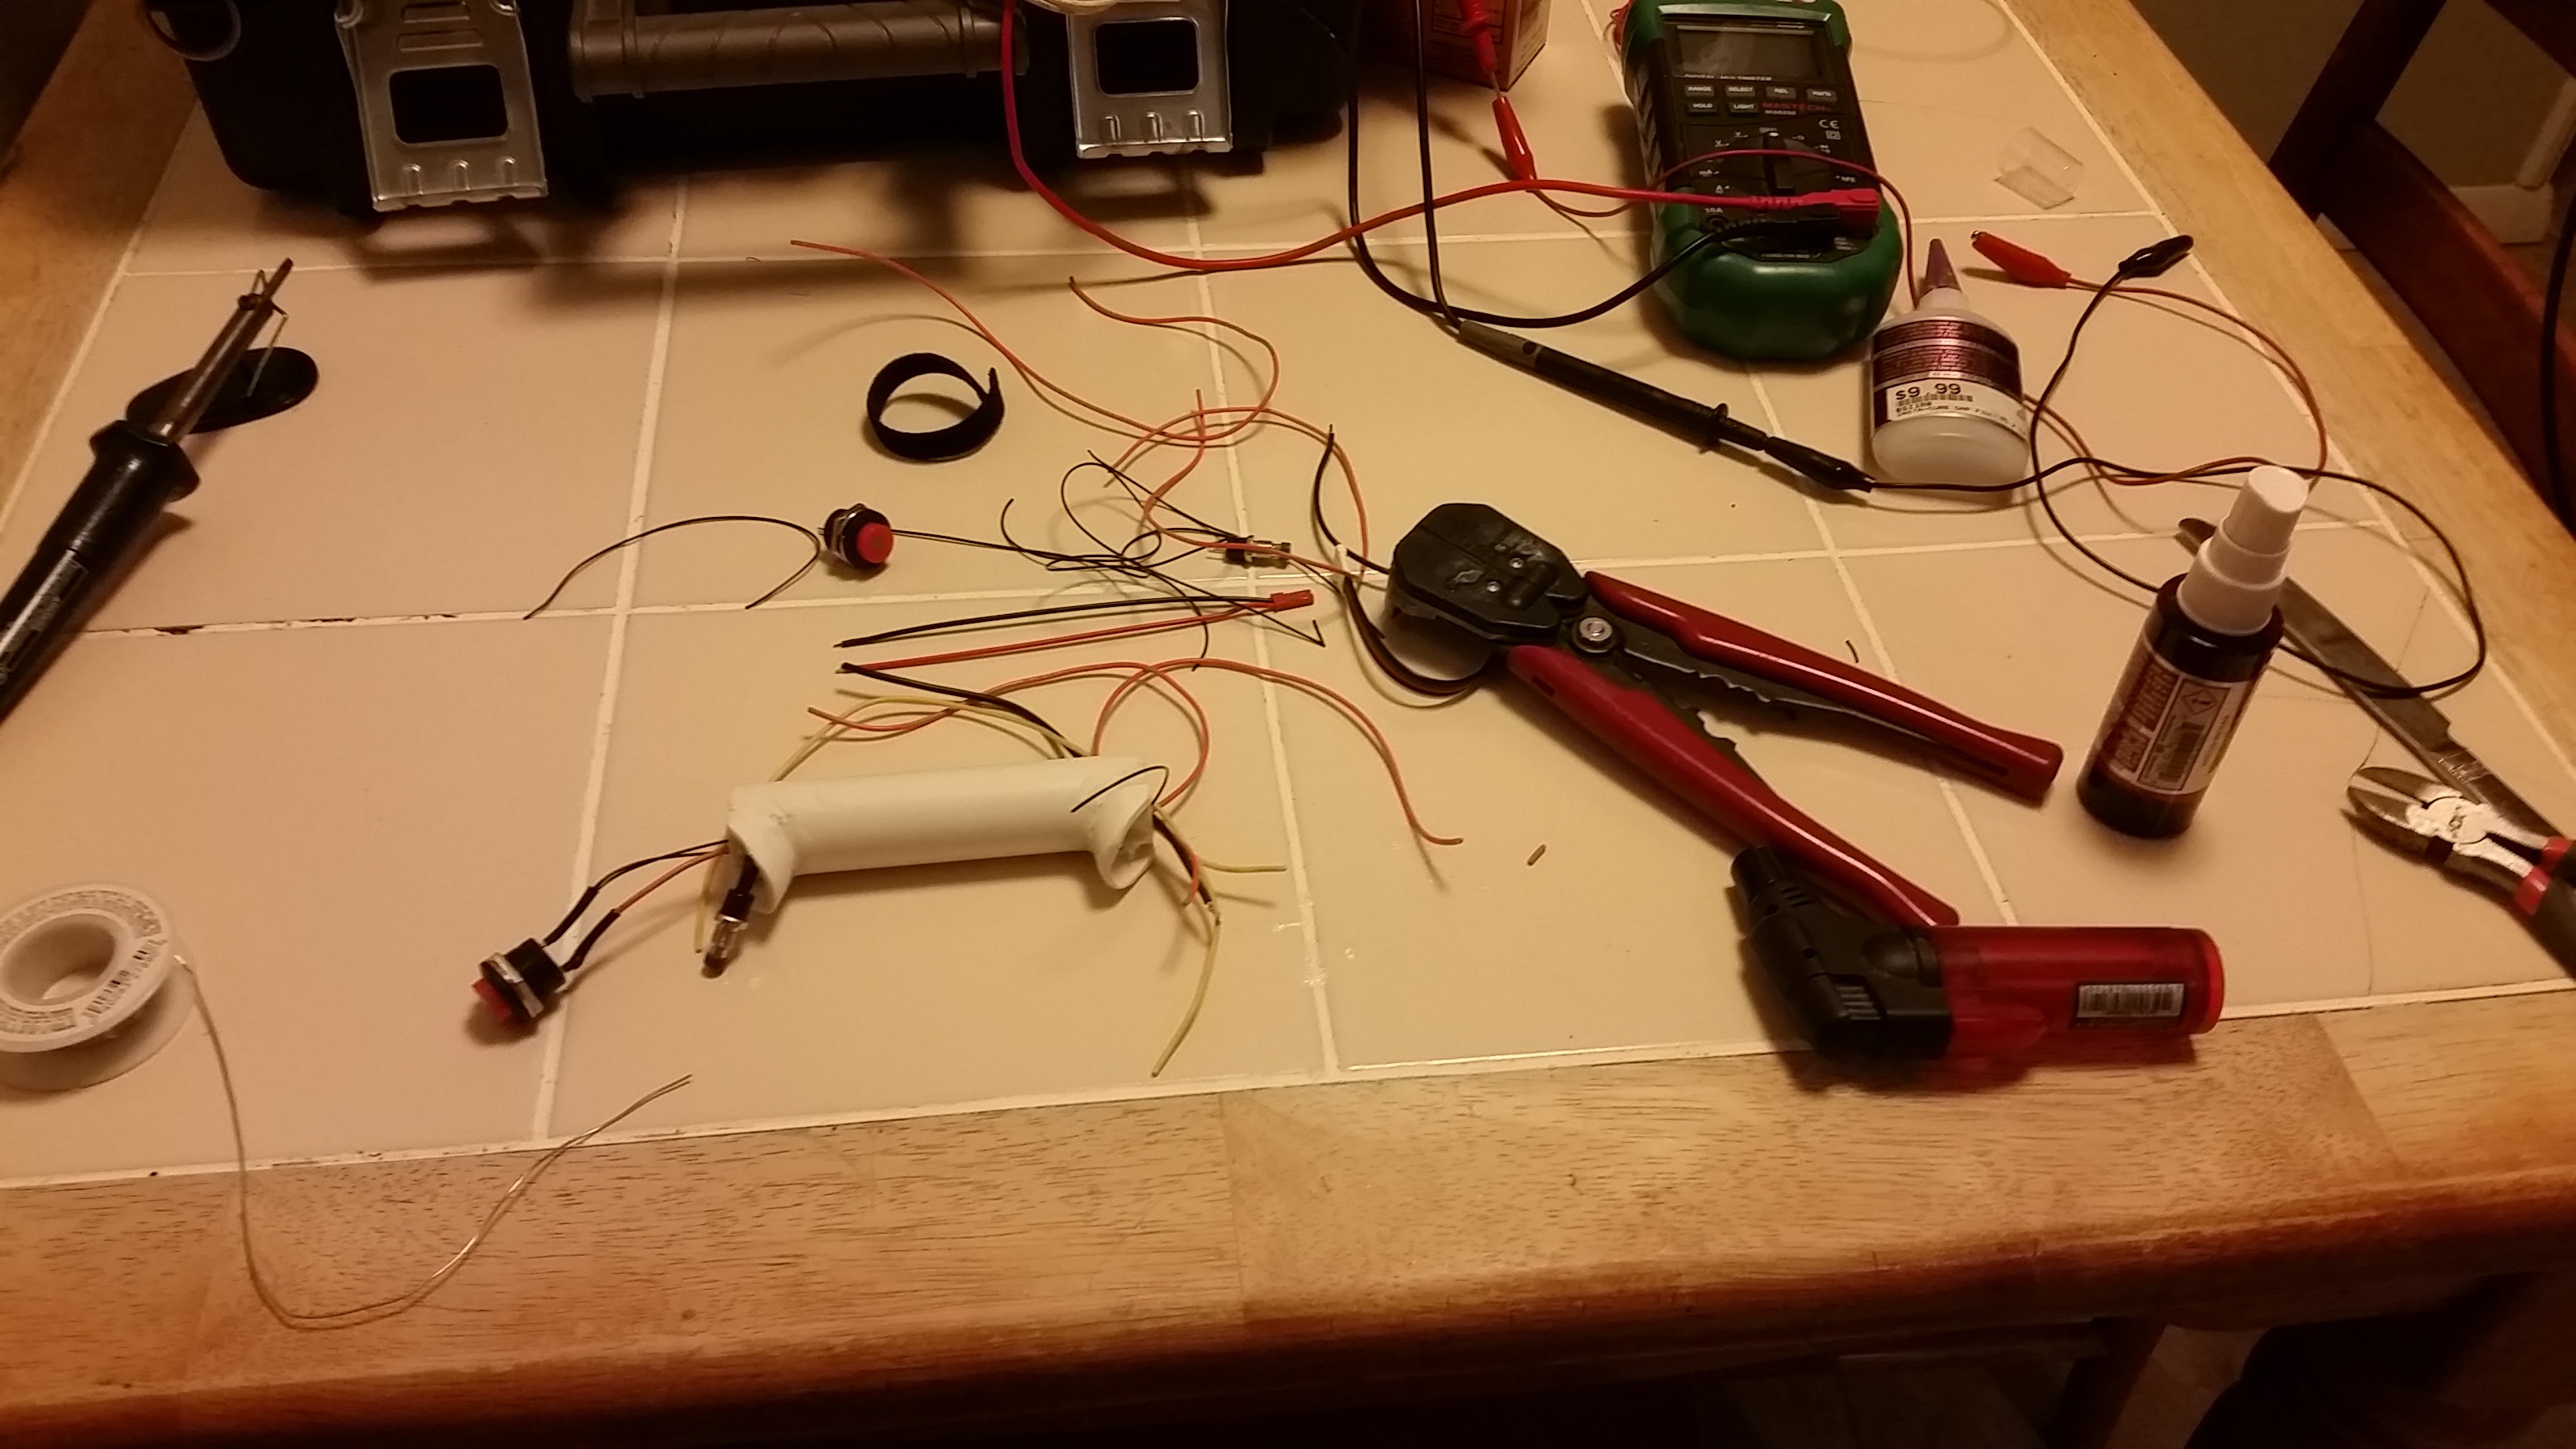
- Flex sensor and buttons
The Flame-O-Tron:

The 9000 model has a dyed green leather bracer, laser-engraved text and design, as well as alaser-cut acrylic box as well as a larger butane tank.
The Flame-O-Tron 9000

Here's a basic schematic:
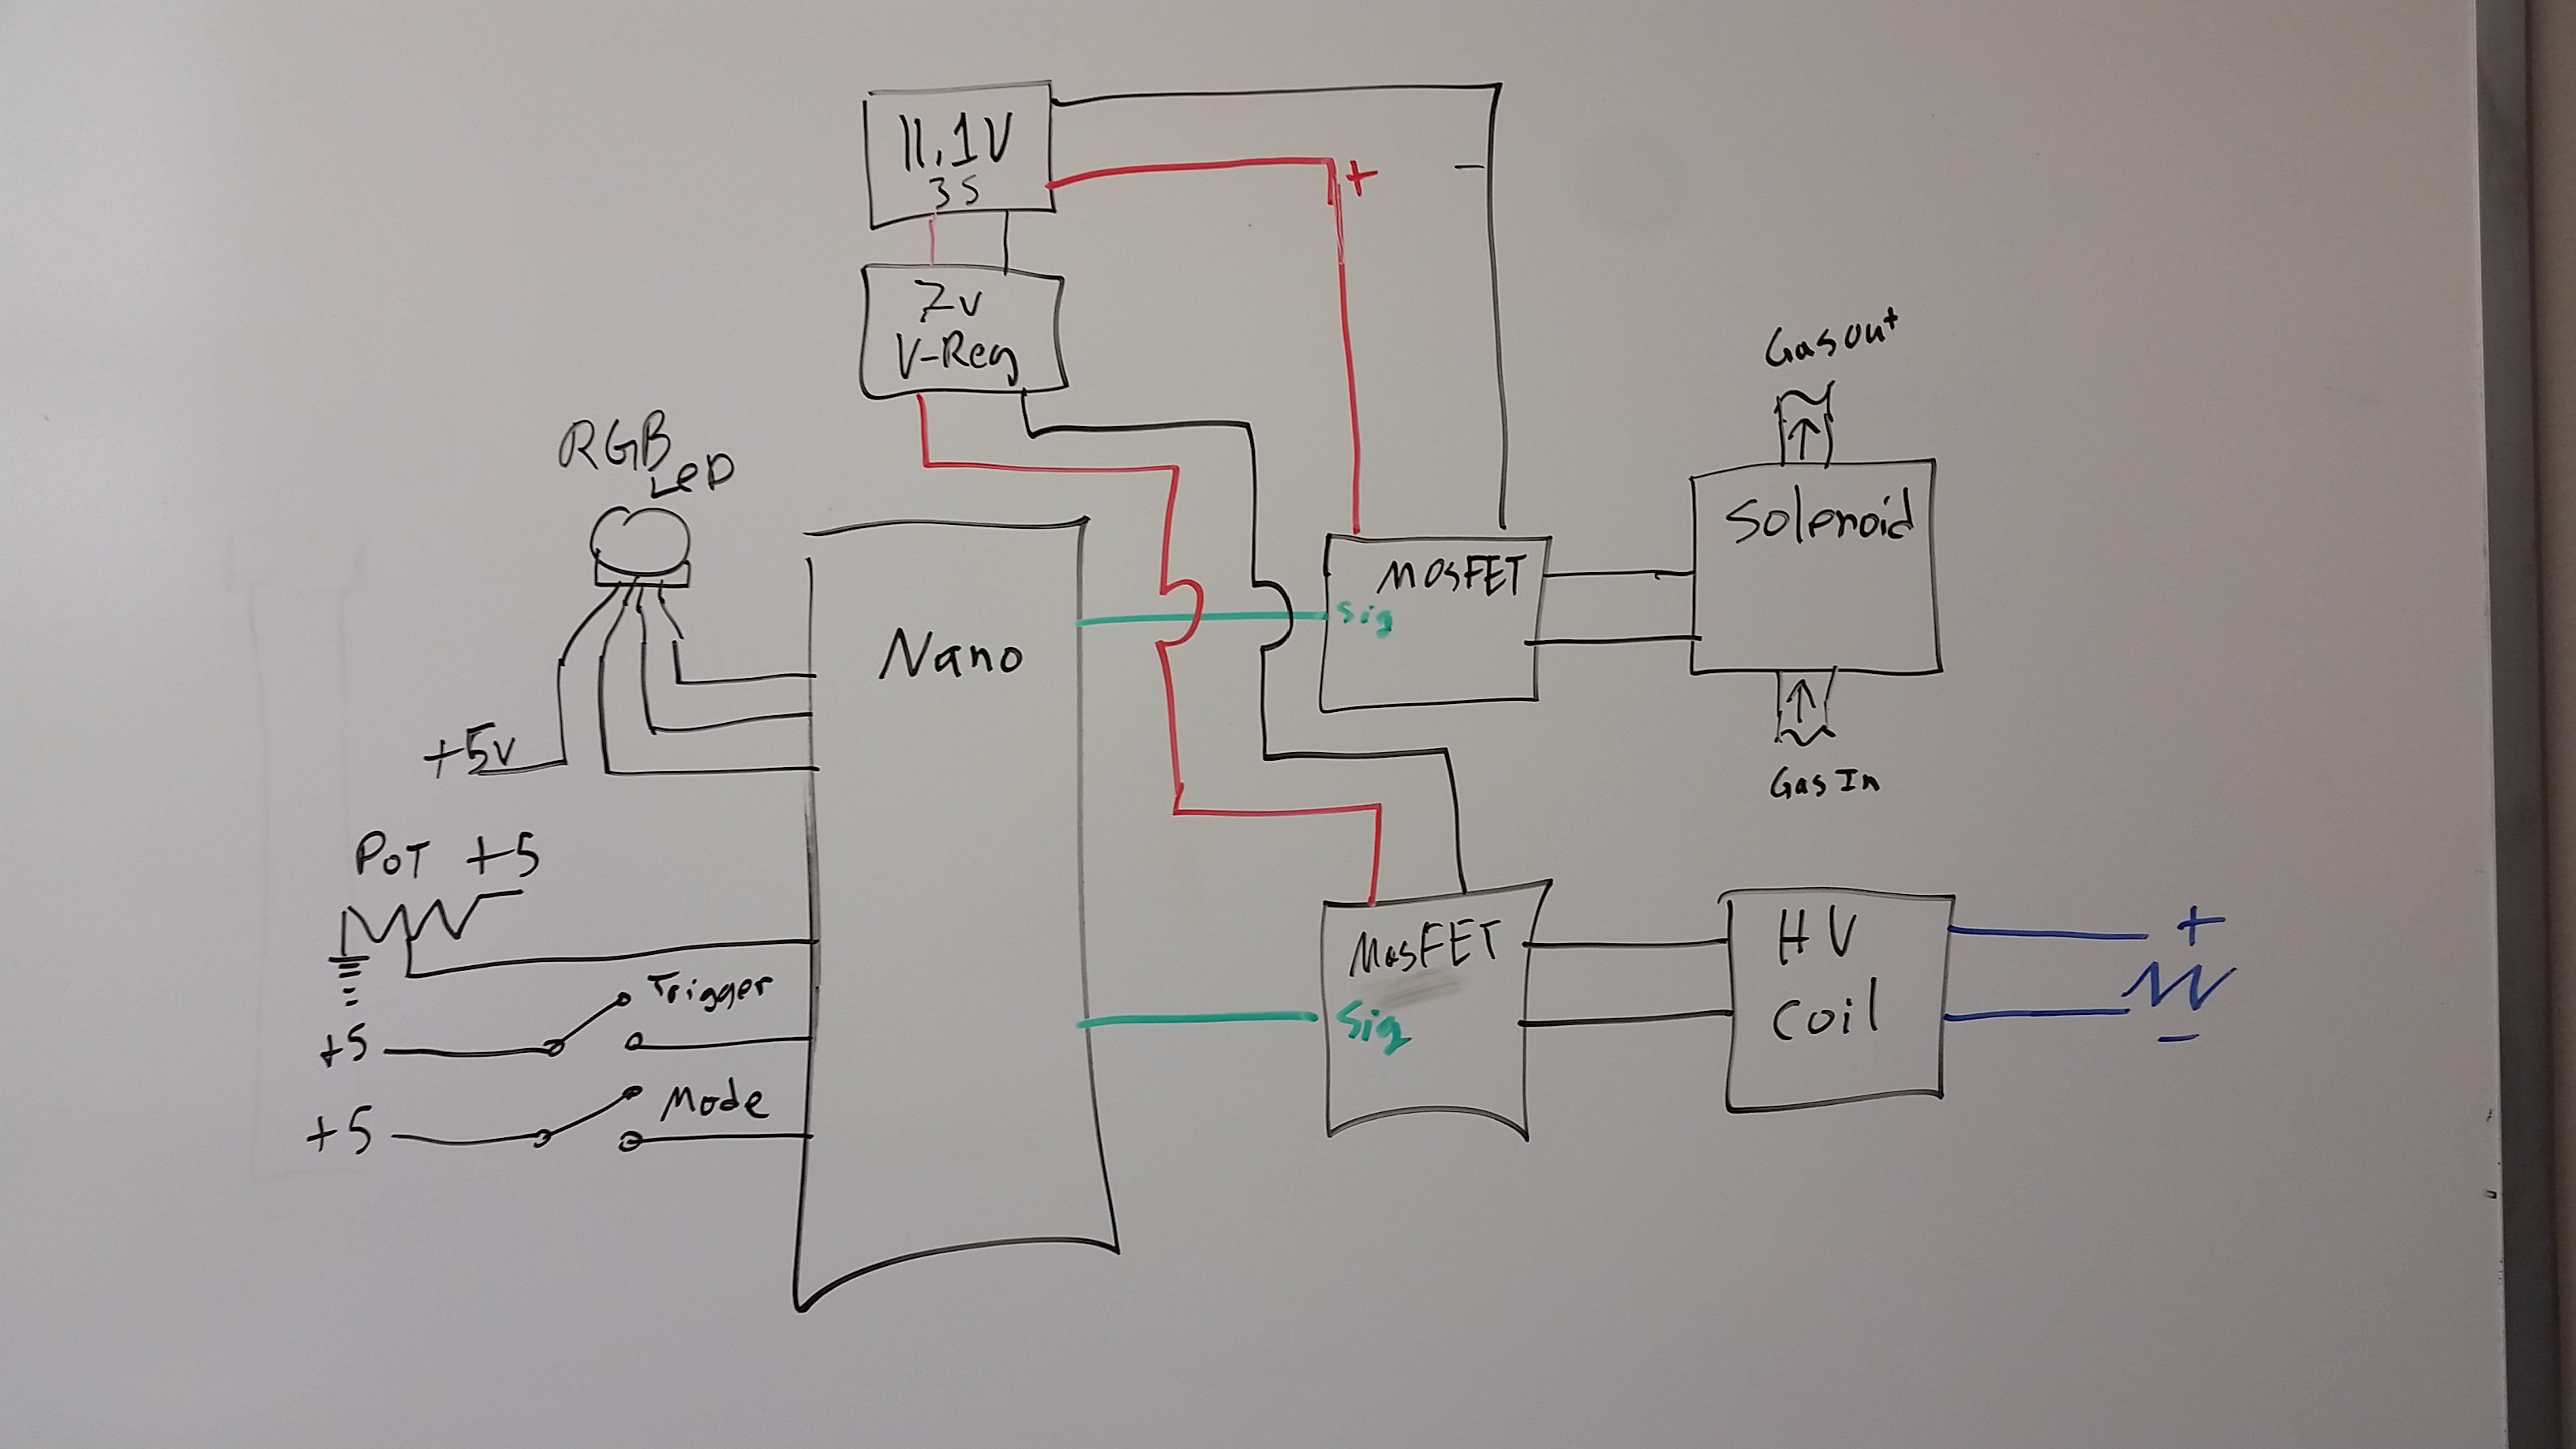
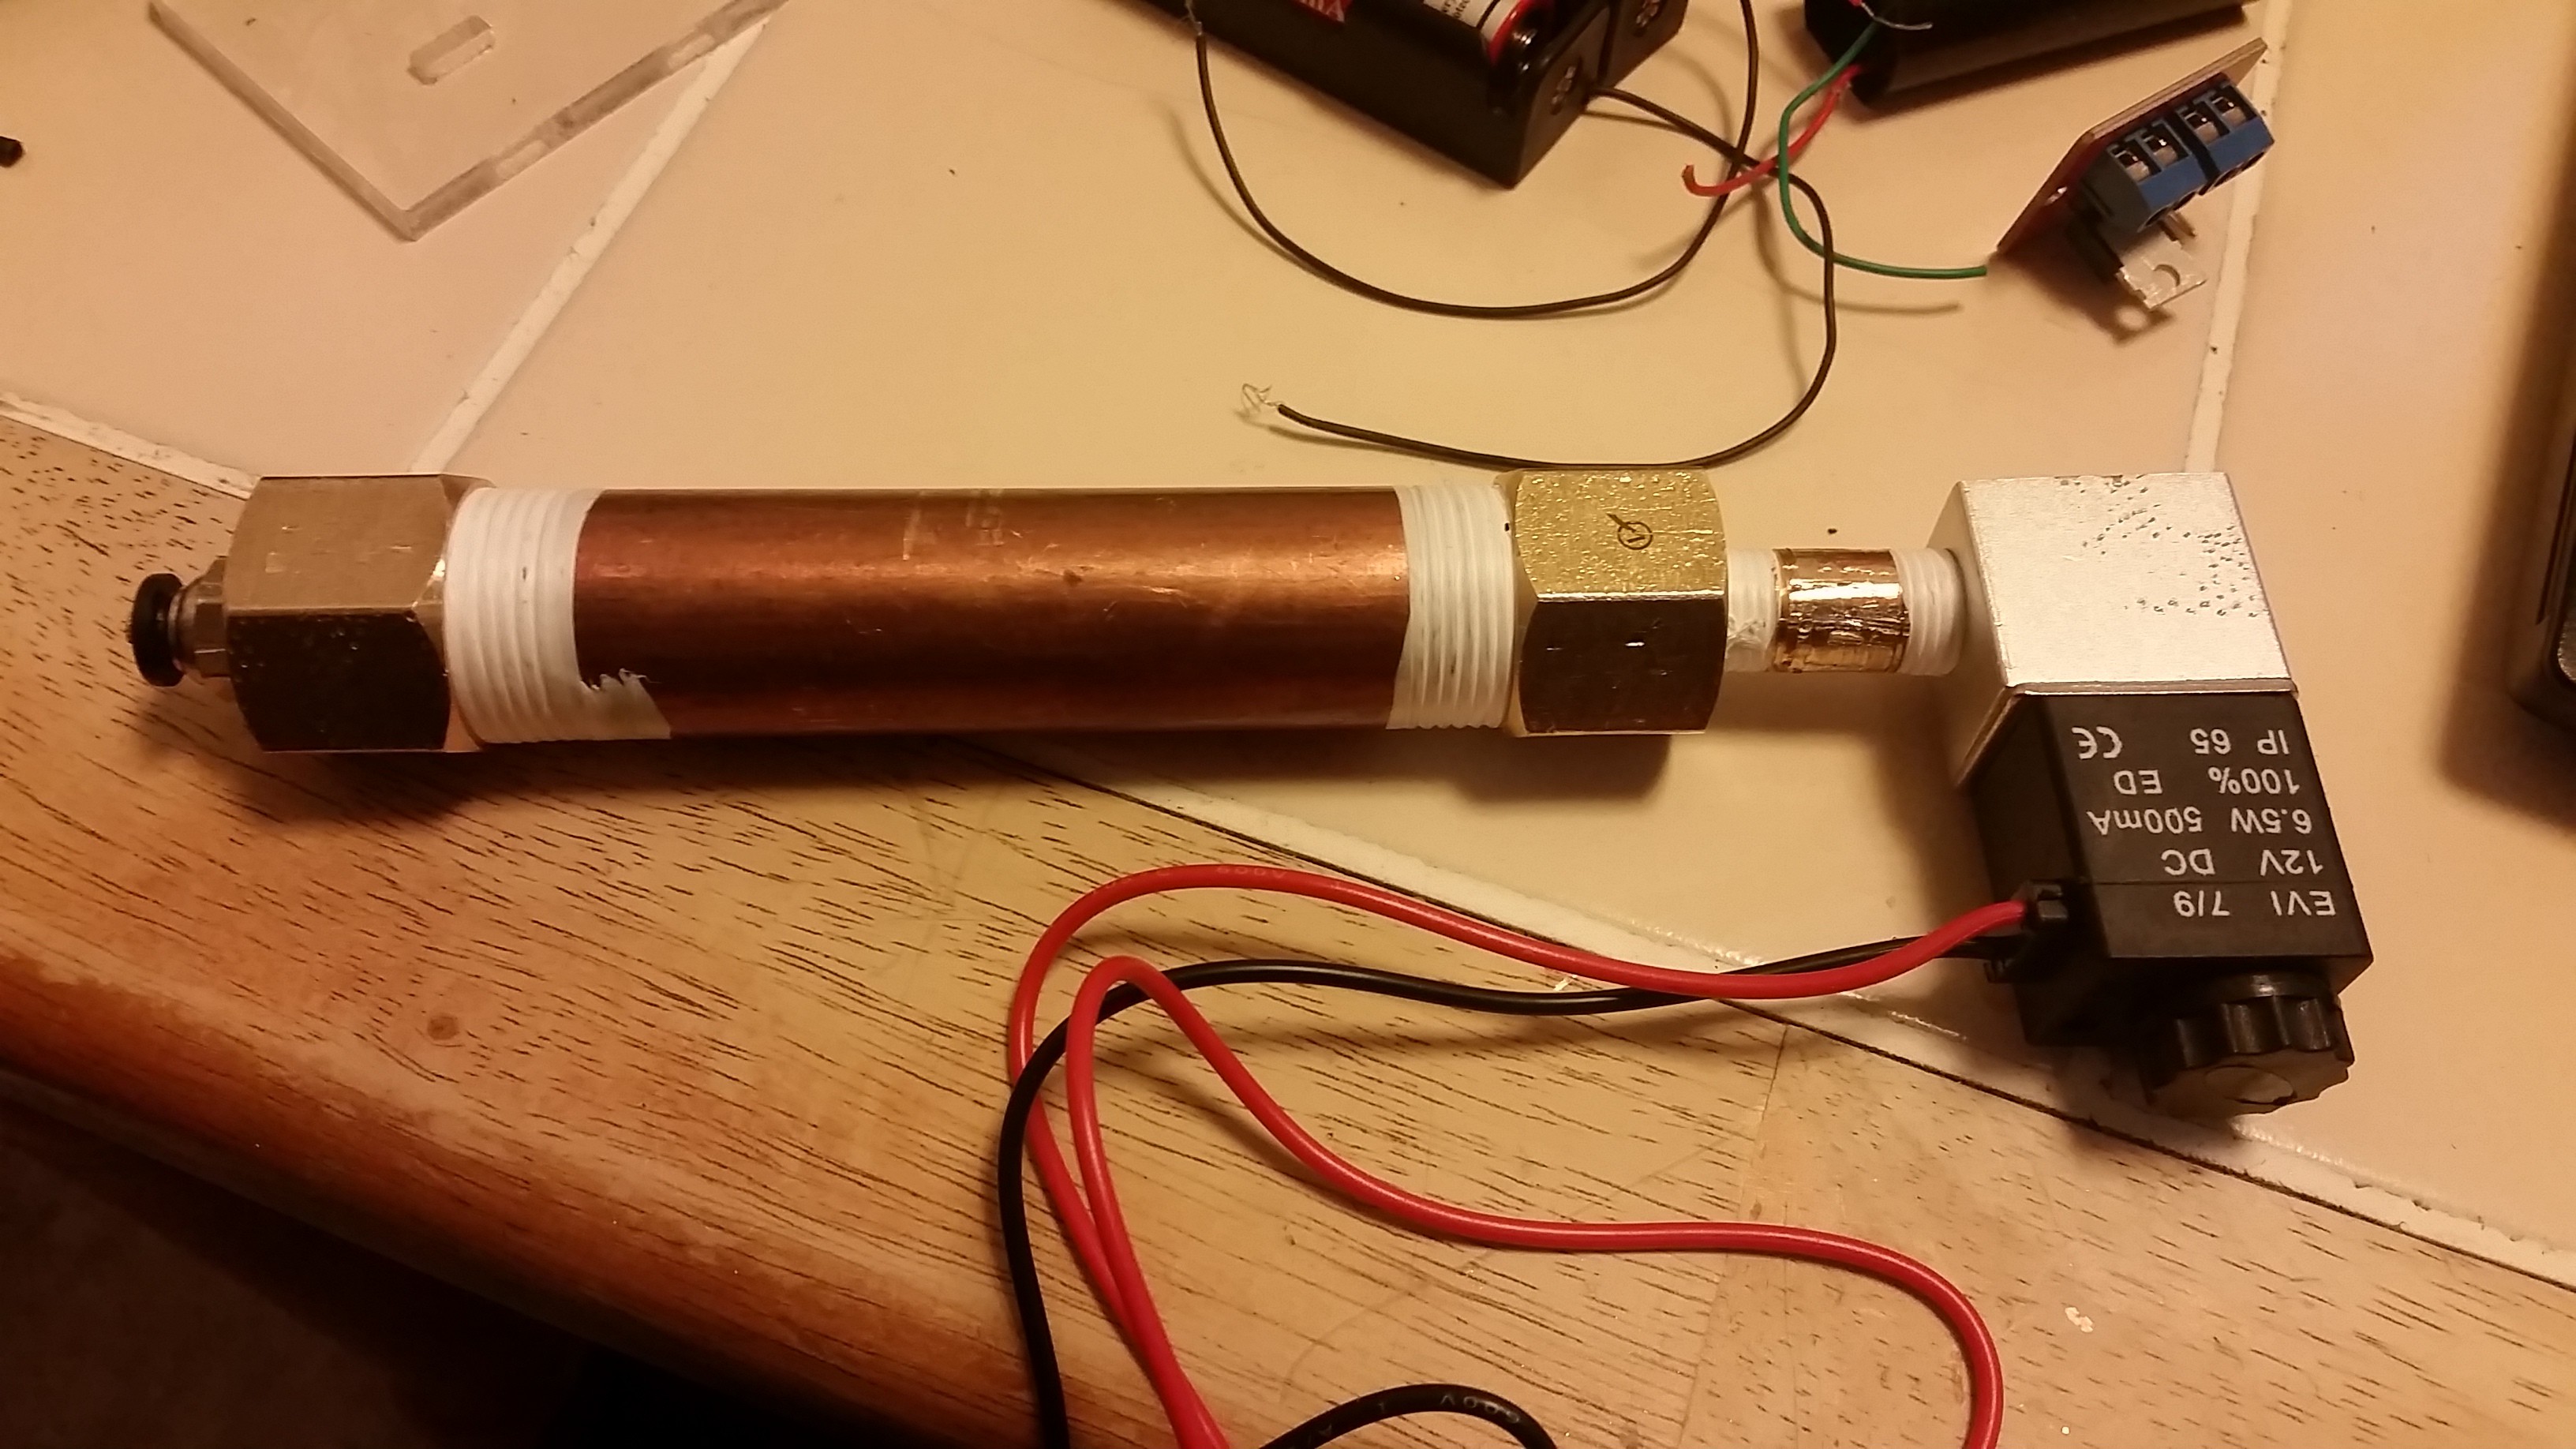
The custom butane container is coupled directly to the solenoid valve. All pipes are connected with PTFE tape.
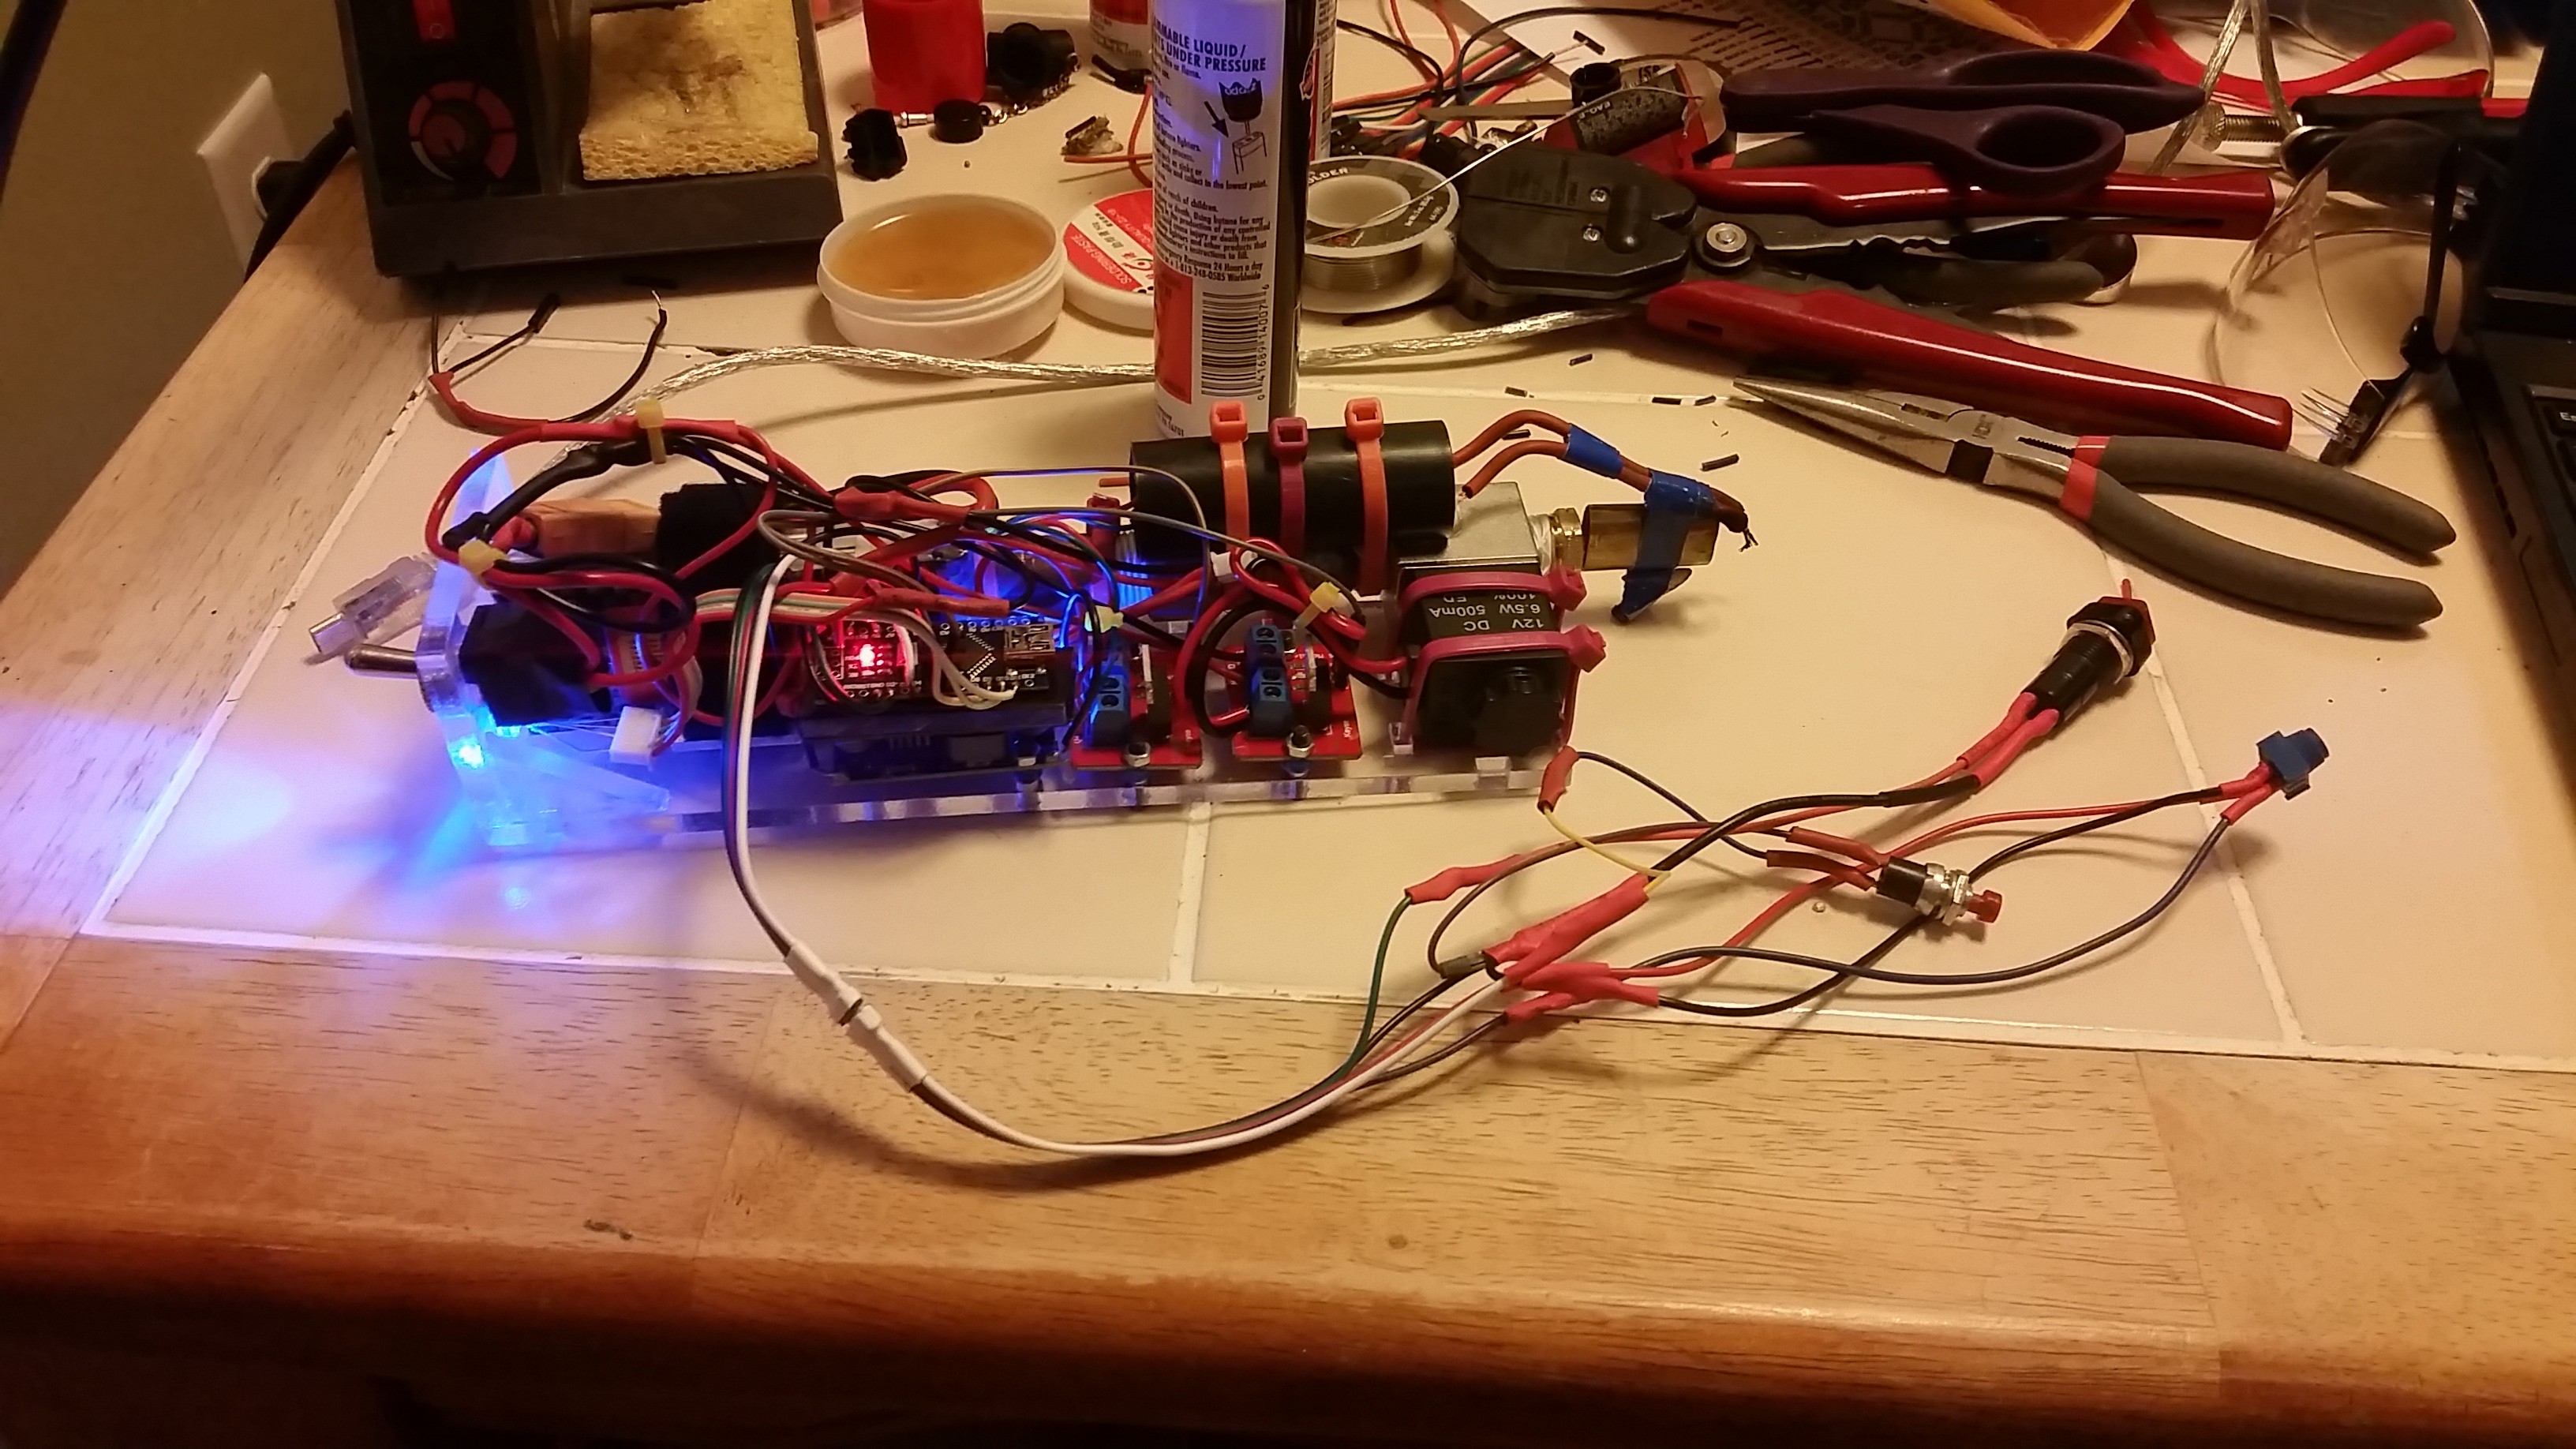
Wiring it all up for the first time with a test button harness
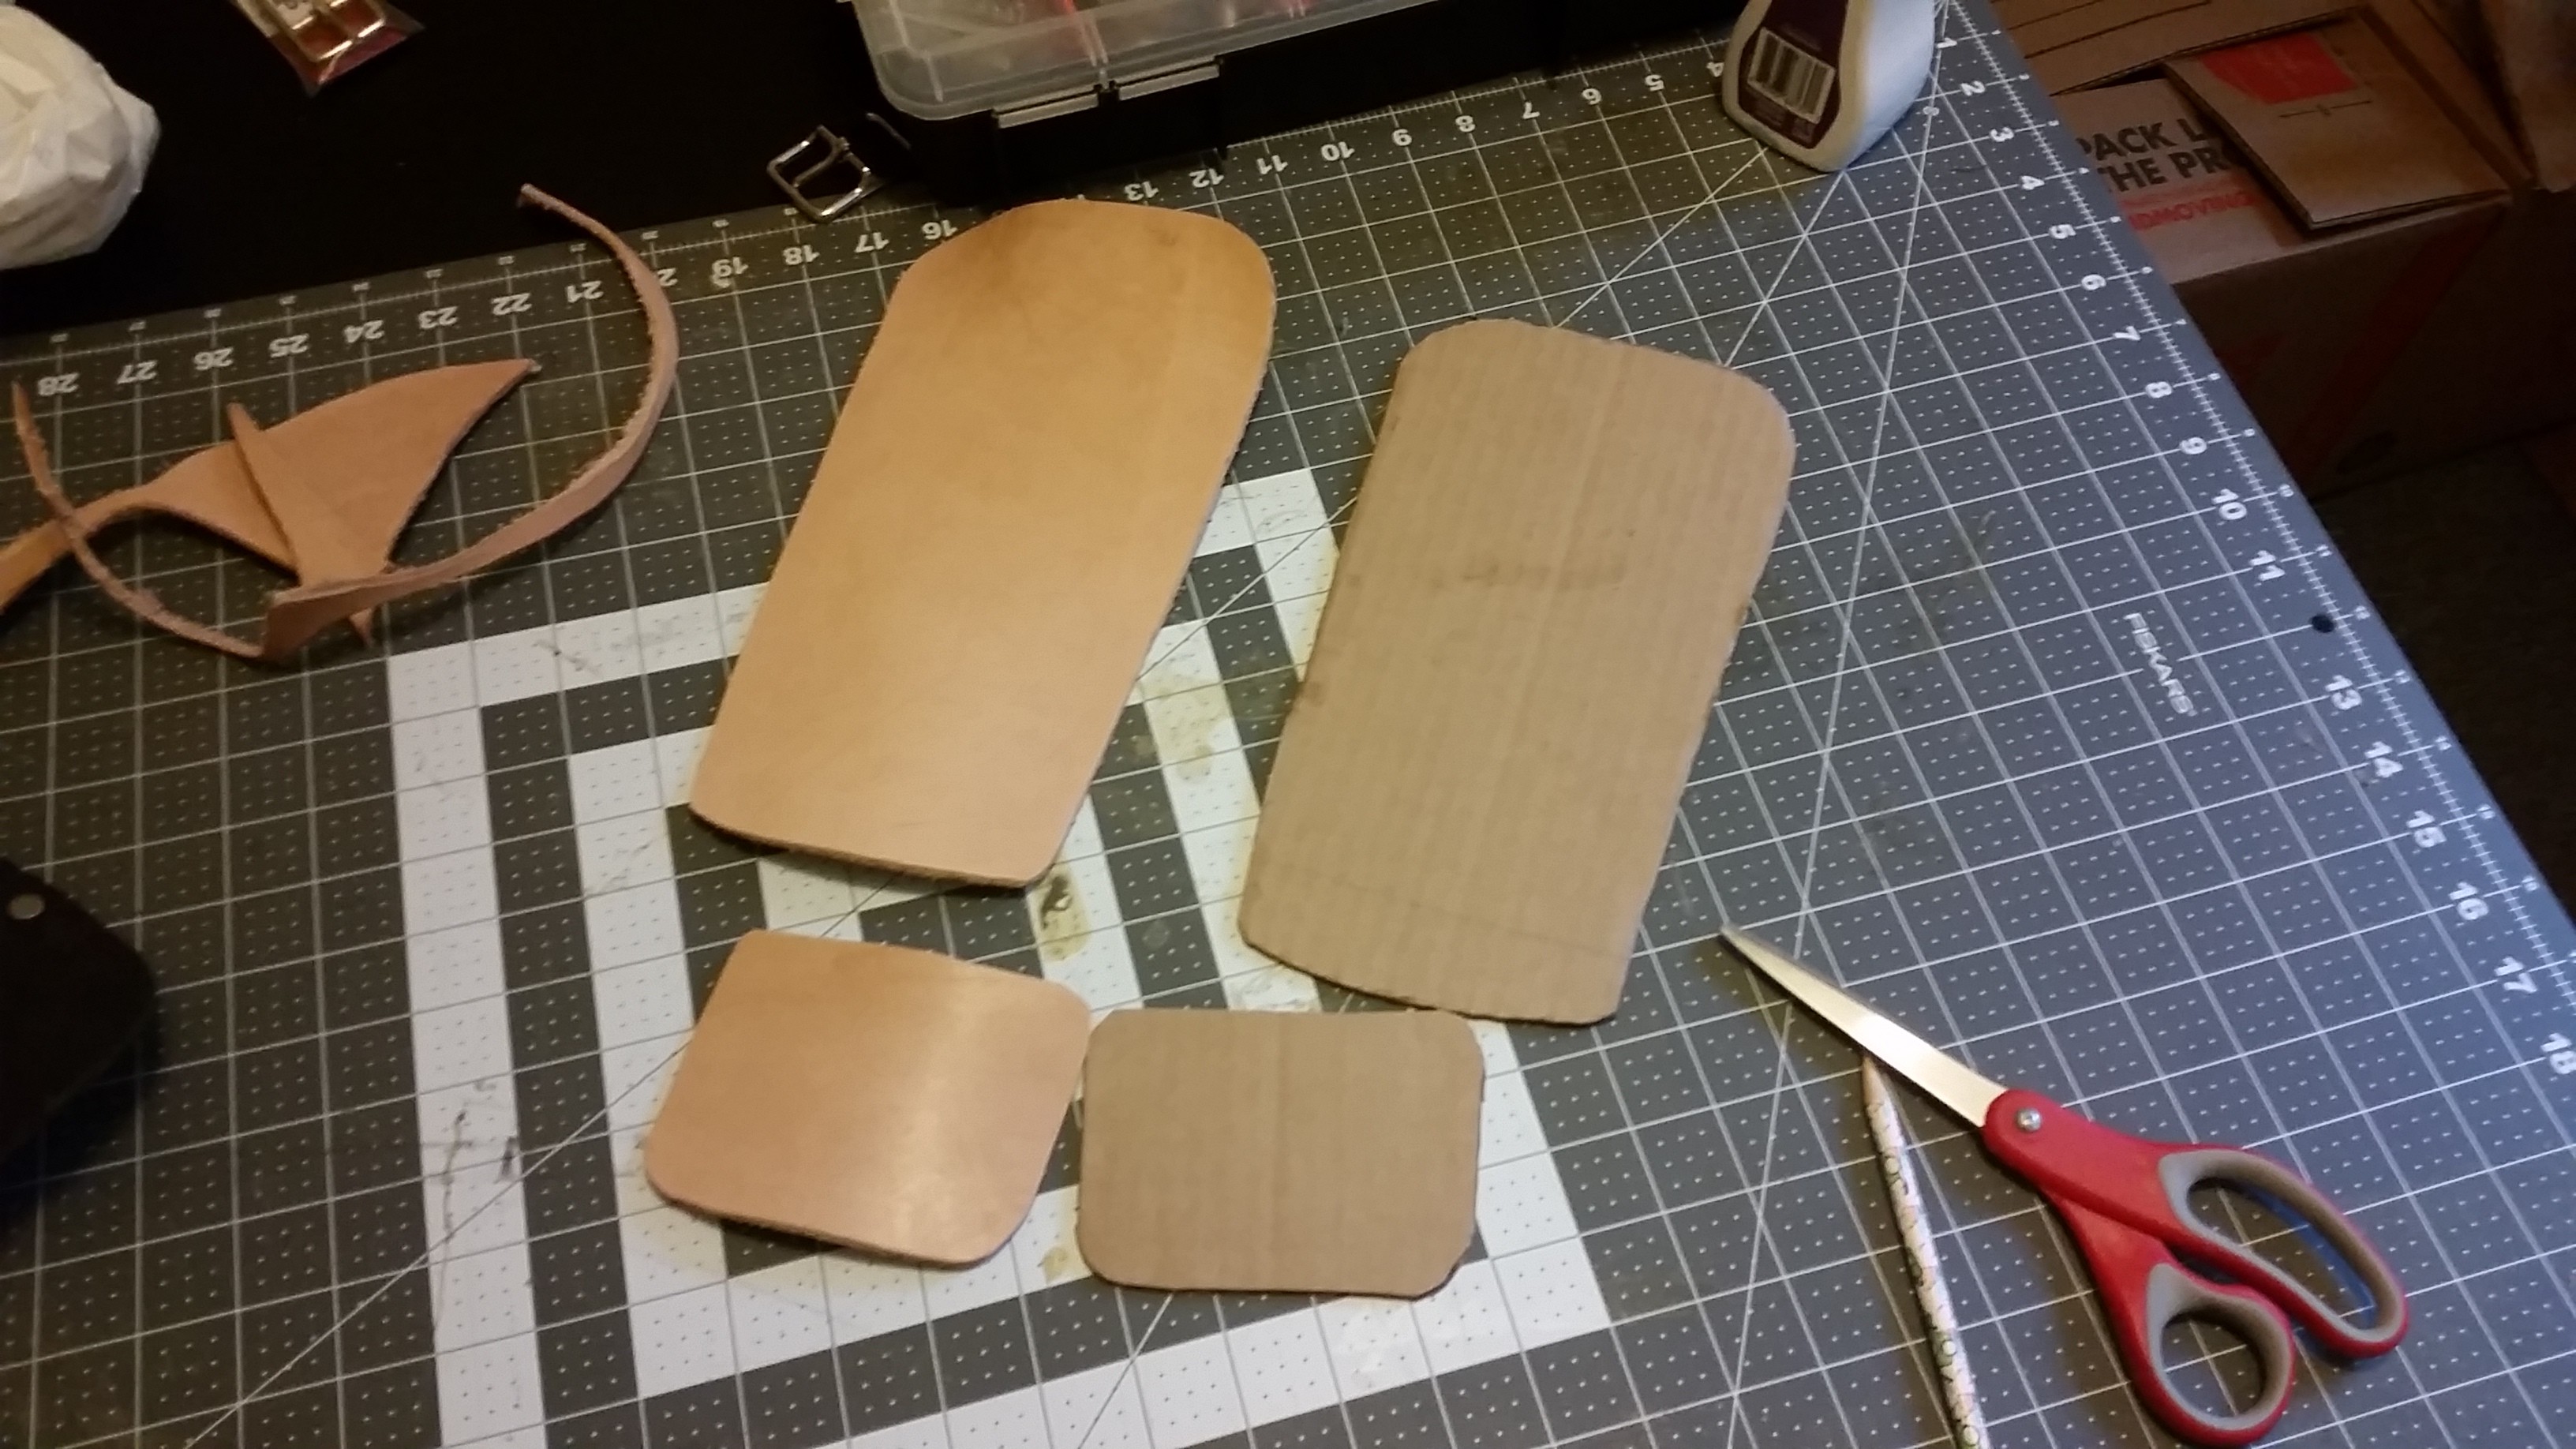
I made a basic bracer pattern with a hand-guard out of 13 oz. tooling leather.
I used my 60 Watt CO2 laser to engrave the leather for the 9000 version
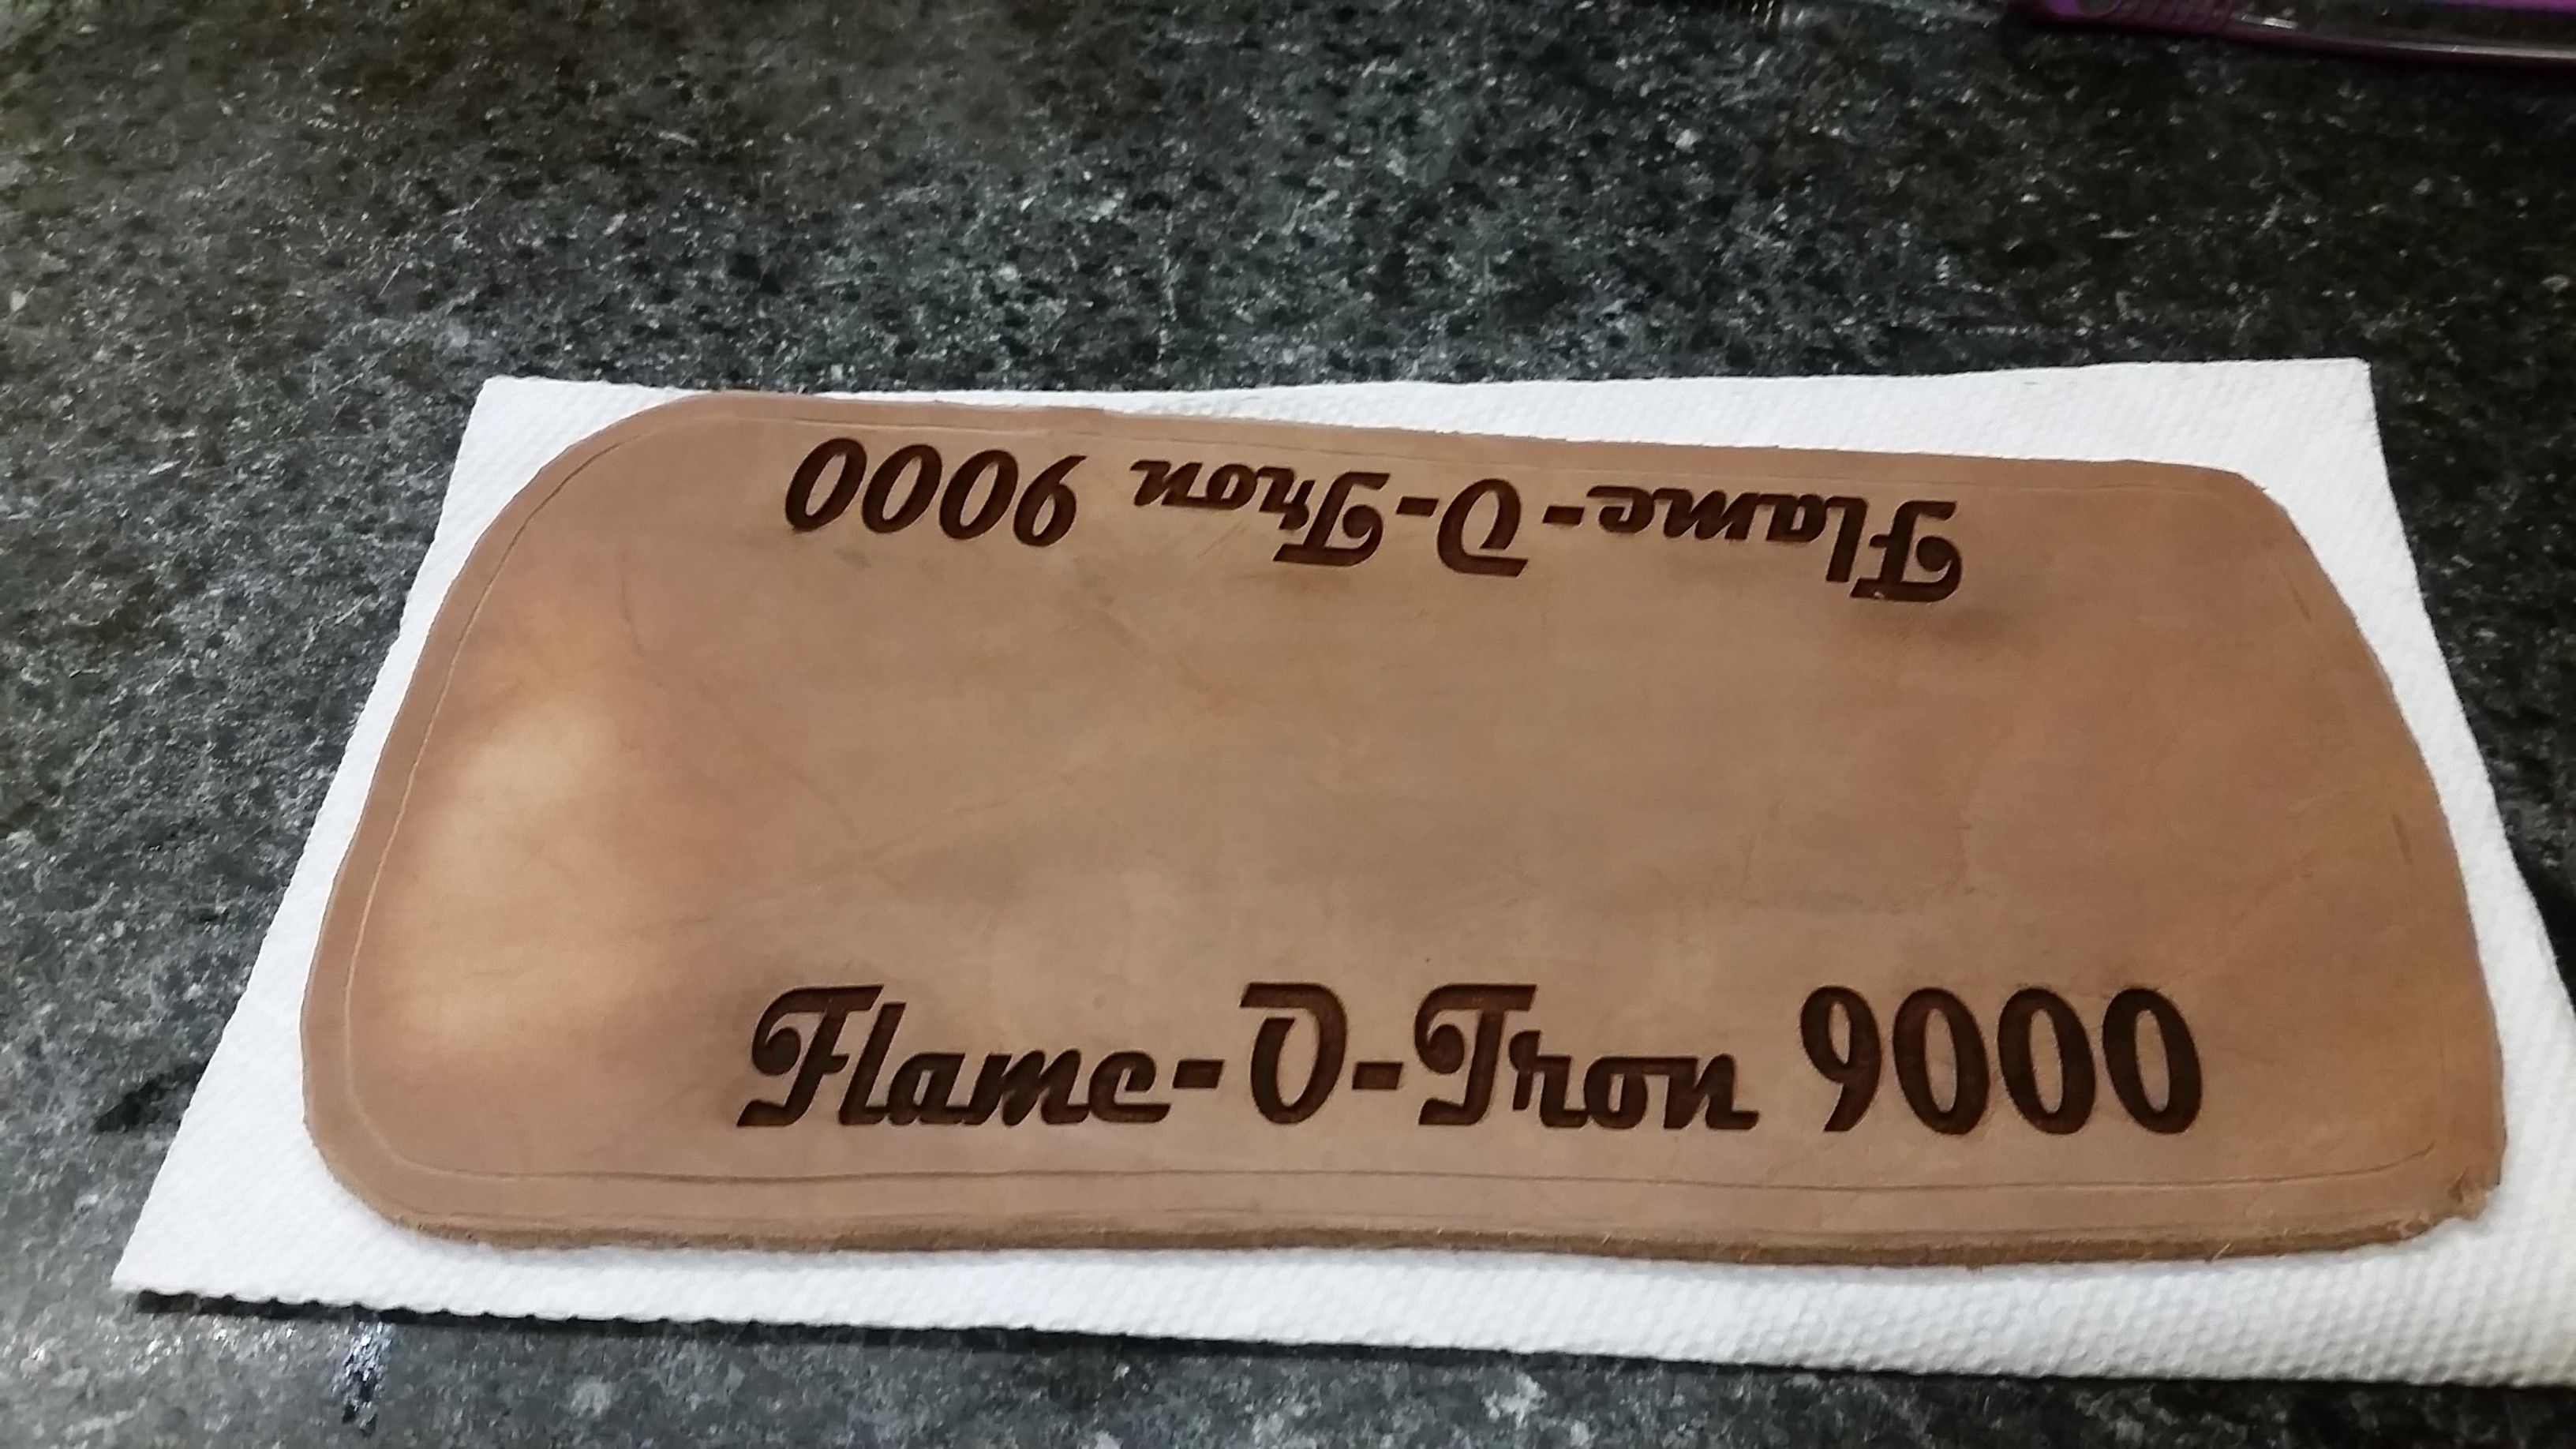
I dyed the leather and molded the form to fit. I used leather conditioner and Resolene to protect it all.
Crafting the hand-grip controller.
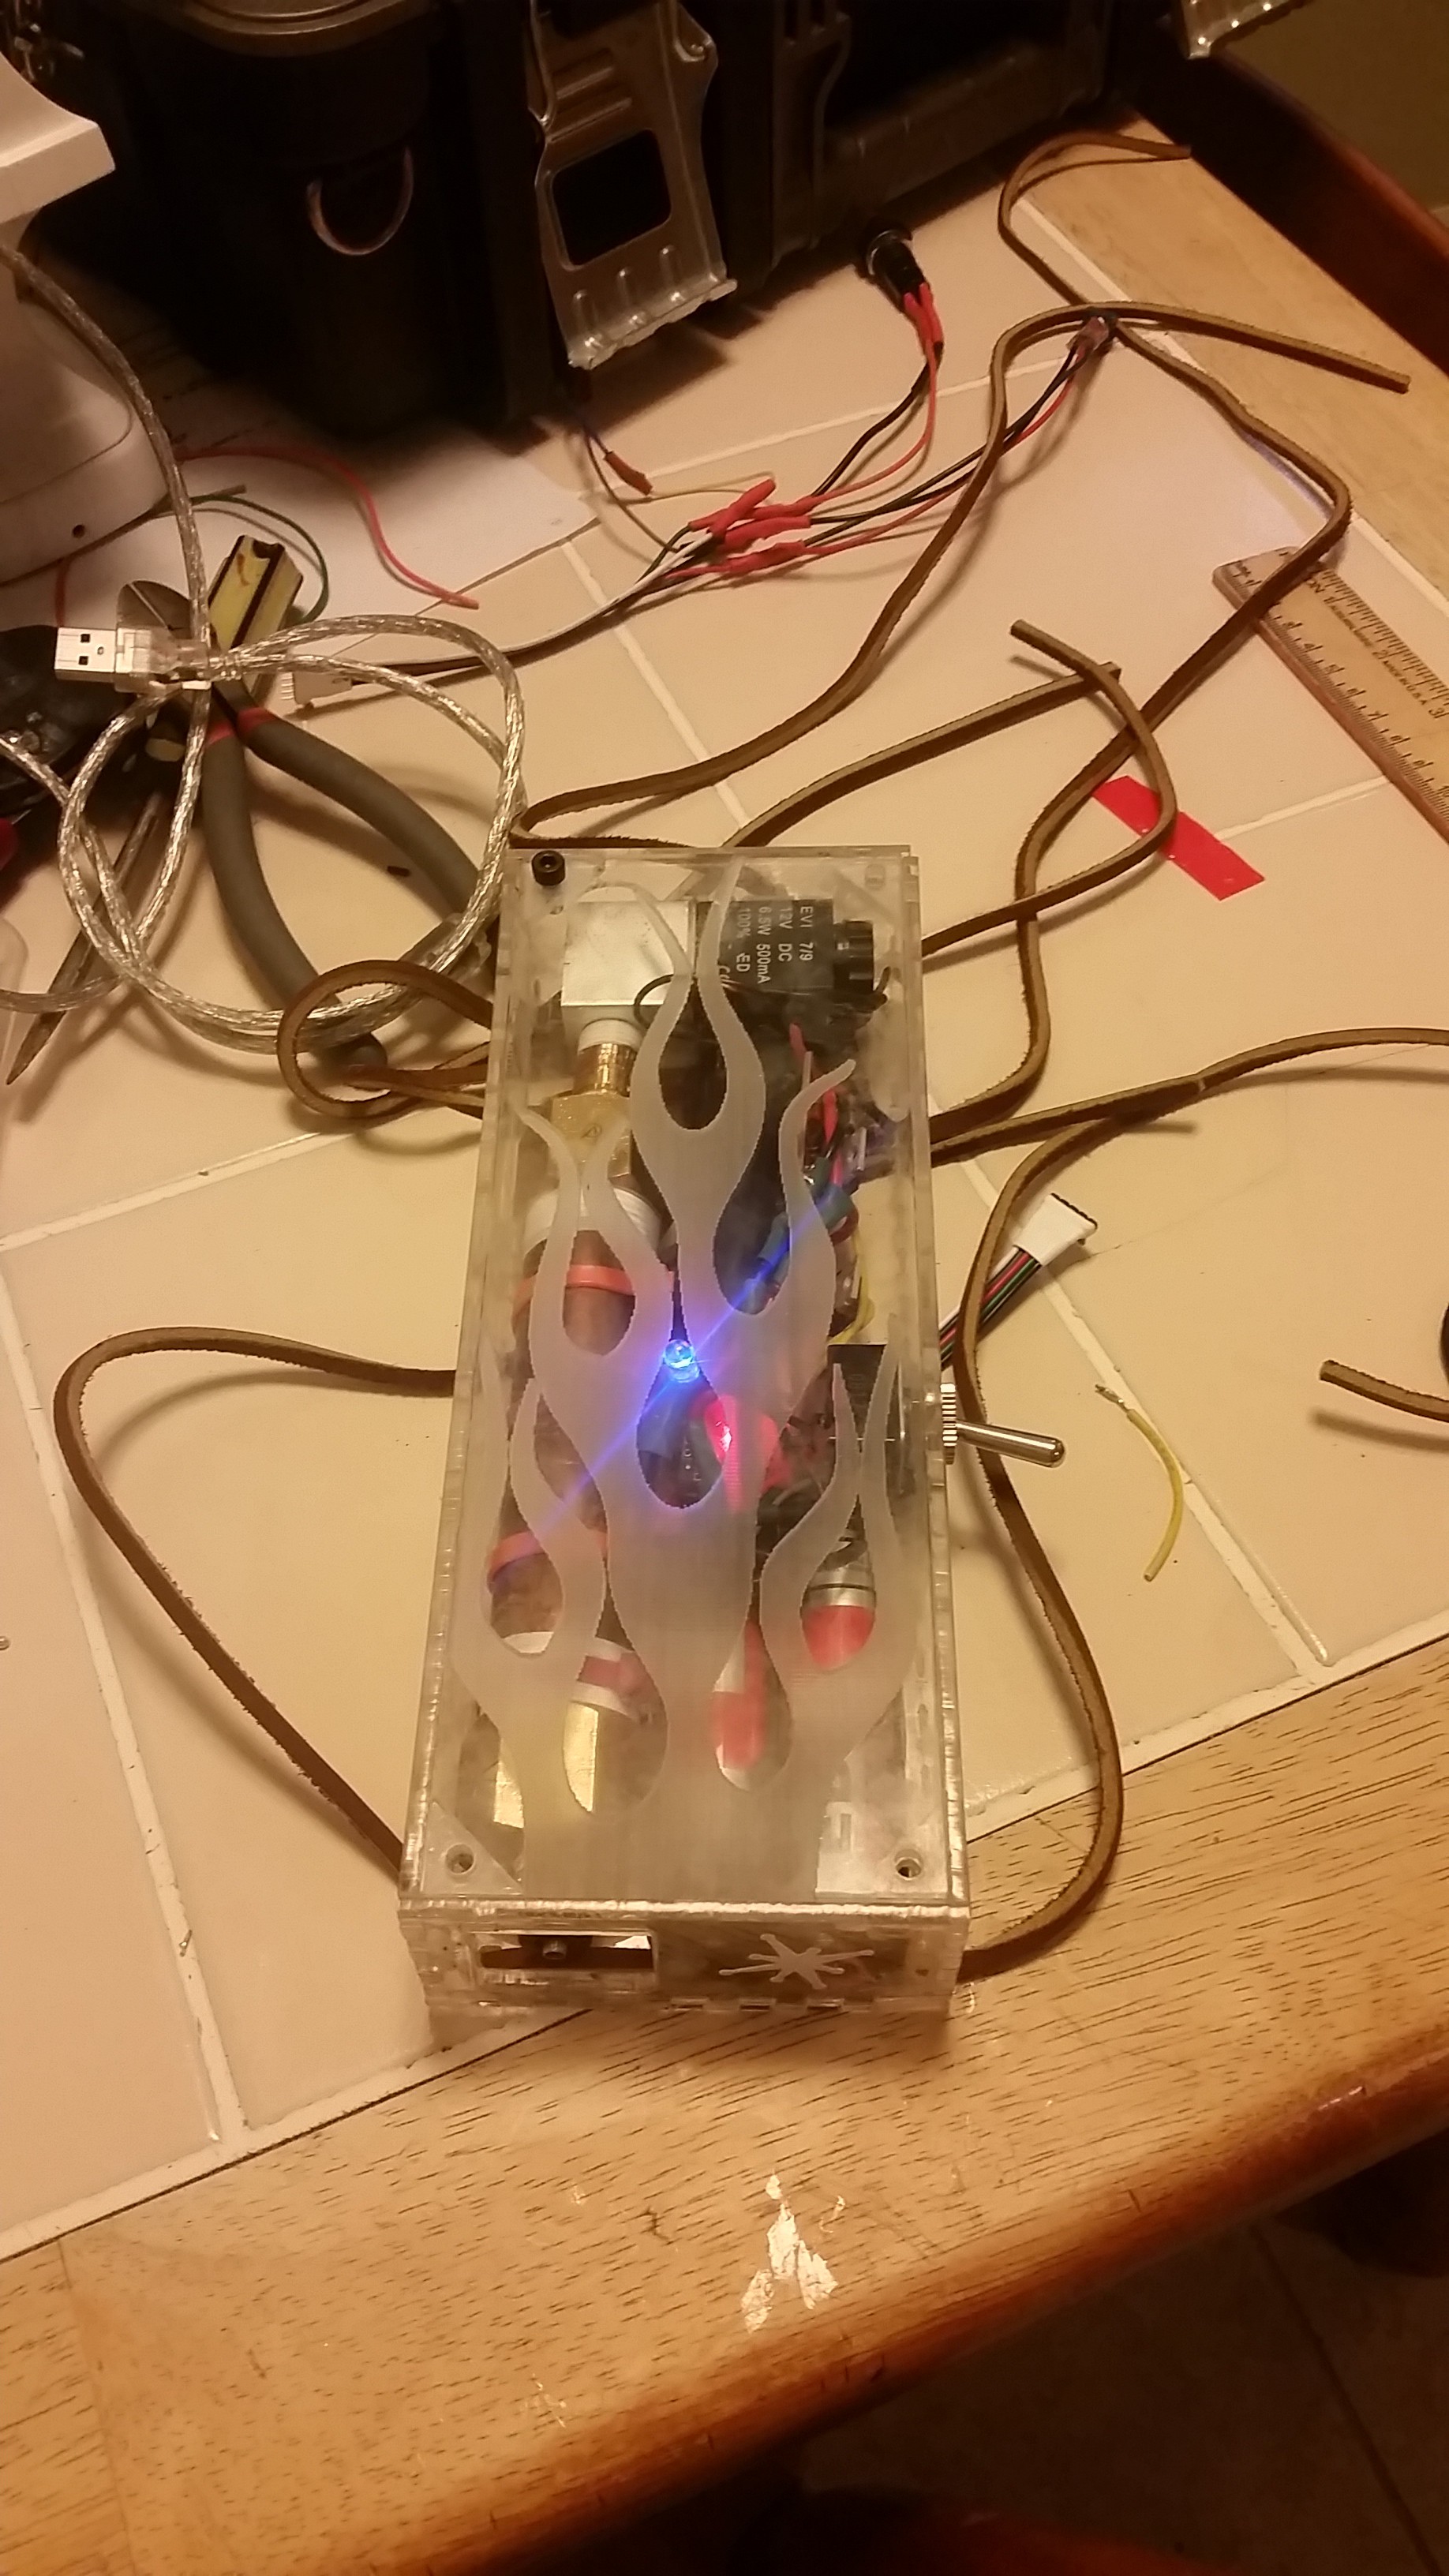
Bringing the 9000 online after initial programming. The USB port is below the switch.
Here's the Flame-O-Tron in action!! The clicking sound is the PWM control of the solenoid. The short buzzing sound is the HV ignition spark.

 Harmanpreet Singh
 Todd
Todd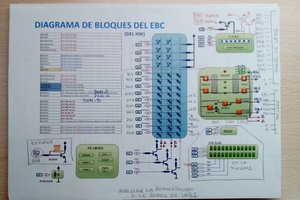
 David J. Sandoval
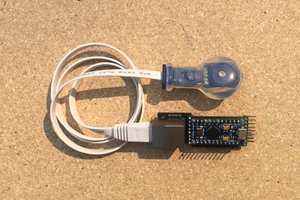
 oneohm