1MIDI, being MIDI, has gotten to the inside of every electron musical instrument. while very simple it has still made it as the common language of a generation of musical instruments. This log shows how a cheap MIDI USB hub is used to translate the boards language to MIDI.
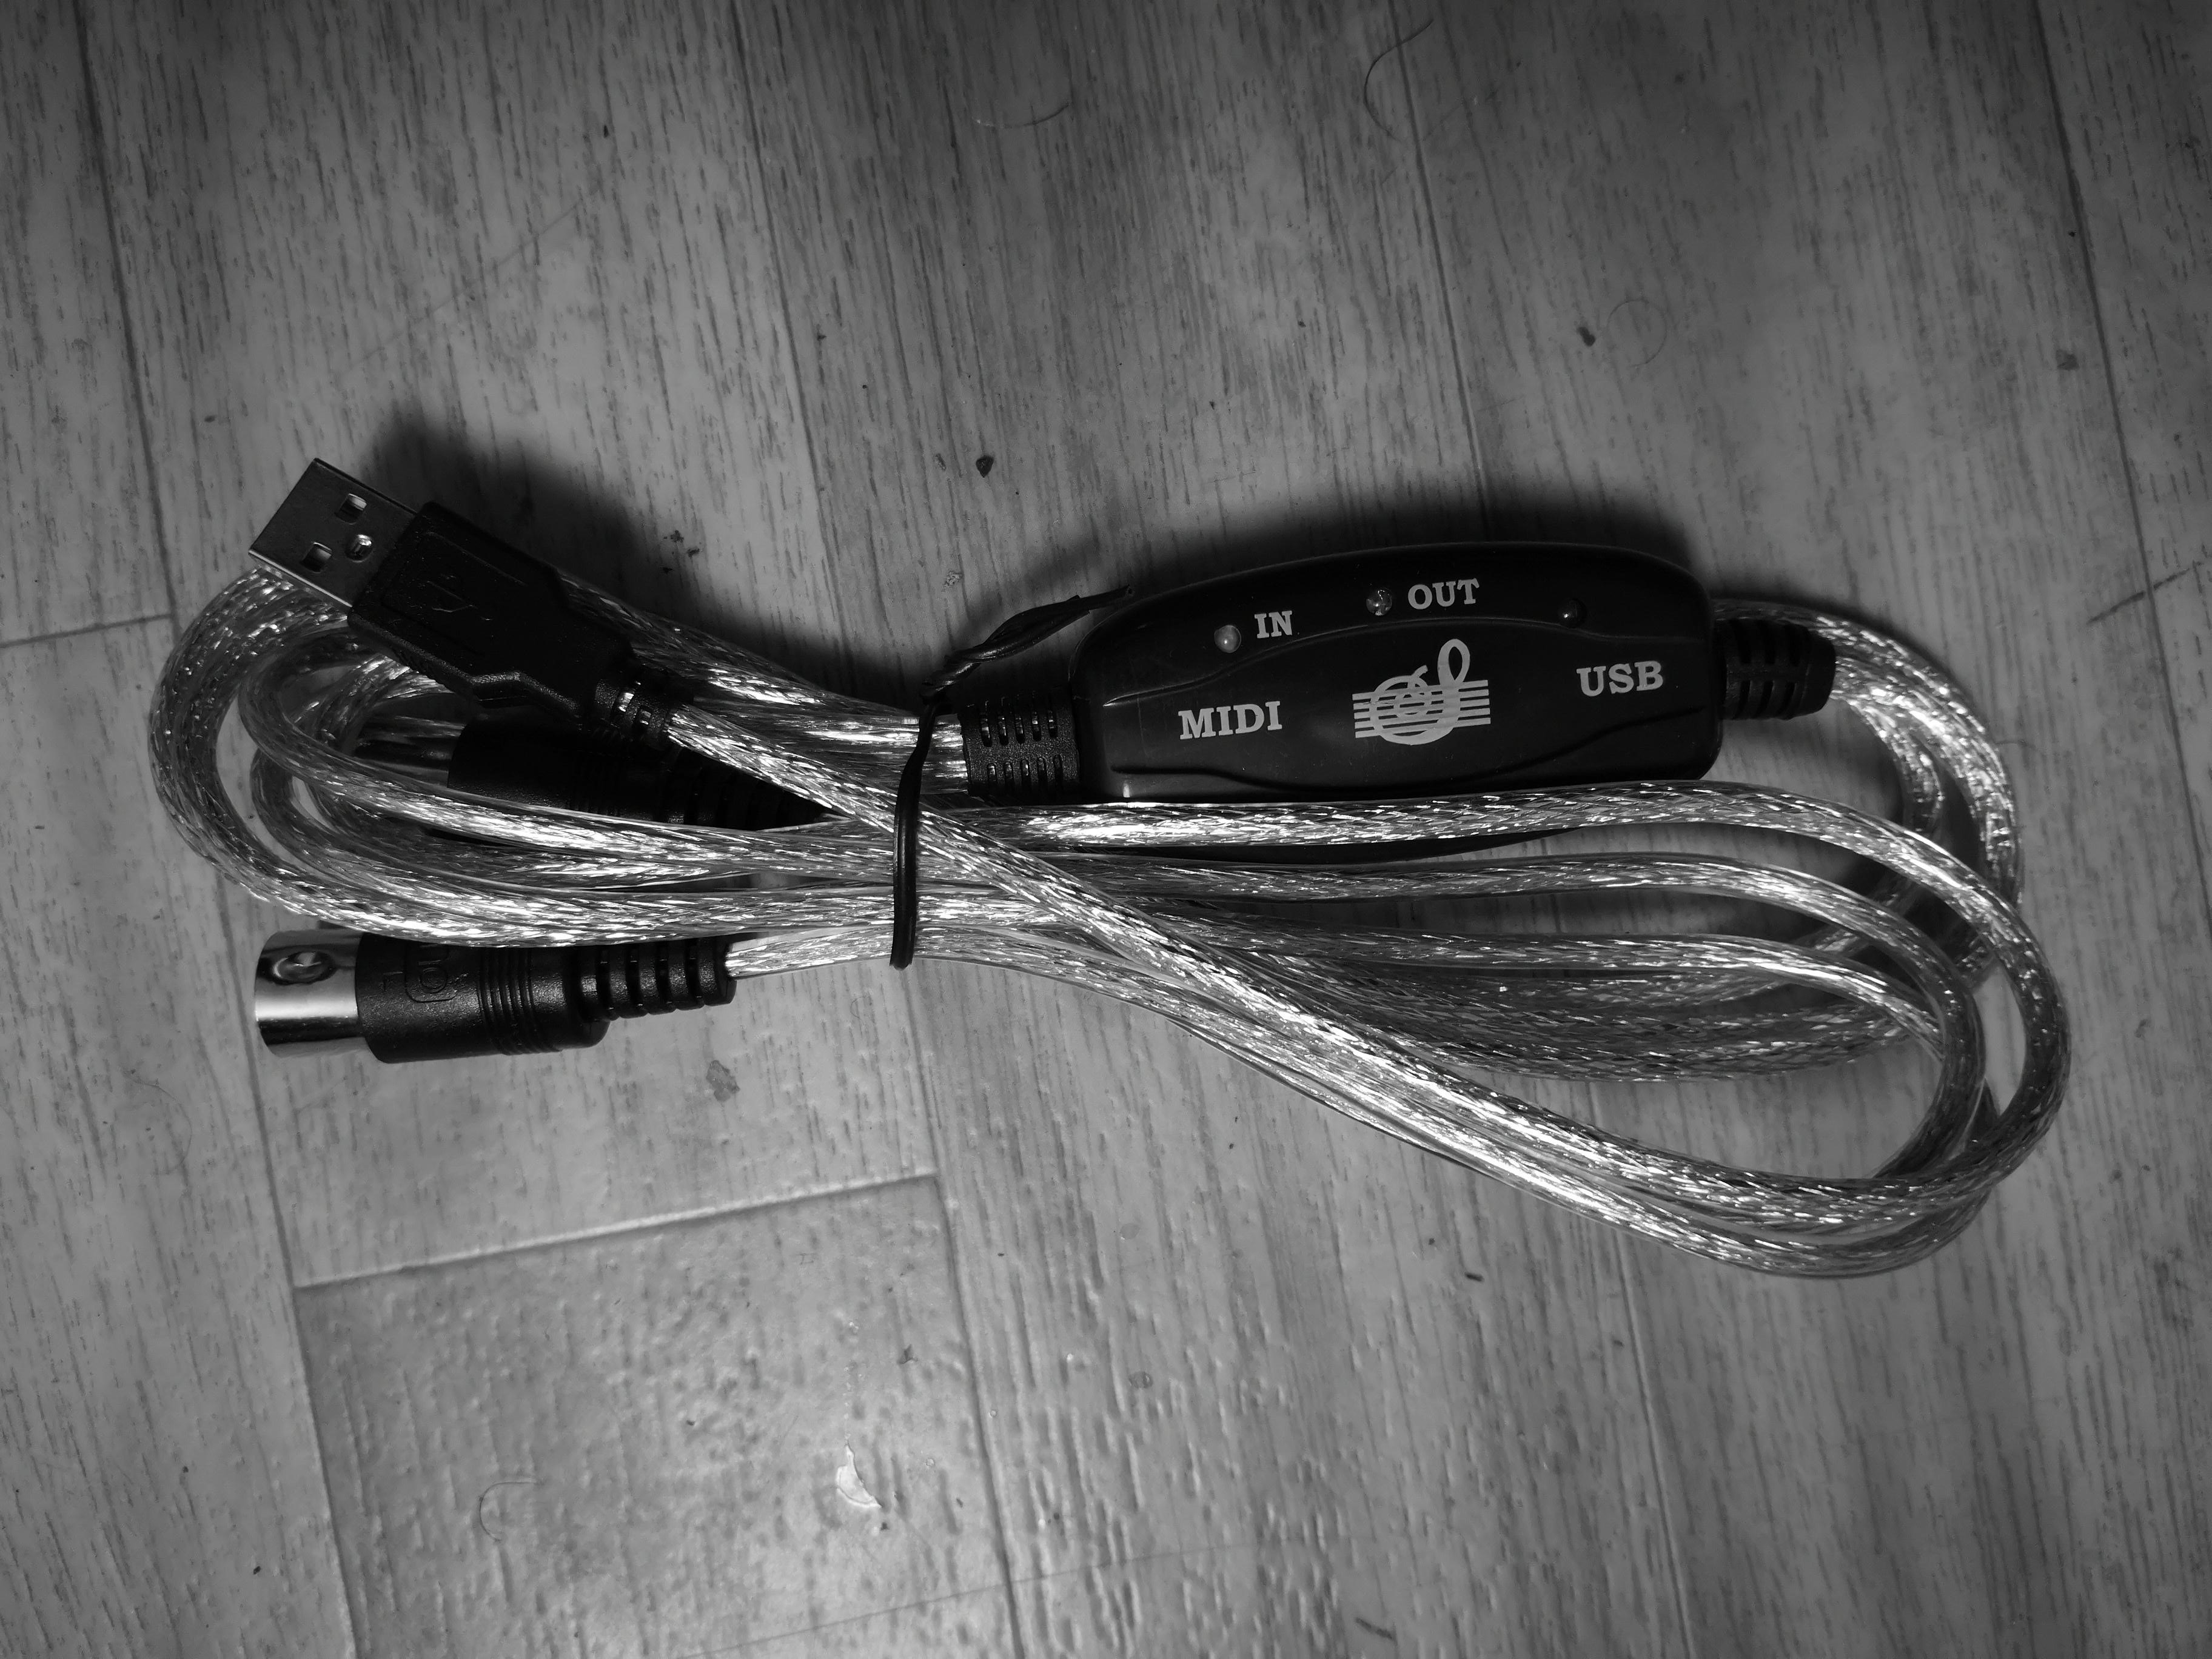
A cheap MIDI to USB hub can be used to create both a MIDI out and USB-MIDI interface.
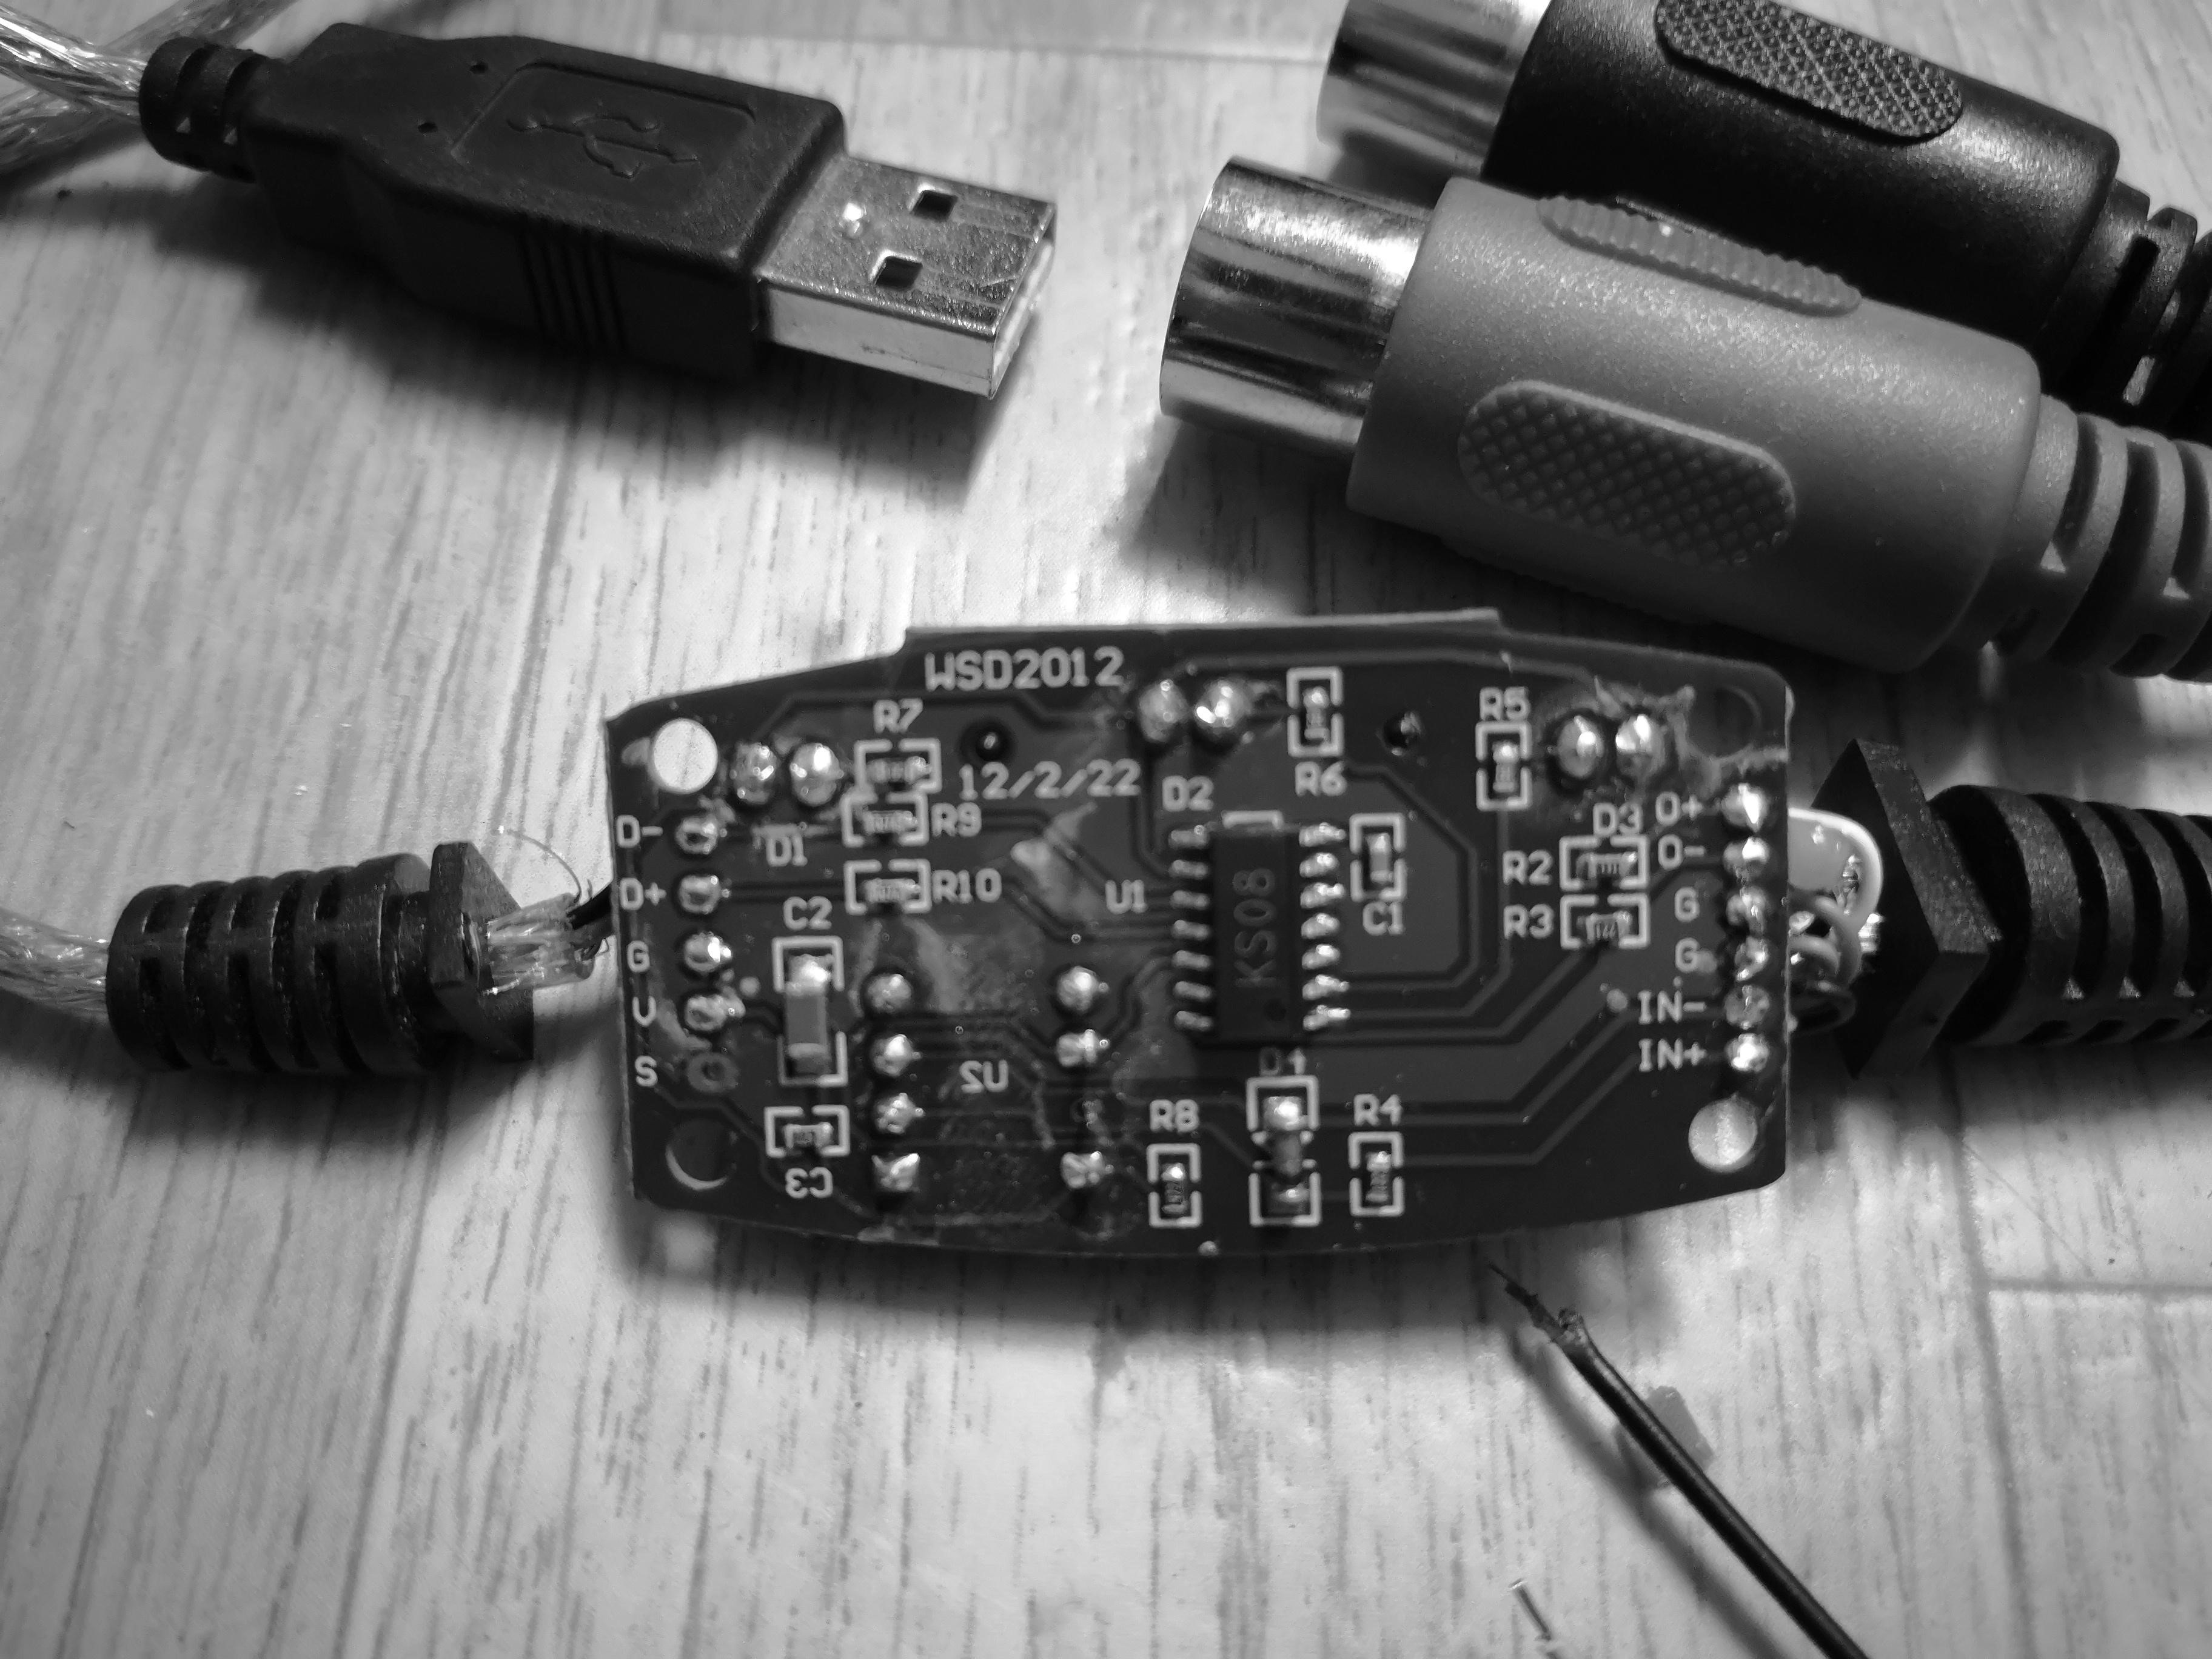
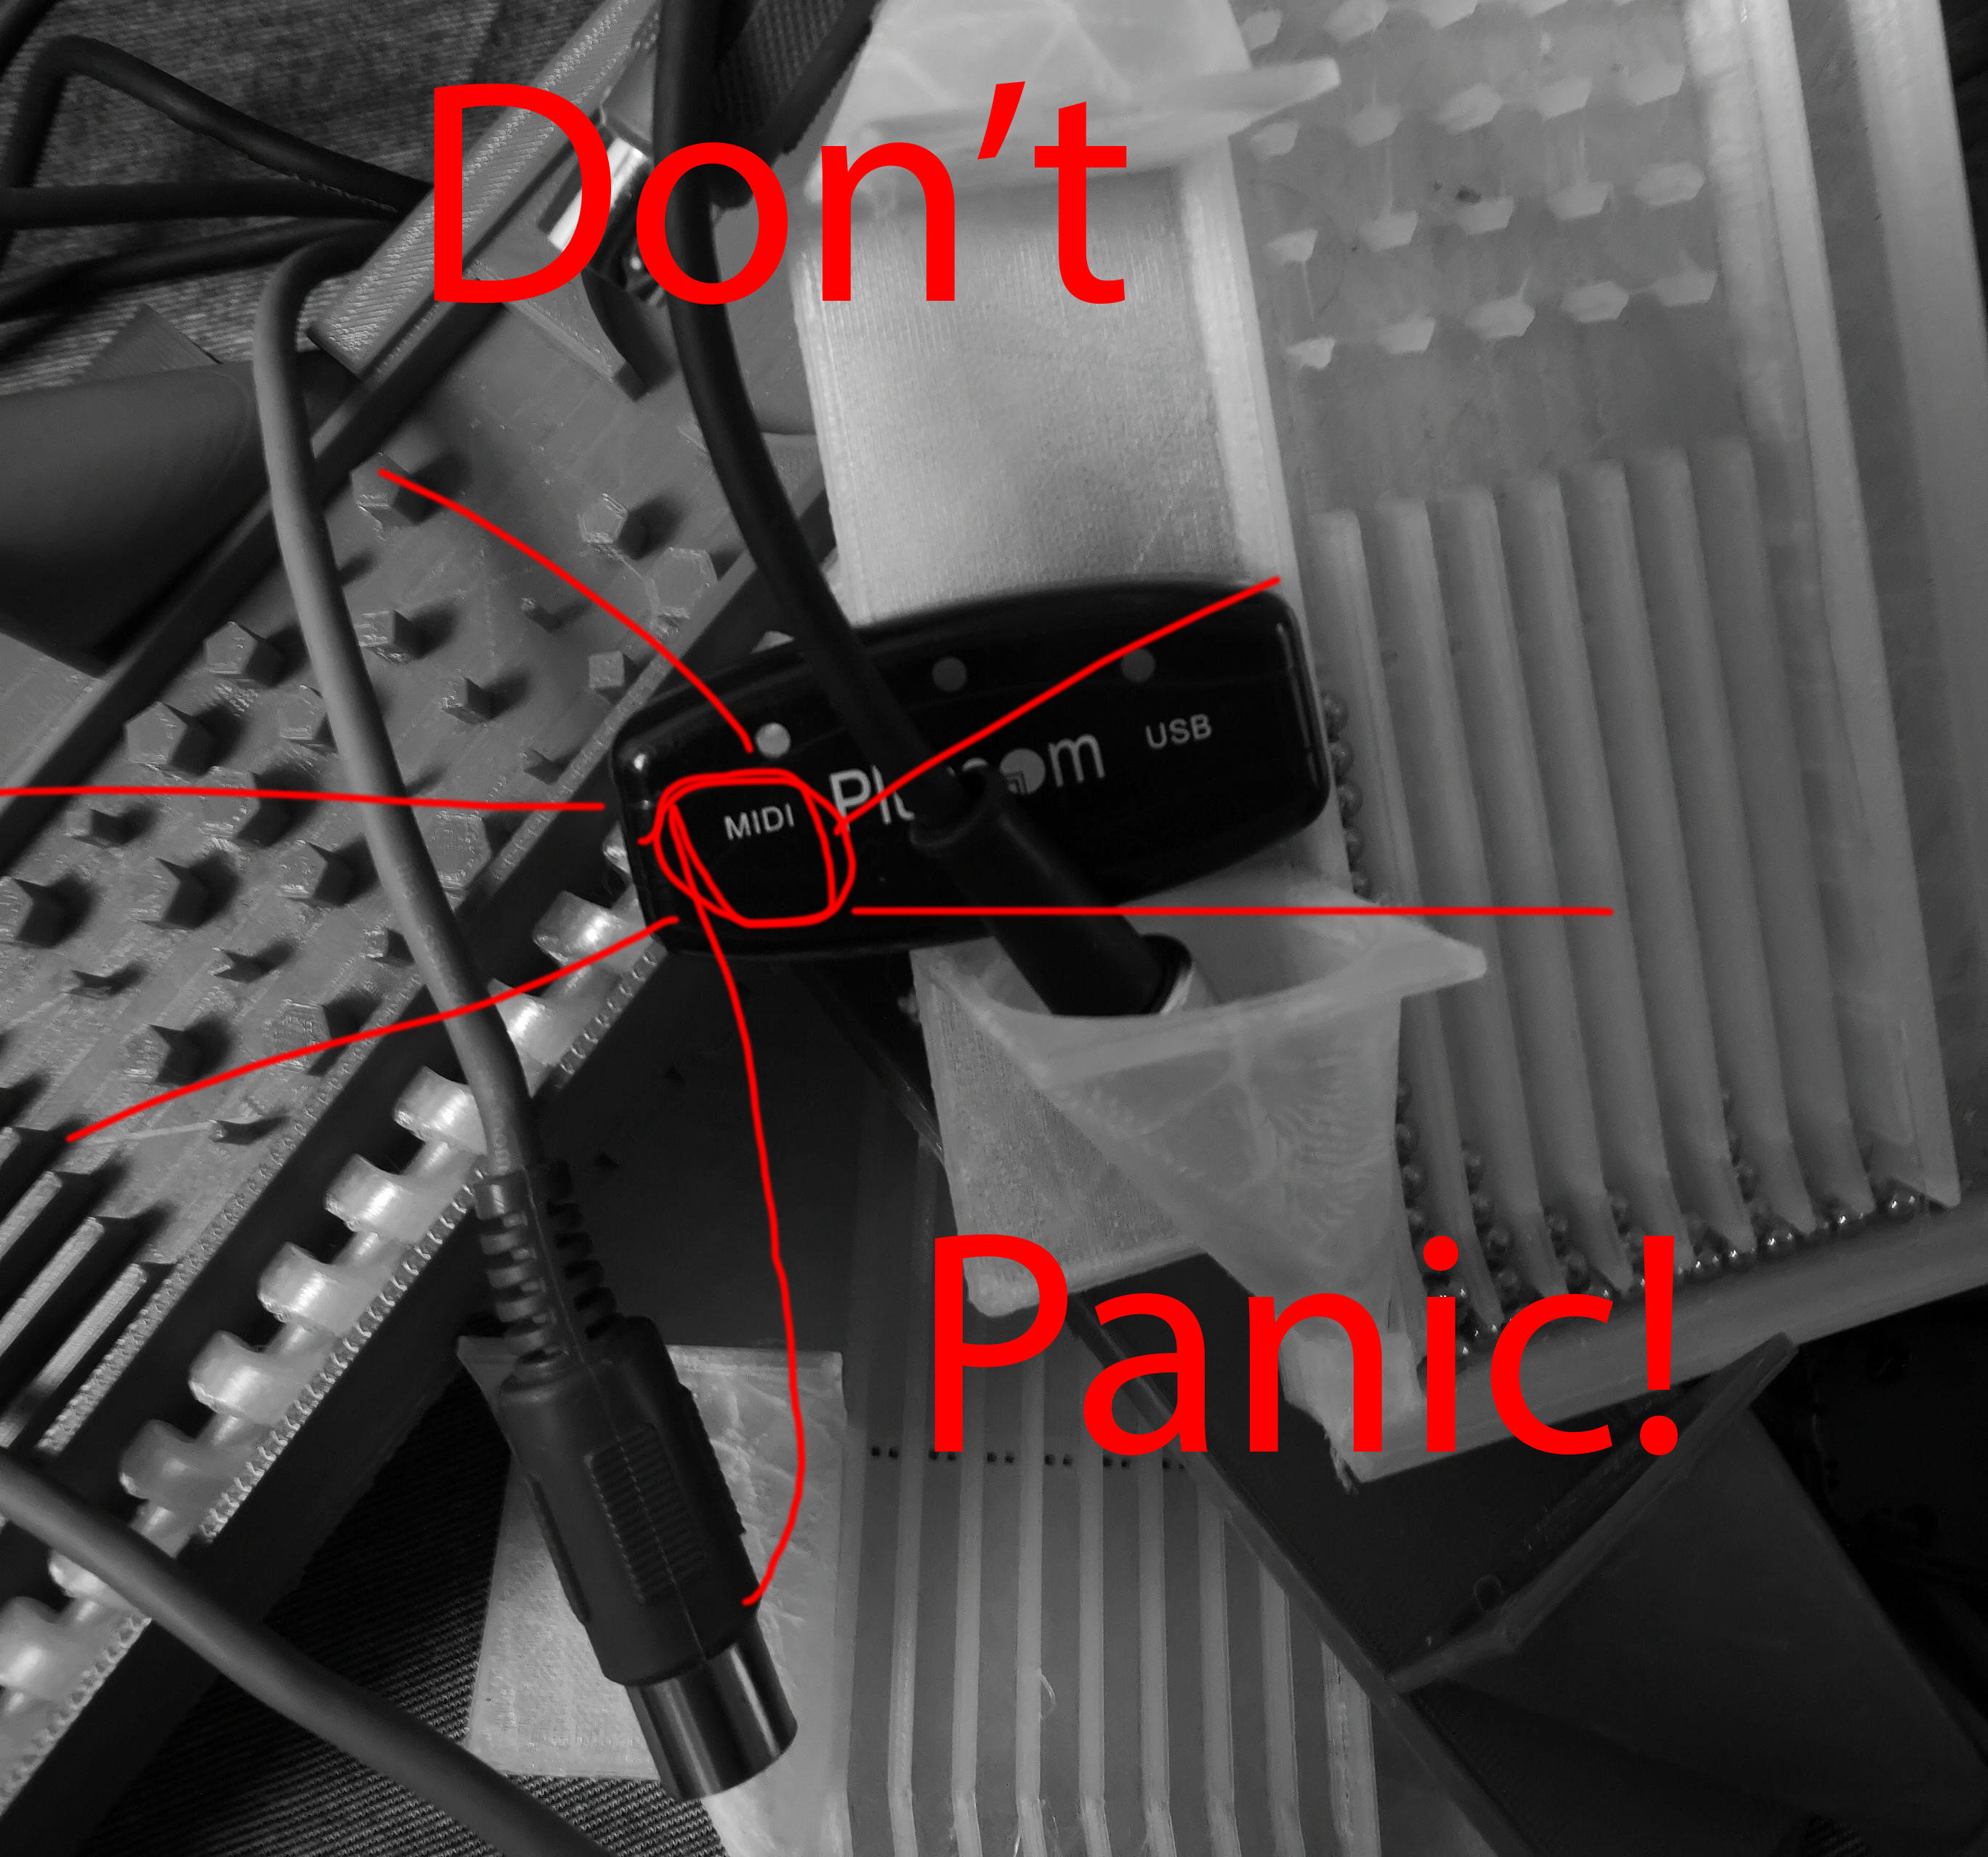
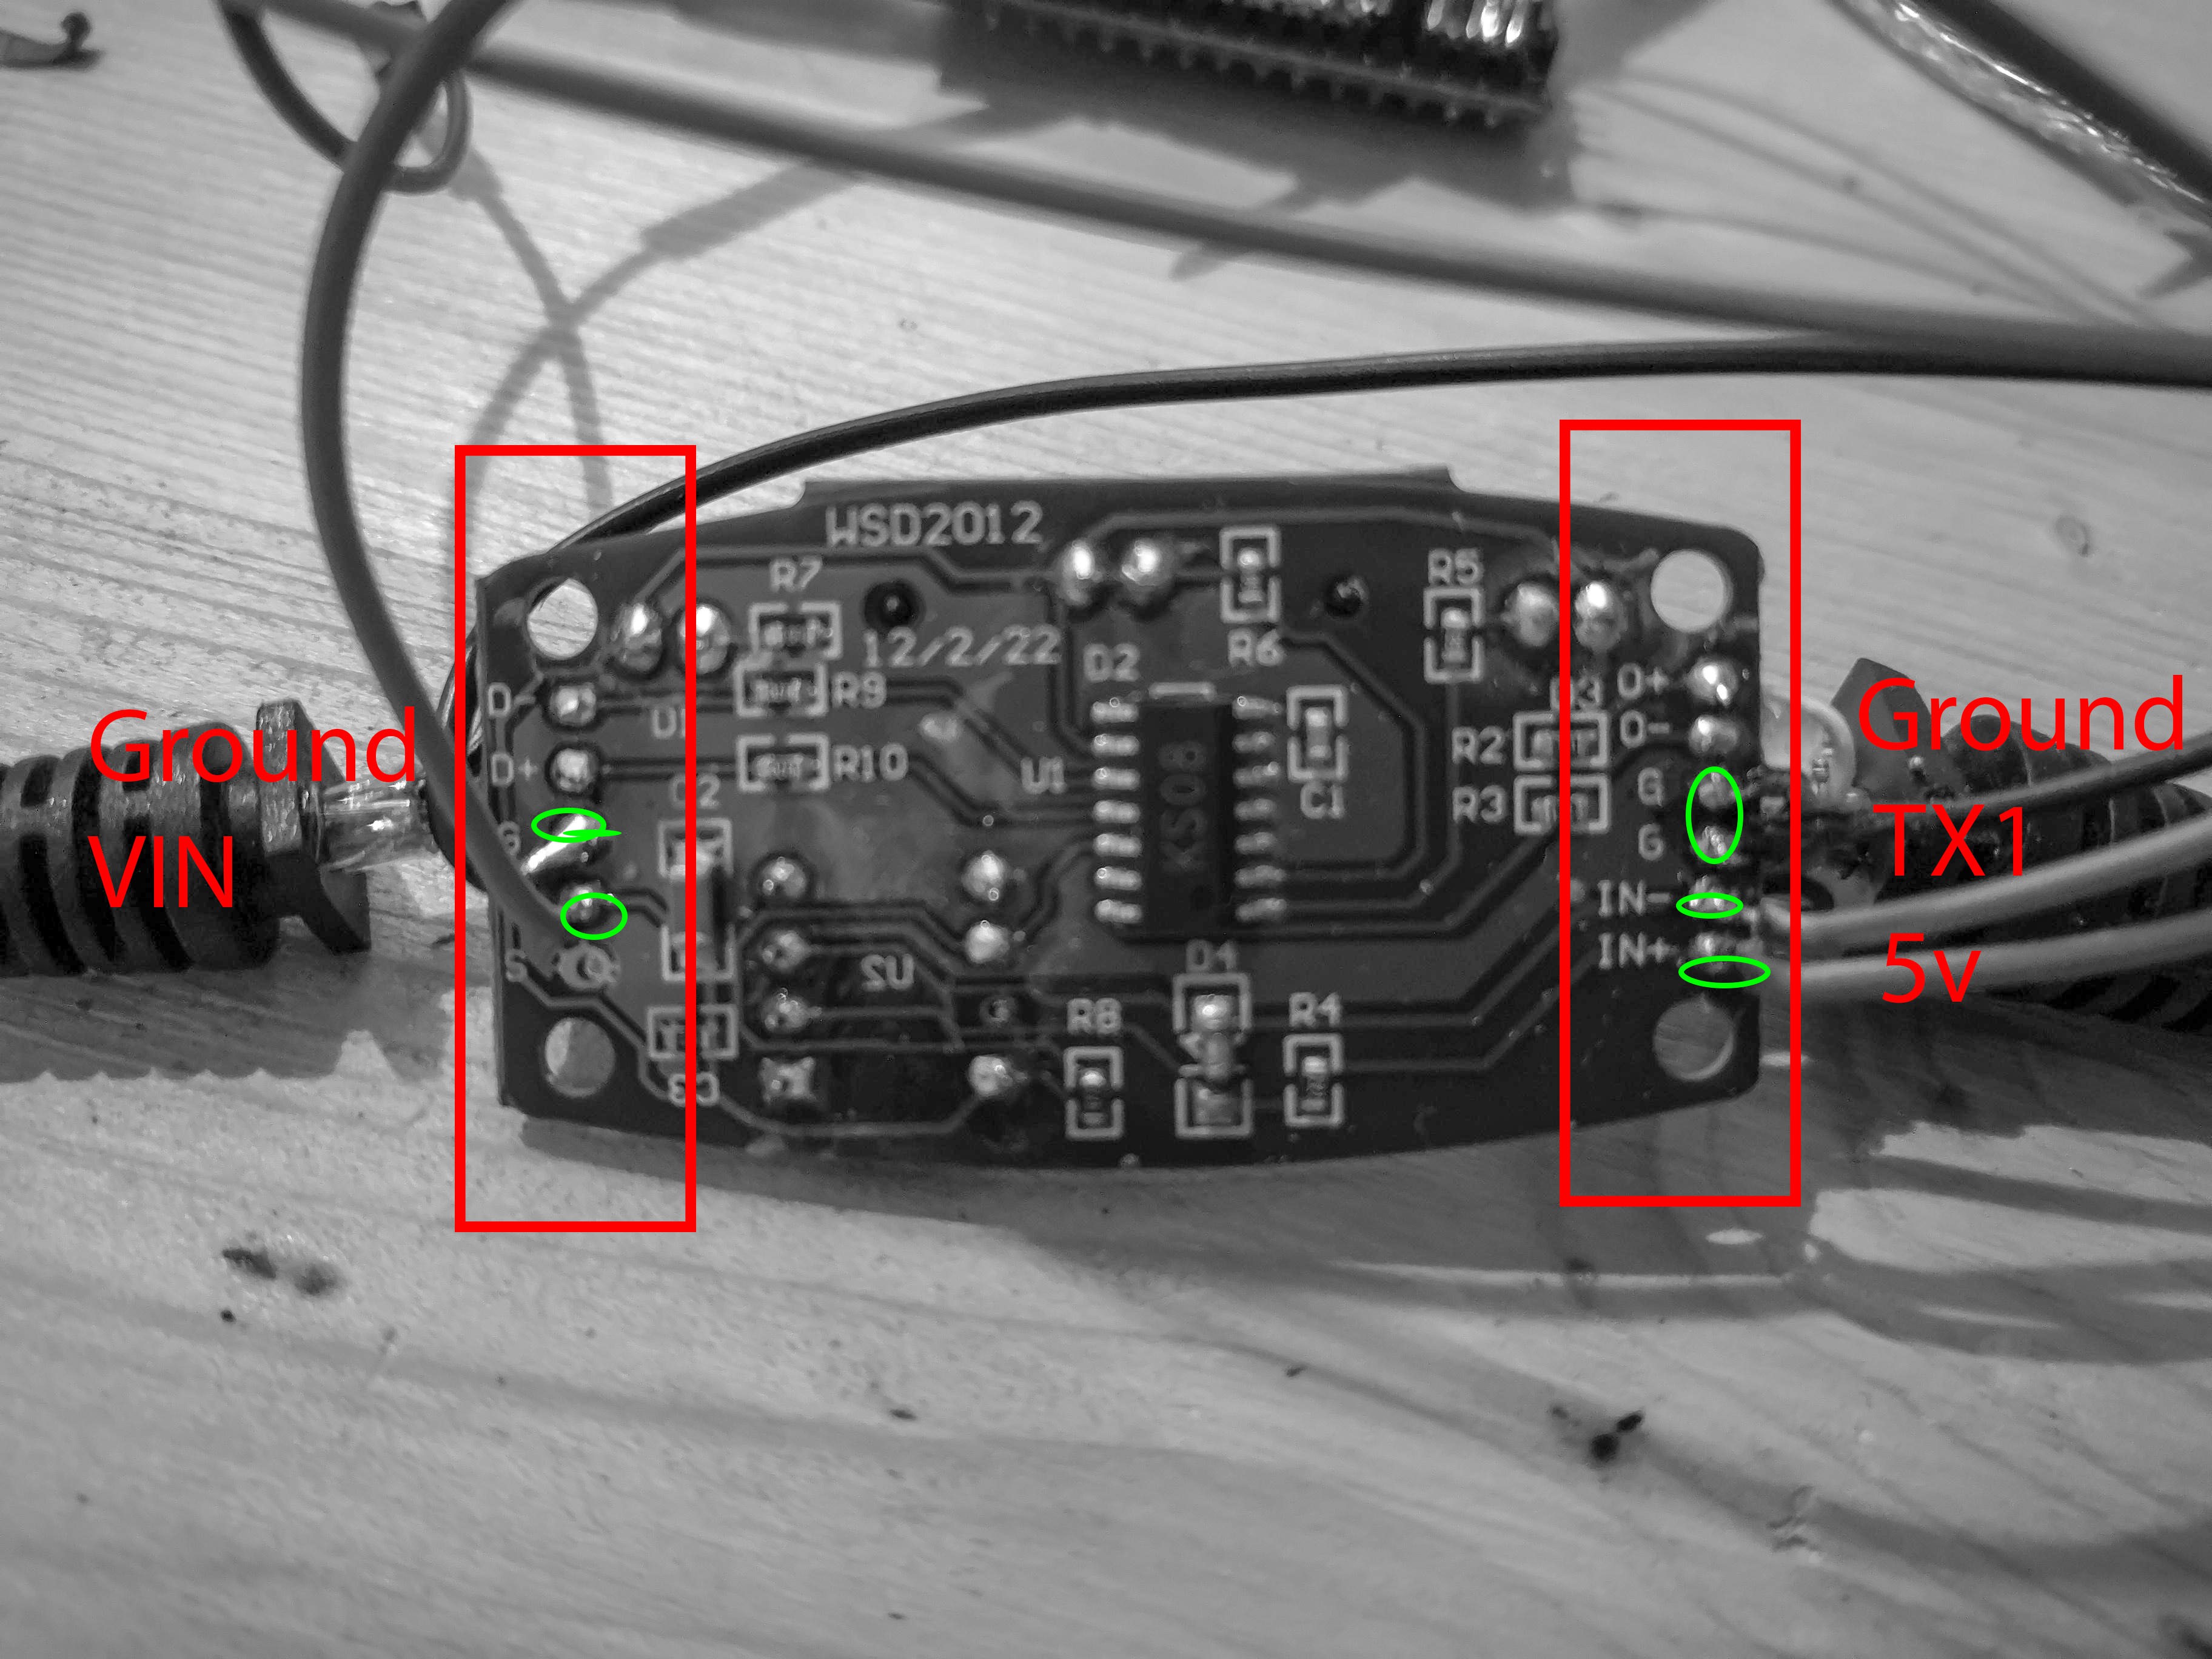
To build a MIDI interface simple open the MIDI hub and connect the following cables using a jumper stander jumper cables:
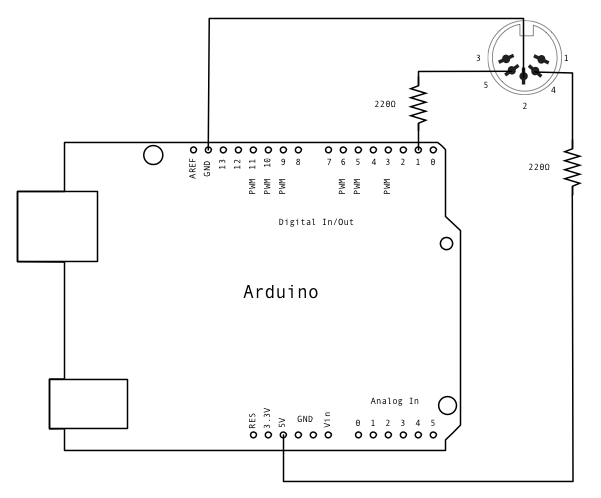
SOURCE: https://www.arduino.cc/
The wiring should be like this:
Ground hub --> Ground Arduino
IN- --> TX1 Arduino
IN+ --> 5V Arduino
!!! IMPORTANT !!! : The MIDI hub SHOULD also be used to power the Arduino. Using the MIDI hub as power supply will give the best result for the communication between the hub and the Arduino as they will share the a common ground voltage. The Arduino is in this case also connected to USB power source to the MIDI-HUB:
Ground USB --> Ground MIDI hub --> Ground Arduino
5V USB --> 5V MIDI hub --> 5V Arduino
When done the hole thing should look like this:
On the Ardunio side one should install the MIDI library either using the library manager of the IDE or from the Git repository. After this is done MIDI messages can be sent from Arduino using the following functions:
     // Send note on 42 with velocity 127 on channel 1
     MIDI.sendNoteOn(42, 127, 1);

     // wait for 500 ms
      delay(500);

     // Send note off 42 with velocity 127 on channel 1
     MIDI.sendNoteOff(42, 127, 1);
For more example and the code that is used for the board see the repository for this project.
Discussions
Become a Hackaday.io Member
Create an account to leave a comment. Already have an account? Log In.