 jaromir.sukuba
I must admit I'm not experienced woodworker, so I asked my colleague to help me out a bit. We drew a shape of cello body on paper, cut out and used as form to be retraced on 6mm thick plywood.
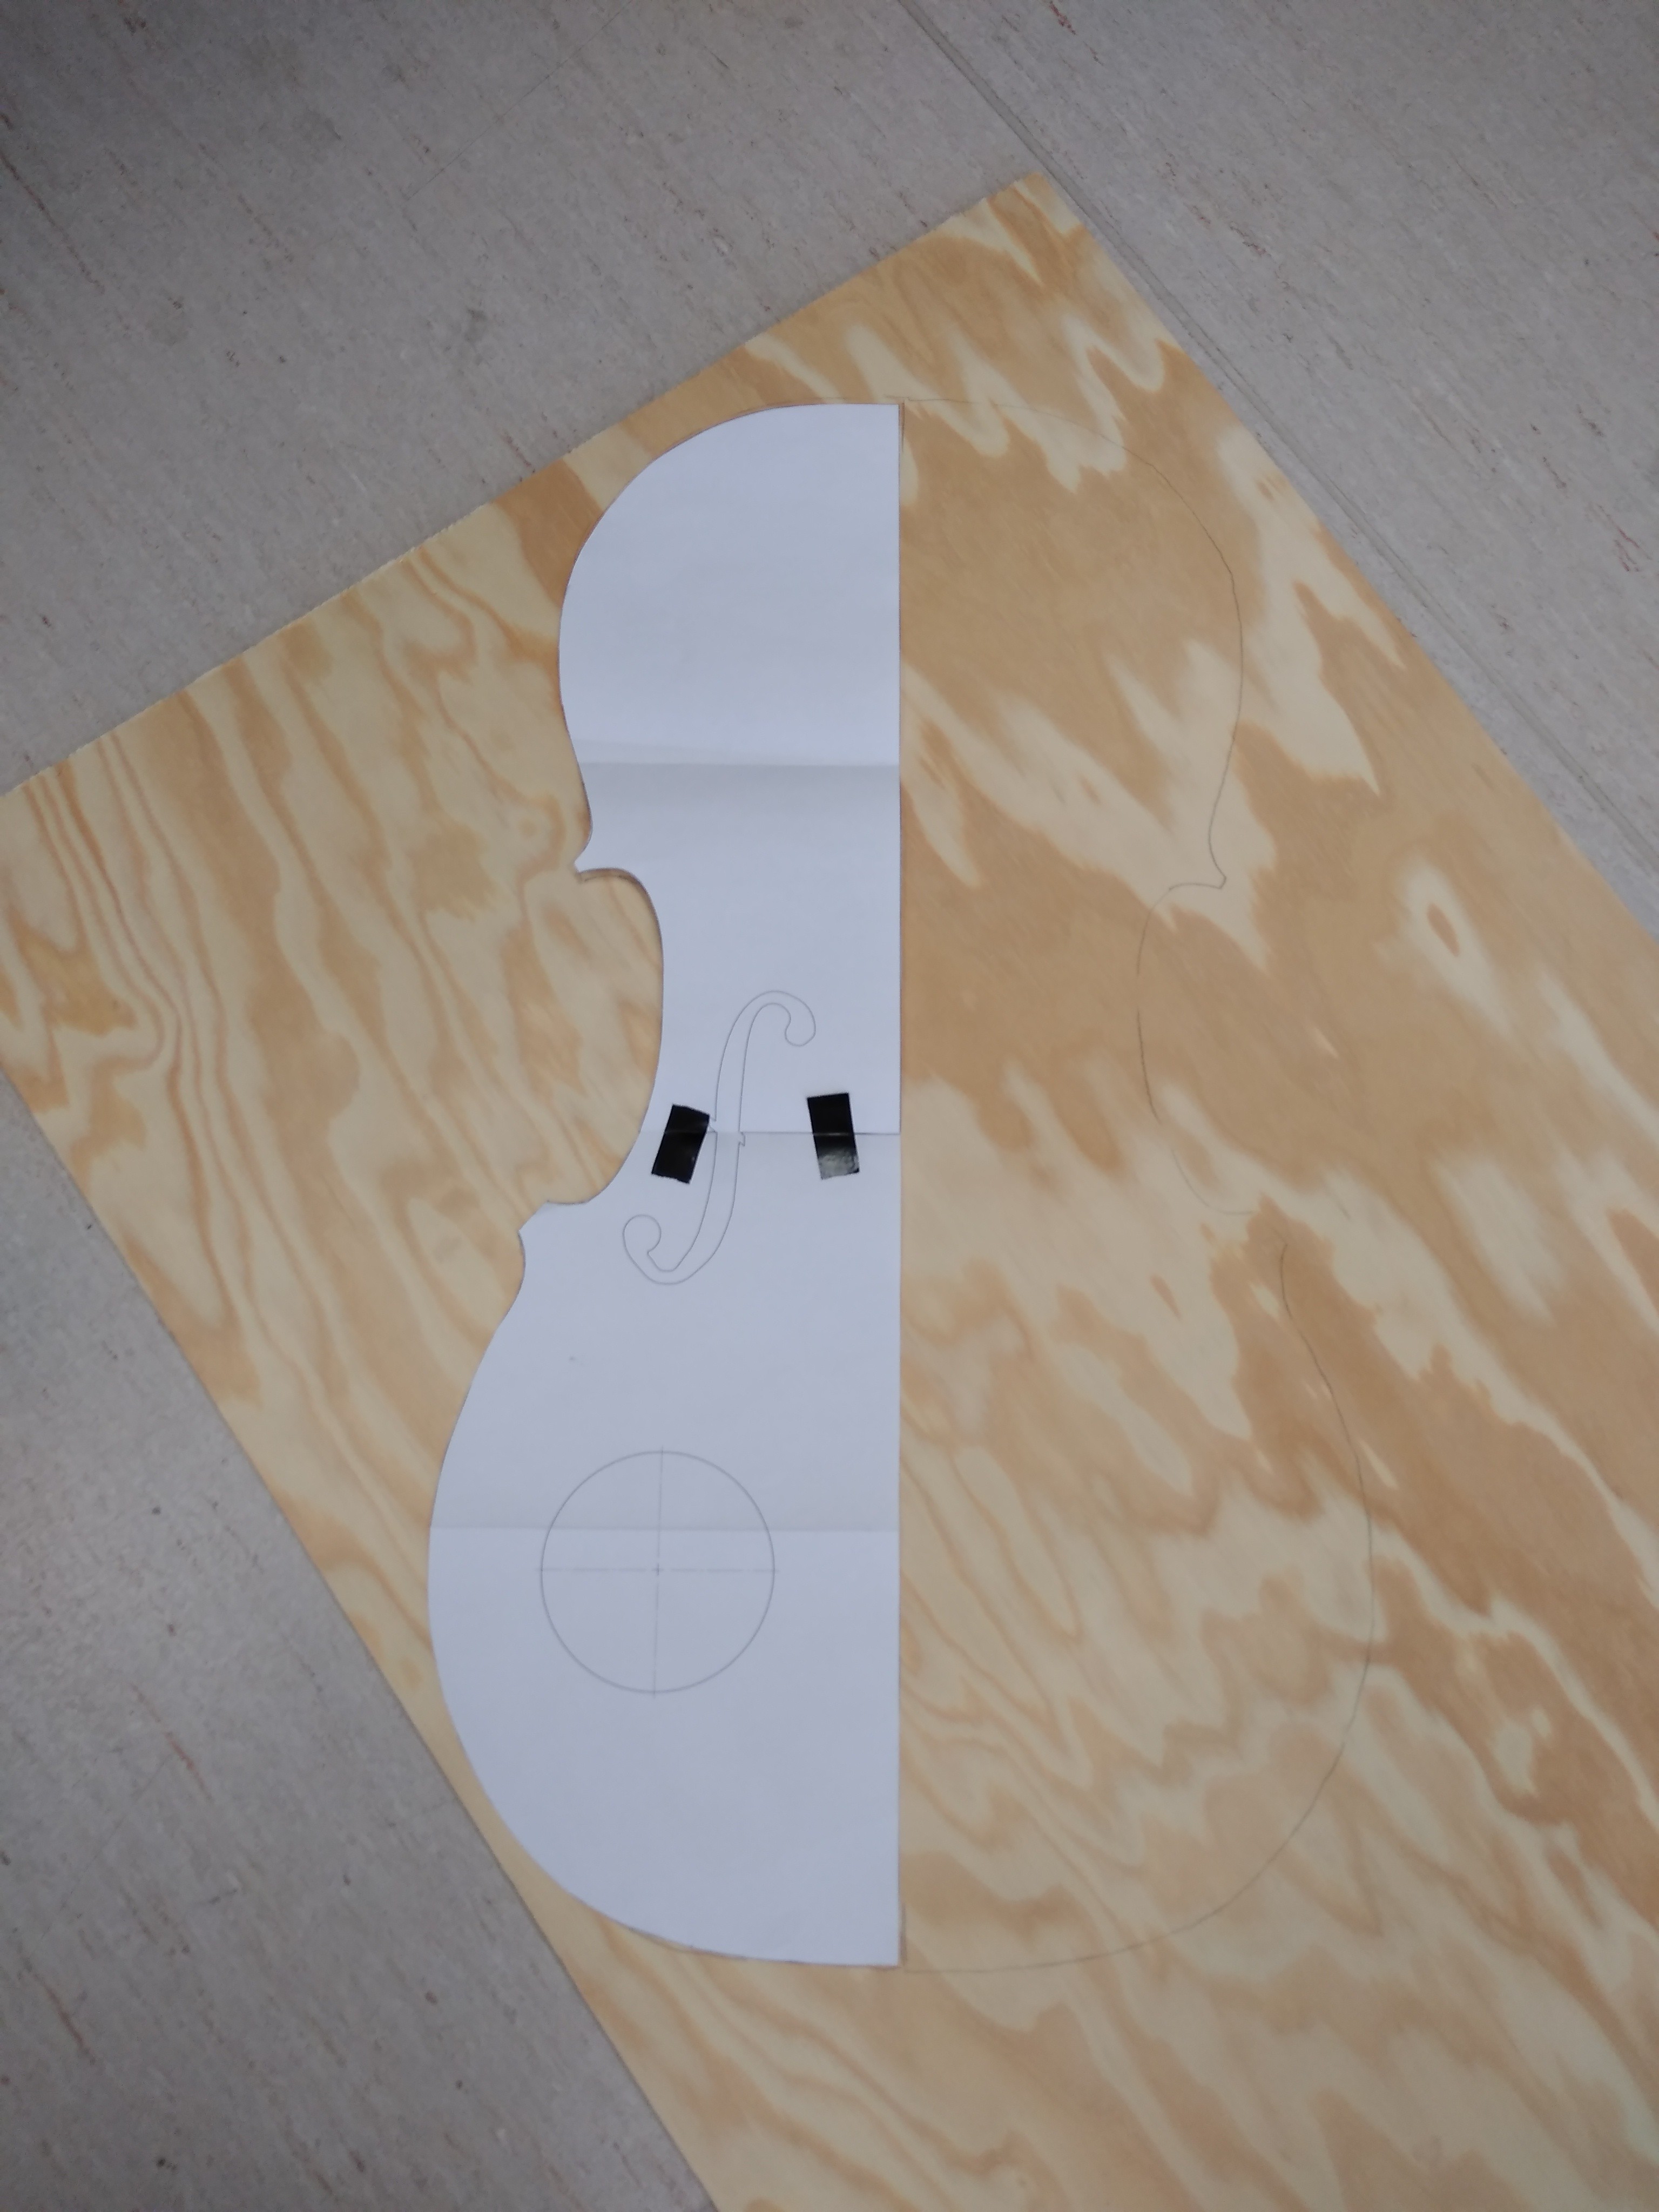
This was cut twice, for both faces of instrument body.
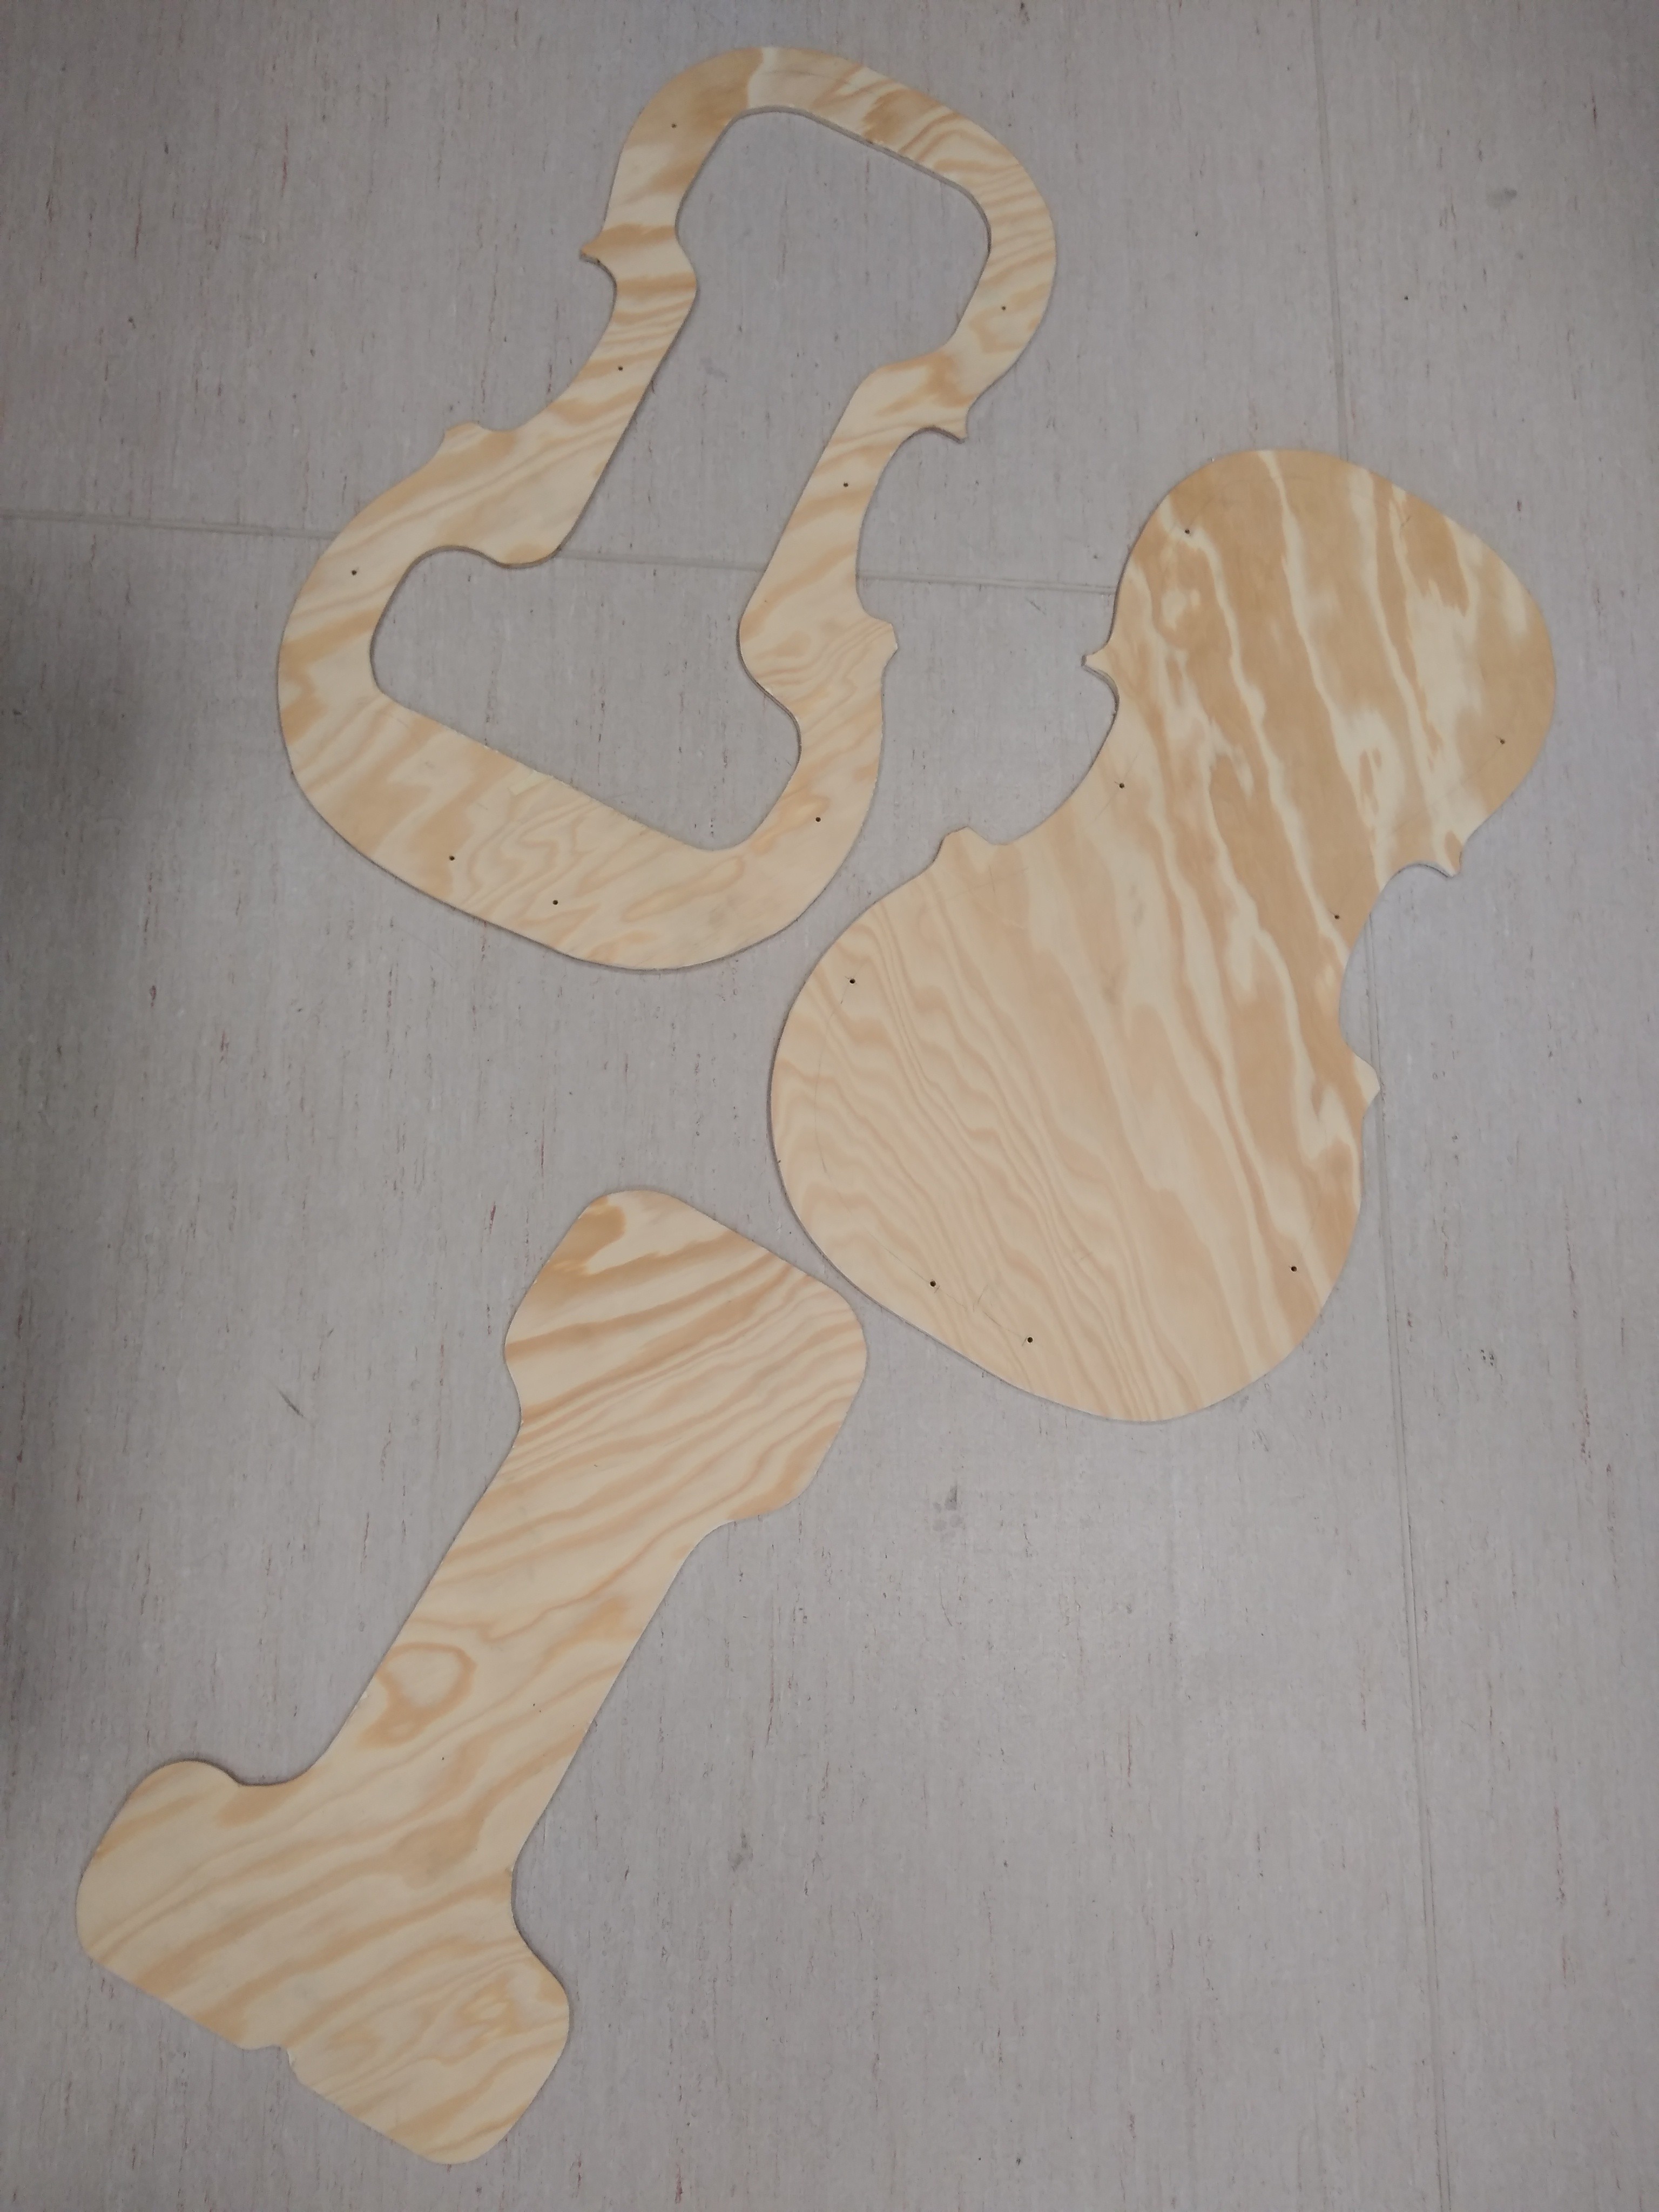
Backside has I-shaped cutout, to insert electric parts later.
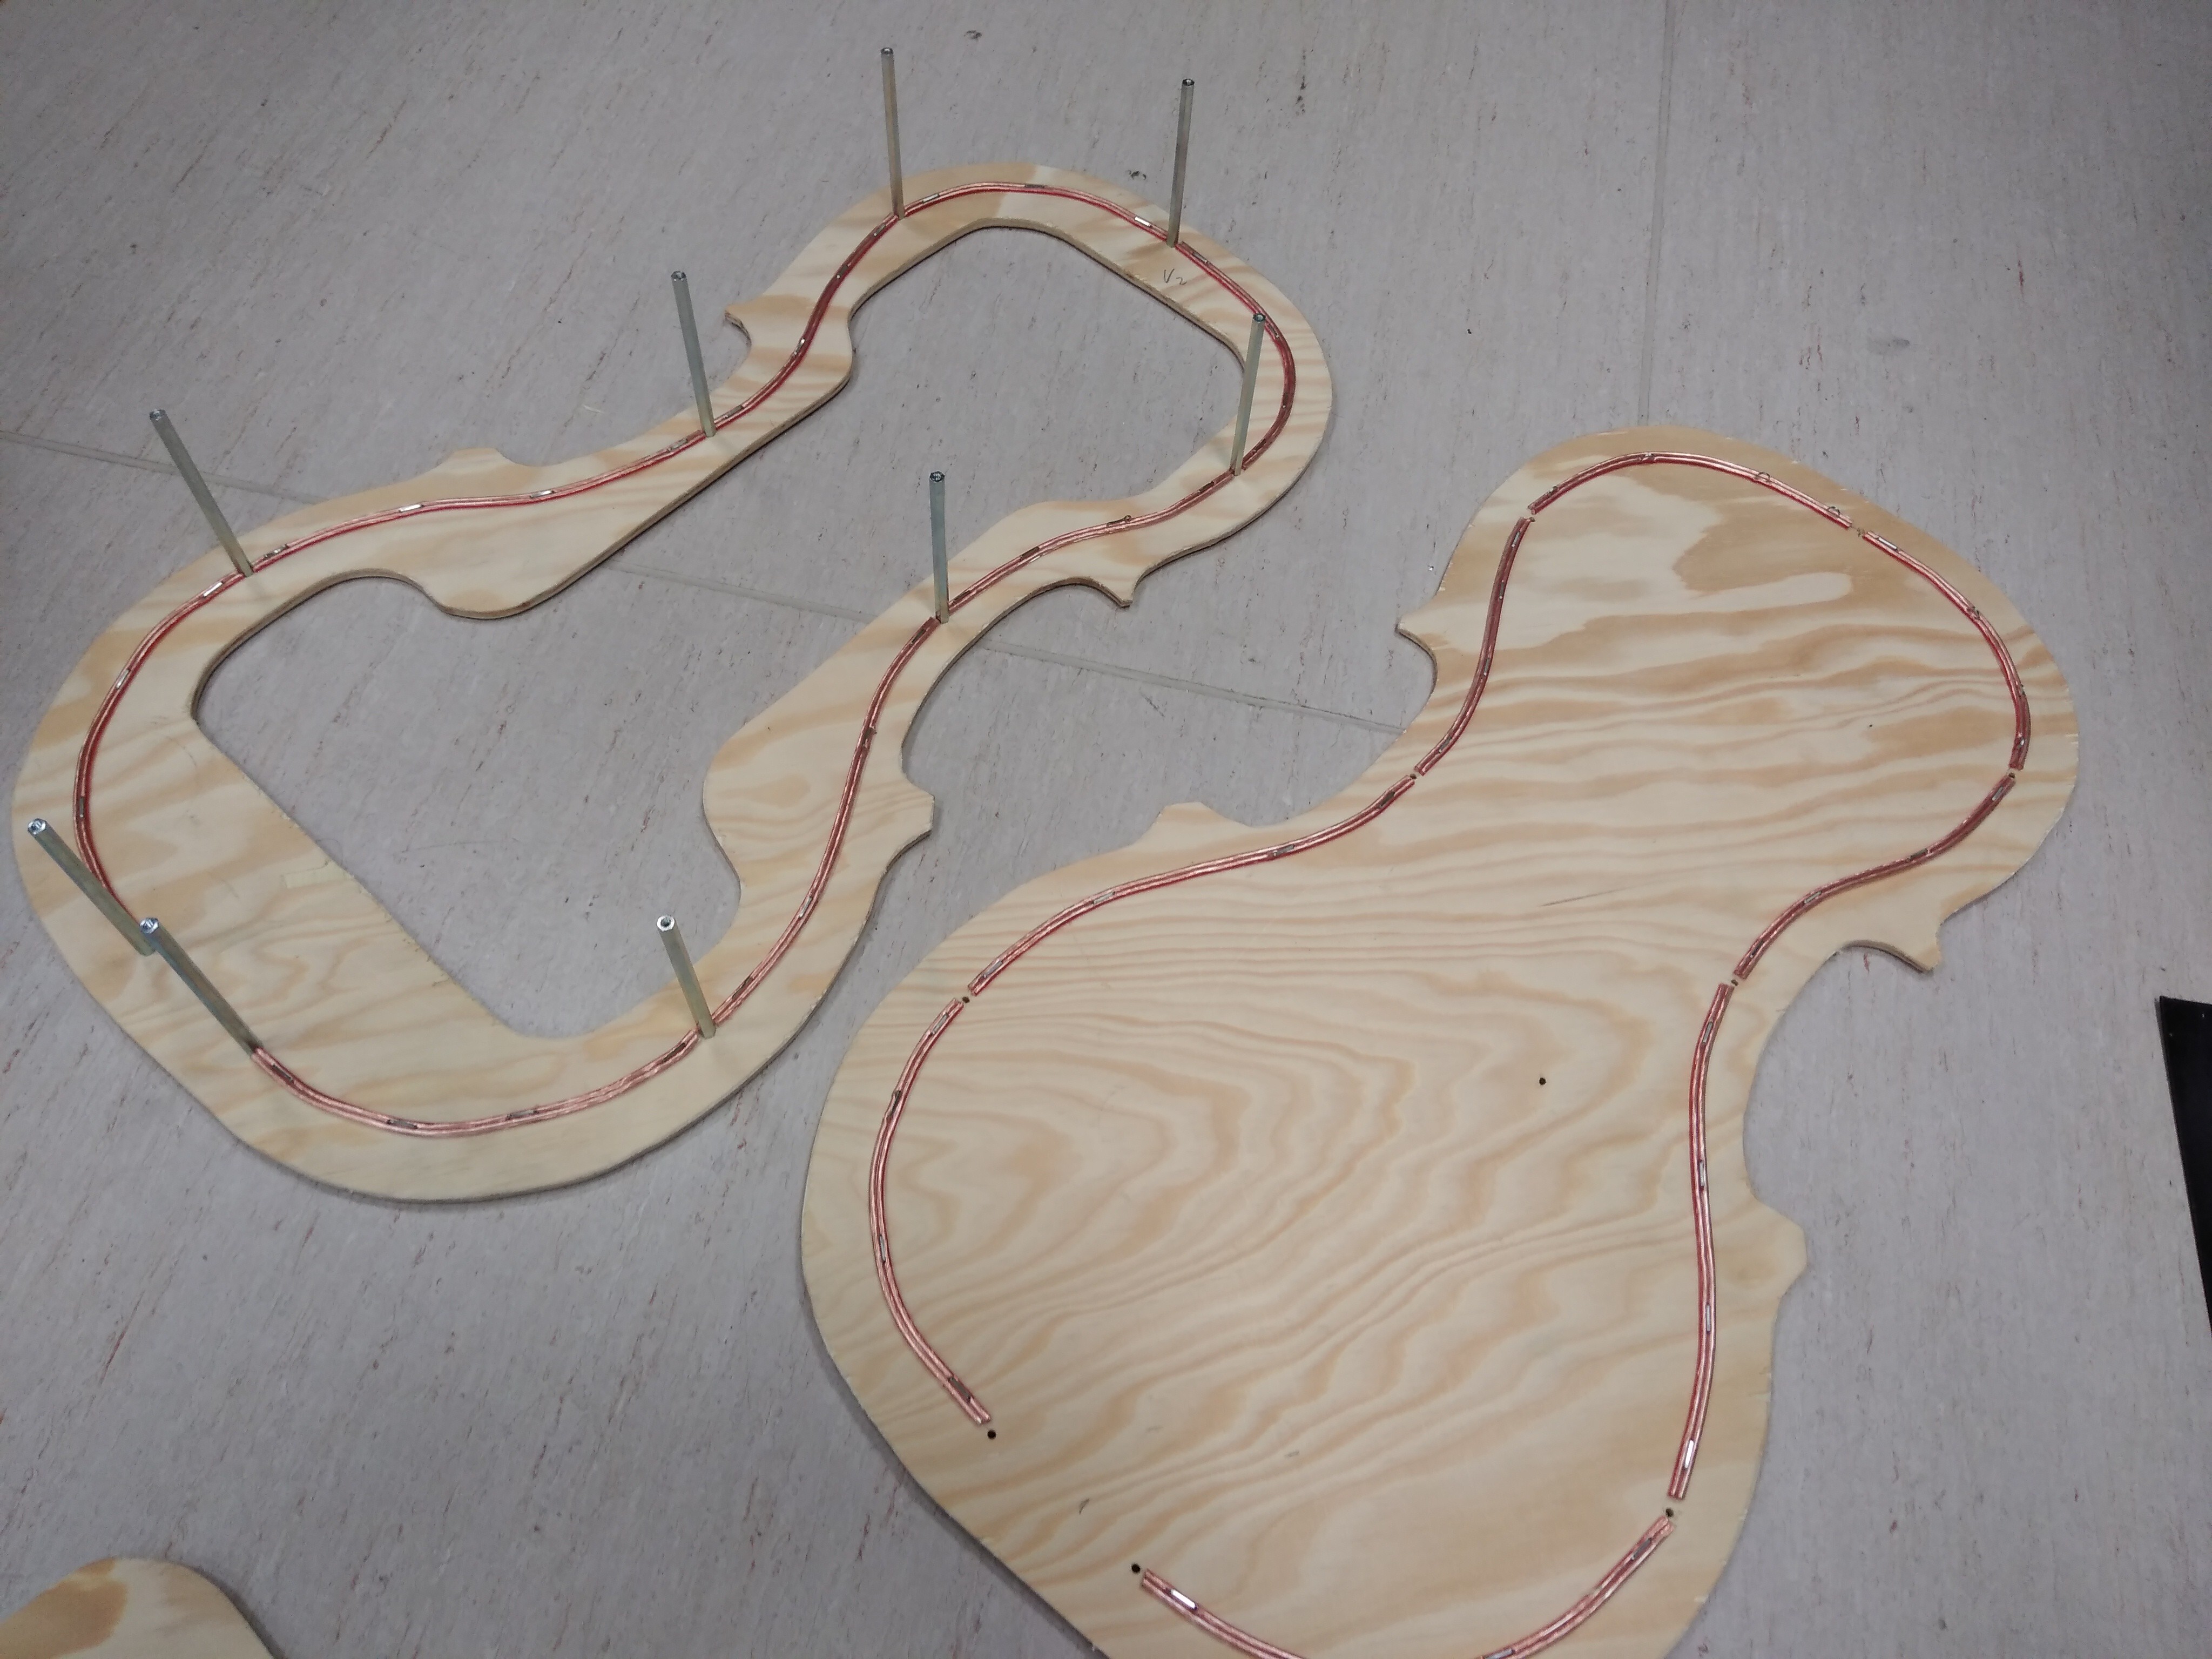
Metal spacers are to keep the halves together. Notice the wire stamped to inner faces - this was planned to keep polycarbonate shell forming side walls in place; unfortunately the polycarbonate was difficult to bend into desired shape, so we scrapped the idea, leaving only front and backside of the instrument.
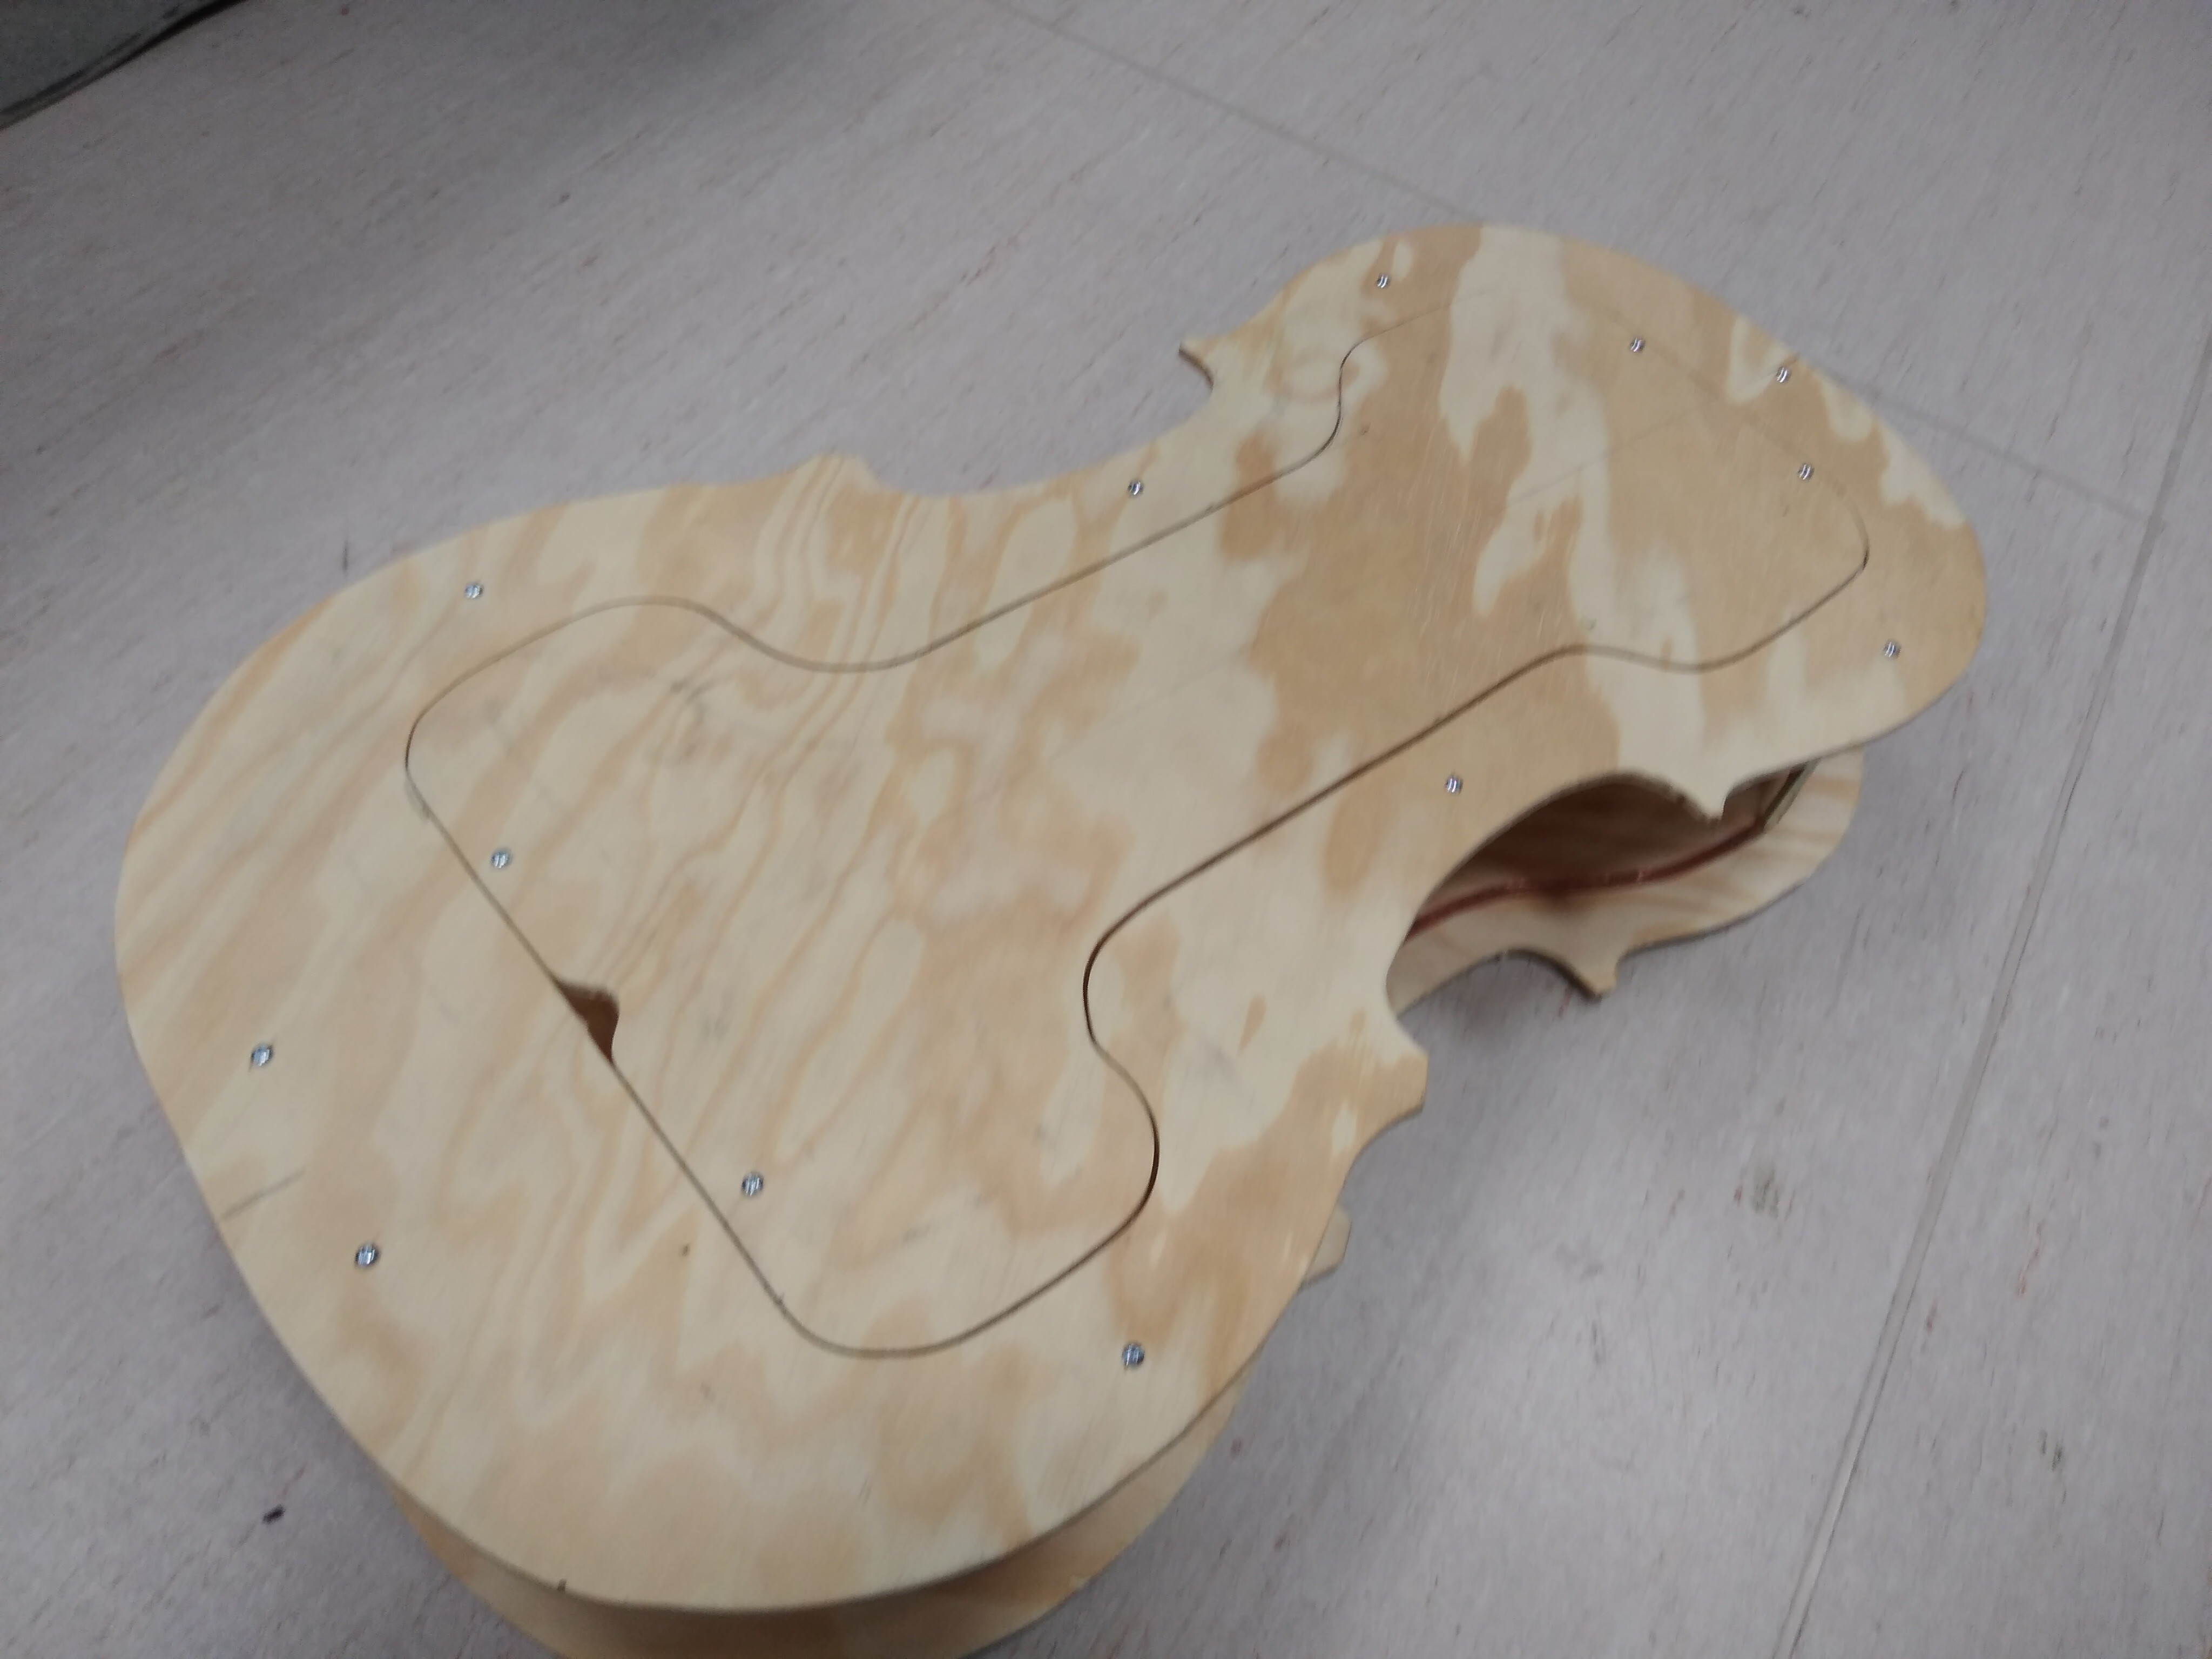
Backside cutout back at place.
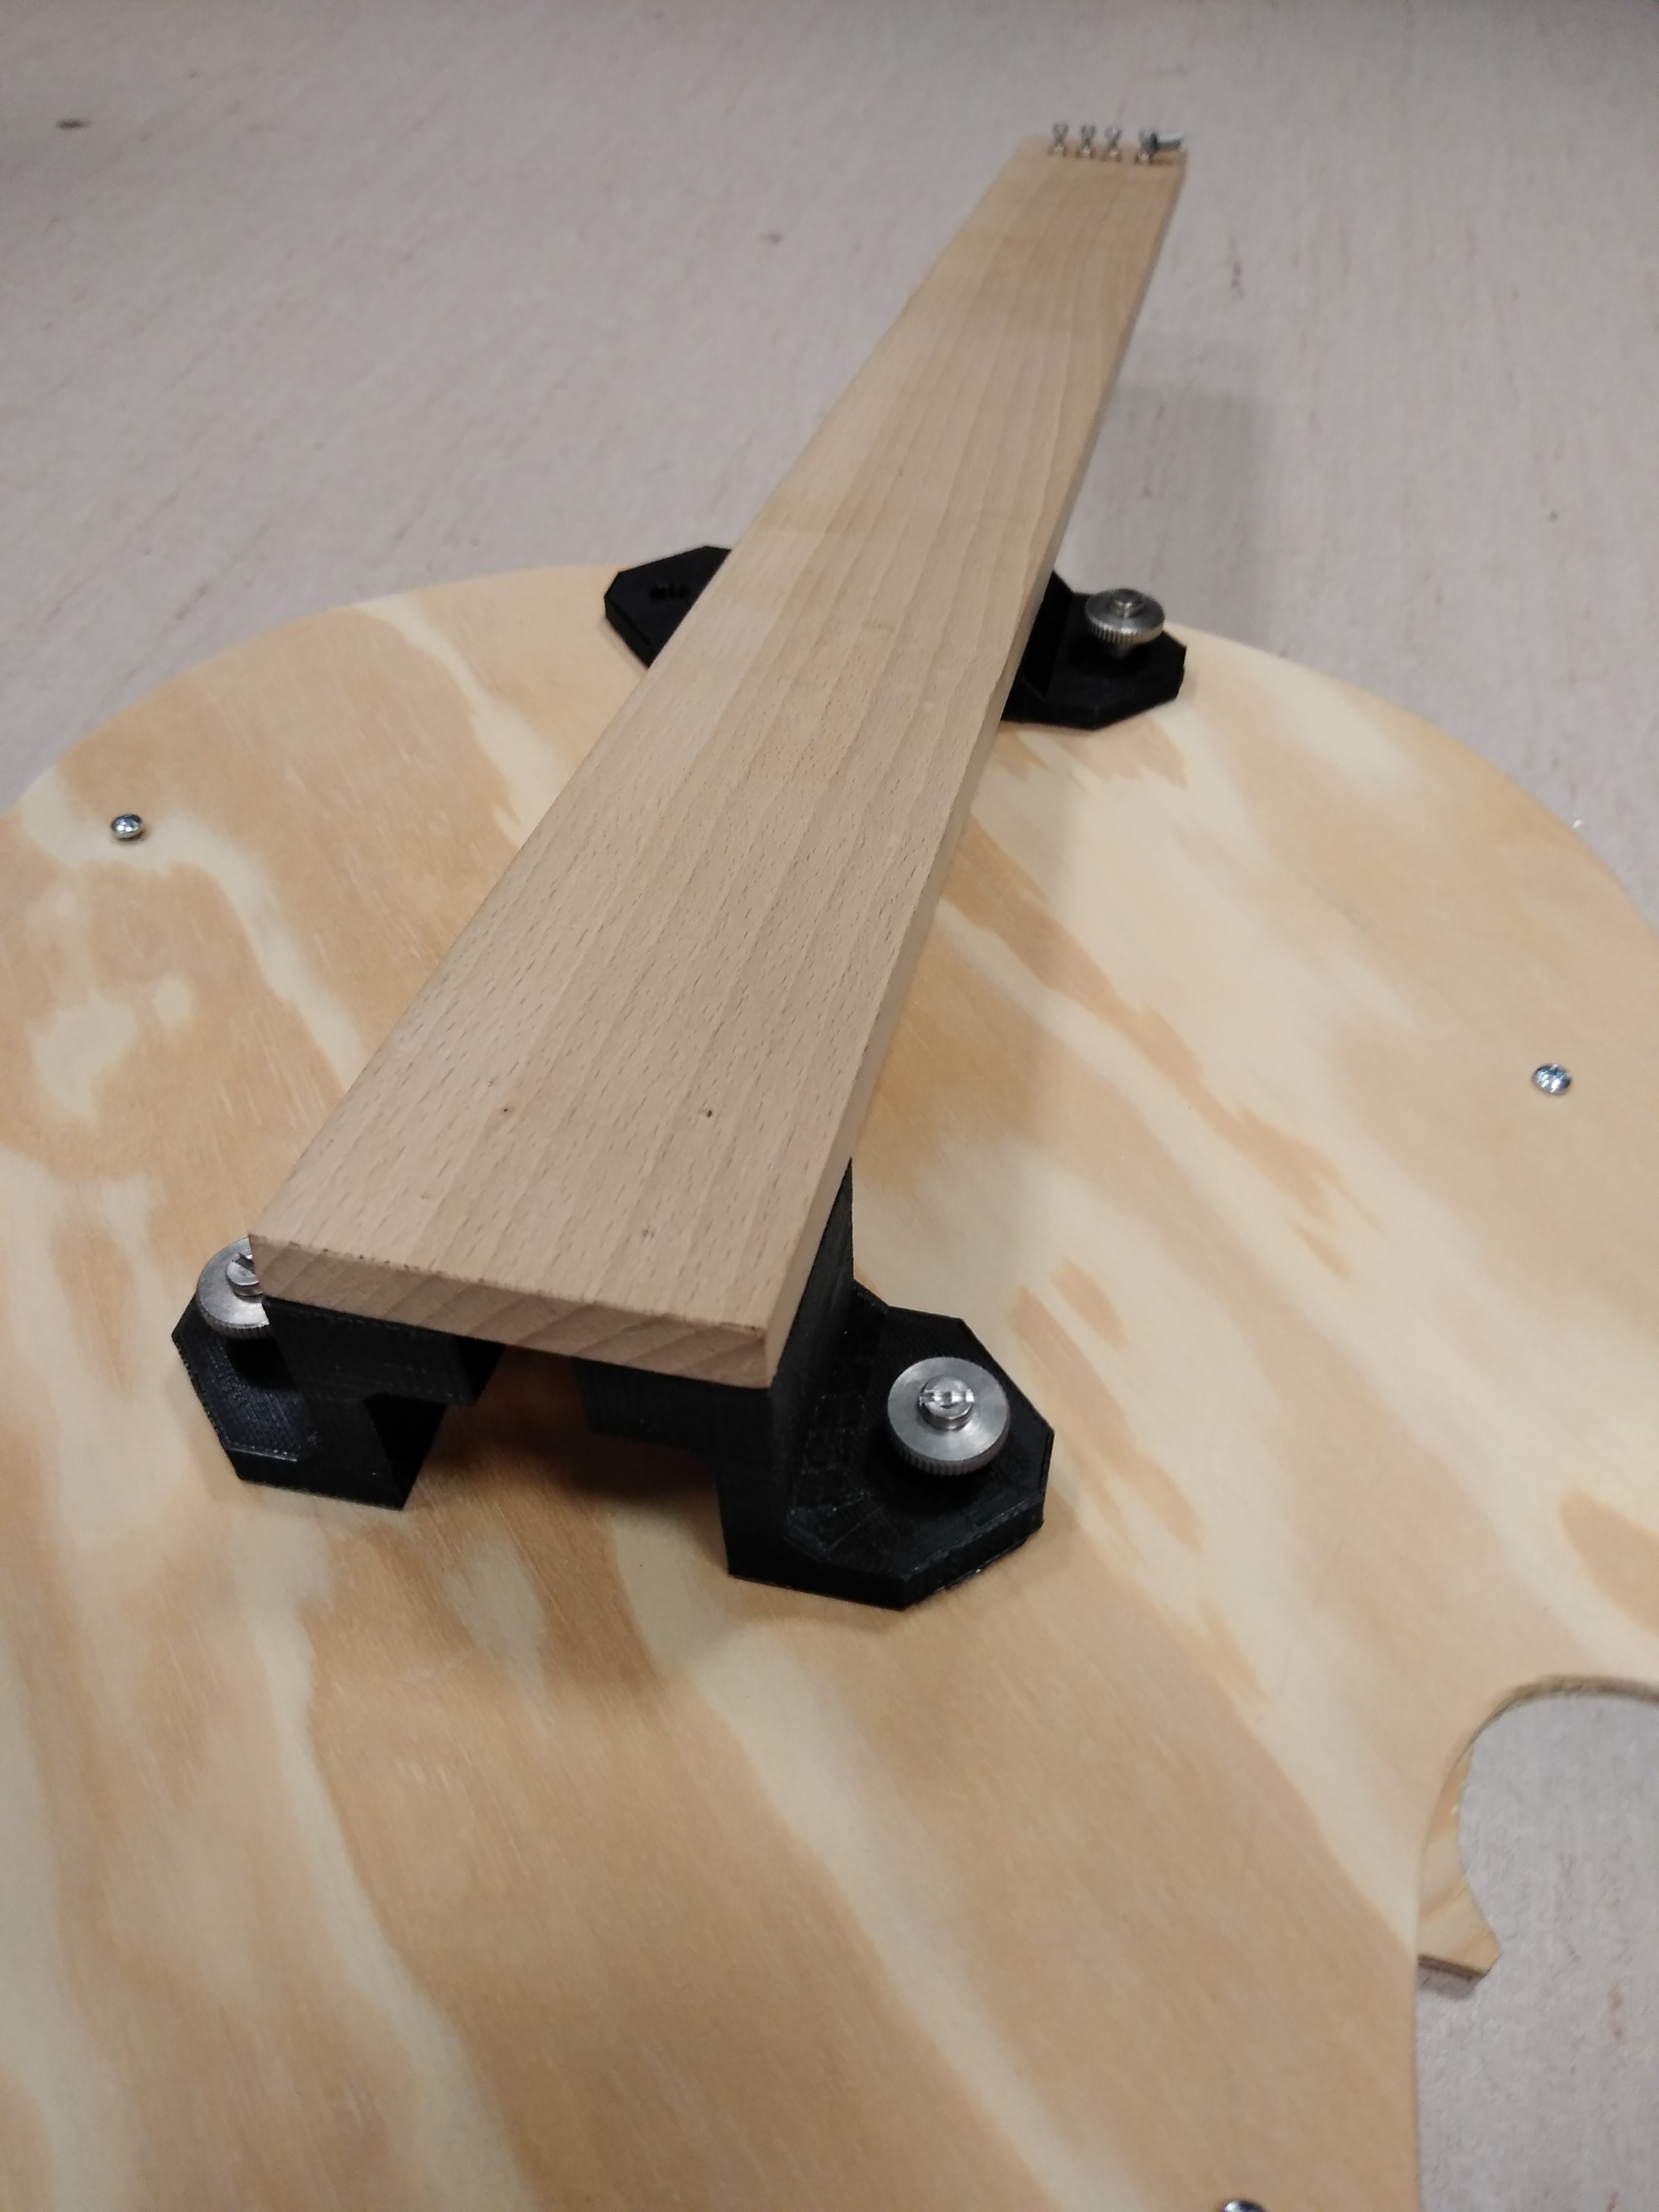
Fingerboard was made of single 50x6x1cm wood block, with 3D printed parts holding it in place
Here is picture of complete body, with cutout for speaker and sensor head installed in place

Discussions
Become a Hackaday.io Member
Create an account to leave a comment. Already have an account? Log In.