 Jan
JanAfter preparing the drum, the next step was to prepare the "floor" of the drum, so I can lay the chamotte (fire clay) bricks.
The preparation for everything looked like this:
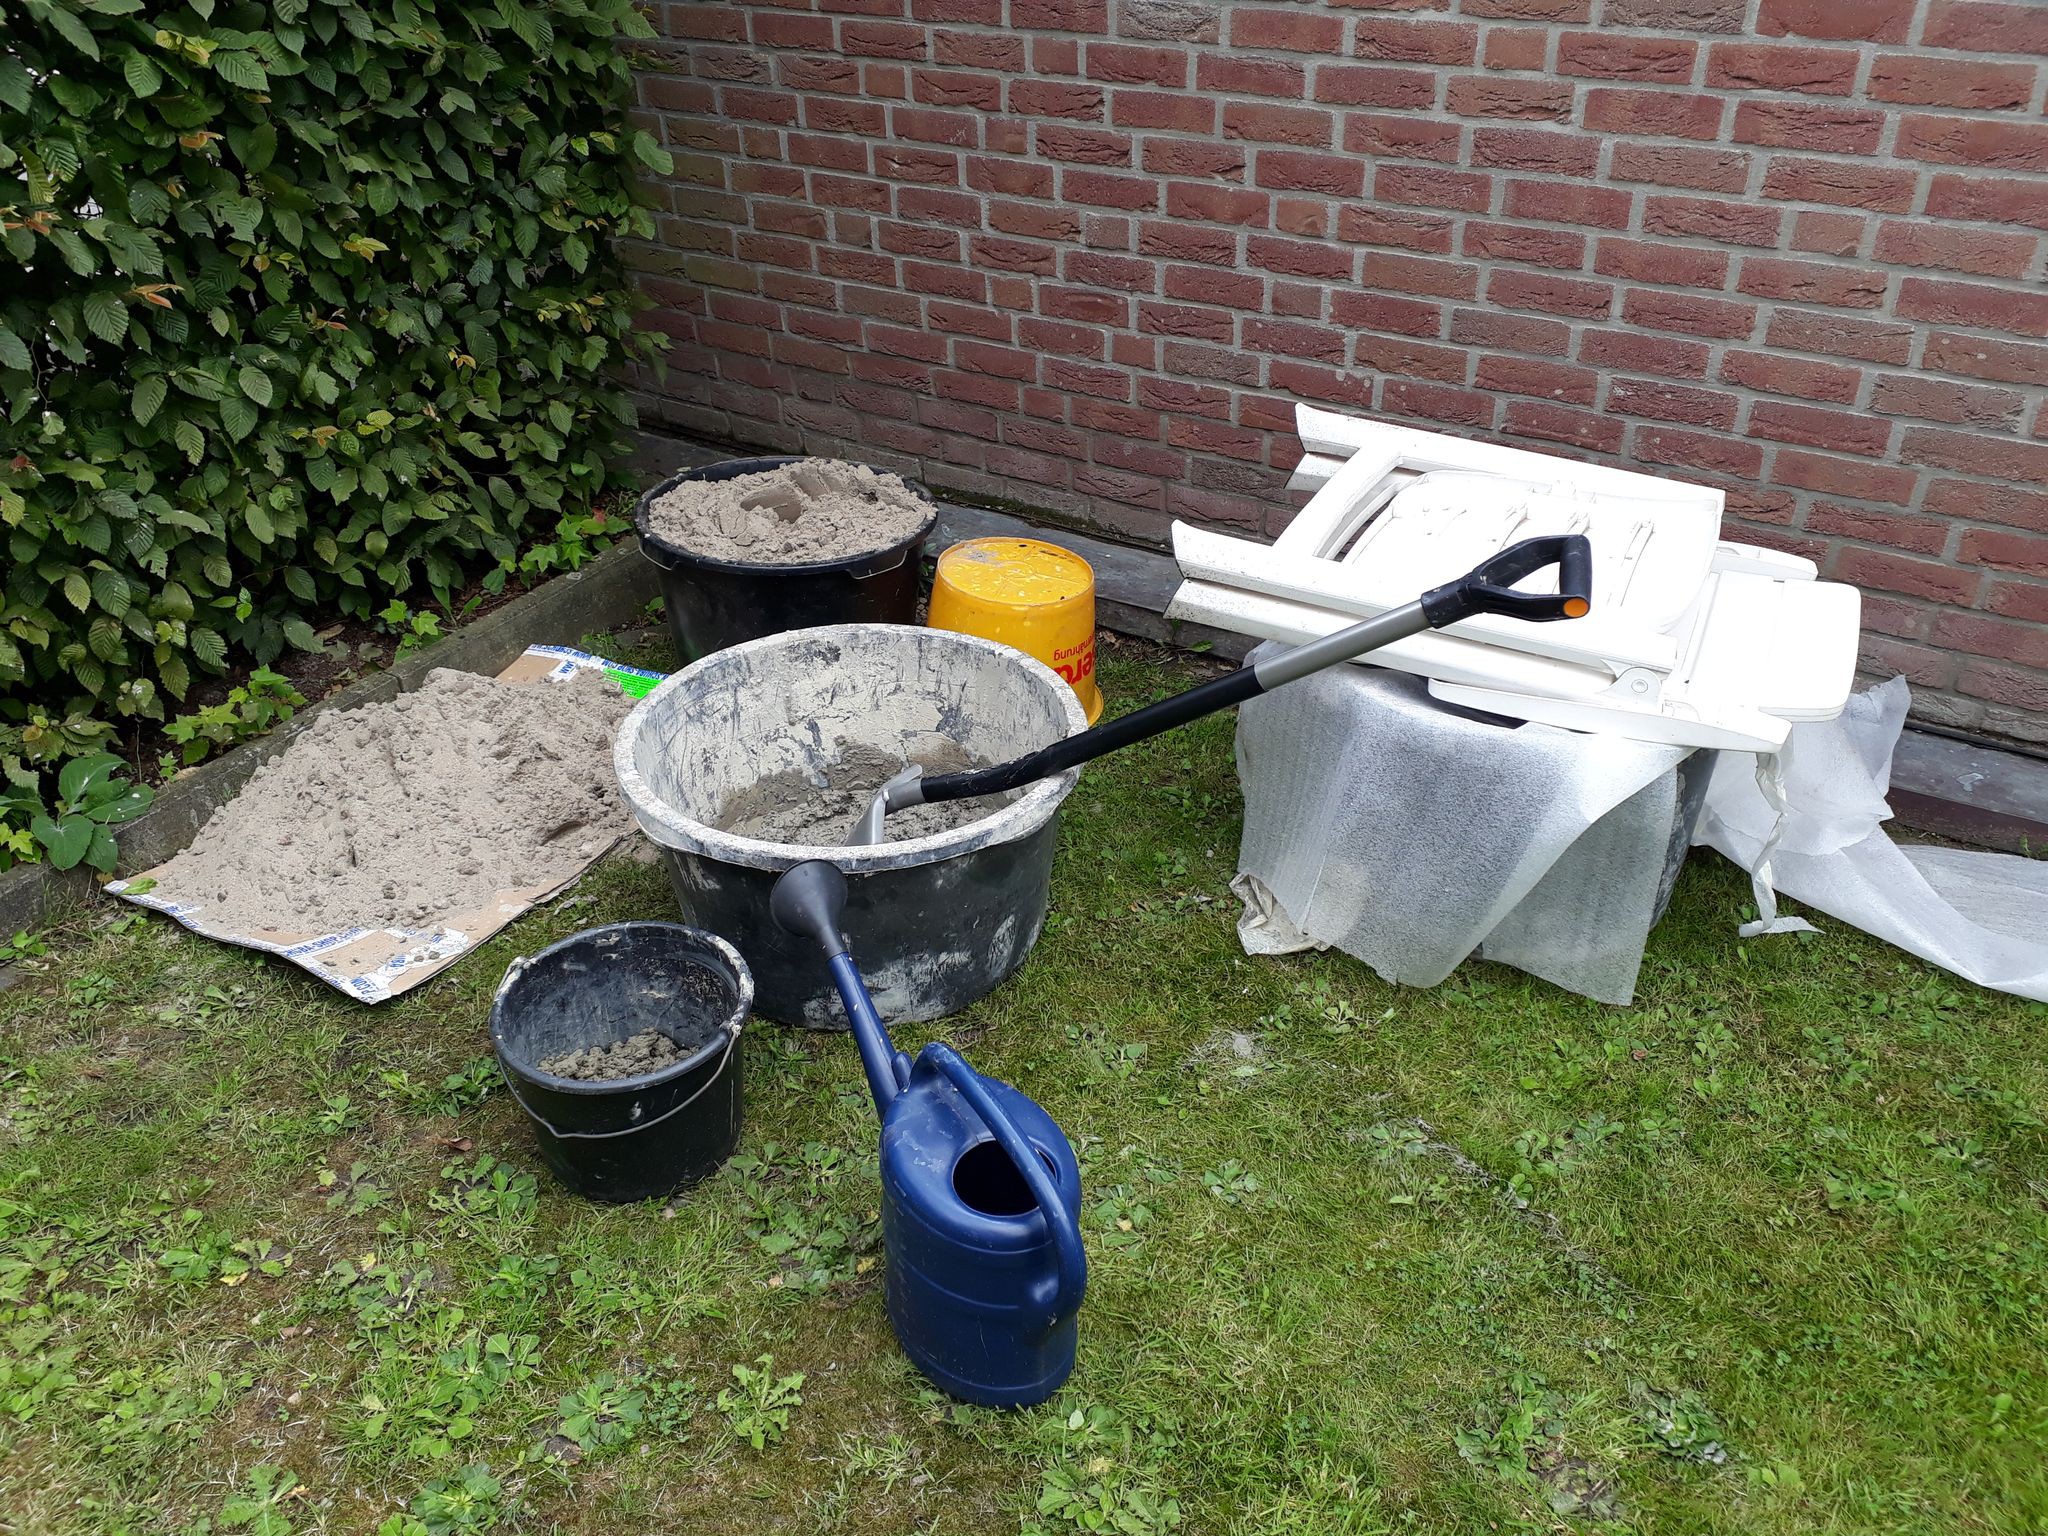
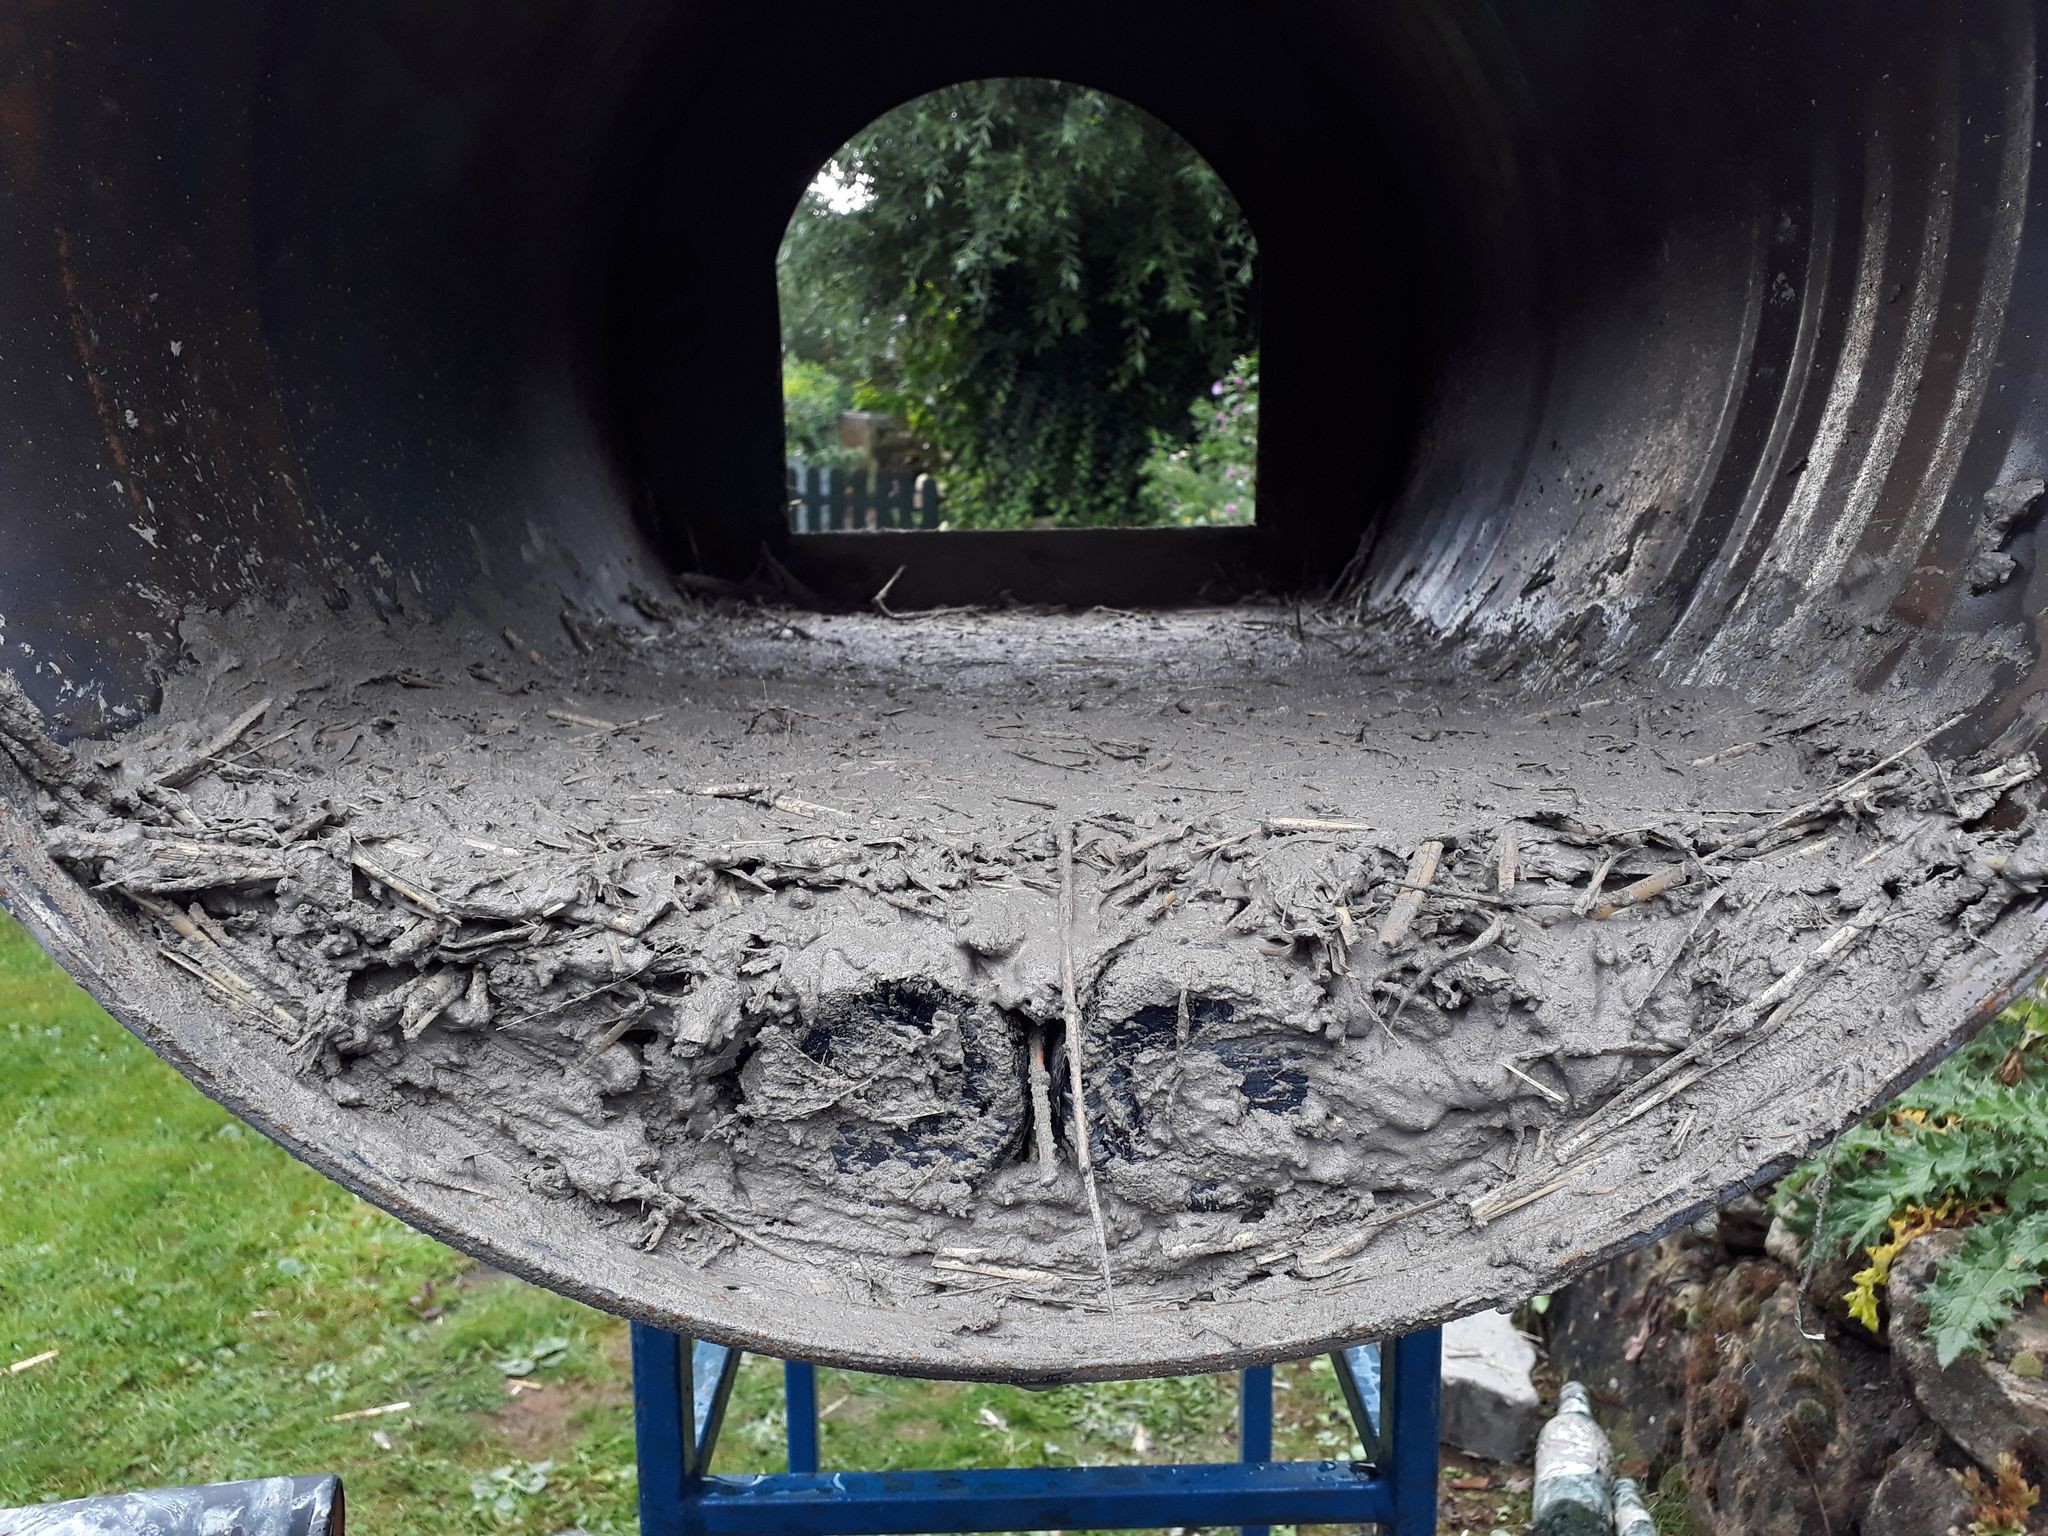
We needed to mix (local) clay, sand, wheat straw to get the properties we wanted: sticky, not shrinking too much and a bit insulating.
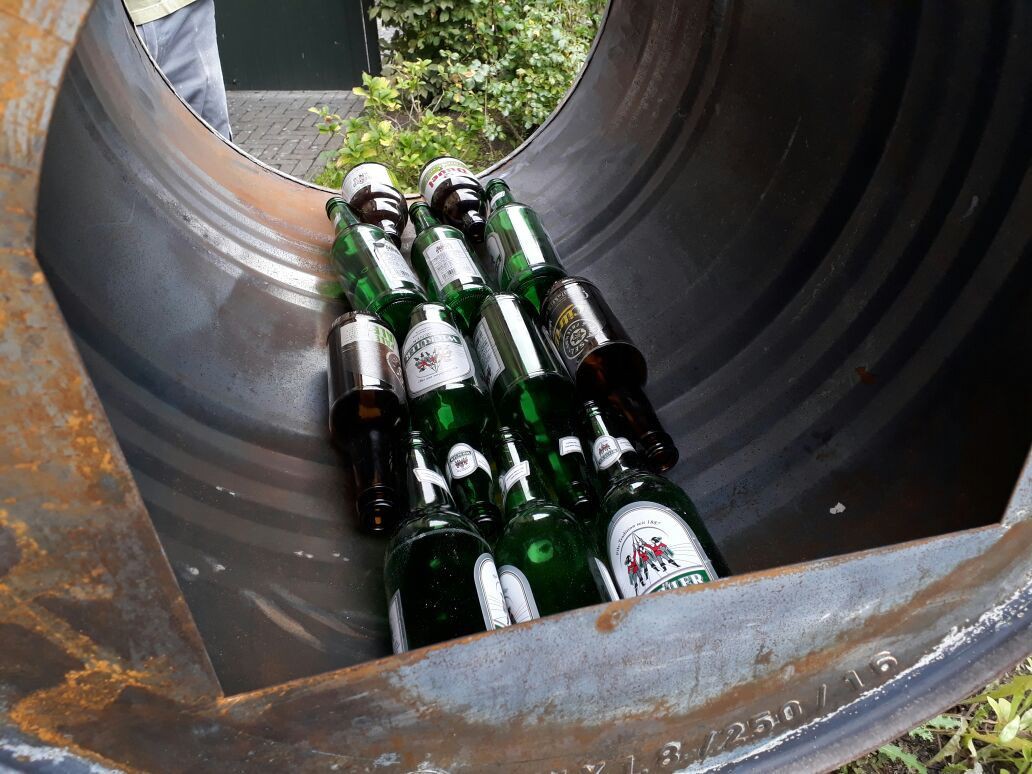
We put a few bottles into the drum first, which serve as a good insulation. After all we want to conserve the heat in the drum!
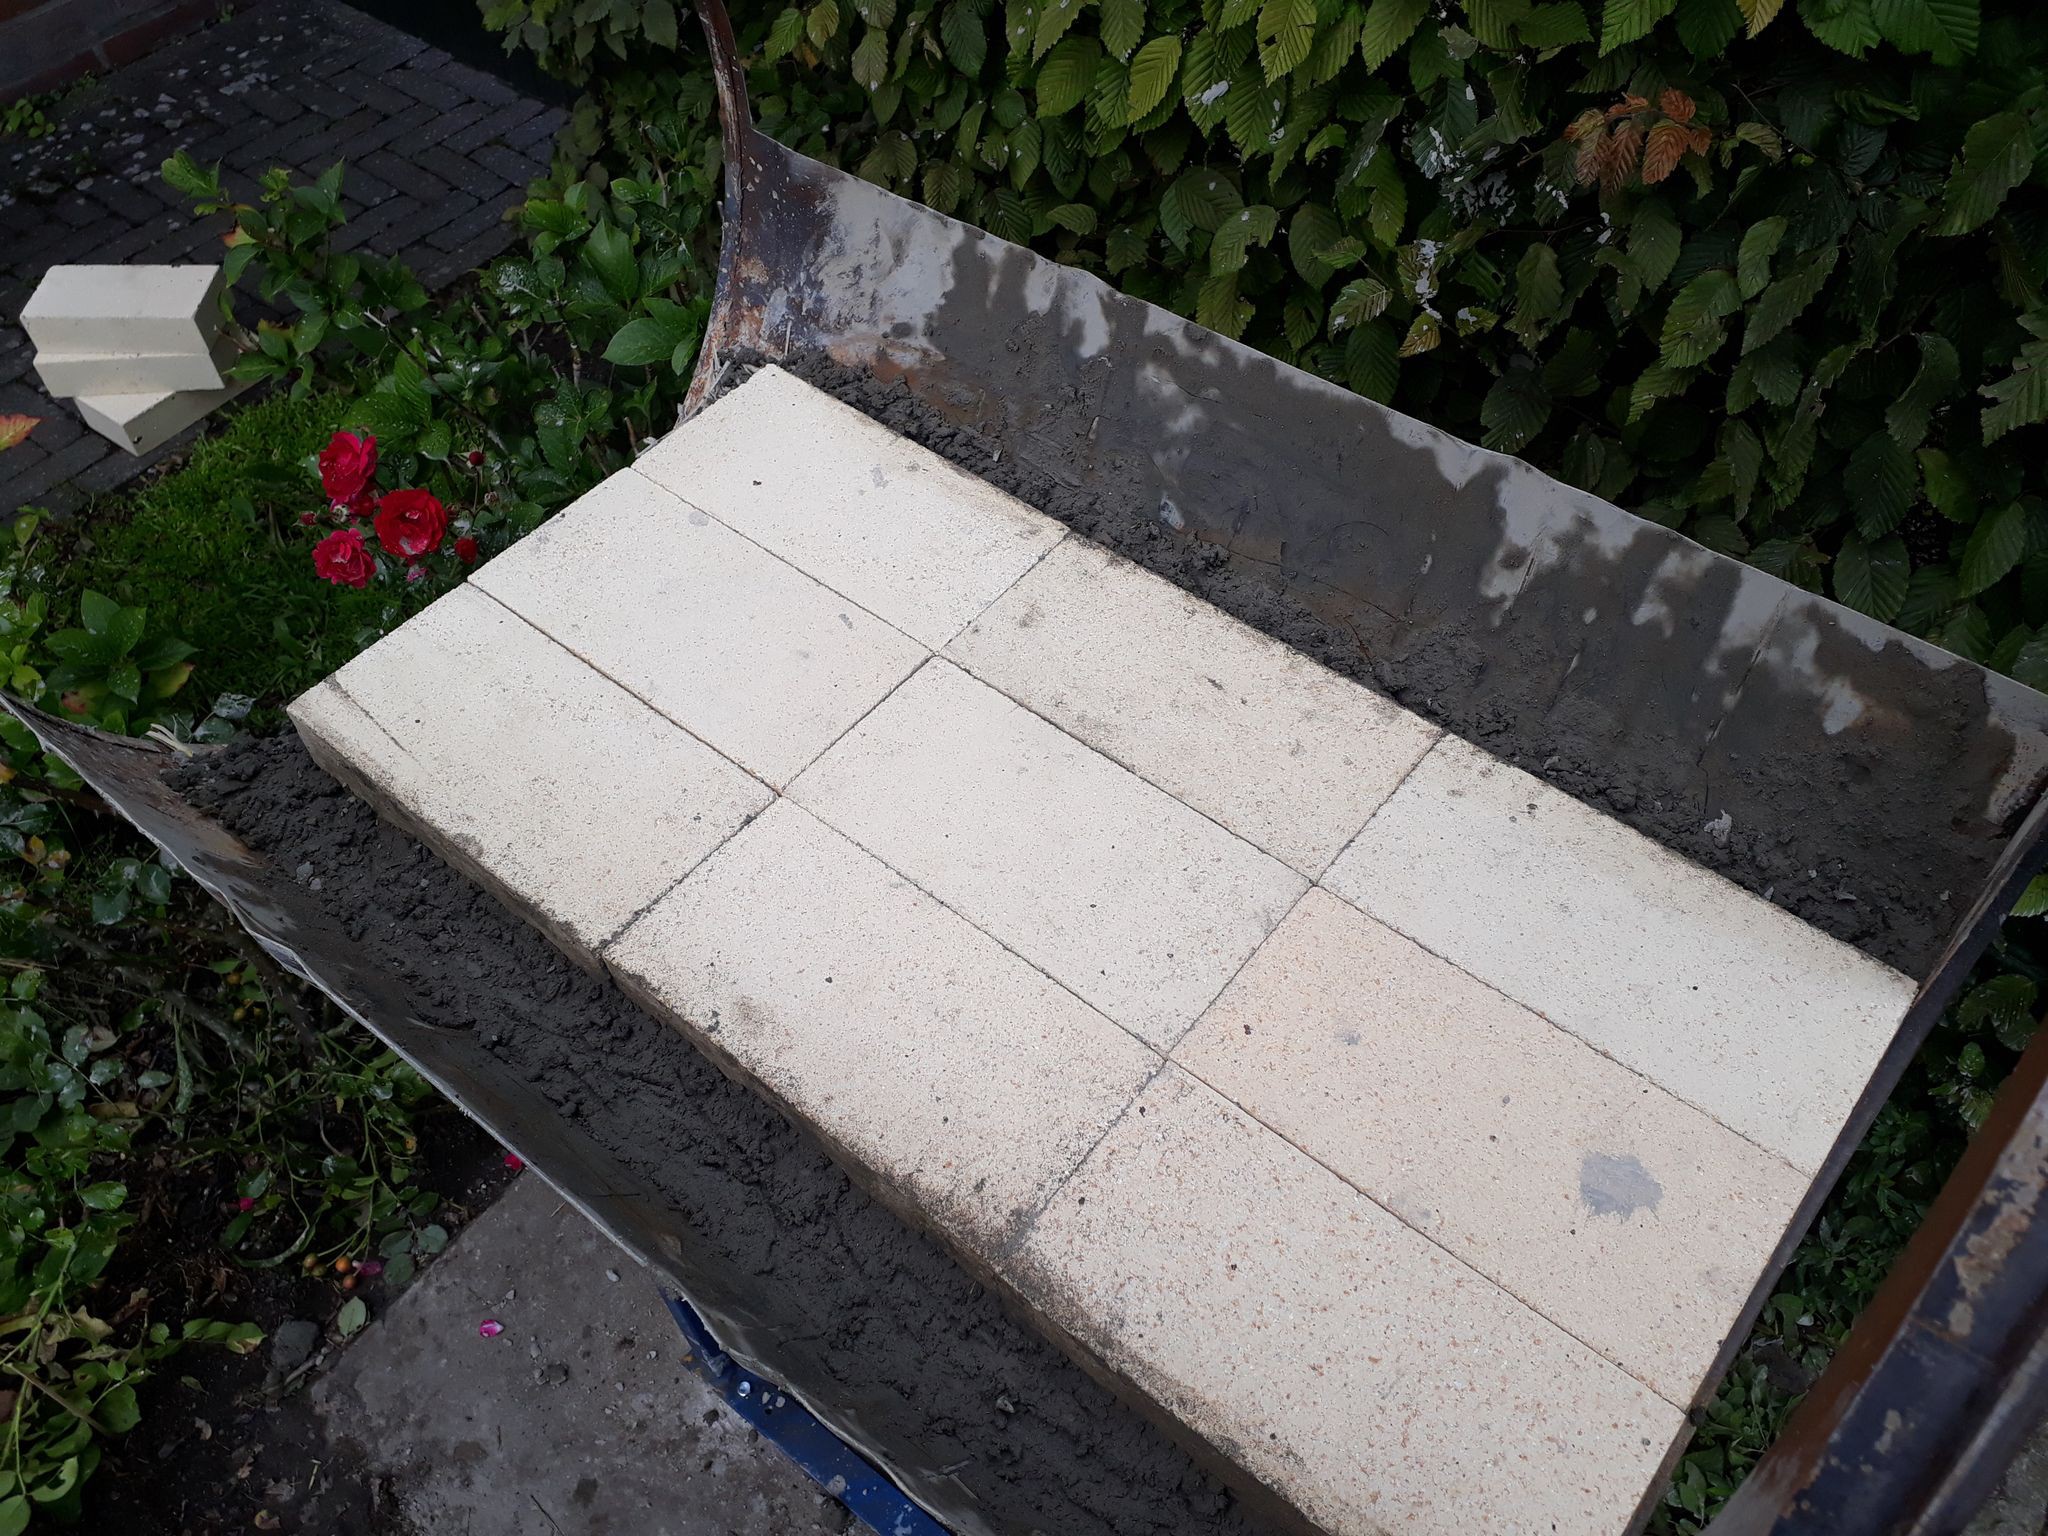
After that we let it dry for a few days and then put in the fire clay bricks:
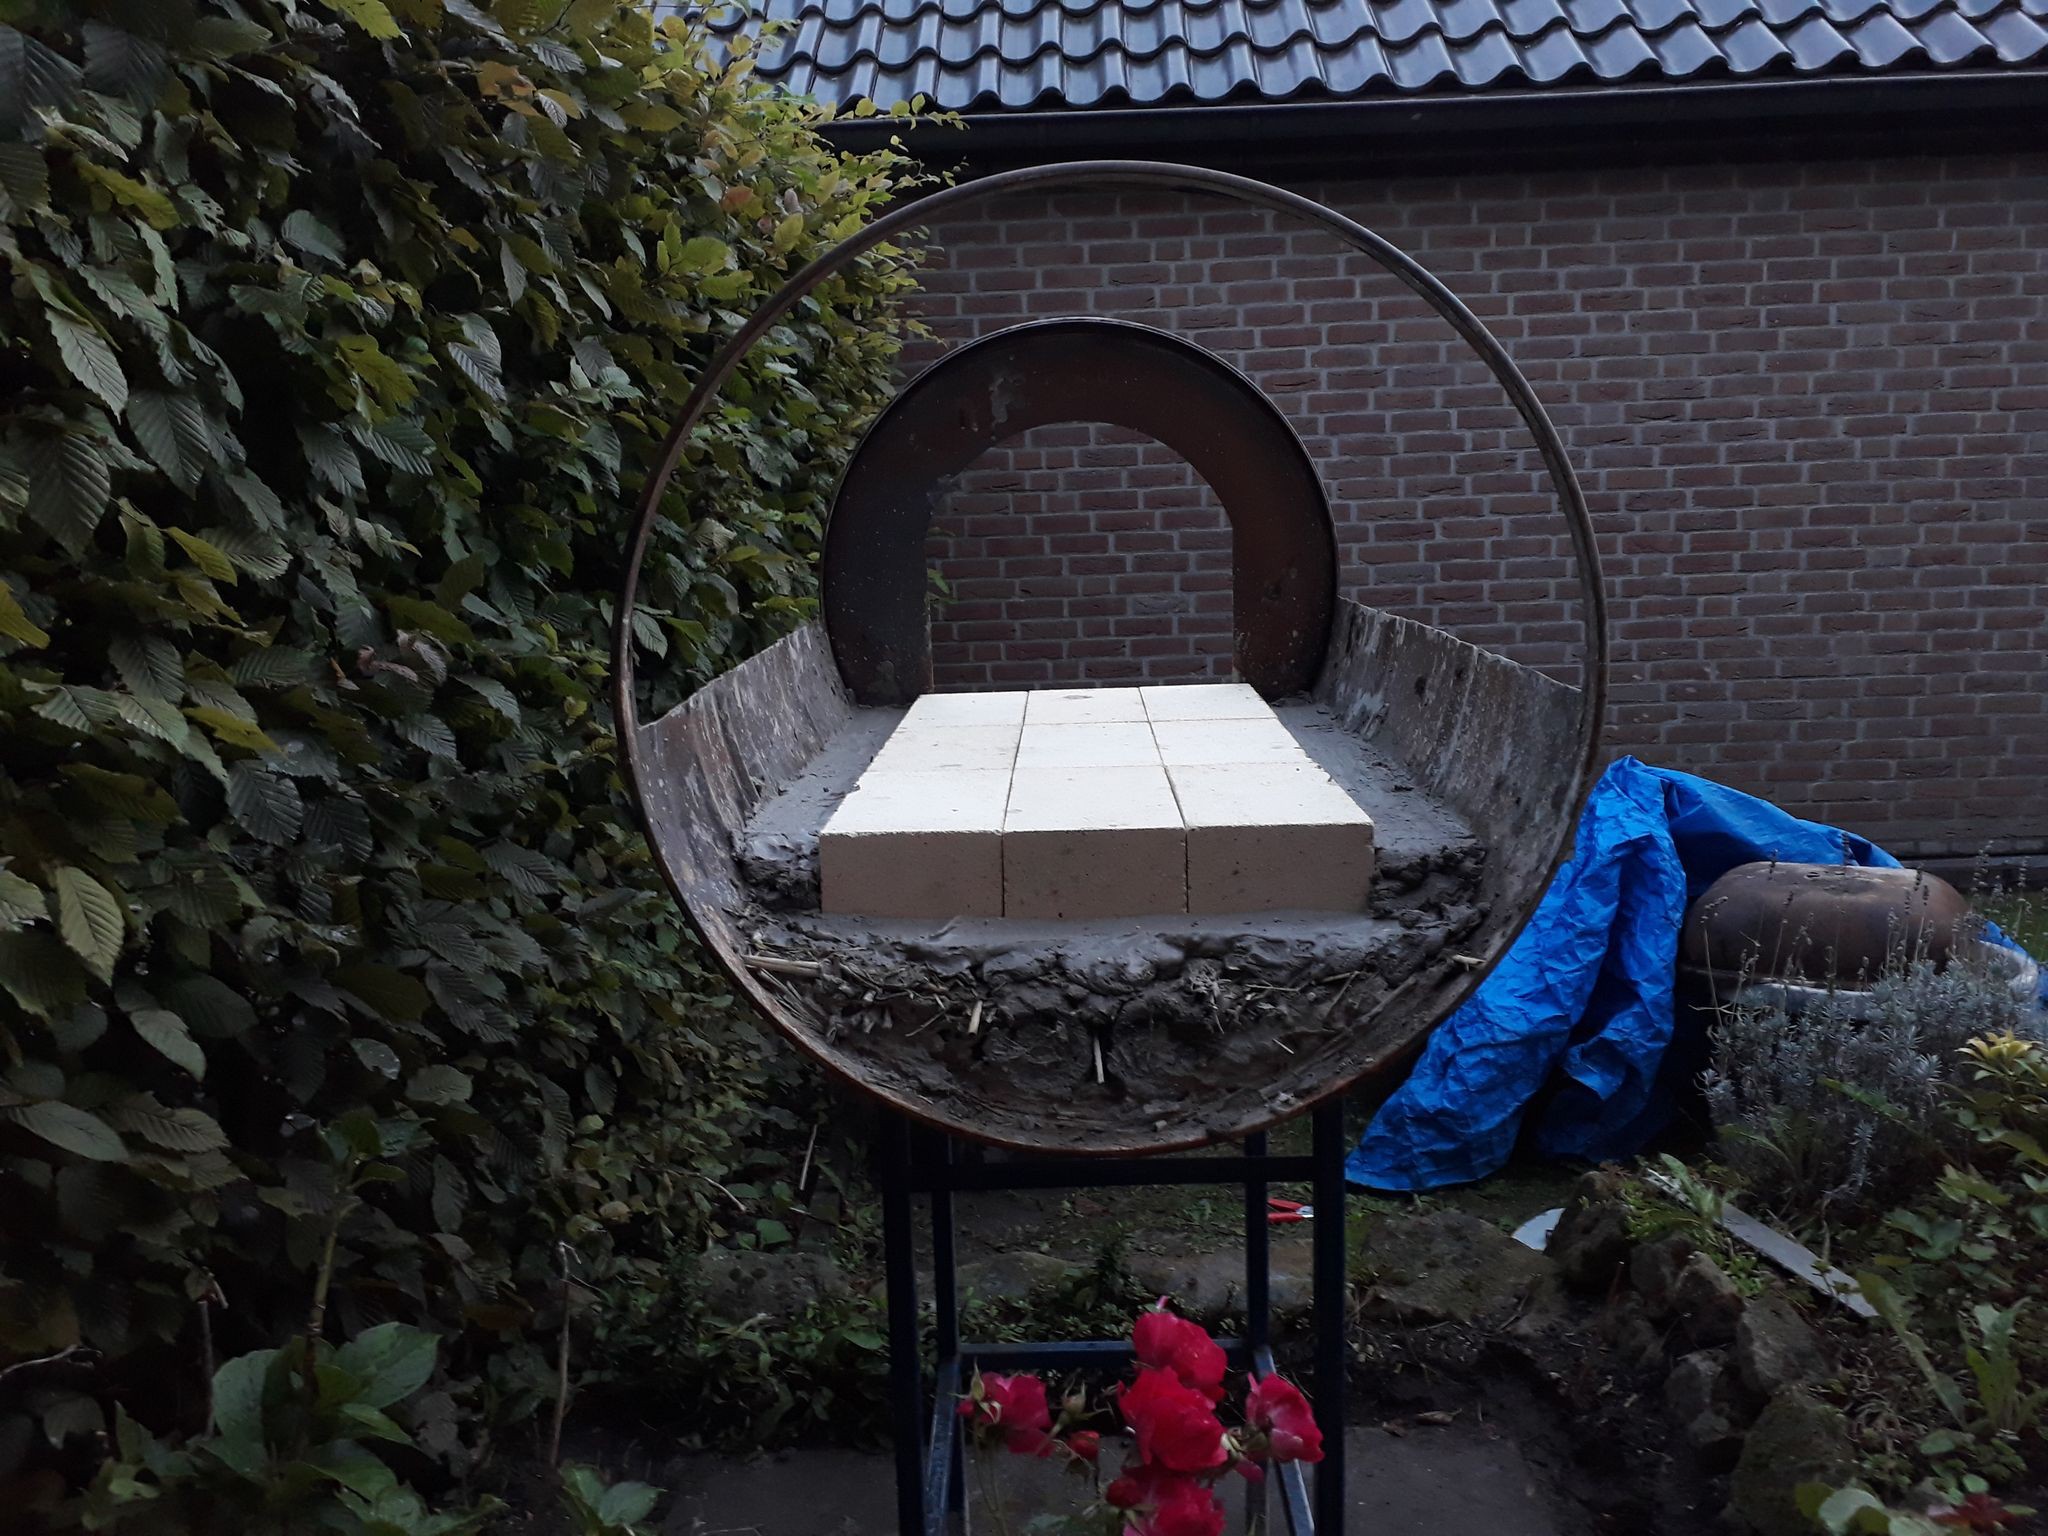
At this point I decided to cut the drum even more because we couldn't manage to create the dome without having access from all sides.
This is the final form of the drum and baking surface. Only the front and the bottom half of the drum are left.
Discussions
Become a Hackaday.io Member
Create an account to leave a comment. Already have an account? Log In.