This was a challenging case to make. The hardest part was supporting the HyperPixel display and the RPi3 using only the mounting holes. I didn't want any pressure put onto the display to prevent cracks.
When I ordered the parts only the non-touch version of the HyperPixel was in stock so thats what I've modeled the case on. I've got a touch screen version on order and will make separate display bezels for each once that arrives.
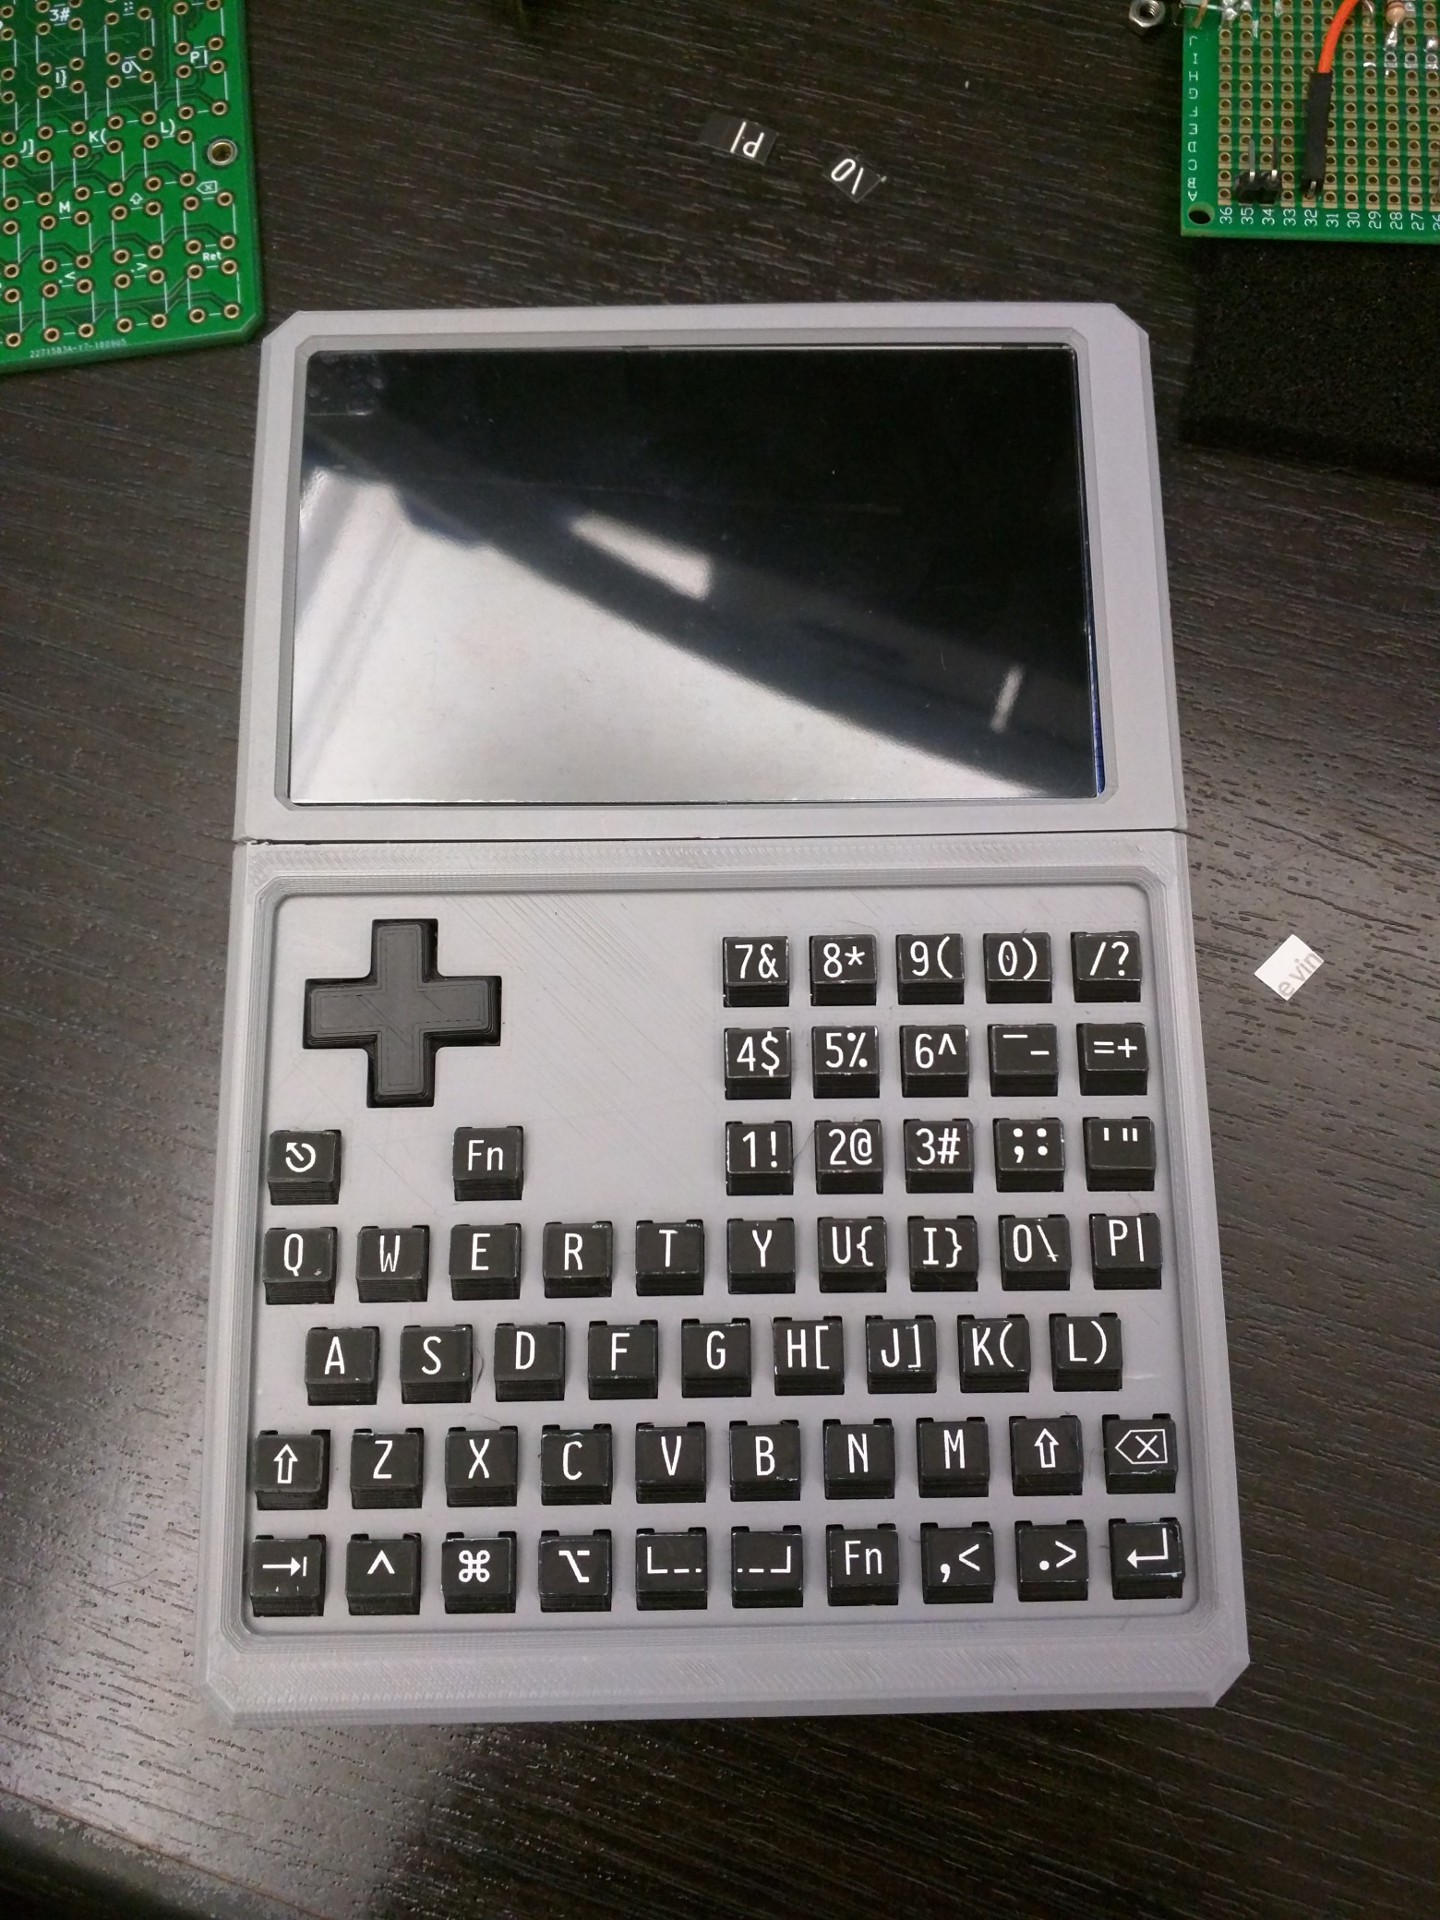
Here's the front of the case with the modular keyboard and LCD mounted.
And the back side
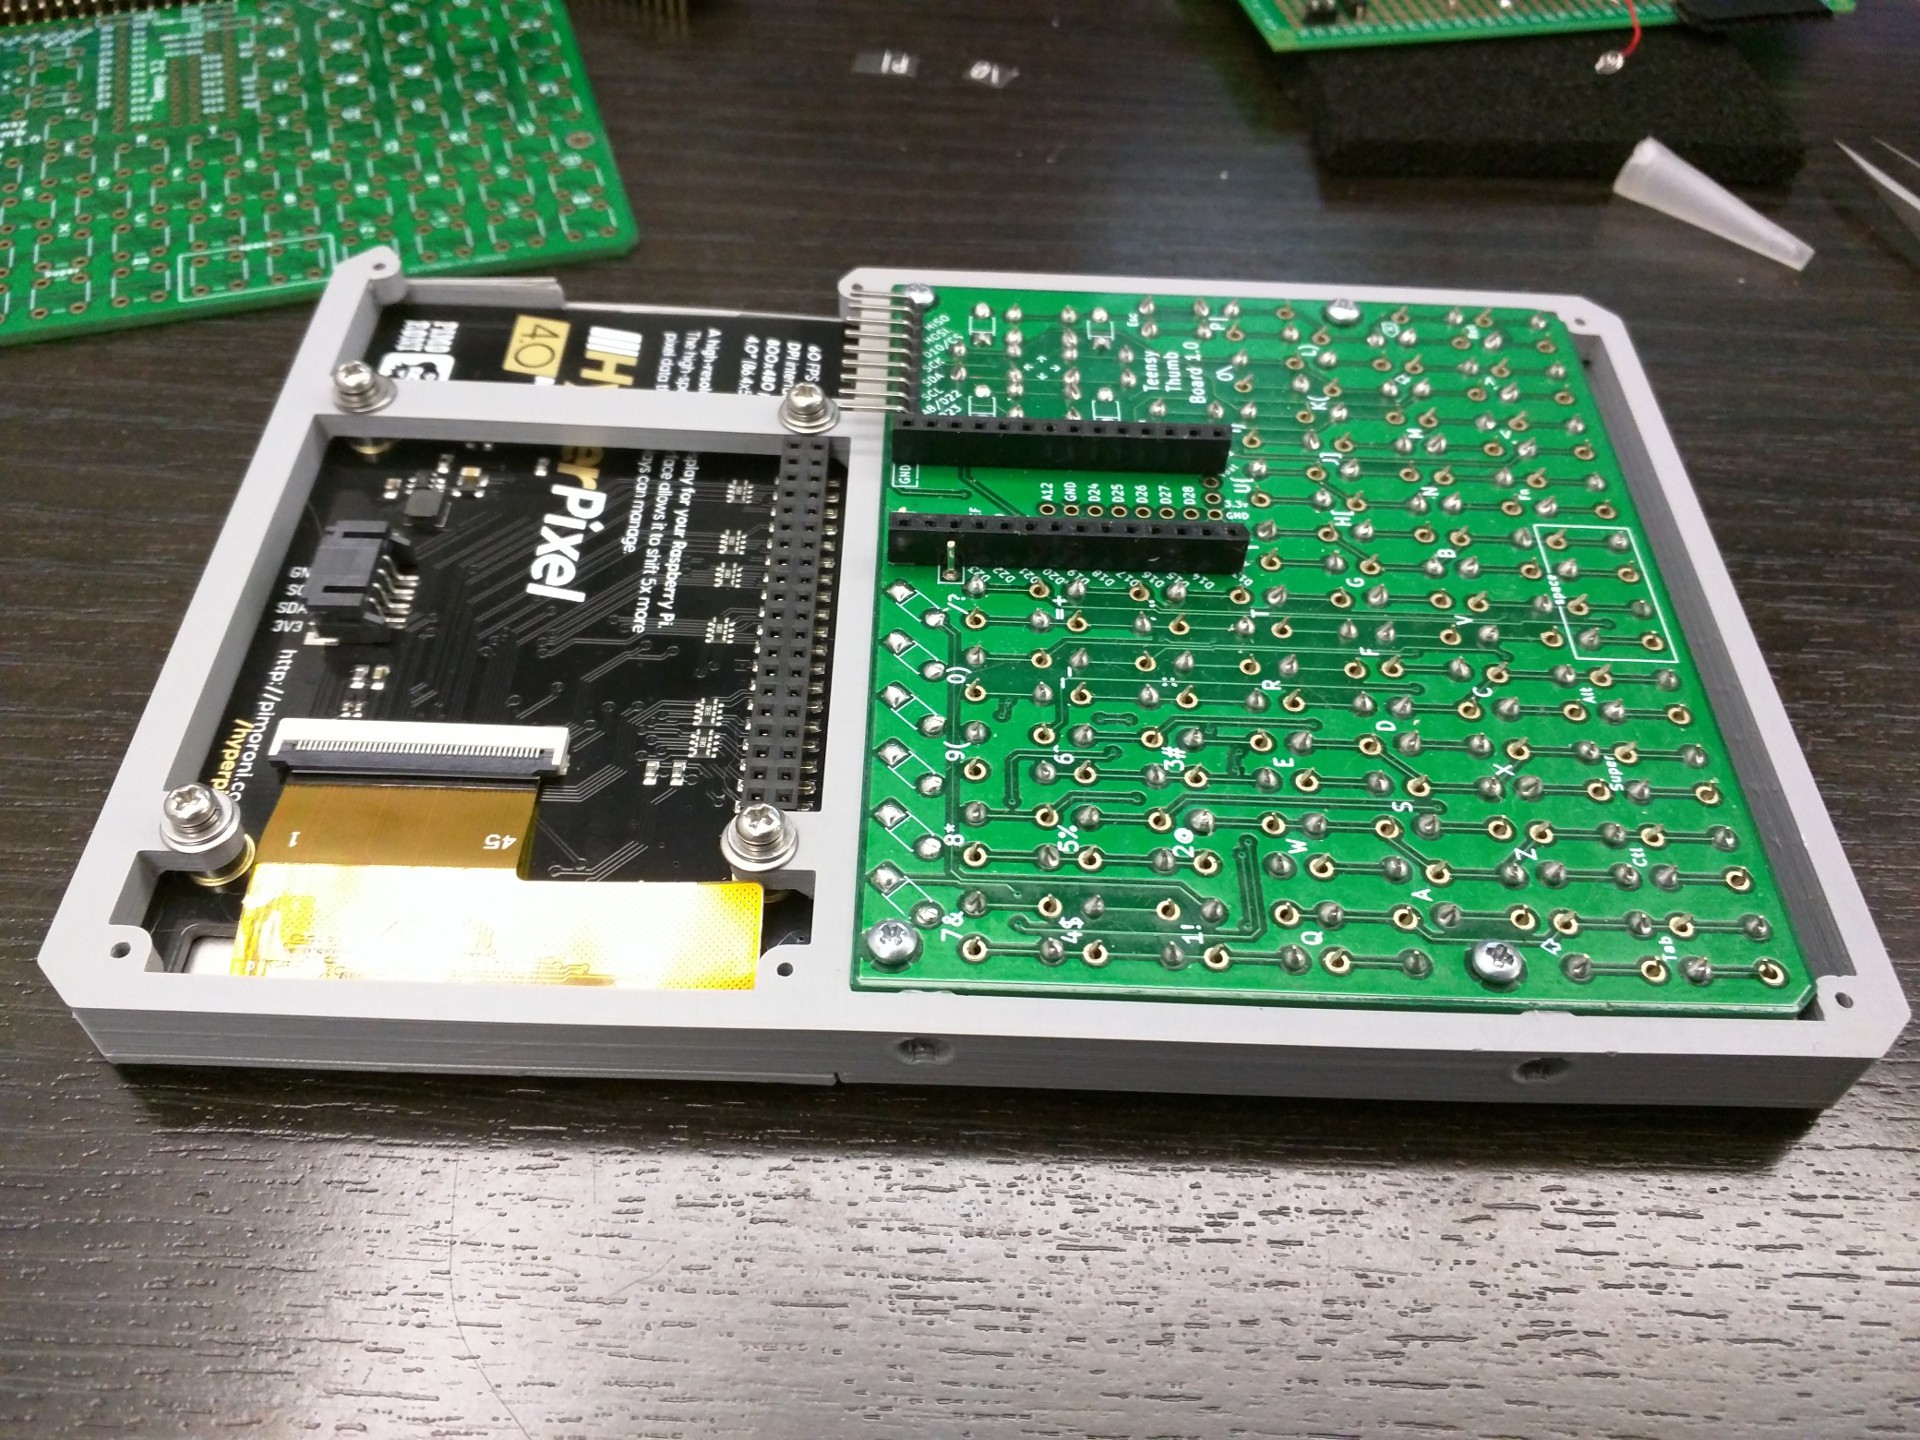
This is where the RPi3 needs to be mounted:
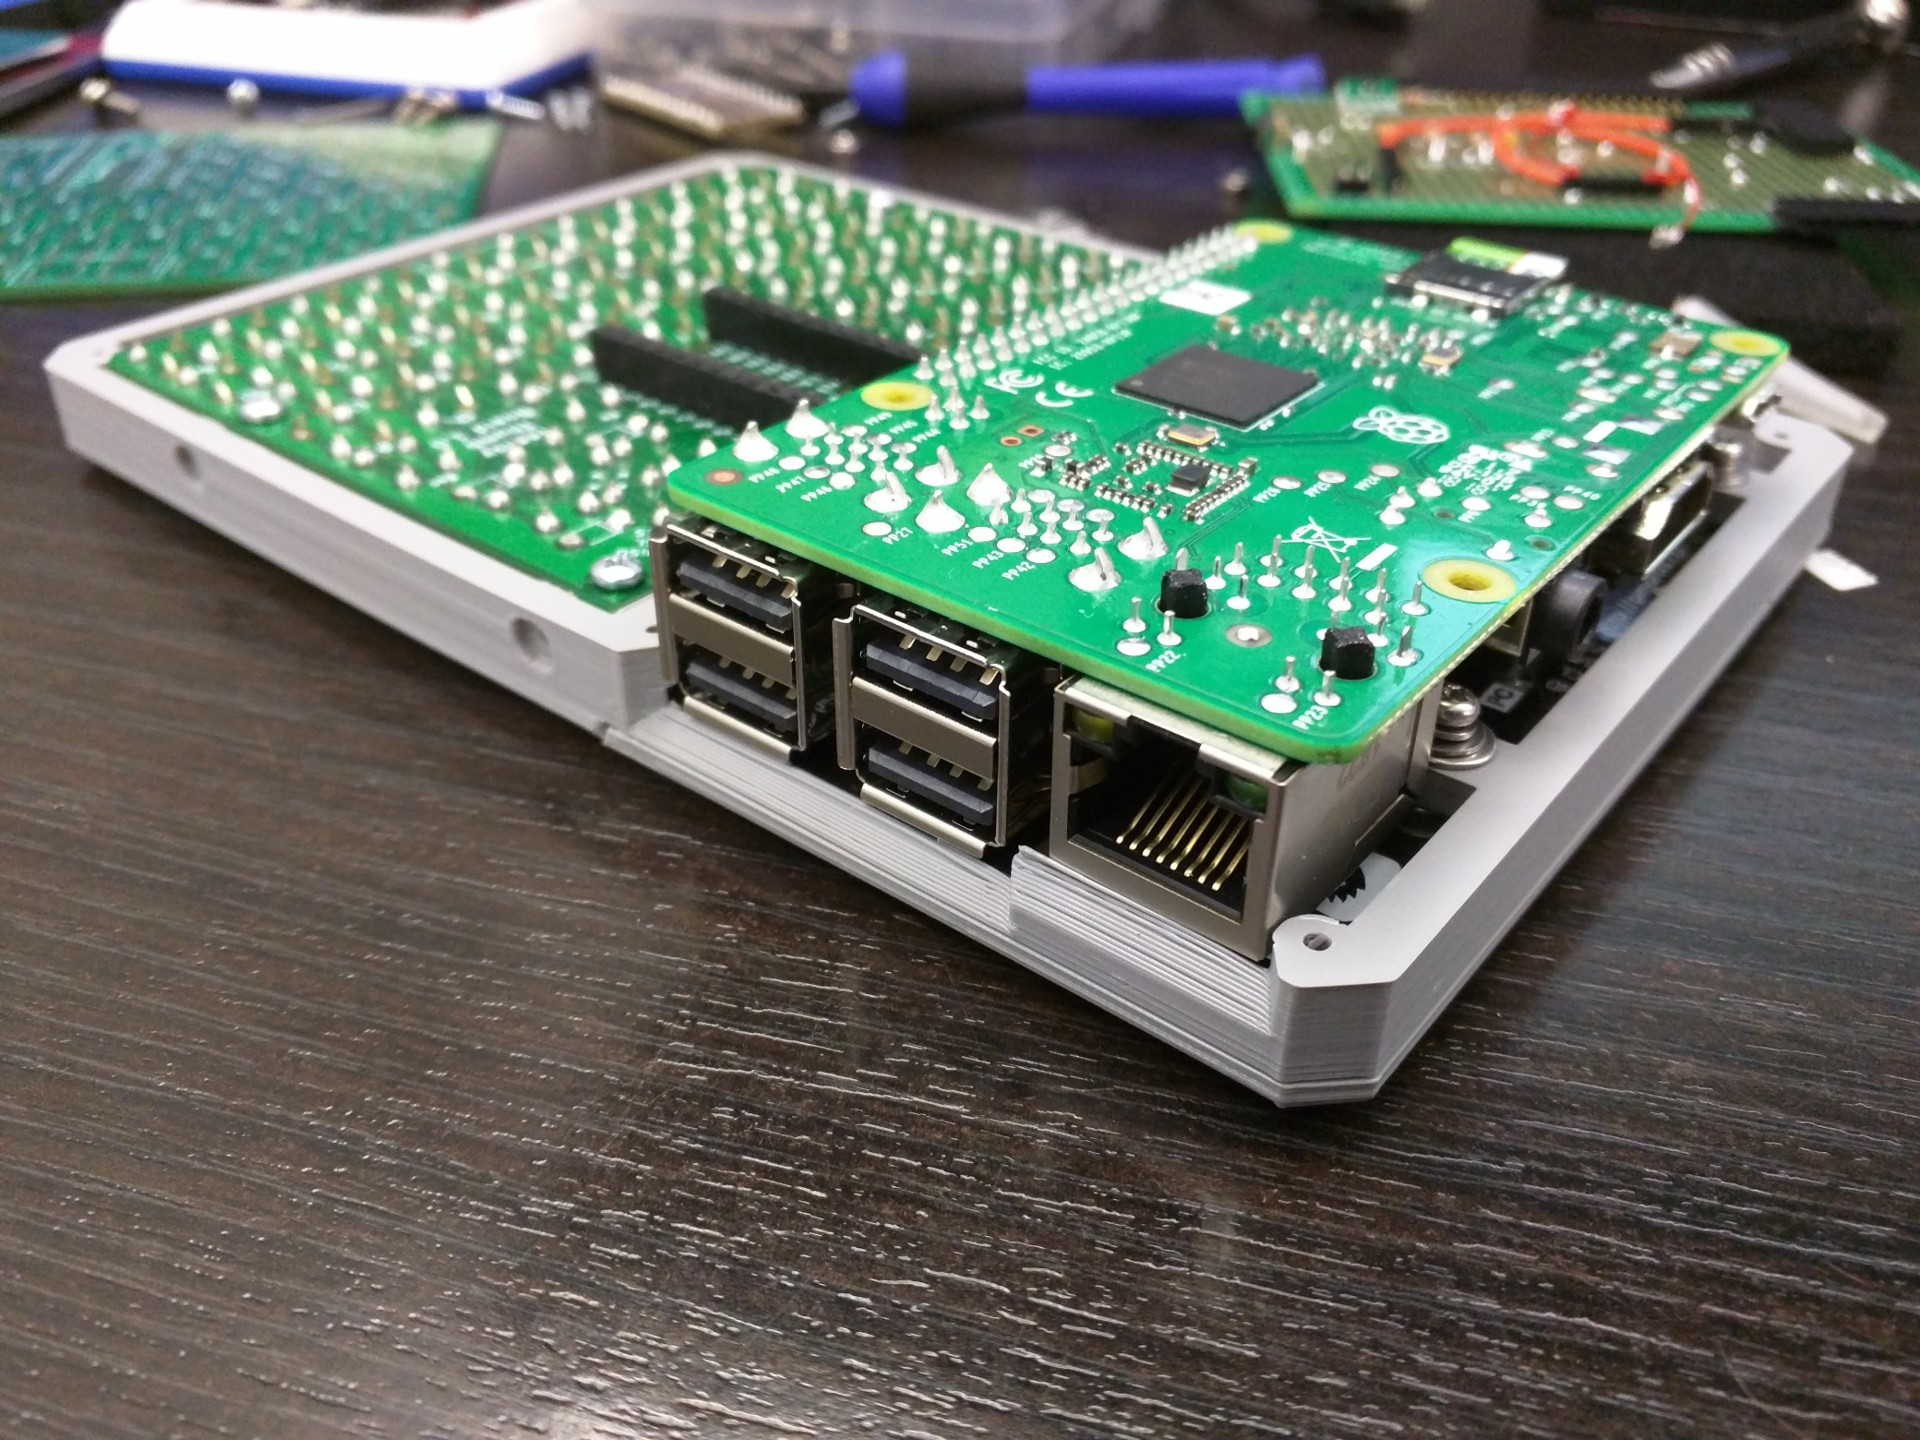
That requires another layer. Here's the result. Temporary USB cable connecting to the Teensy:
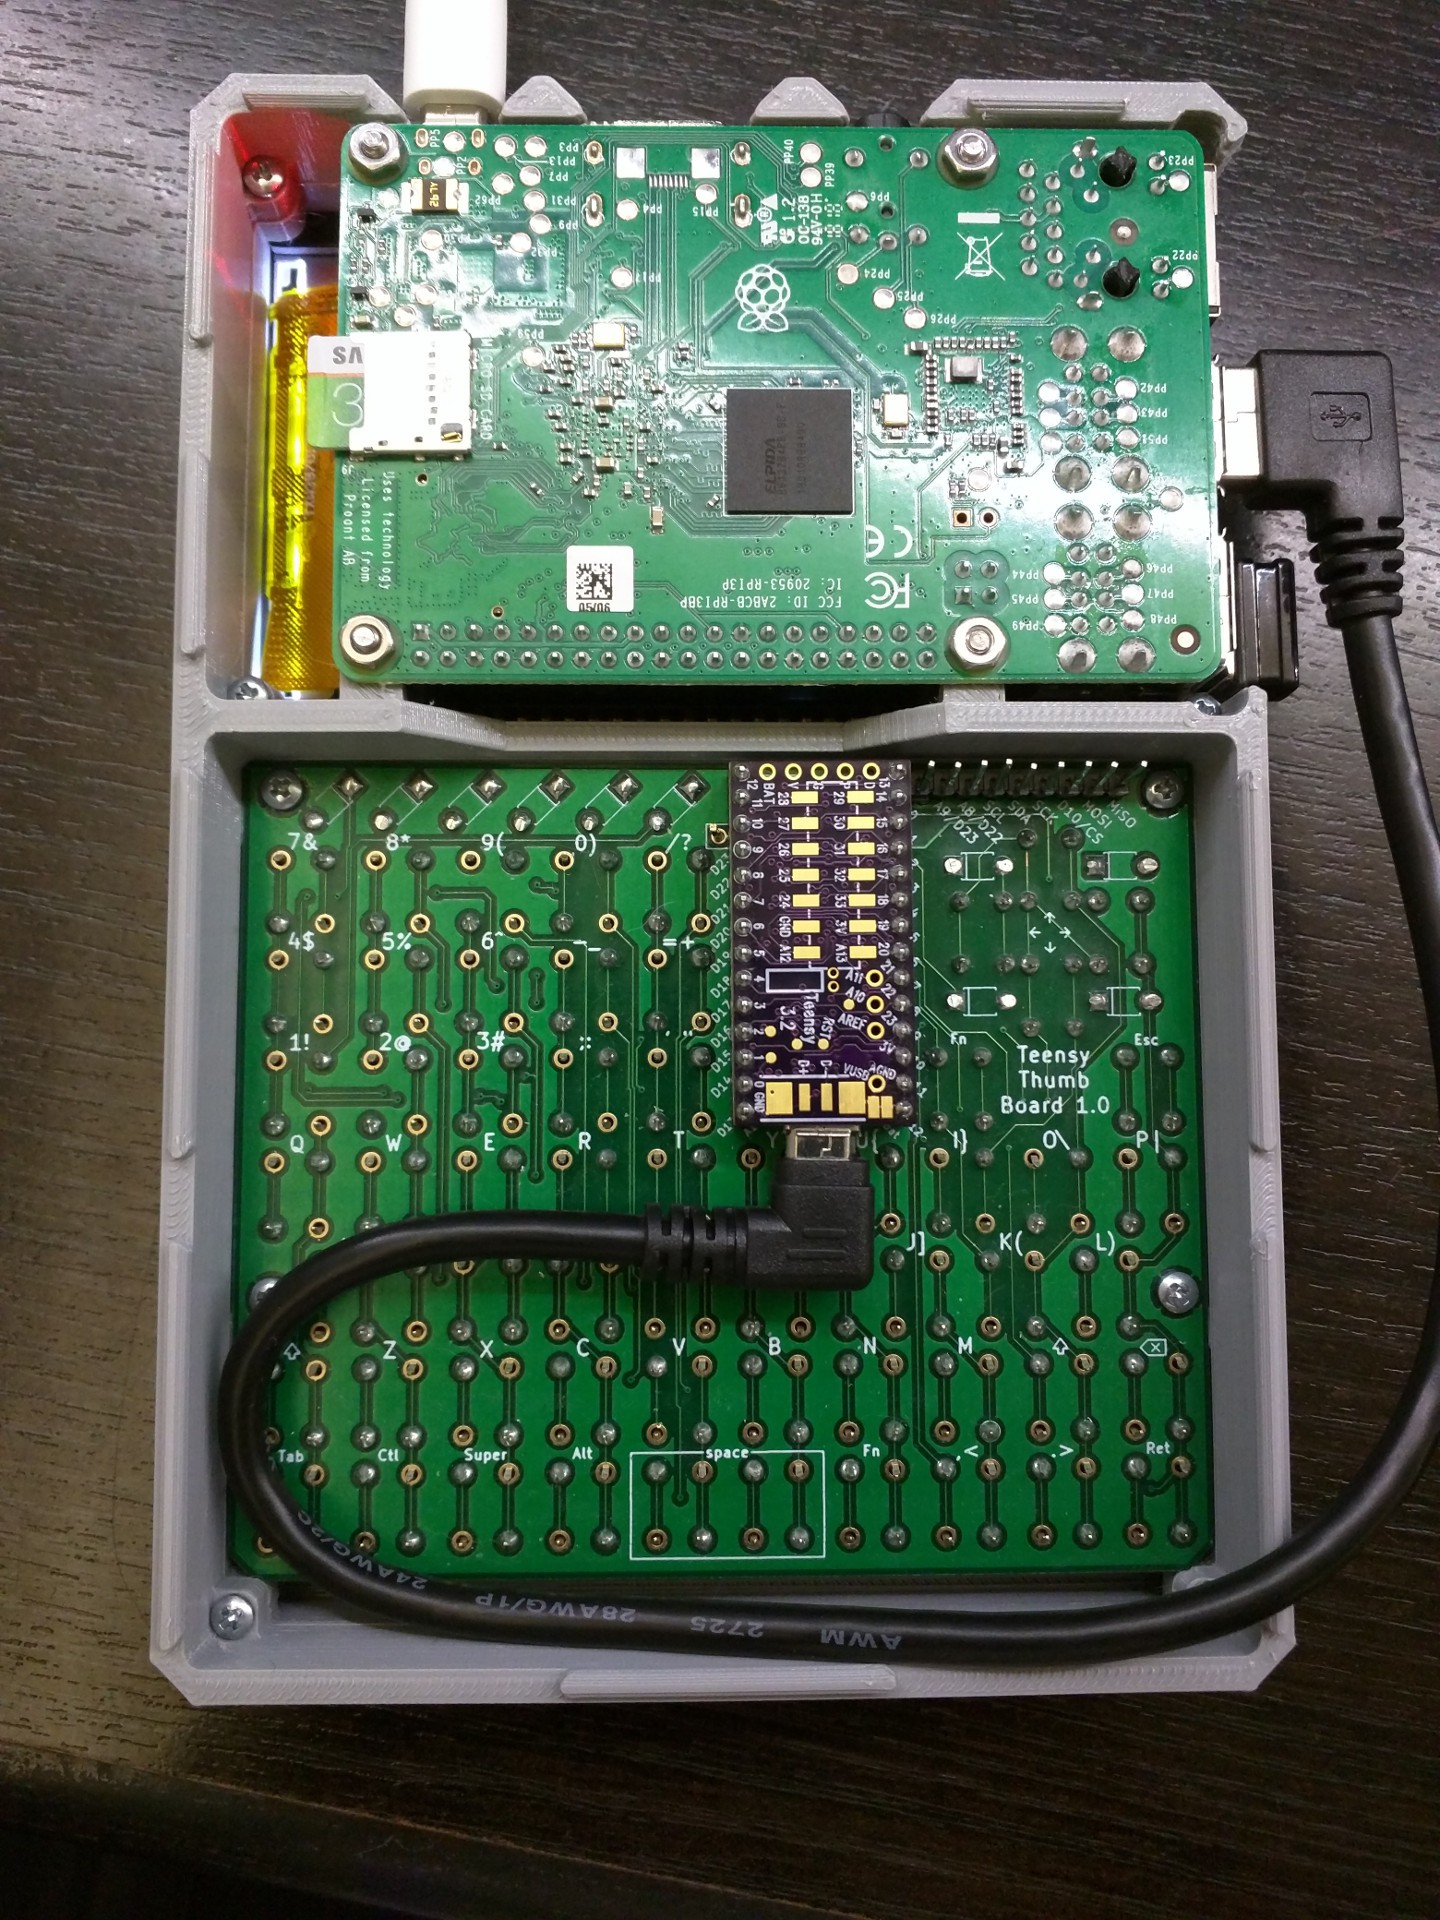
The two halves of the case are mounted using self tapping plastic screws. Nicer M2.5 screws and hex nuts are used on the display and RPi3. The LCD bezel and case are held with screw free snap tabs.
Next up I added power and wired the Teensy directly to the USB solder pads.
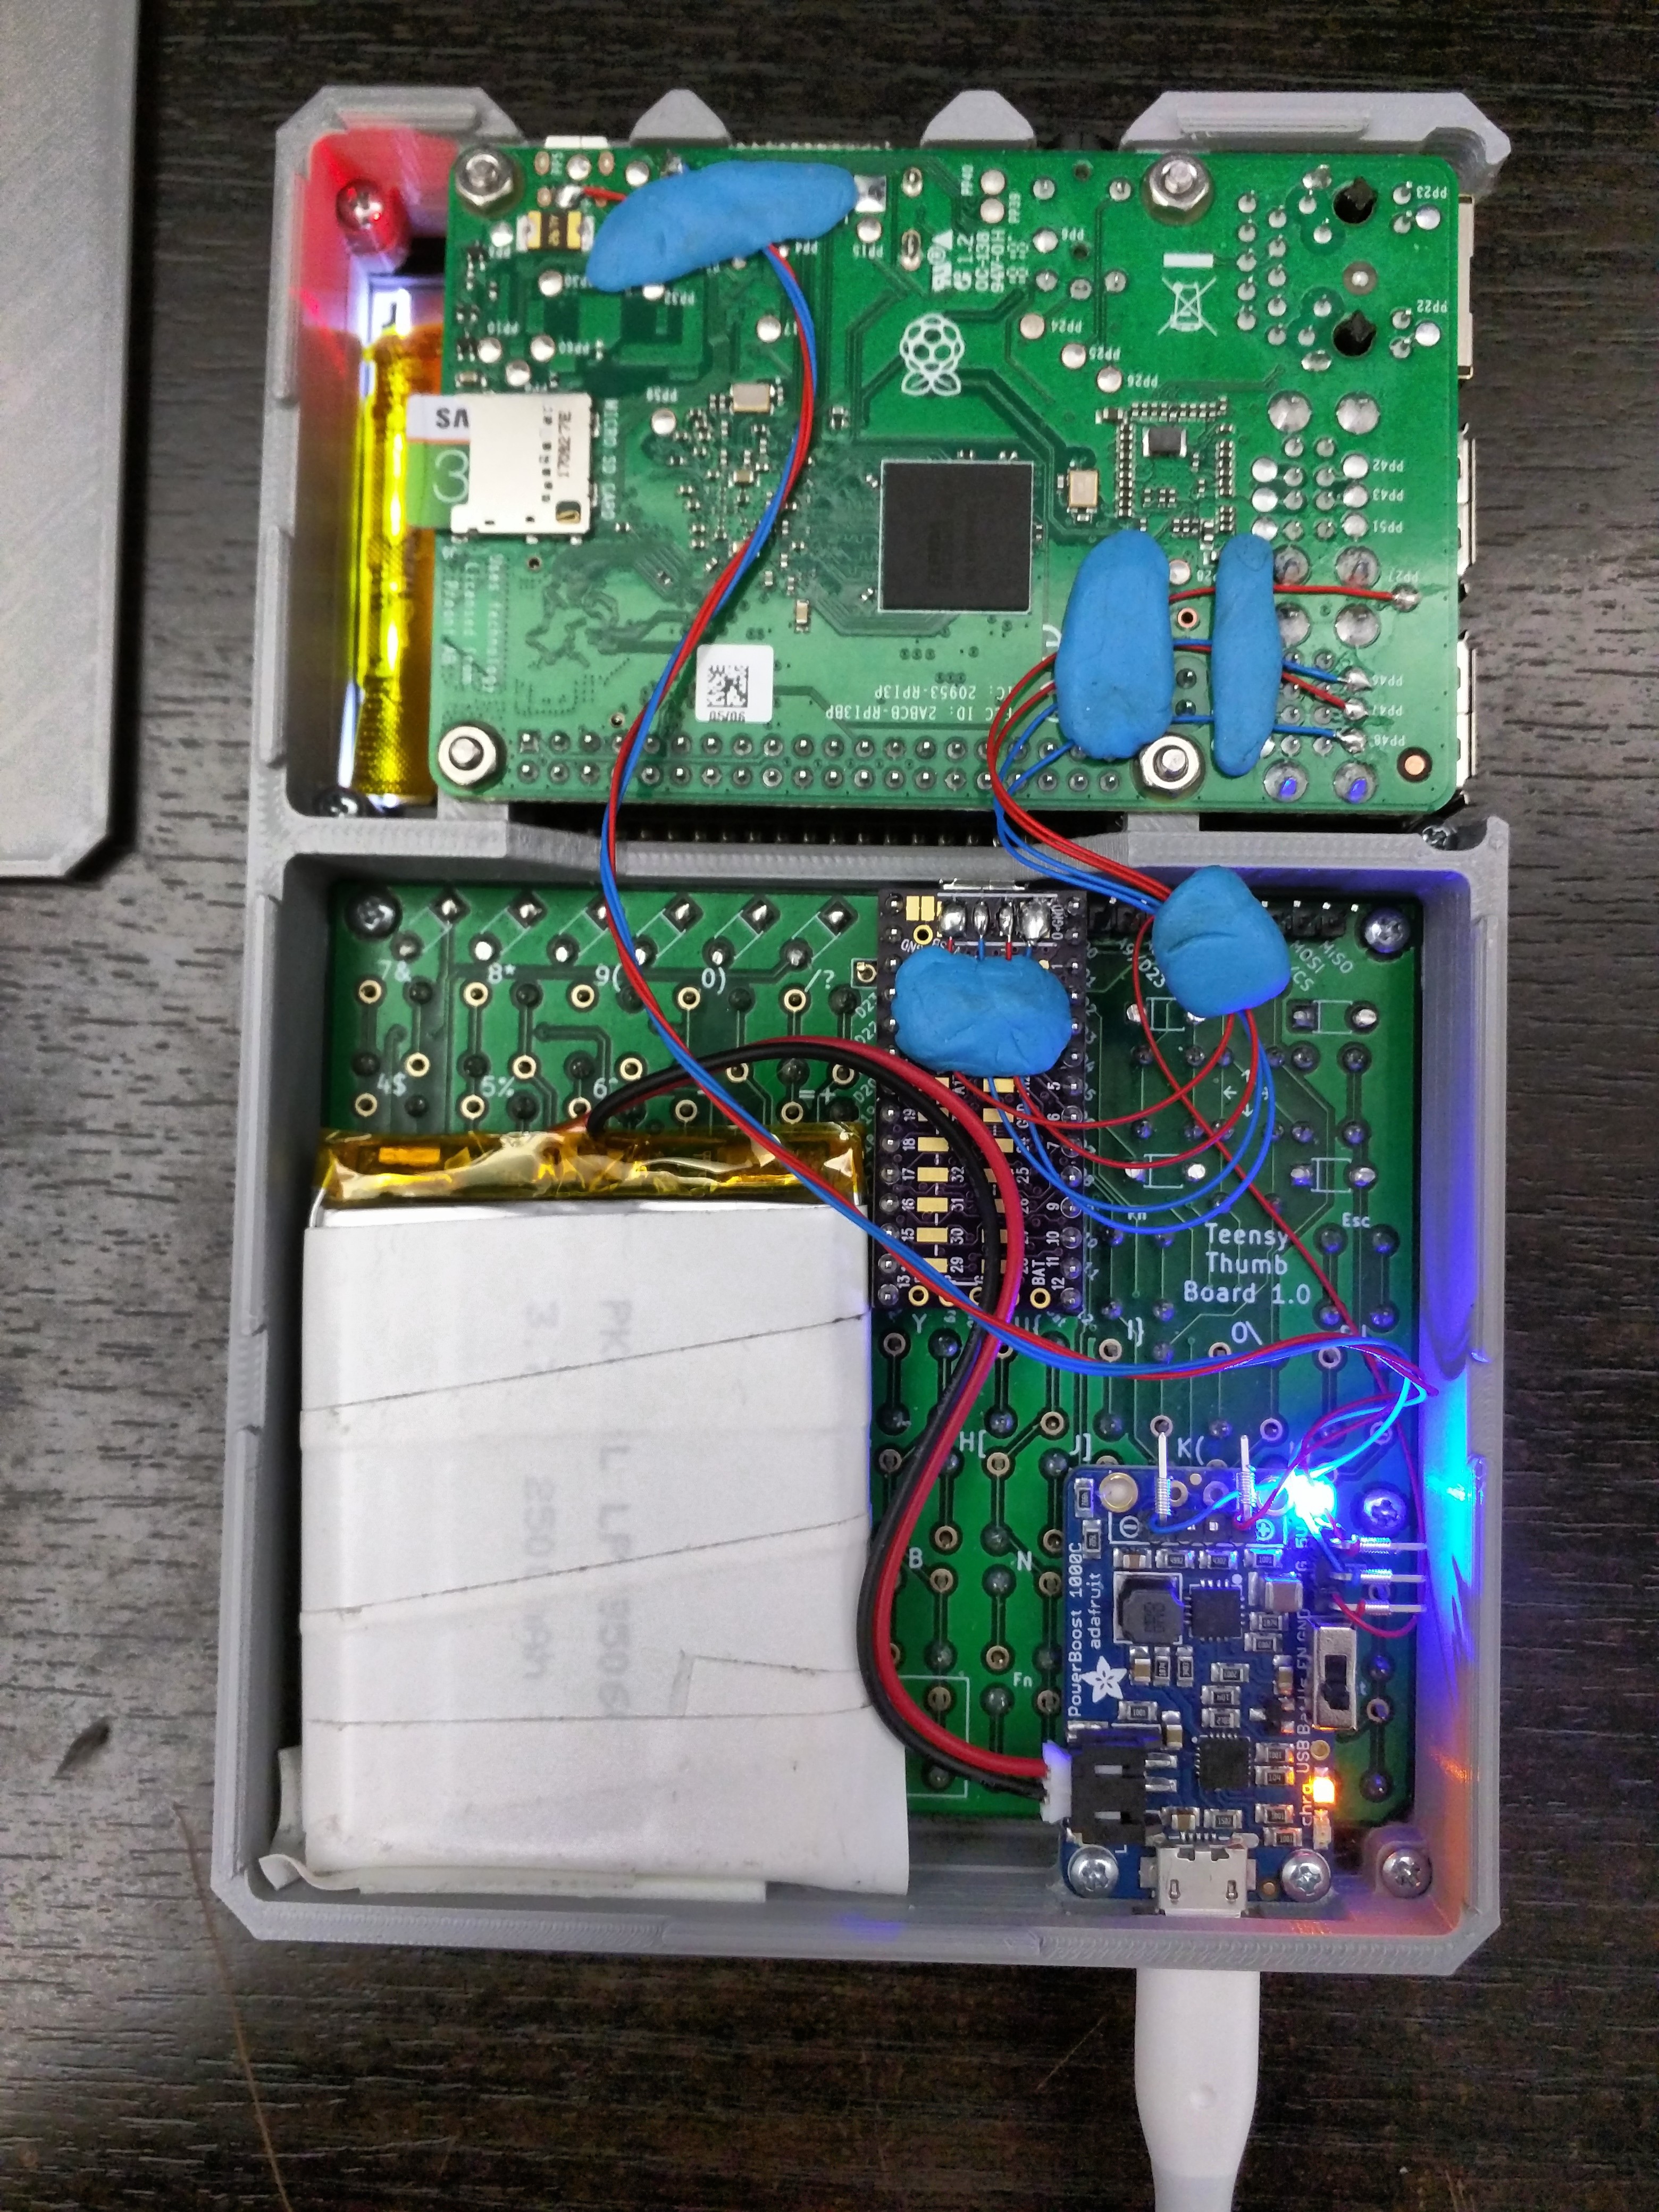
This post is getting long so I'll add the final photos to Part 3
 Anthony DiGirolamo
Discussions
Become a Hackaday.io Member
Create an account to leave a comment. Already have an account? Log In.