Like polygon editing, there's no textual documentation on the subject & only random bits of information on video. It wasn't possible at all to get anywhere with Blender before gootube took off in 2010. Many functions are only accessible by the keyboard. What you want is a workflow, but no videos were giving that.
The decision was made to just watch videos & write as many notes as possible.
In the UV/Image editor:
Selection of UVs works the same as edit mode. The selection mode uses different icons which change depending on the "keep UV & edit mode selection in sync" button.
"keep UV & edit mode selection in sync" has to be enabled & face selection has to be enabled to do anything useful. Selecting edges or vertices causes it to ignore seams & treat the faces as linked. Only selecting faces allows UV islands to be moved independently. This is a huge bug.
c circle selection
b box selection
UVs -> mark seam - make the smart UV mapper not keep faces next to each other. Marked seams are shown as red in edit mode. The seams create UV islands.
ctrl-l select linked faces in the texture
g,r,s - translate, rotate, scale
e - extrude
x,y,z - typed after the g,r,s,e to restrict movement of g,r,s,e to X, Y, Z axis
numerical entry: typed last after g,r,s,e. depends on whether it's in translate, rotate, or scale mode
0 - for translating, make UV's equal on the axis movement is restricted to
- for scaling, scale it to the value entered
- for rotation, set rotation to the angle
There's no numerical entry textbox for UV's like there is for mesh editing. The textbox which appears when transforming UV's just affects the mesh.
UVs -> pack islands - line up the UVs with the edges of the texture to maximize the space usage. Only aligns 2 edges since it doesn't alter the aspect ratio.
UVs -> show/hide faces -> shift-h hide unselected
UVs -> export UV layout - generates a PNG with the UV coordinates outlined
There's no way to dial in any coordinates. Your only option for precise alignment is snapping to a grid.
There's no magic way to tile textures. Just extend the face beyond the edges of the texture. It's a nightmare for every large faces.
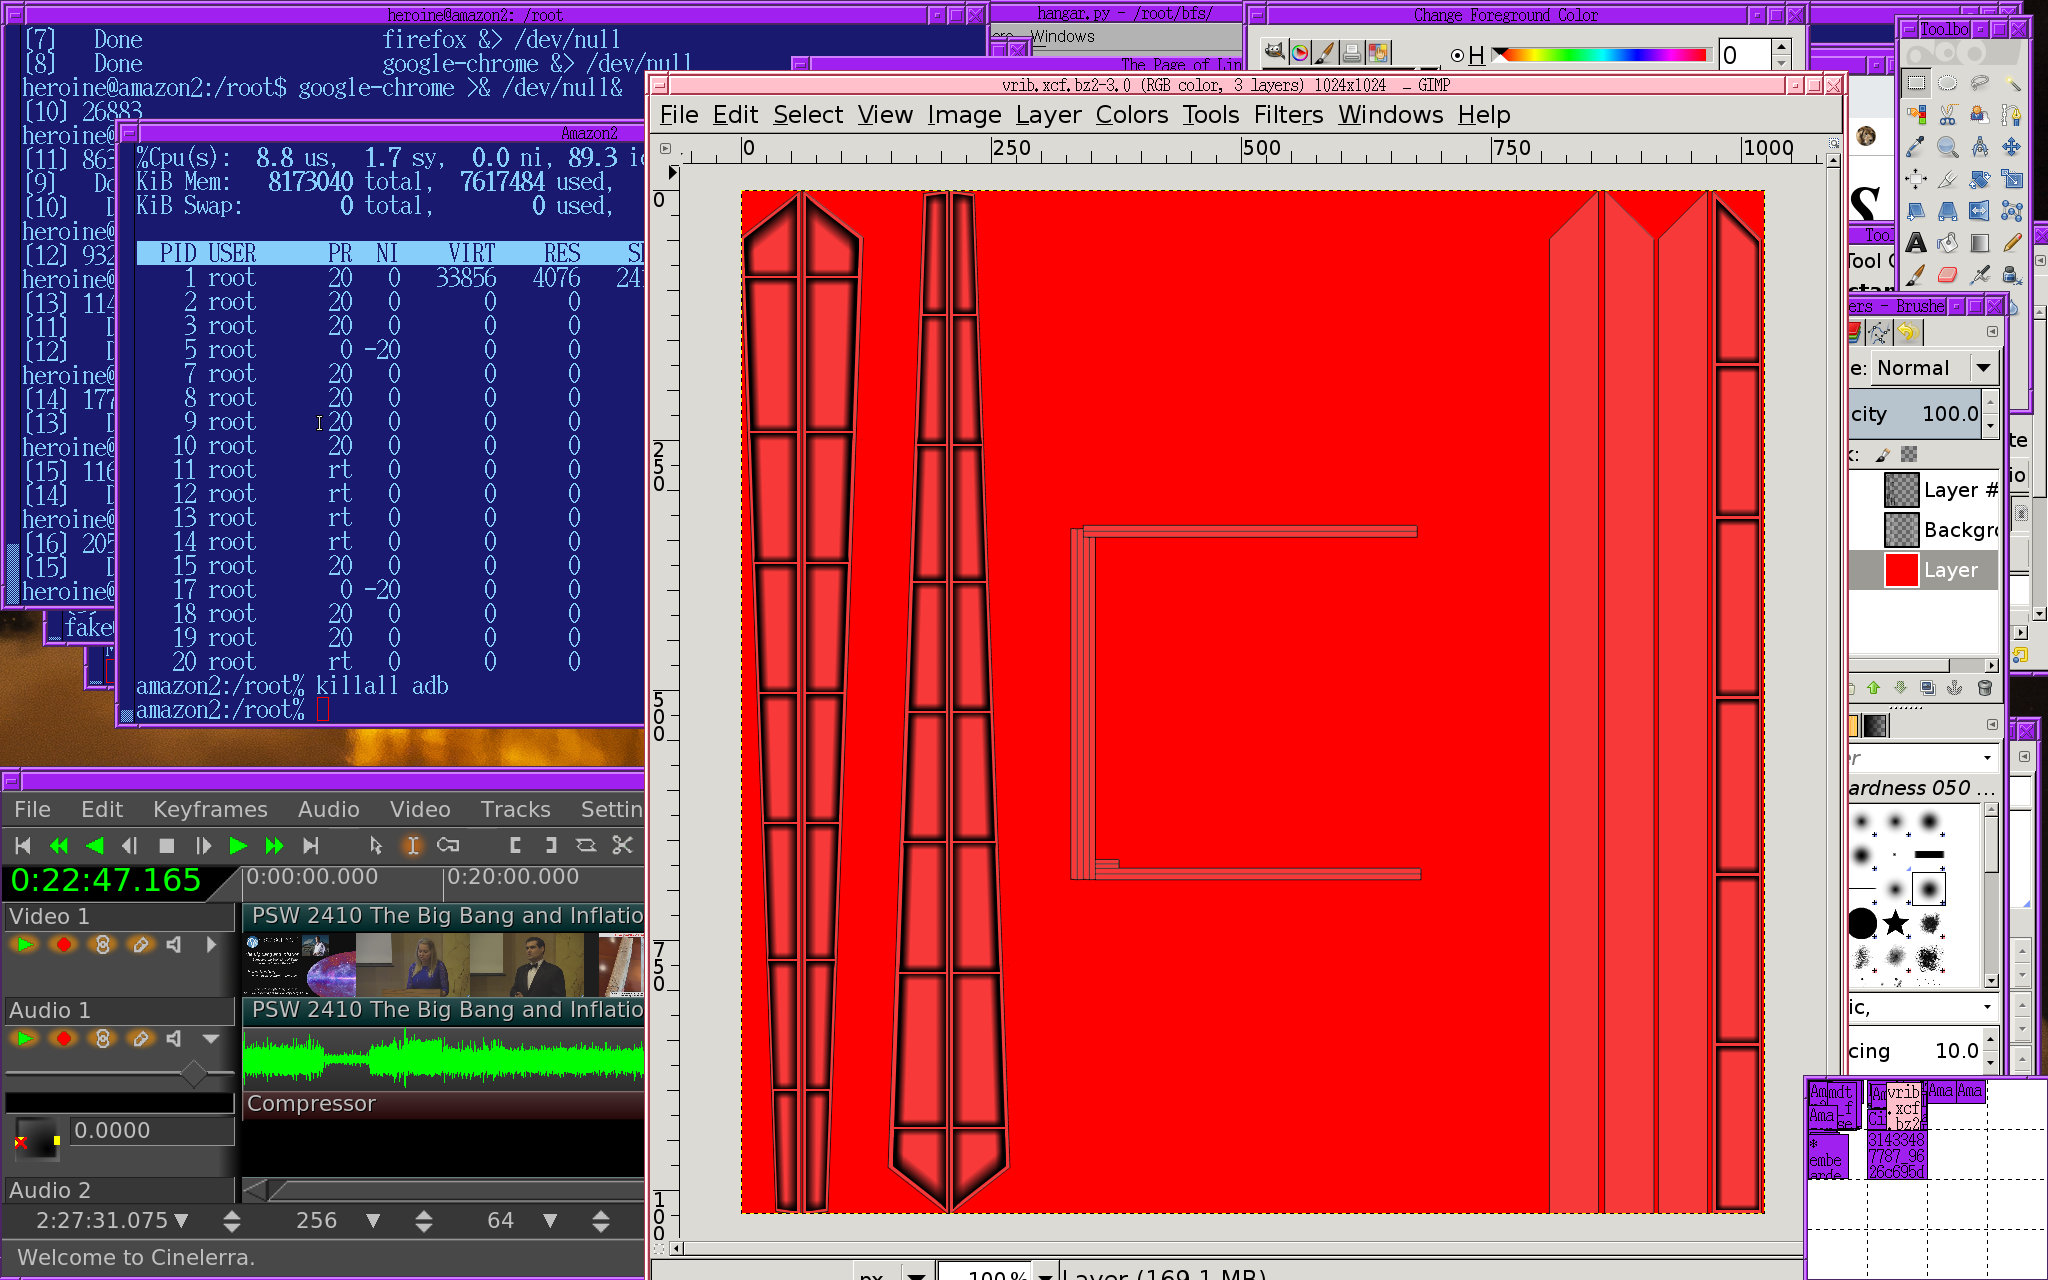
Eventually a workflow emerged, which involved defining seams to create UV islands, unwrapping each island separately onto its own area of a texture, exporting the UV layout, & drawing in Gimp. The drawing ended up relying on the path tool, what Disney hottie called the "pen tool", the gradient tool, & the selection tools.
The mane drawing workflow is to create a line using the path tool & stroke it in a certain brush or make a selection with the path tool to restrict the gradient & fill operations to a certain area.
The path tool & gradient tool are the mane differences from the lion kingdom's last involvement in 2D drawing, 30 years ago. 30 years ago, computers had no greyscale so there was no gradient tool. PC paint had only a 3 point curve tool, which lions used extensively. The modern path tool is the evolution of that curve tool.
Early paint programs were all designed to be pixel accurate. A mane problem with Gimp is it's not designed to be pixel accurate. The xored marching ants & brush outlines from vintage programs are now 3D outlines & no brush indication. There's no longer a grid showing the location of every pixel when zoomed in. Having a hardware cursor seems to have made programmers not want to provide a software cursor of any kind.
Between PC Paint & modern tools, there was an object oriented drawing craze involving Adobe Illustrator. The beauty of object oriented drawing was being able to adjust any operation later without redrawing everything. When 24 bit color & pressure sensitive tablets came along, it might have been too computationally intensive even today to make all those nuanced operations non destructive.


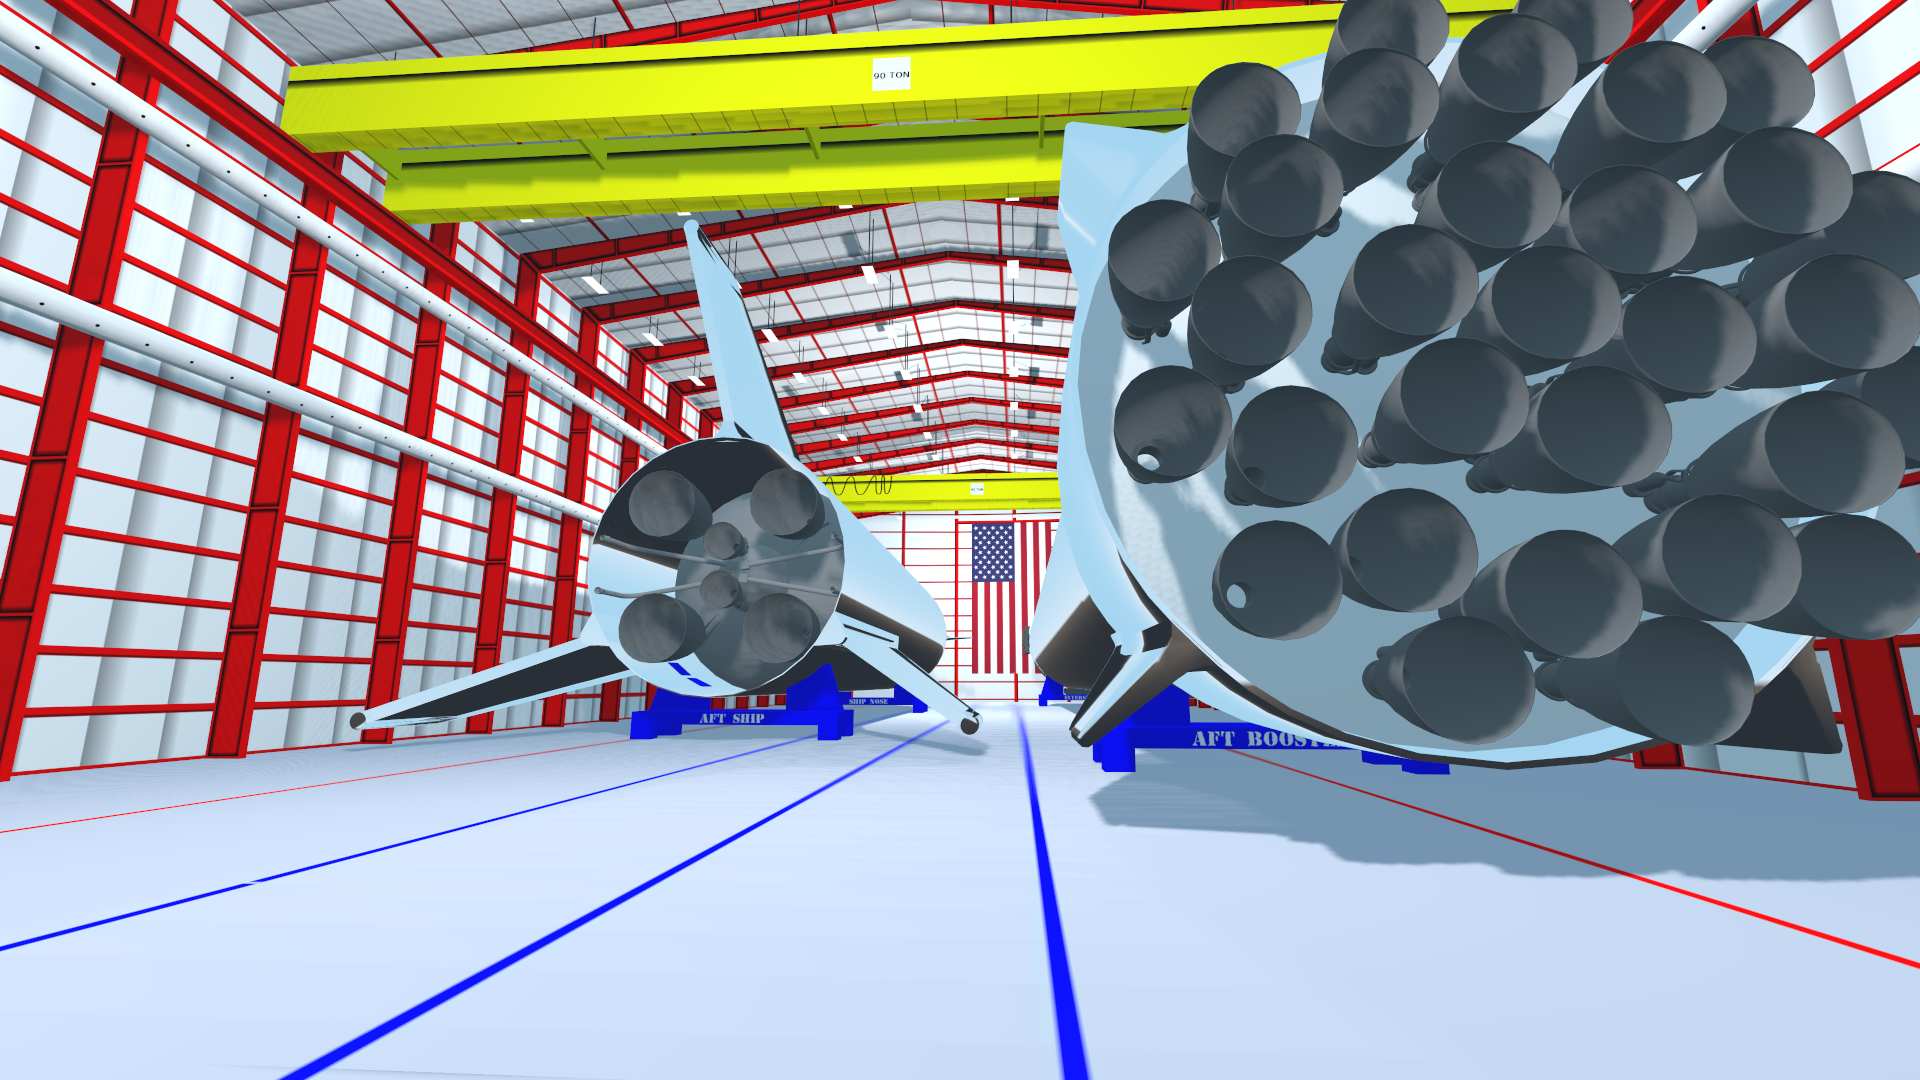
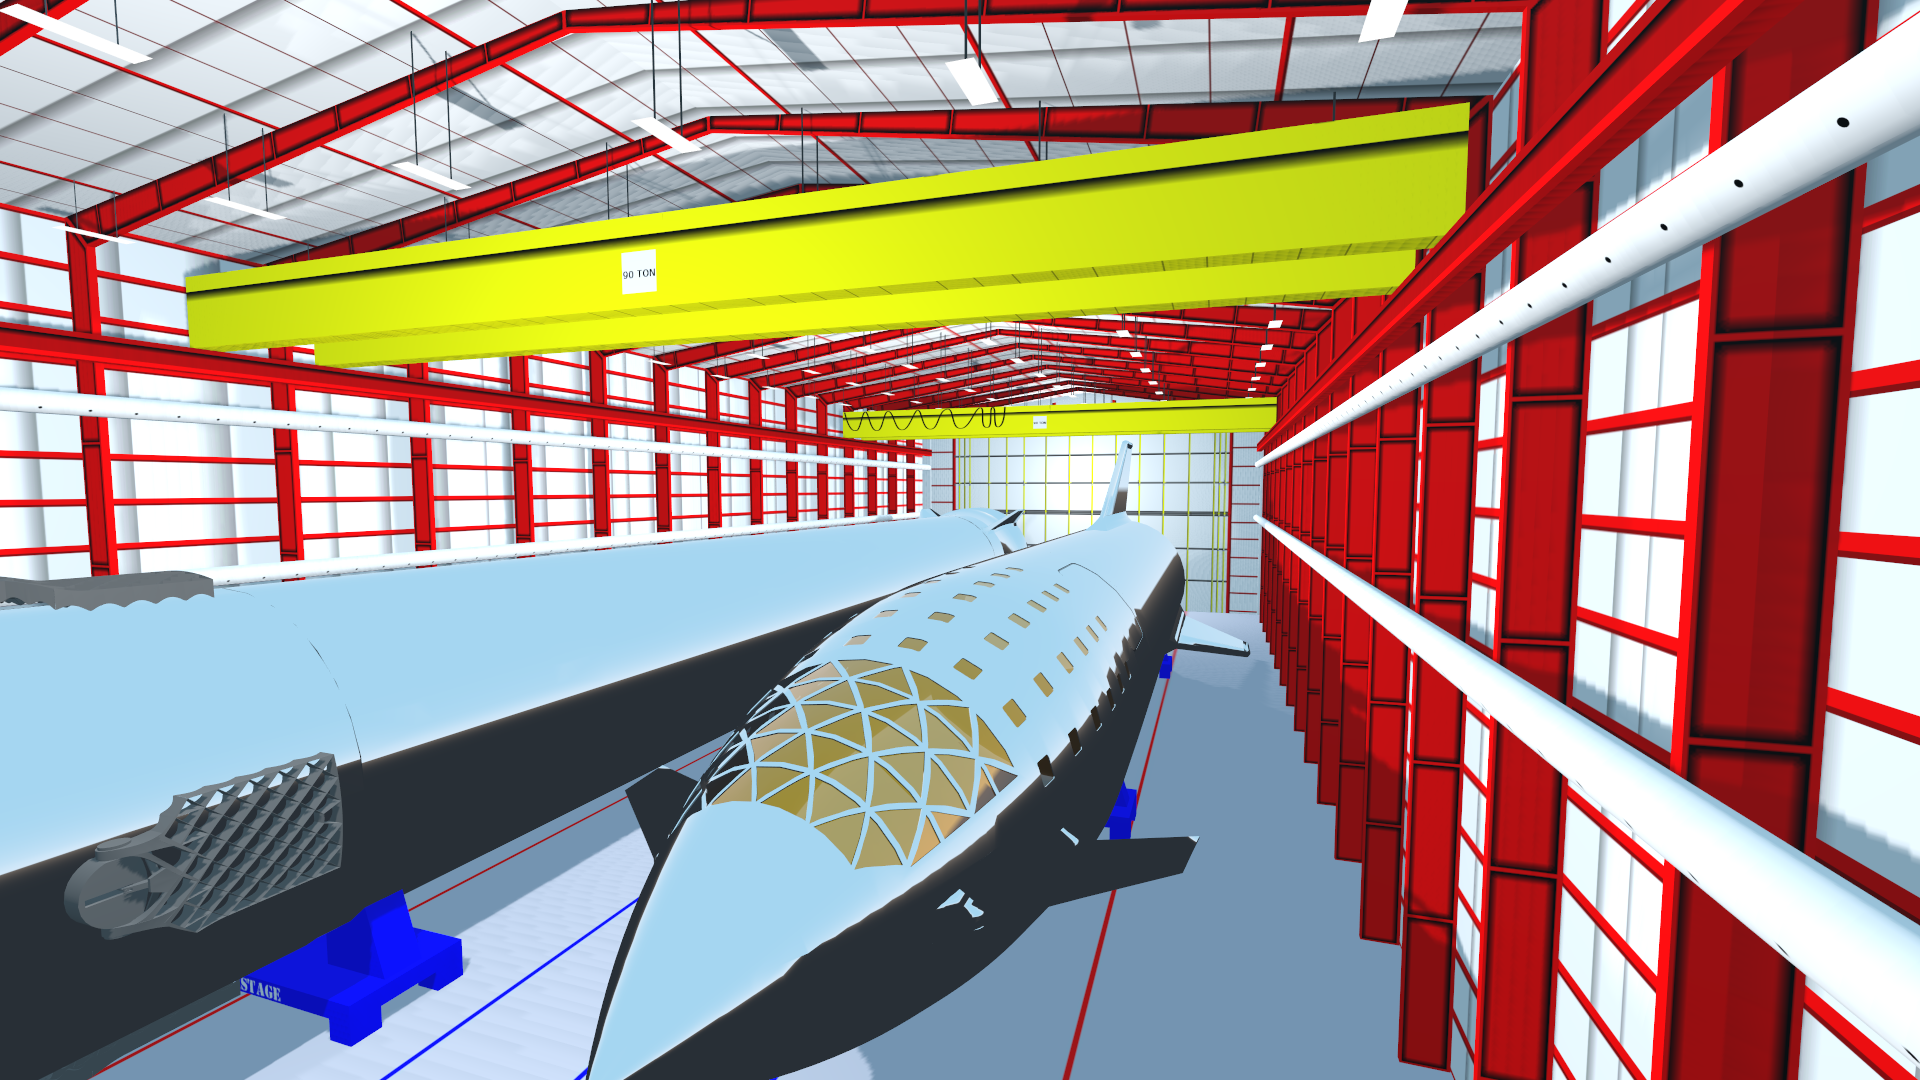
After 2 months, that was the best a lion could do. There's always room for more details, like tracks in the floor for the rocket stands, tool boxes. Navigation is not as easy as the smaller models in Asphalt. Translating around the walls of the hangar works. The camera needs a smarter algorithm than always pointing towards the center. The stainless steel reflects the environment map instead of the hangar.
Reflecting the polygons in godot requires adding a worldenvironment, enabling ss reflections. It's extremely slow & looks terrible. Asphalt 8 manages to do it fast.
 lion mclionhead
Discussions
Become a Hackaday.io Member
Create an account to leave a comment. Already have an account? Log In.