During early testing, I figured out a couple of criteria for the light source:
- The film has to be mounted away from the light source's diffuser so that any texture in the diffuser is not visible in the final image (ie. very out of focus).
- The light has be bright enough to obtain a shutter speed of at least 1/100s at when stopped down to the lens's sharpest aperture to prevent any vibration creeping in and blurring the image.
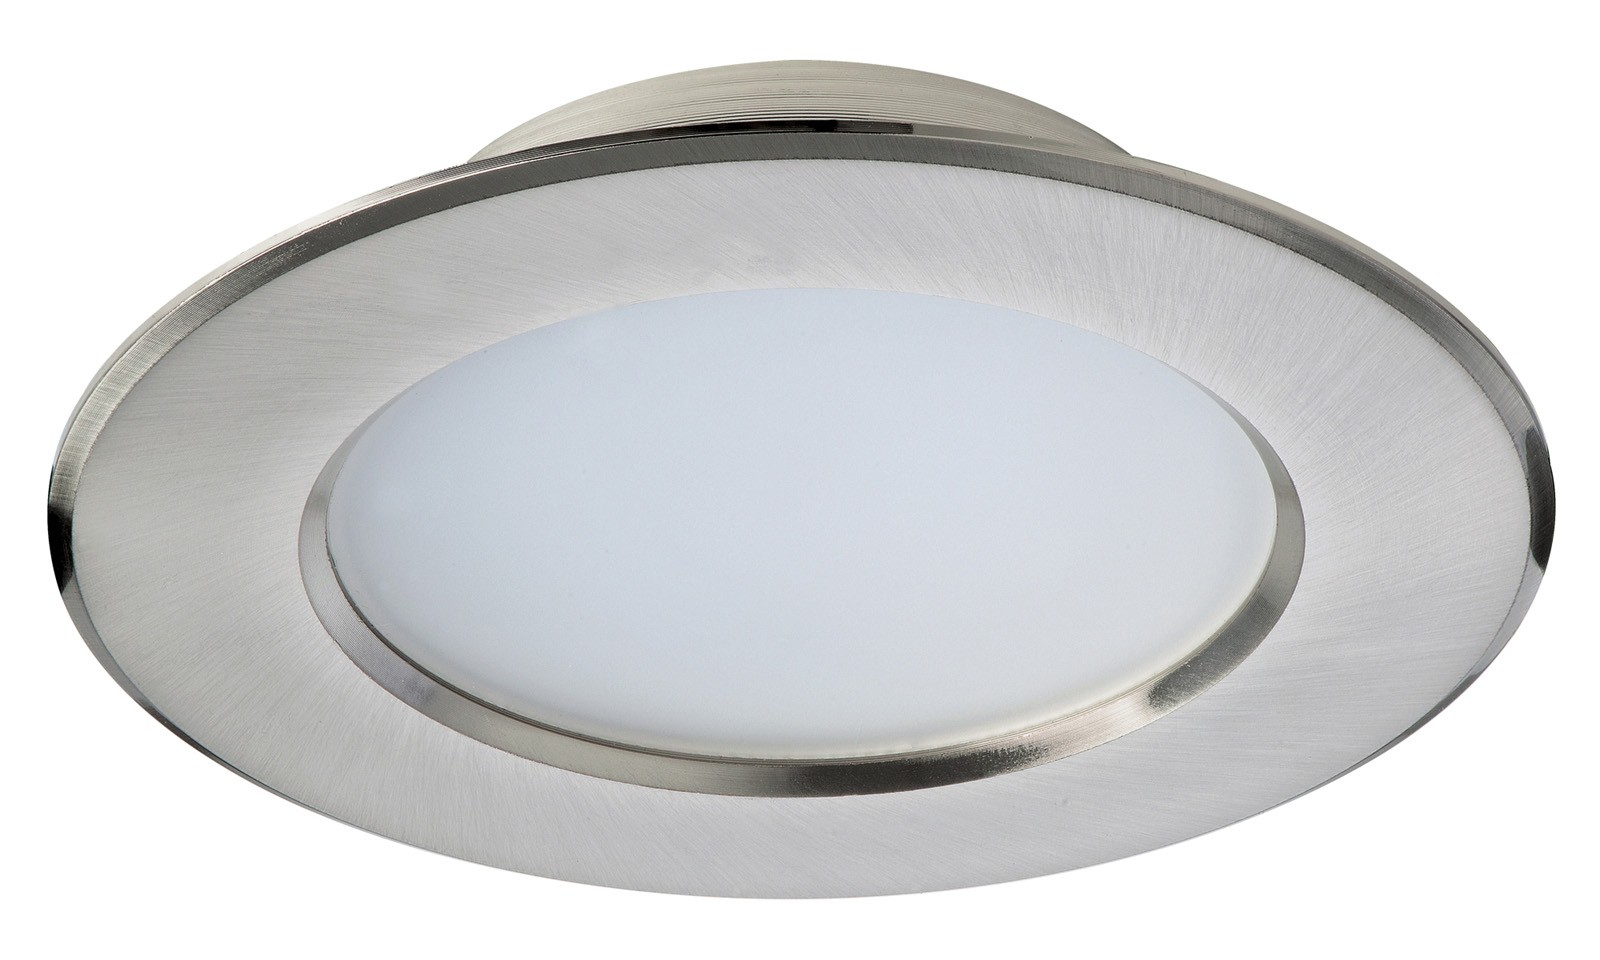
I browsed local stores and ended up picking this Deta 12W Daylight LED down light from Bunnings as it was bright, had a decent looking diffuser and in testing showed fairly even illumination across the whole surface.
This apparently has a Color Rendering Index (CRI) of 86, which is fairly decent given the price. I'm unsure exactly how this affects imaging compared to a continuous light source like an incandescent bulb.

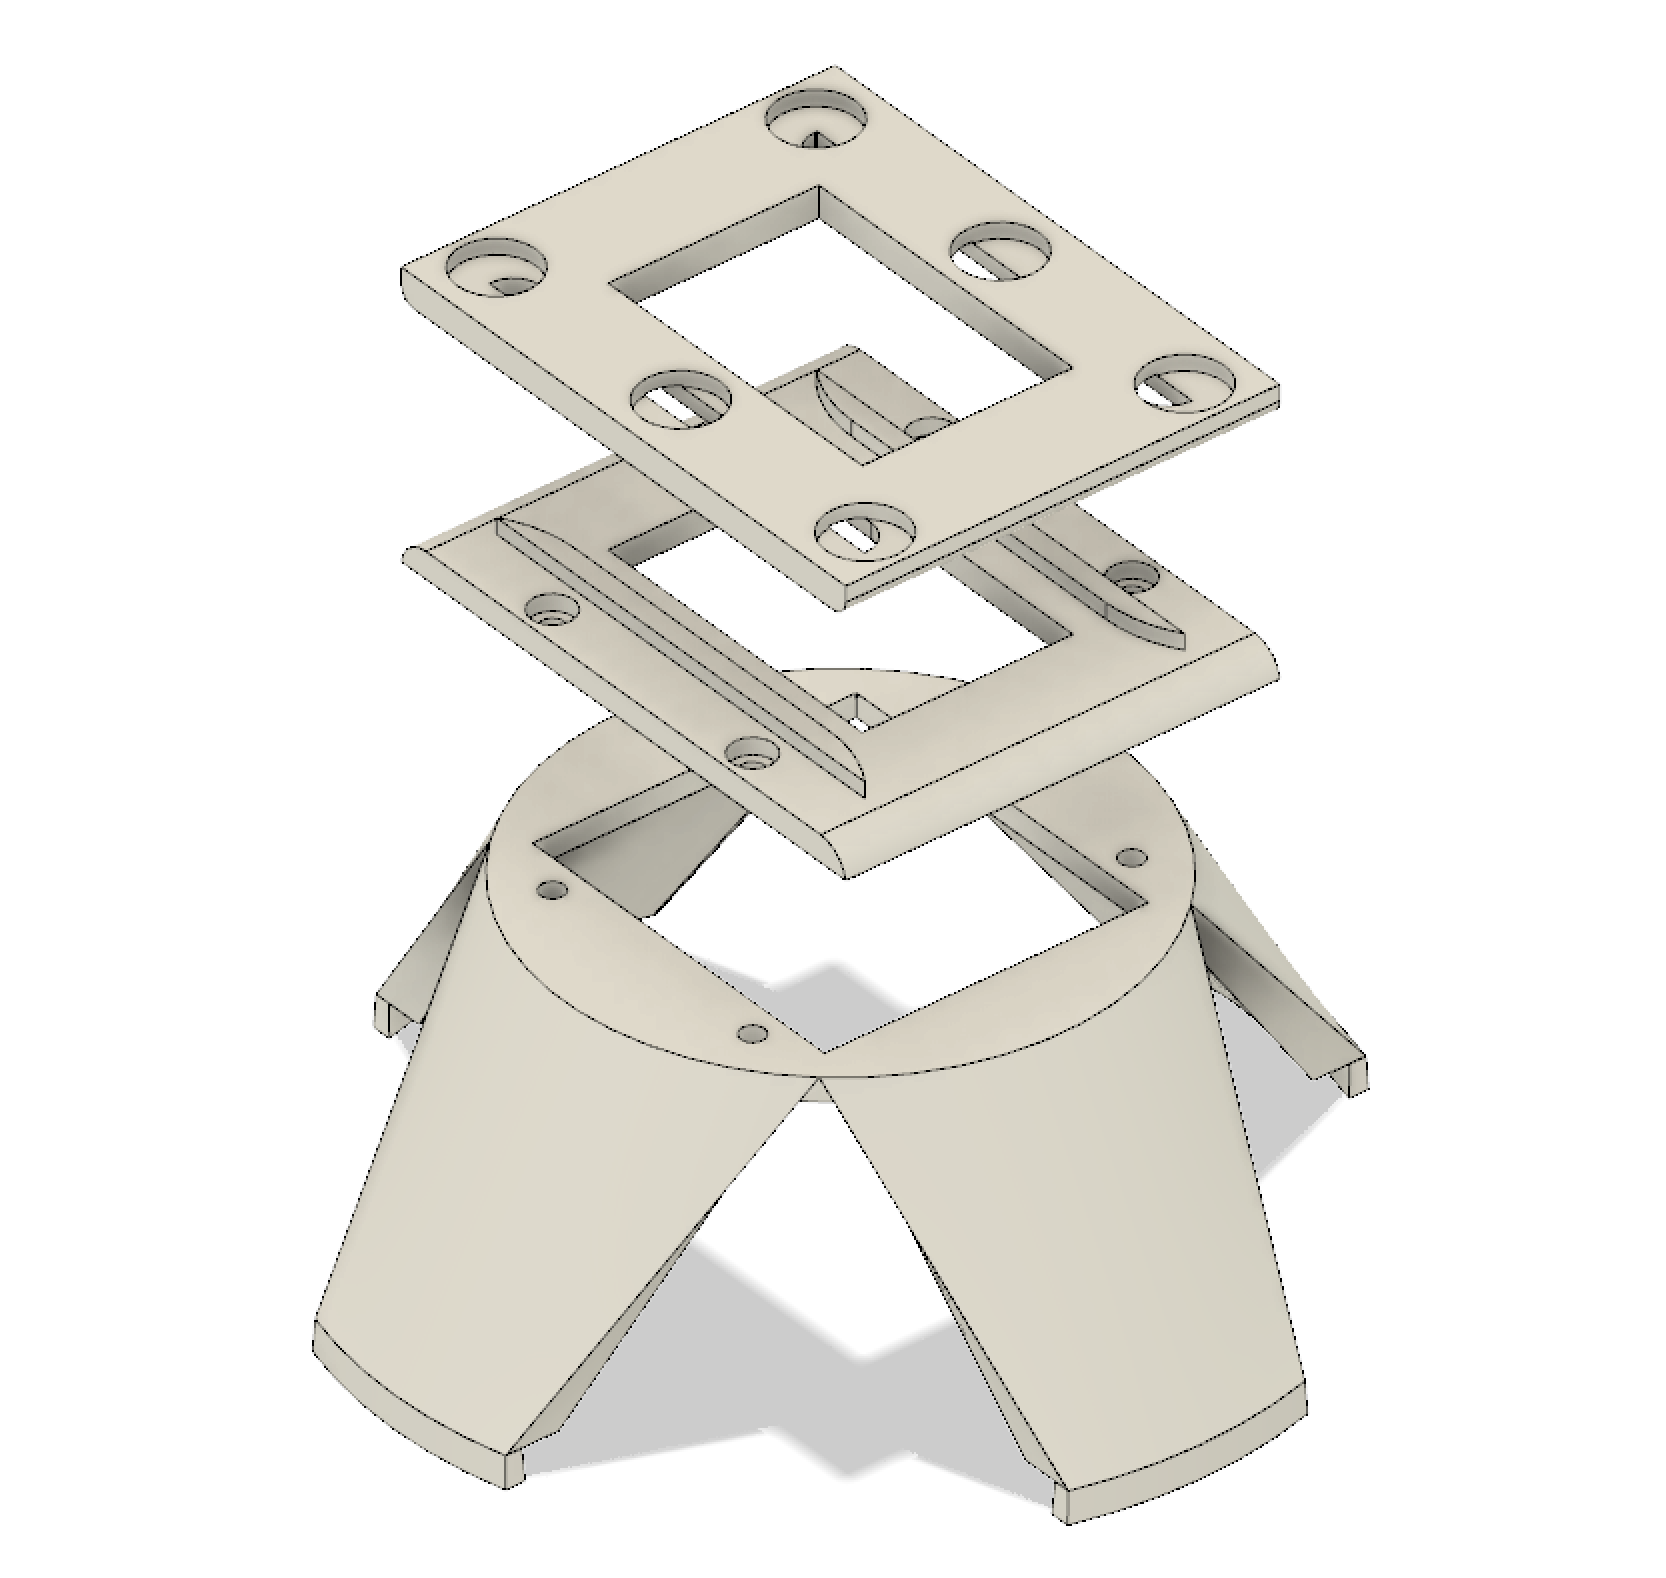
With the dimensions of the light known, I chucked together a friction-fit / clip-on adapter for the bottom plate to screw to that puts 5cm between the film and the diffuser of the light:

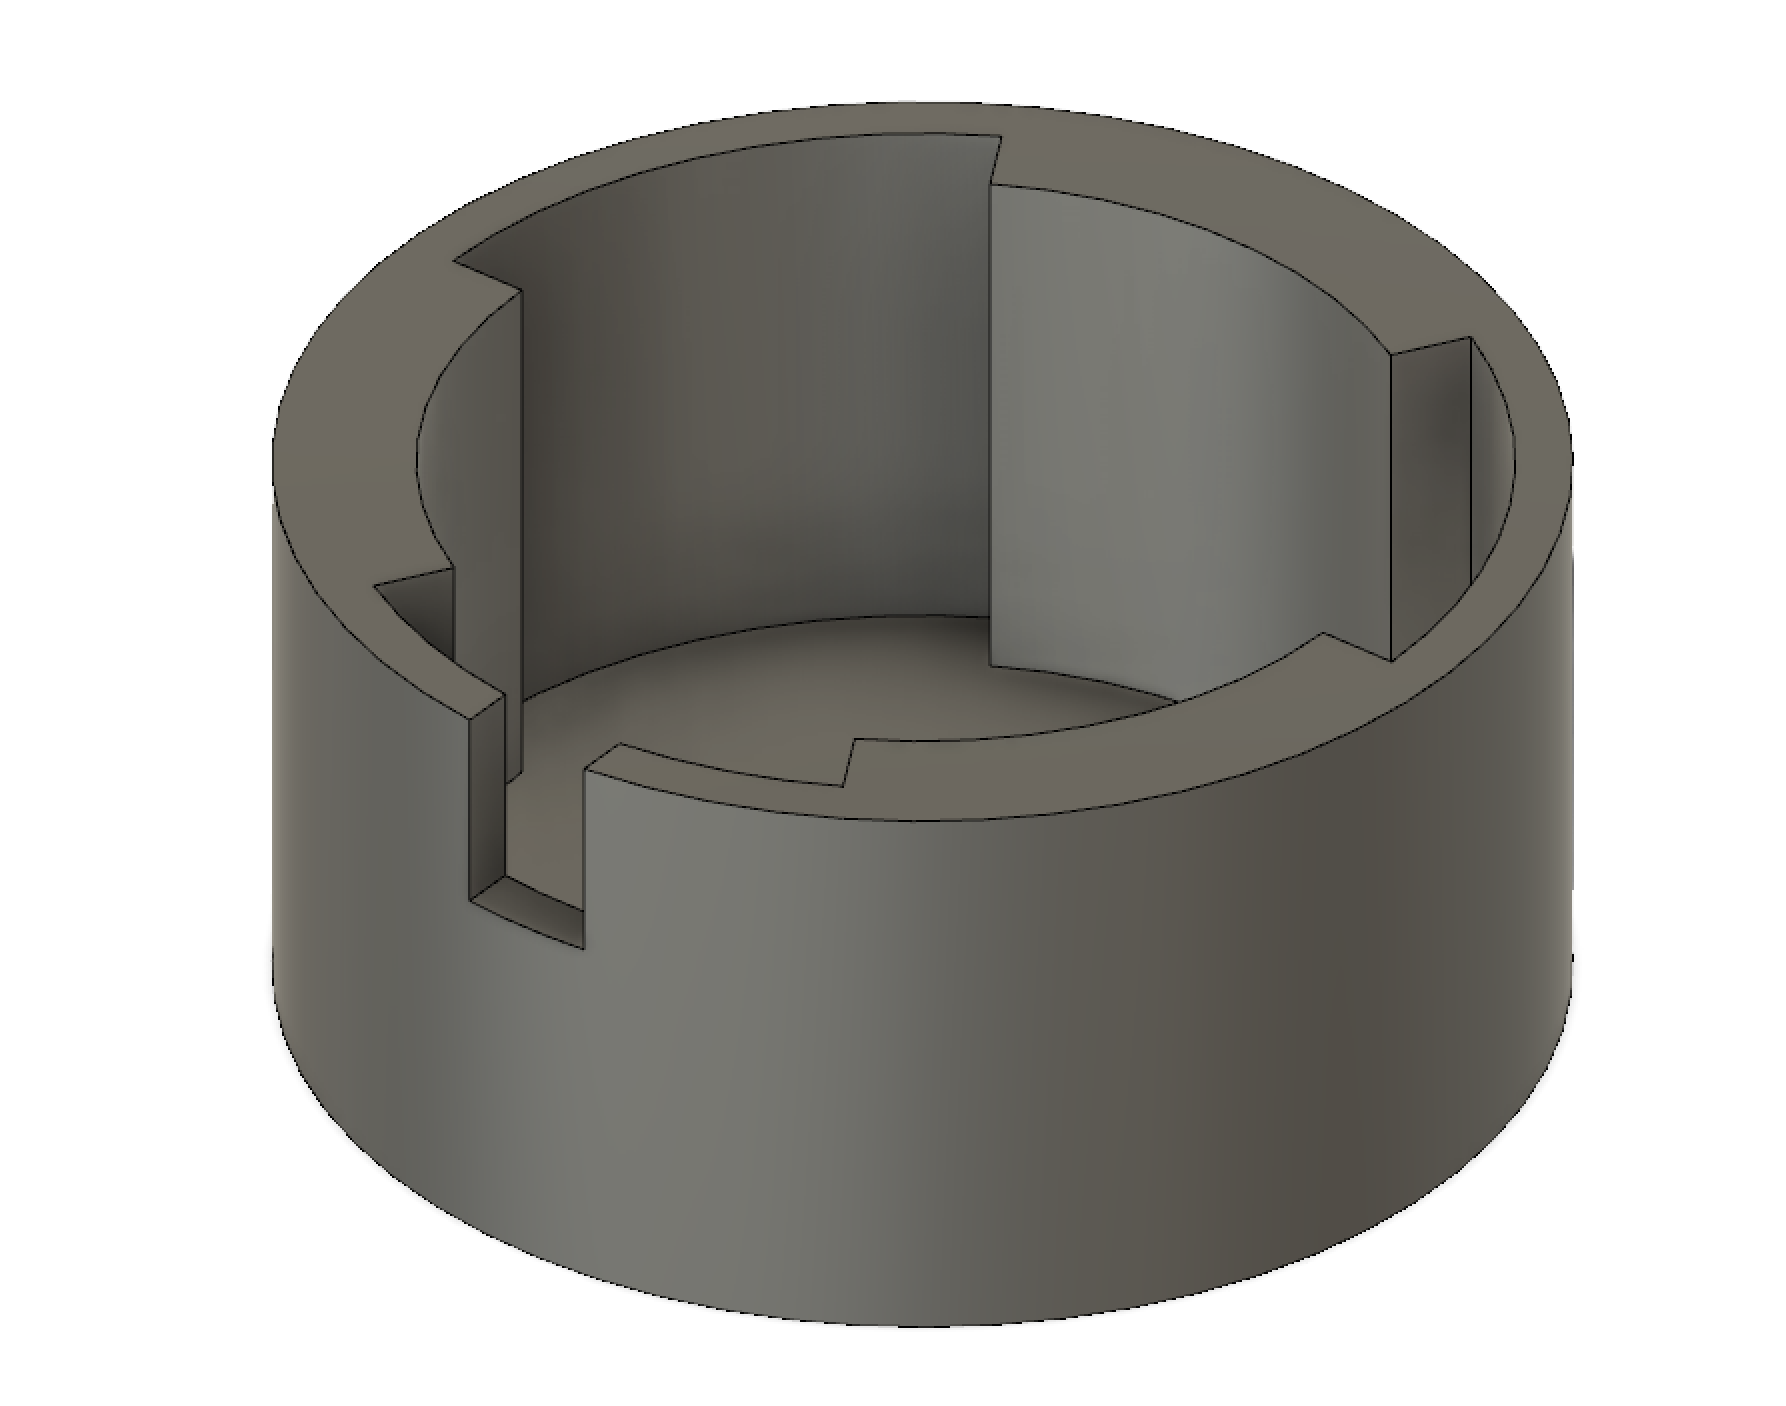
Then a quick case to mount the light facing up:

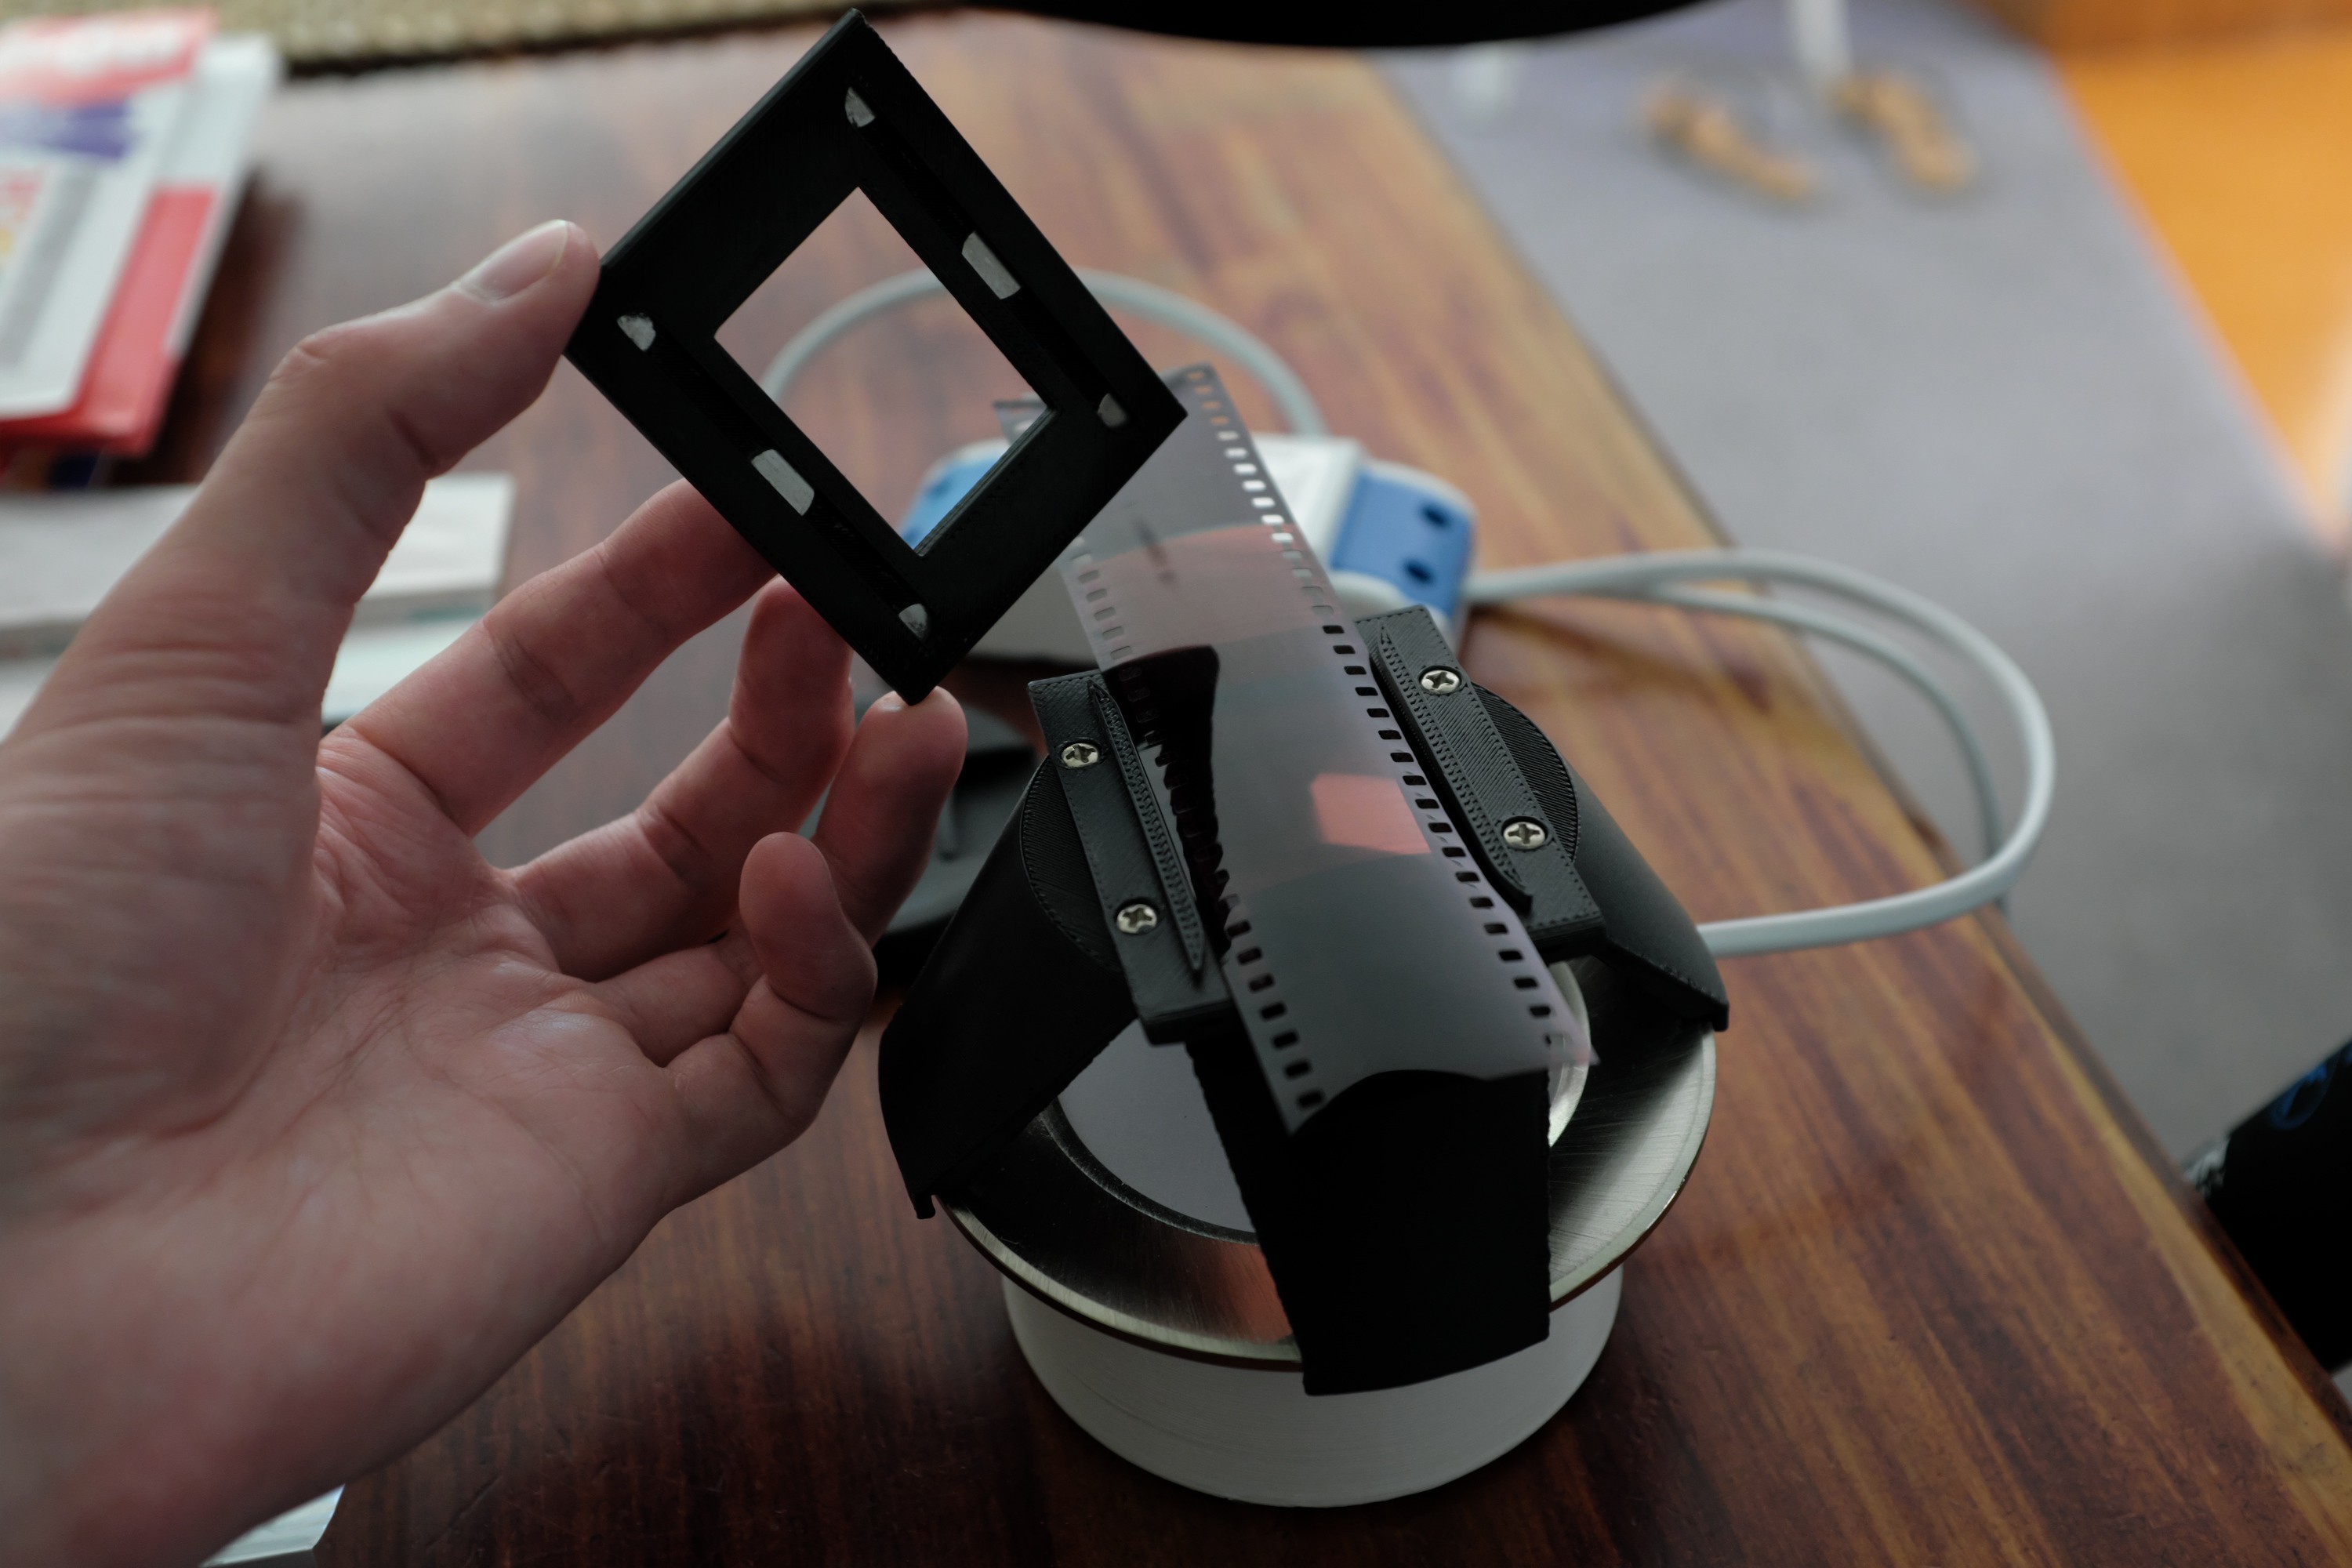
All together, this completes the setup with no moving parts:

The whole setup is heavy enough that the top plate can be lifted off without disturbing the other half, and rubber feet added on the light case stop it sliding around.
This rig has been fantastic to use for hours on end without causing any frustration. The only thing I'd probably change in a future revision is making the attachment to the light more secure; the friction clip/fit is acceptable, but having screws to keep it exactly in place would help.
All CAD files are available to download on the project's main page.
 Stephen Holdaway
Discussions
Become a Hackaday.io Member
Create an account to leave a comment. Already have an account? Log In.