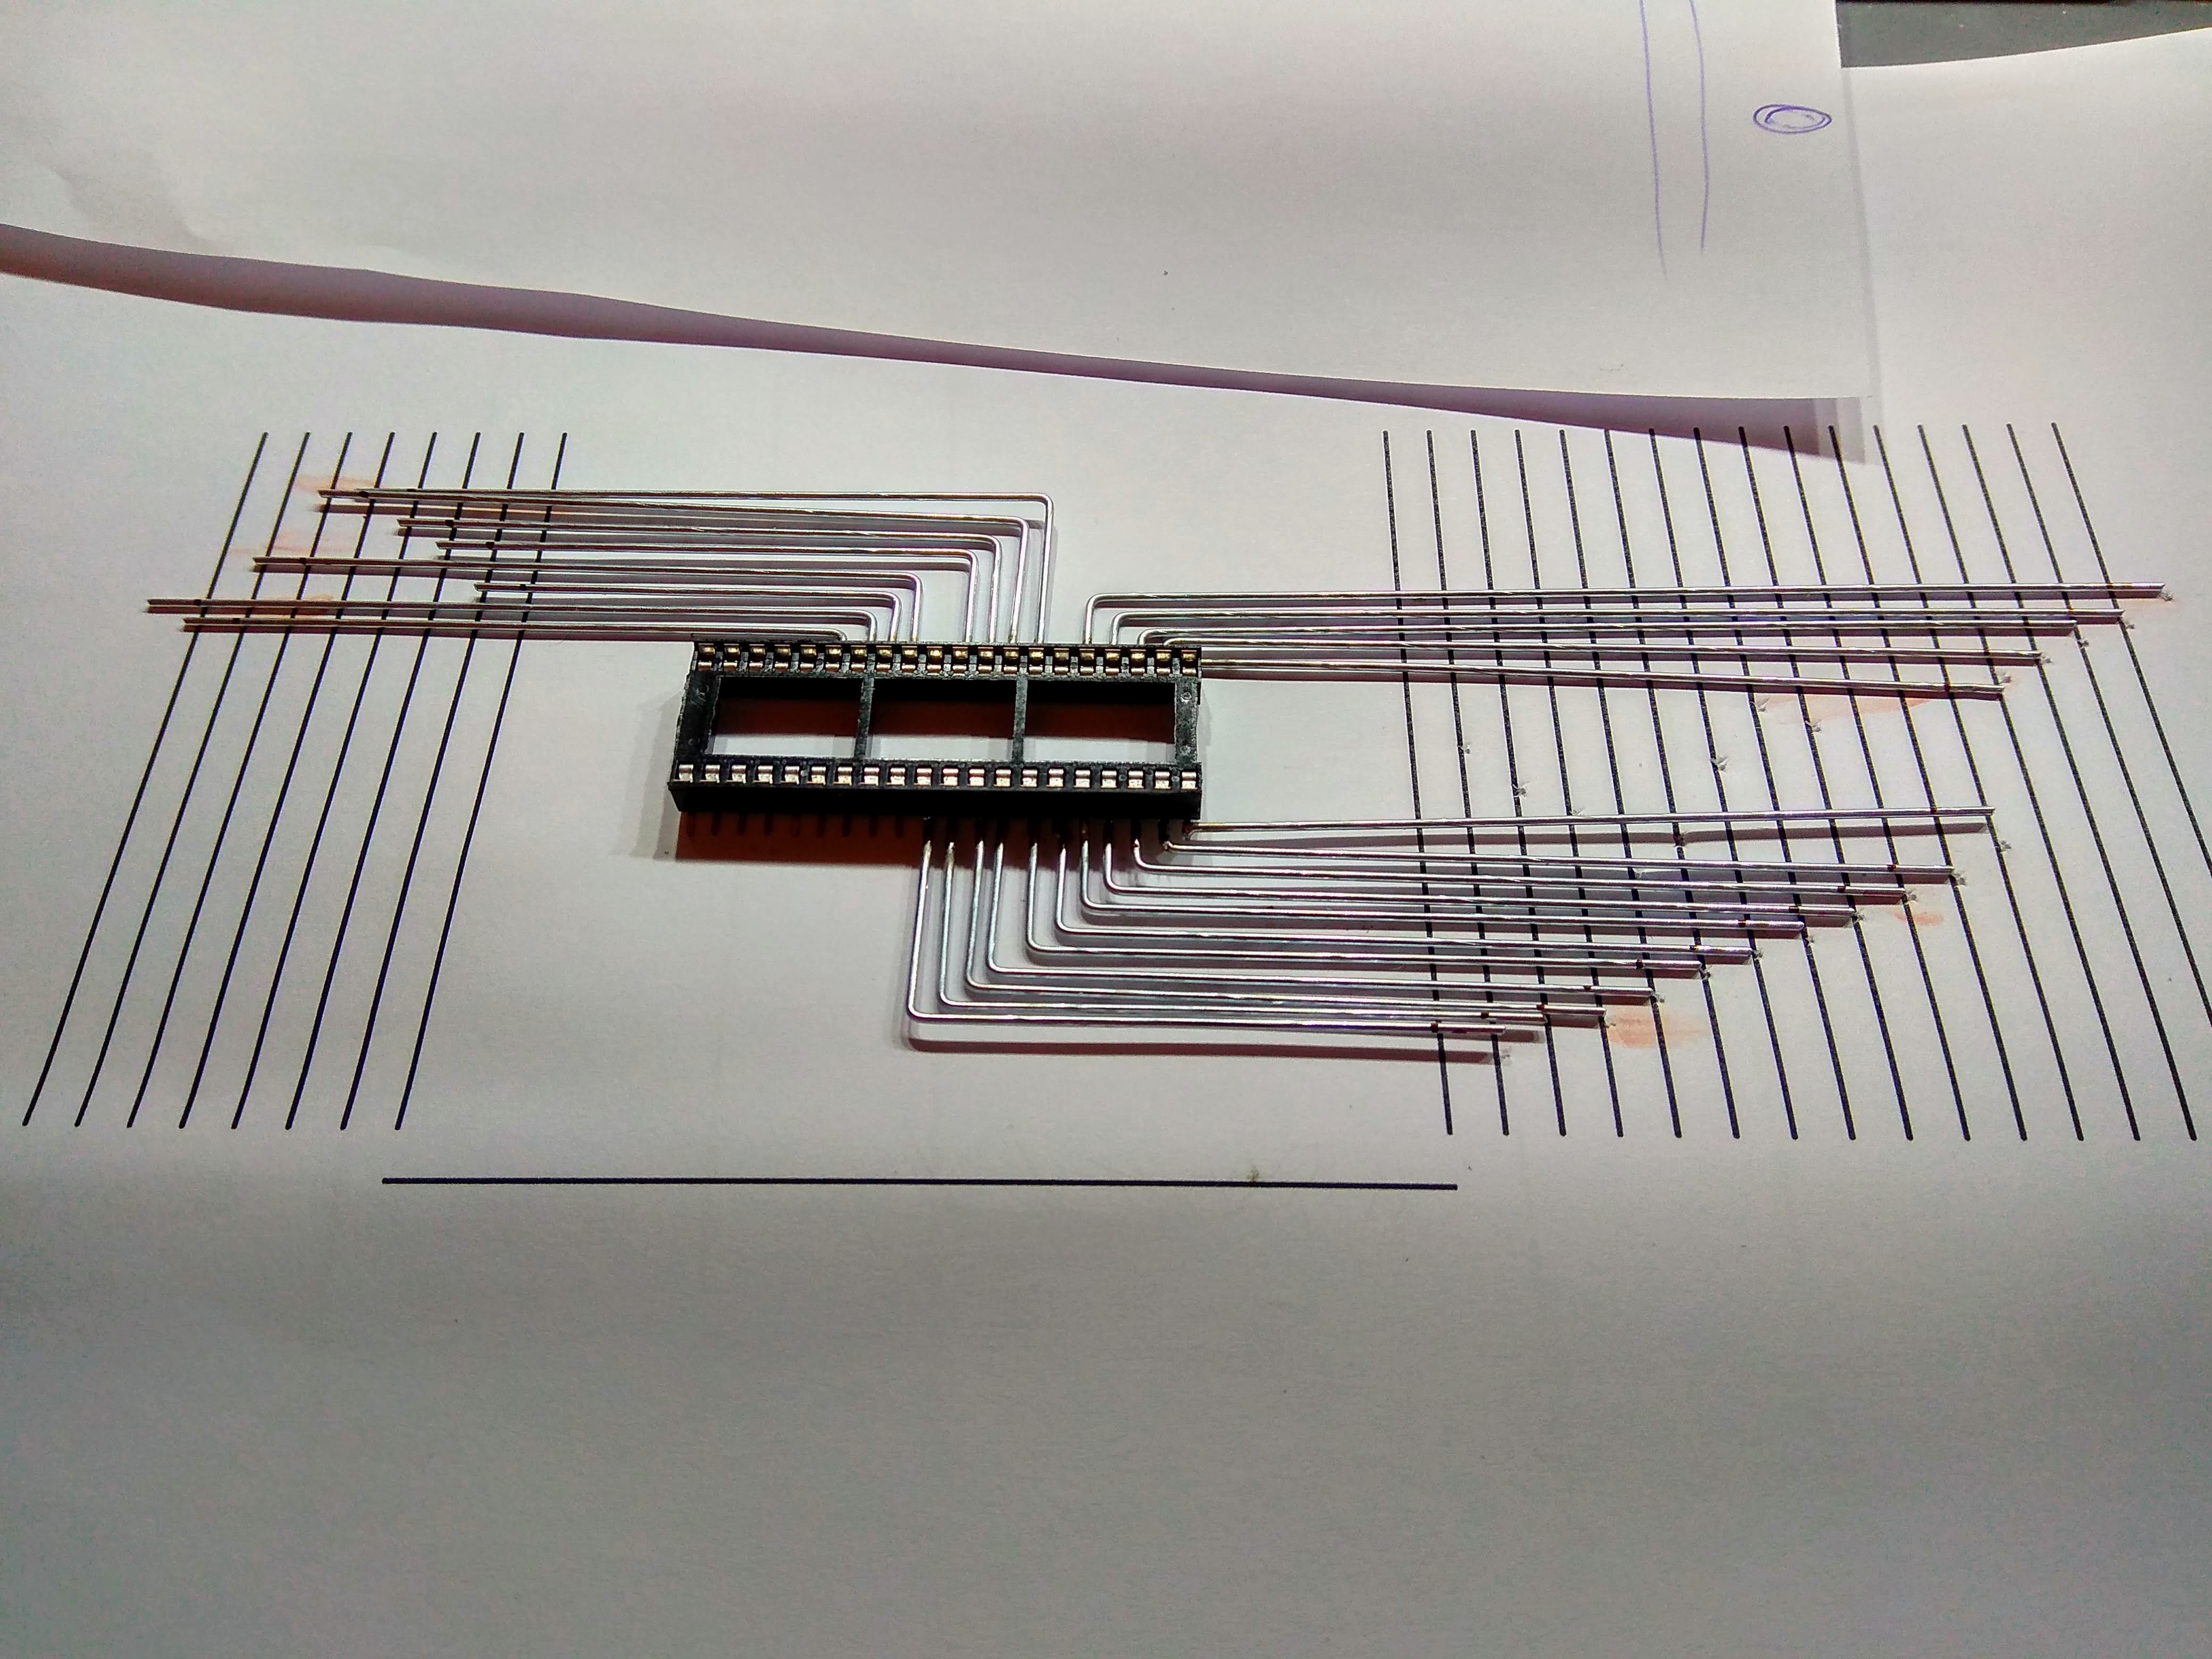
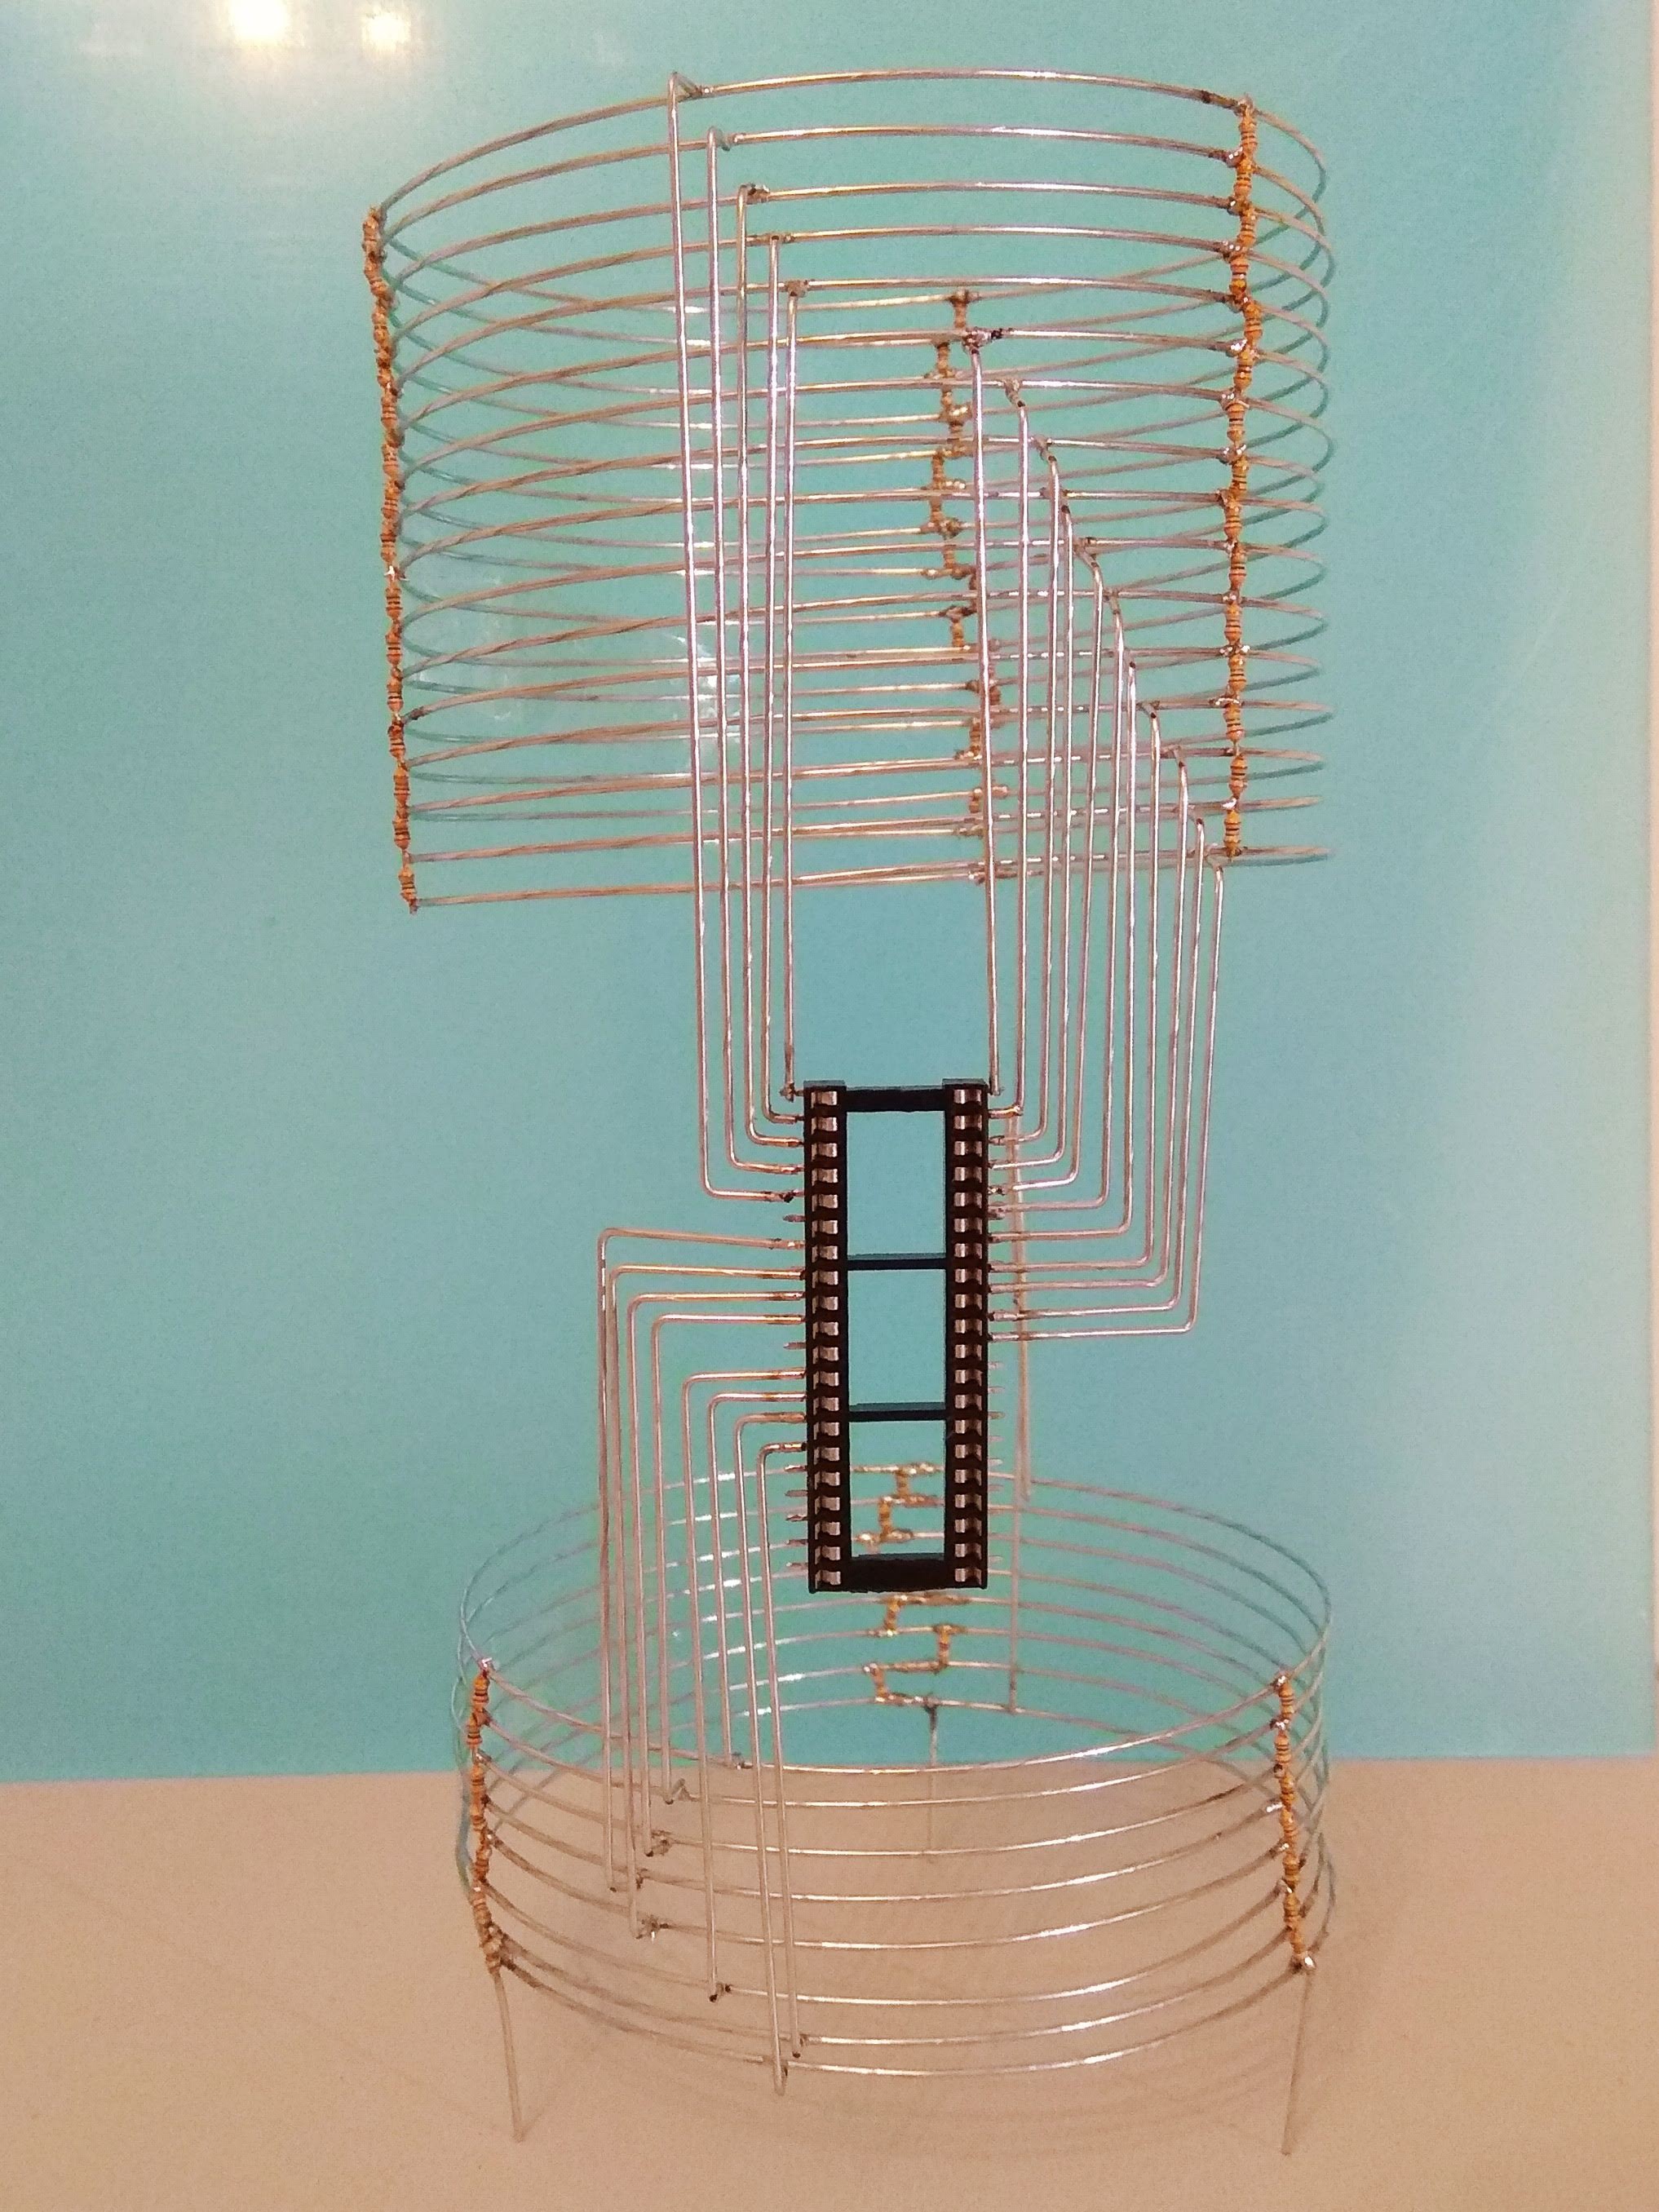
Bending 24 wires and cutting them to the right lengths was easy using a template that I made in Eagle .

I'll handle the remaining connections later, for now I'm happy to just get most of the wires done to get a rigid frame to work on.
Soldering this "spider" onto the cylinder was a bit scary, it felt like I almost broke off some of the legs on the IC socket. I really should have used a socket with higher quality...
But it ended up in once piece - and not looking so horrible that I'd just abandon the project. :-)

So far so good, now I only need to add two 28-pin and one 24-pin sockets as well. I'm not 100% convinced that I can fit them there so I might have to skip the UART and only go for the RAM and ROM.
 matseng
Discussions
Become a Hackaday.io Member
Create an account to leave a comment. Already have an account? Log In.