Binder Clip Robot
With our Printabots Maker Robot Kit we decided to make a robot that uses everyday items.
With our Printabots Maker Robot Kit we decided to make a robot that uses everyday items.
To make the experience fit your profile, pick a username and tell us what interests you.
We found and based on your interests.
For anyone who has looked closely at the WiFinch you can see that the board is powered by an ESP8266. After the featured article on Hackaday.com I figured it would be good to make sure people knew that they could use this board beyond the Android app. Oddly there arnt actually that many WiFi servo boards out there.
When we designed this board we wanted to make sure that we where using a platform that the community was familiar with. To be honest I quite often dont by things unless they have the potential to be hacked at. The ESP8266 has some serious peripheral limitations (which for the cost is very understandable). Driving a bunch of servos straight from the ESP isnt at all practical.
The solution? In this case the solution was to add an IC on the I2C bus to do the clock work of driving the servo motors. Here its a PCA968x. This chip is intended as an LED driver. Most LED drivers have very limited clock adjustment capability. This chip wasn't bad at all and will drive the servos with a good degree of accuracy.
So if you want to hack at the WiFinch check out this link -> WiFinch Hacking
The libraries can also be found on git -> GitHub
Copied from Instructables:
Hello Everyone!
We're back again with another instruction set - this time it's for a robot made simply out of binder clips, paper clips, and rubber bands.
The robot has a turning base, 2 arm joints, and a gripper end.
You can use your own controller and motors for this robot. In this instructable we're using our WiFinch controller. It comes with an app to control the robot over WiFi using an Android device.
You can get the controller here: http://roboteurs.com/products/wifinch-wifi-servo-c...
All other parts you may have lying around.
Servo motors you can get @ http://roboteurs.com/products/mini-metal-gear-serv...
Or if you want to get the motors and the controller, you can get our maker kit here @ http://roboteurs.com/products/printabots-maker-kit

For this robot, we will be using:
Optional

First we're going to create our robot base.
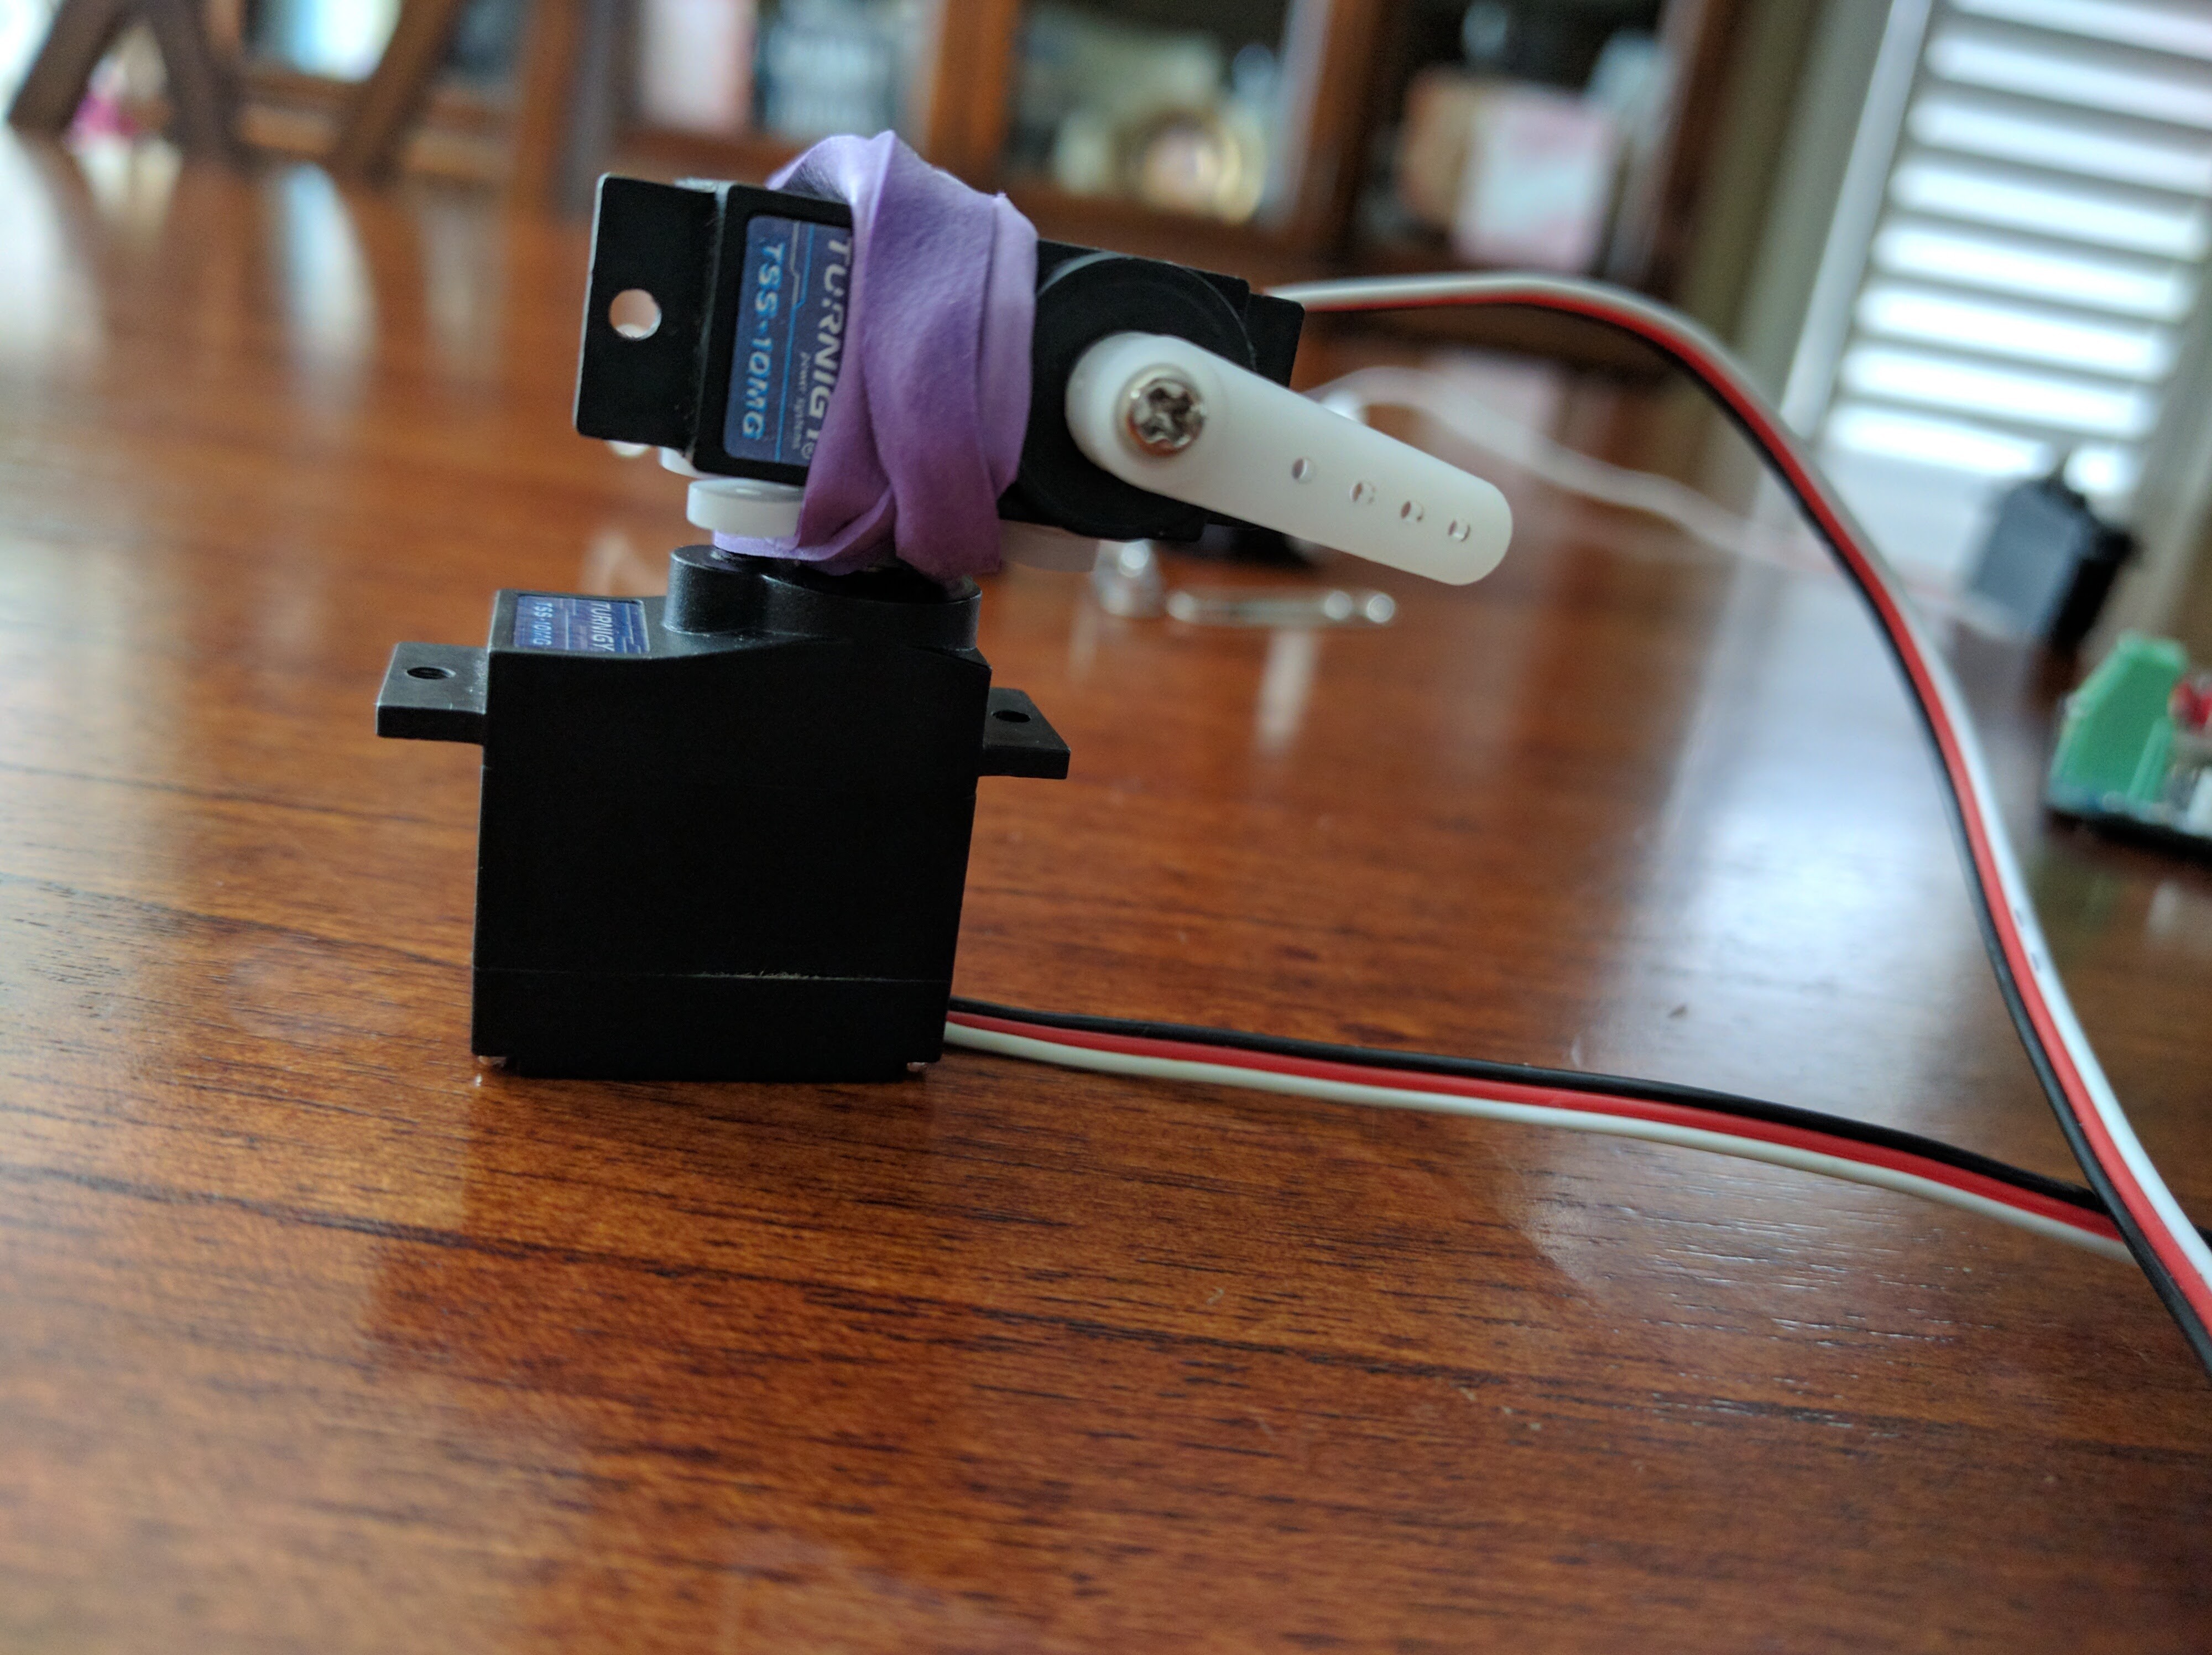
Get one servo motor, attach an X arm onto it, and wrap a second servo onto it with a rubber band (see image).
This will be your base and first robot arm.
Create an account to leave a comment. Already have an account? Log In.
Become a member to follow this project and never miss any updates