So things have been progressing in the background - I got the kindle and tore it down to the light layer - need to see if I can power the LEDs directly or if I'll need to make a new pcb. 5V from a USB power bank will light up two, but probably need a constant current driver to run them properly. They are a cool white though so a green layer will be essential to tie it to the warm light of the bulbs elsewhere.
On the button front, learning from my experience with the big button I made a jog to hold the three small buttons to avoid mashing them as I drilled out the push-button holes:
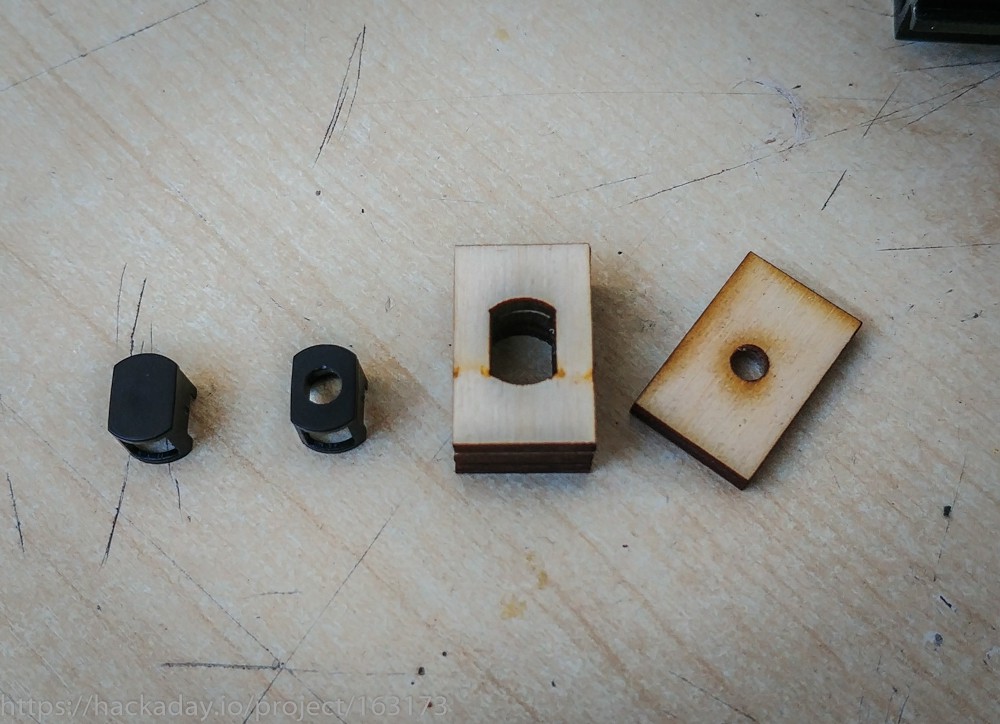
Did this to all three to get three perfect holes with no damaged retainers - success!
Also printed a bezel filler piece:
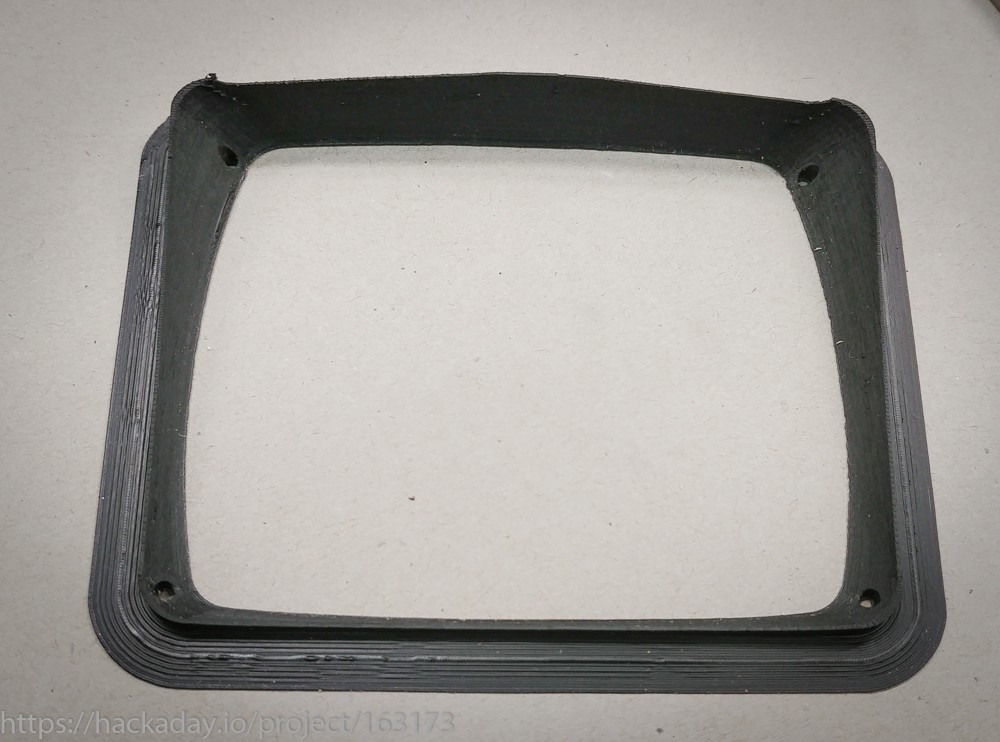
With a bit of sanding and trimming, this will fill in a big void and when attached to the bezel will give my screen something to screw into:
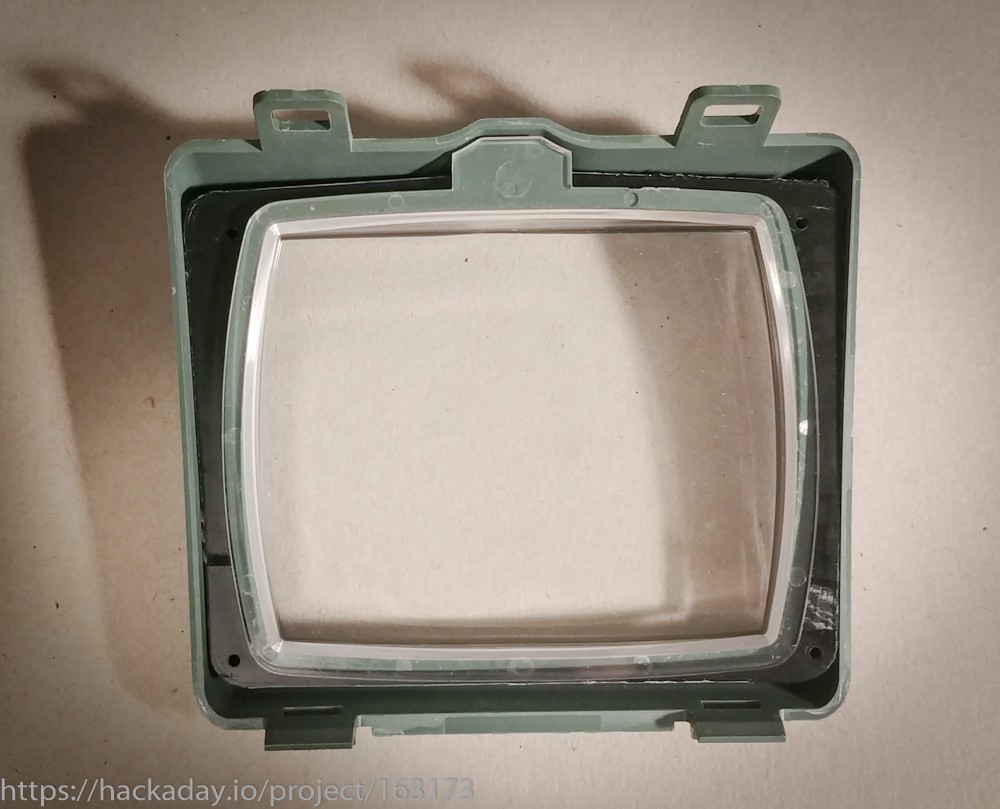
Getting close now to having the screen mounted and displaying a suitable pip-boy image. I've been doing some sanding and filling of smaller pieces, and plan on repainting with a different paint scheme to make it stand out a bit more. Once I get the screen mounted, the pi connected in the case and a few buttons hooked up I'll turn my attention to the software a bit more, while the slow boat from China brings more parts for the audio side...
Discussions
Become a Hackaday.io Member
Create an account to leave a comment. Already have an account? Log In.