 Mattia Dal Ben
Final assembly...
Finally... we can assemble the YamPAD and complete the project.
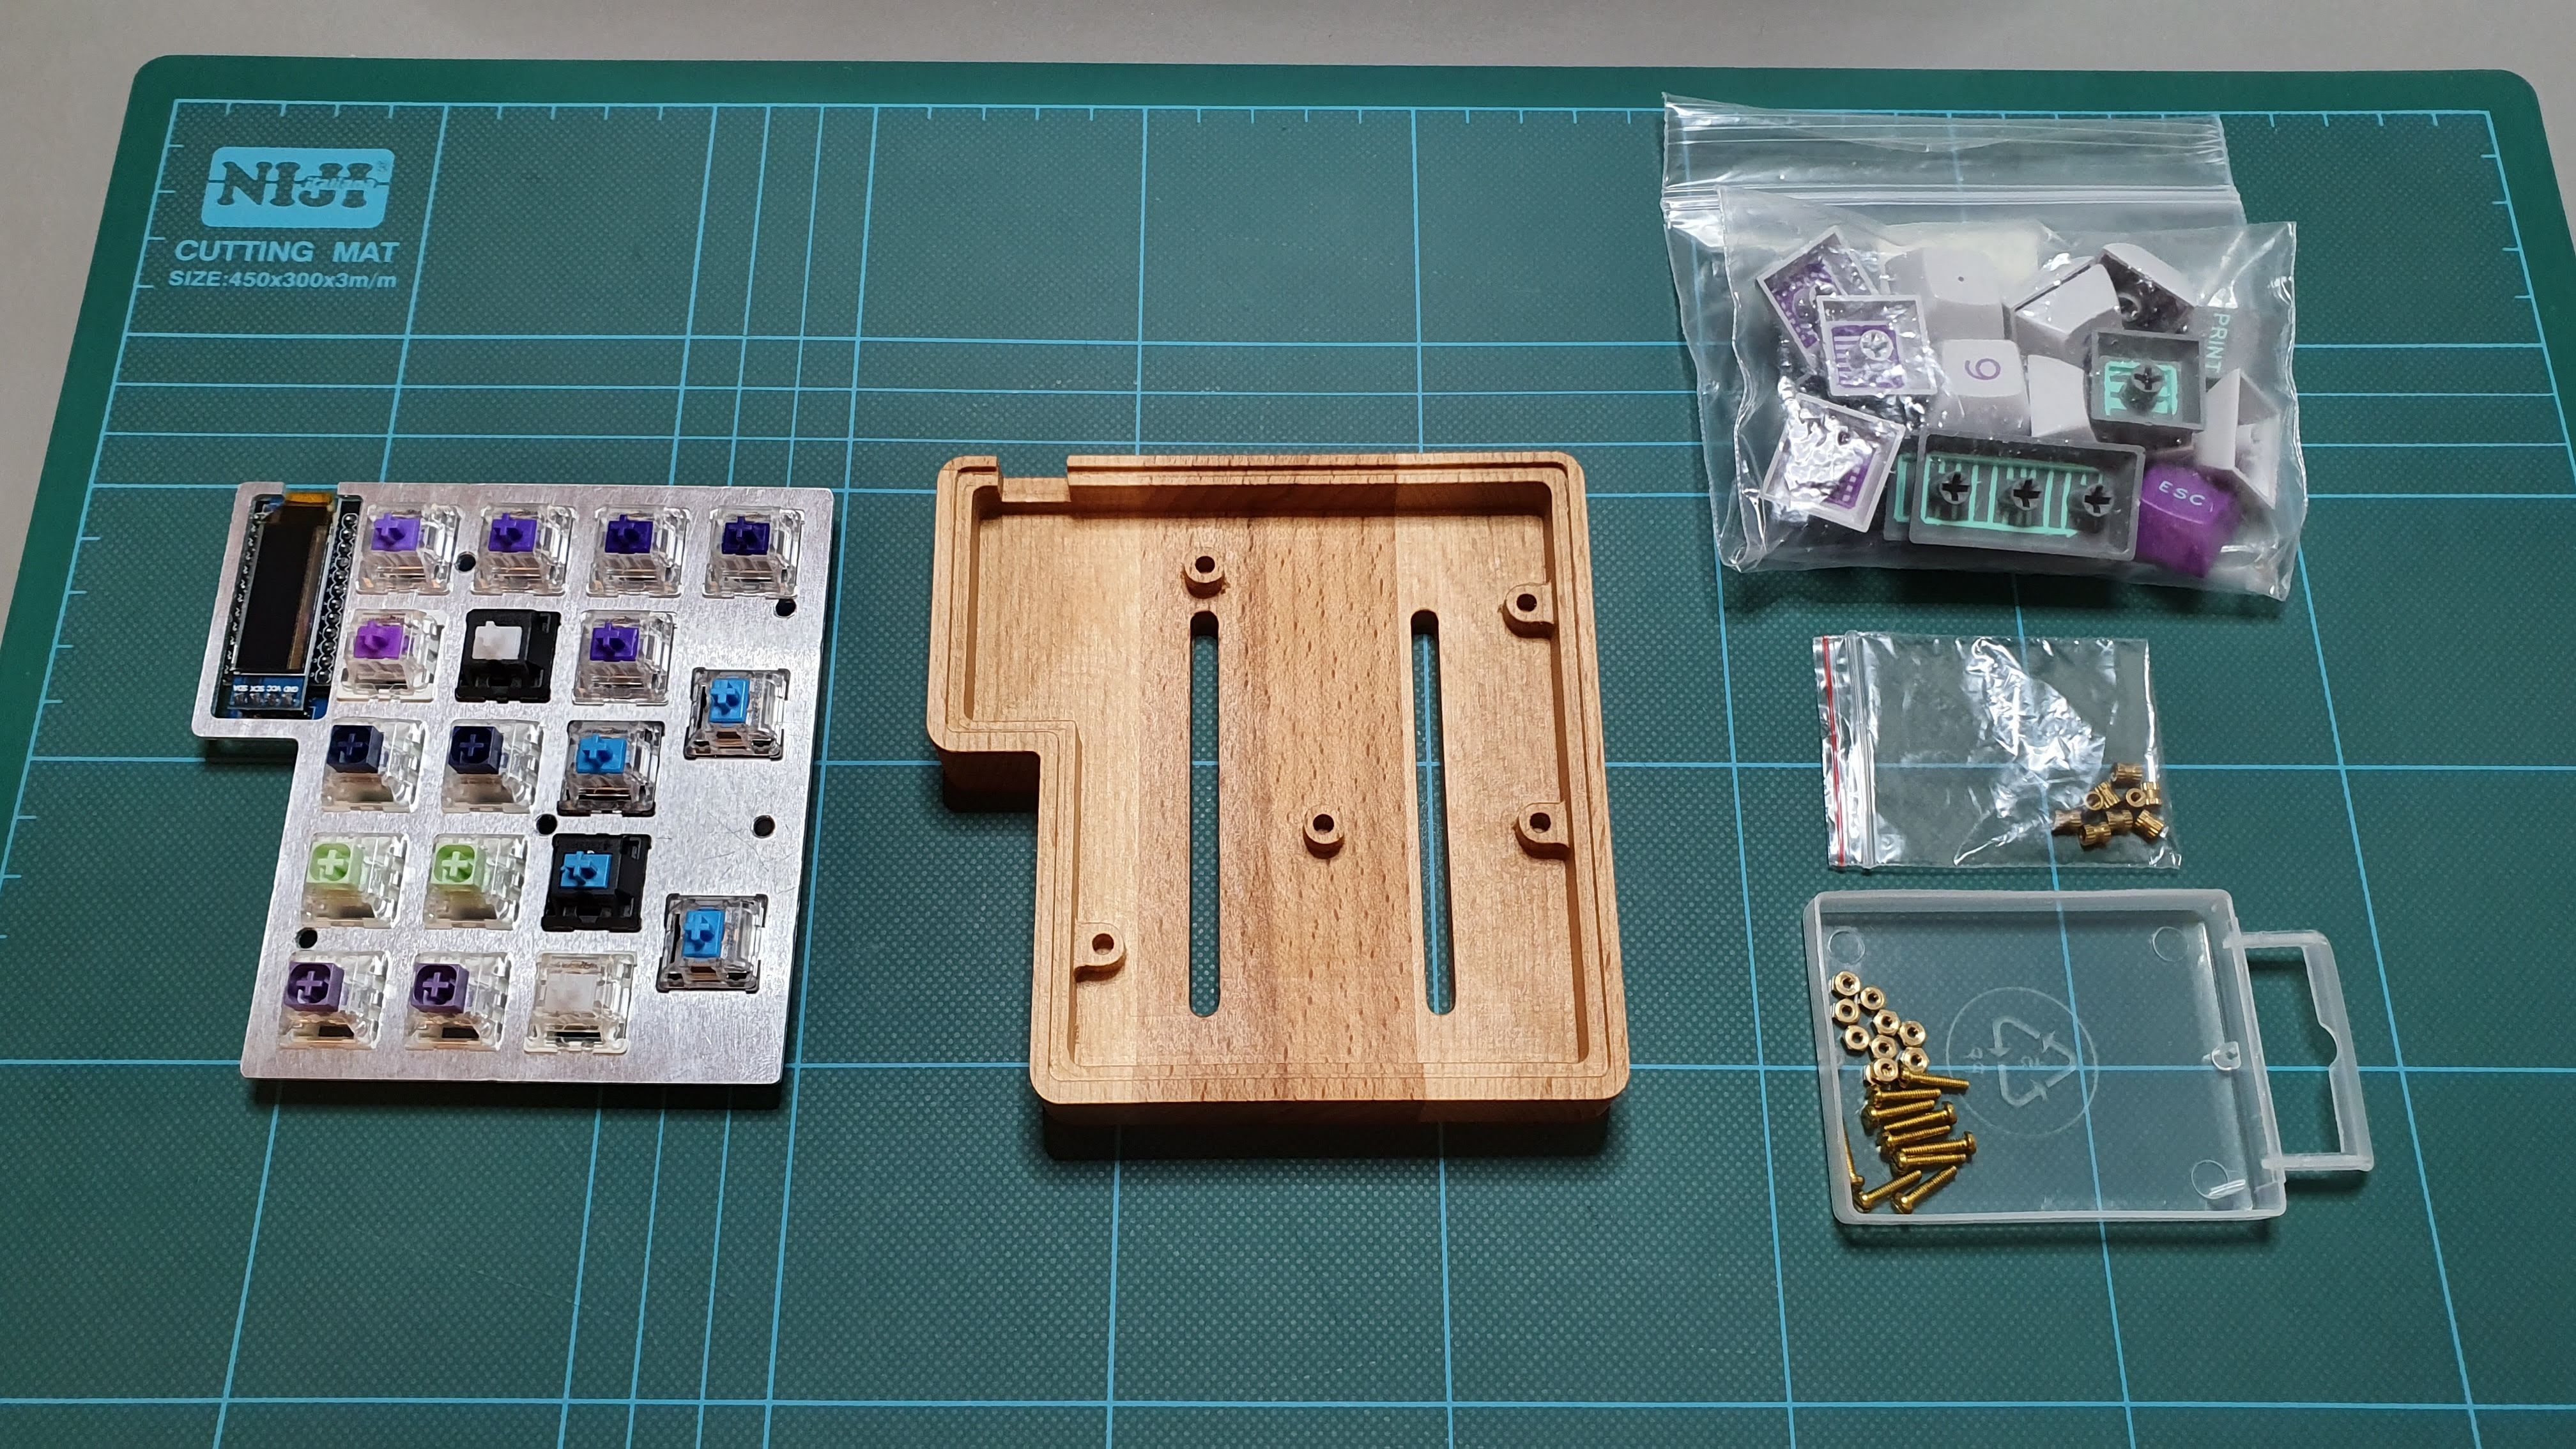 Here's all the parts:
- PCB + aluminium plate
- Beech wood case
- Keycaps
- Threaded inserts
- M2 screws
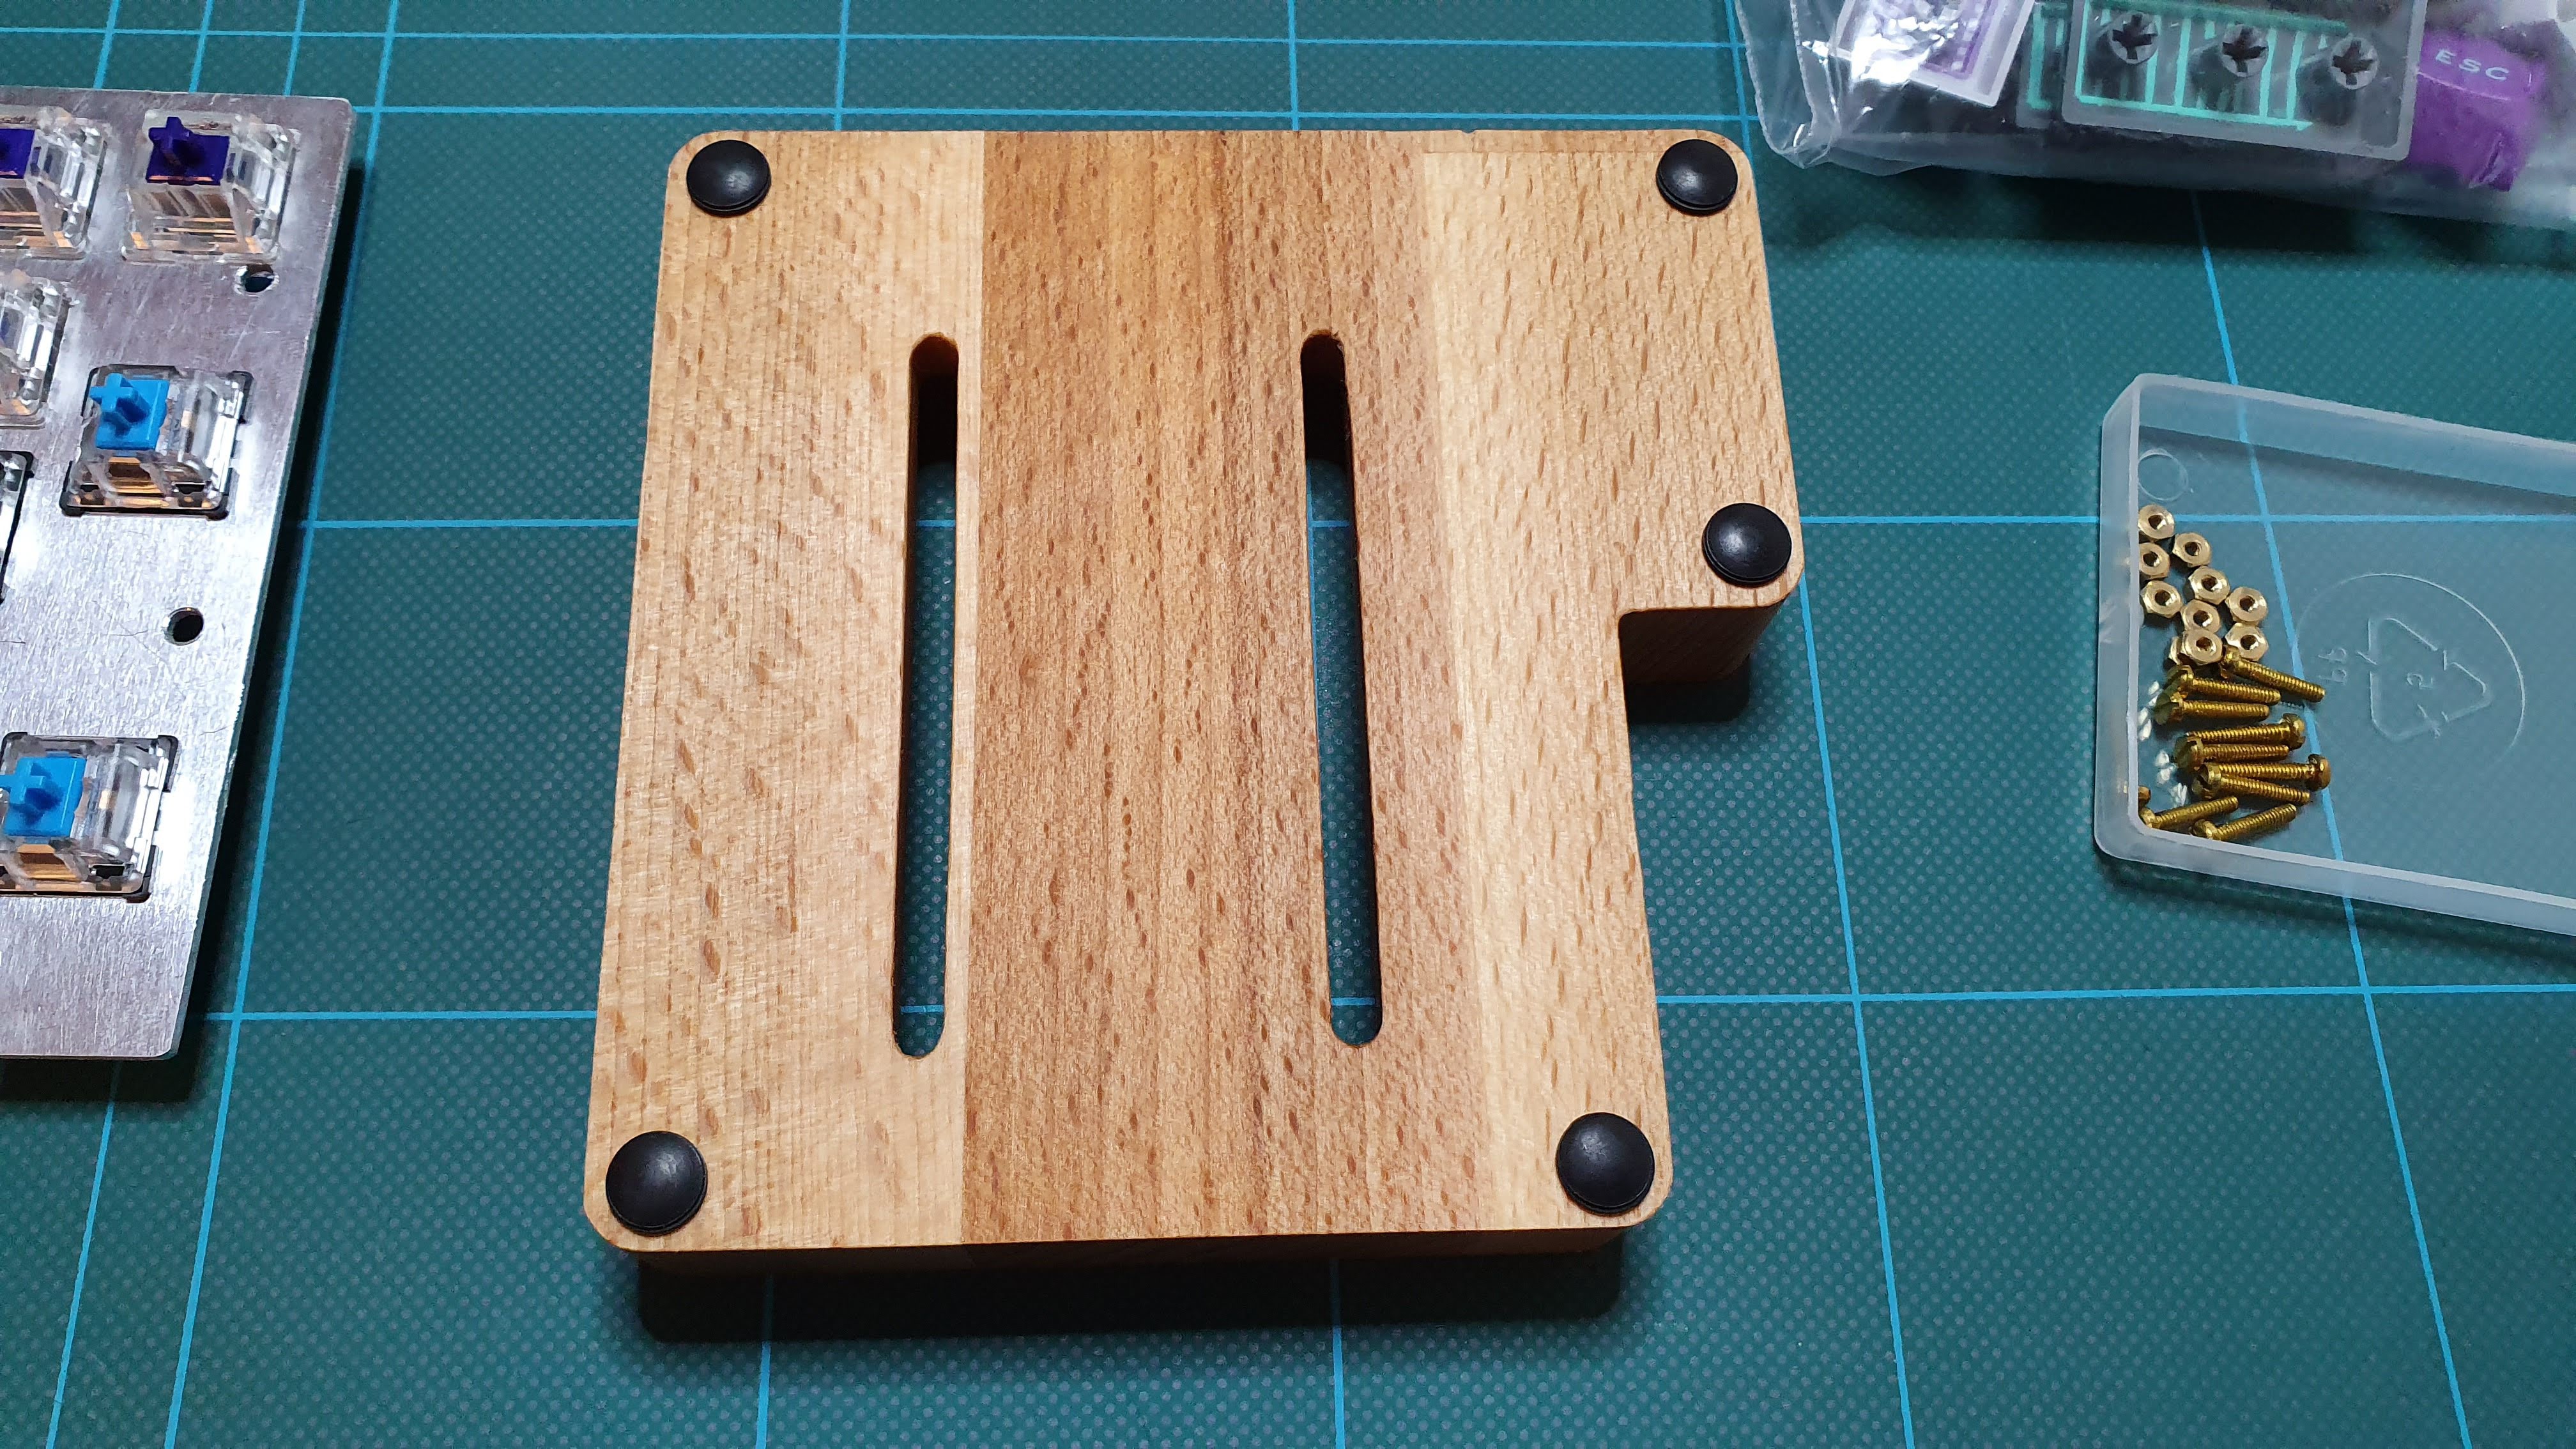
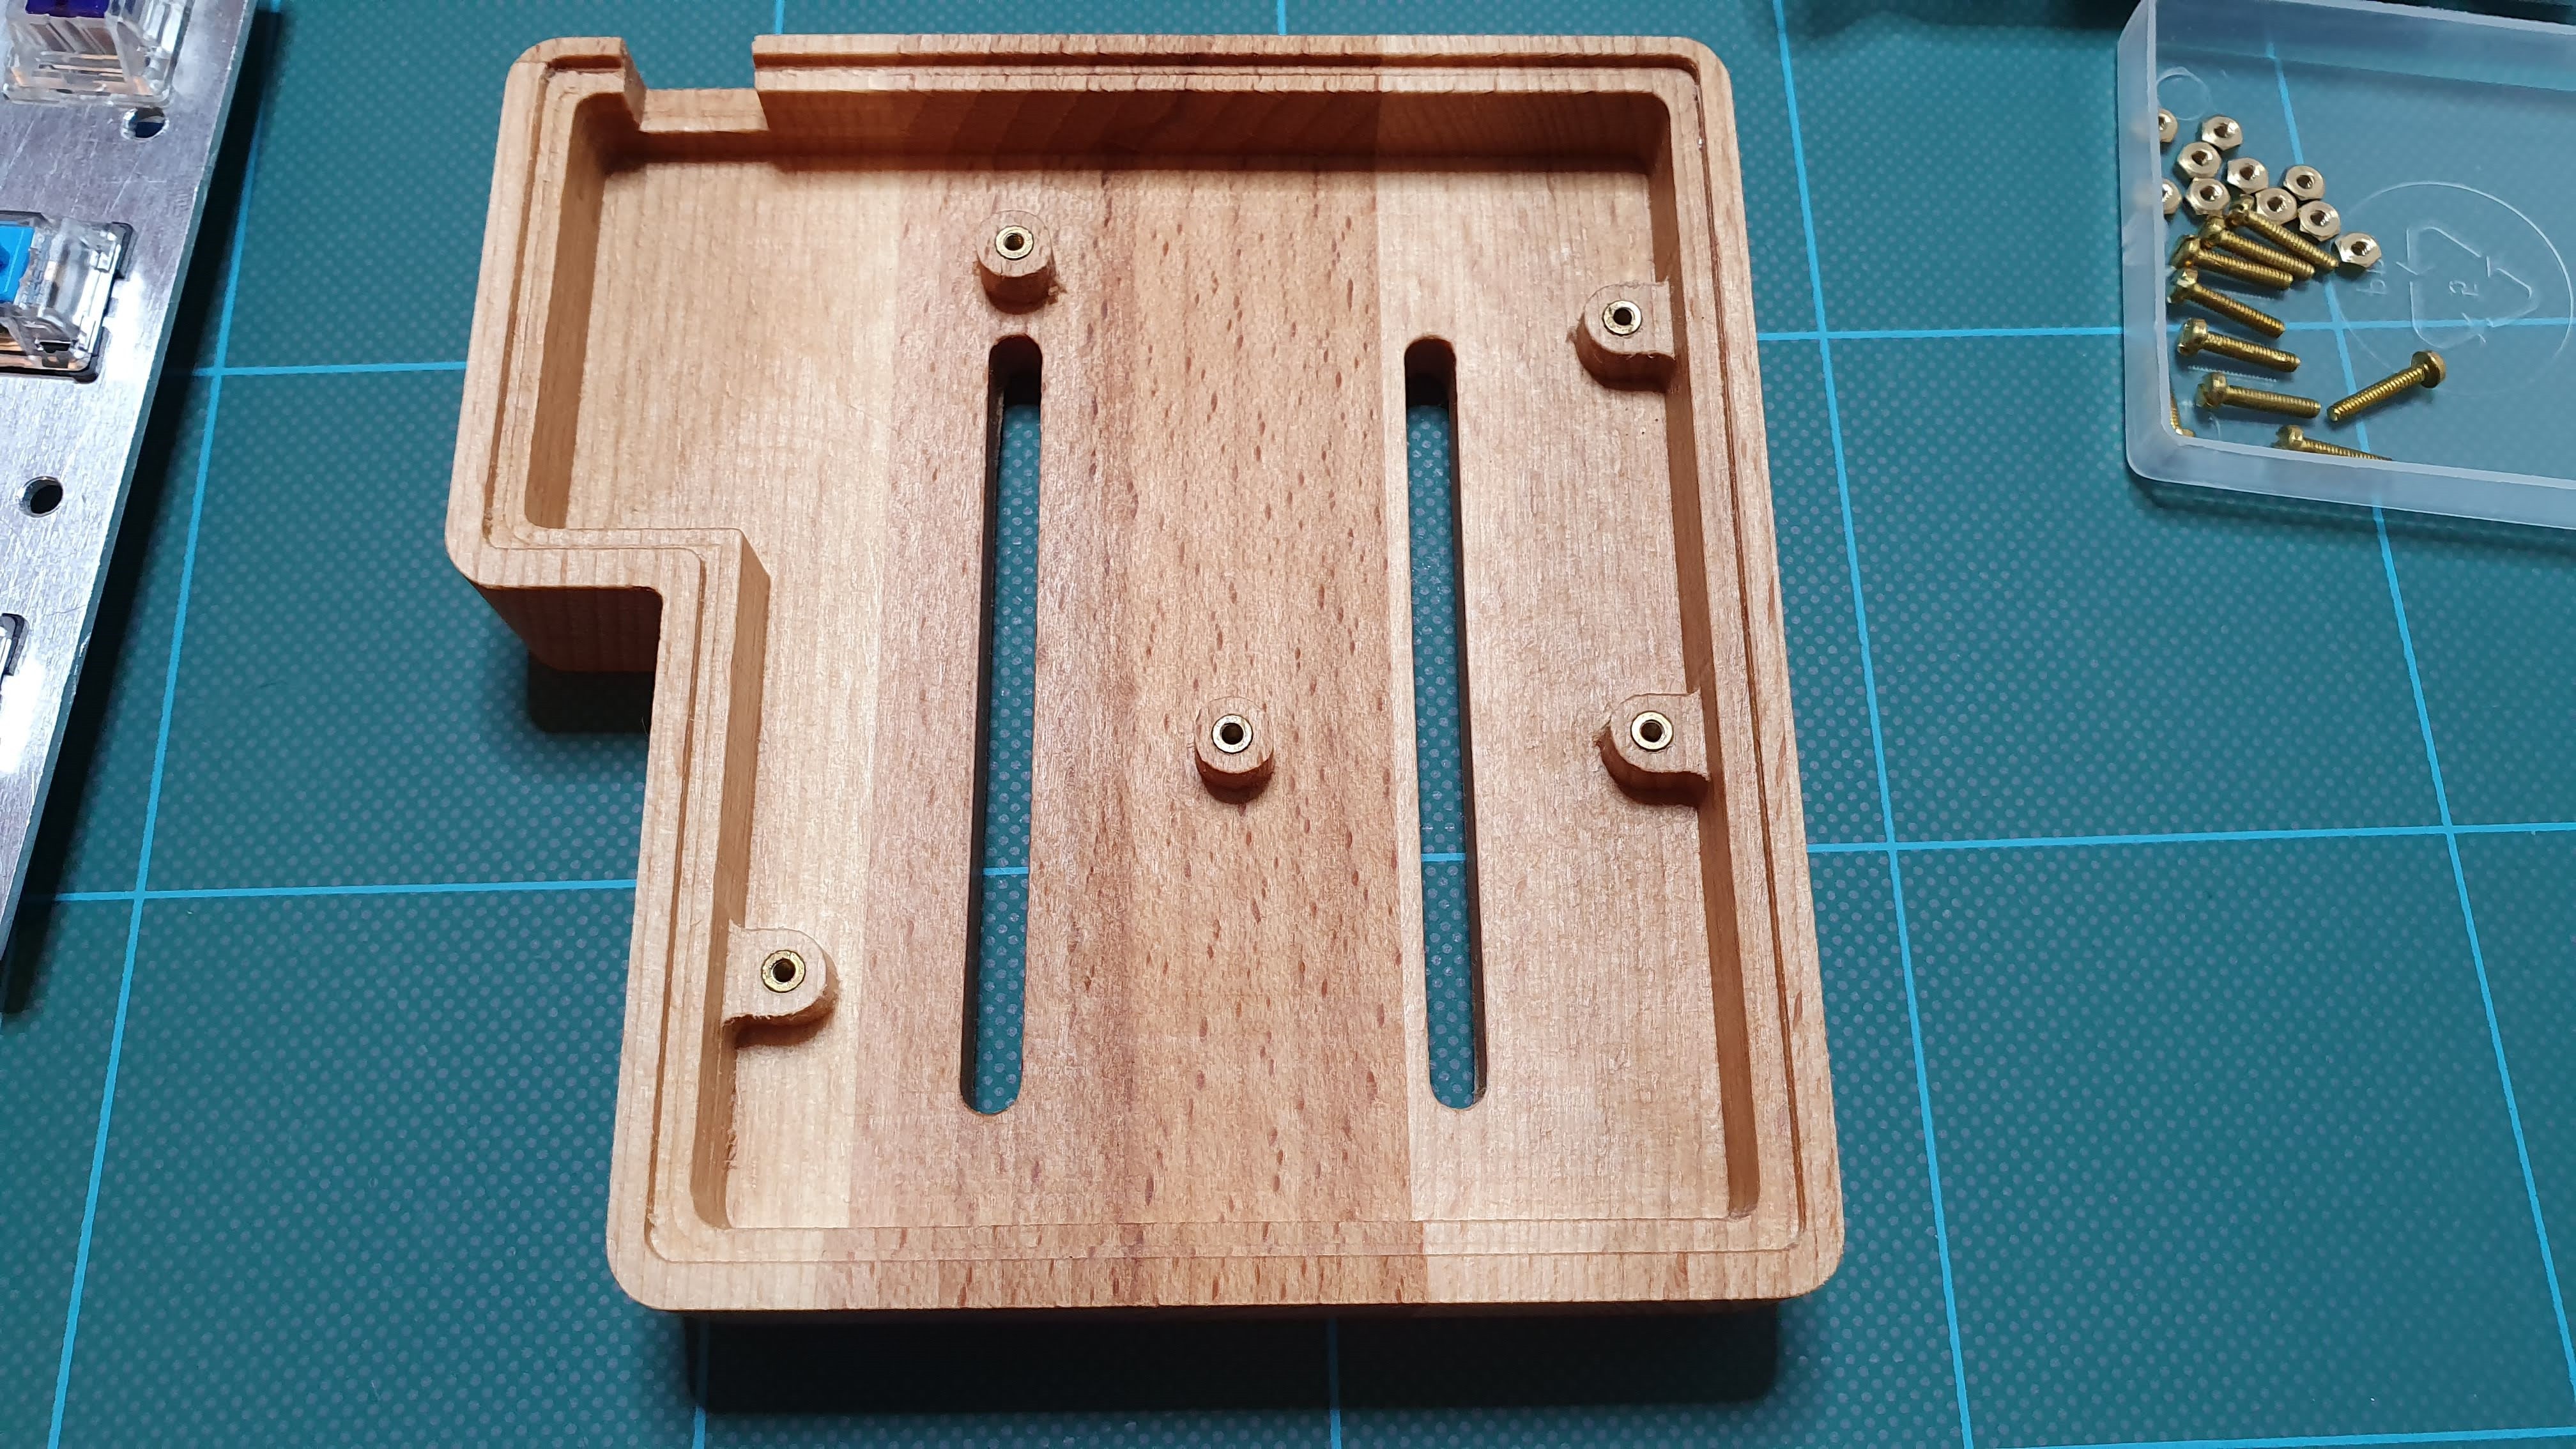
Let's start by adding some rubber feets.
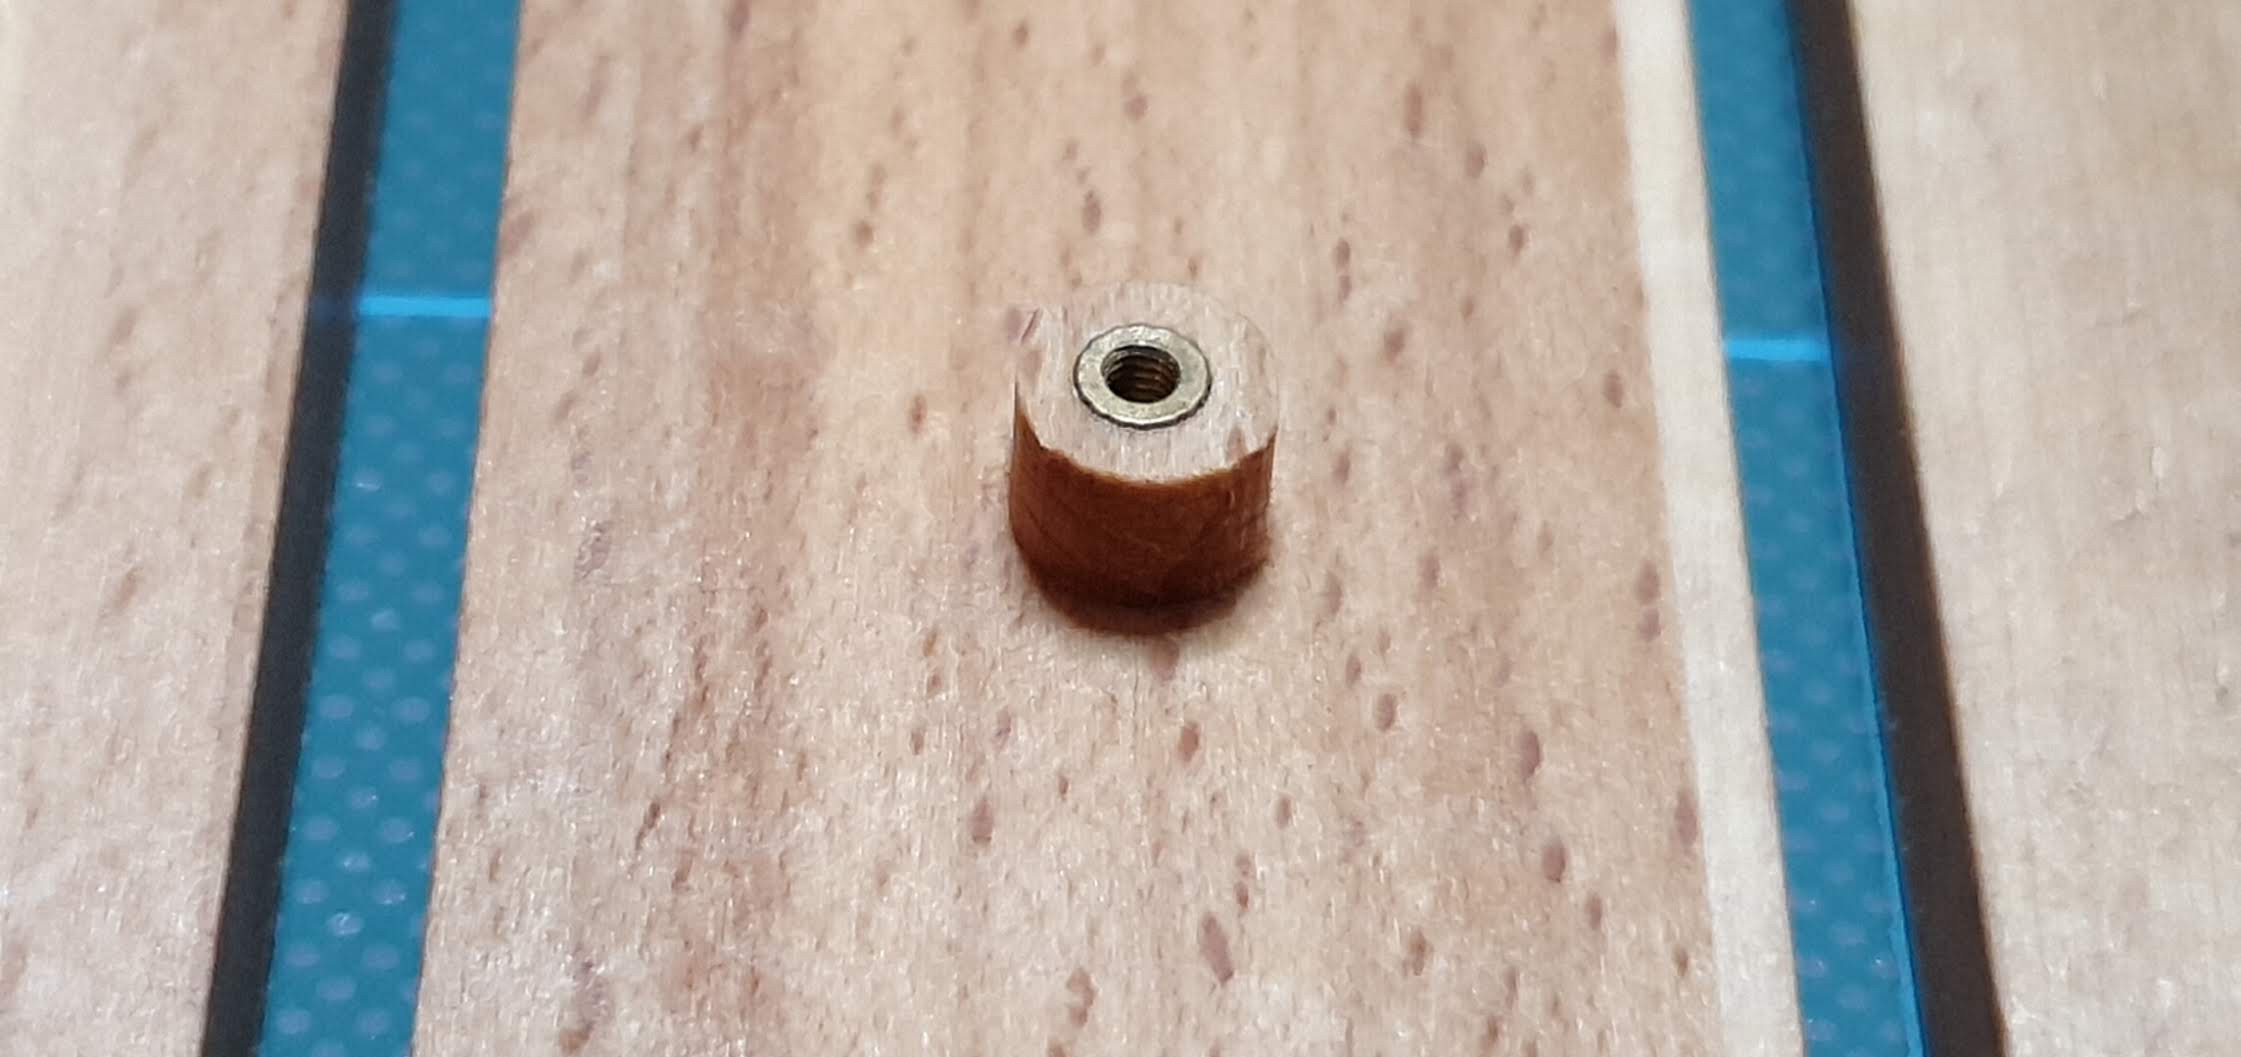
 Then the threaded inserts. These are actually for plastics but work great for wood too.
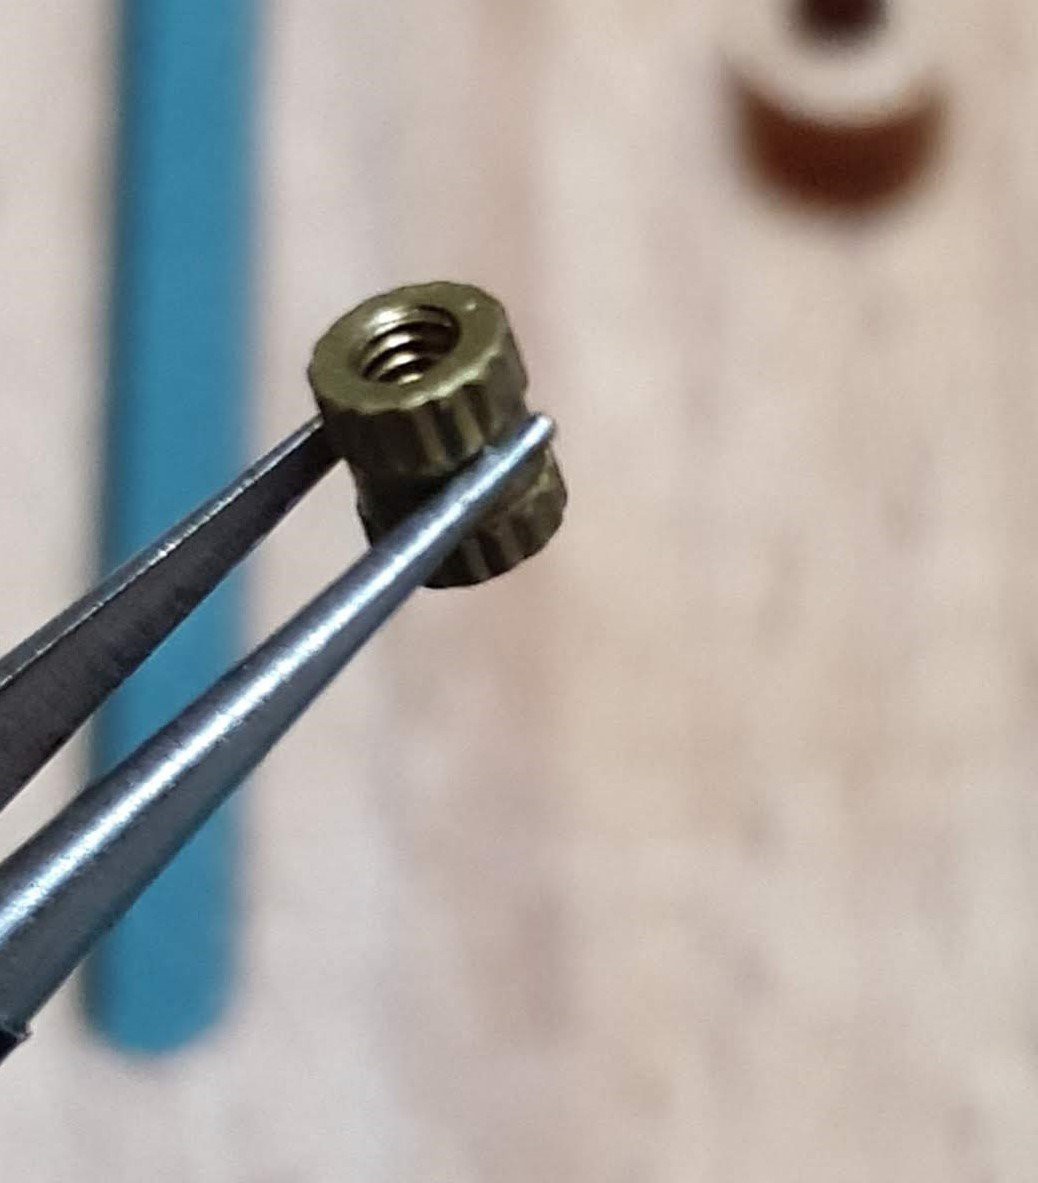
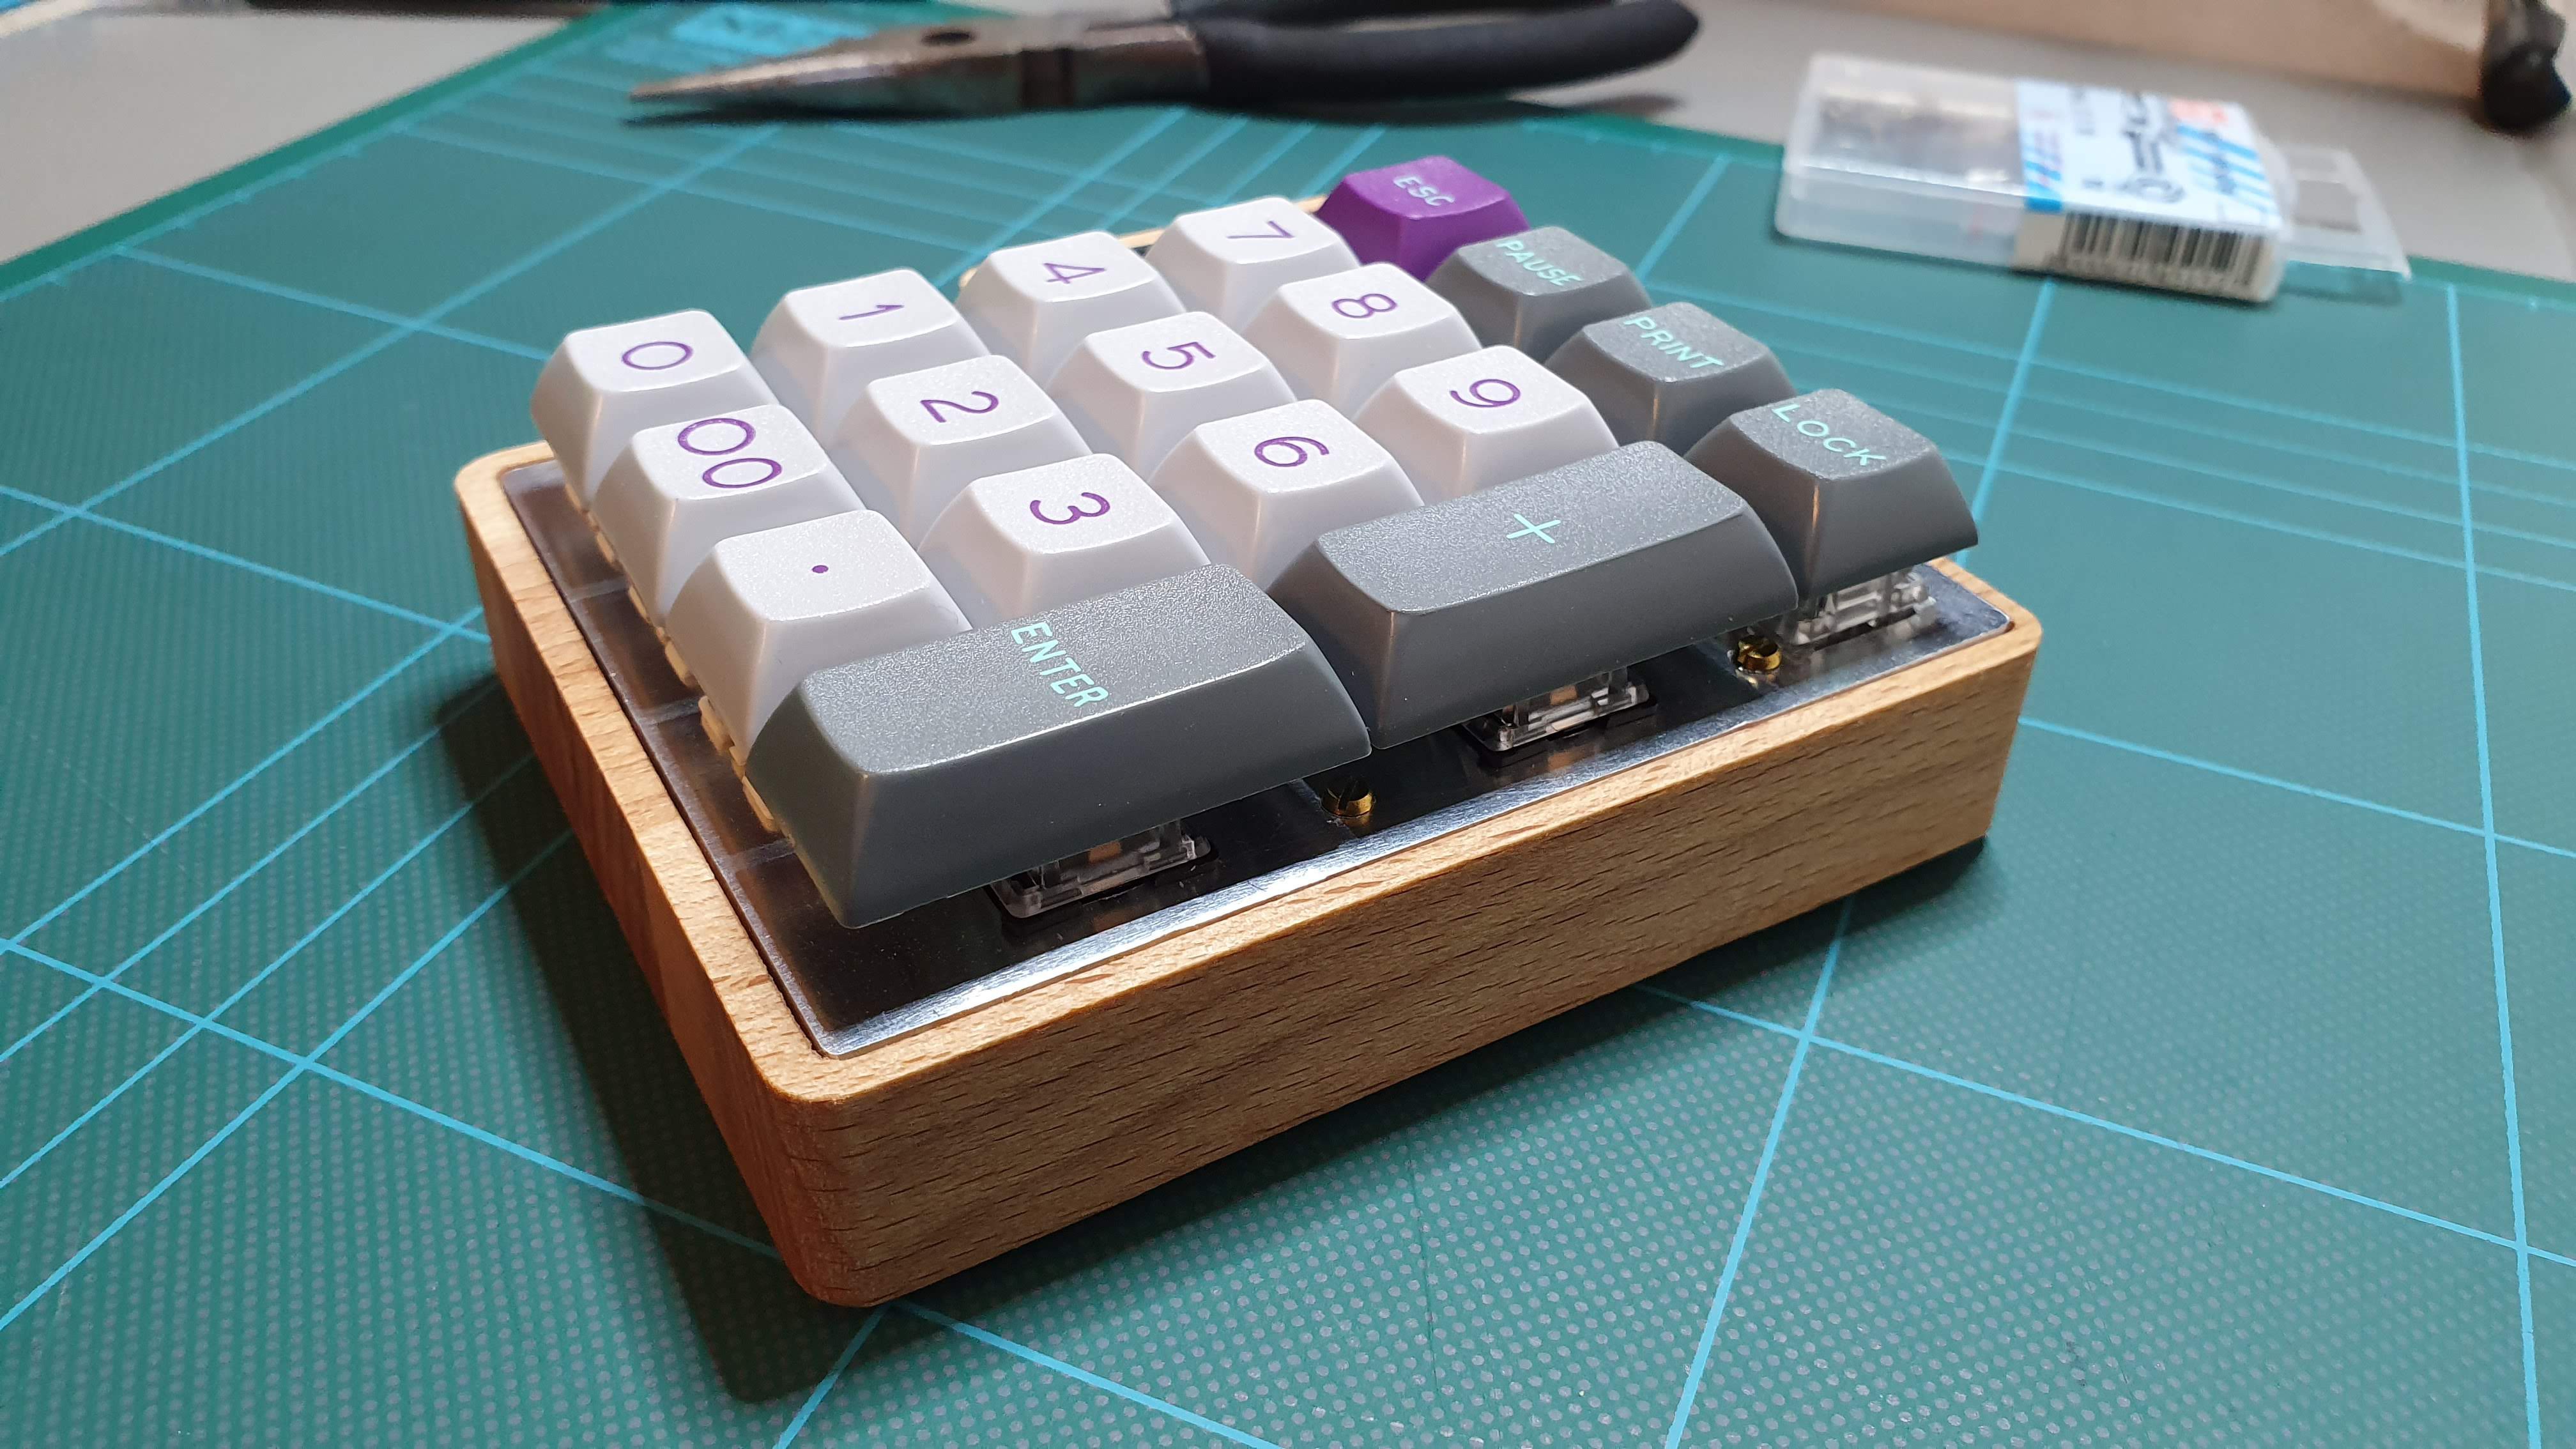
 And now the easy part: plate, screws and keycaps.
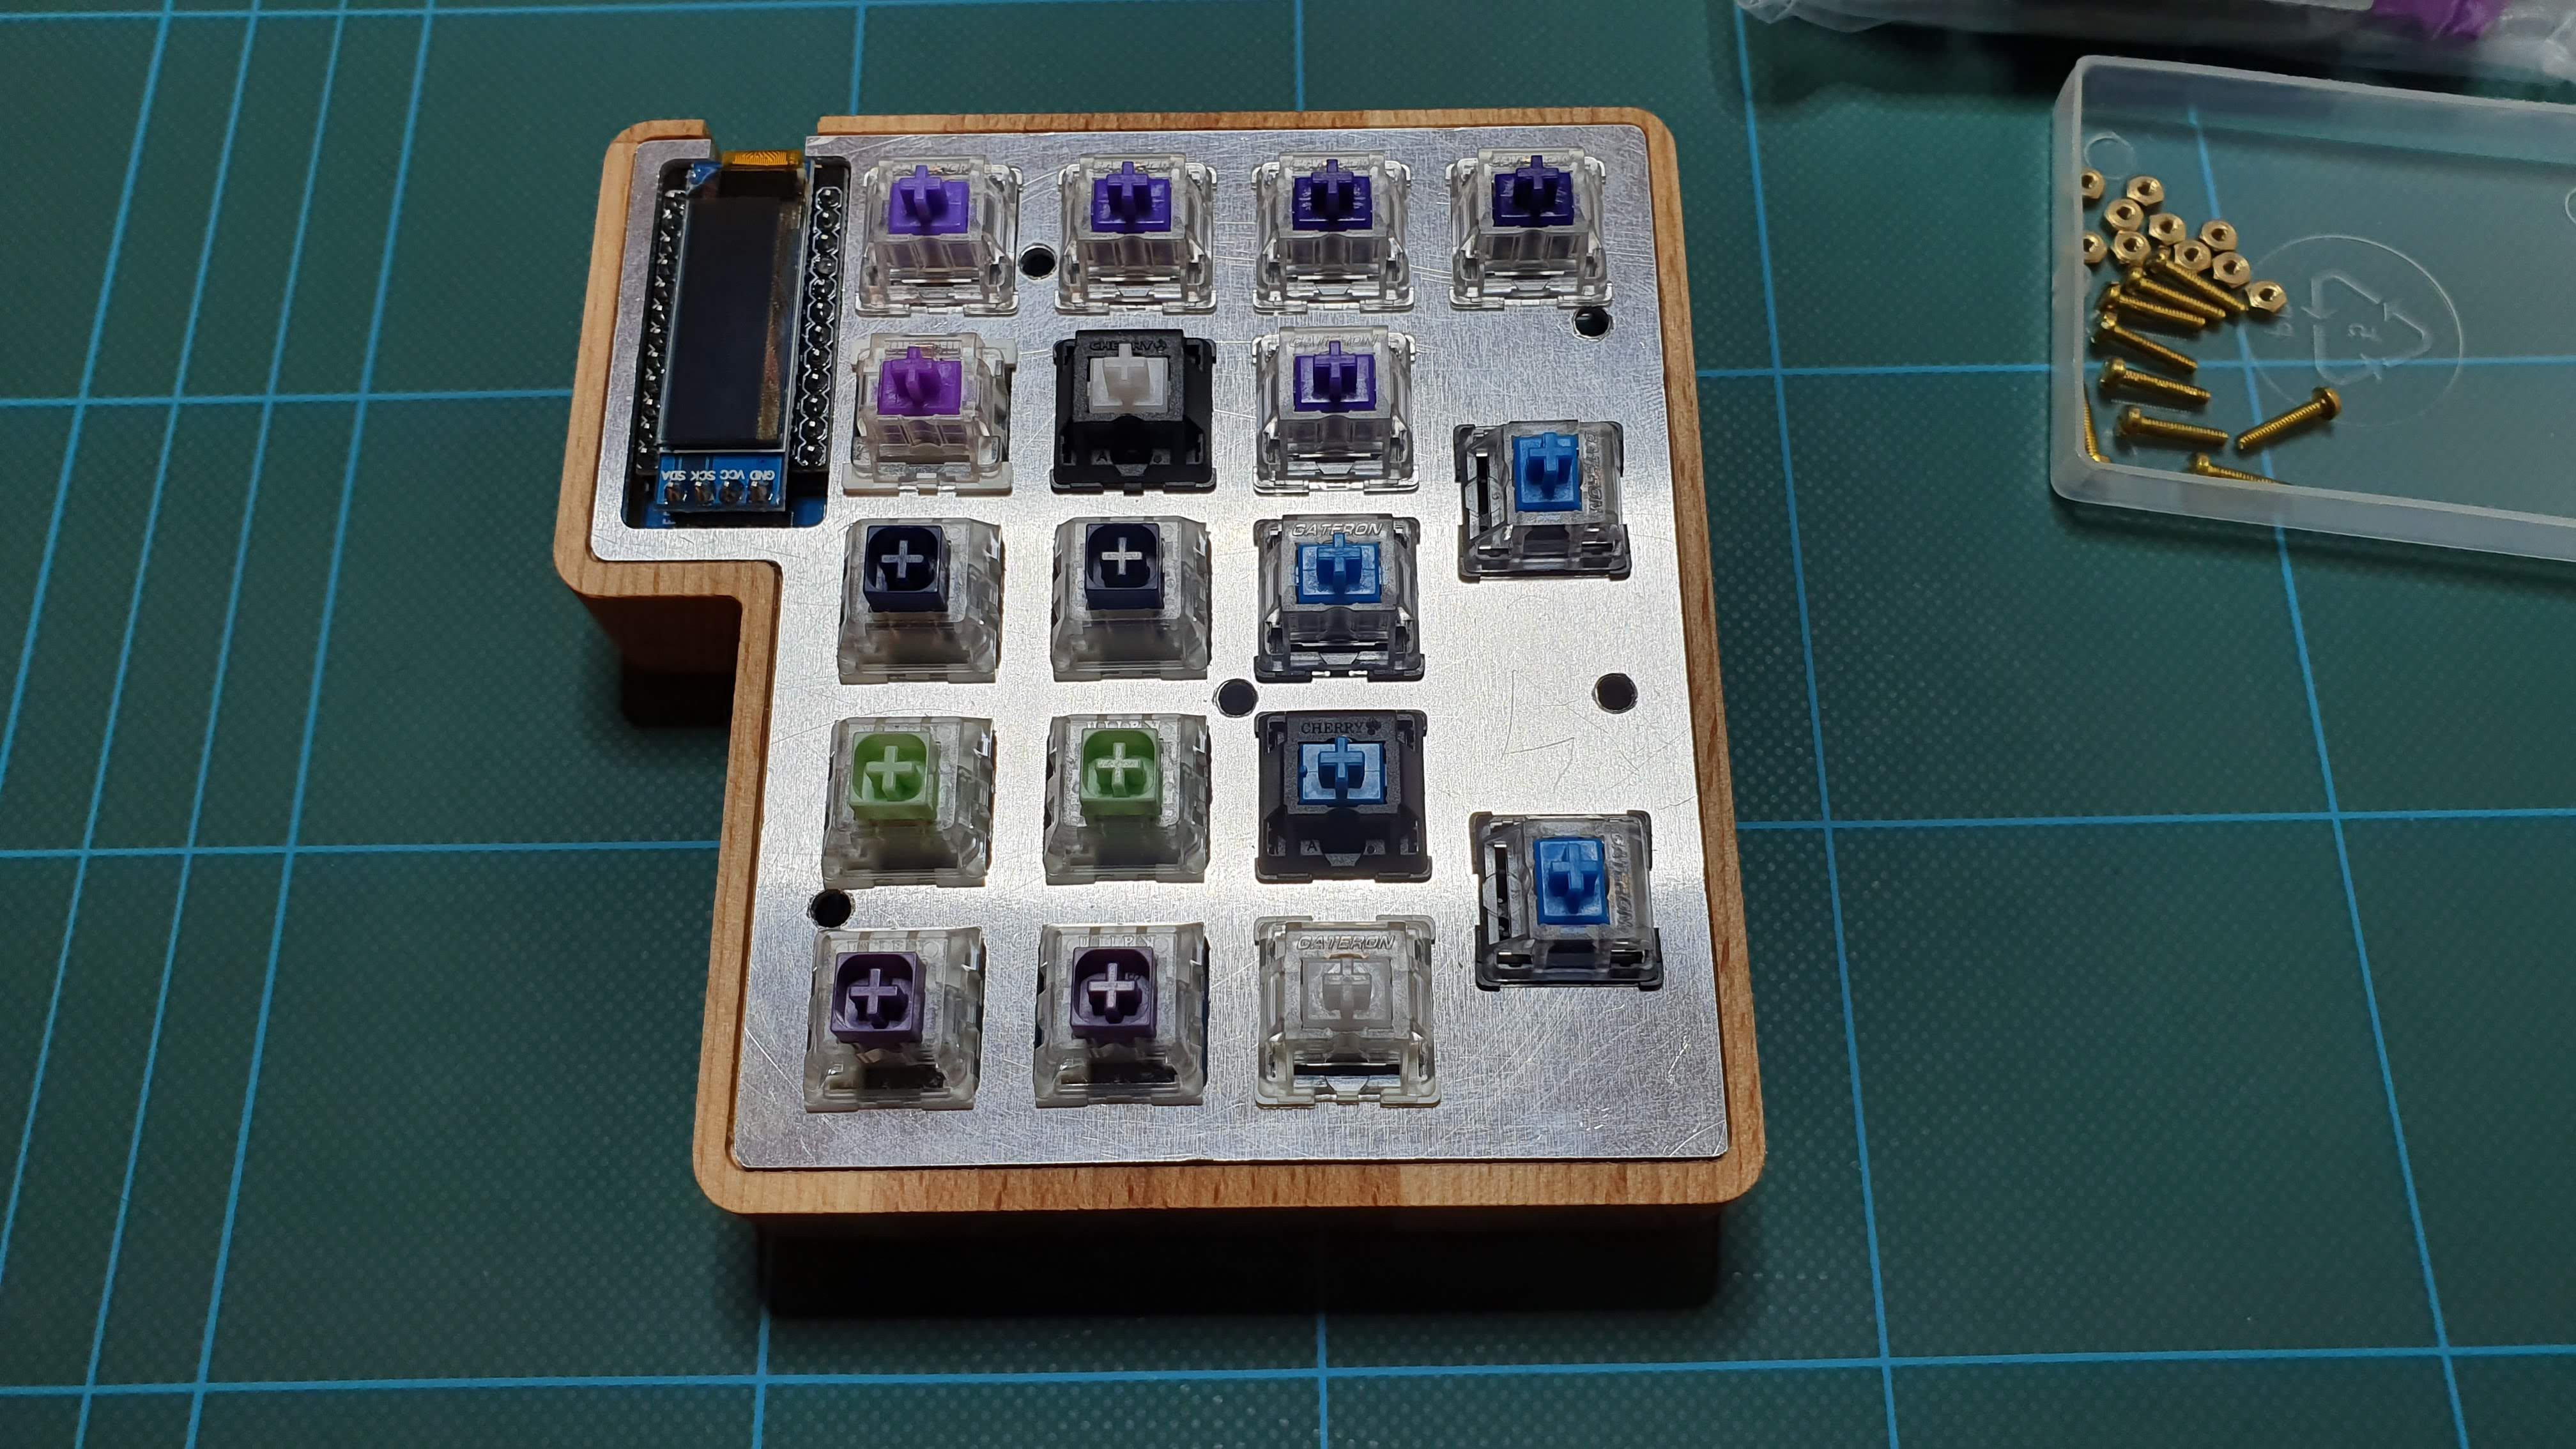

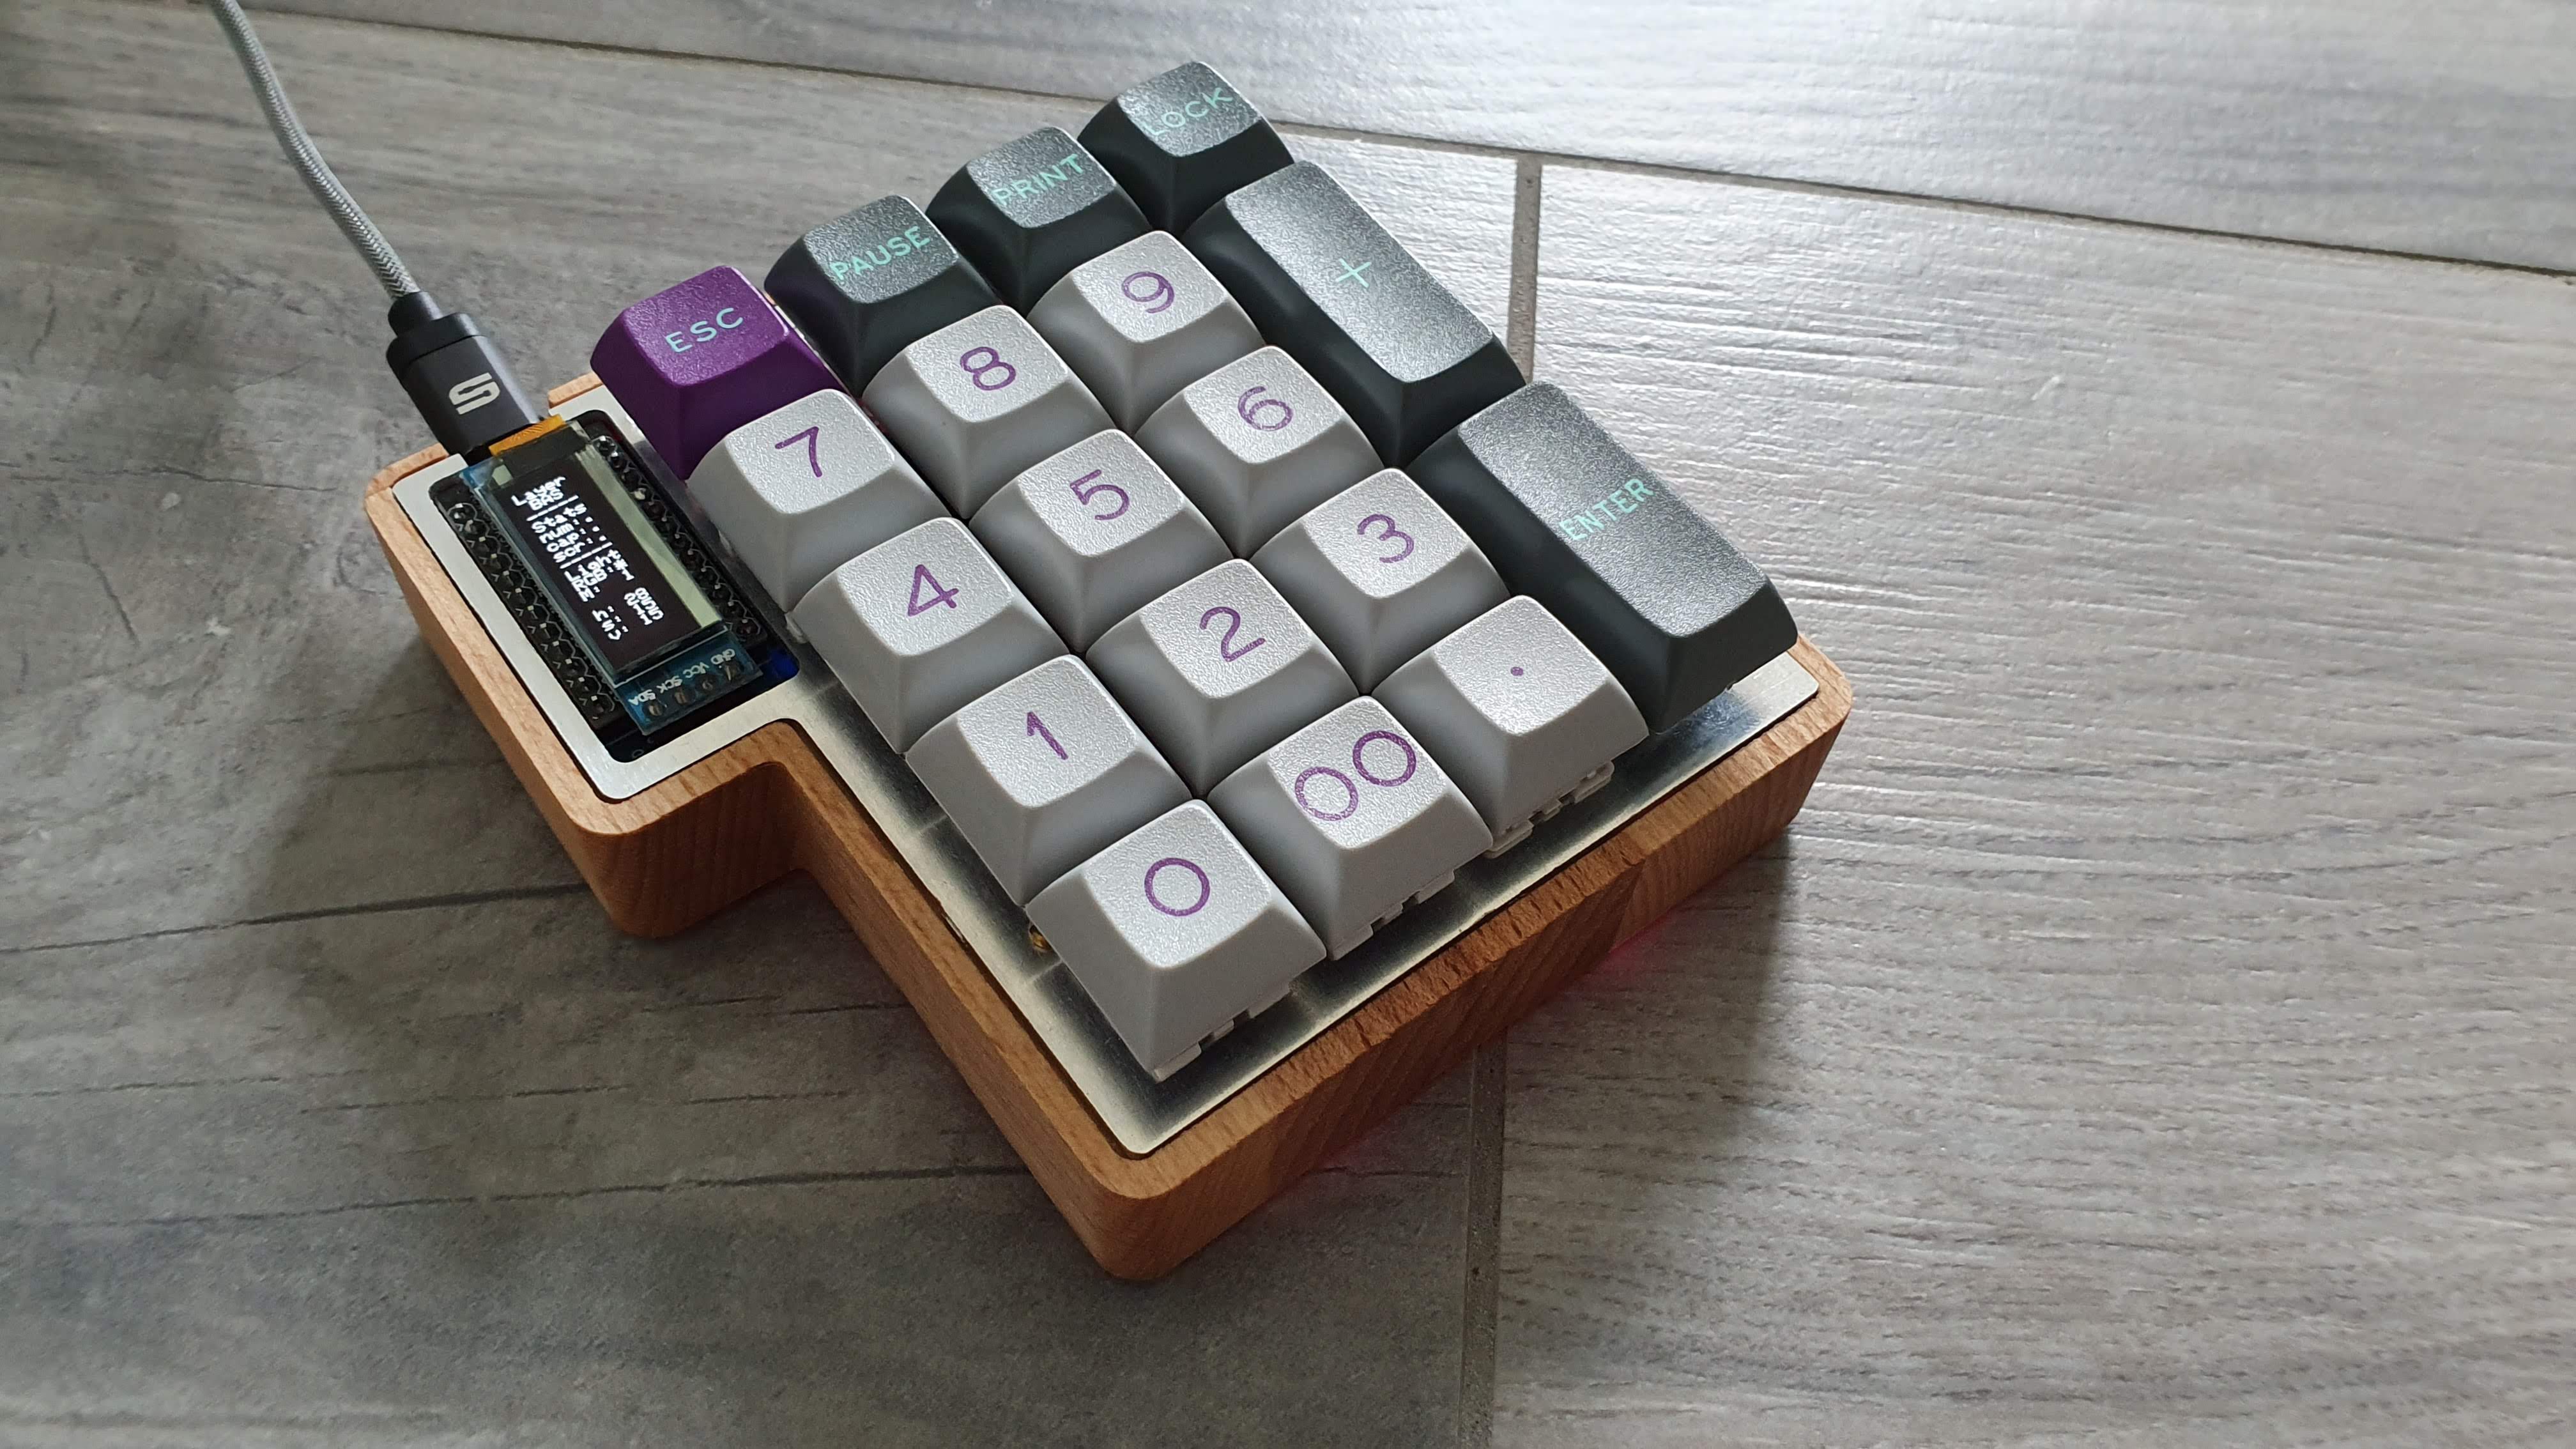
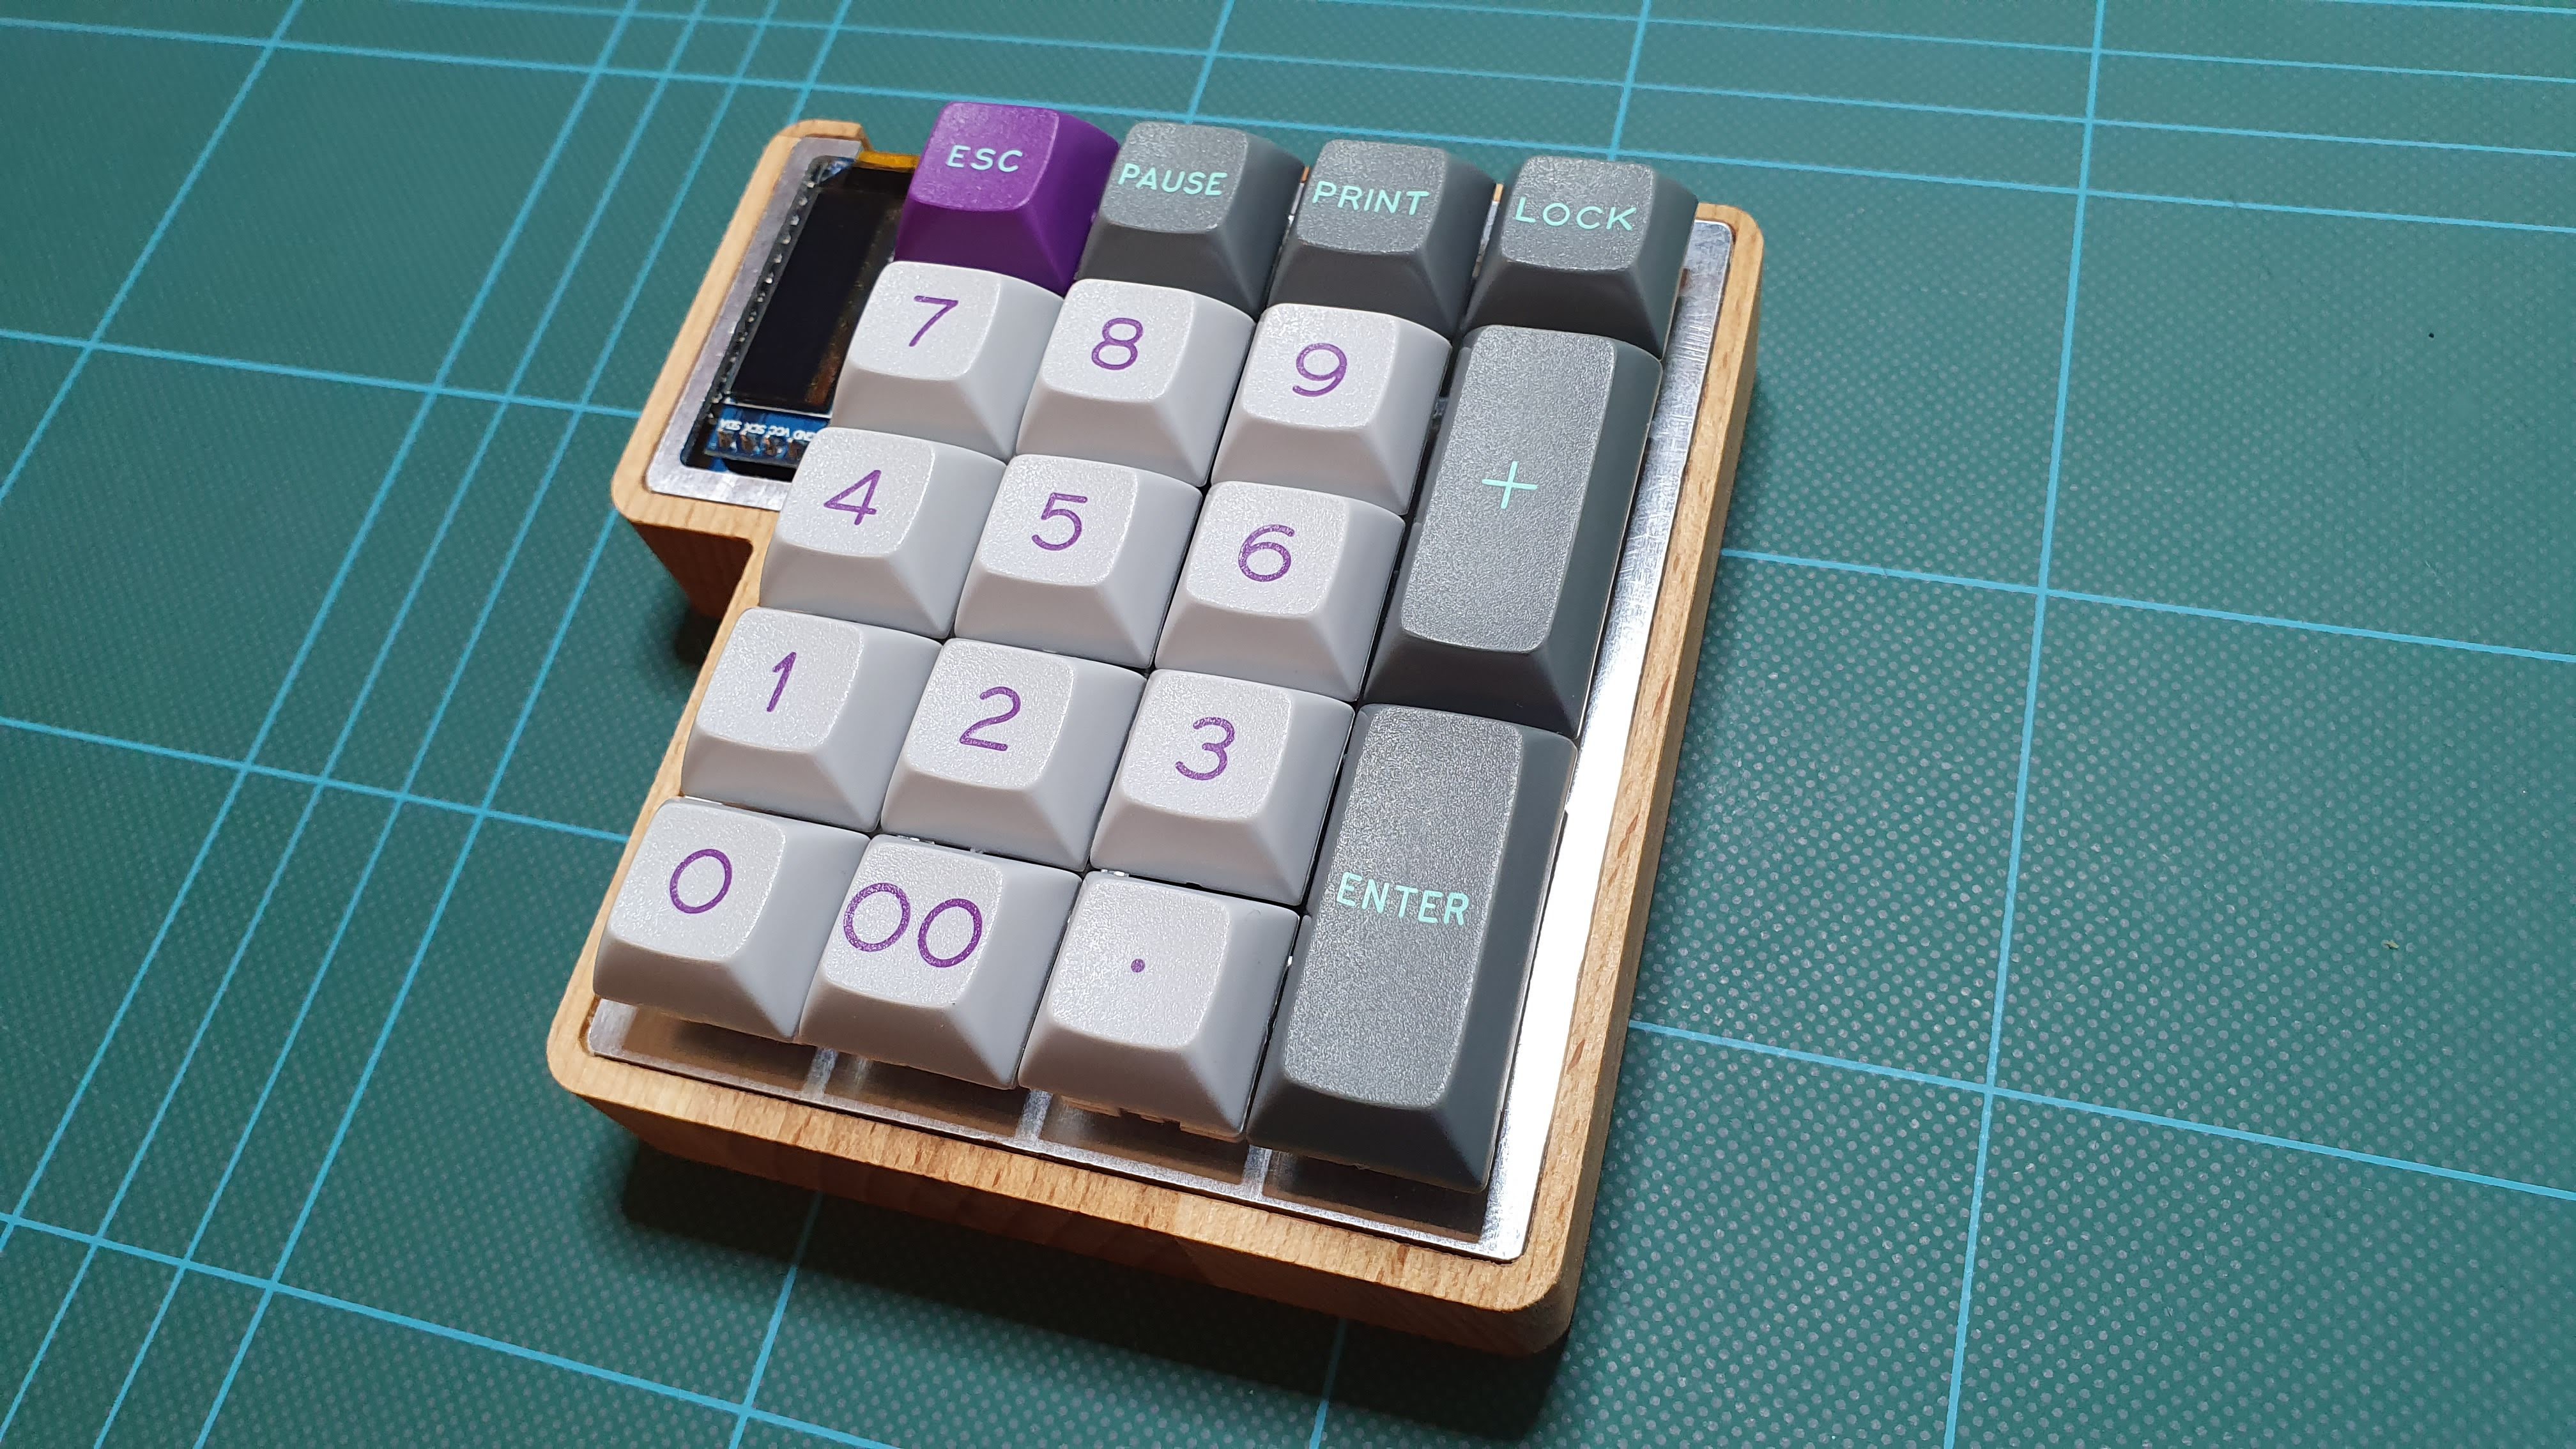 I really like the contrast between the aluminium plate and the brass screws.
You may wonder why all those different switches: I'll use this numpad as a swith tester to convert my collegues at work :D
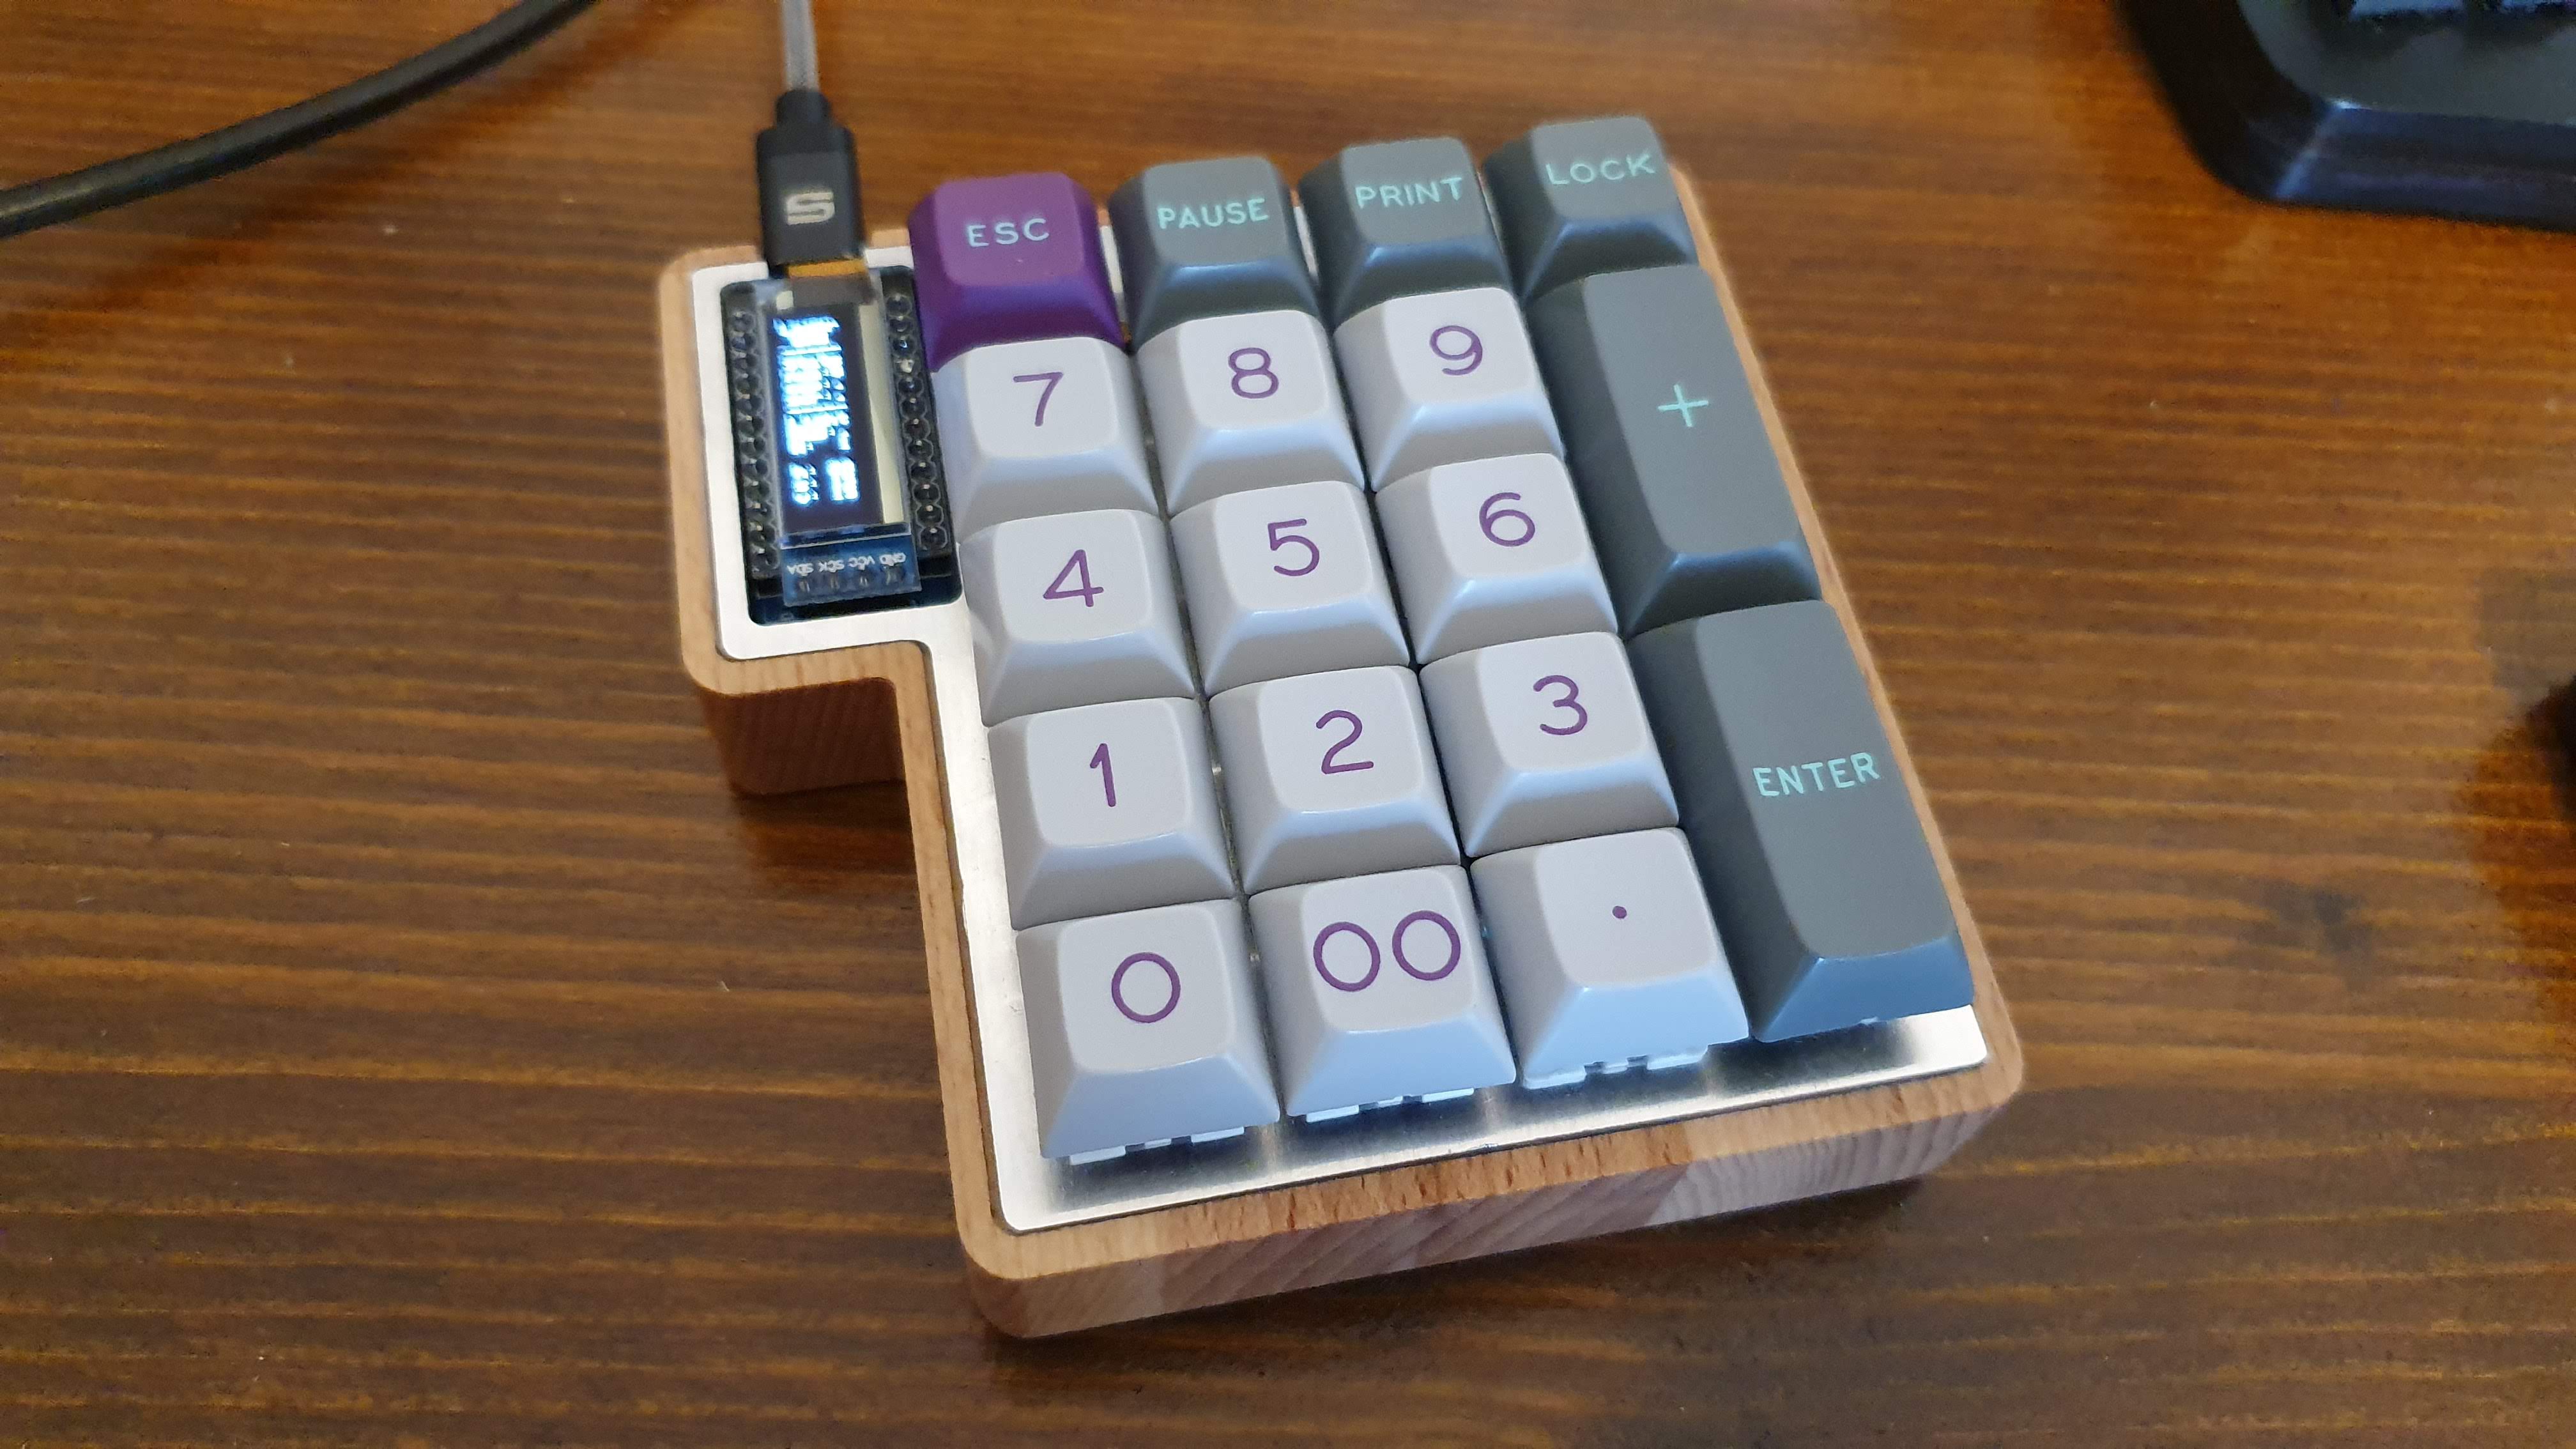
Did I mention that it works too?
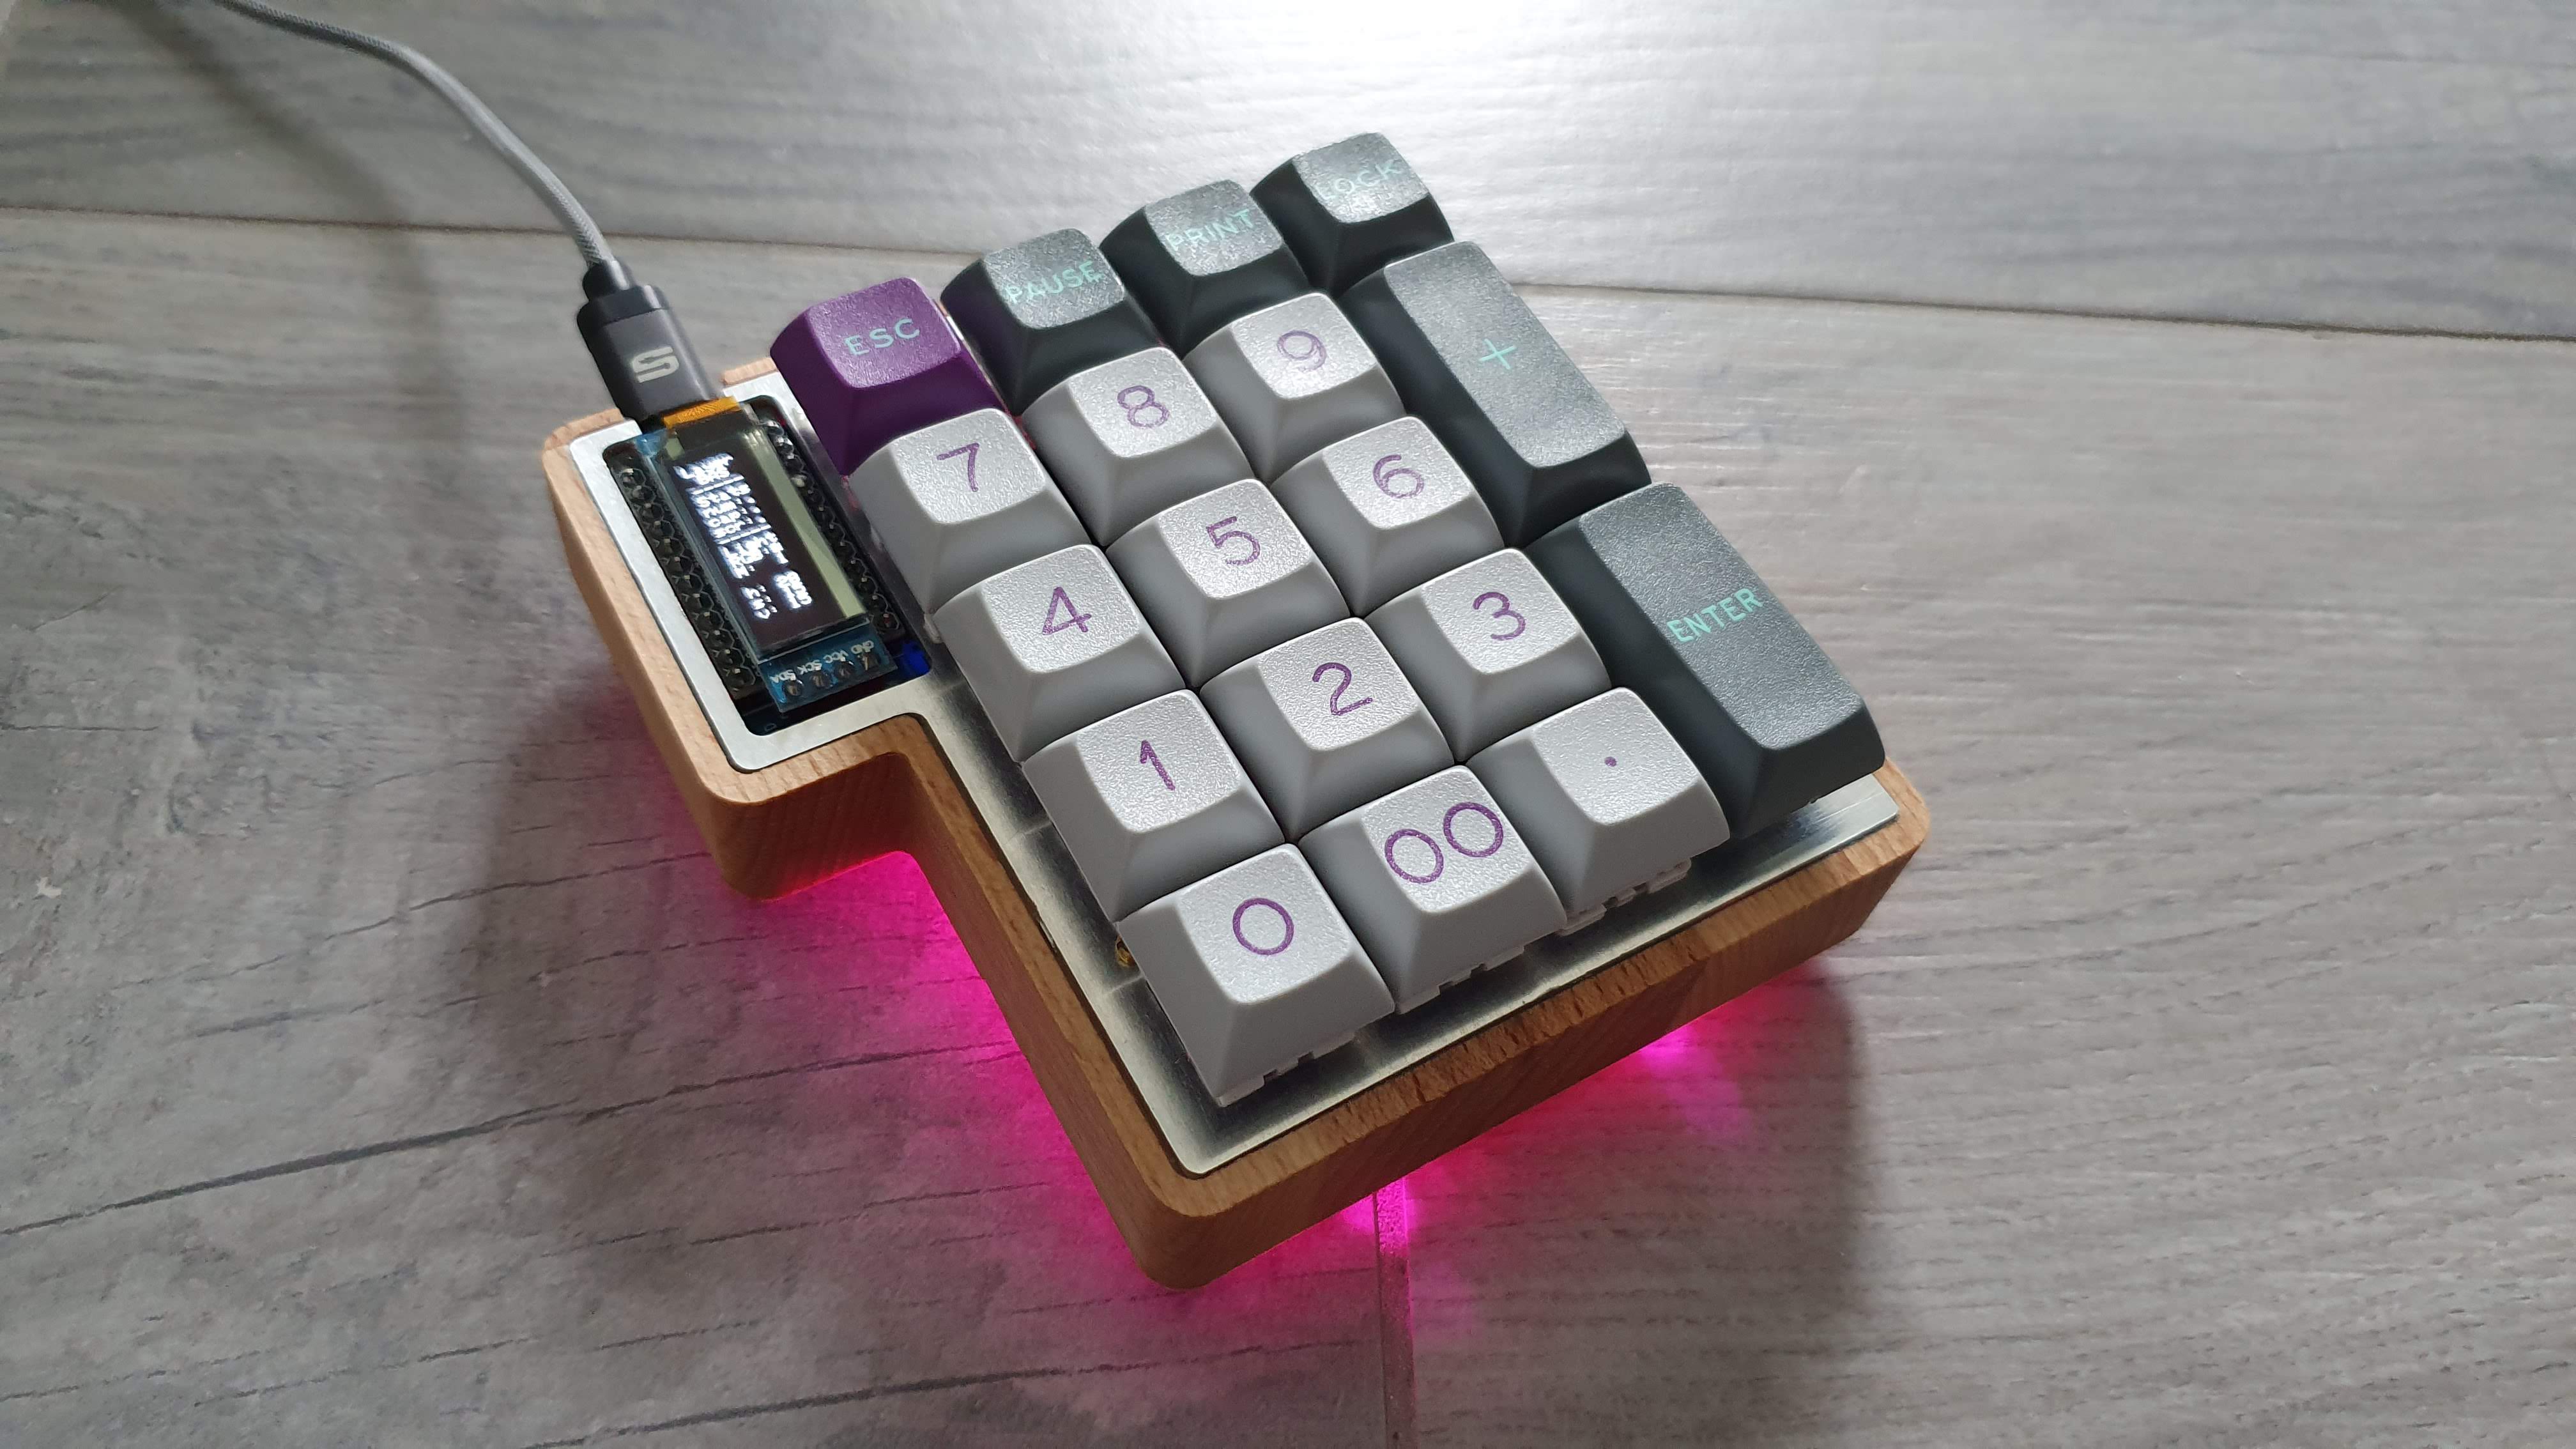
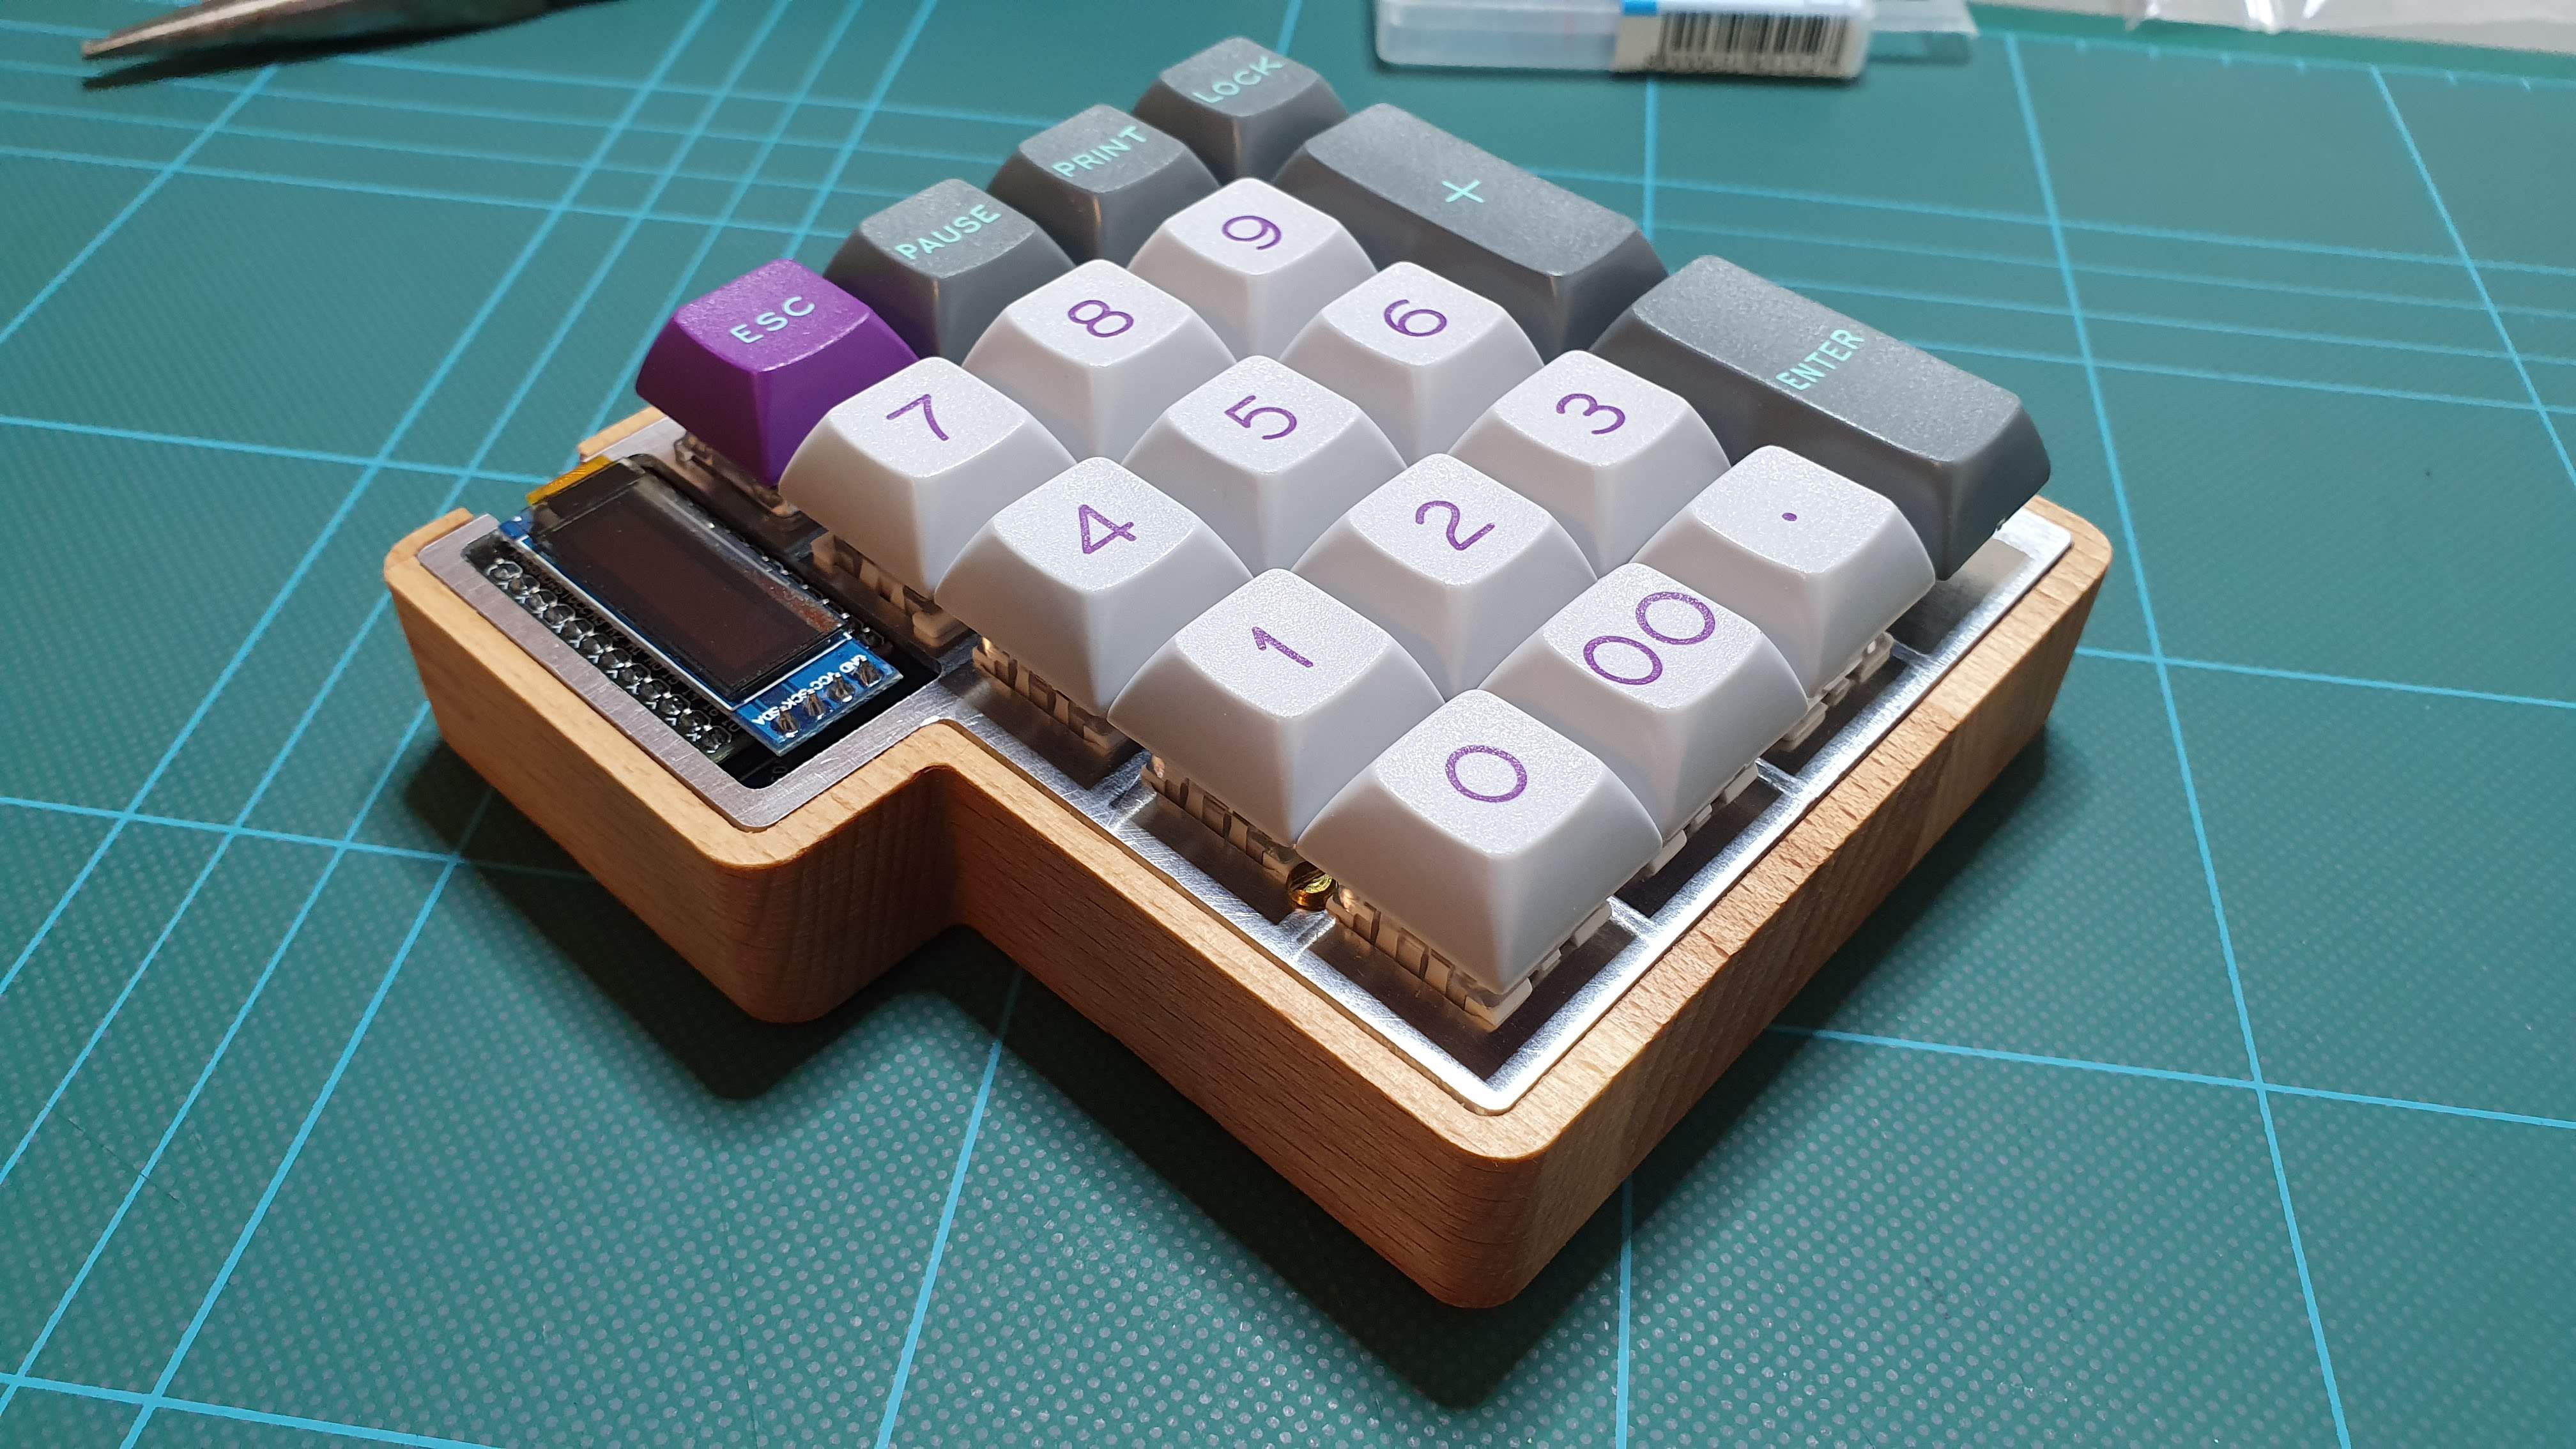
And now I think we can call this project complete.
Time to sum up the project. What would I do differently?
Design wise:
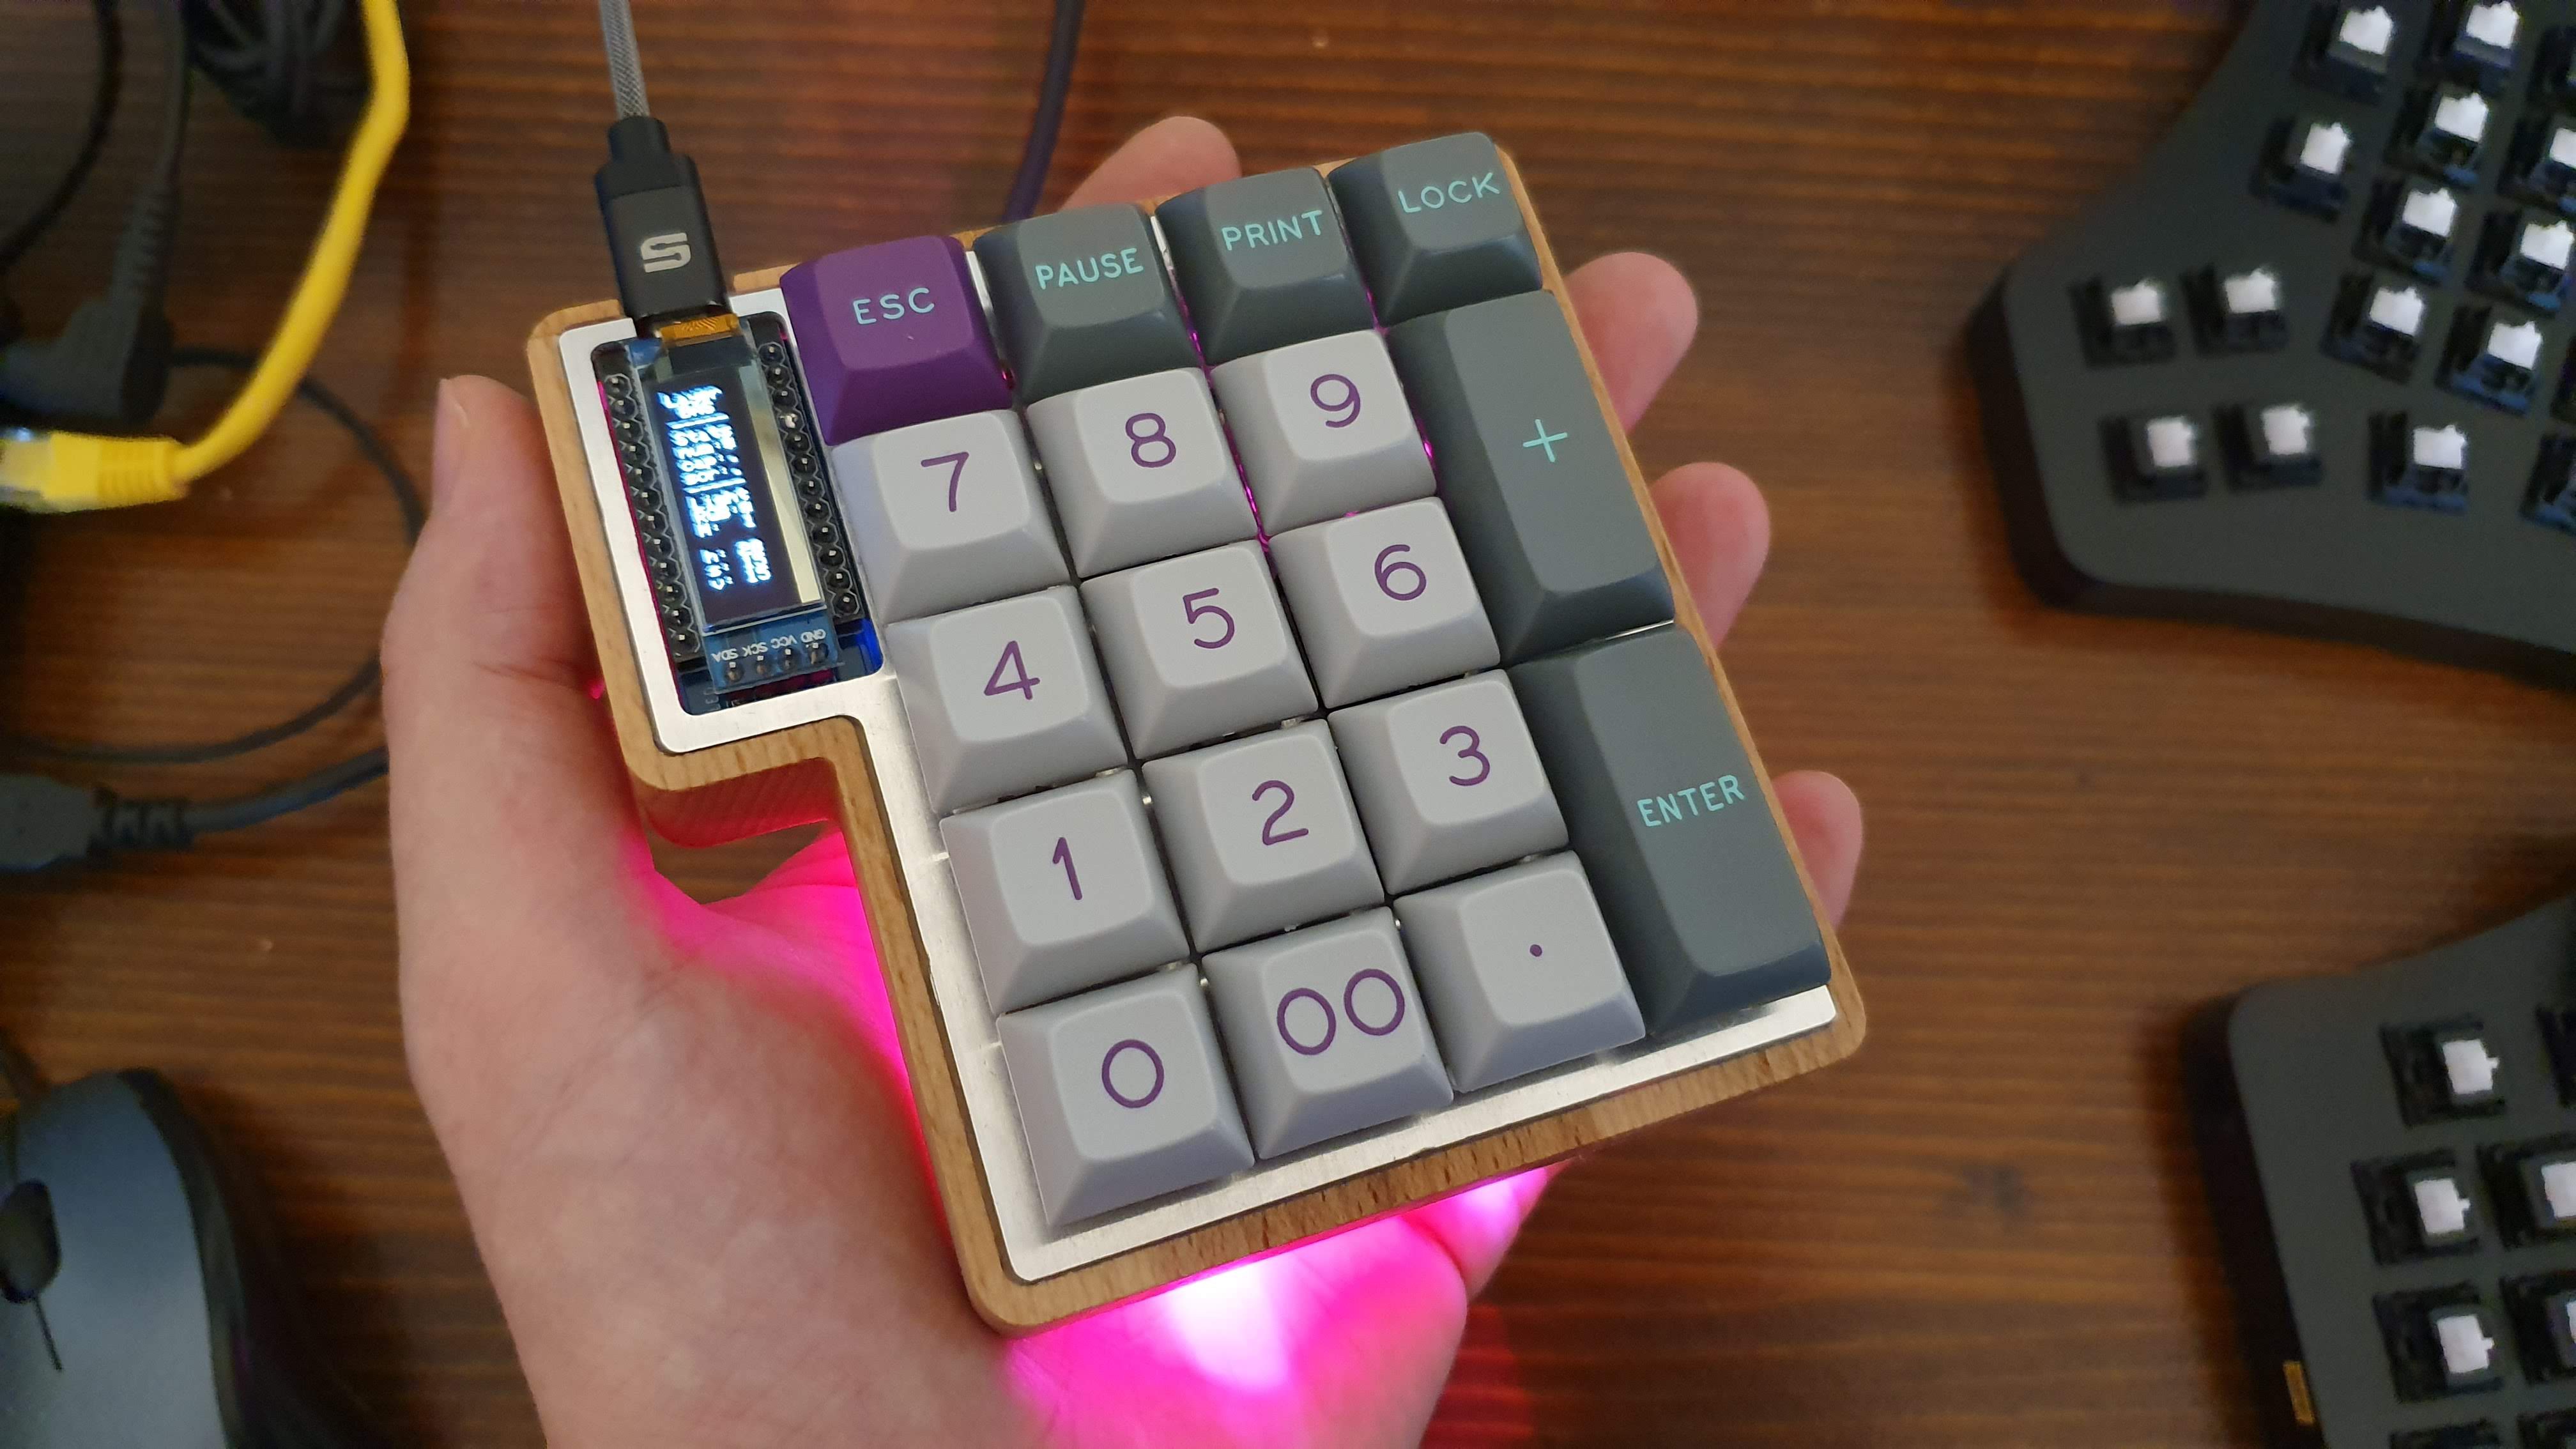
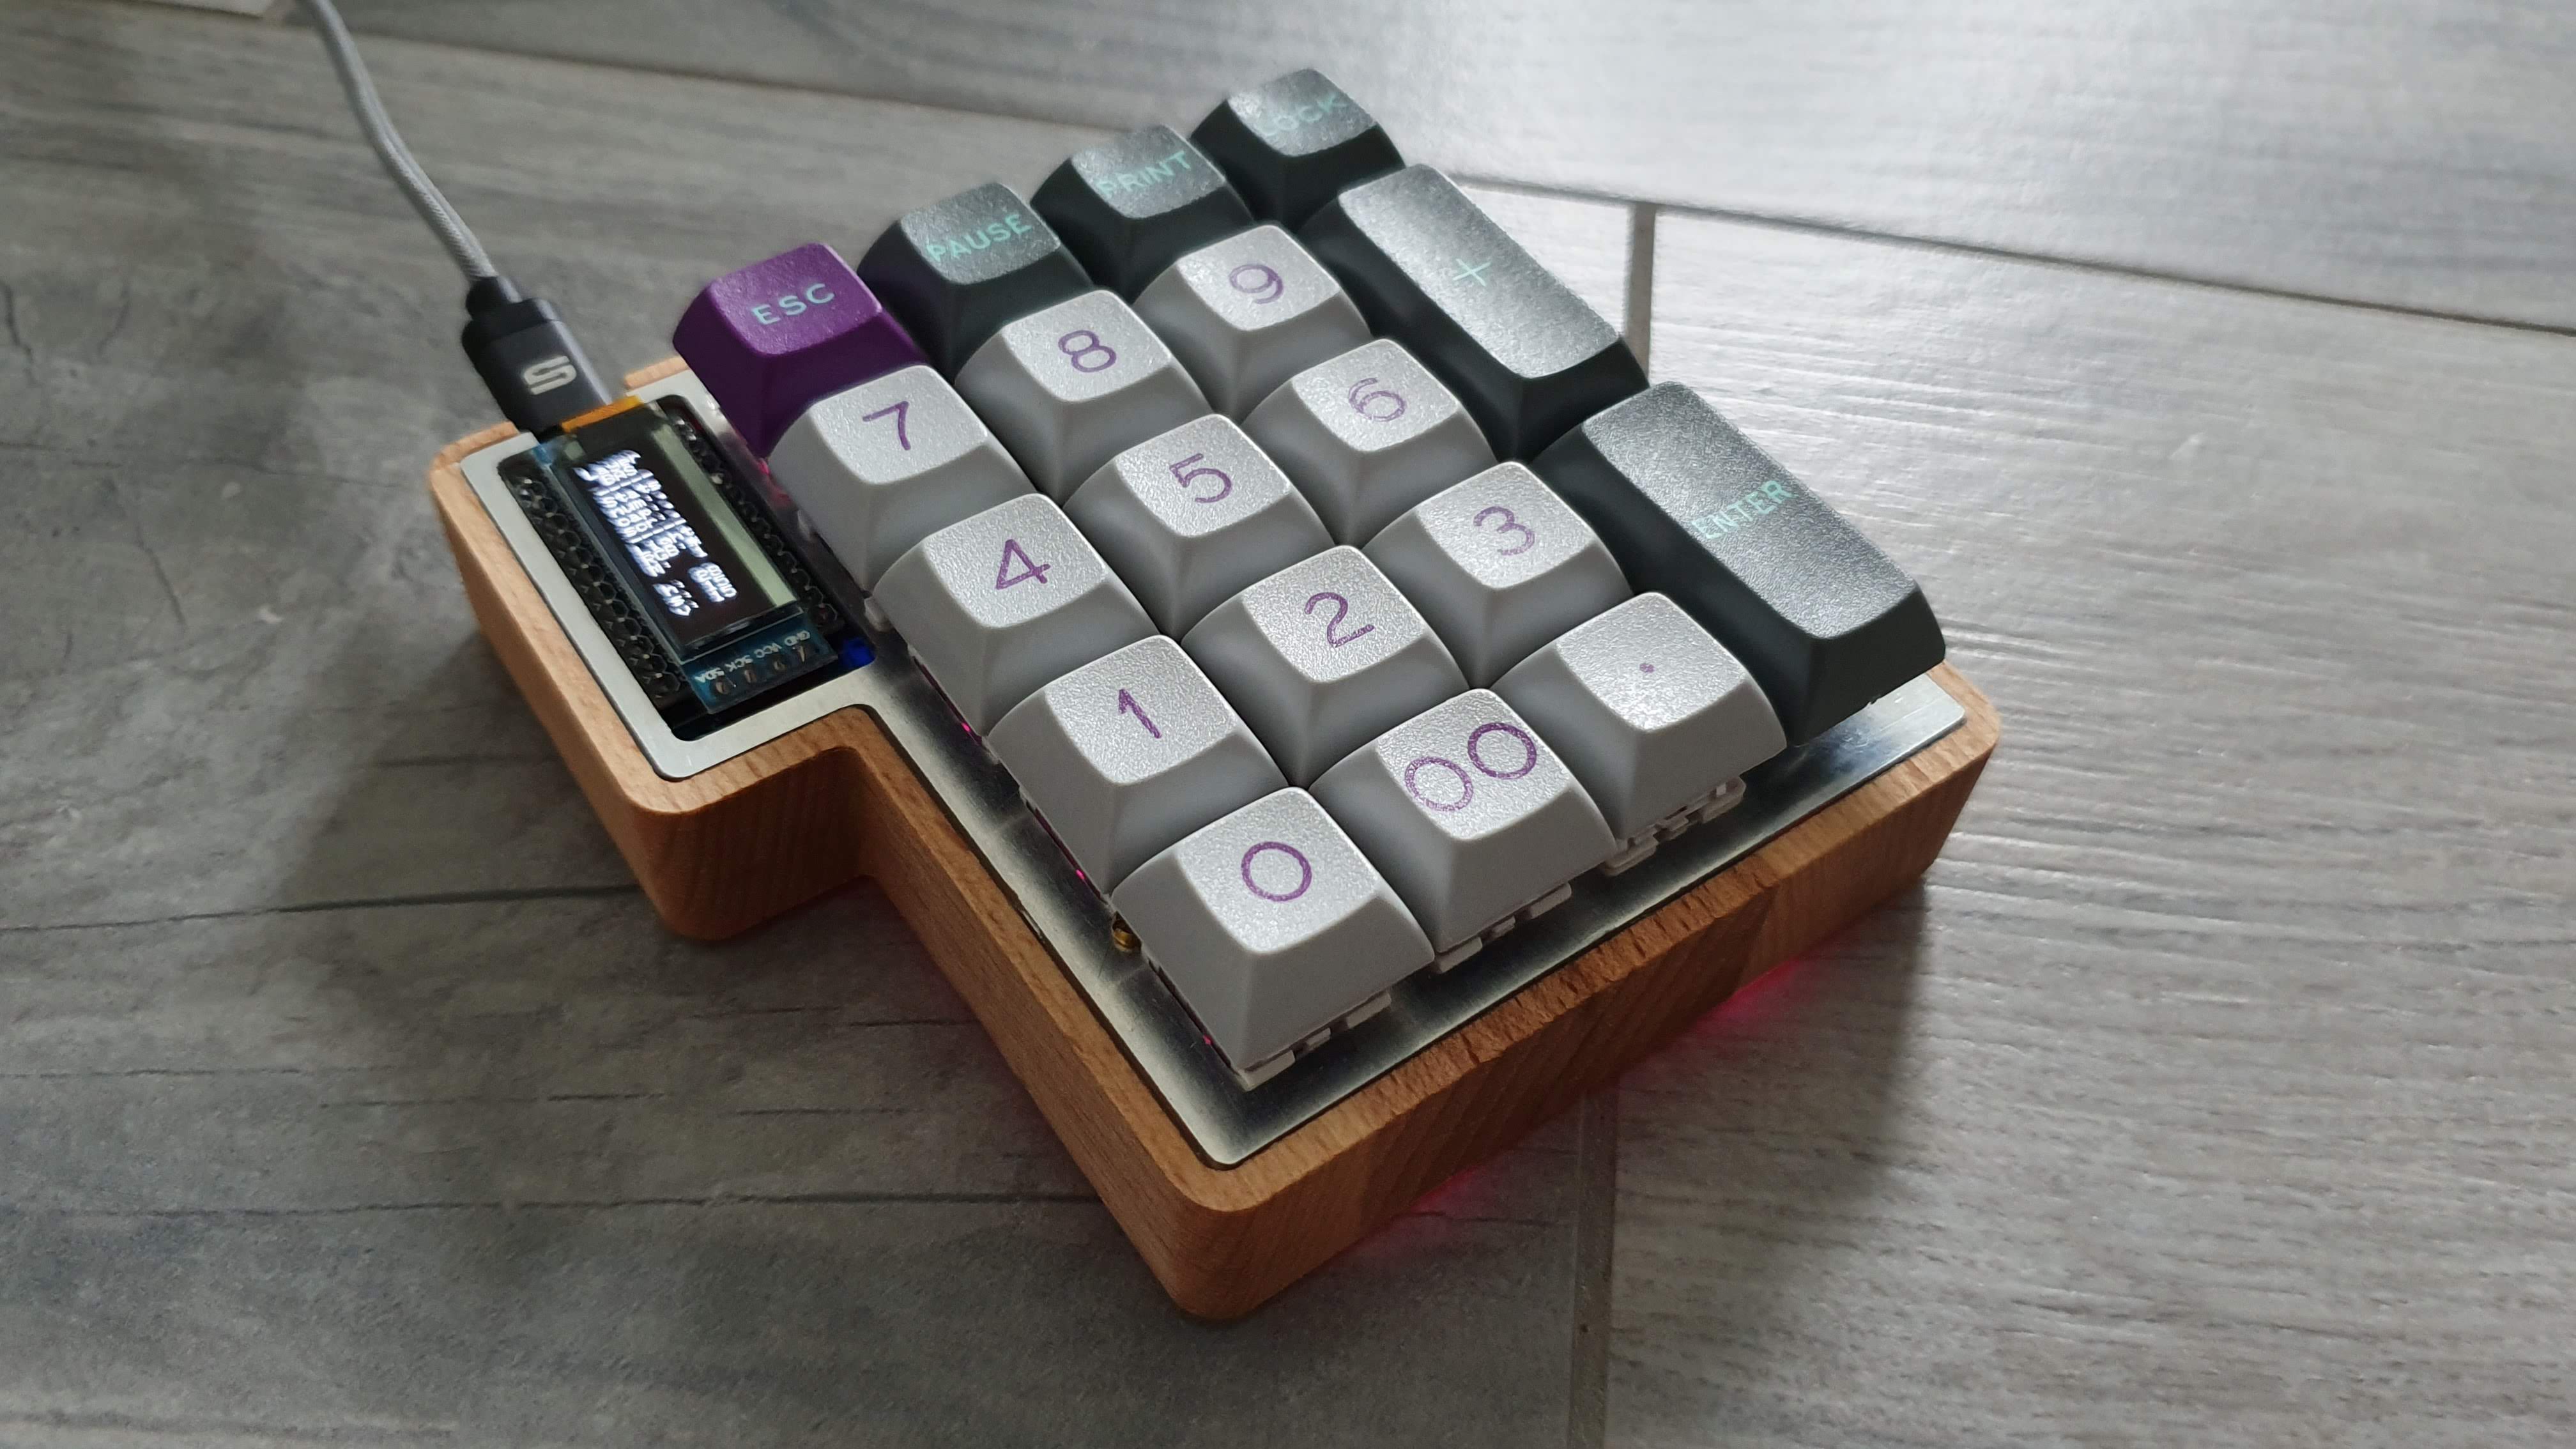
- I would mount the Arduino on the bottom of the PCB so that I can use the same form factor but have a nicer plate. As you can see I had to cut the plate at the top to makie room for the USB connector and there's a strip of aluminium that's way too thin on the right of the OLED screen. Just by mounting the arduino on the bottom I will fix all those problems.
- I would add the option to have one 2U key on the bottom, so that whoever wants to have it can choose to do so.
- I would add a rotary encoder because... why not?
- Enlarge the holes for the RGB lighting.
Regarding materials:
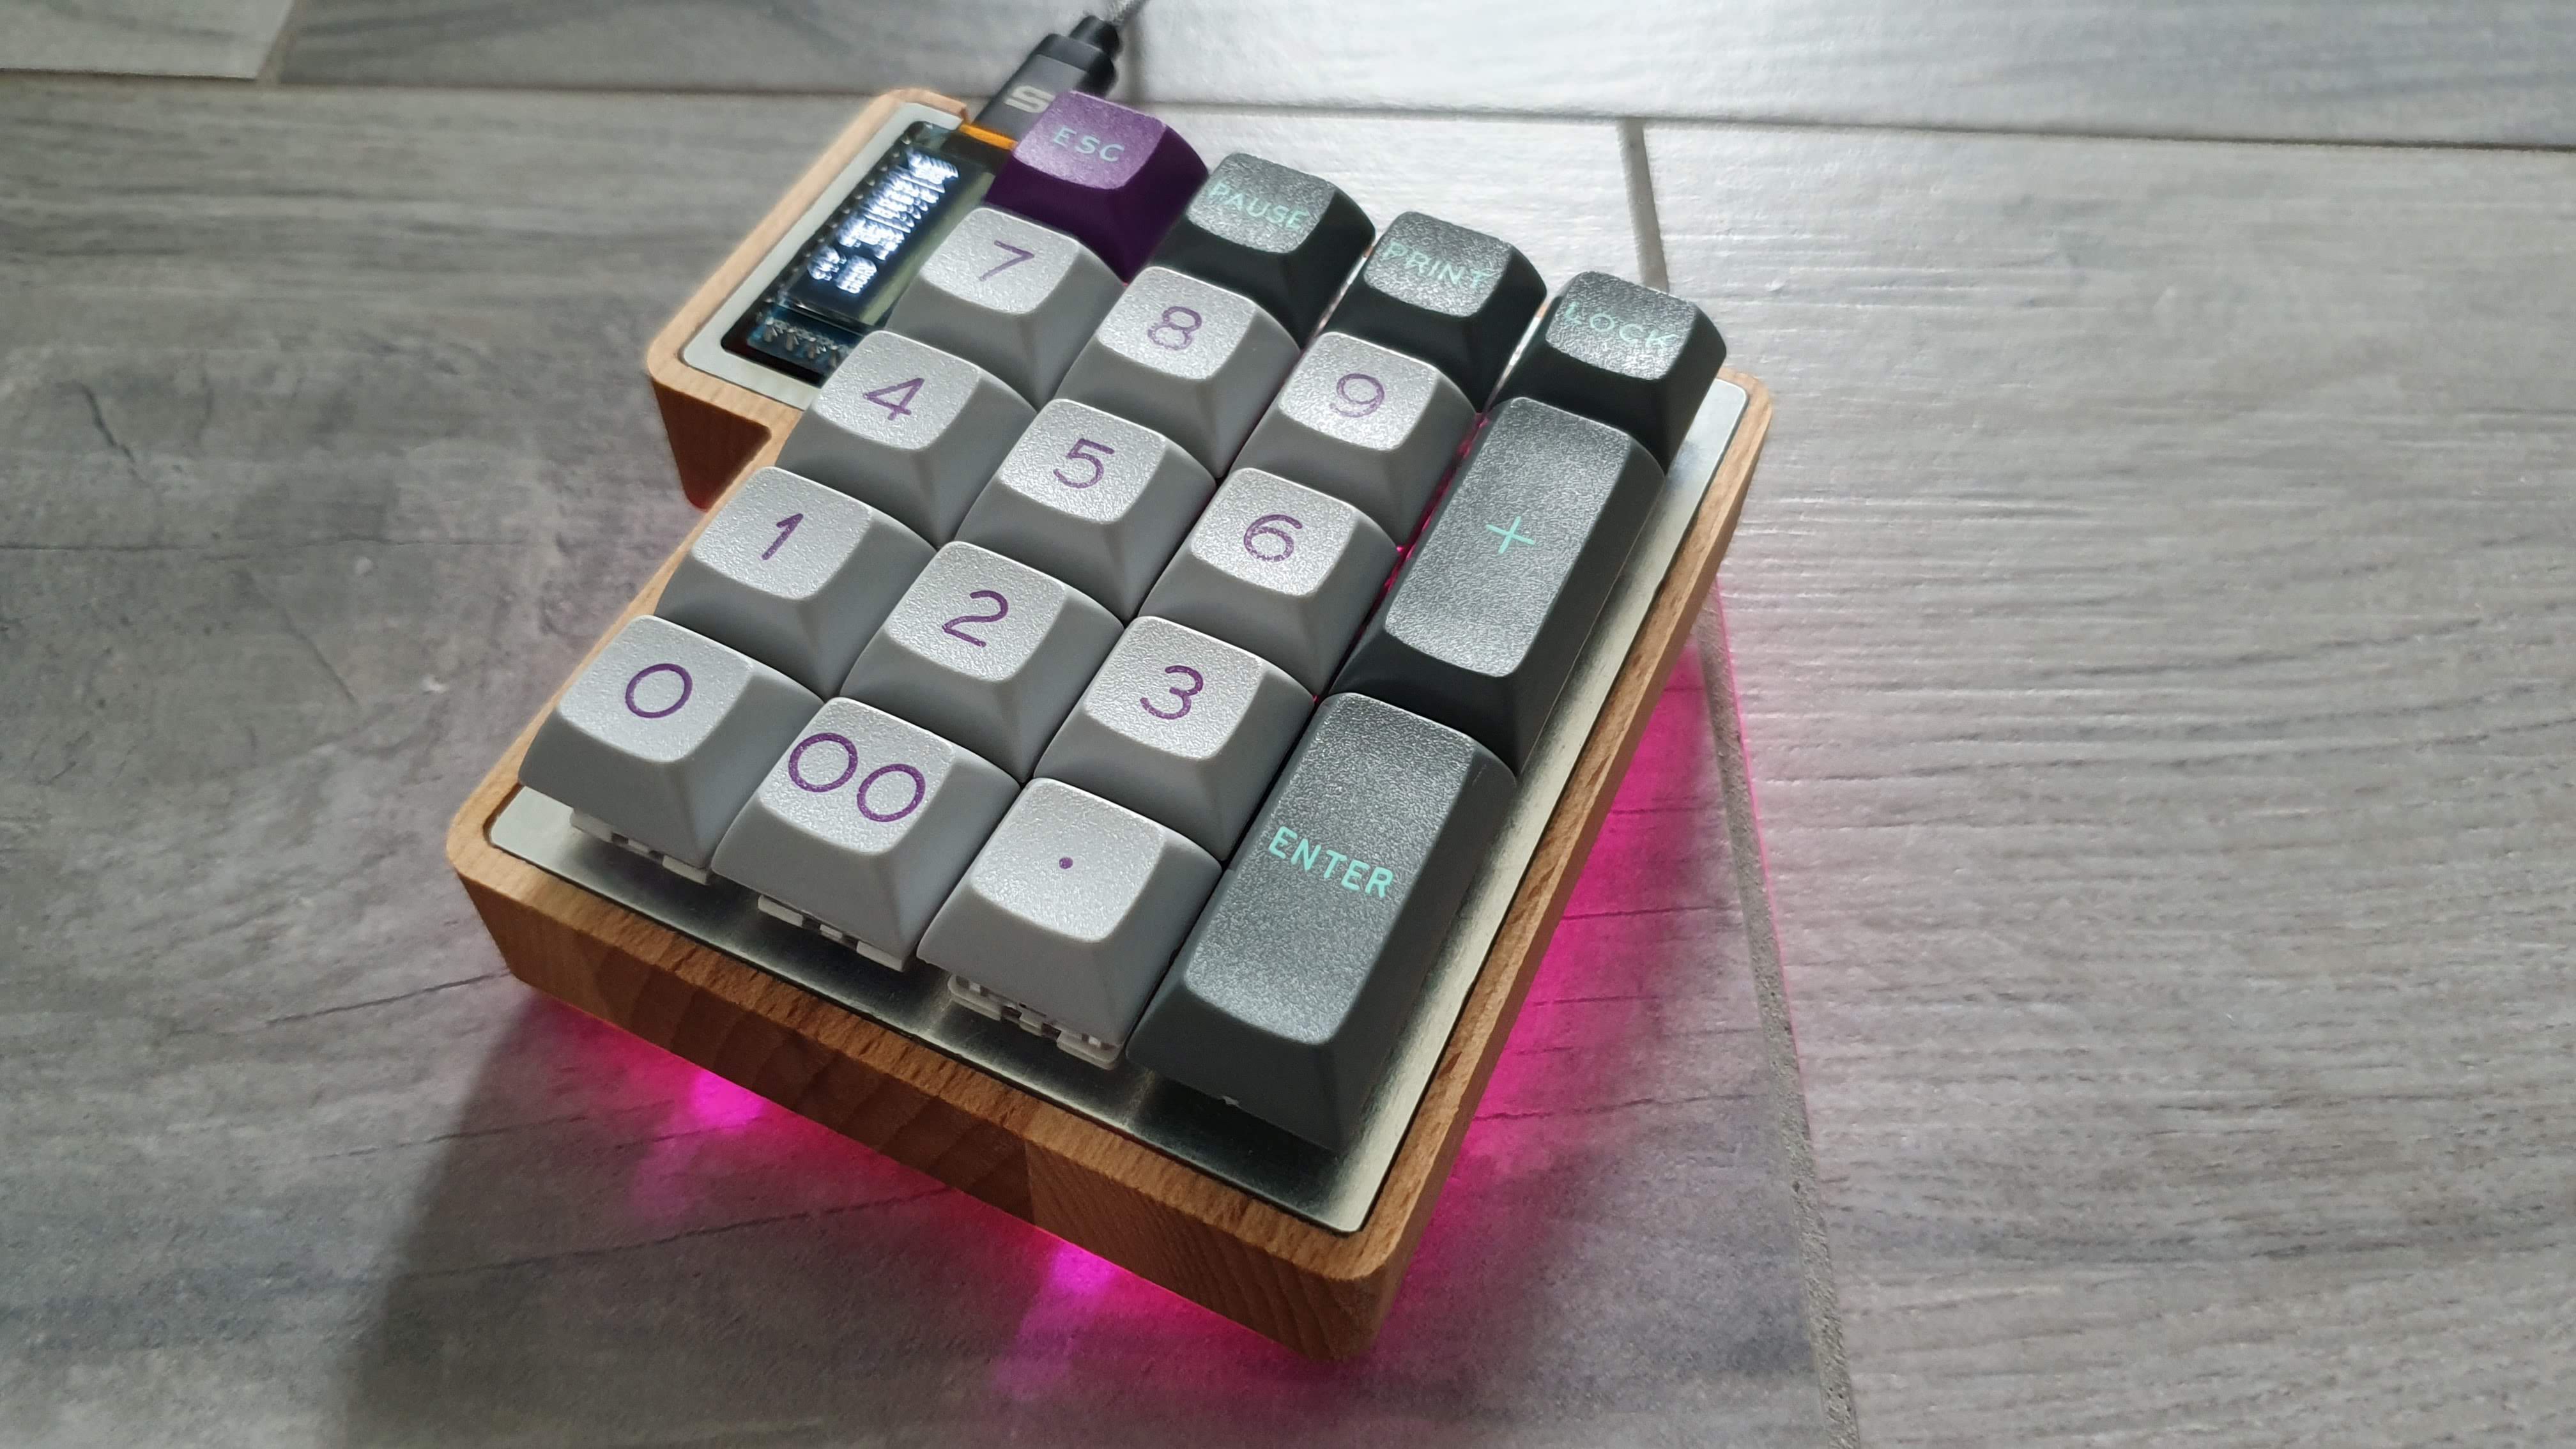
- I should find a way to protect the aluminium from scratches. During milling and related operations I scratched the surface a few time and it shows.
- I would like to wax the wood and make it look super shiny. I didn't do it this time because I was too afraid to ruin everything with a botched finish.
- I should use a thinner material for the case. Here I used a 19mm thick wood, a more sensible choice would be around 15mm maybe lower. I didn't try to fix it with the CNC because it took me 2hr to make the cut and leveling the surface would skyrocket the machining time.
Maybe I'll fix a few of these problems in the next iteration, but for now I'm happy with the results :D
Discussions
Become a Hackaday.io Member
Create an account to leave a comment. Already have an account? Log In.