 Dmitriy
In this project I am building quad copter with 250mm frame and Raspberry Pi 2 with Navio2 for flight controller. I no nothing about drones and uavs, that is why I am doing everything step-by-step with the help of manuals and forums.
0%
0%
My first copter build with RPi2 and Emlid Navio2
Focused on making clear every building step with helpful links and tips for total noobs (like me) who wants to get started with drones
Become a Hackaday.io member
Already have an account? Log in.
Just one more thing
To make the experience fit your profile, pick a username and tell us what interests you.
Pick an awesome username
hackaday.io/
Your profile's URL: hackaday.io/username. Max 25 alphanumeric characters.
Pick a few interests
Projects that share your interests
People that share your interests


 Michael Pick
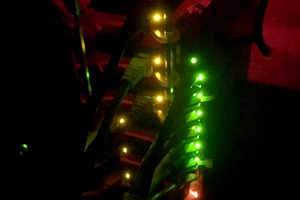


 haltux
Best!
Also Check: https://menuprices.my/fowlboys-menu/