The original Zerobot has become quite popular with well over 20.000 downloads on Thingiverse. Because of that I kept on improving the code and adding more features over the past two years. Now I wanted to build something new, based on the web interface of the Zerobot. One option was to switch from the Raspberry Pi Zero to a Pi 3B+, but that wouldn't have changed anything apart from increased size and performance. Instead, I decided to make the robot smaller by using an ESP32. With the change from a linux computer to a microcontroller comes an obvious decrease in processing power.
The ESP32 is an increadibly powerful µC though. After reading this article by Mudassar Tamboli I was convinced that streaming is possible:
https://medium.com/@mudassar.tamboli/esp32-ov7670-websocket-video-camera-26c35aedcc64
The example uses the OV7670 and is based on Bitluni's ESP32 I2S camera code: (https://github.com/bitluni/ESP32CameraI2S), which is again based on Ivan Grokhotkov's ESP32 Camera Demo (https://github.com/igrr/esp32-cam-demo).
I found that streaming at QQVGA (160x120px) works very well. The resolution is terrible compared to modern standards, but usable for navigating around on a desk. Here's a snapshot:

Instead of an encoded stream, the individual pixel values are transmitted via a websocket-server to the client. The same websocket is used for controlling the robot. On the client side, javascript assembles the pixels to a full image and displays it in a html file. This html file is sent from the ESP32, so no additional software is needed.
After I had a working prototype, I went on to design the PCB. It includes a FT232 module for programming the ESP32 a LiPo charger and a DRV8833 motor controller. The camera is directly soldered to the board to reduce the overall size of the robot.
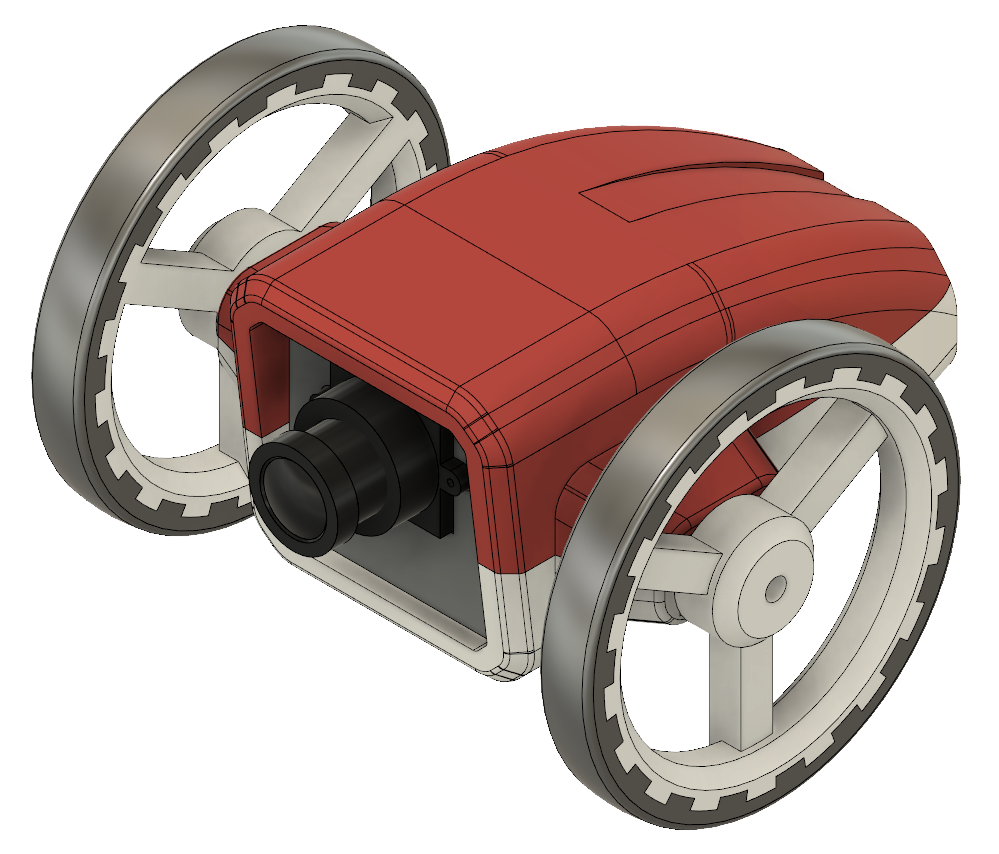
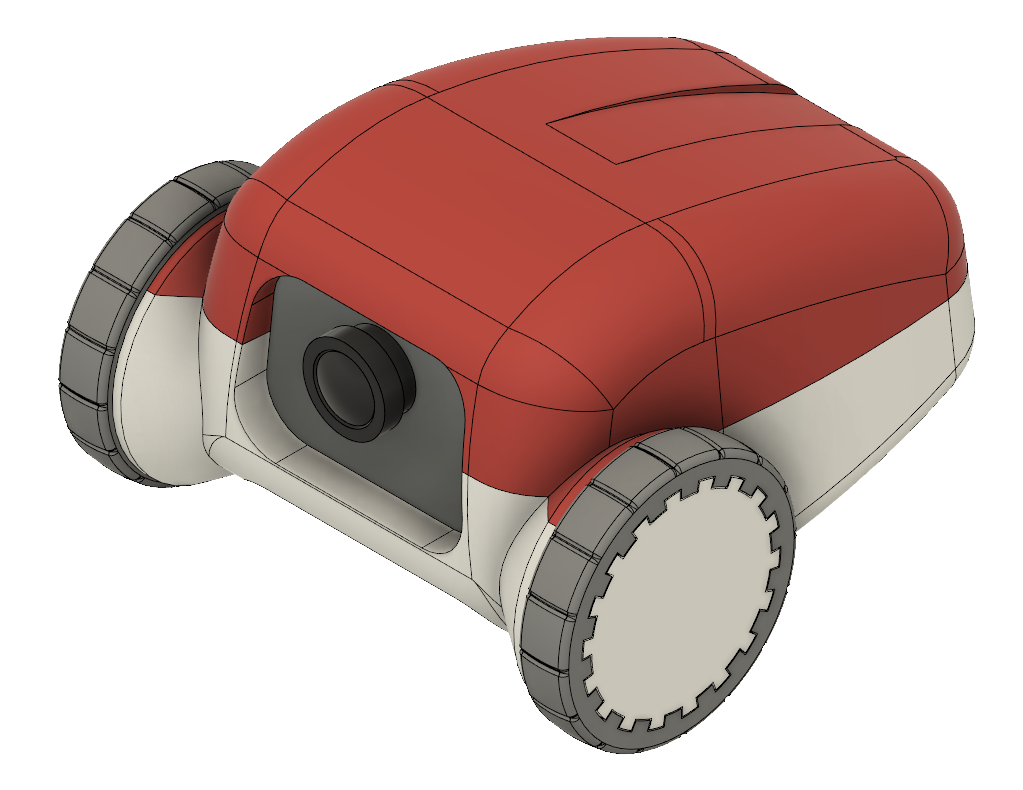
While waiting for the PCBs to arrive from Aisler, I designed and printed a chassis. I would have liked to make the robot even smaller but the OV7670 is gigantic compared to the Arduino camera. I went through different designs before the robot ended up looking like it does now. This design was scrapped entirely:

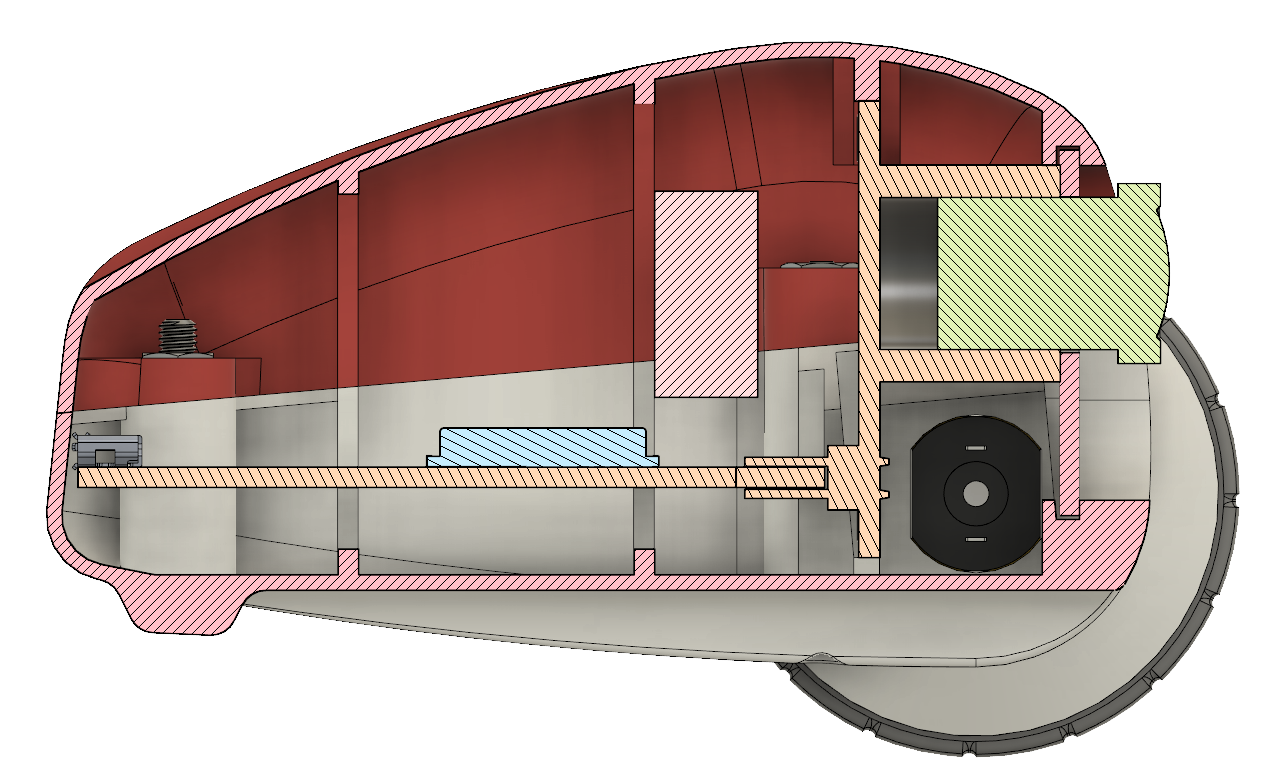
There are again two shells that are 3D printed with the inside facing the print bed. I had to move the motors under the camera, this makes it possible to use smaller wheels. I still favor the more simplistic design of the Zerobot, but with the OV7670 this was as much as I could do. The remaining empty space in the chassis can be used for bigger batteries or other add-ons. It might even be possible to fit a regular ESP32 dev board inside instead of my PCB.


 Max.K
Max.K
Discussions
Become a Hackaday.io Member
Create an account to leave a comment. Already have an account? Log In.