 Mike Szczys
When mounting the plywood I cut a hole for the outlet, but I don't want it to actually show through the facade. When laying out the bottom few layers of boards I made sure that two of them lined up well for access and I didn't glue these in place.
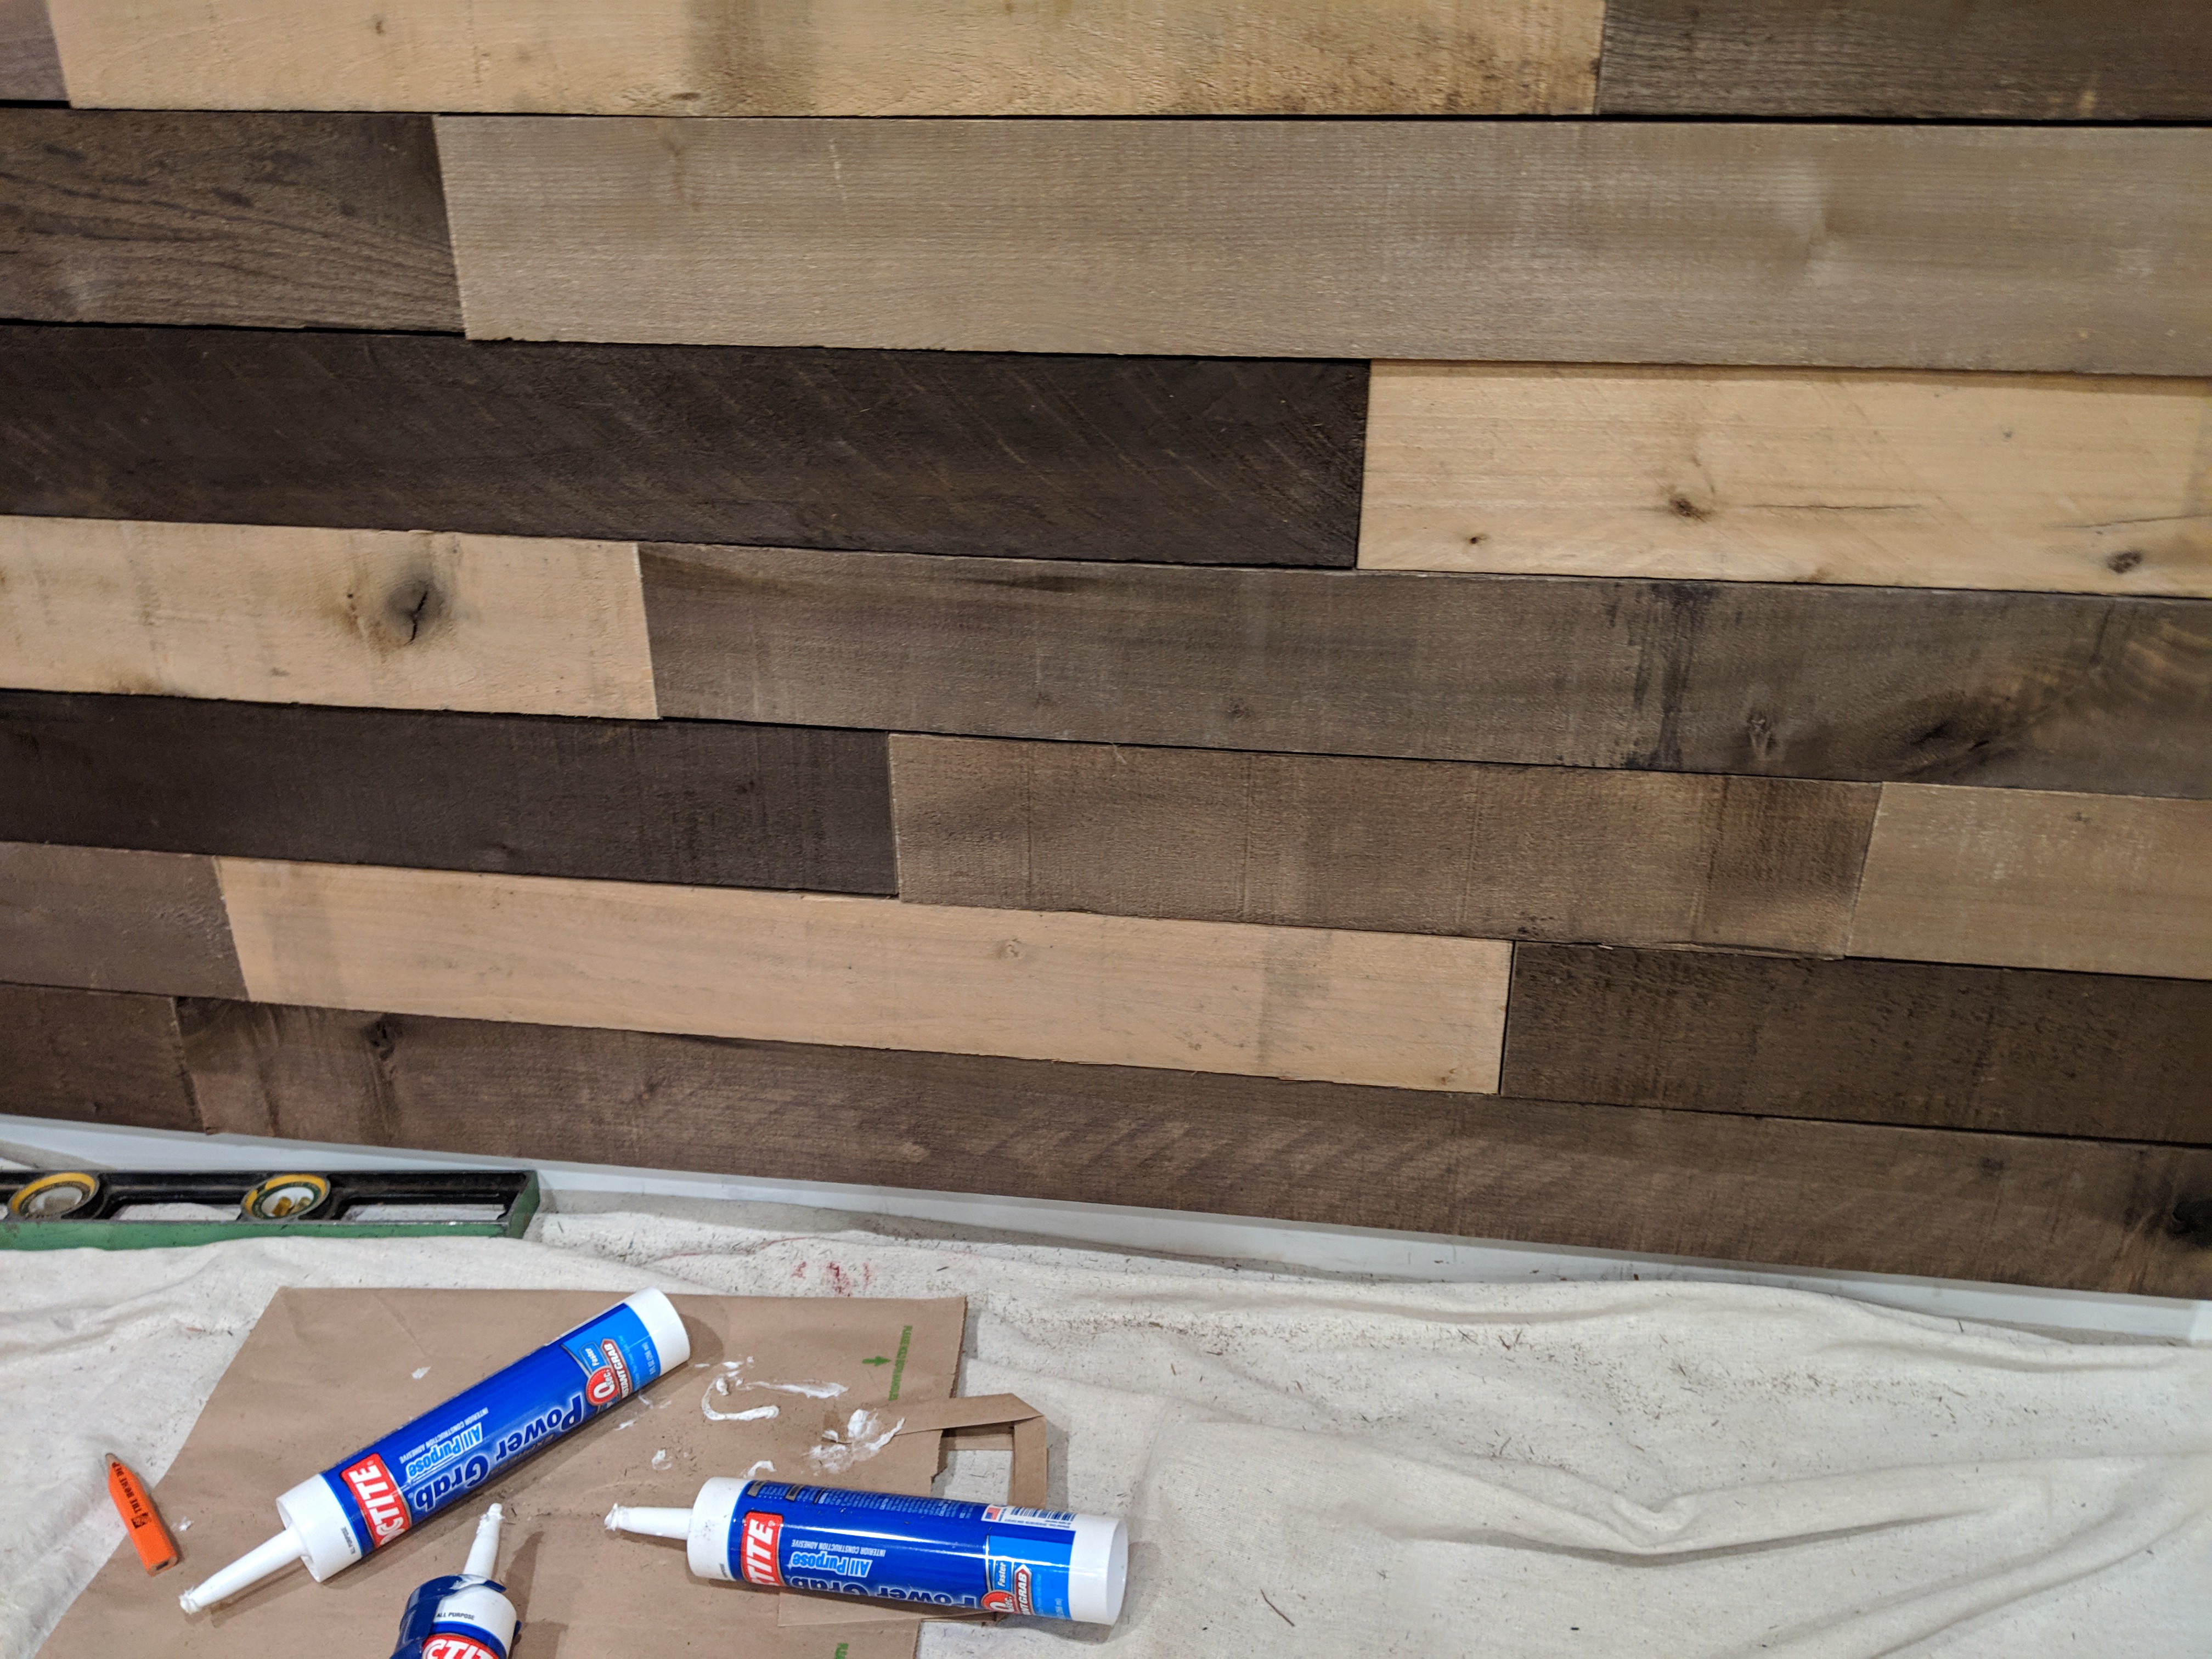
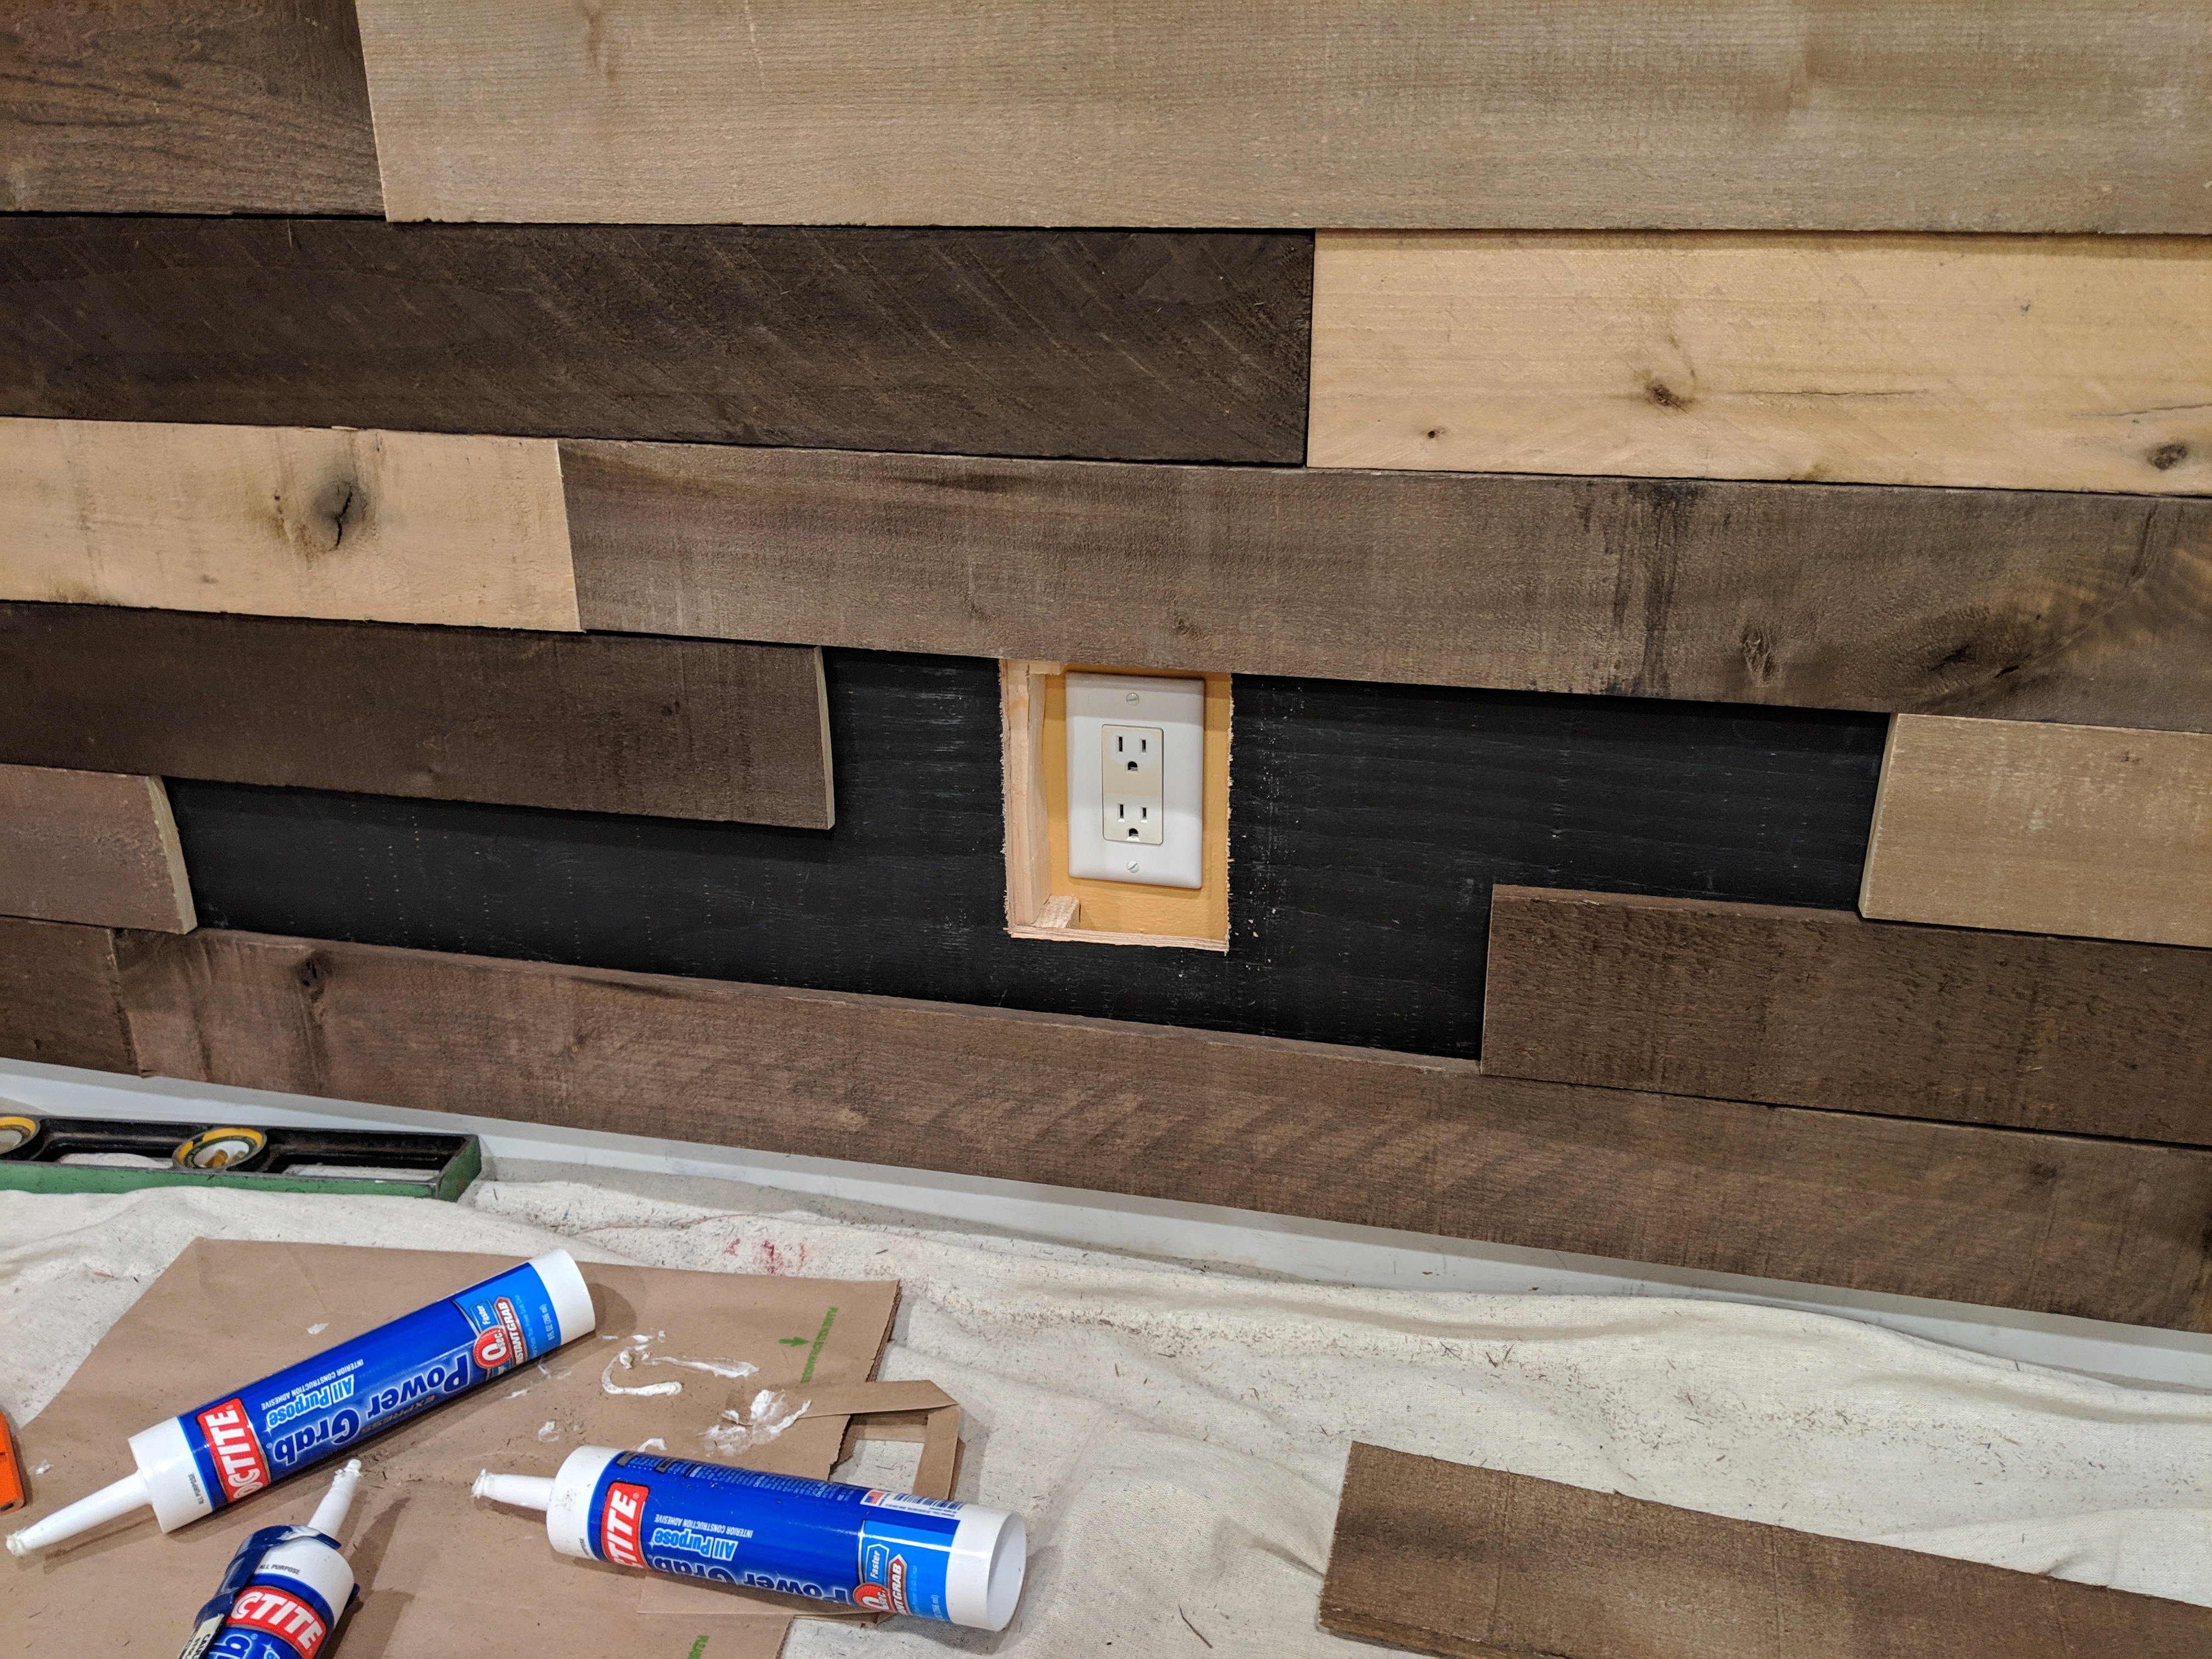
These stay in place okay by themselves, I really just need to make sure they don't fall out if someone bumps the wall, or walks by with heavy feet. I had some rare-earth magnets hanging around and set out to make them work as follows:
- Flat screw heads in the plywood will give the magnets something to grip, and this allows for a bit of adjustability
- Magnets should be countersunk in the back of the weathered boards.
Installation technique:
Drill and countersink the screws:
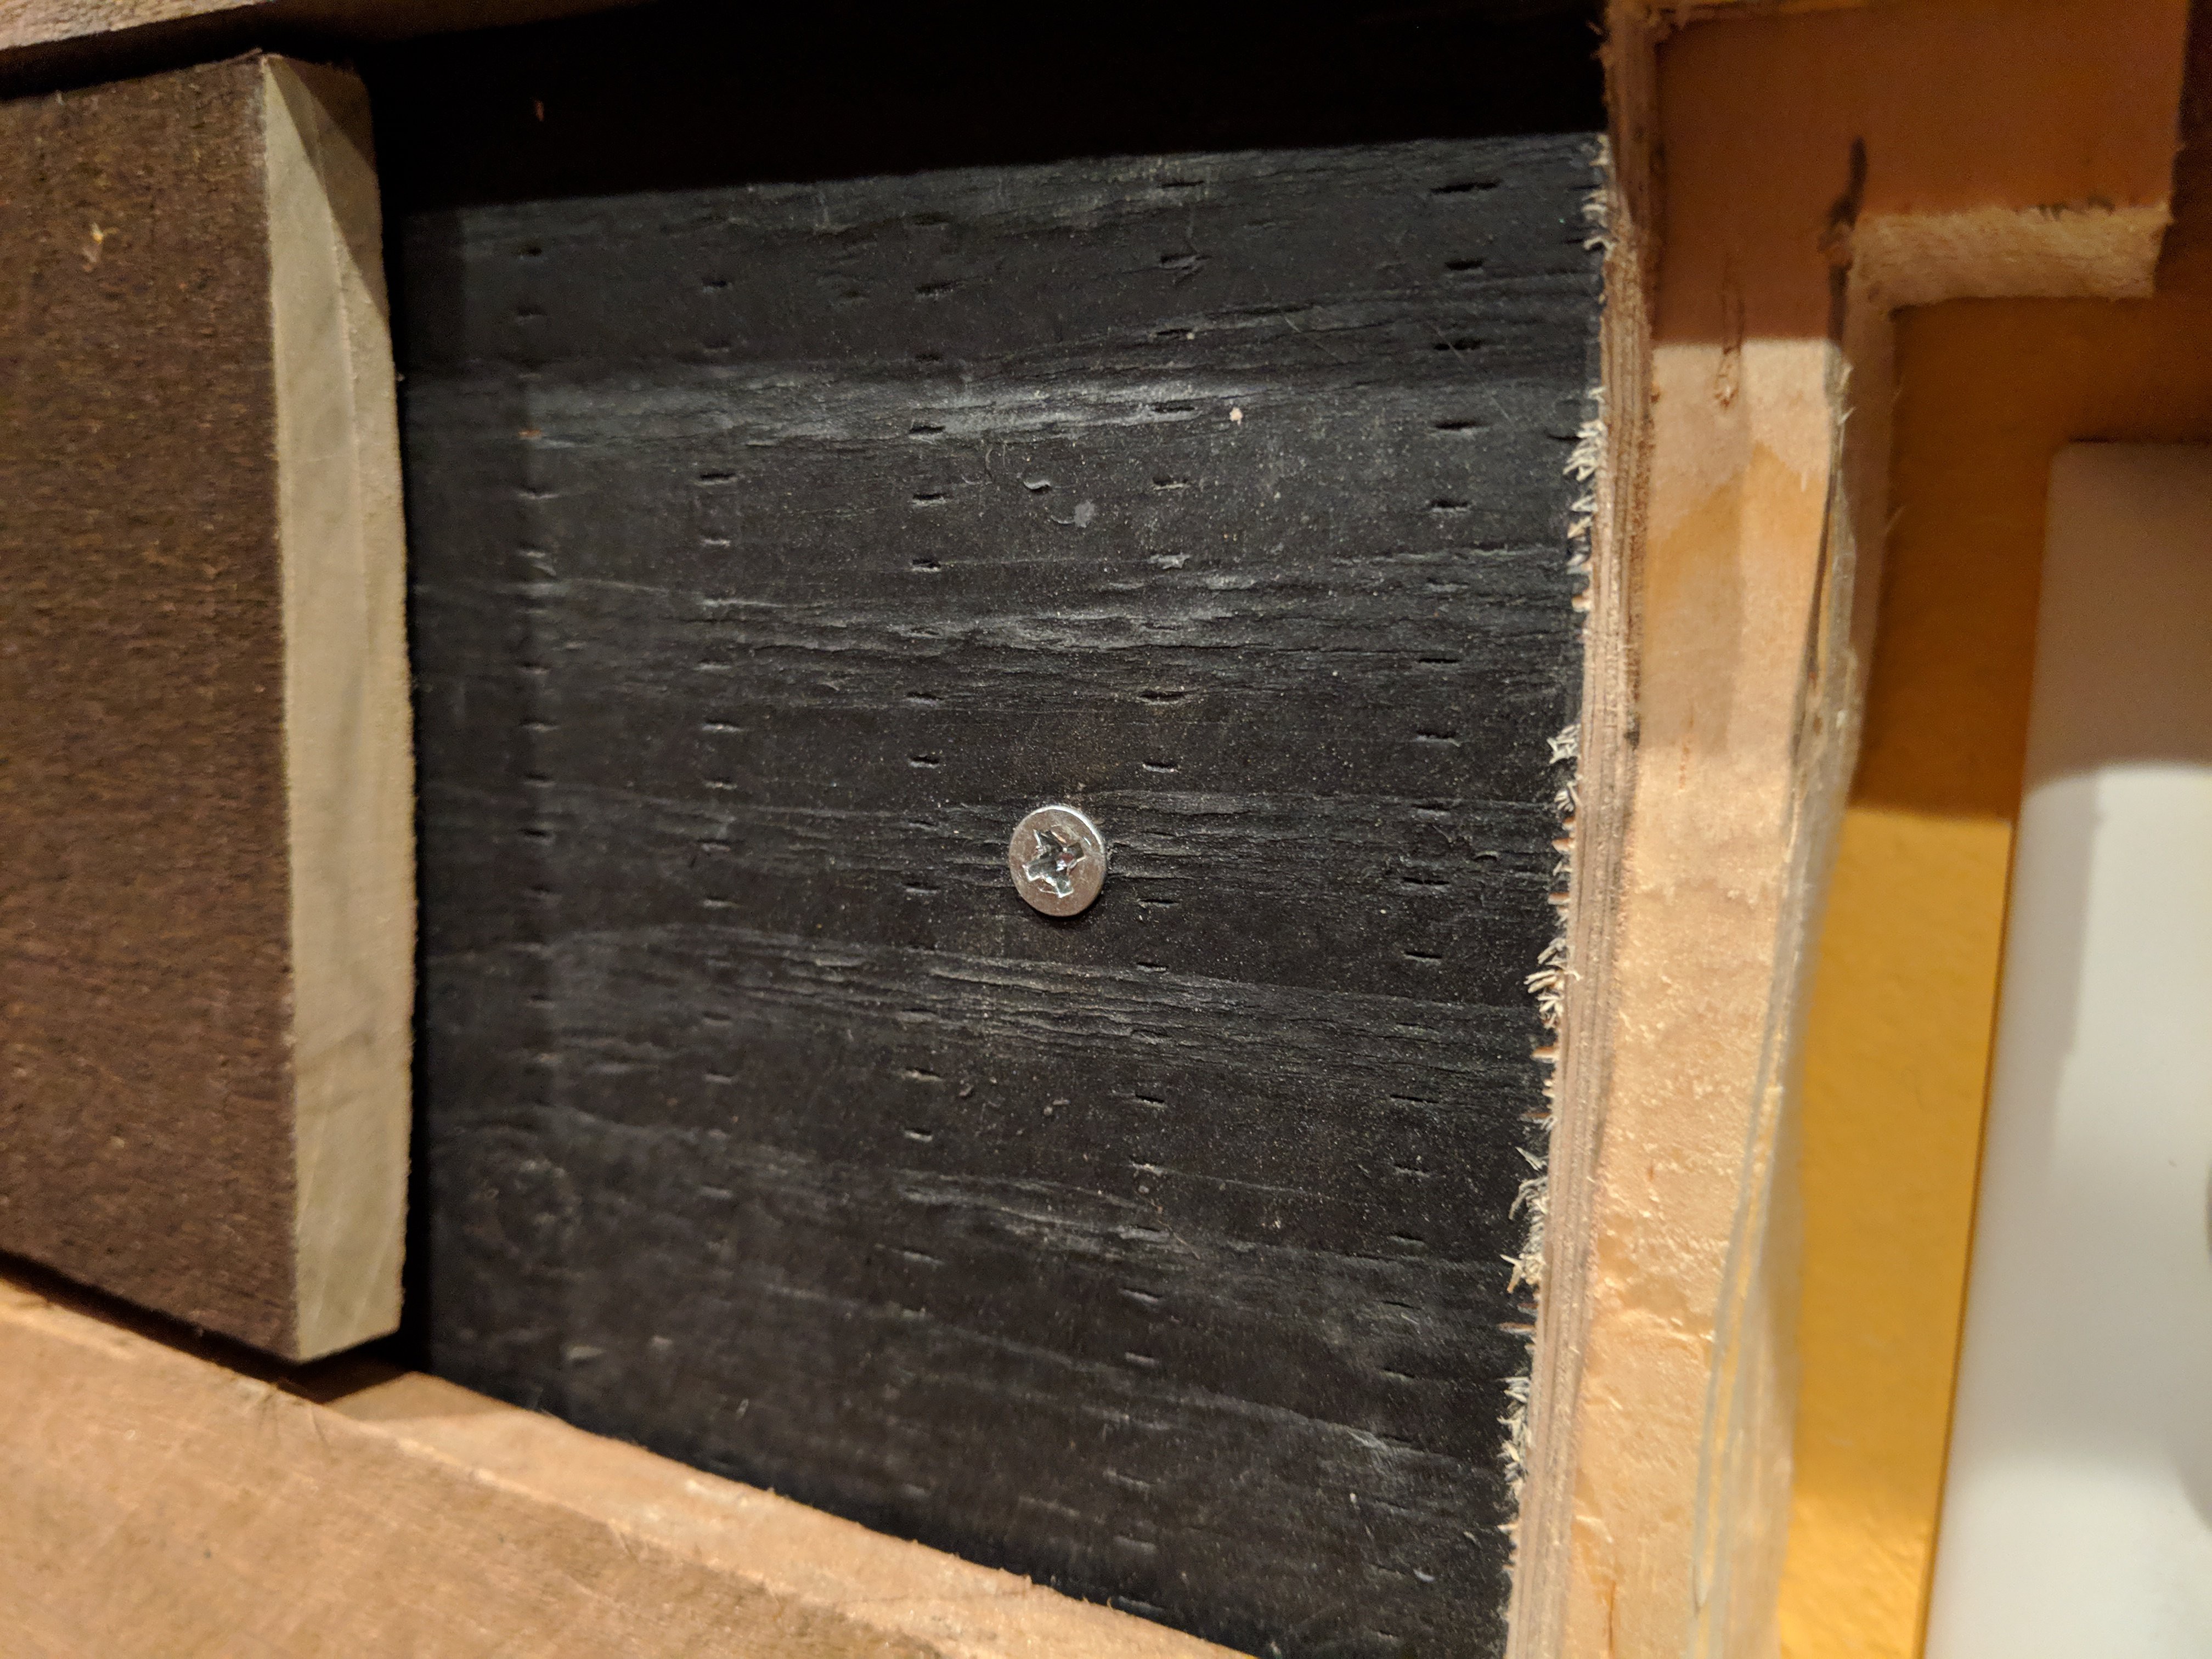
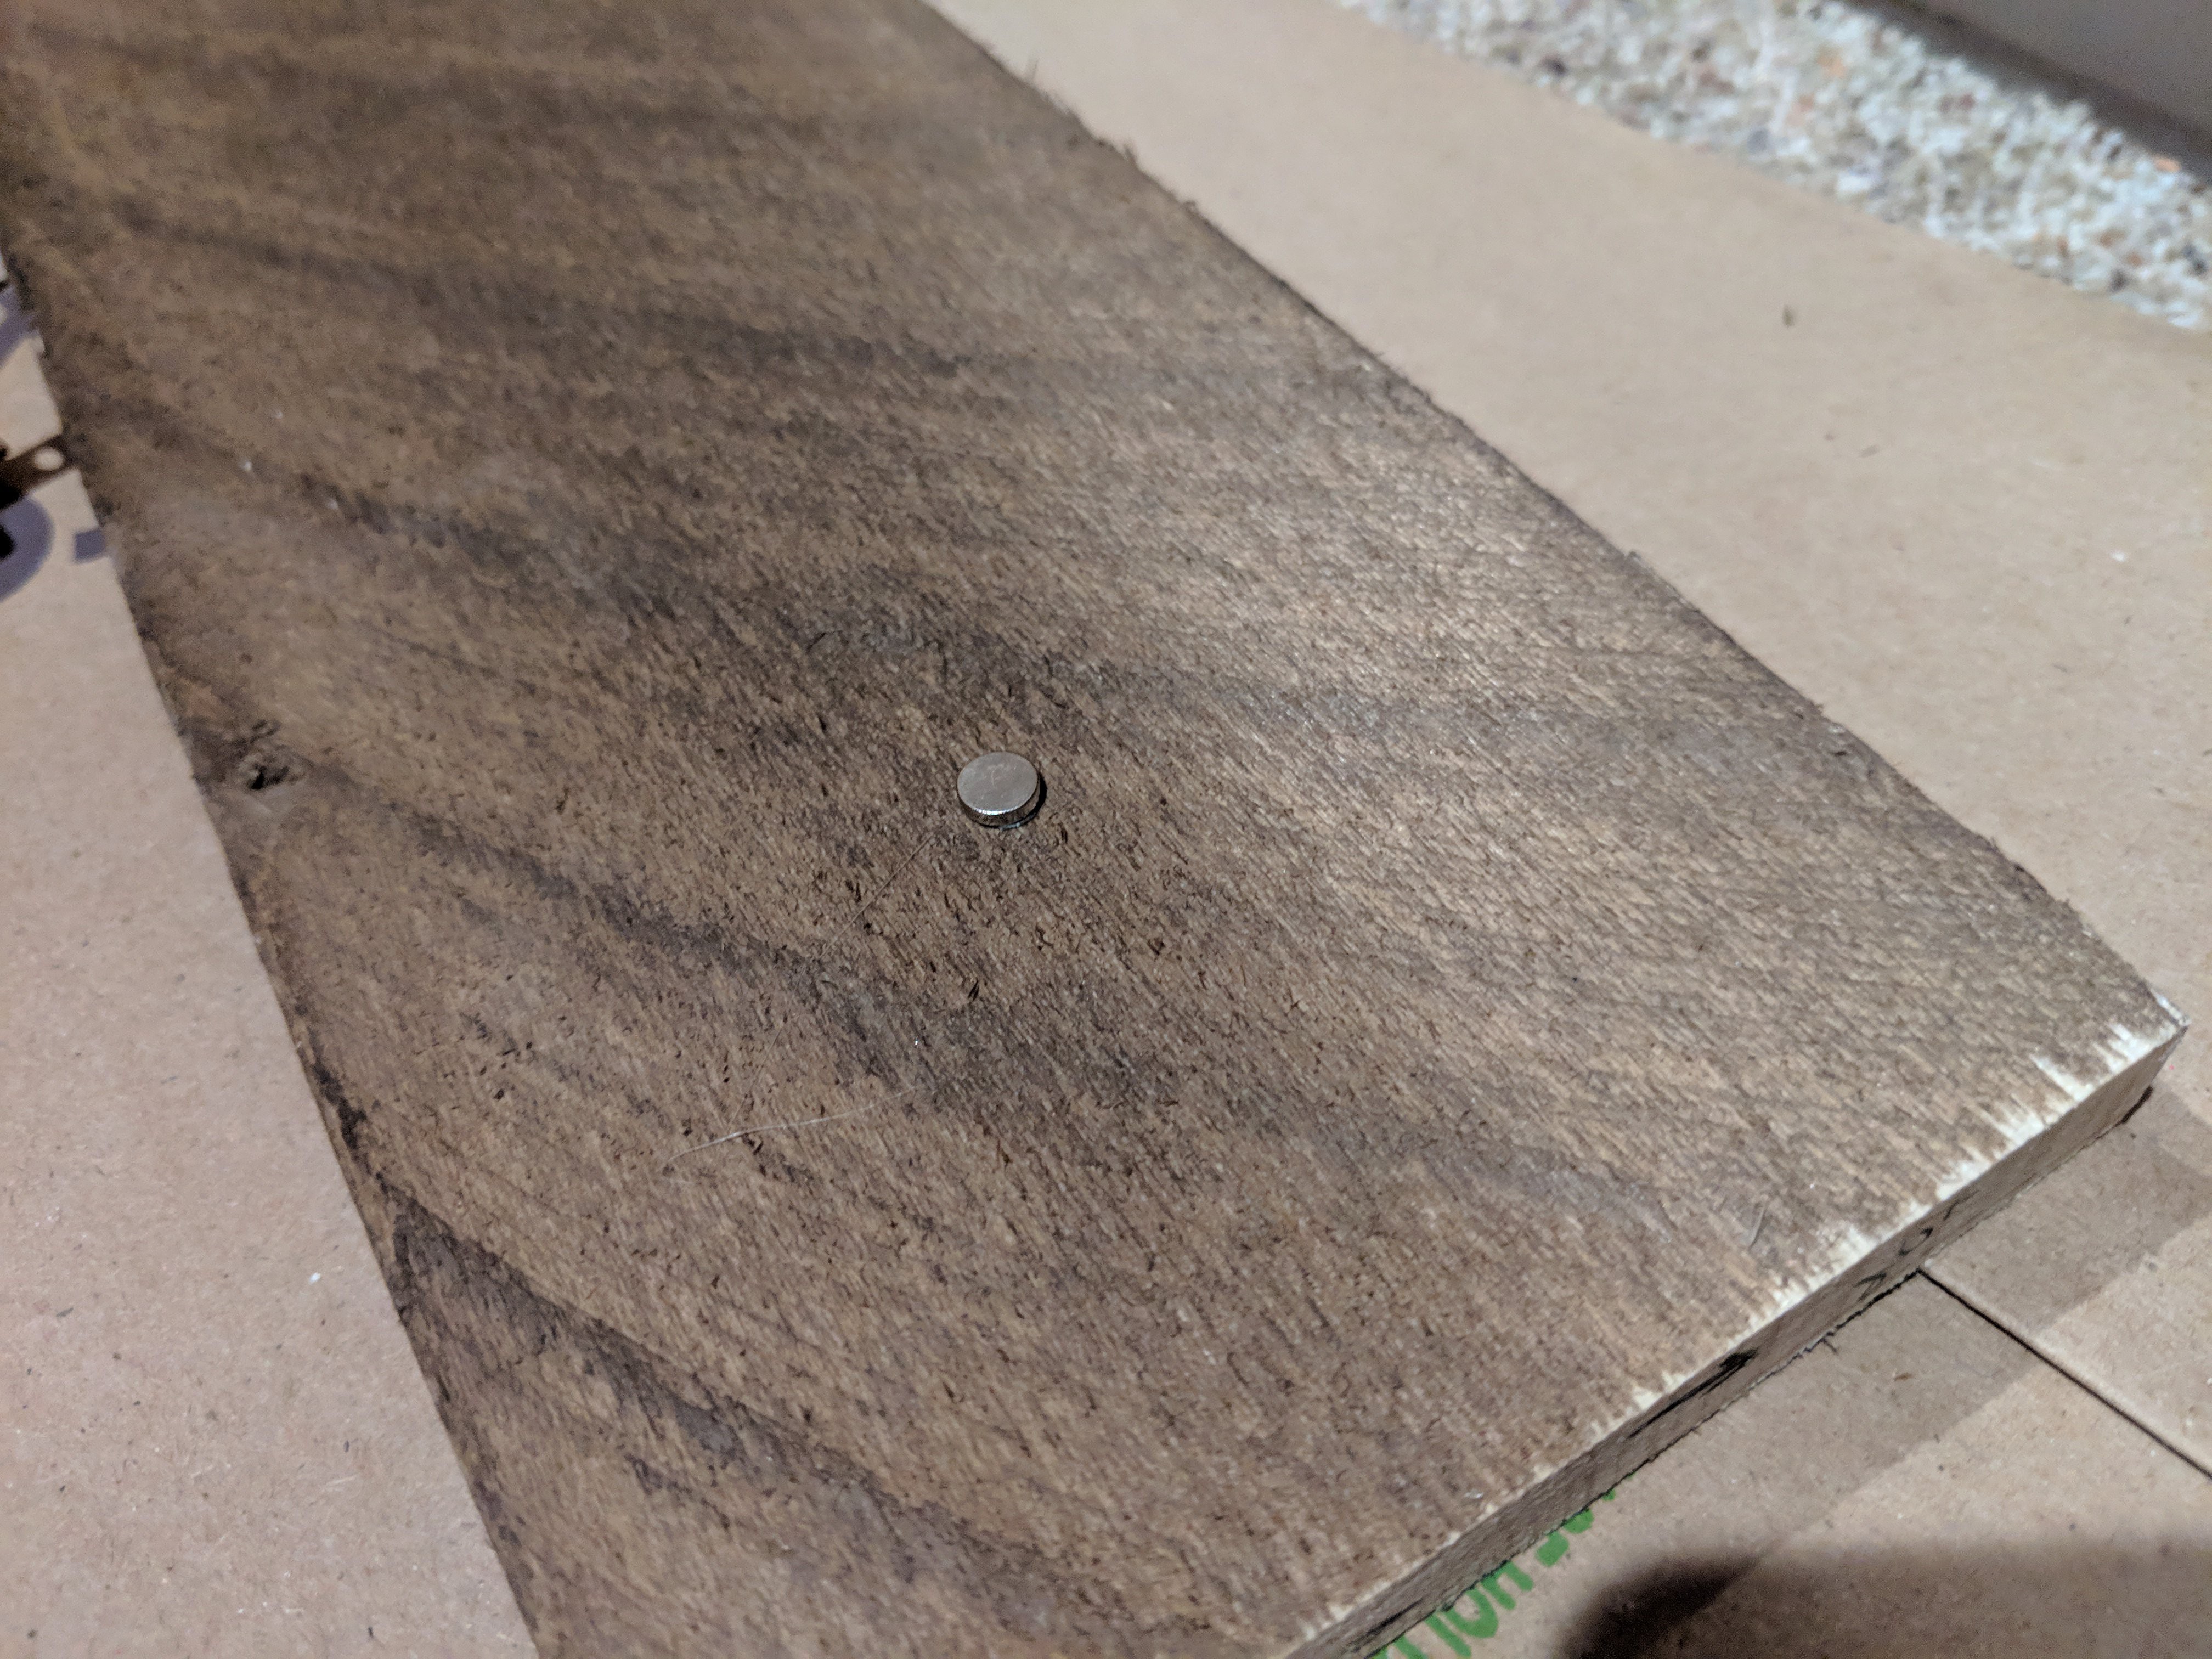
Place magnets on the screws:
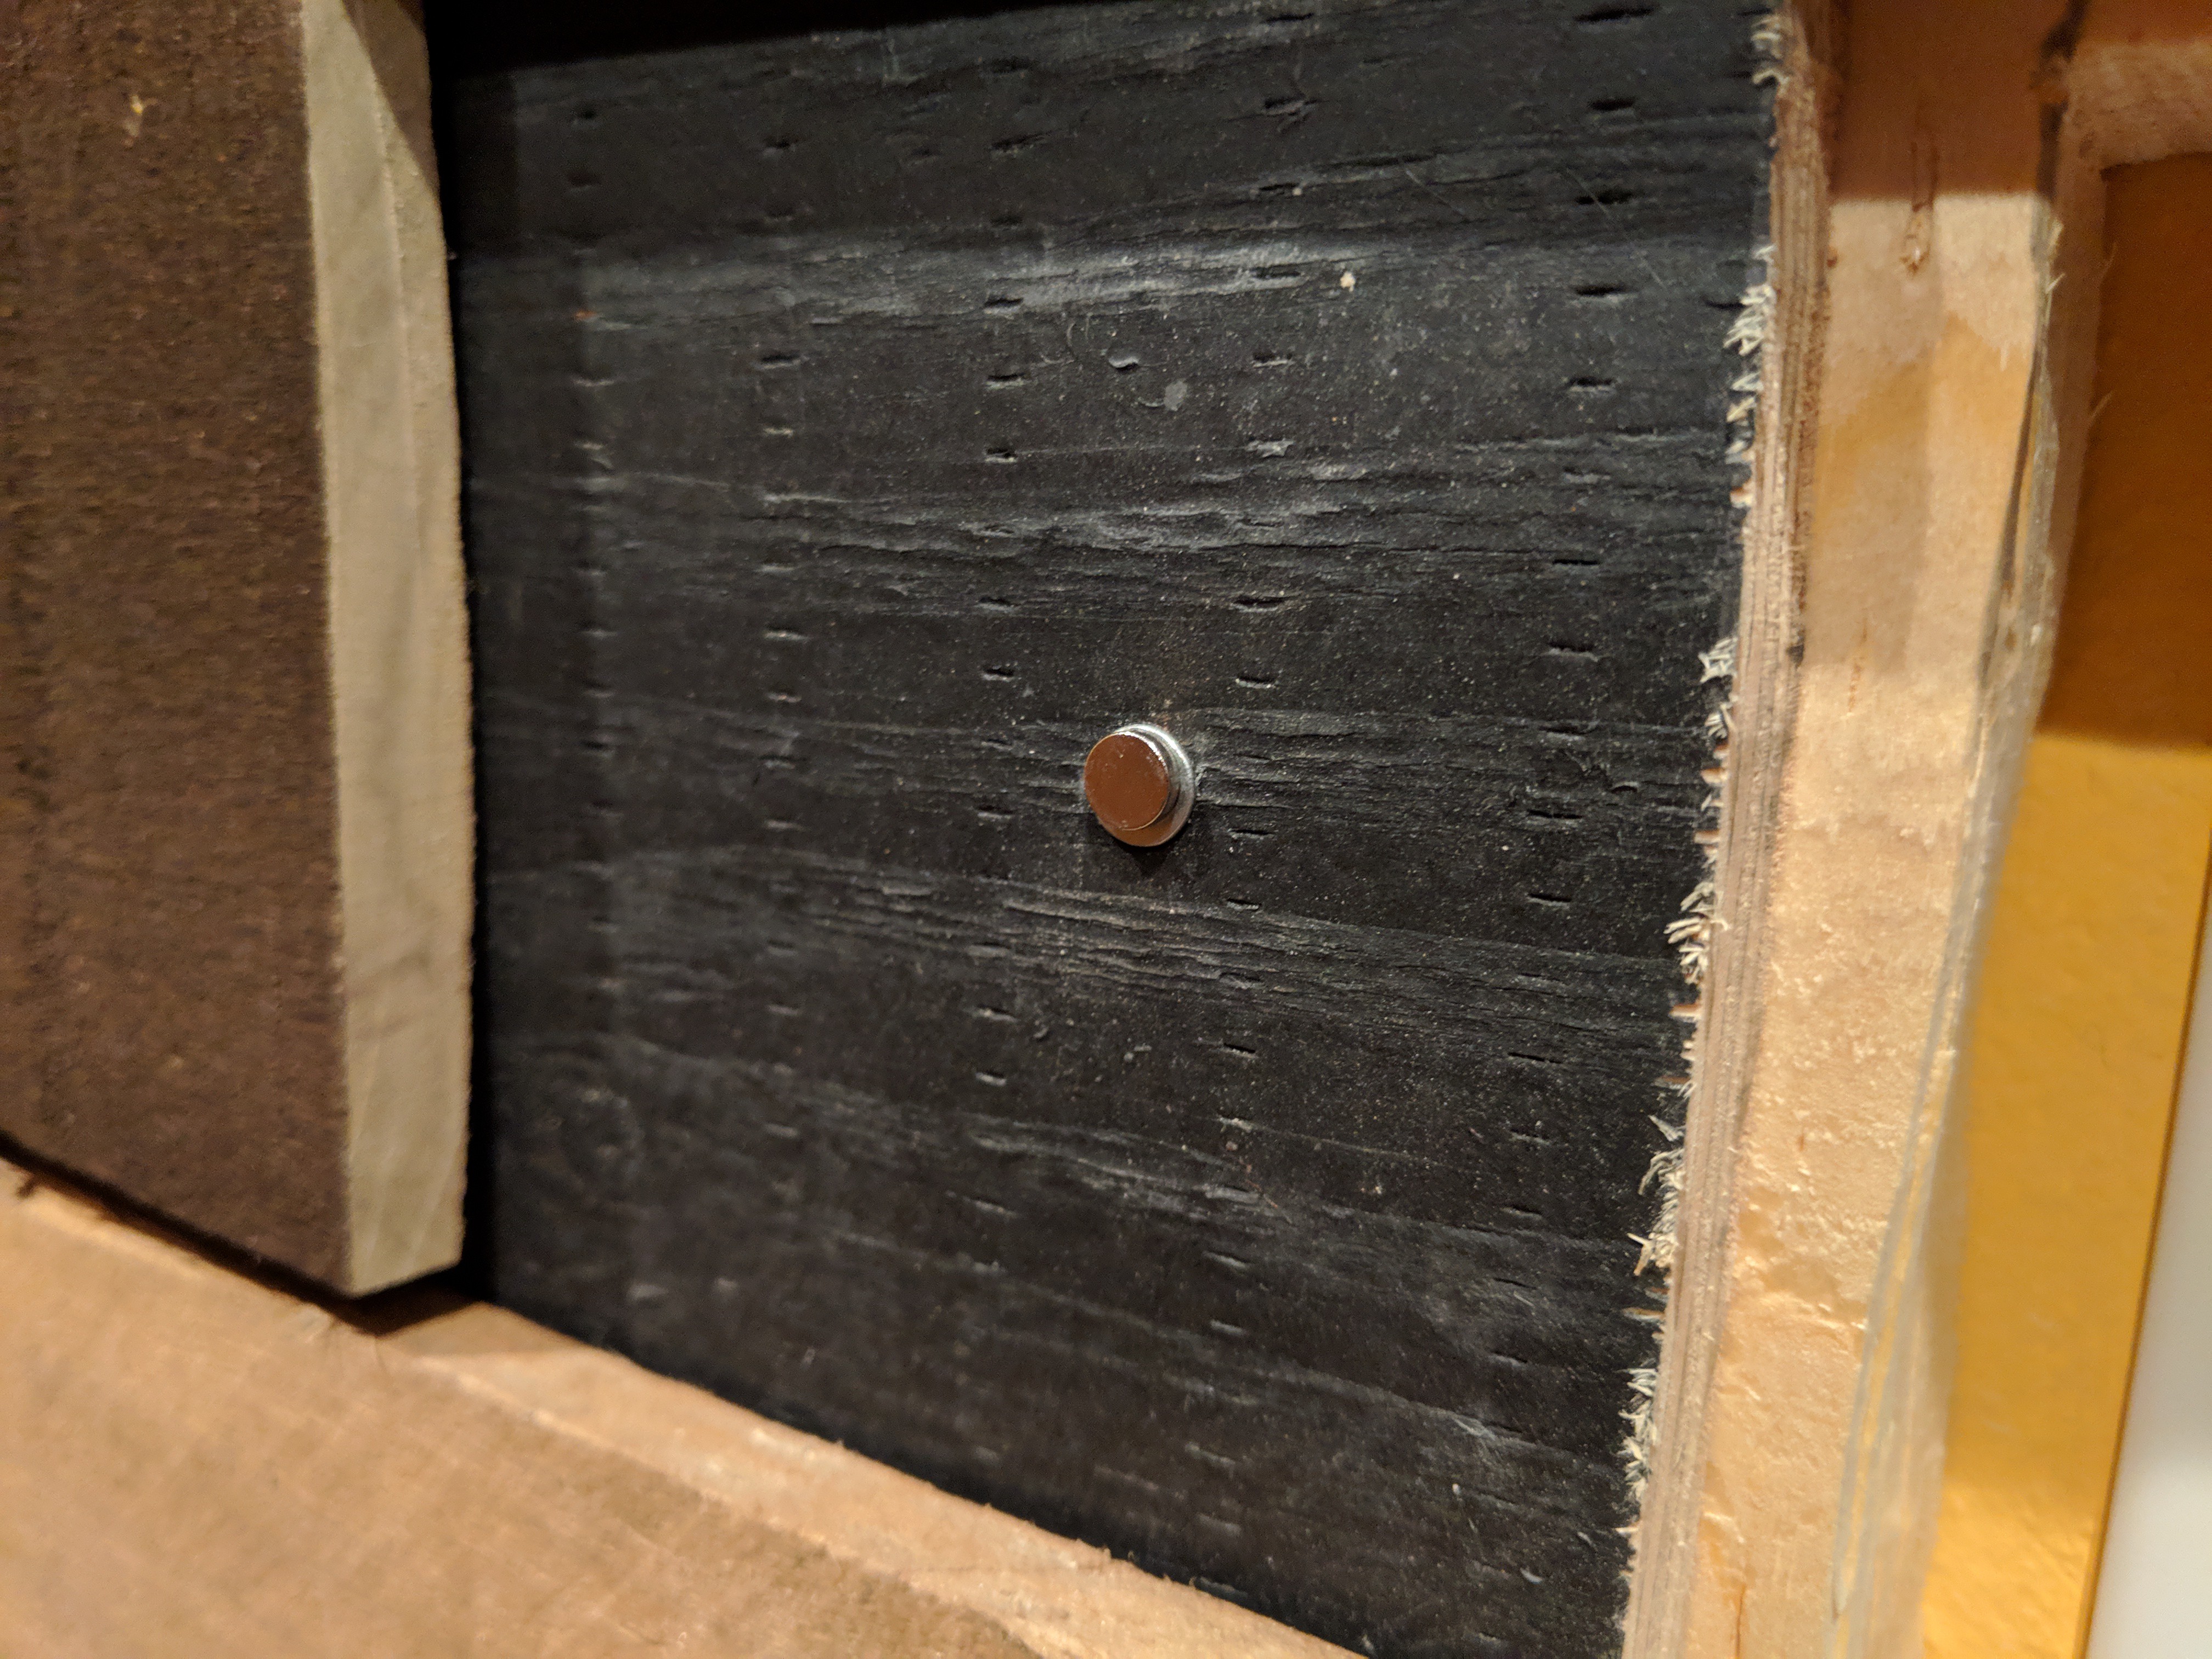
Dab hot glue on magnets and press boards into place to find the location of magnets
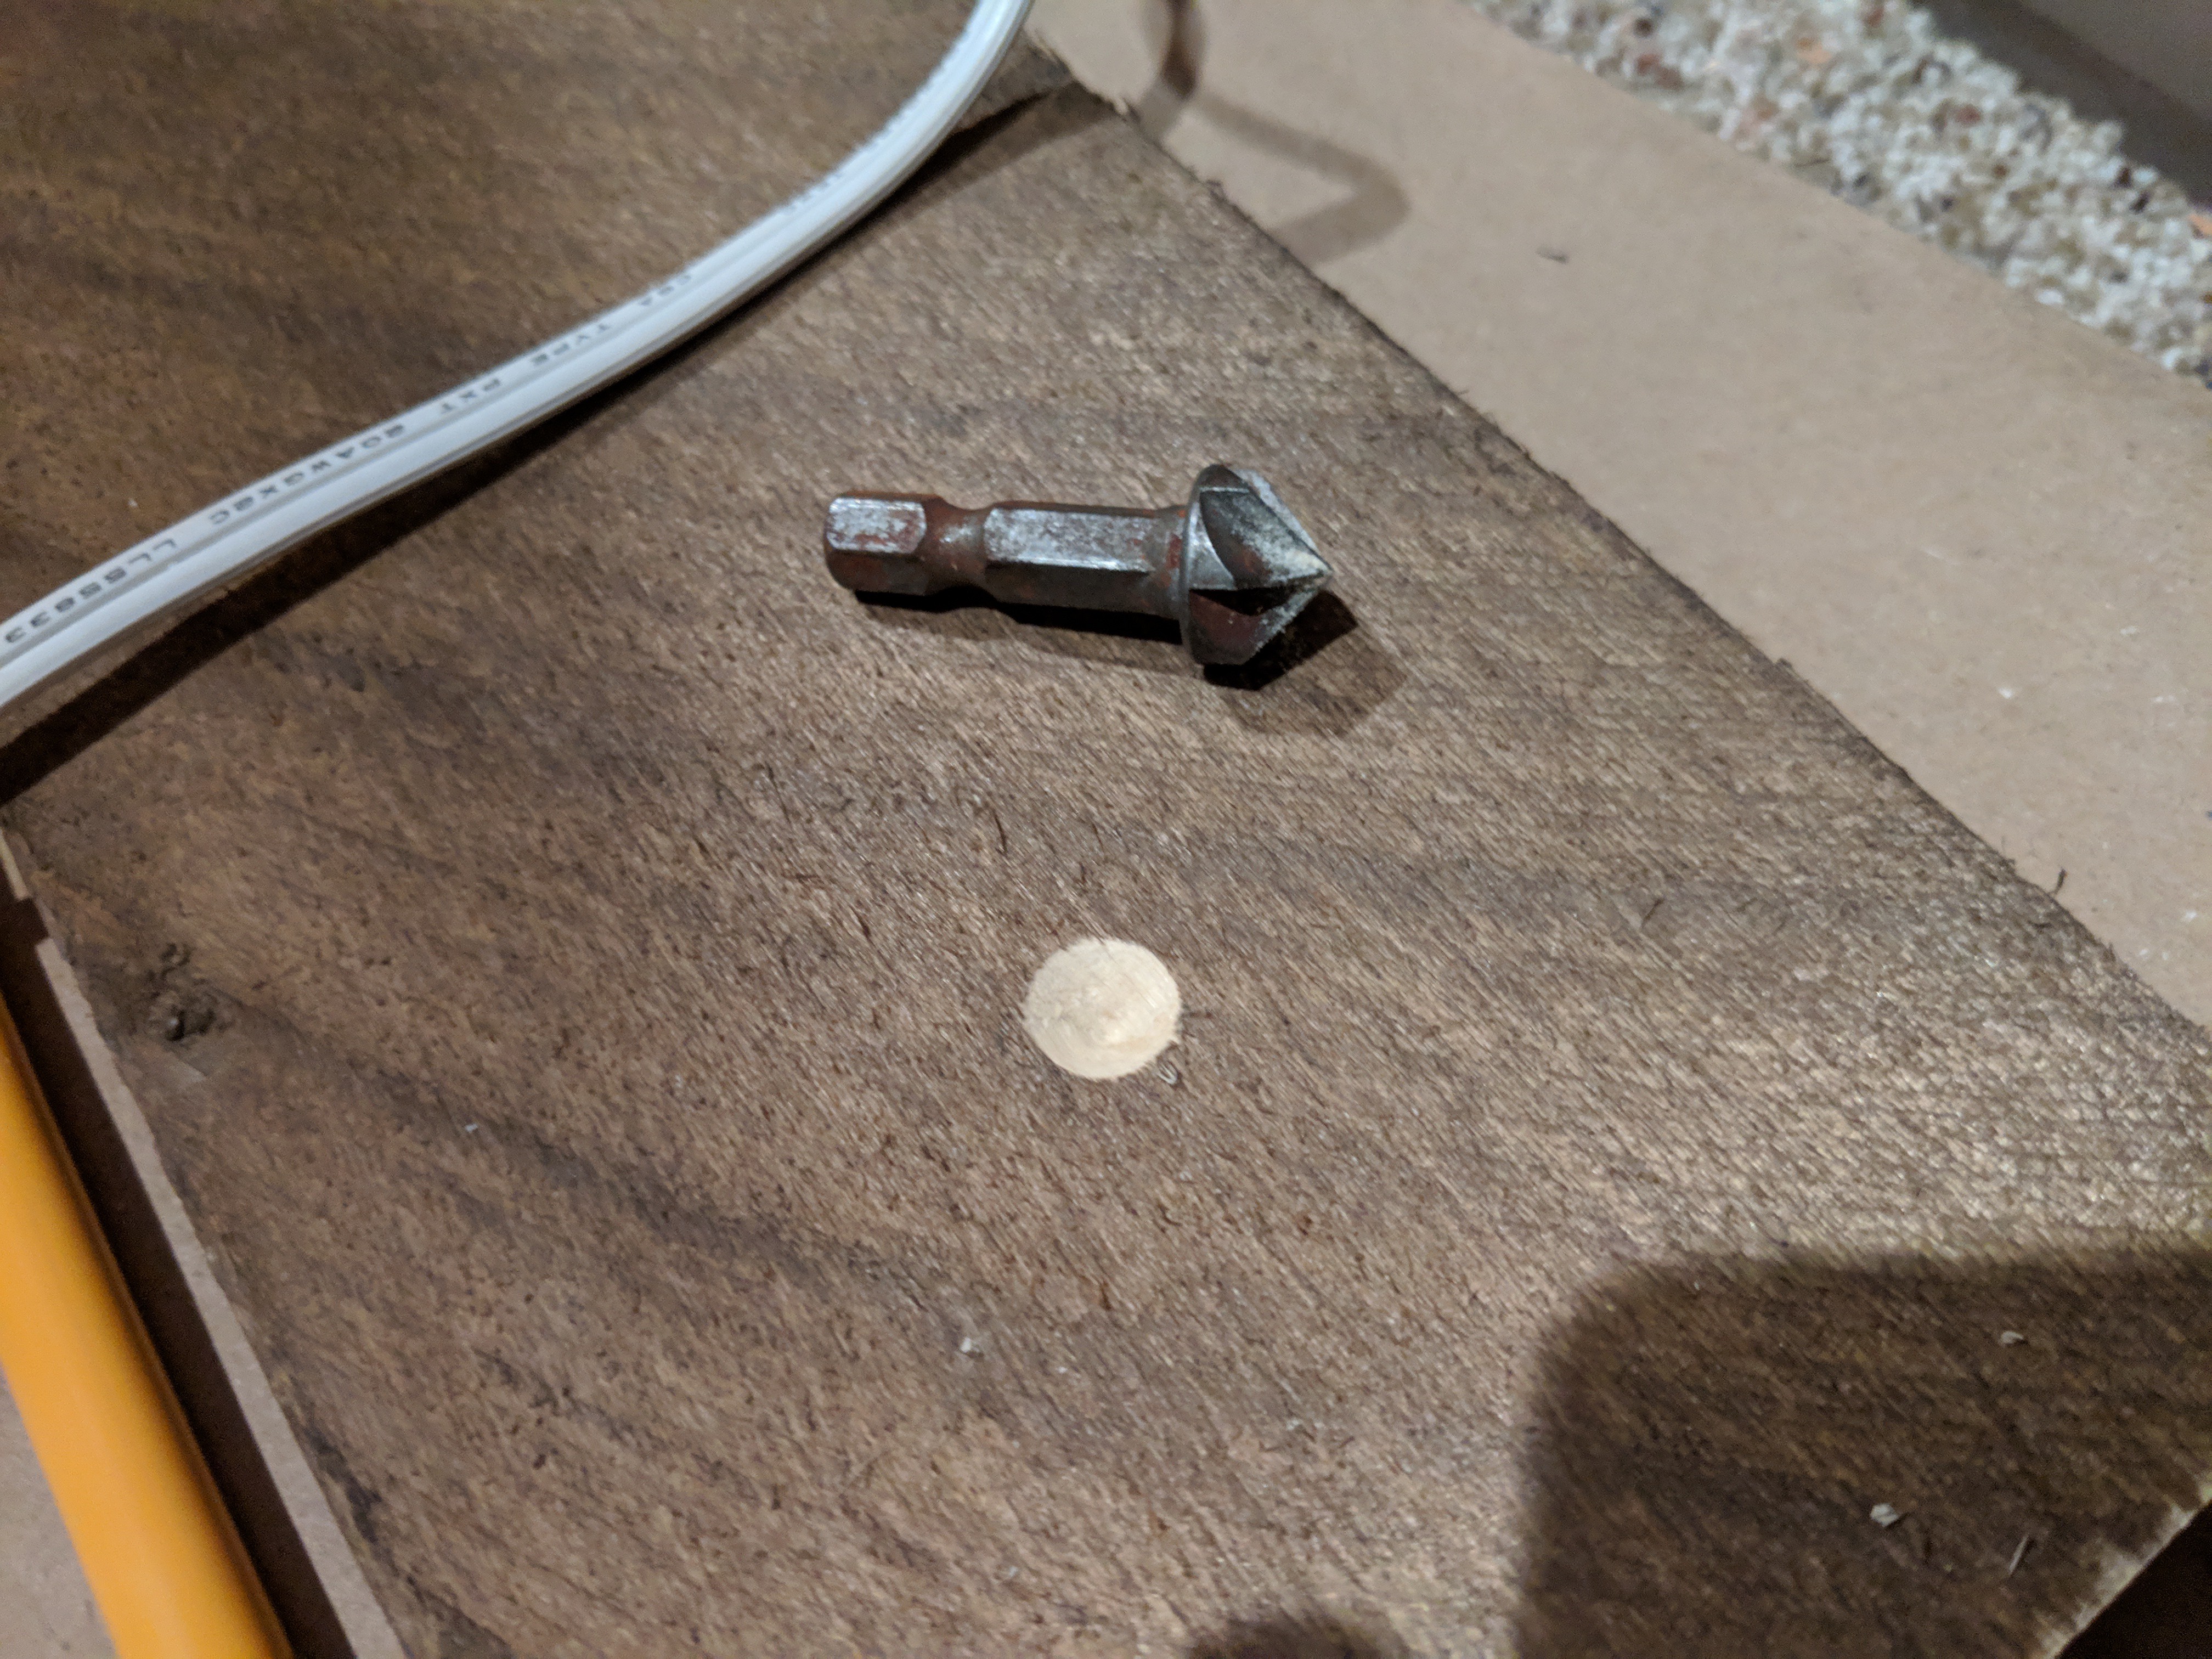
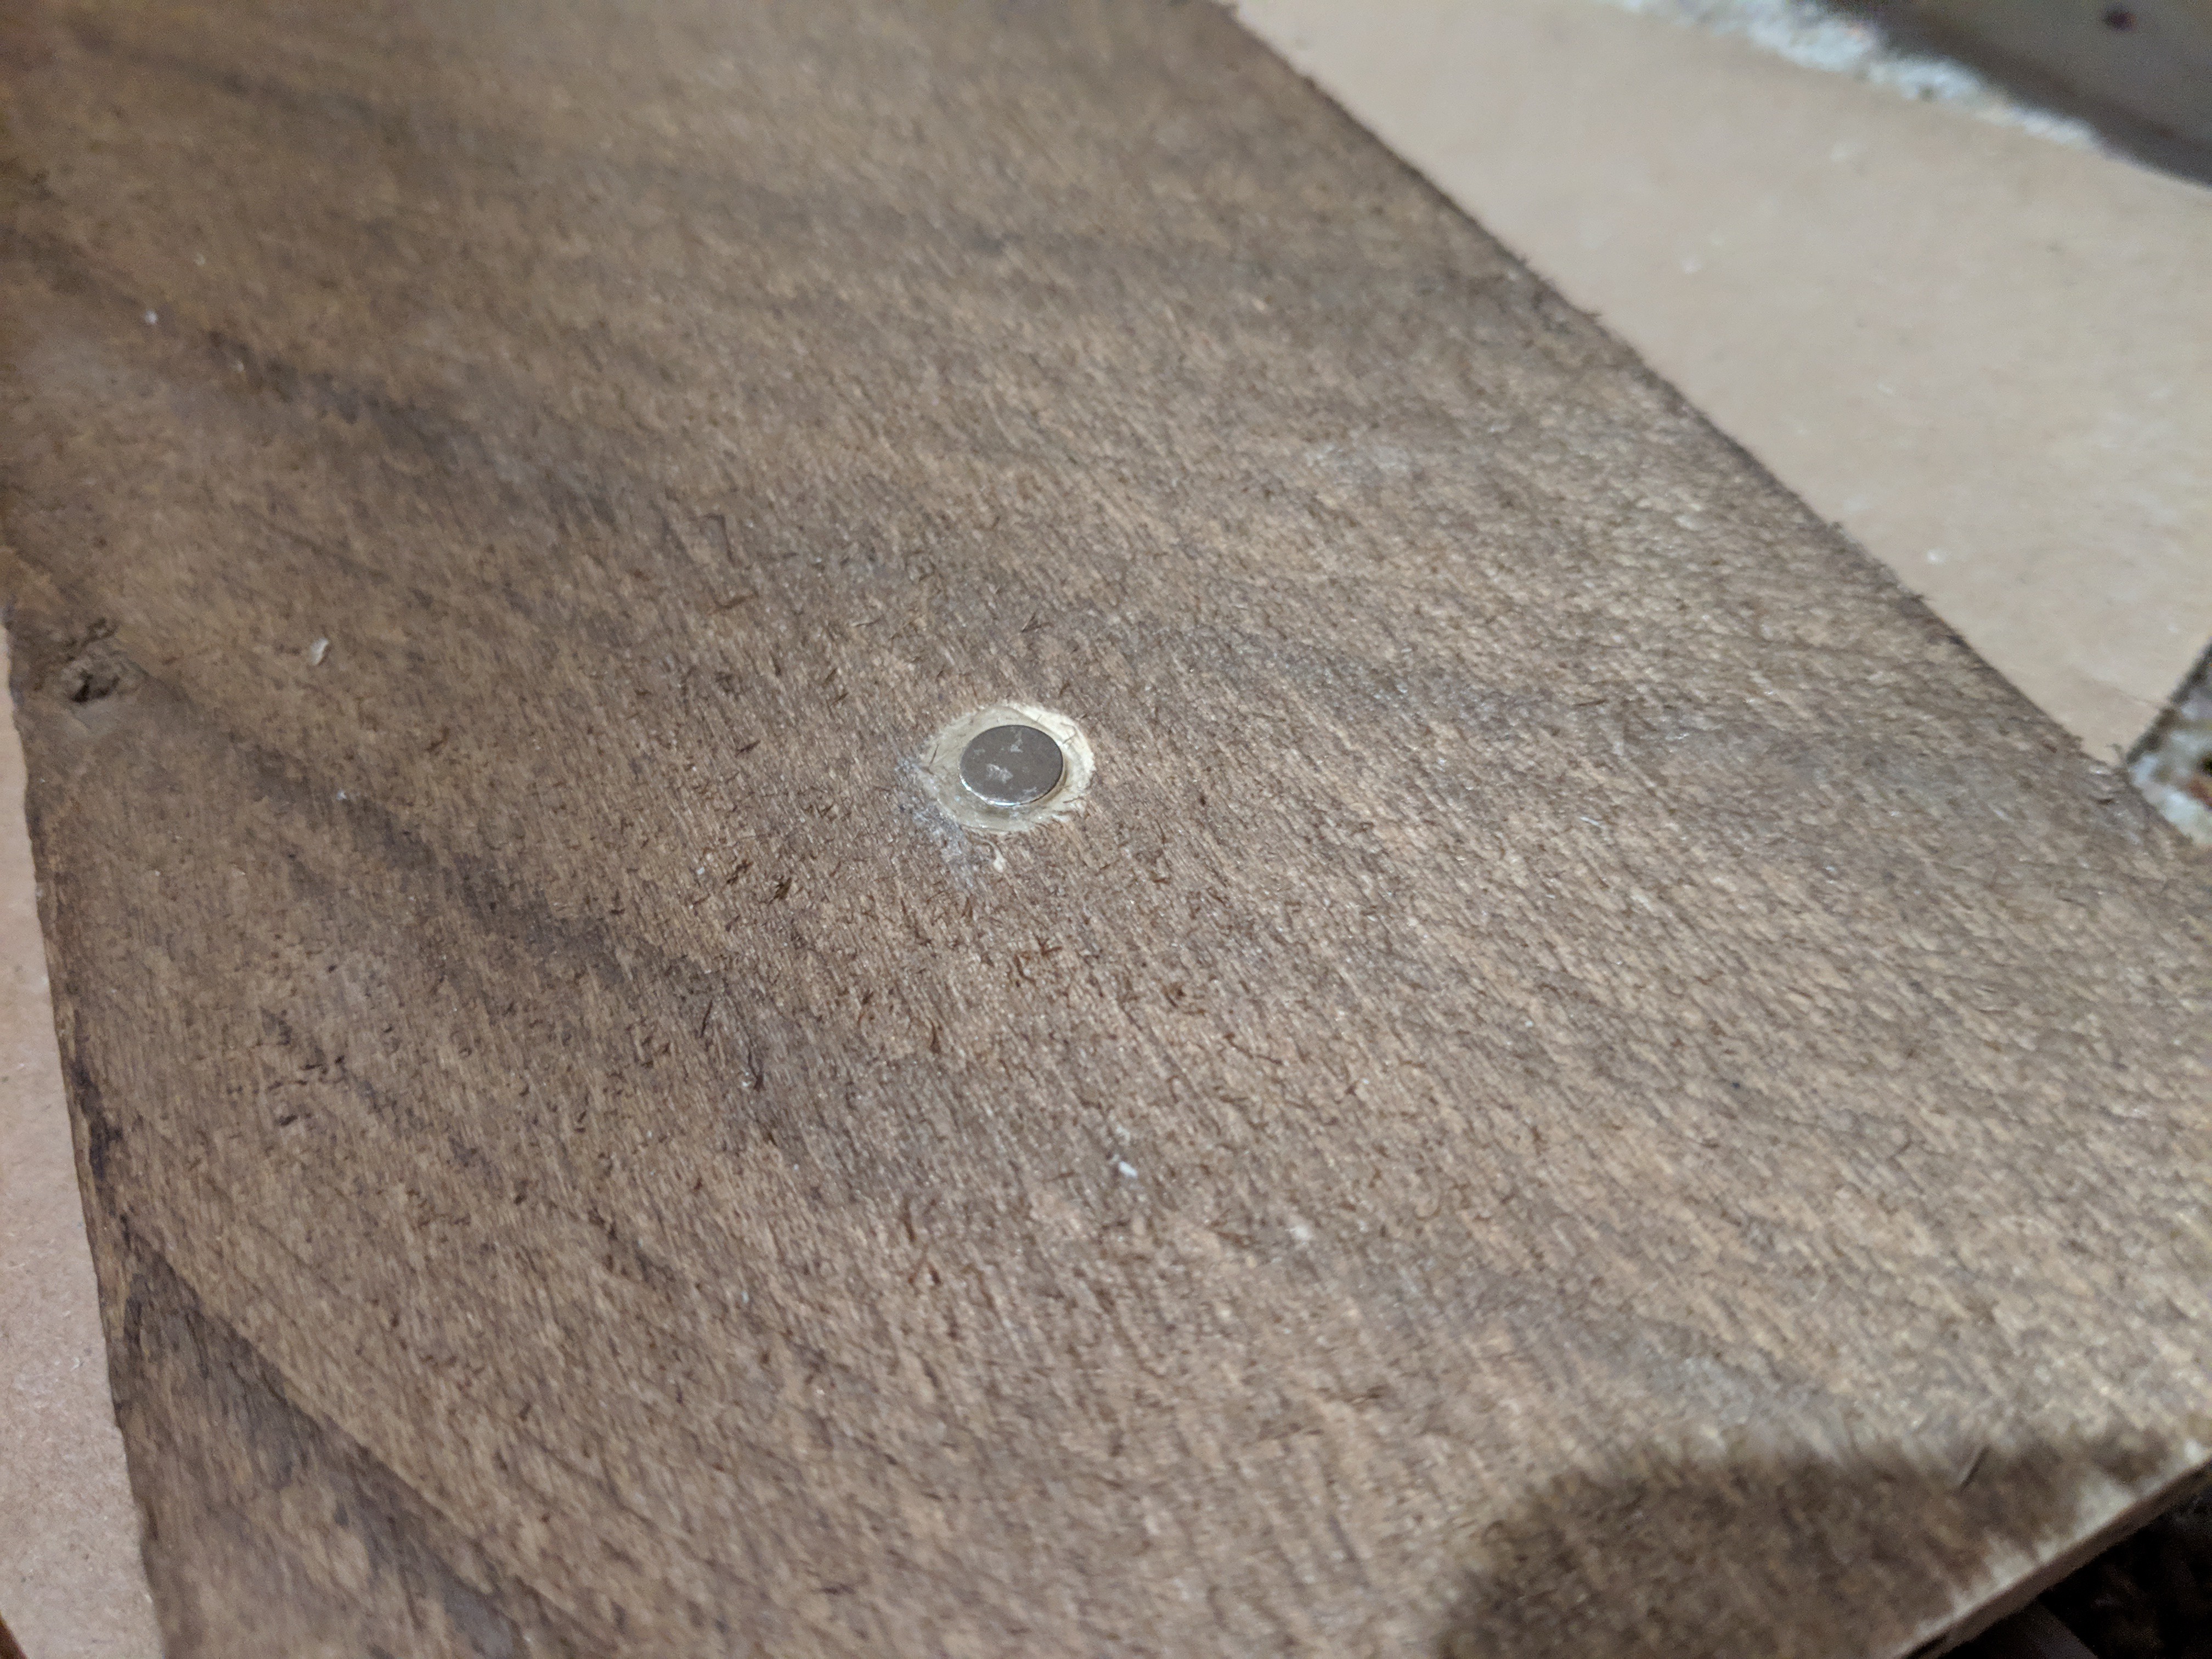
Draw outline around magnet with a pencil. Remove the magnet, countersink, and hotglue into place:
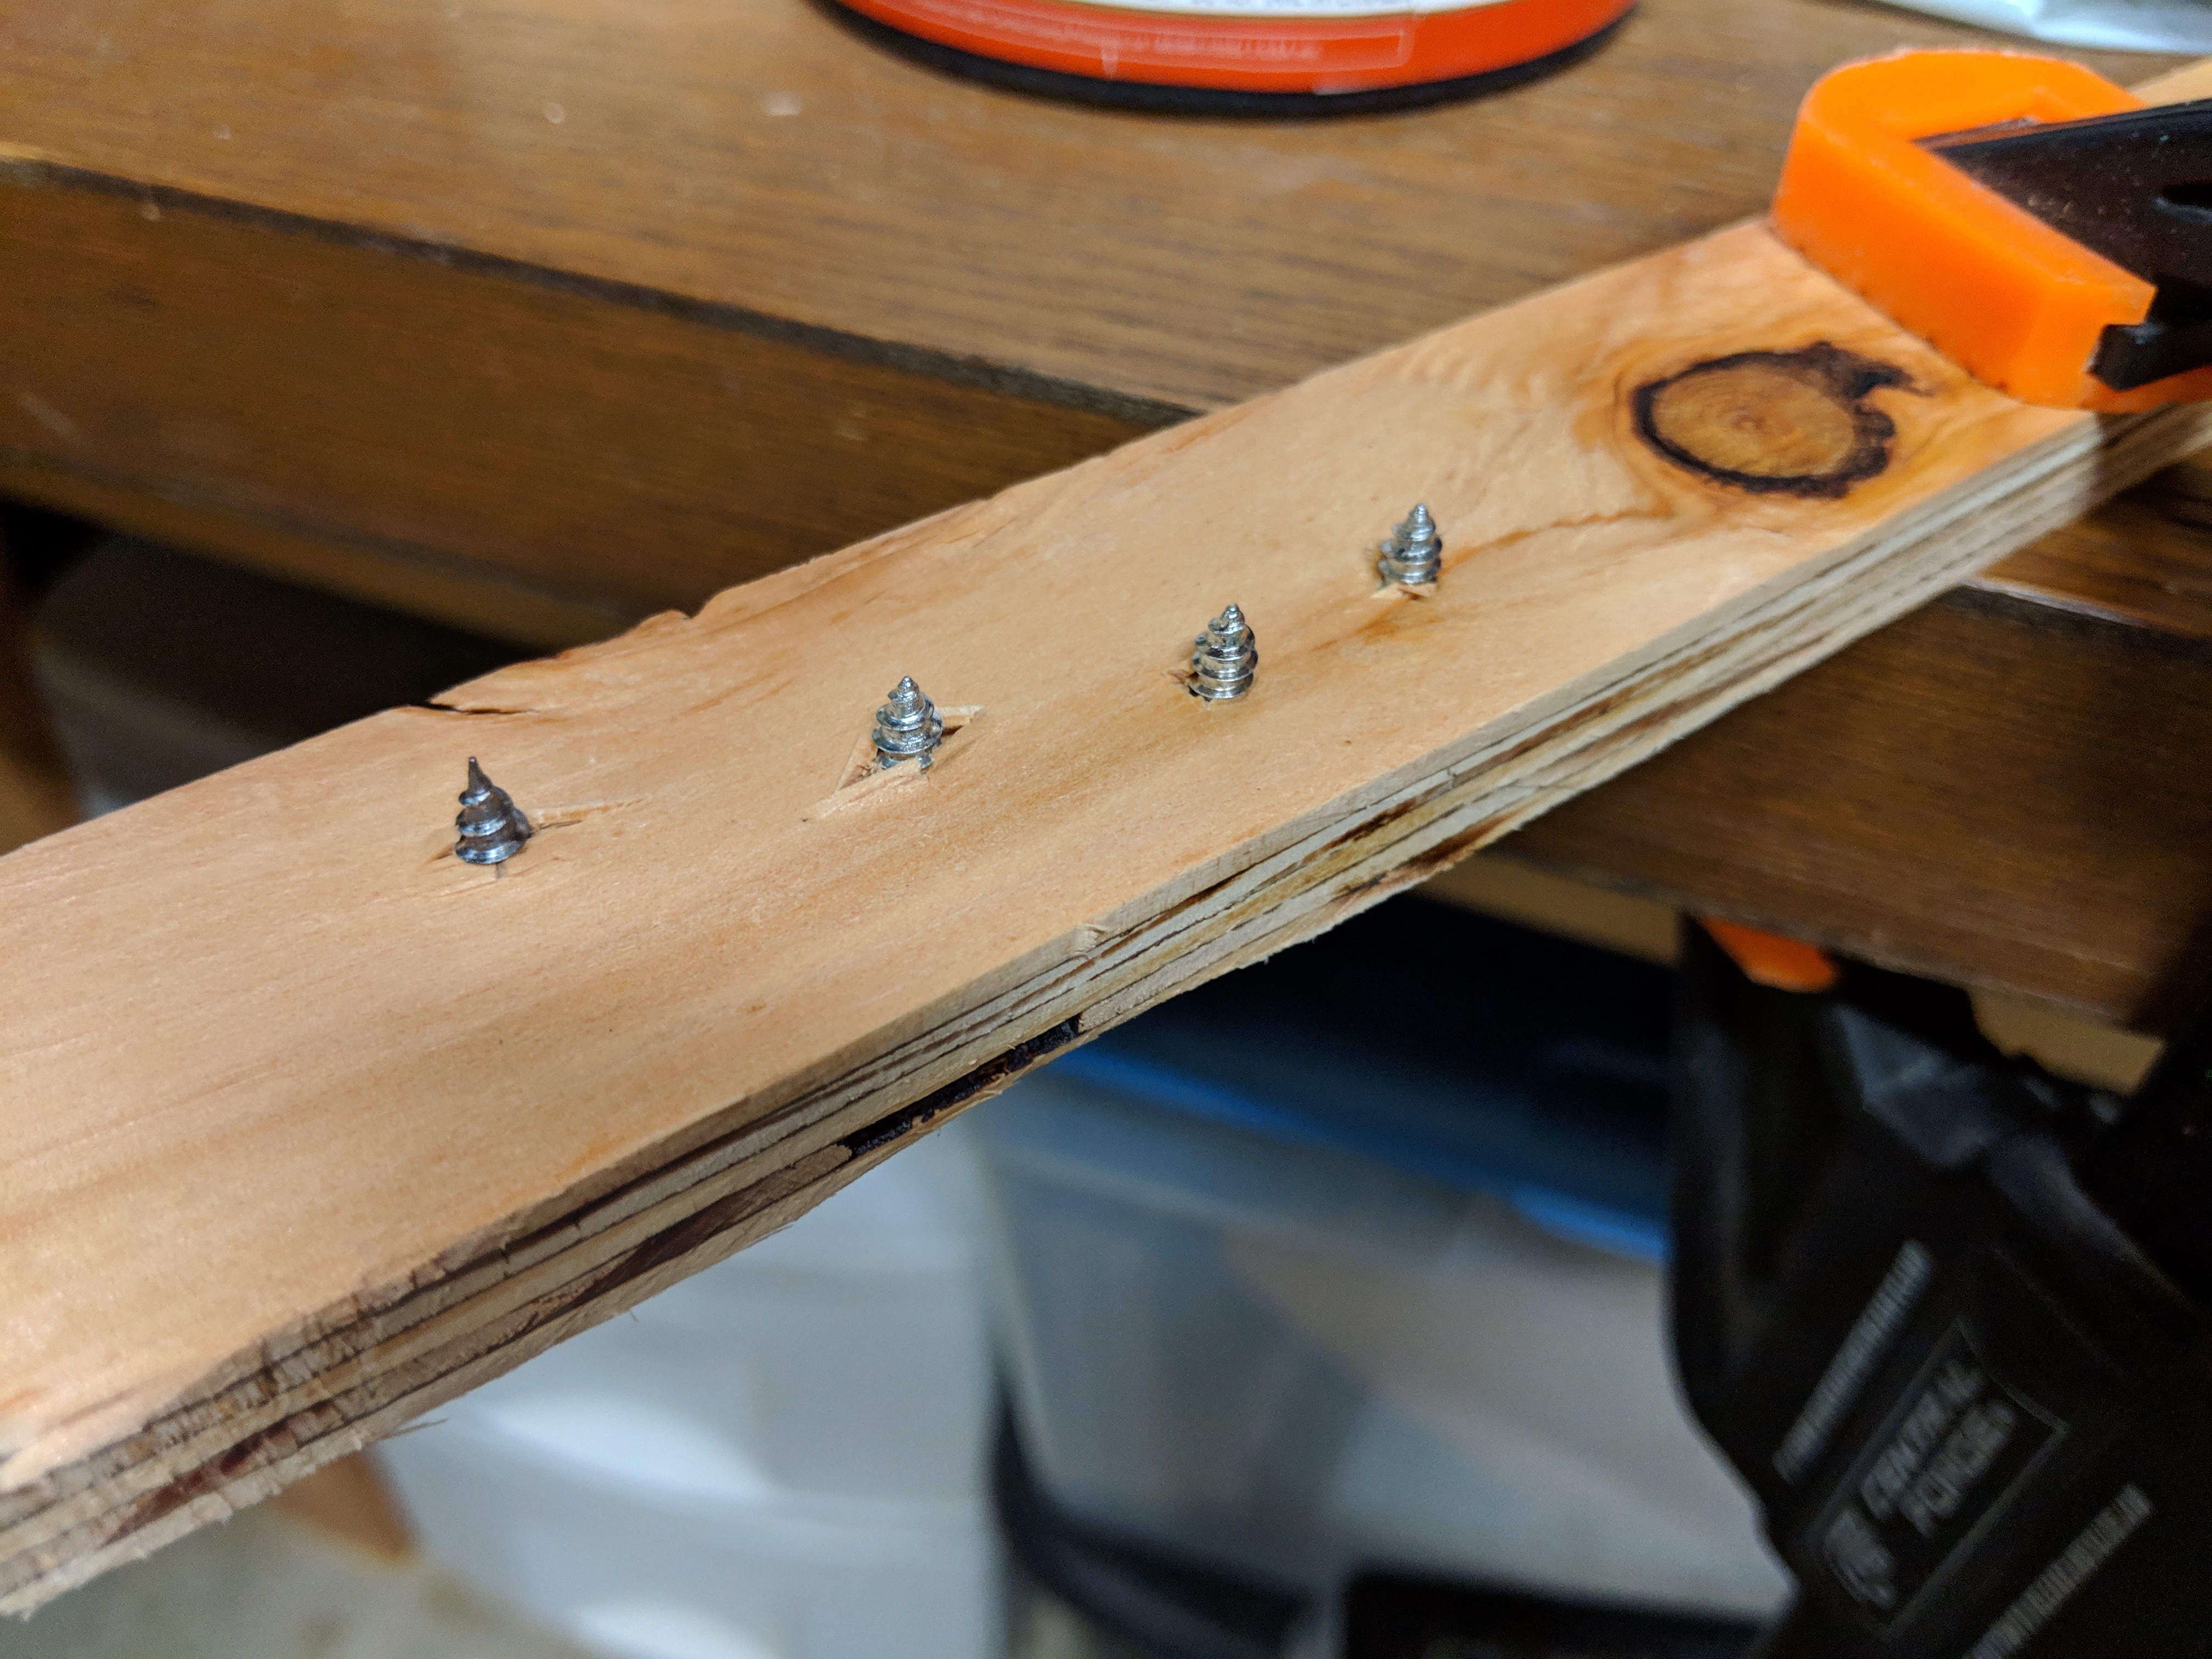
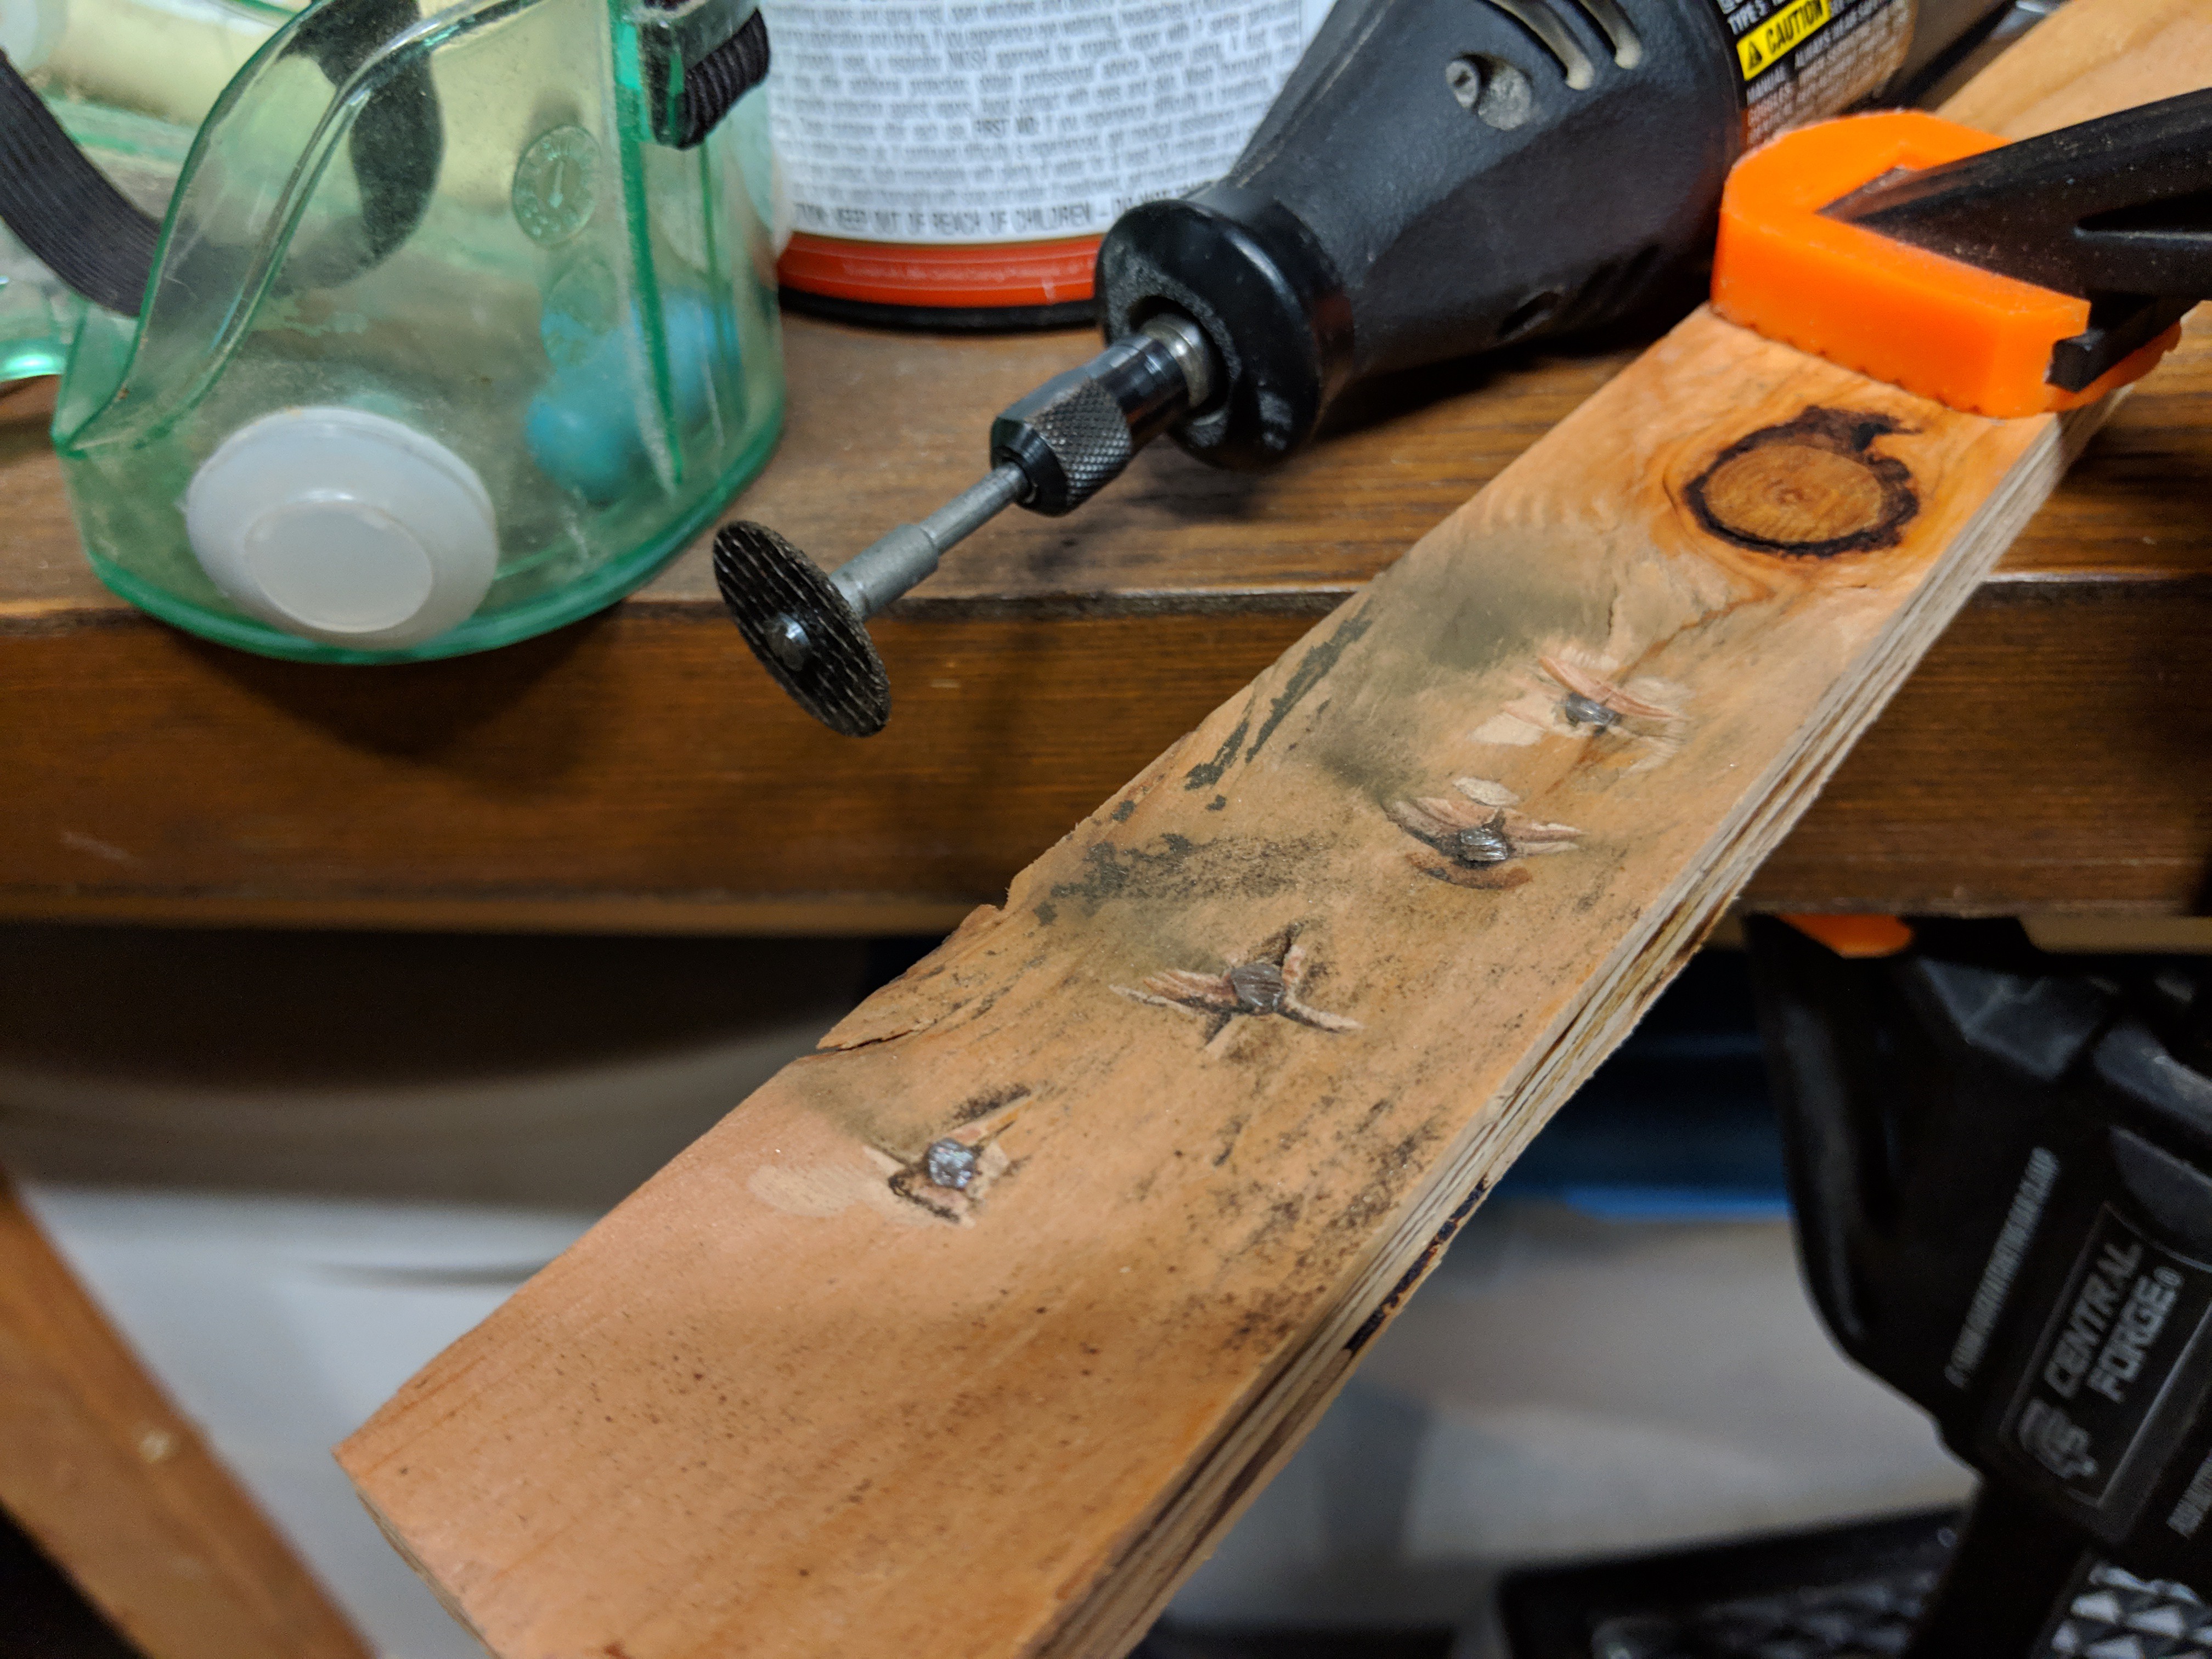
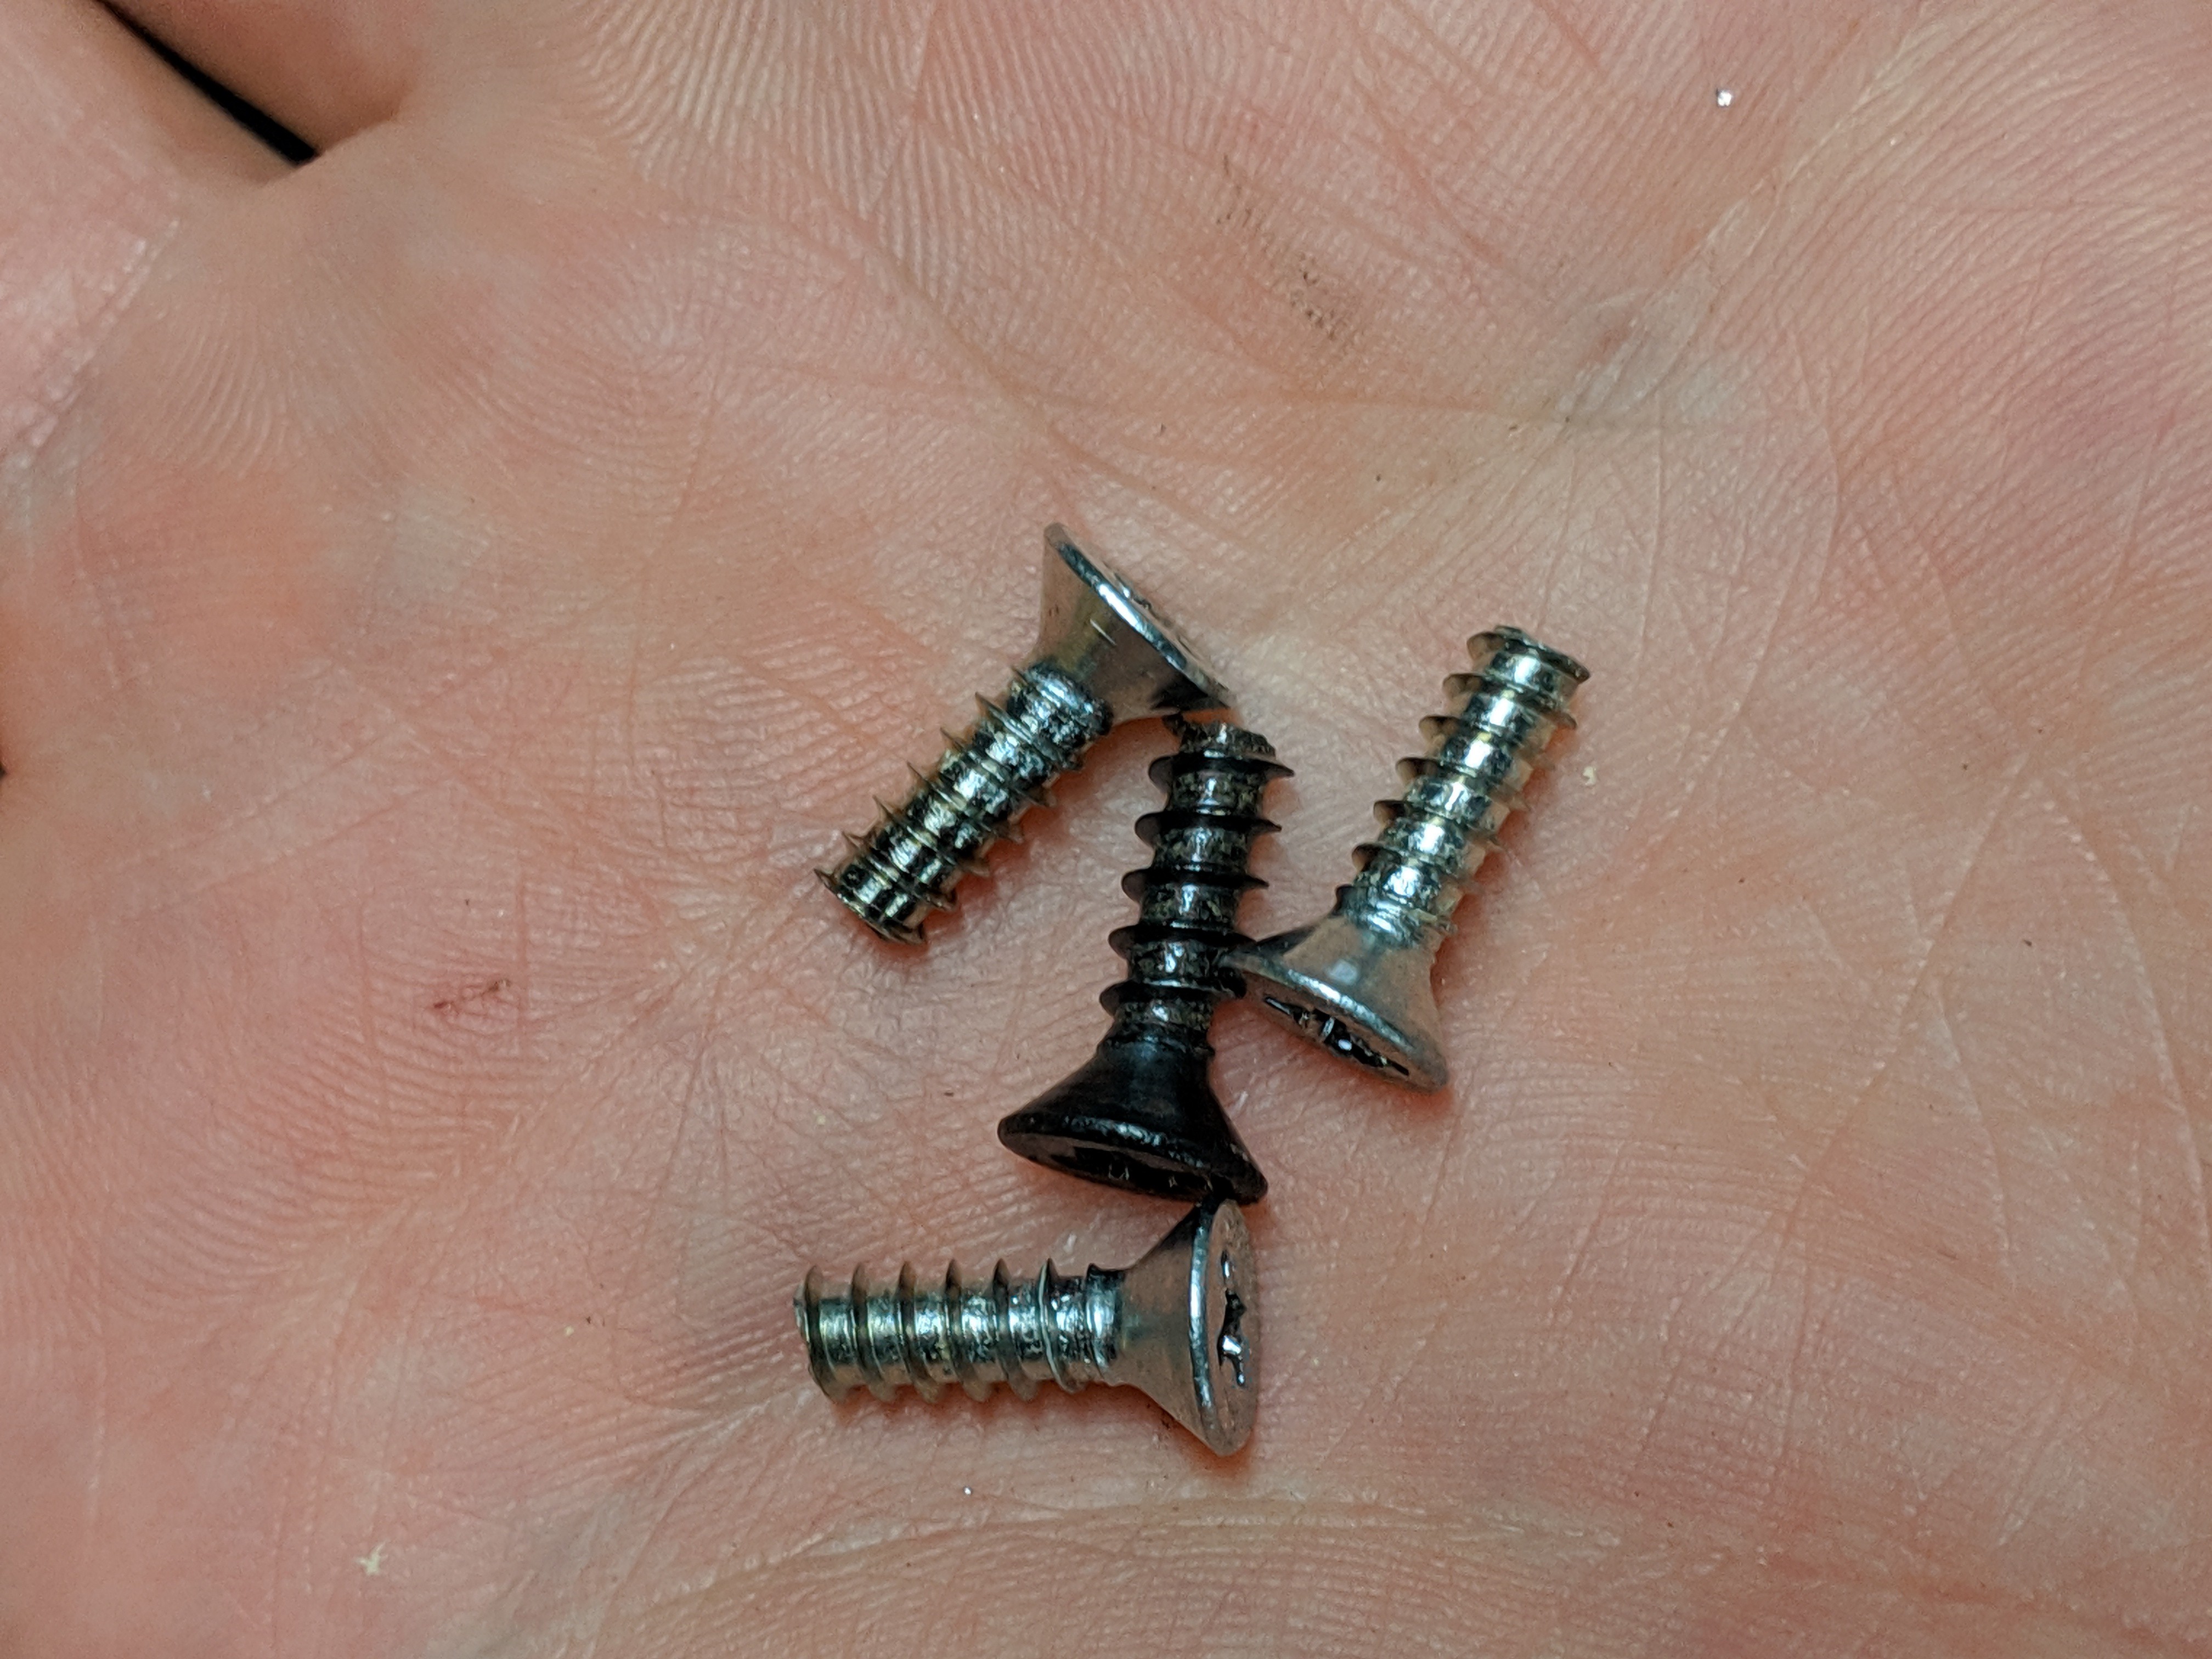
This worked quite well, there is just one other touch to consider. These screws are wider than the plywood and so there is a sharp point on the back. That area is meant to be a cable chase so I can't leave it that way.
I took out all the screws, screwed them into a scrap piece of the same plywood, then cut them with a Dremel cutoff wheel. Once they were back in the wall, this part of the project is done!
Discussions
Become a Hackaday.io Member
Create an account to leave a comment. Already have an account? Log In.