16 March 2019
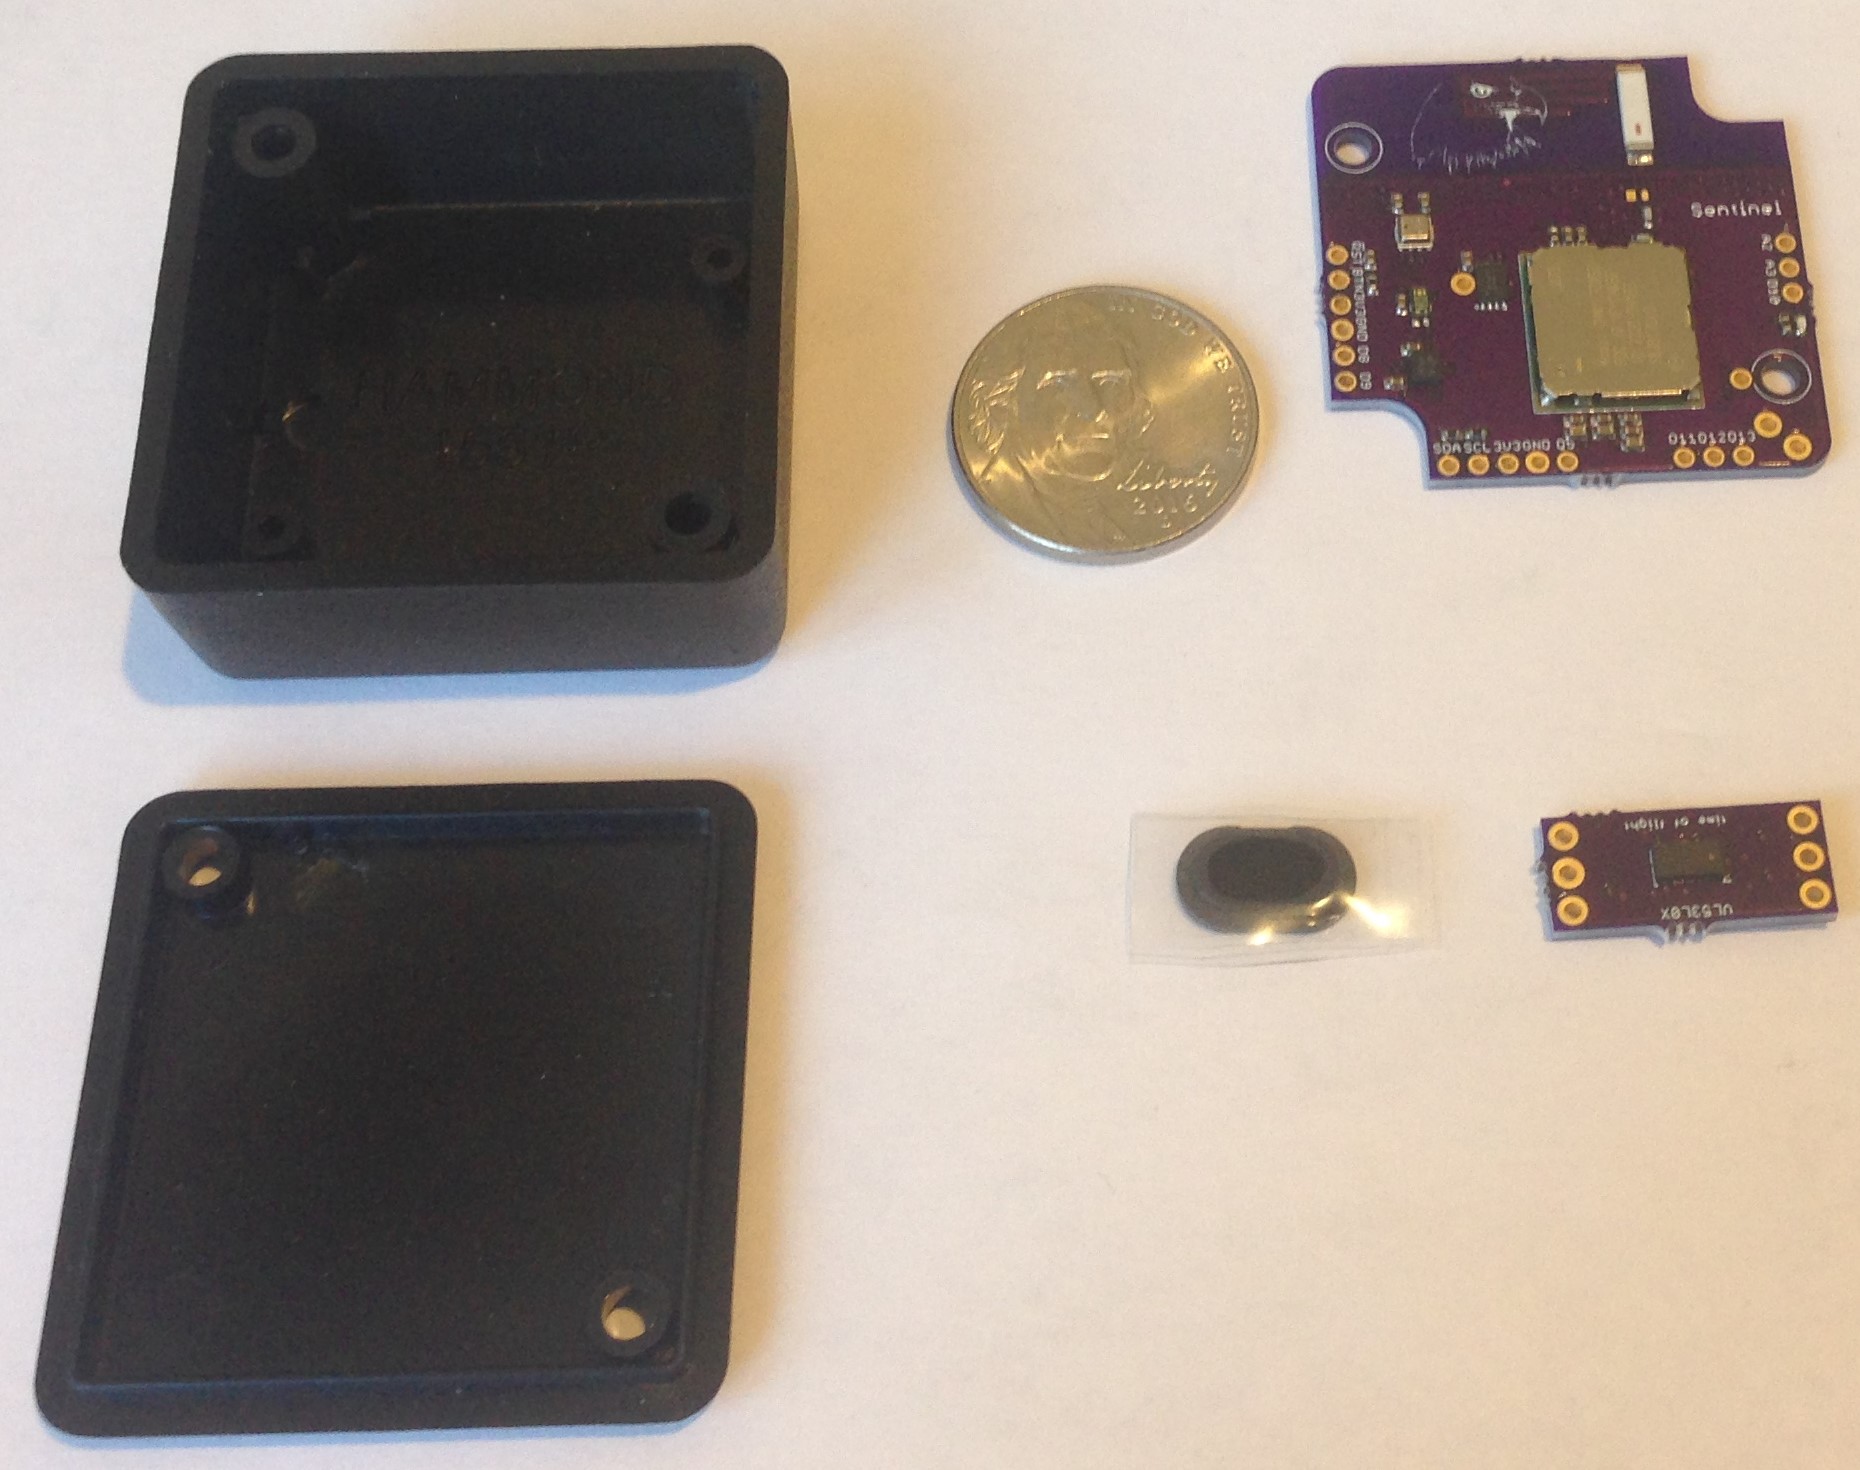
I received the pcbs for the first design iteration yesterday and was pleasantly surprised to see that they fit into the small 1551P Hammond box just as desired. There are actually two pcbs; one main board for the CMWX1ZZABZ-078 host MCU and LoRaWAN modem and one for the VL53L0 time-of-flight ranging sensor. It took me an hour to assemble these with no problems encountered. Let's take the tour--here is the total kit (US nickel for size comparison):

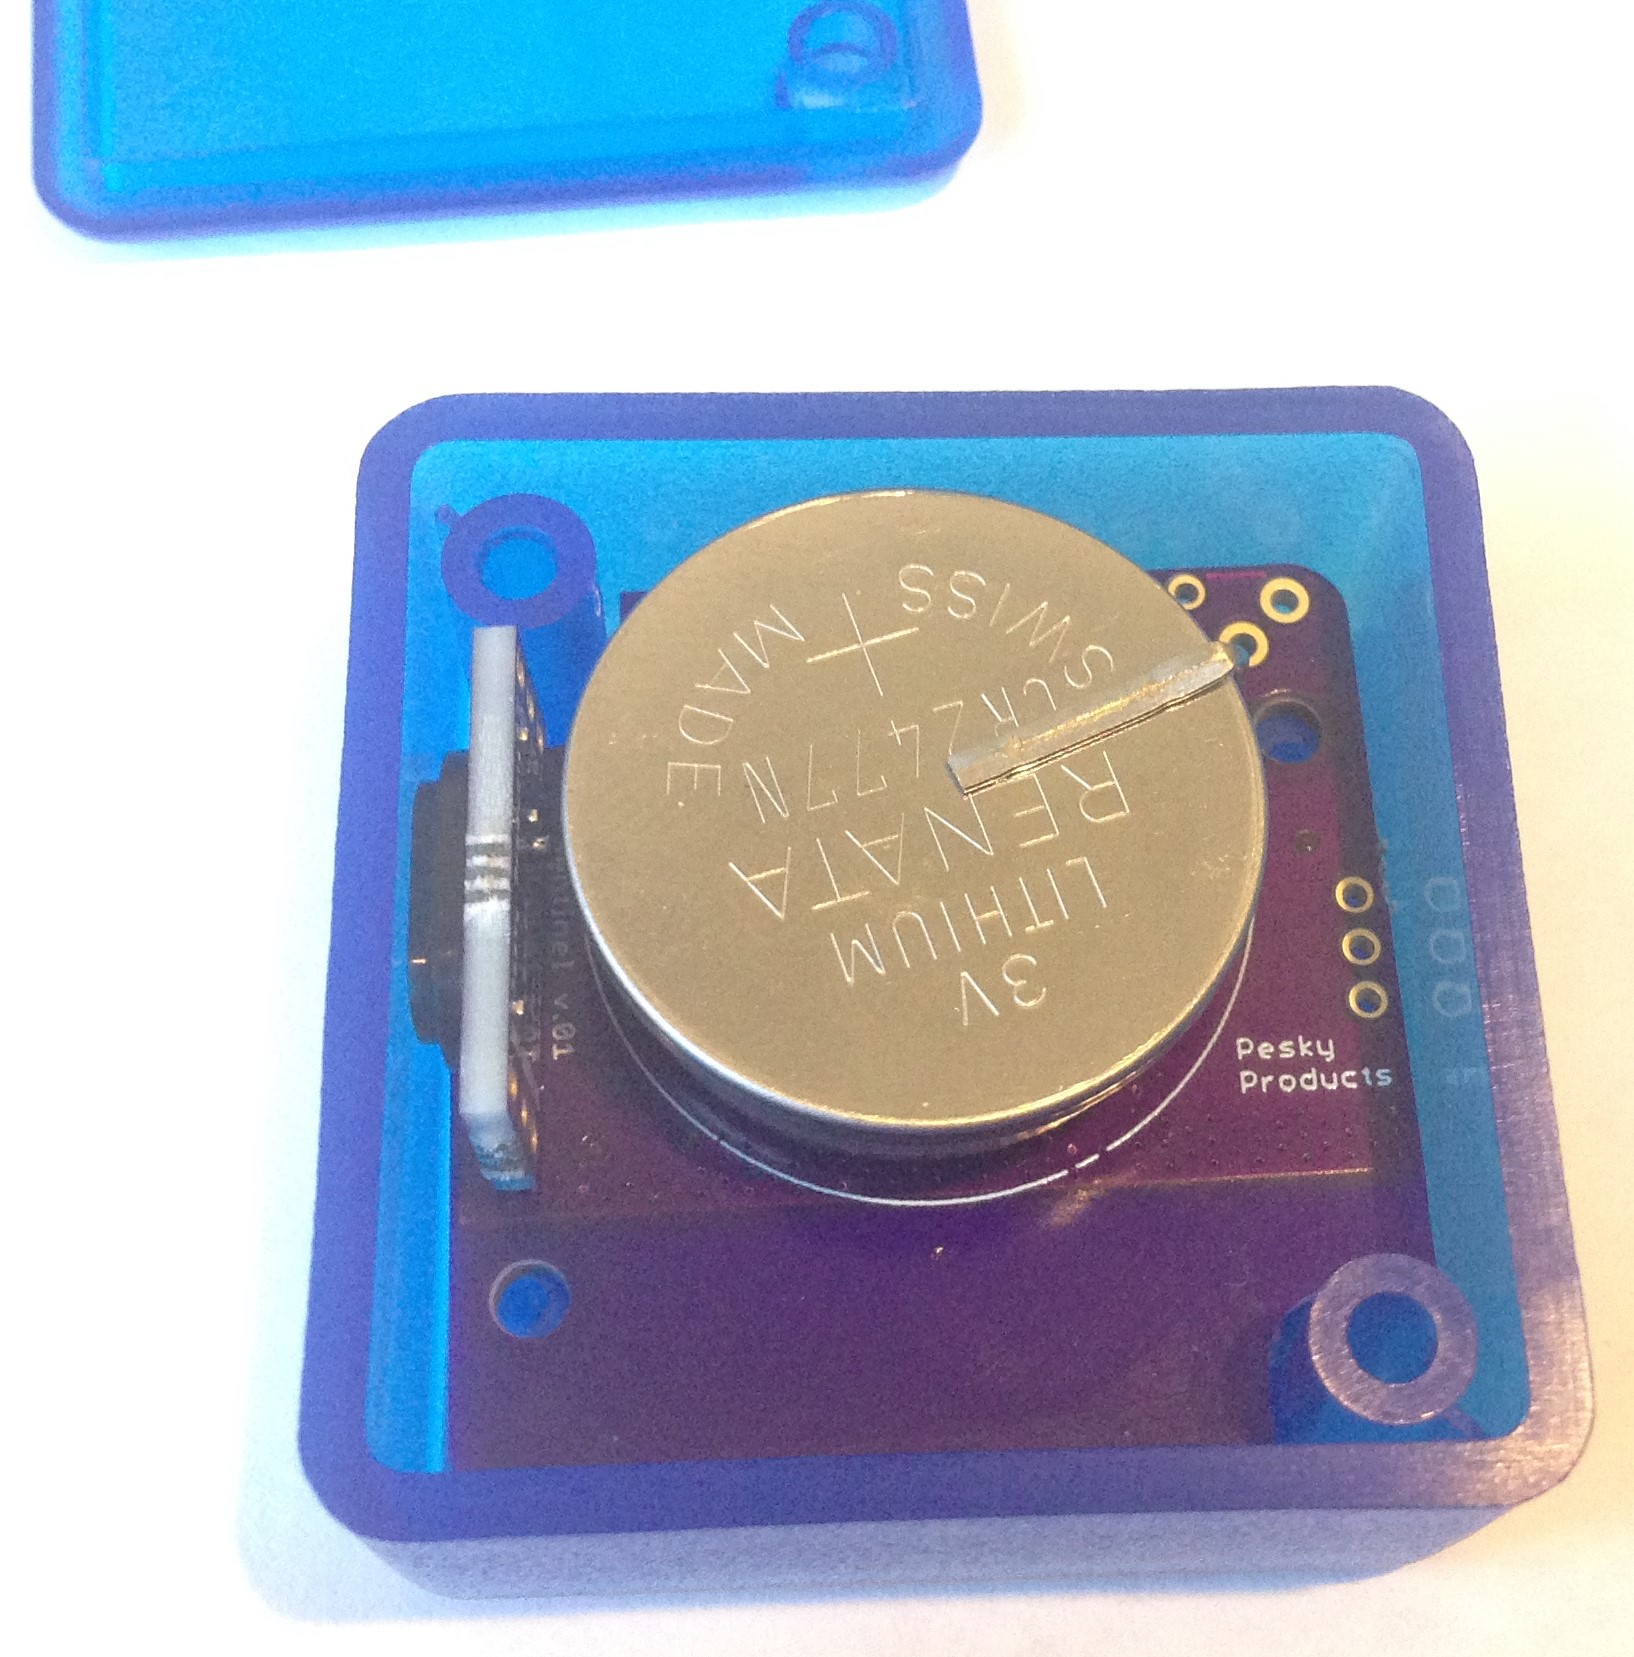
the pcb fit into the box-with the holes aligned properly!

and a close up of the main pcb:

I assembled all three of the auxiliary sensors; the BME280 for inside temperature and humidity measurement; the VEML6040 ambient light sensor for open lid detection; and the BMA400 accelerometer for movement /tip detection. There is a secure EEPROM for key storage, secure boot, and secure FOTA, etc. Programming is via SWD on D8/9; I use a $4 ST LINK V2 I bought from e-bay. The daughter VL53L0 pcb will connect via wire to the five-pin SDA/SCL/3V3/GND/D5 port where the last is for the VL53L0 interrupt. I exposed a UART port for debugging on A2/A3 and an SPI port just in case I want to add an SPI flash or SD card or display, etc. I am using a LoRaWAN chip antenna similar in design to what I use on the Grasshopper development board. Lastly, there is a blue led on D10, which helps with debugging and gives a visual indication of a "heartbeat" when the program is running normally.
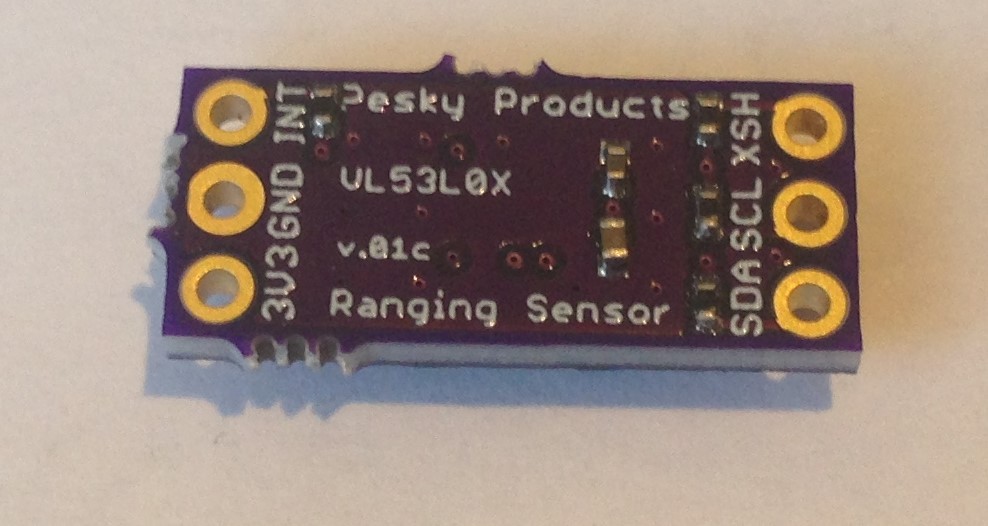
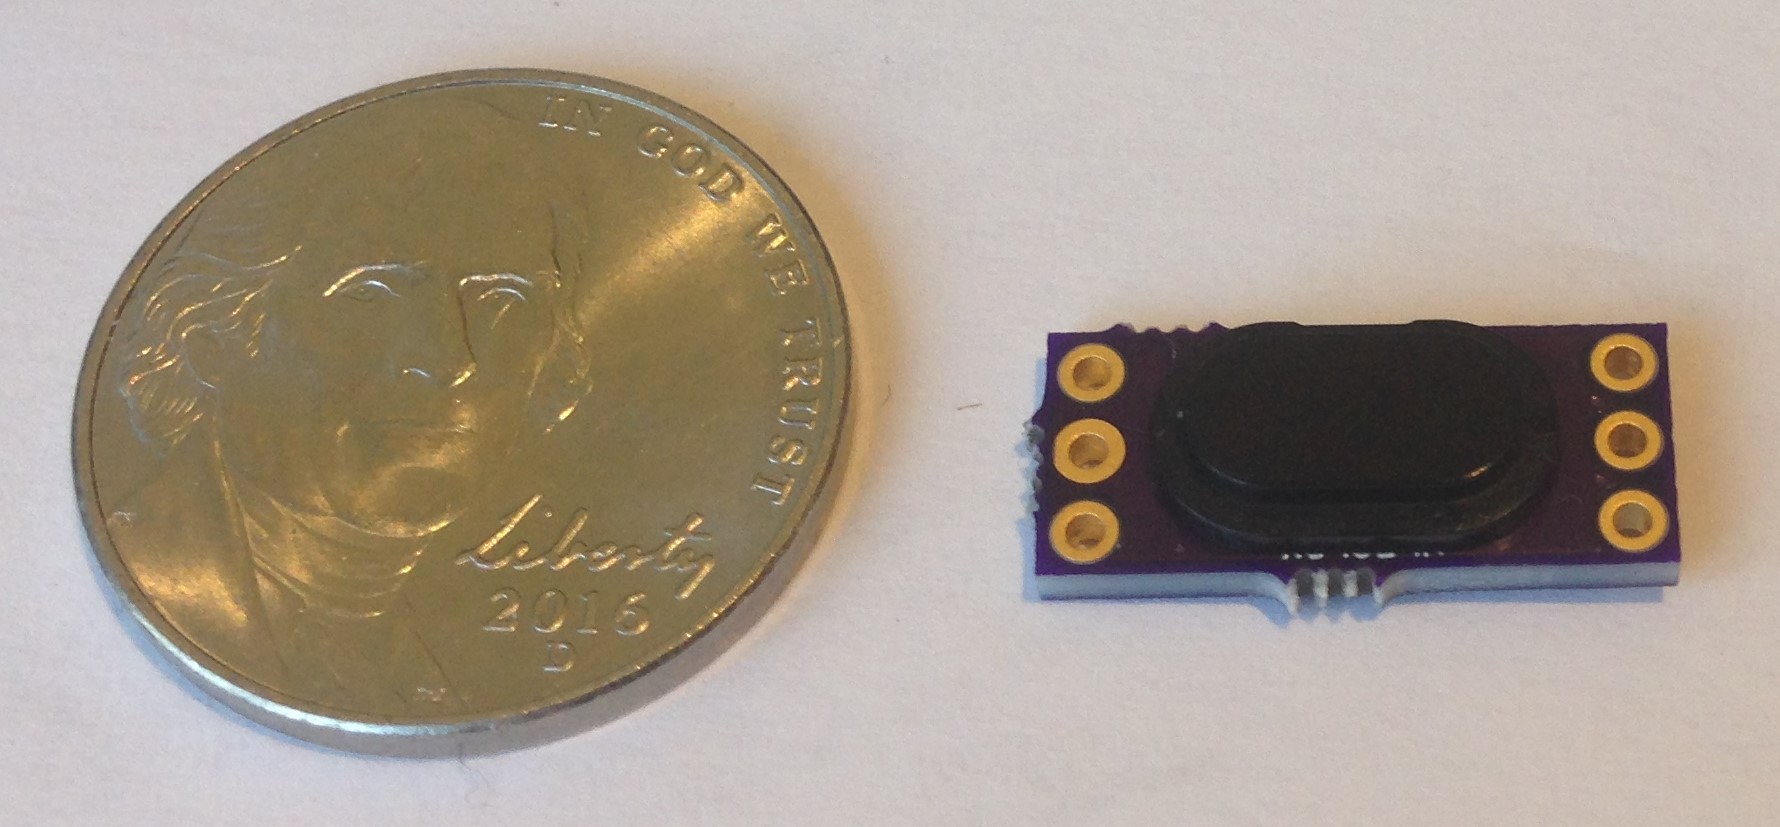
The daughter pcb holds the VL53L0, and is similar to the breakout board I have been selling on Tindie for years. I just put the passives on the back to allow the PMMA ("glass") lens cover (black object wrapped in plastic) to be attached. The lens cover comes with adhesive on the back and is intended for easy mounting onto the pcb resulting in just the right air gap for protected ranging to the outside.


The challenge, at least for me, is to mill the proper holes into the side of the plastic box to allow proper mounting of the daughter board. I might hack away with drill bits and file to see what I can do by hand, but fortunately for me, I have a friend with a well-equipped machine shop who will make short work of this task for me. I might choose to butcher one of the boxes until I can get a few made properly as time permits.
I really would like a transparent box but I found the next best thing: translucent blue!

This will allow me to see not only the blue led as it blinks every minute or so to let me know all is well, but it will allow the ambient light sensor to detect when the bin lid is opened without requiring penetrations into the box that could be fouled with bin "debris".
I will need some kind of penetration to allow for pressure equilibration and sensible humidity measurements. I plan to use my smallest (1 mm) drill bit to make a hole in the bottom-facing box side (to the left in the above image) and then cover the hole on the inside with a small porex adhesive filter patch that will at least allow pressure equilibration. I am not sure yet whether accurate humidity can be measured with this set up. The Hammond box closes up pretty tightly but the cover is not strictly water proof. But my hope is that the box cover secured with screws will keep all but the muckiest muck out of the box.
Next steps: 1) Arduino program development, 2) power usage testing, 3) function testing on my recycling bin (relatively muck free). More to come...
 Kris Winer
Discussions
Become a Hackaday.io Member
Create an account to leave a comment. Already have an account? Log In.