 Yihui
YihuiPreviously, I had a brief introduction of using LibreCAD and Python to design a CAD file for a paper case. When we get a CAD file, we need a laser cutter o cut a paper case. However, not everyone has access to a laser cutter, so it would be cool if we can make a paper case by hand with our daily tool.
Tools & Materials
- scissors
- knife
- ruler
- pencil
- screwdriver
- 400g kraft paper
- double-sided tape
Steps
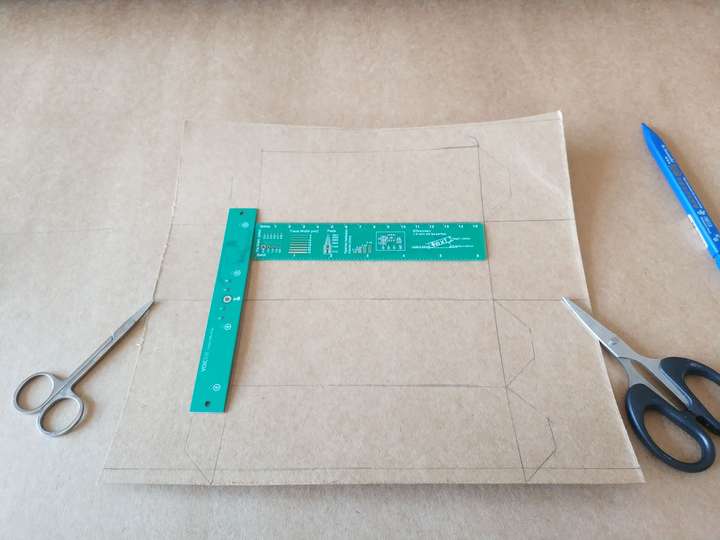
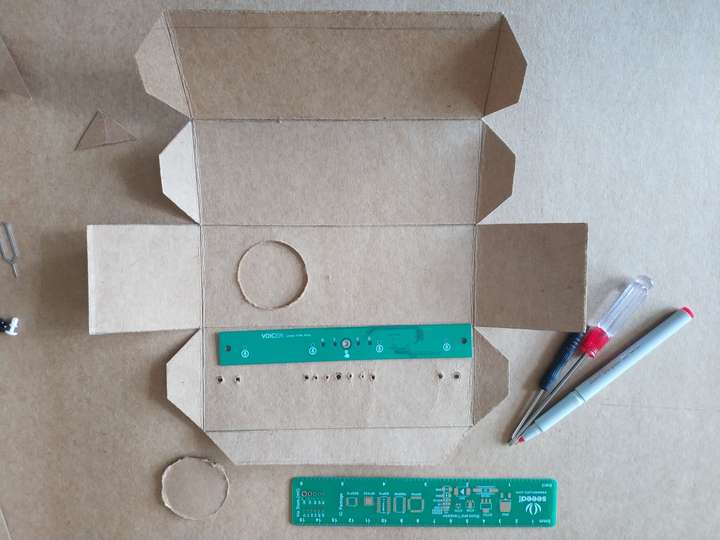
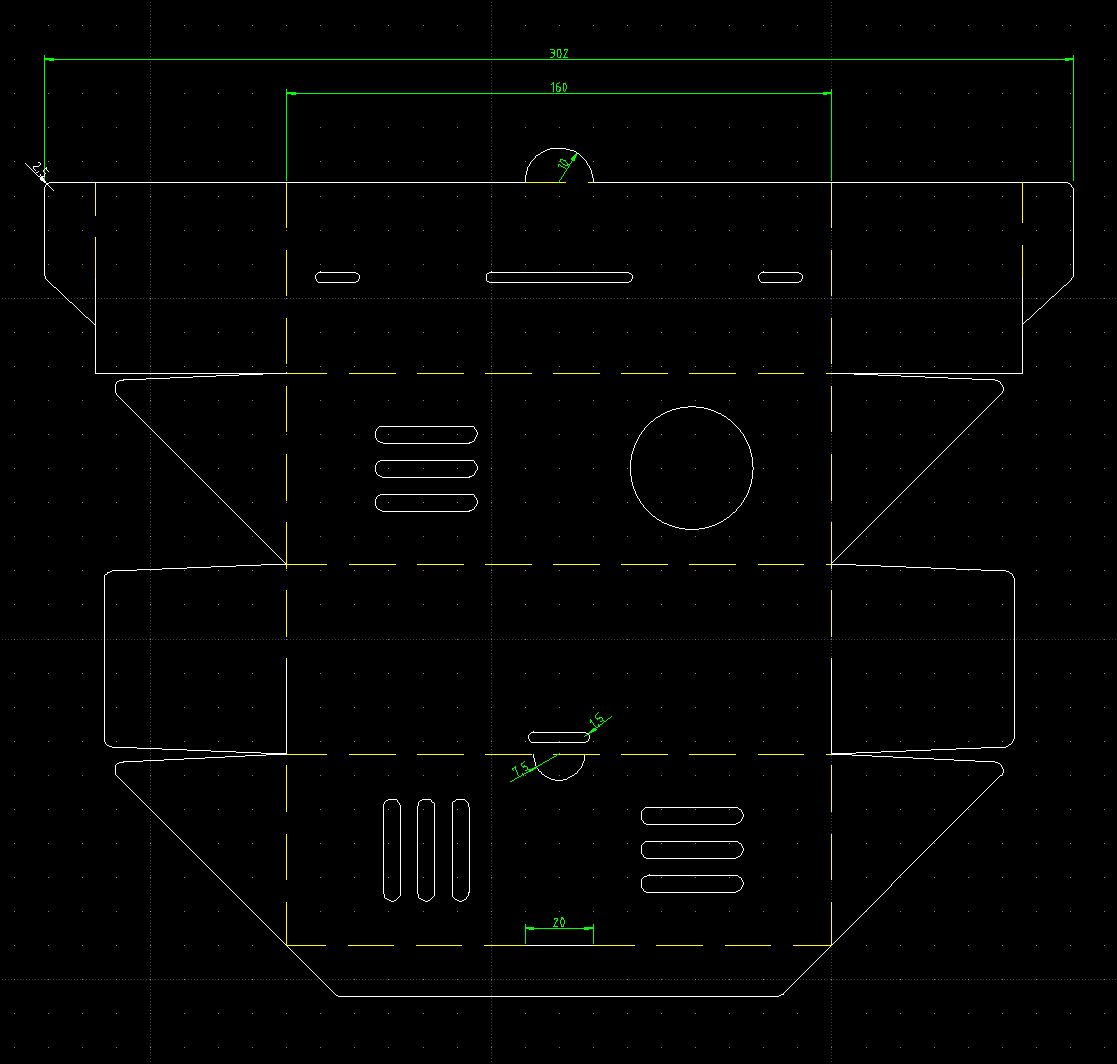
1. Draw the outlines of the paper case
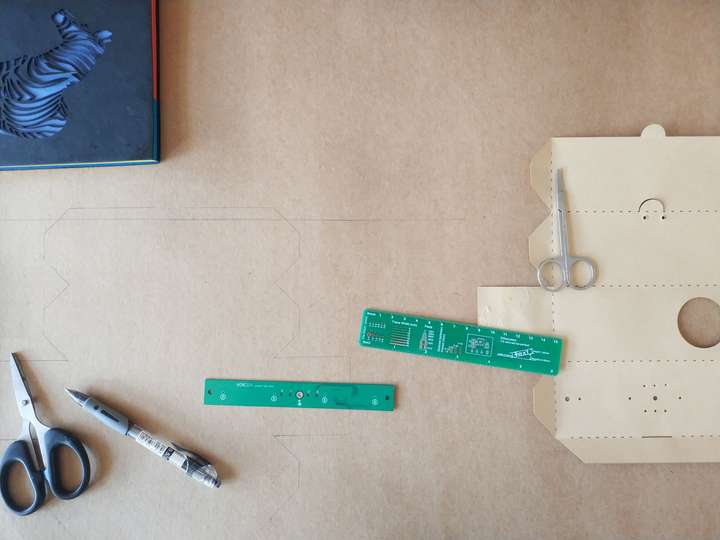
The design is quite simple. It's just a box with a lot of holes for a speaker, 4 microphones, 4 LEDs, 1 screw and 2 rivets. We can get the dimensions from the CAD file, then use the pencil and ruler to draw the outlines.

I have a laser cutting paper case, so I can use it to draw the outlines.
We can use the blunt scissors head to re-draw the contours, which makes it easy to fold the paper to 90° .
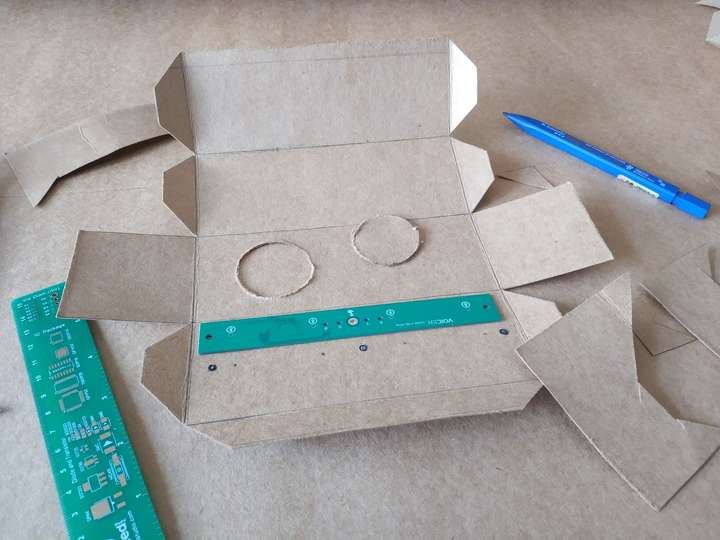
2. Cut the outer frame
Use the scissors to cut the frame following the outlines. To cut the speaker hole, we can use a similar size bottle cap to help.
3. drill the small holes for microphones
It's the most difficult part to do, as we have 4 microphones, 4 LEDs, 1 screw and 2 rivets.

Drill a hole with a screwdriver. Part of paper will be extruded. Use a knife to cut the extruded paper.
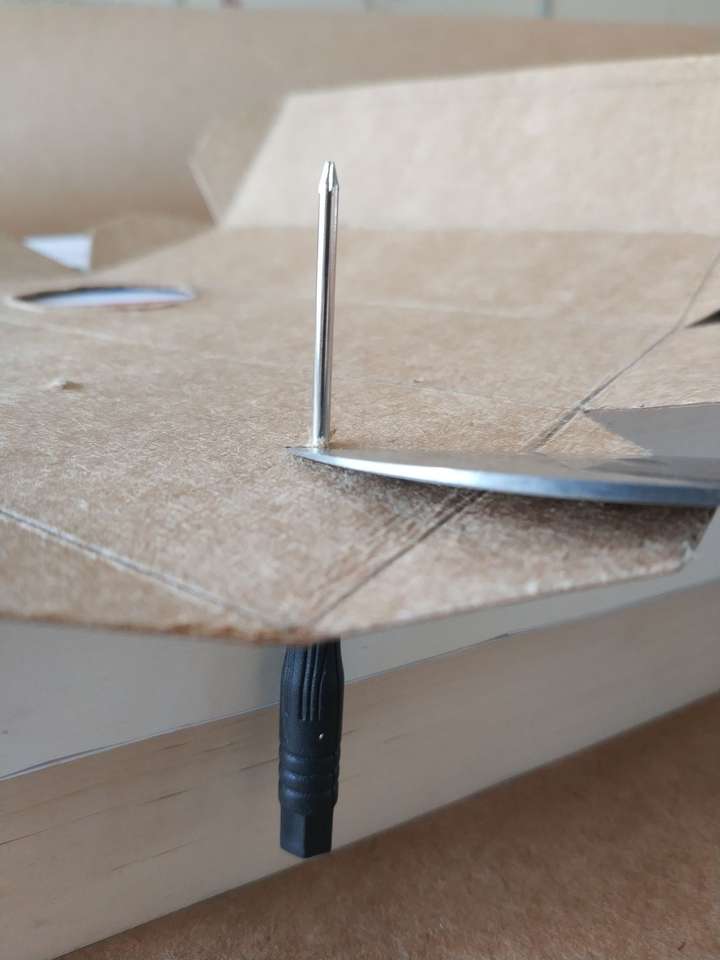
To make it easy to drill holes, we can use small puncher from taobao or ebay.

4. assembling
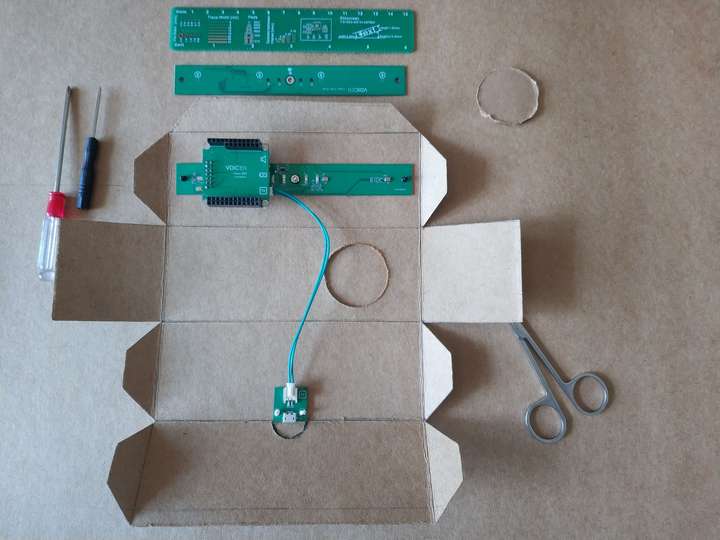
Use rivets to mount the circuit boards on the paper, and then fix the box with double-sided tape.
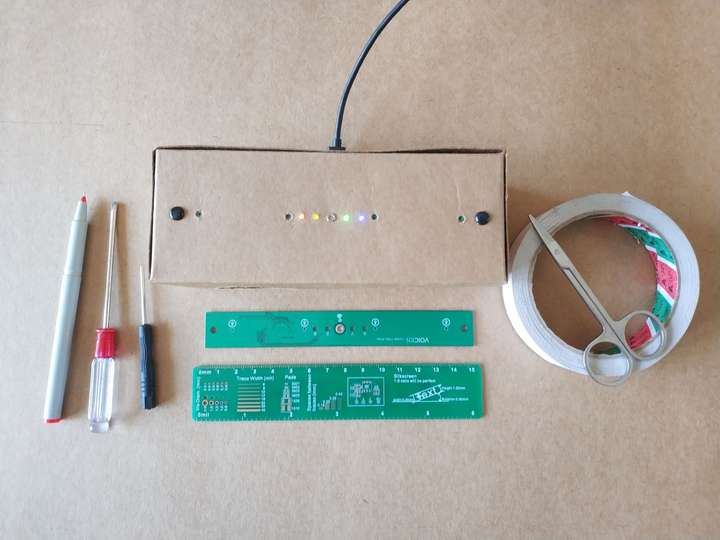
After this process, I made a new design to reduce small holes and avoid using double-sided tape.
Enjoy the process and have fun!
Discussions
Become a Hackaday.io Member
Create an account to leave a comment. Already have an account? Log In.