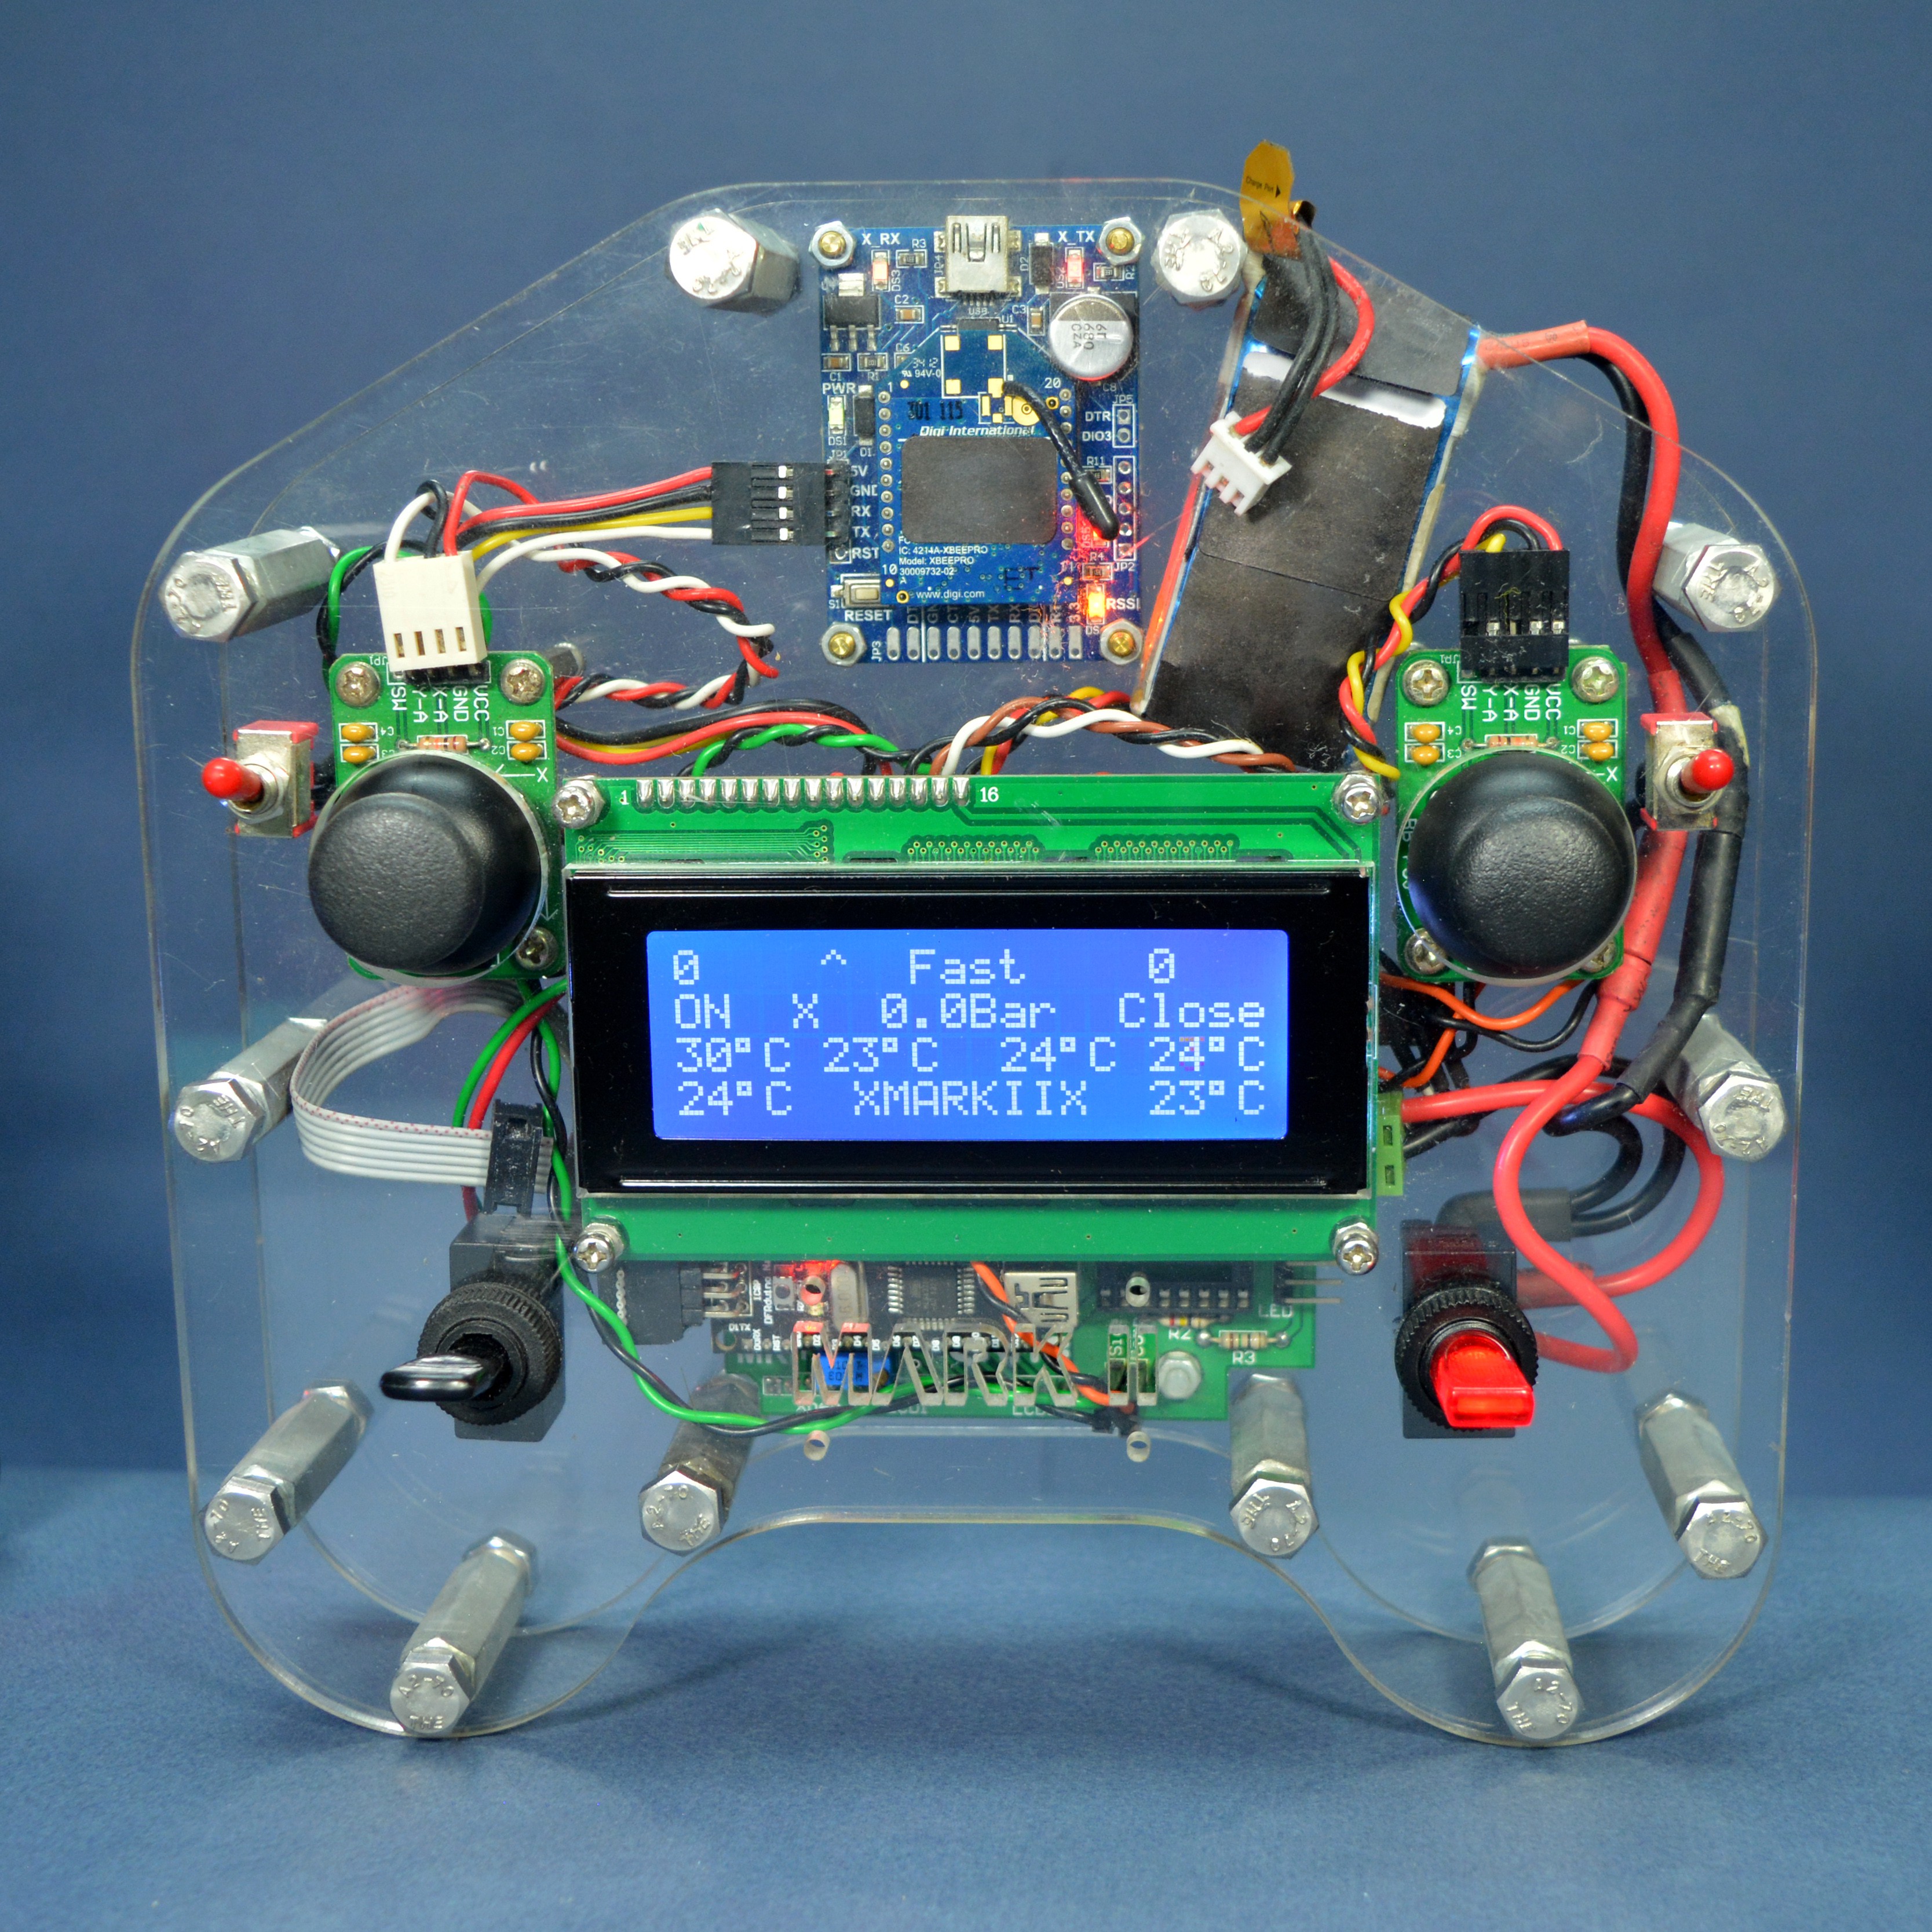
It was 2014 and we stepped up the engineering game with this remote controller :) We were experienced and familiar with fabrication processes and CAD design (both for mechanical parts and PCB), so we had a very systematic approach this time around.
We wanted to make sure the remote controller can be fabricated at low cost, therefore we decided to laser cut all parts. Laser cutting acrylic seemed to be the best option because acrylic is widely available and it is very laser cutting friendly.
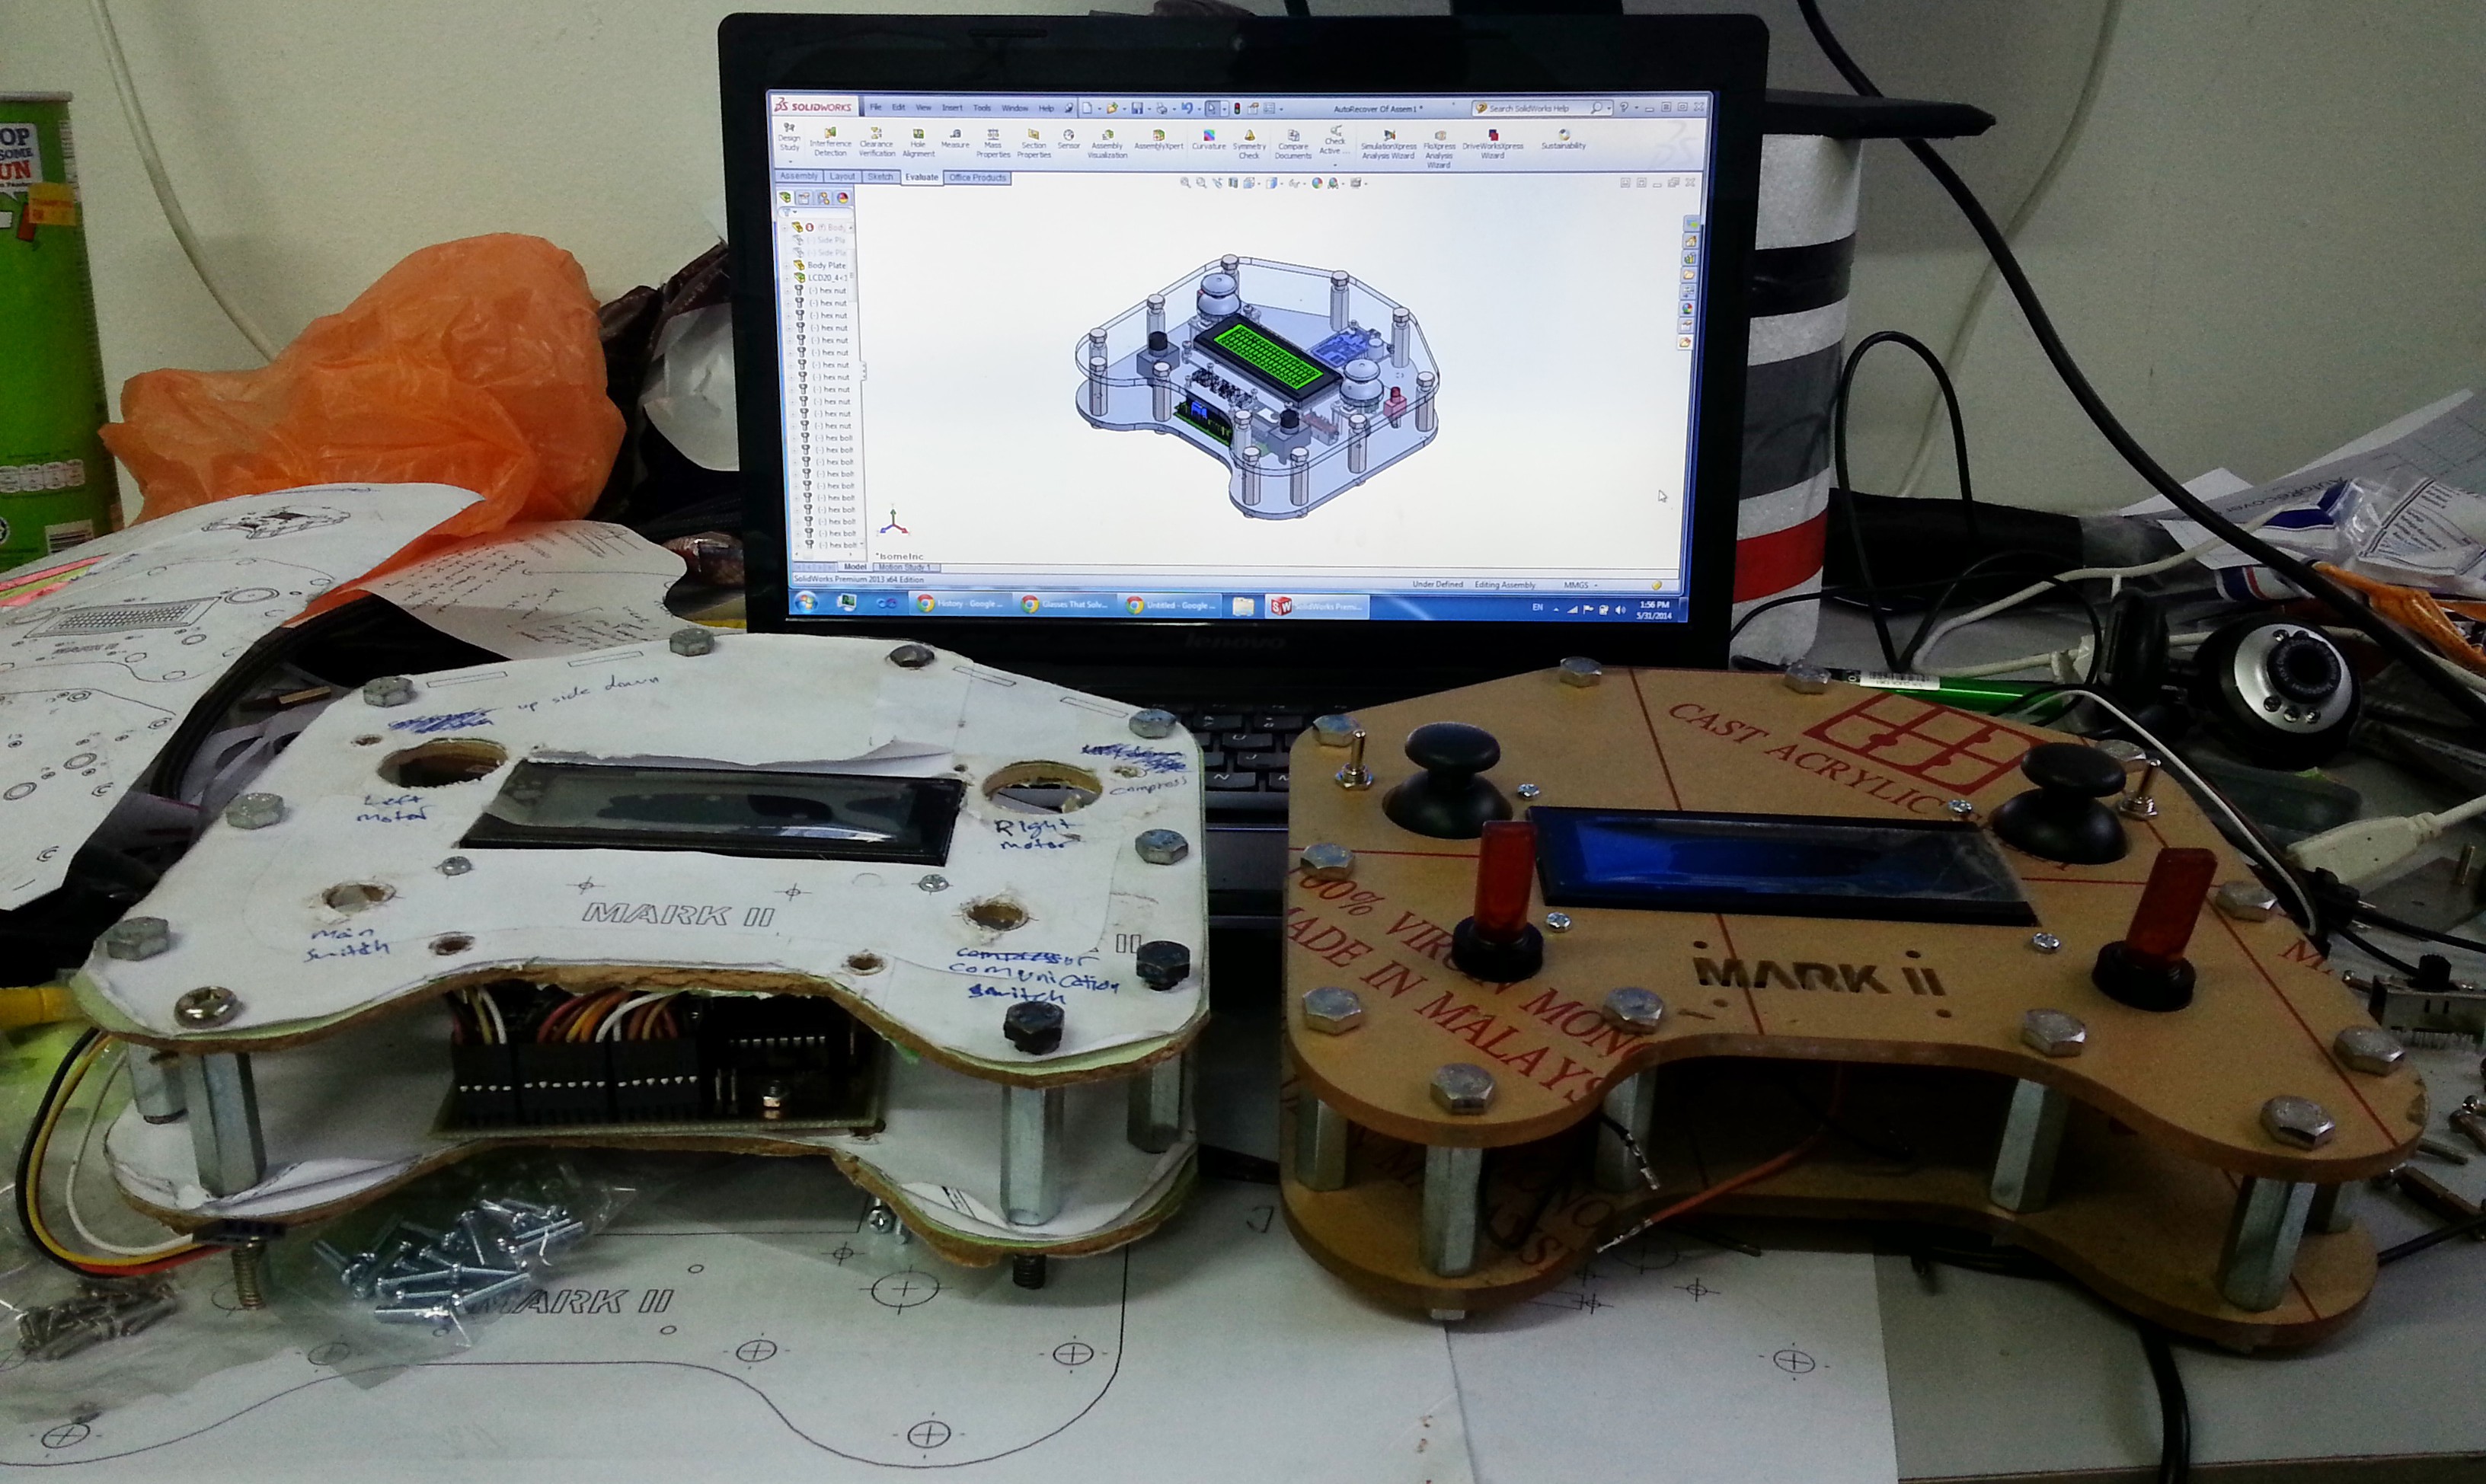
We first designed the remote controller in SolidWorks and then build a paper model. Once we were satisfied with the paper model we fabricated the first actual remote controller. The picture below show all the 3 stages next to each other.

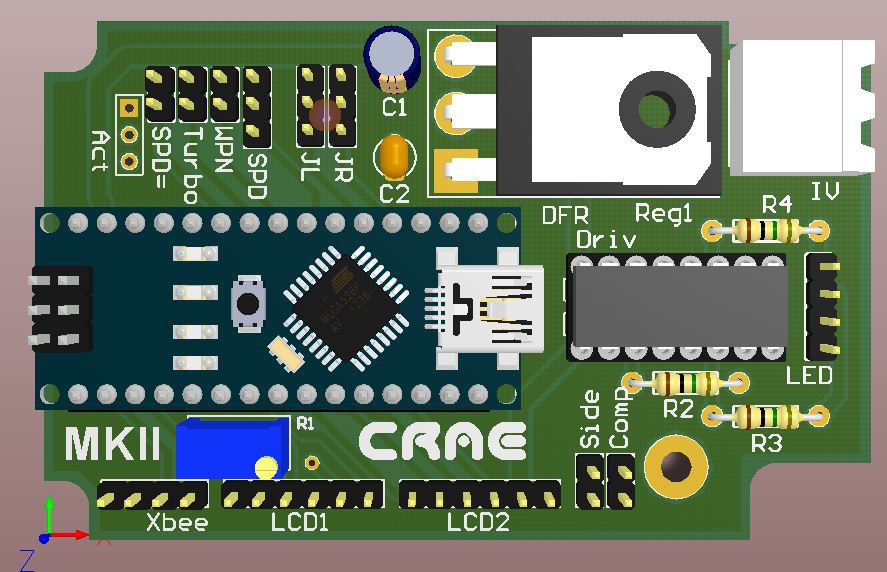
As mentioned in the previous log, we made the remote controller as modular as possible so that we can swap parts easily. The first step was using an Arduino board as the main processor. We picked an Arduino Nano for the job. We designed a PCB to act as a motherboard for Arduino Nano as well. The picture below show the 3D design.

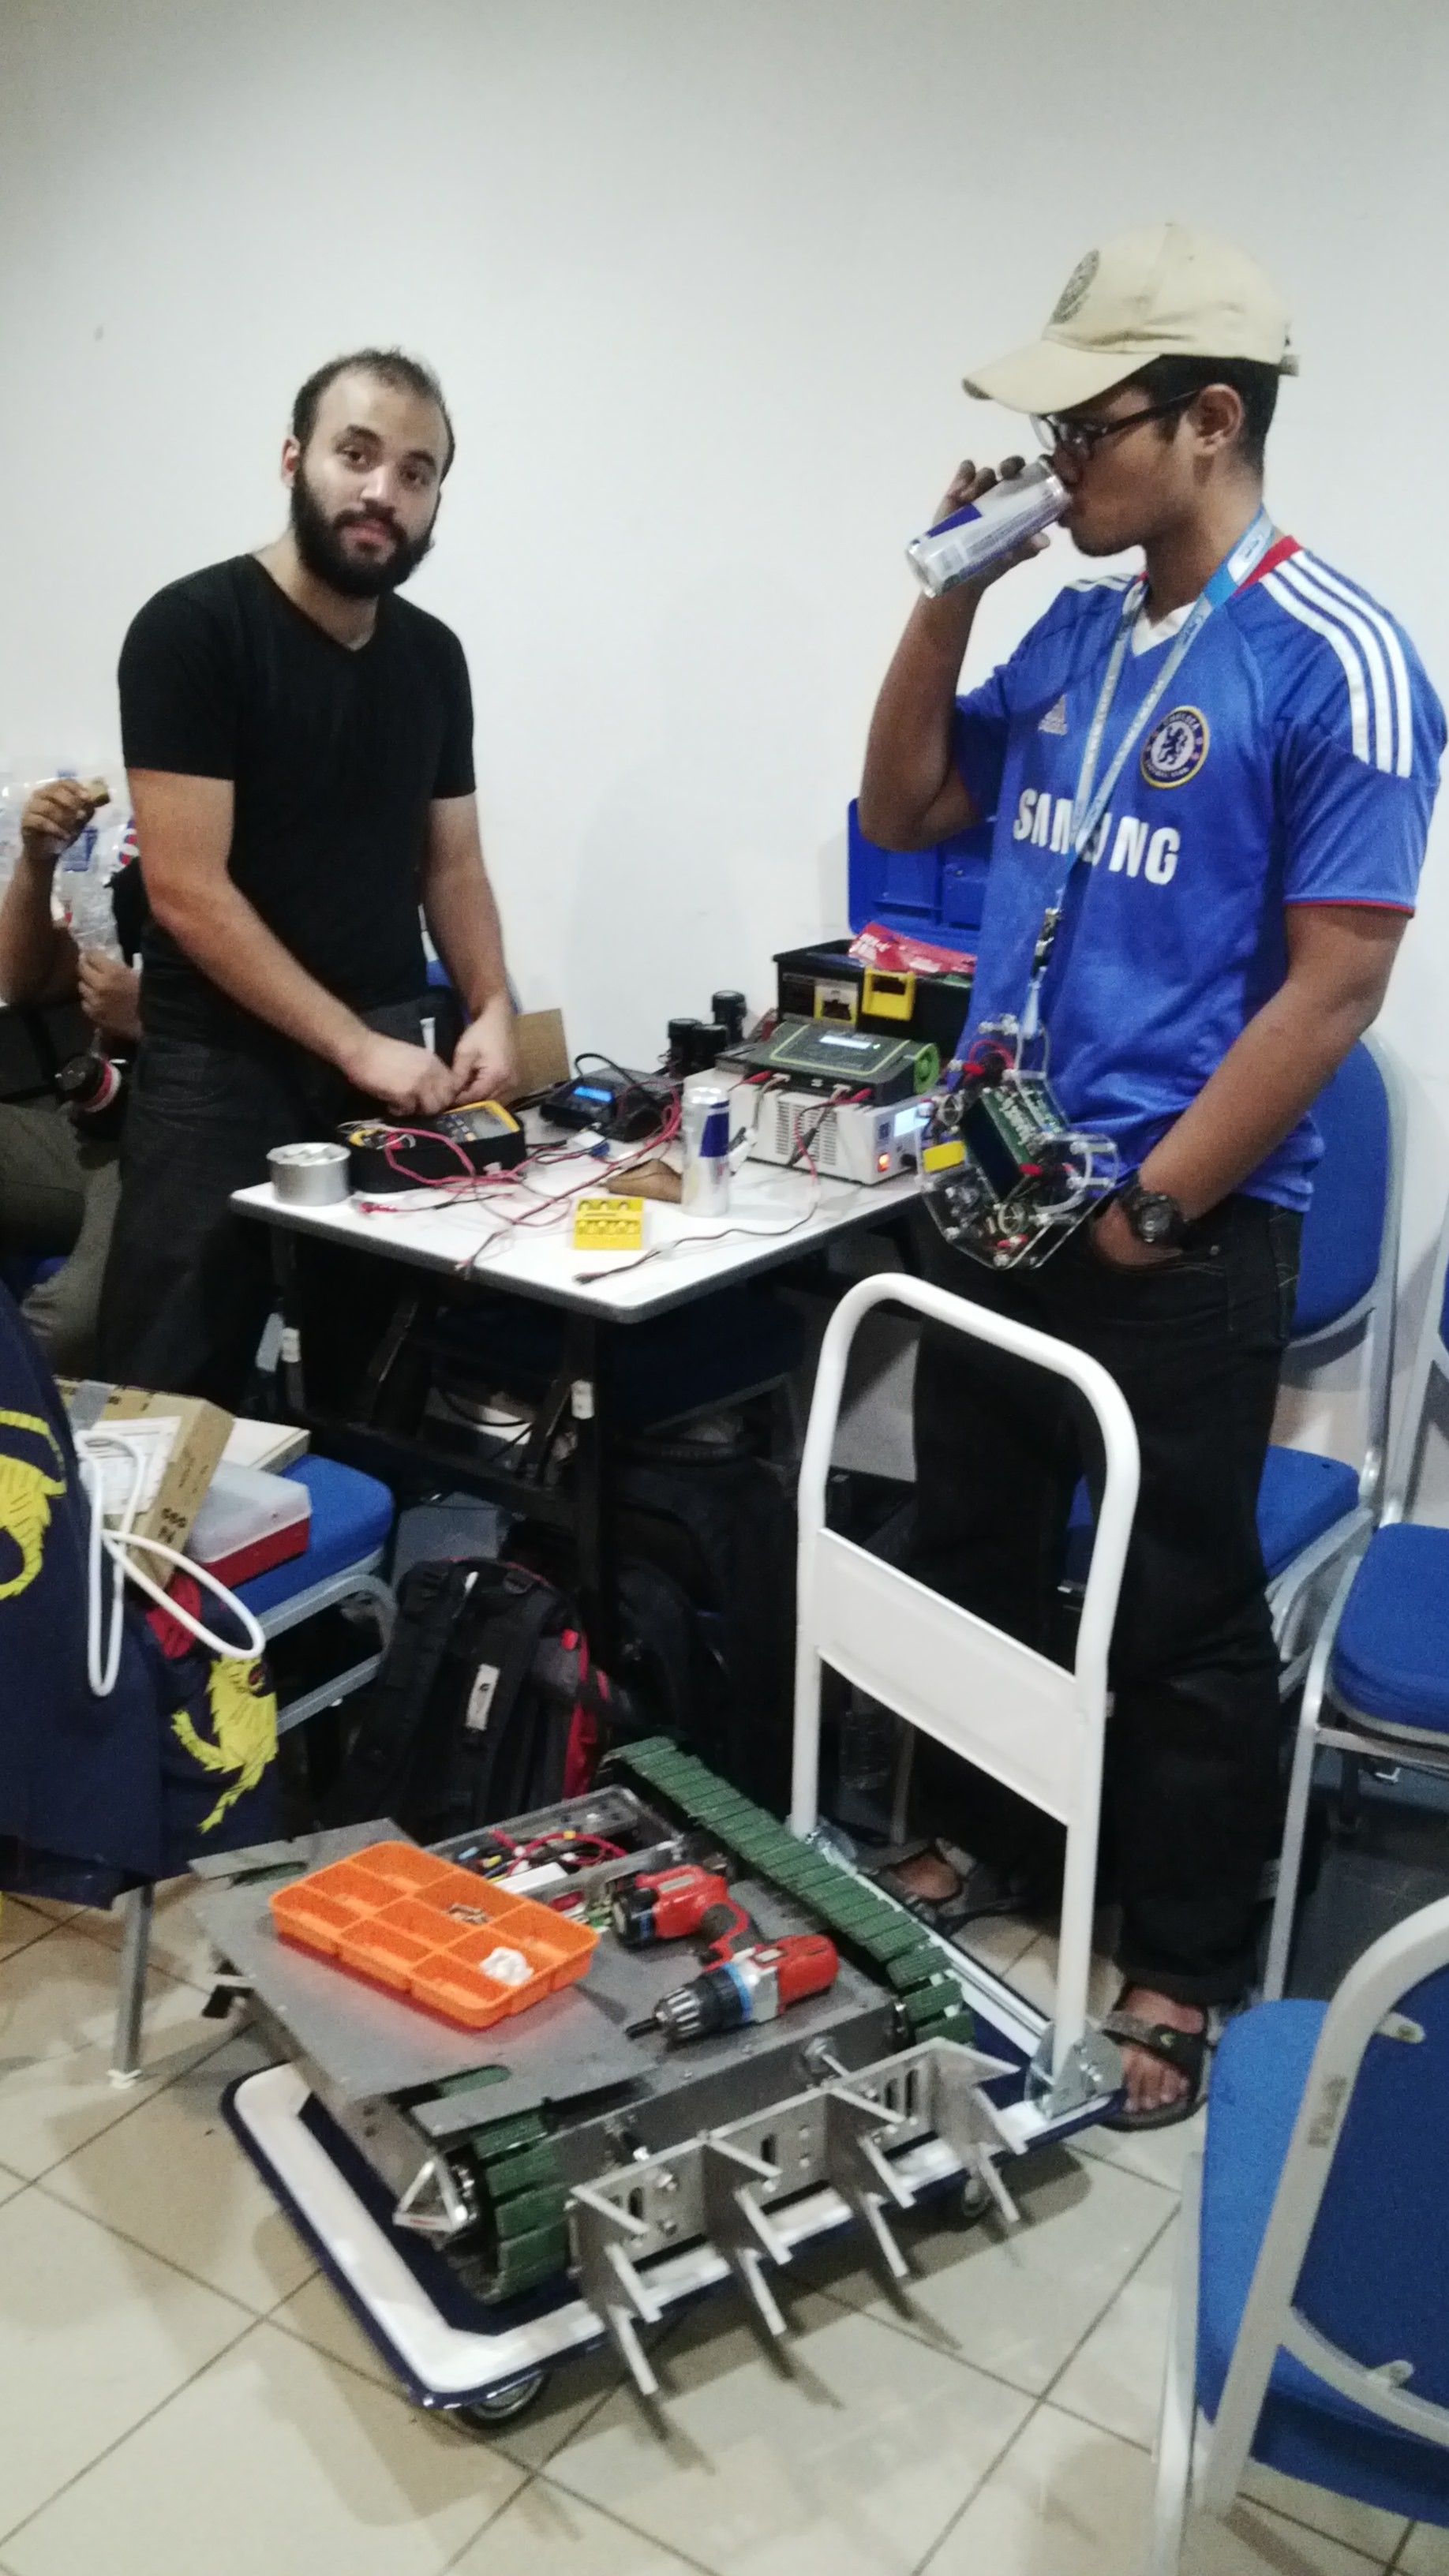
This controller was mainly used with our combat robot (Mark II). We also took part in few competitions with this remote controller. The picture below is from Combat Robot Malaysia. God knows how many Red Bull cans we drank. :)

This remote controller served us well till the end of our studies. We have a website page dedicated to this remote. If you want to see more pictures check it out (https://www.craetech.com/project/customized-remote-controller/).
Alpha V1 is heavily influenced by this remote controller and if it was not because of all the love this remote controller received at various events we would never think about coming this far with it.
 alireza safdari
Discussions
Become a Hackaday.io Member
Create an account to leave a comment. Already have an account? Log In.