 AccidentalRebel
This project was inspired by various people who has had success making their own version of home made 3D printers. I am fortunate that there is now a wealth of resources and tutorials that I could follow. Without them, I doubt I would have attempted this.
I'm listing them all down here with short descriptions as to why and how they are helpful and important. I am hoping that this would be of use to others who want to take on this project as well.
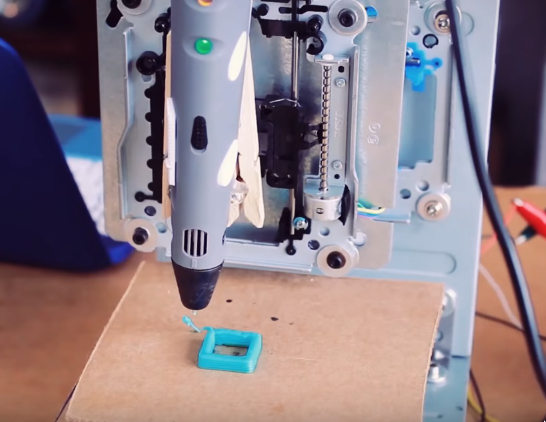
- Tinkernut's Project - Video and text version- The video that first taught me about the possibility of a cheap 3D printer. Uses Arduino UNO, 3D Printer Pen, and A3967 Stepper Motor Driver. Here's an updated version of this project with a different approach.
- Electronic Grenade - Based his project off Tinkernut's. Goes through the steps in more detail.
- EWaste 60$ 3D Printer - Different from the first two by using RAMPS 1.4. This is also the only one that teaches about current intensity regulation to avoid overheating stepper motors (Check Step 6). Everything else is also good albeit a bit dated with broken links to important files.
- Curiosity 80$ EWaste Educational 3D Printer - Similar to the EWaste 60$ Printer, this one is more detailed and easier to follow. as it is also targeted towards younger aspiring makers.
- Joe Clinton's Project Log Playlist - A video playlist of a 3D printer from start to finish based on the Curiosity 3D printer. Starts with testing the circuits first before mounting the drives. It's a nice glimpse of what pitfalls to expect and avoid throughout the project.
- RAMPS 1.4 Assembly Guide - Simple guide on how to assemble your RAMPS 1.4 board. This is crucial as some purchased boards may require some assembly.
I'll be basing my project using the lessons from all the links above.
Initially, I was planning to go with Tinkernut's approach (Arduino, 3D Printer Pen, and A3967). I had concerns about the print quality though so I asked Tinkernut and he replied that more fine tuning needs to be done with the code and that the the 3D Printer Pen's extrusion is too thick to have a good resolution print.
The Curiosity project, on the other hand, uses Ramps 1.4 which is a commonly used controller board. I'm going with this just because I feel there's support for it if I run into problems. I also bought a hotend and an extruder similar to what others had success with.
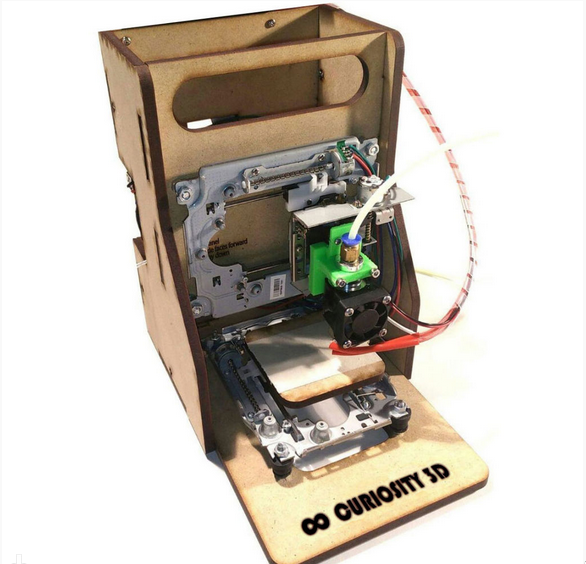
As for the frame, I might go with the simple approach of using the hard drive cases similar to Tinkernut's. I actually like how Curiosity looks but I don't have the necessary tools to make them.
I think I have everything thought out. There are still some small issues that I am unsure of but I bet I can solve them as I go along.
Next step is setting up the Ramps 1.4 board and hook it up to all the drives just to see if the electronics are working properly. I'll make a new log about it soon.
Discussions
Become a Hackaday.io Member
Create an account to leave a comment. Already have an account? Log In.