 AccidentalRebel
I decided to work on the print bed today so I could measure and estimate just how big my print dimensions will be.
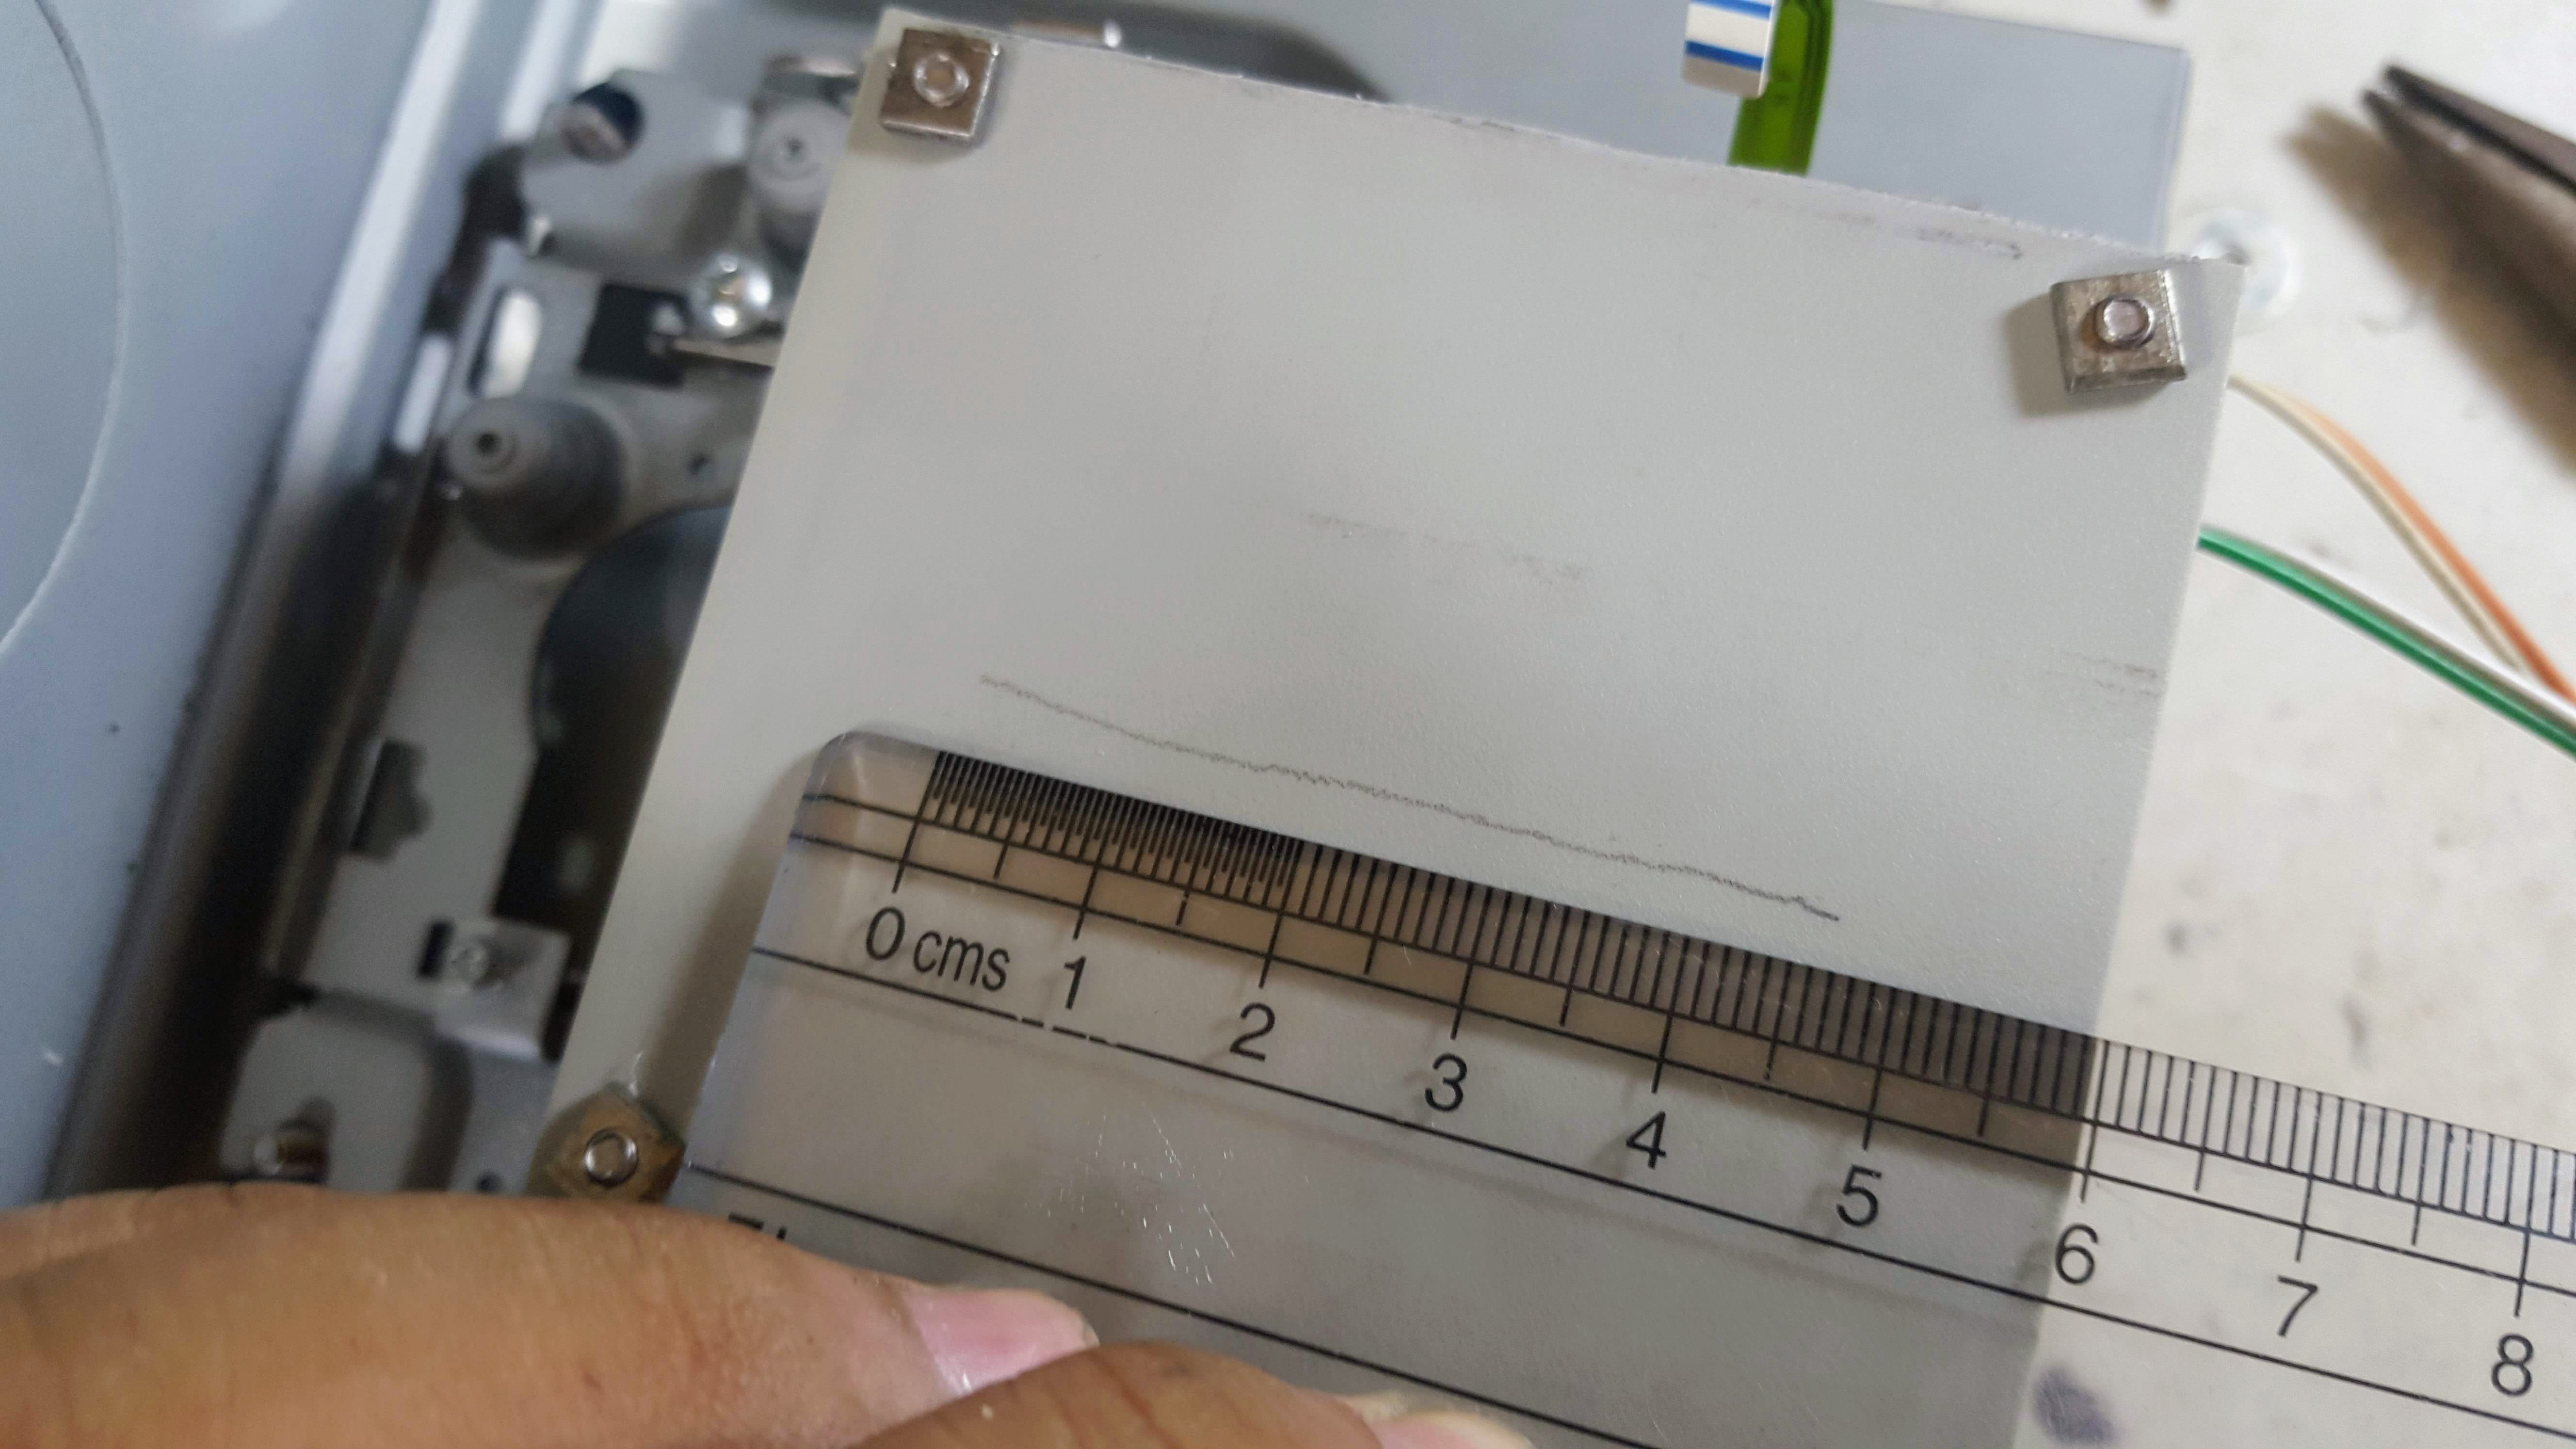
I salvaged the plastic sheets from the inkjet printer I dissembled a few days ago. I will be replacing this with acrylic in the future but this will do for now.
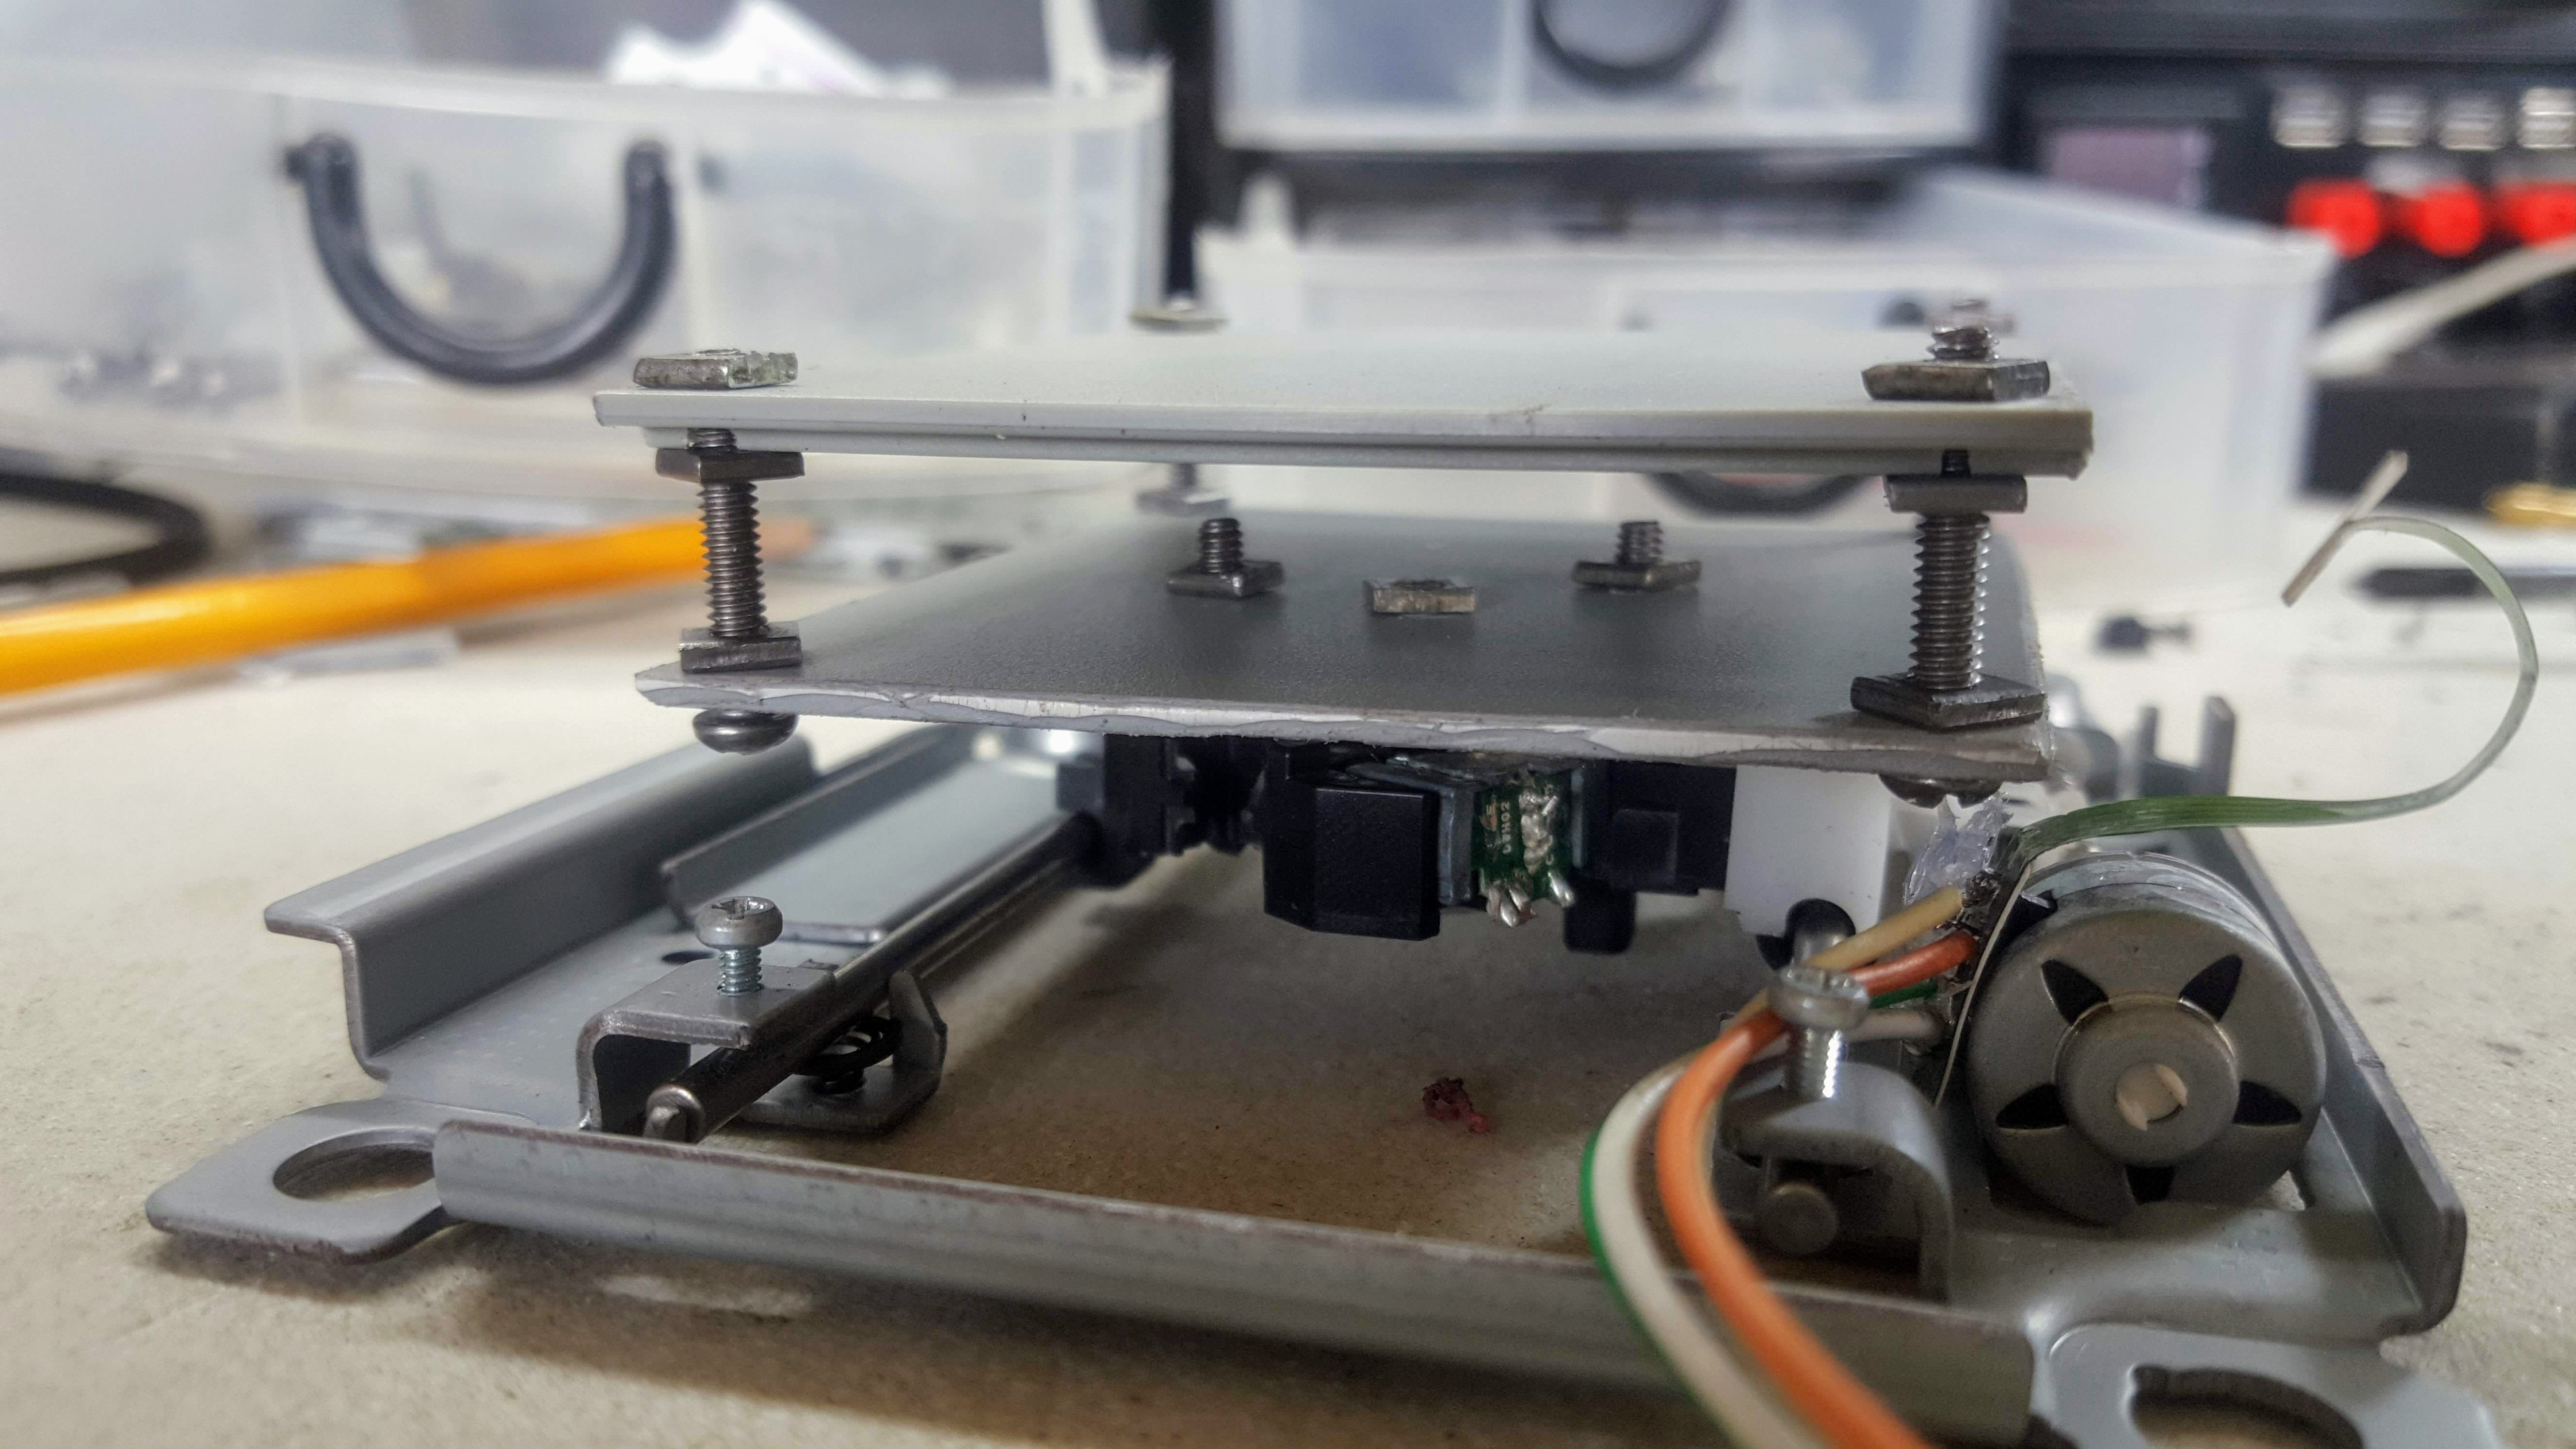
Initially I was planning on using motherboard mounts but I found that the bolt and screw method I have been using to assemble the frame works great here as well. This approach works well as I can easily adjust the heights of the corners by twisting the nuts. This will be very helpful once I start leveling the print bed.
I just estimated the positioning of the print bed while making sure that it moves freely without hitting the frame or other parts. If things go as planned I should have a maximum print dimension of around 45mm x 45mm. It's very small but is expected out of this kind of home made 3D printer.
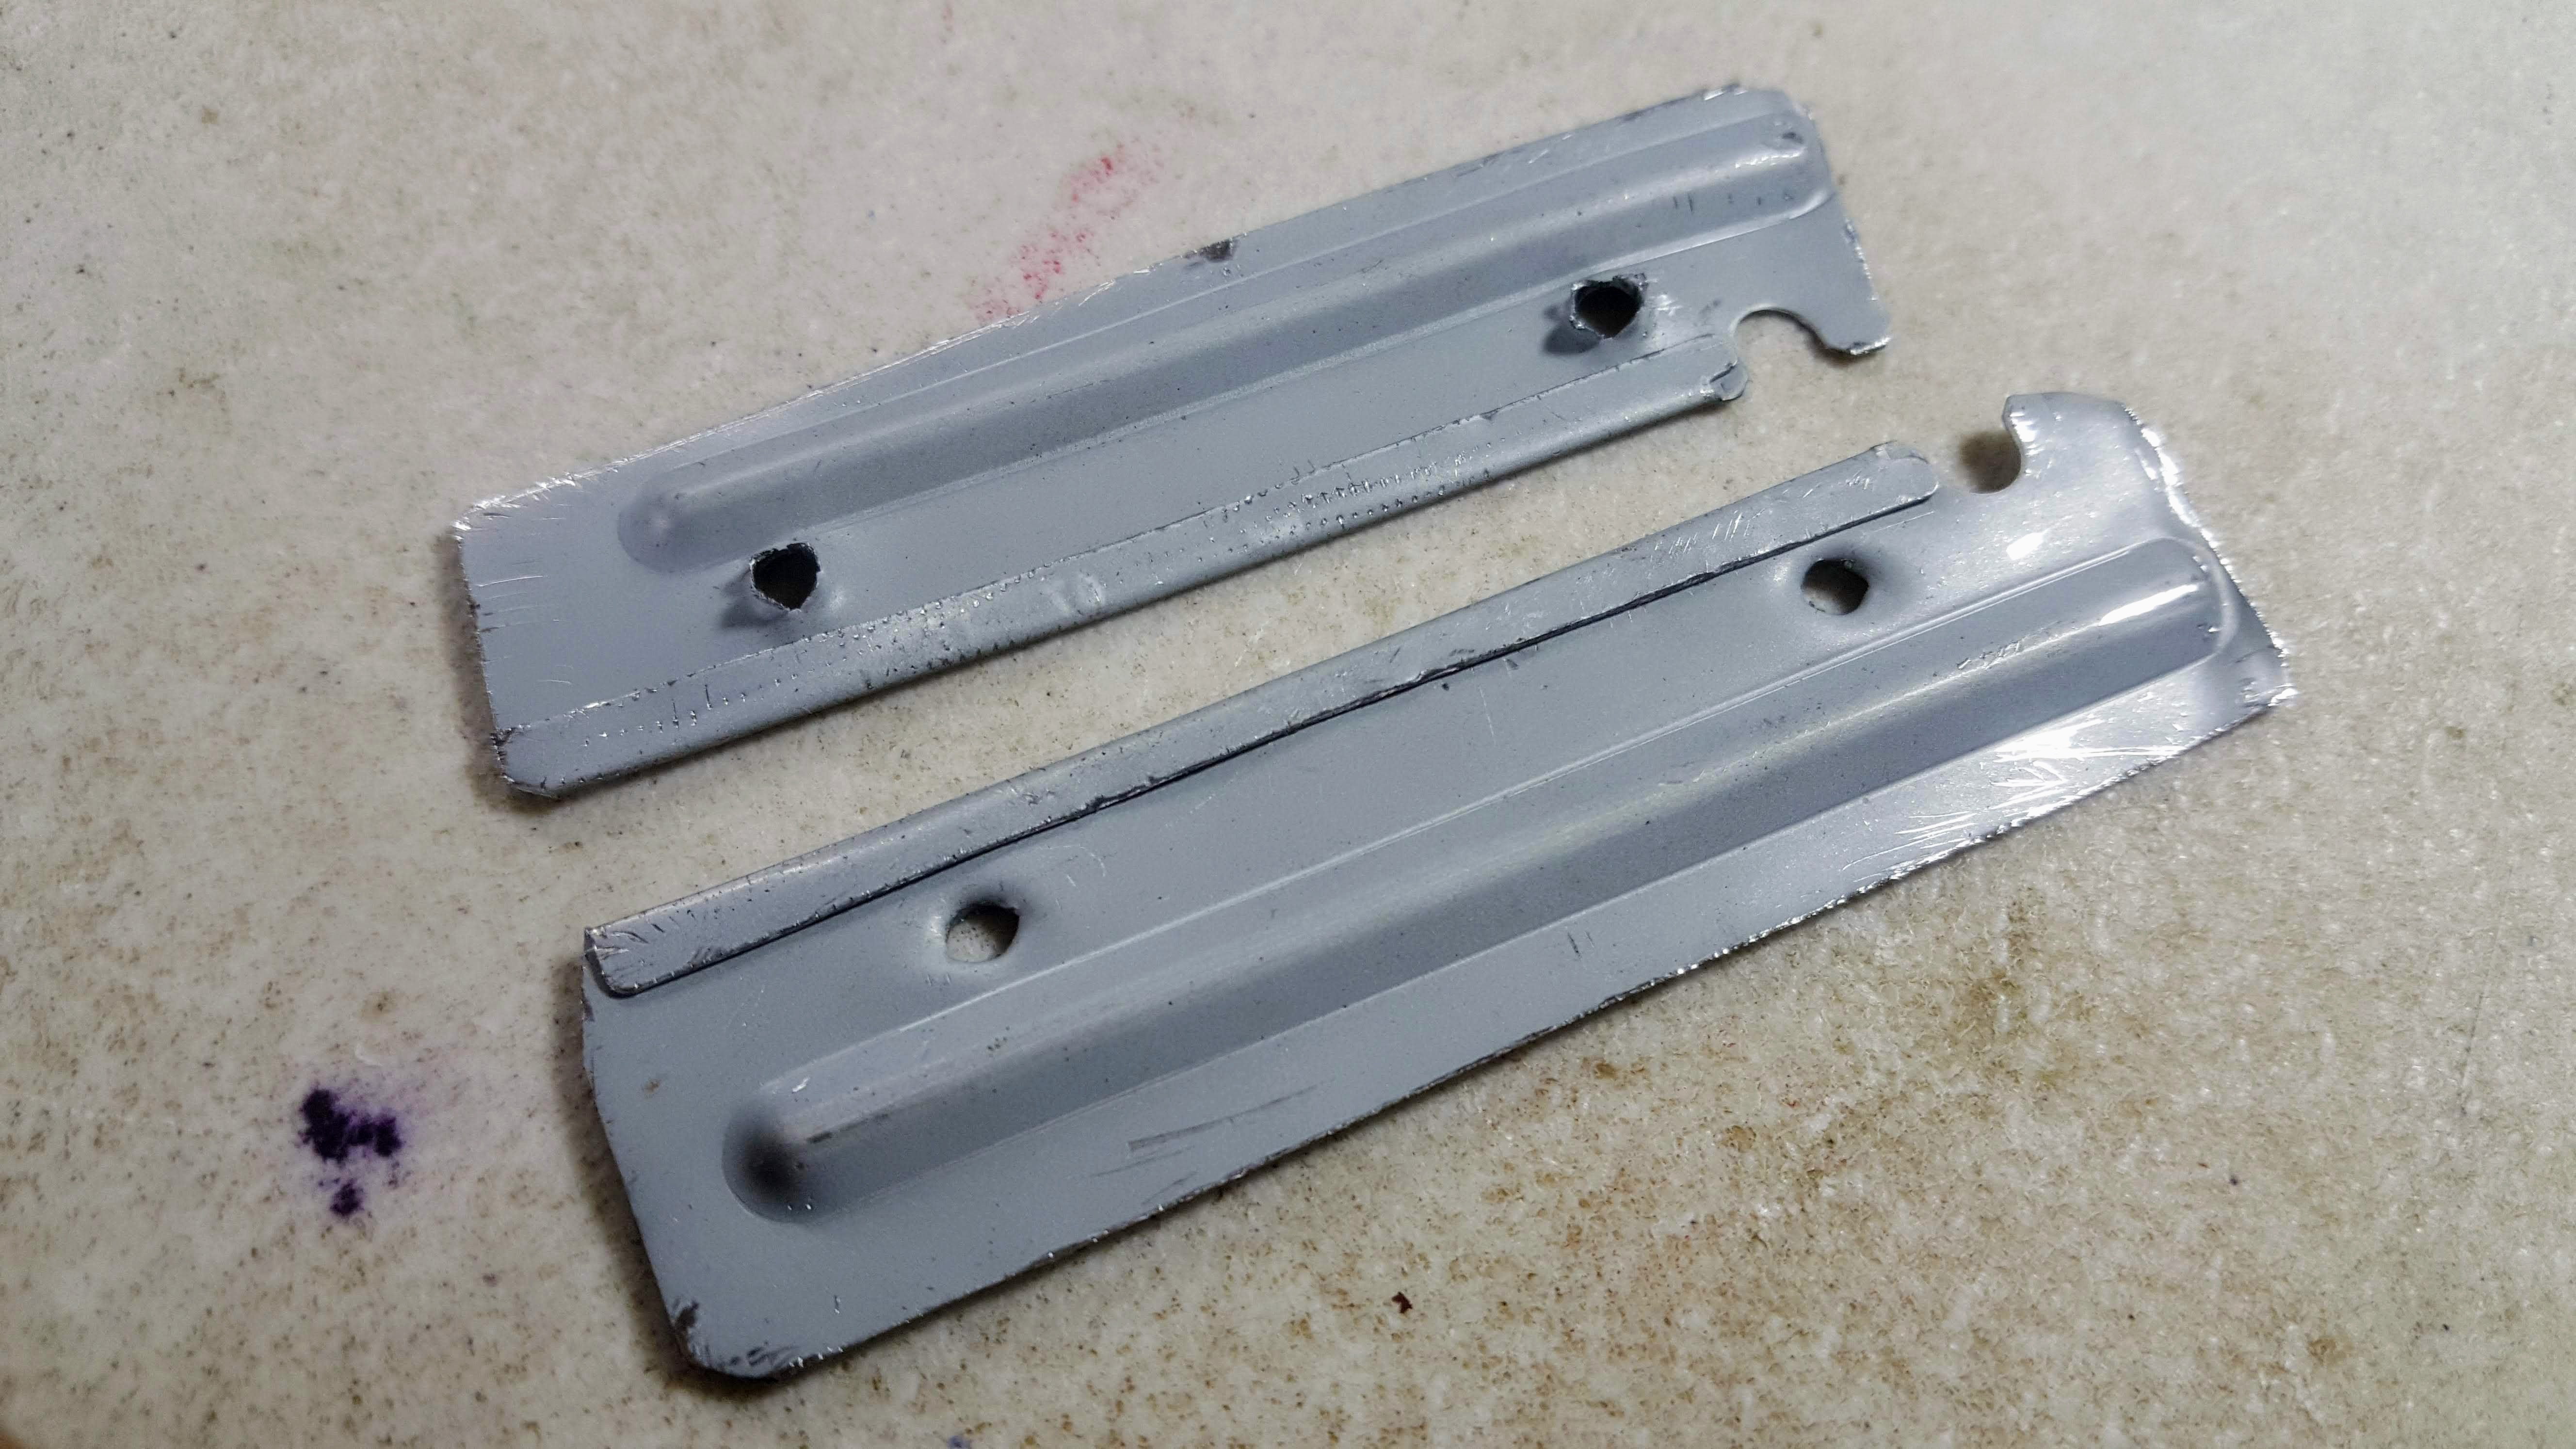
I also worked on making the frame more stable. I did this by adding braces to the sides made from cutting a long strip from a CD-Rom casing. The casing is actually soft and bends quite easily so it's not really an ideal brace. To strengthen these I employed a technique of folding the edge to make it stronger. See picture below. I am surprised how strong it became from just a simple fold. I learned this from watching an actual blacksmith make an armor out of aluminum sheets.
To make the whole frame even more stable, I reinstalled the plastic housing initially found inside the CD-Rom casing. This made the frame heavier and sturdier as can be seen in the video below:
Up next: I'll be mounting the other axes, and after that slap on a pen and see if this machine can draw. Stay tuned!
Discussions
Become a Hackaday.io Member
Create an account to leave a comment. Already have an account? Log In.