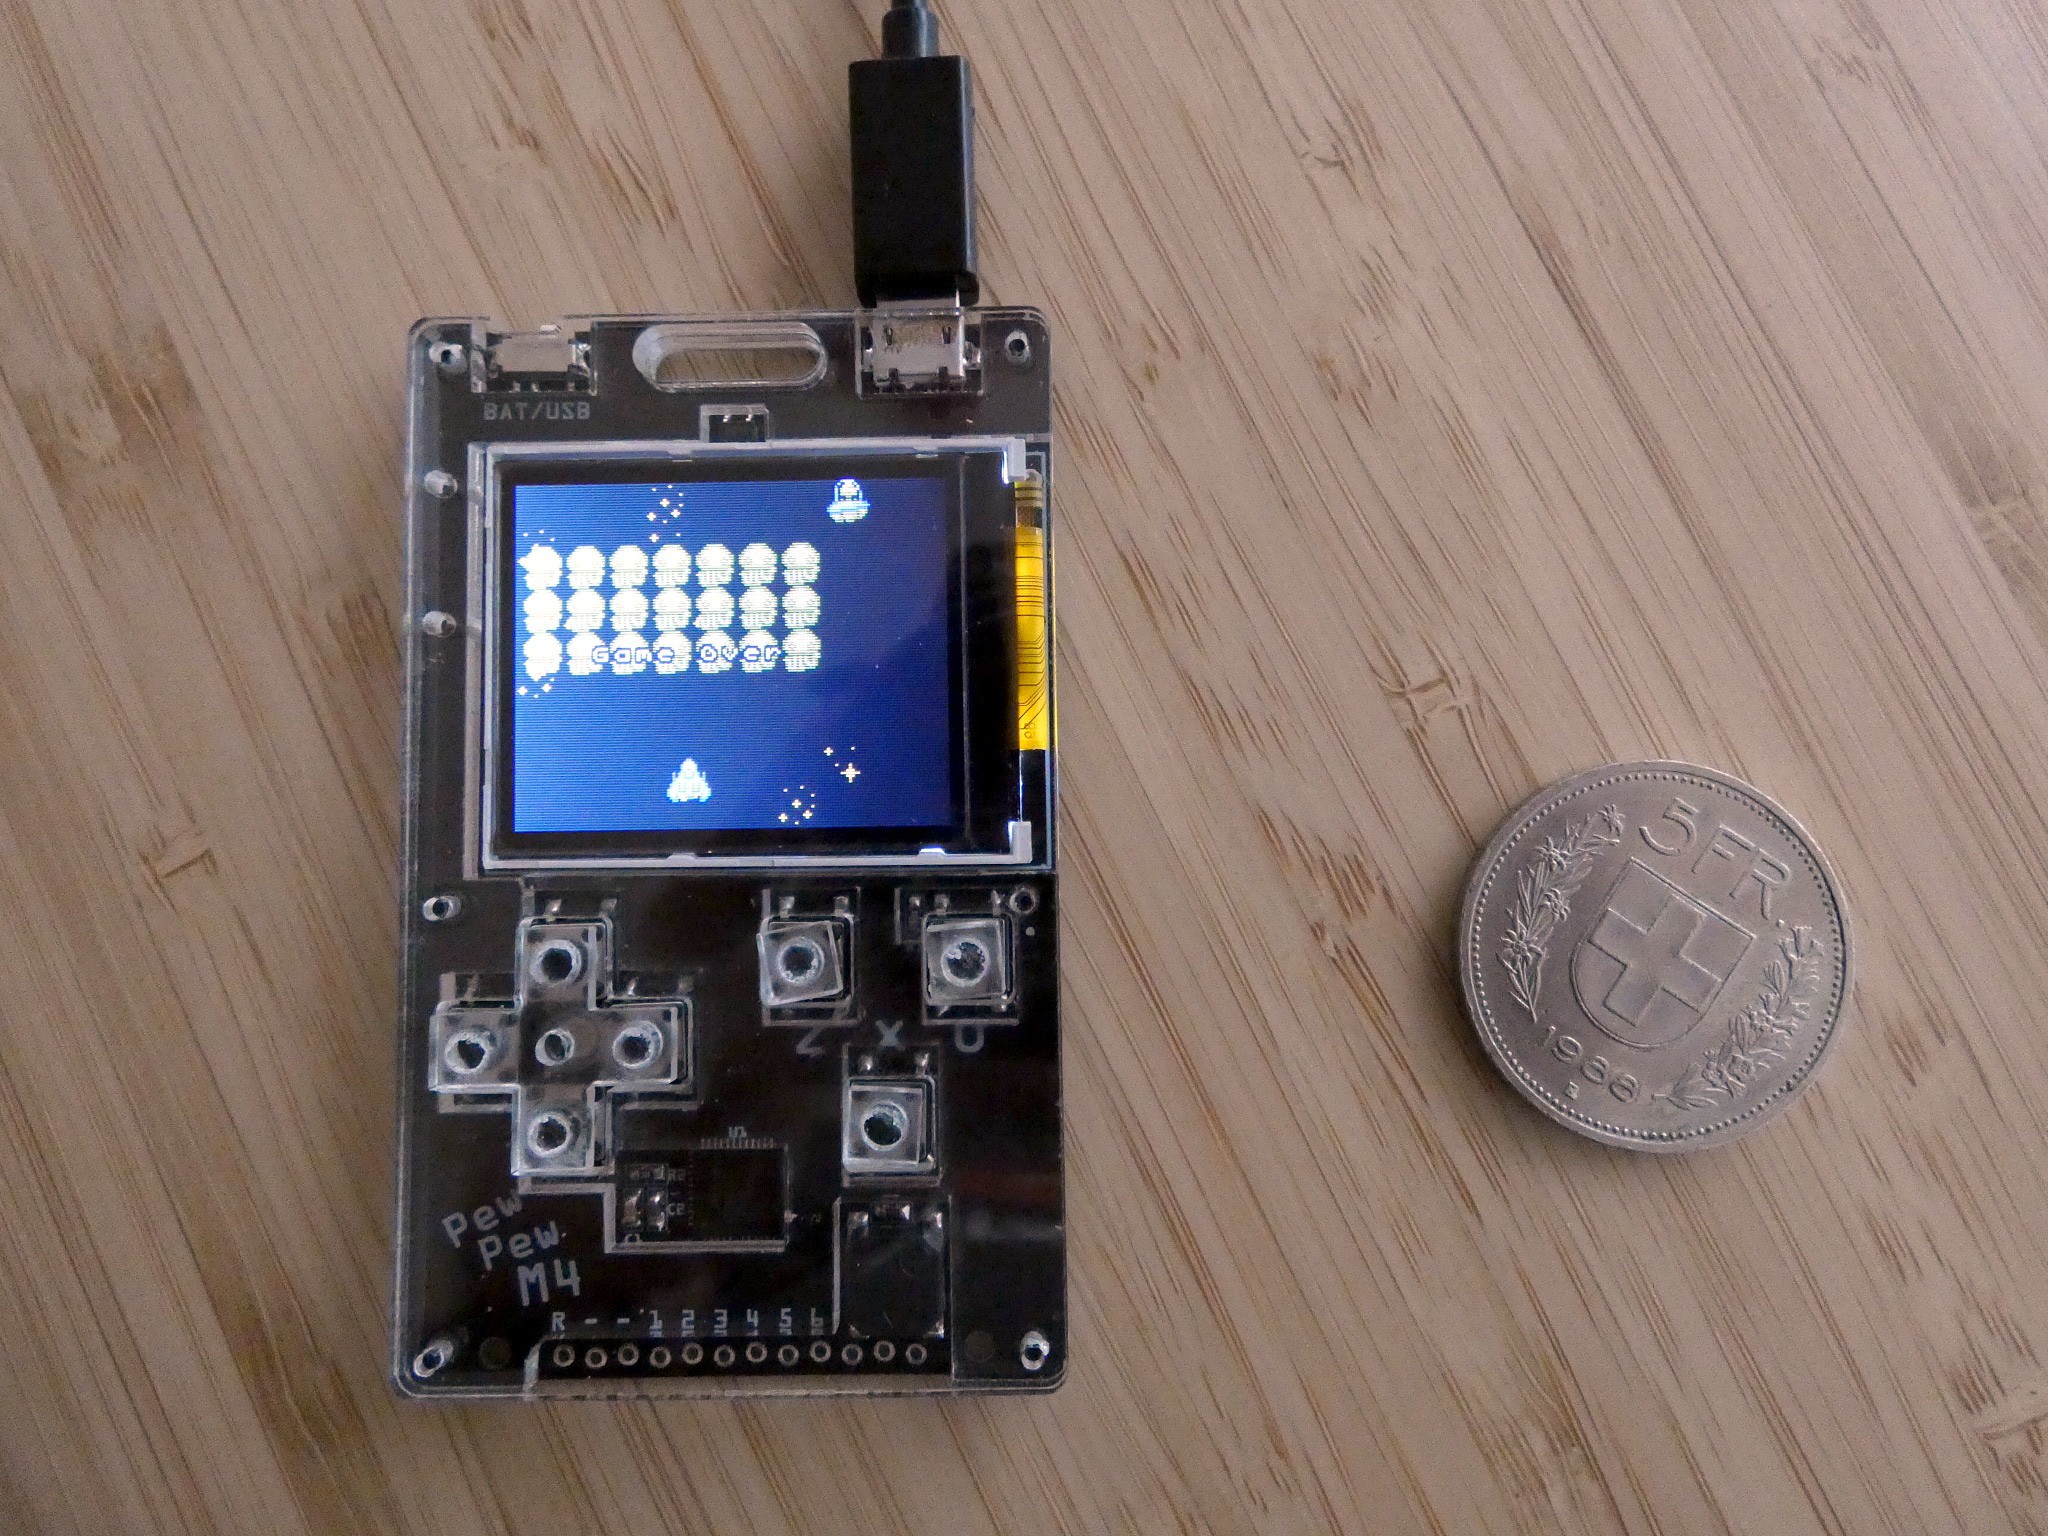
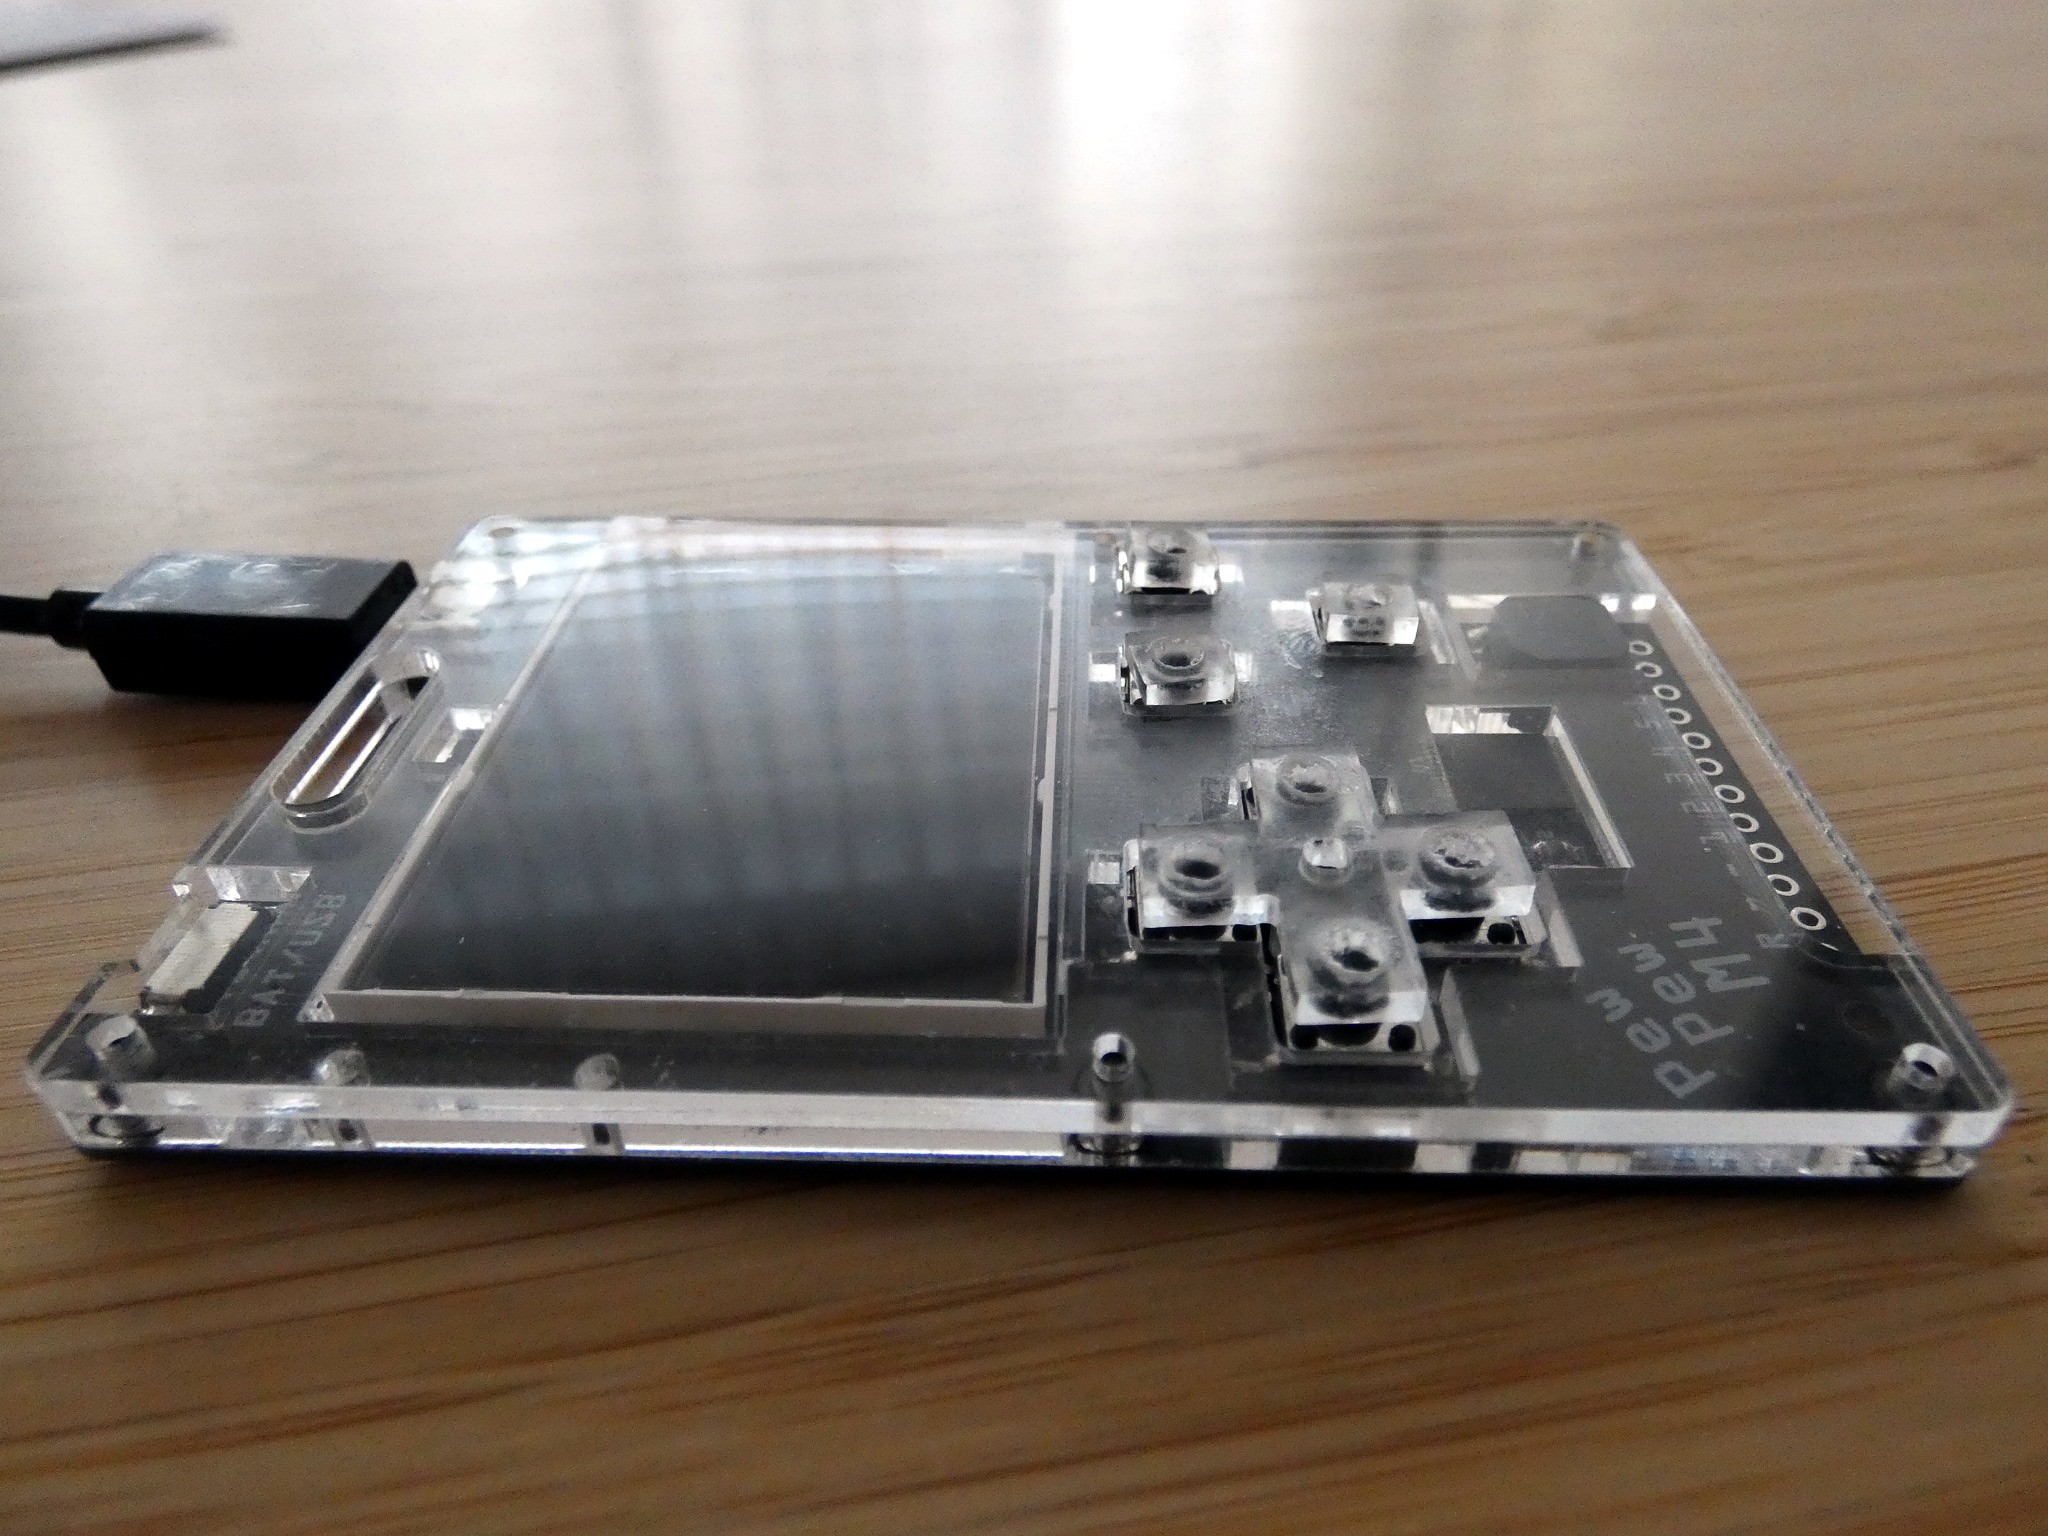
I assembled one of the version 6 prototypes, and so far I think that the direction is good, but requires more work and experimenting. More details after the obligatory photo.

As you can see, I went here with the short black tact switches and caps without a cut, that are glued on top of them.
The good:
* The holes don't seem to be uncomfortable and actually add a kind of unique look.
* Large surface of the caps make the buttons much easier to press.
* It works well even without the bead in the center.
The bad:
* The regular tact switches are too high. The caps stick out of the case too much.
* Glue is not the best tactic — it can't be disassembled and we risk getting some inside the switches.
* The holes are a little too tight a fit.
* The screws are fine. They only go about half-way into the 2mm top plate, but that is enough for a good grip.
* The piezo speaker fits perfectly.
* The black PCB really looks good with the acrylic.
The ugly:
* The fire buttons rotate. They have too much leeway, and since they are not connected, there is nothing that would stabilize them.
* Because the holes are too tight, the d-pad doesn't sit perfectly centered on the switches.

So what are the next steps?
I will assemble another prototype, this time using the taller 6x6x6mm switches, and the caps with a cut across the hole, for springiness. Those should friction-fit on the tact switches, without glue.
I will try to get another set of caps laser-cut locally (and possibly another front plate as well) to experiment with different shapes, and different holes for different switches. In particular, I want to try the low-profile 6x6x5.5mm ones from the previous log. Maybe also a connected version of the fire buttons, and a bigger and rounded version of the caps (if they are round, nobody cares if they rotate). Maybe also a version of caps for the metal tact switches — but then I would ultimately also need a new version of the PCB, as they have a smaller footprint, which I can deal with for testing, but not for a finished version.
I will also carry the prototype a bit in my pockets, to see what breaks this time. I can see a couple of potentially fragile places, I will probably need to move some of the screws around.
 deʃhipu
Discussions
Become a Hackaday.io Member
Create an account to leave a comment. Already have an account? Log In.