The first step of this project is the selection of a suitable scale or load cell platform. You can certainly make your own for less money than buying one and modifying it. If you have a 3d printer and wood, plastic, or metalworking ability, then if you have the time and interest by all means make one. You can get inexpensive load cells from the usual vendors and mechanically all you need to do is create a platform that is fully supported by one side of the load cell and a base that is the support underneath it. We decided that our time was more useful in building the rest of the system than reinventing a platform system that someone else had engineered and manufactured.
Either way, here are the key items we felt were important to have in the mechanical system:
- Corrosion proof (or at least resistant). This will be in the open elements and underneath the hive where dirt and debris can collect. Constant temperature changes and humidity will destroy accuracy in a system that is weather sensitive.
- No edges that can catch water or moisture runoff.
- UV resistant. For the same reasons as corrosion, the sun will be impinging on the setup and will quickly degrade many (most?) plastics unless they are coated.
- Non-toxic. It goes without saying that in a place where sensitive bees are making food you will eat, you do not want unknown plastics out gassing or such.
- A large enough platform to hold the hive without it rocking, moving, or being unsteady. We found that 14 in by 16 in (35 cm by 41 cm) was a minimum for our hives.
- Direct access to the load cell circuit. In commercial scales we have found this is the case all those with a controller/display separate from the scale with a cable connecting it to the platform.
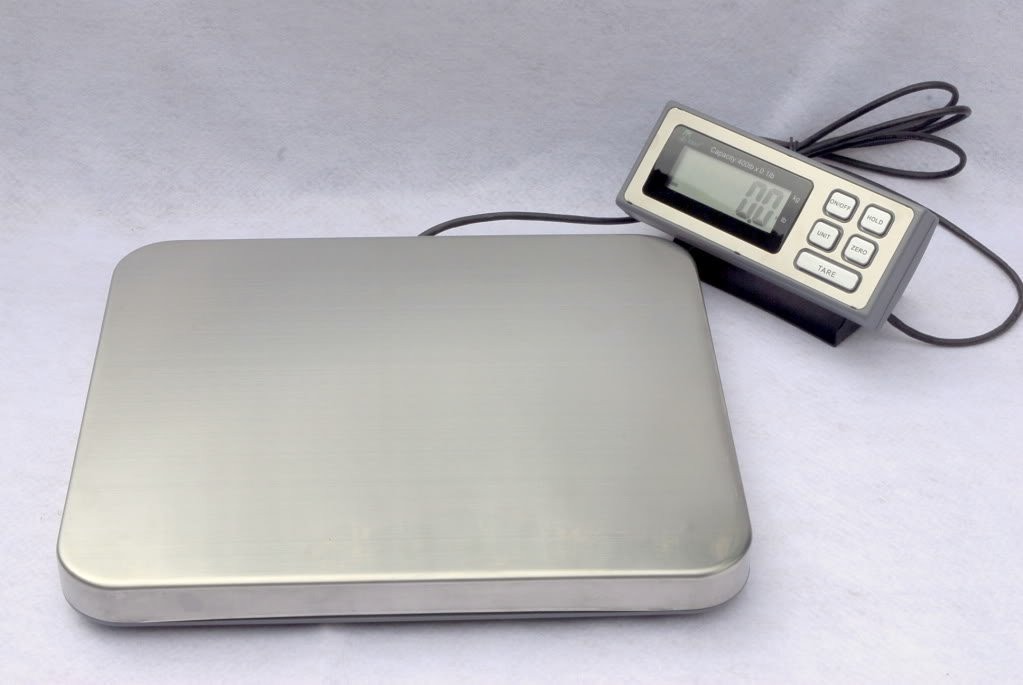
Here is a picture from an Amazon listing for a scale like the ones we are using:

Notice that it has no edges or seams in the stainless steel platform. It is a press fit to the plastic base and covers it well enough to protect it from most UV. It also separates any plastic away from the hive bottom and leaves a fully ventilated area underneath. On this unit, the bottom was very nearly sealed with the load cell feet in protected recesses. After one year outside we have seen no degradation in our to test units.
You can see from the pictures that we use a couple of different methods of supporting the scale and then fitting the hive to the top of it. One important facet of the hive mount is that it does not sit tightly down on the scale. This is to allow air to move freely below the hive and above the scale. One of us uses screen bottom hives and this arrangement also allows a very quick check for Varroa Mites. This invasive pest is wreaking havoc on hives all over the US.
Once you have your mechanical arrangement (scale) and hive mounting system, you can then proceed with the electronic part. More on that in the next log.
 sparks.ron
Discussions
Become a Hackaday.io Member
Create an account to leave a comment. Already have an account? Log In.