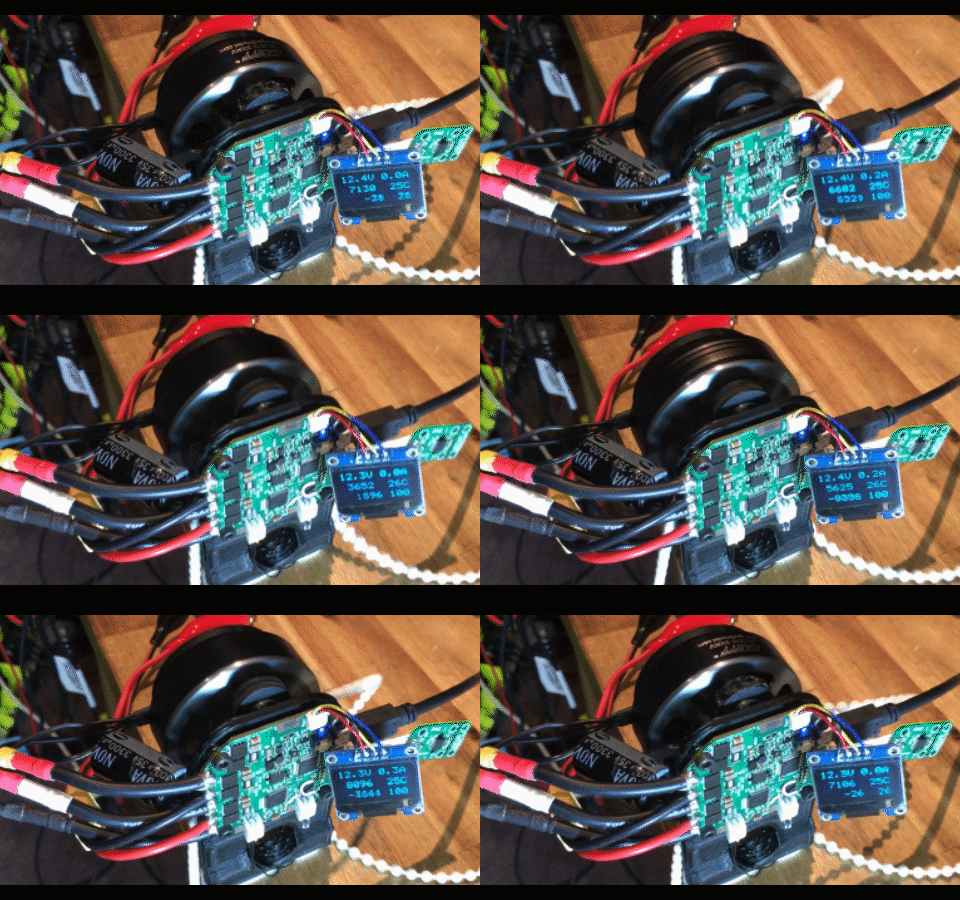
Bootloader programmed using the SEGGER J-FLASH with the BIN file from Sparkfun SAMD21 Dev board bootloader. I will have to create my own custom one in the future. This will require using ATMEL studio which I do not like to use.
After bootloader is programmed it can be seen as a USB port in the Arduino IDE. Set the board type to Sparkfun SAMD21 Dev and select the detected USB. The variants file has to be modified to disable the SER5 handler.
Test software runs the following
- Qwiic I2C OLED display
- Reset Button and RX LED
- SerialUSB.read and write
- External SPI magnetic encoder
- On-board SPI magnetic encoder
- EEPROM I2C Read and write
- Free running 6x Sequential ADC via DMA
- DRV8305
- SPI Read and write registers
- Fault and enable
- 3x Current Monitor into ADC
- PWM x3 Mode (not x6 Mode yet)
- RS485 TX and direction (RX not tested yet)
- On-board MOSFET Temperature sensor into ADC
- Battery voltage Monitor into ADC
Features left to test
- Spare UART TX and RX
- RS485 RX
- FAN/Servo PWM output
- External analogue temperature input
Full operation test
On-board magnetic encoder reads the diametric magnet connected to the motor shaft. Motor position is controlled from the USB using Saddle sinusoidal control. Vital information displayed on the OLED display.
 Paul Gould
Discussions
Become a Hackaday.io Member
Create an account to leave a comment. Already have an account? Log In.
The following code sets the DRV8305 to three PWM signal
reg =7; // The register of the DRV8305 to write to
data_write = 0x29F; // The data to write into the register
//set the CS Low
SPI.transfer( 0x00 + (reg<<3) + ((data_write & 0x0700)>>8) );
SPI.transfer( data_write & 0x00FF );
//set CS to High
Hope this helps
Are you sure? yes | no
How did you program the DRV8305 spi registers?
Are you sure? yes | no