 Peter Pötzi
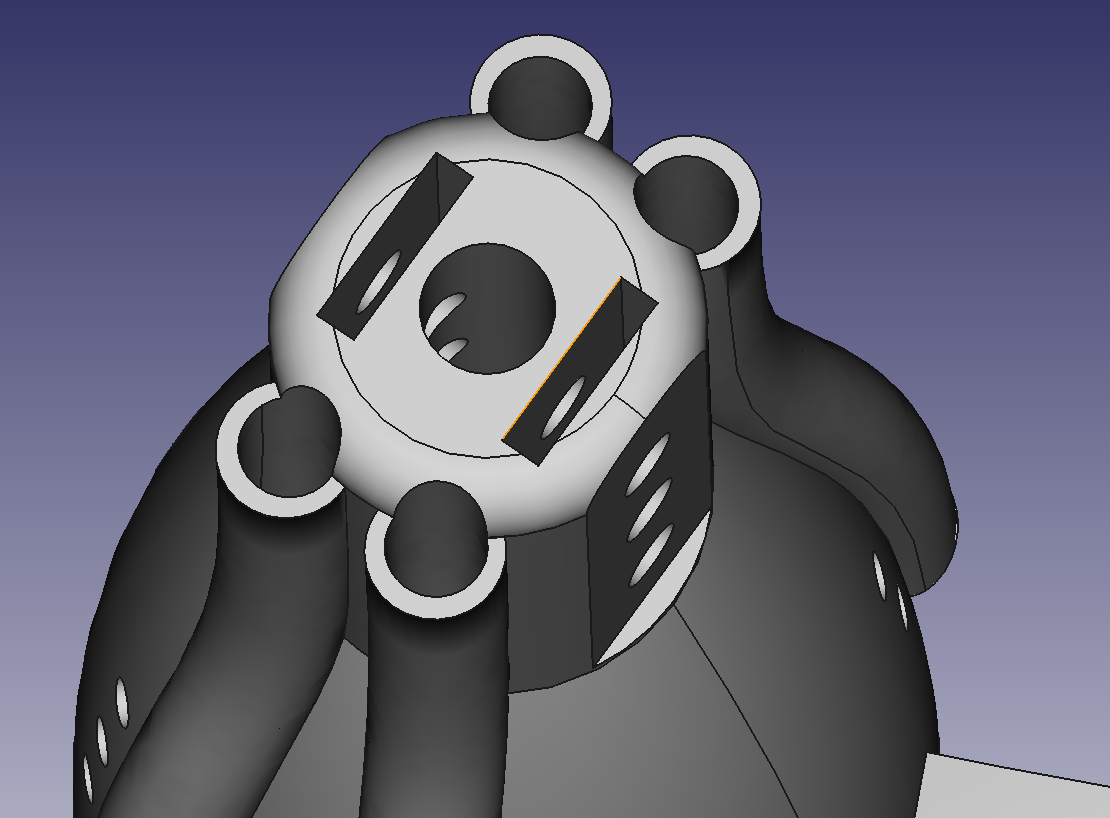
As the old steering wheel is designed for kids and will not withstand the acceleration of the motors and adults, it needs to reinforced with a 3D printed part. The files can be found on the files tab.

On the lower side, there are 2 inlets for aluminium parts with inner threads, that you can use to fasten the steel steering rod with 2 M6 screws:
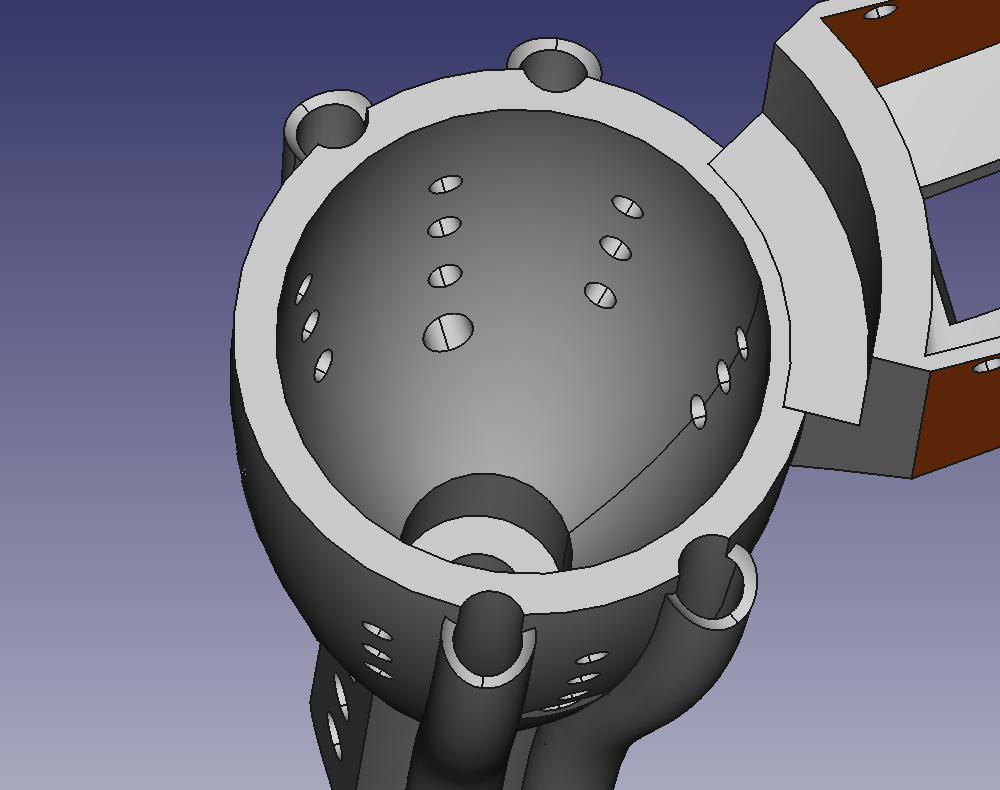
On the top side, the original plastic steering wheel fits the 3D printed part perfectly. There are also 4 cable channels which can be used for the joysticks and the display and further accessories.
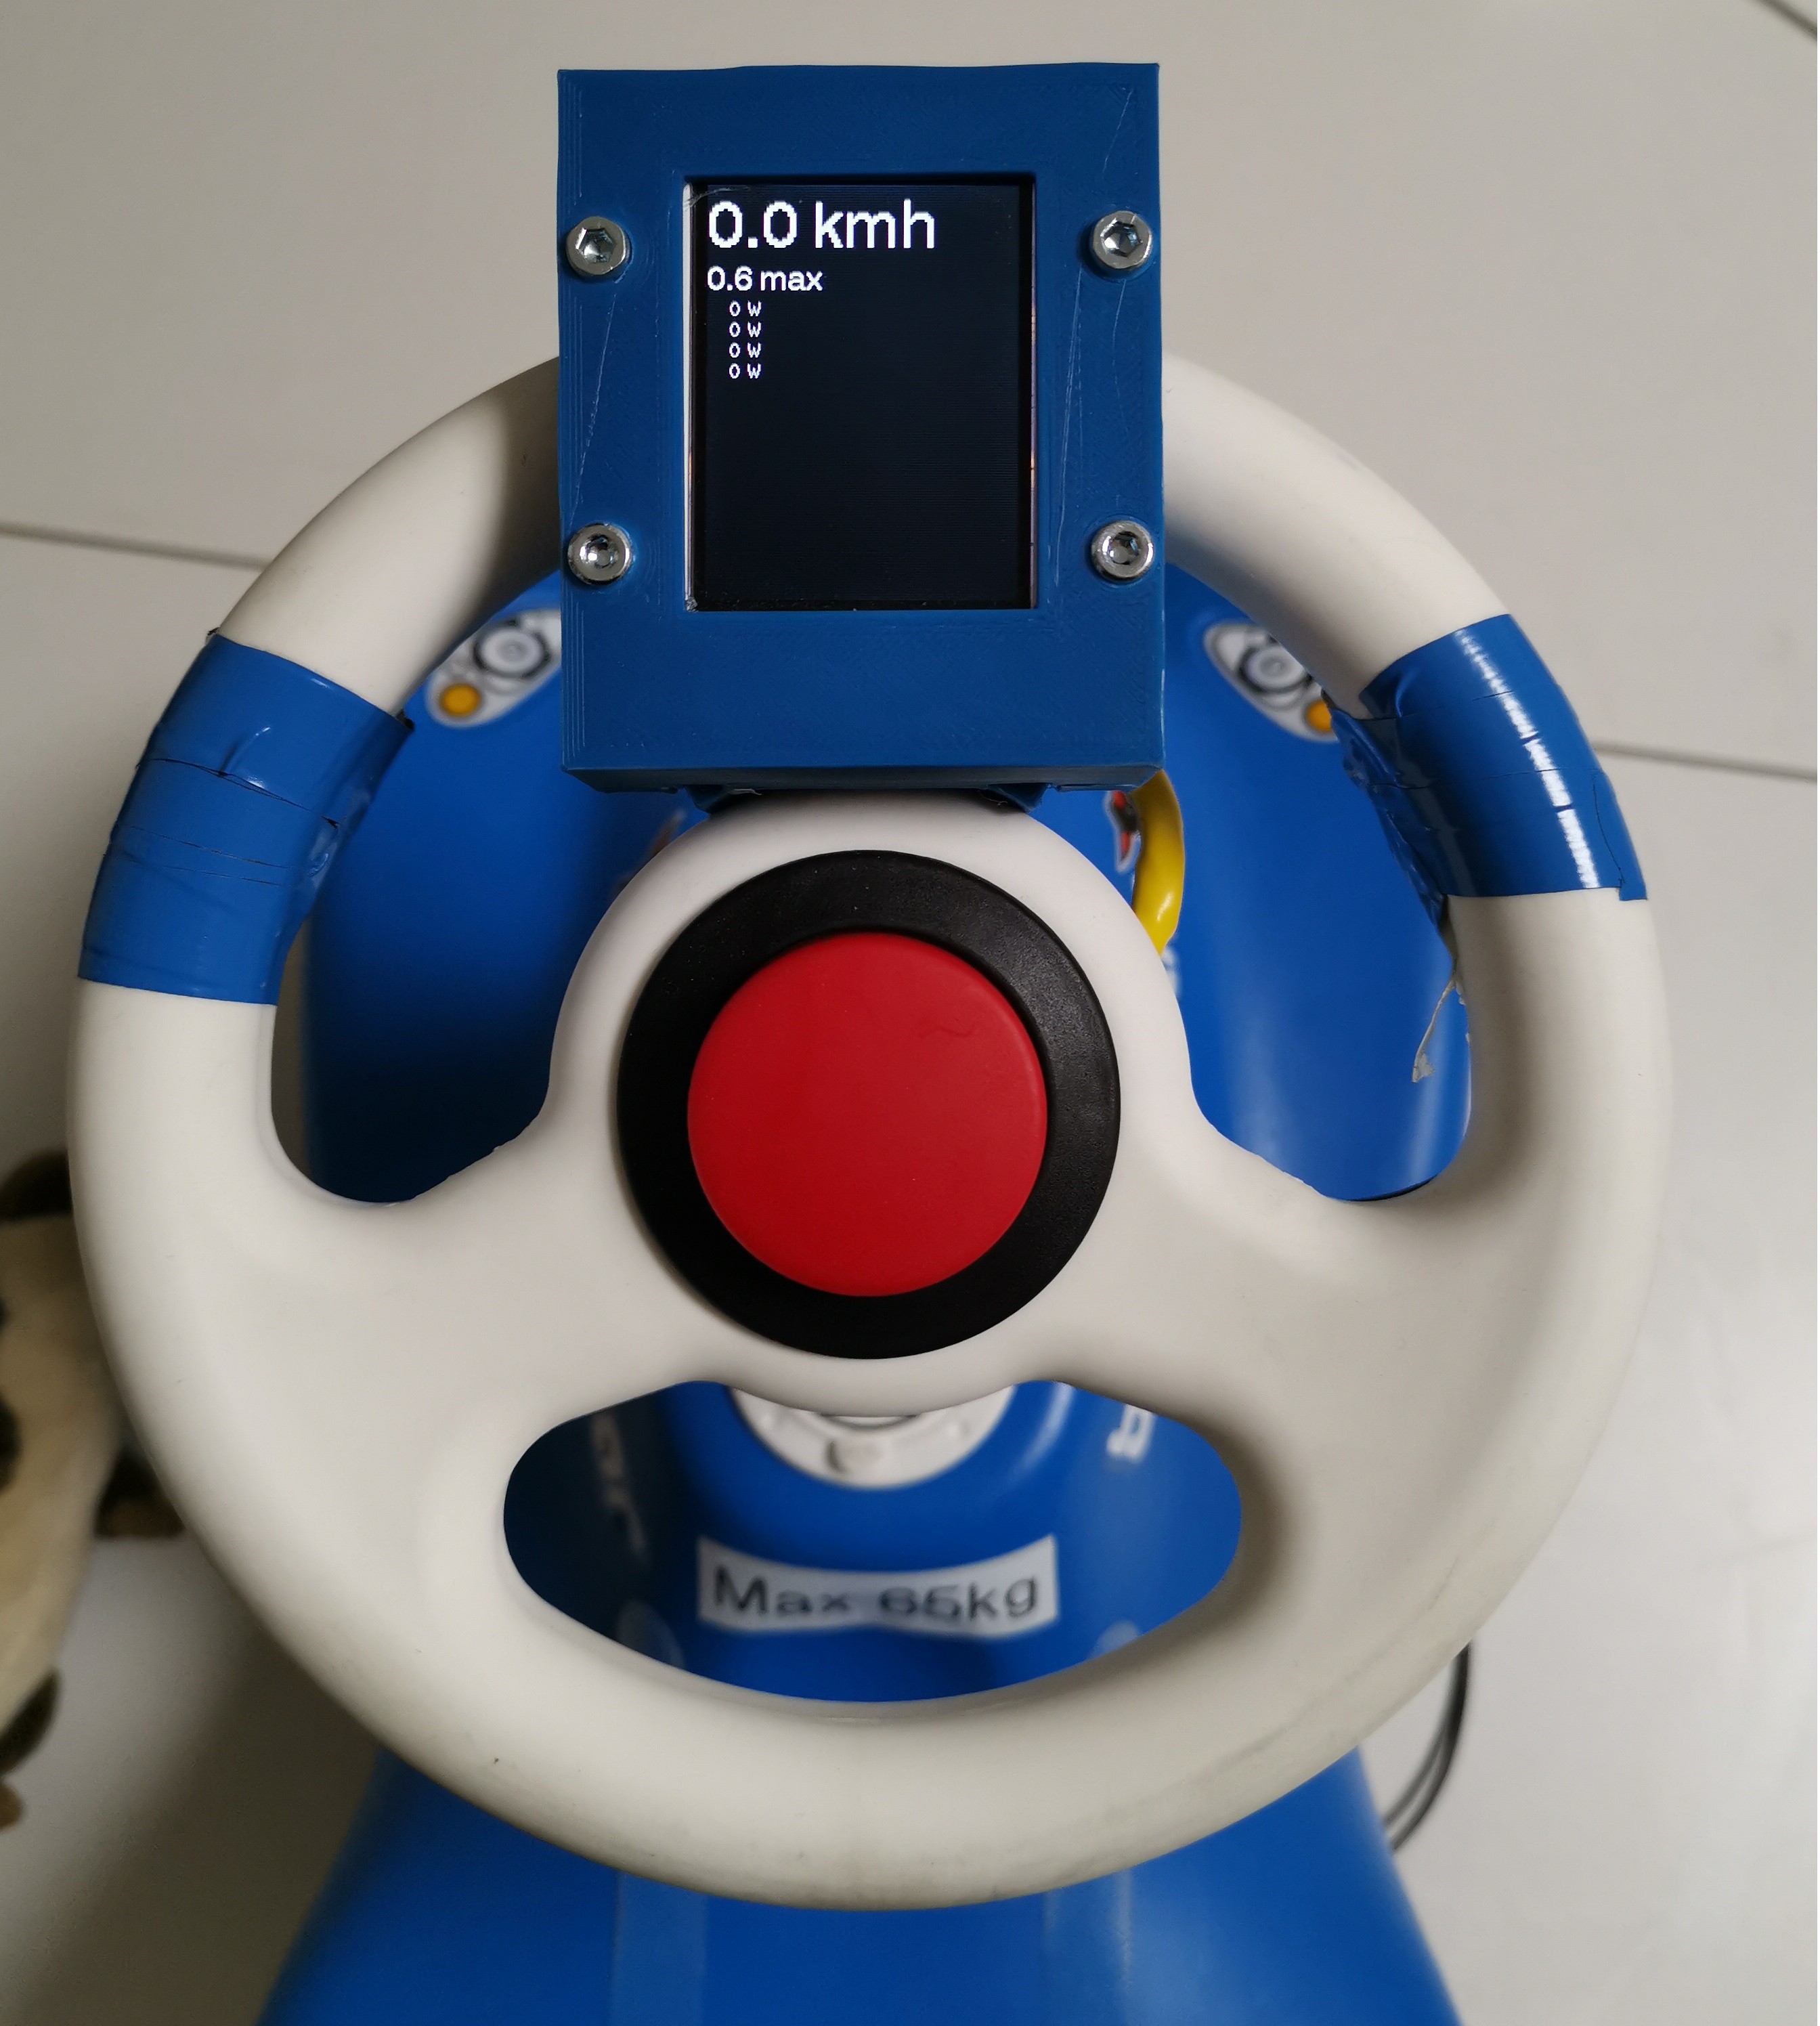
When everything is assembled you have a bobbycar with a stronger steering wheel:

Now, you can also print the display holder parts and mount a standard 2.2" SPI display:
For the throttle pedals, I used xbox 360 controller trigger buttons:
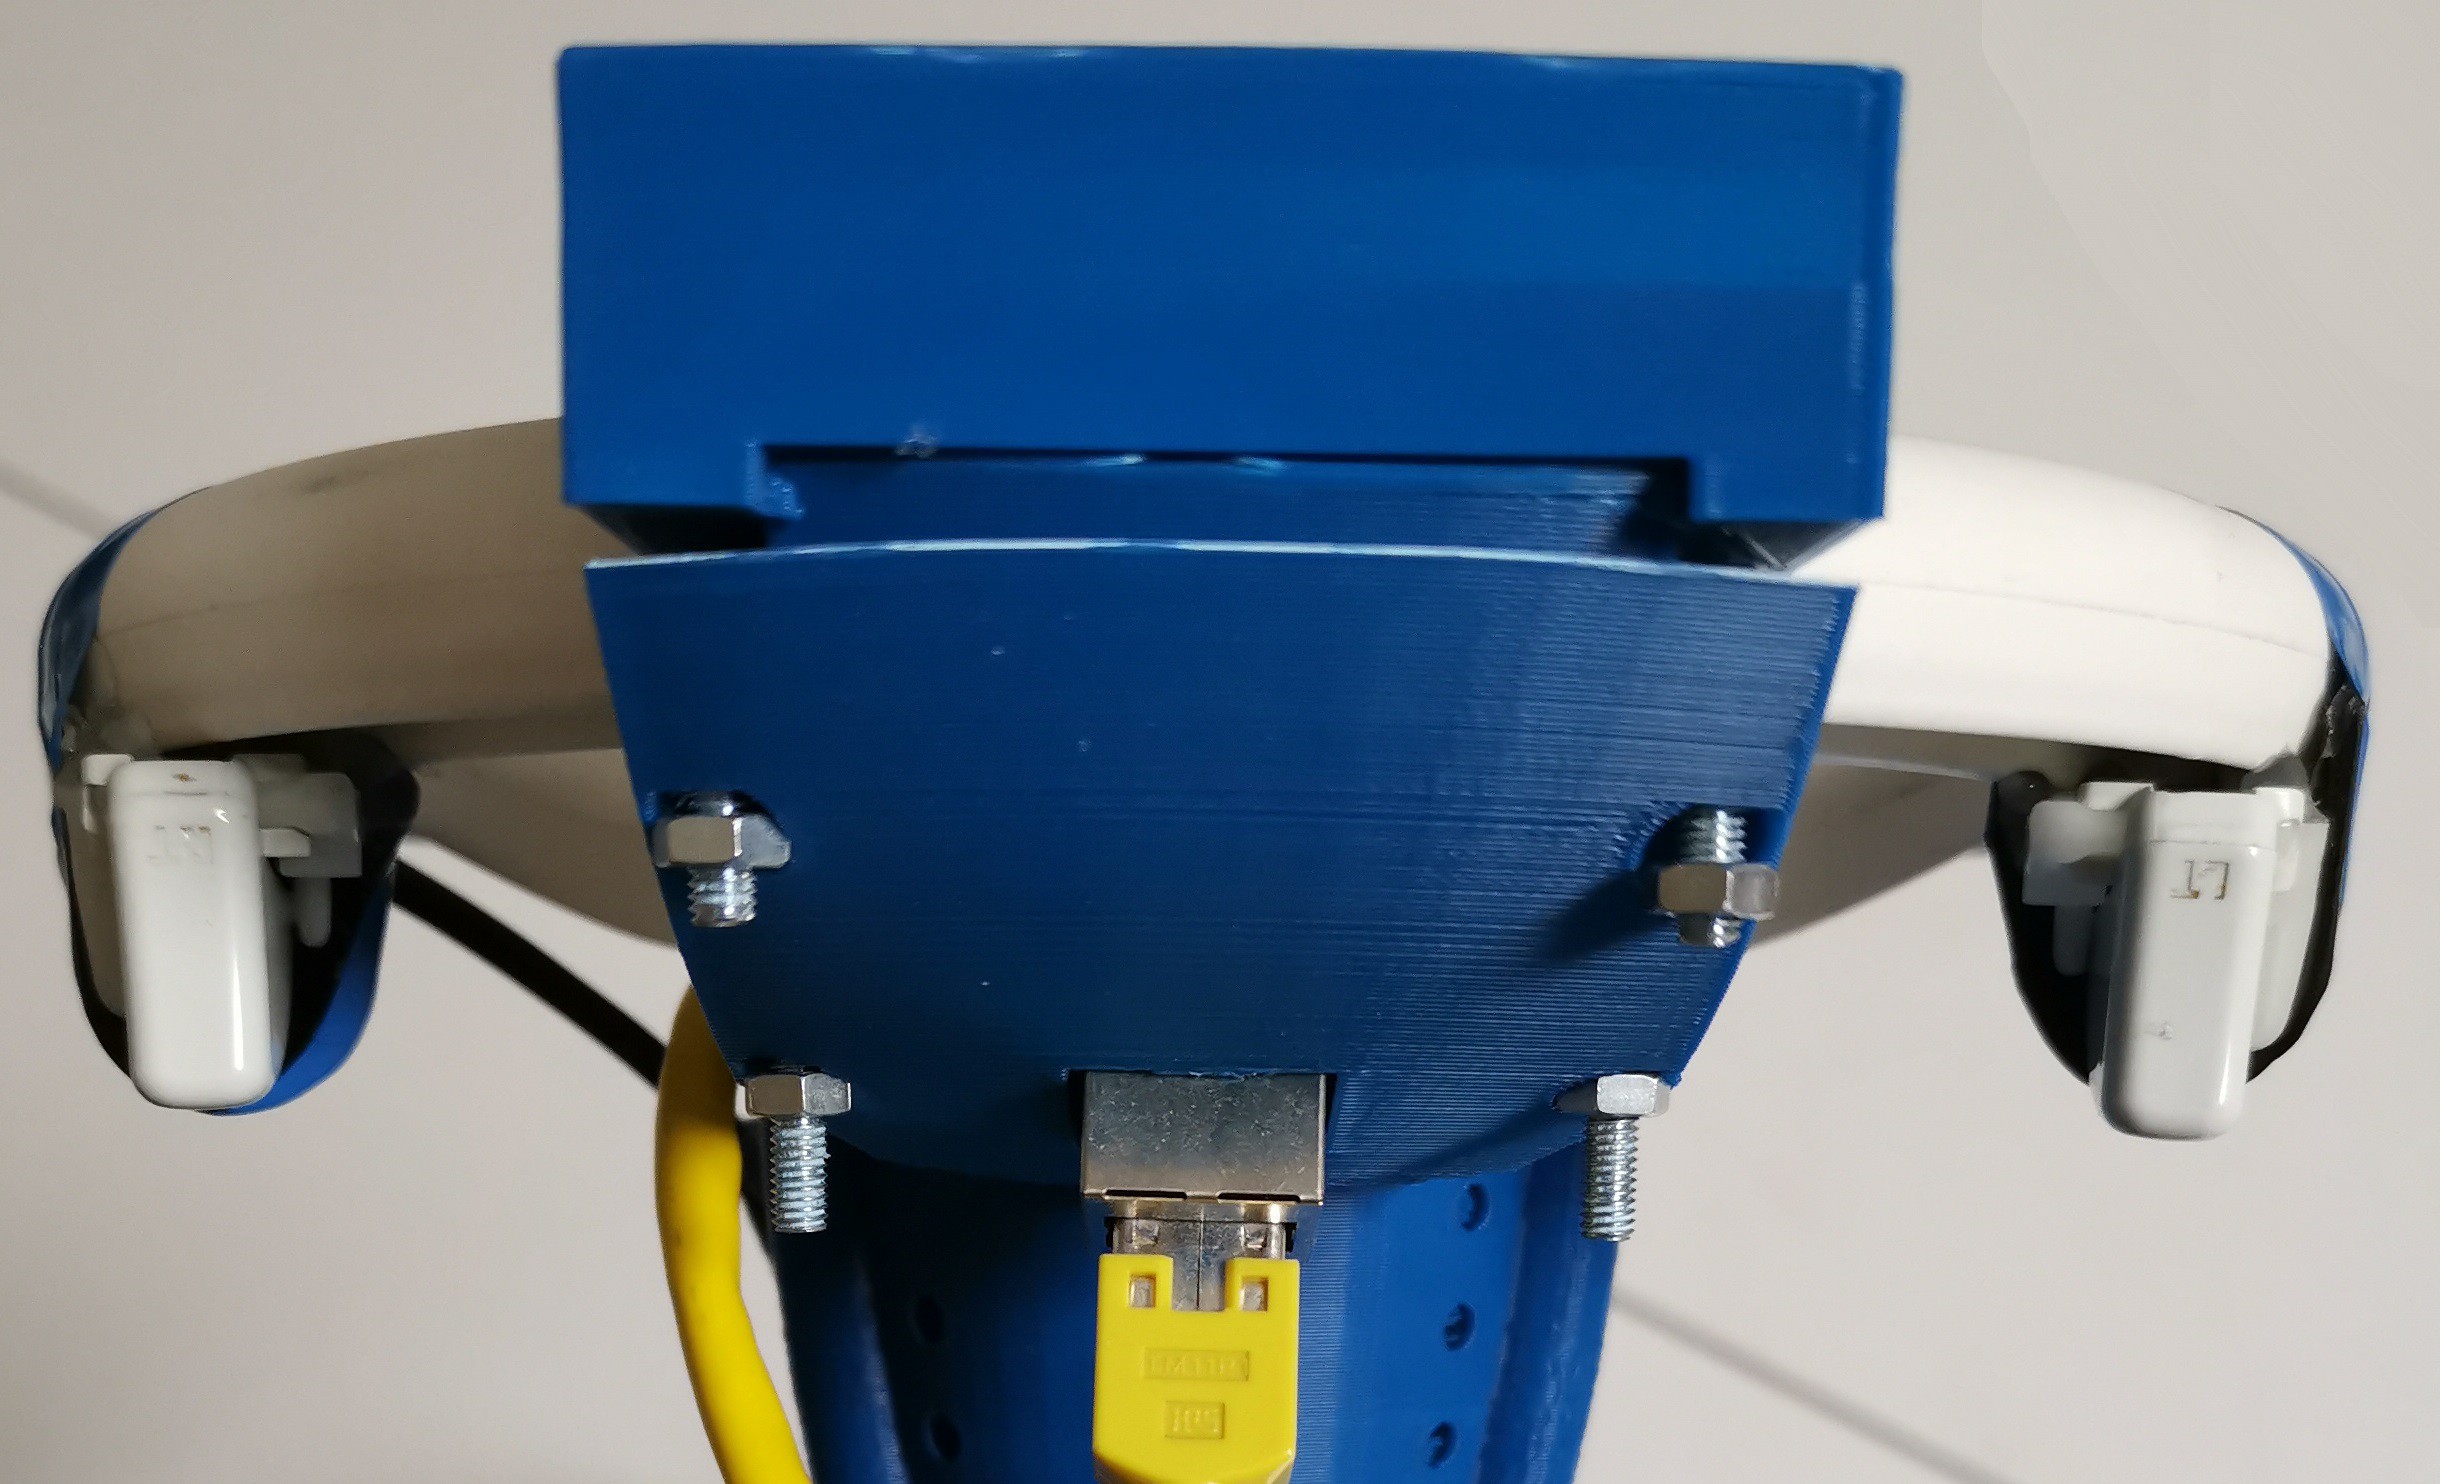
The RJ45 connector is used for the 3.3V to the display and the SPI pins. There is no actual ethernet on this cable, but it still looks like a "power over ethernet" system
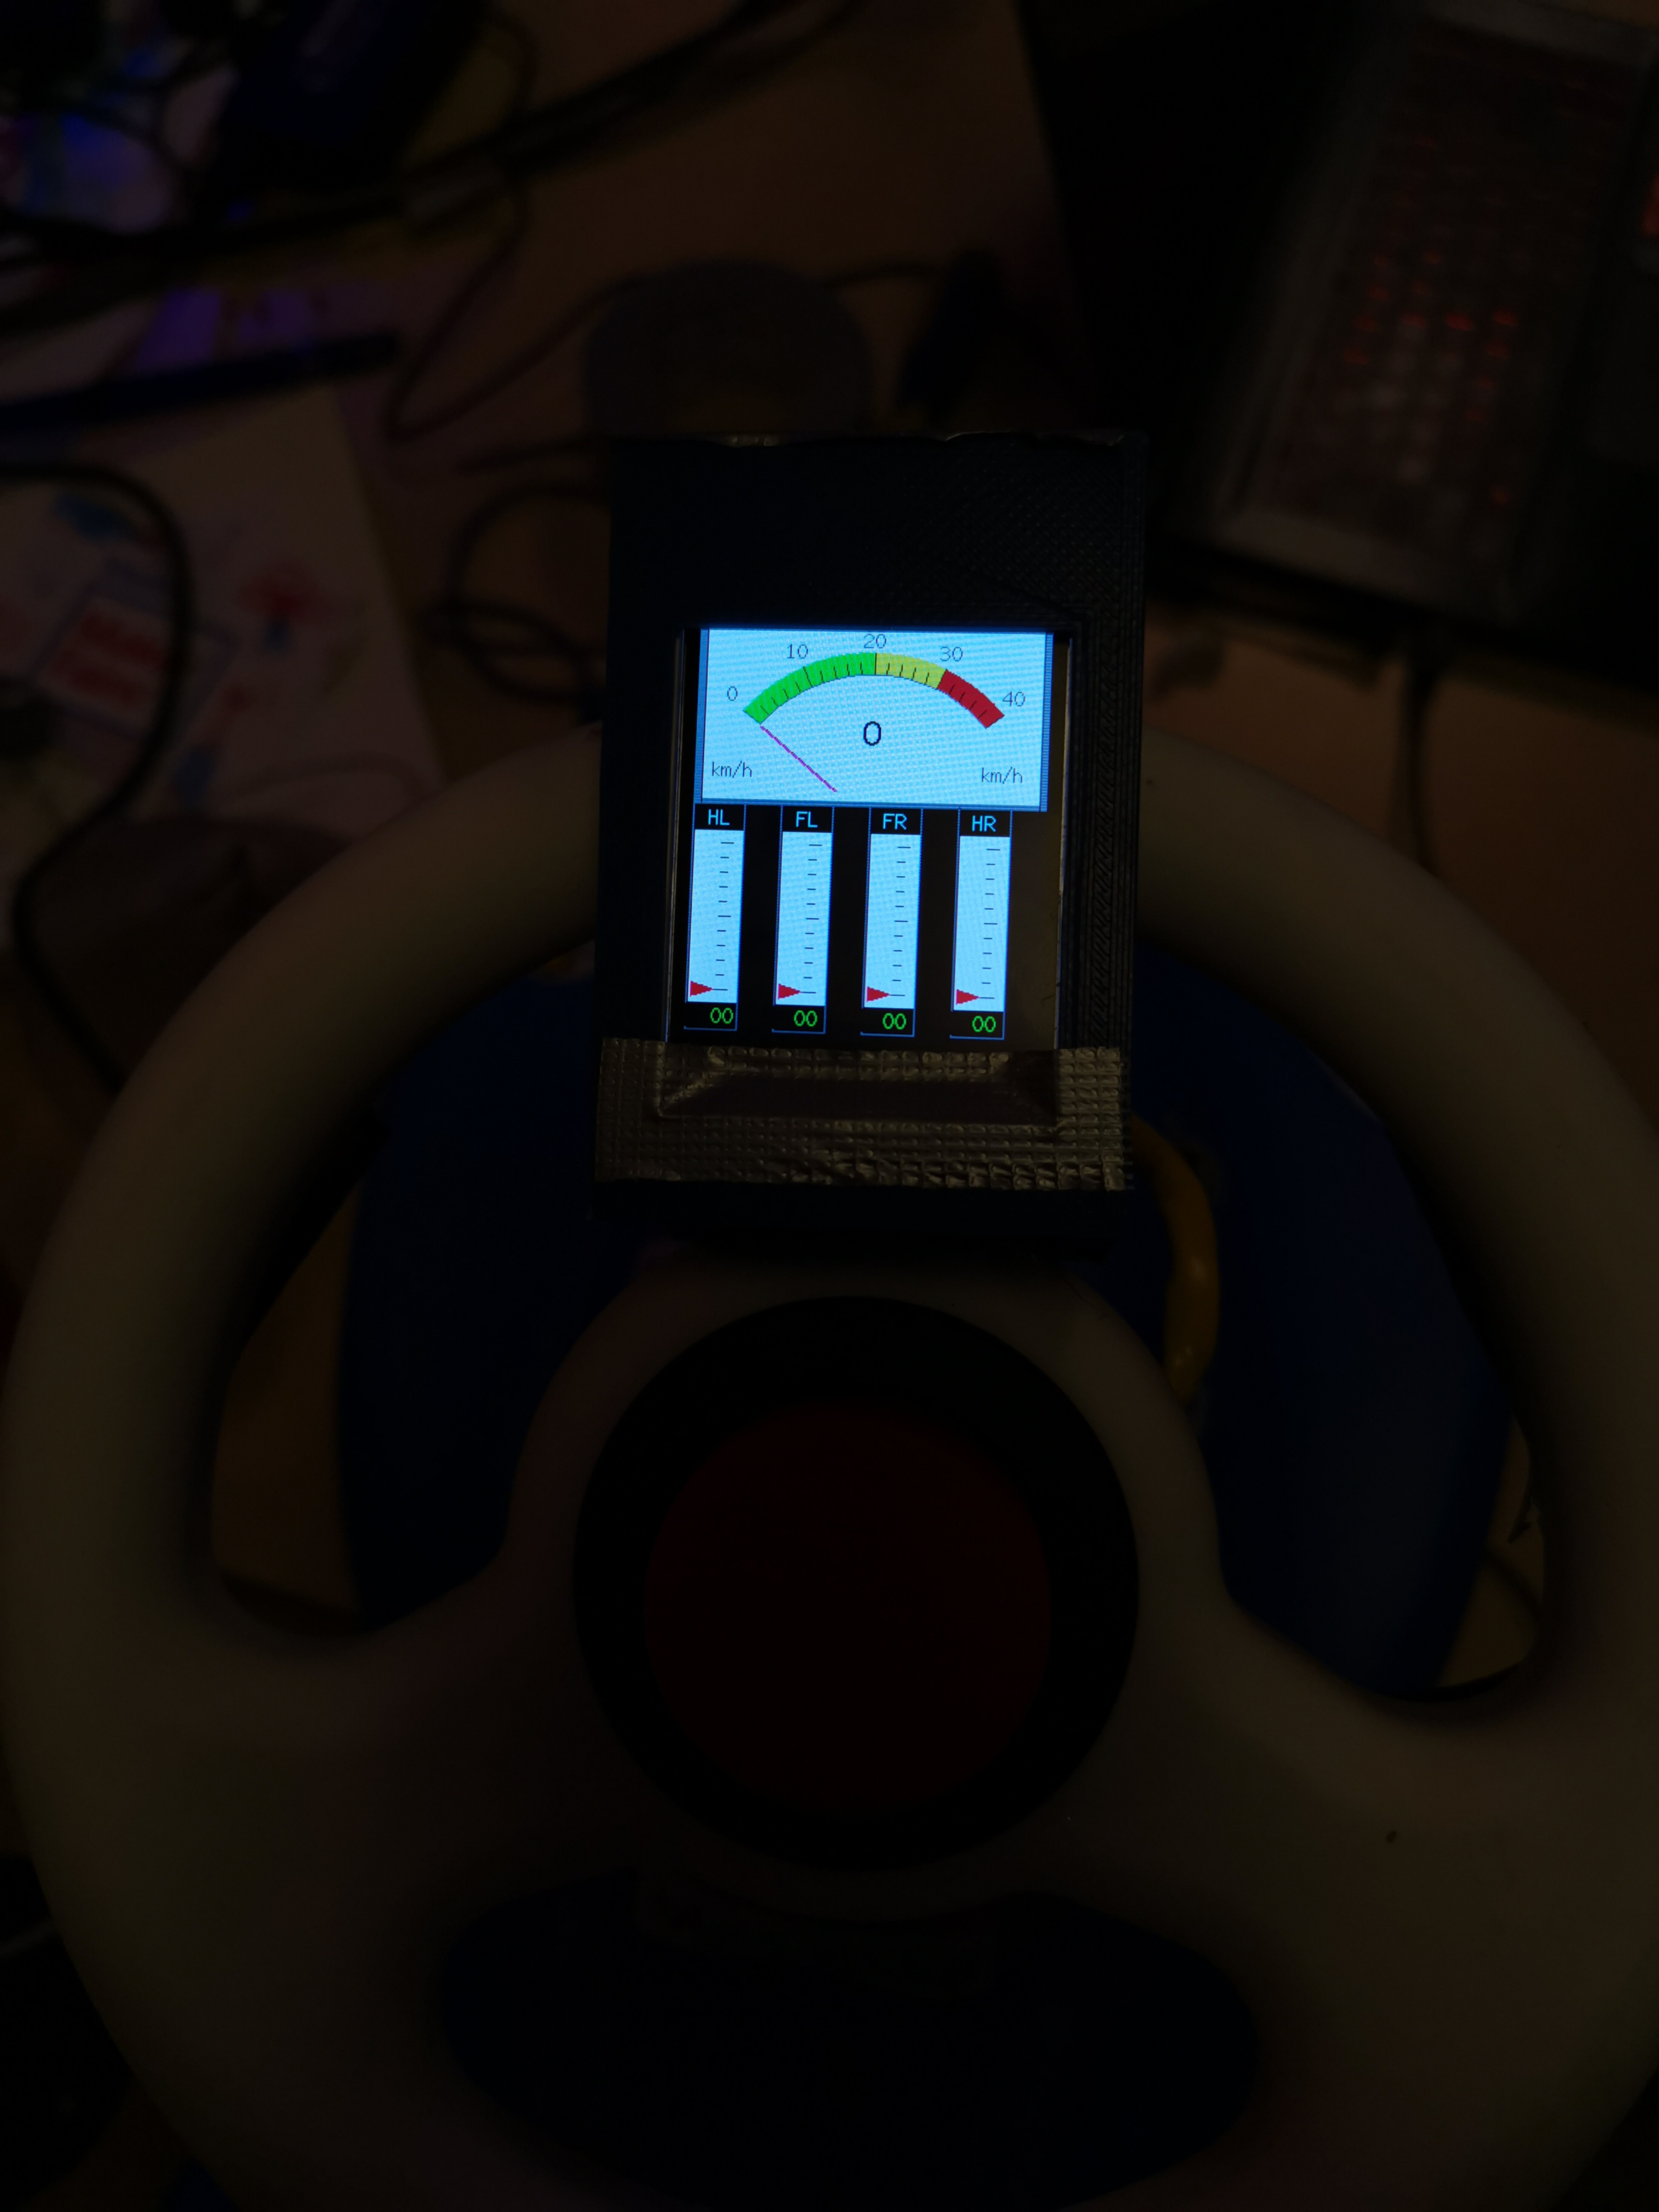
The display is freely programmable.
Discussions
Become a Hackaday.io Member
Create an account to leave a comment. Already have an account? Log In.