This is just a quick log to walk through uploading the jtag2updi software to the Arduino so that it will act as the hardware piece of our programming tool chain, taking in jtag and spitting out updi.
- Make sure you have installed all the software in the previous step and open the Arduino IDE.
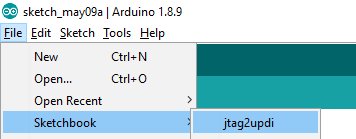
- Open File\Sketchbook\jtag2updi:
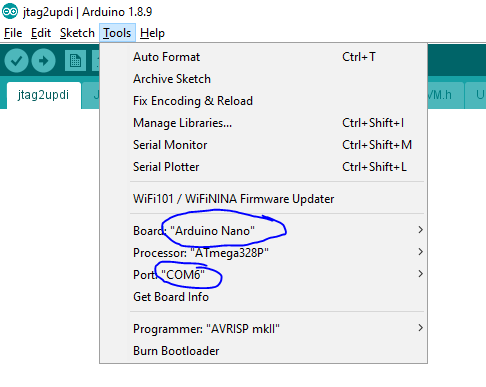
Set up the board you are programming by selecting Tools\Board = Arduino Nano and Tools\Port = whatever COM port number your Arduino is connected to:
Note that the jtag2updi sketch has absolutely no text in it - this is deliberate and the upload should still work! Leave everything else as defaults for now.
Now to upload press ctrl+u or click the upload button:
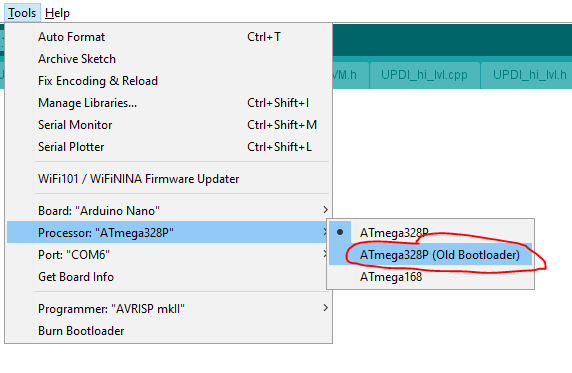
If it didn't manage to upload to the Nano, try using the Tools\Processor = ATMEGA328P Old Bootloader:
That's it! Other than being told in the black output console at the bottom of the Arduino IDE that the sketch has successfully been uploaded, the proof/verification that this has all worked will come in another step.
 Simon Merrett


Discussions
Become a Hackaday.io Member
Create an account to leave a comment. Already have an account? Log In.