To start off, thanks to JLCPCB for sponsoring this project as well as providing pcbs to get the ball rolling. JLCPCB Prototype for $2 (Any Color): https://jlcpcb.com
The first step to any project is to outline what the end goals are. Then it's only a matter of deciding how to get there. So here's some criteria I chose:
- Must be very low power so I can leave a cr2032 permanently attached and the remote will work even if infrequently used
- Must have many buttons, yet still be small enough to fit comfortably in the hand
- Must have indicator LEDs ... because I like blinking lights!
- Must be flexible enough to allow adding future hardware or updating the software for additional features (ie able to adapt with multiple IR protocols, add an IR receiver for self programming, etc)
- Finally, and most importantly ... Must be a fun, quick project!
So with that out of the way I opted to start my research into the IR protocol and low power aspects.
I was tempted to write everything from scratch, as I have written bitbanged SIRC (Sony's IR protocol) before, but ultimately I thought going with a publicly available arduino library would be quicker and more importantly make things easier for me lol. So a quick search revealed the IRremote library by shiriff (https://github.com/z3t0/Arduino-IRremote). It supports many different protocols, devices, is well documented and even has some nifty features that will help during development/debugging.
Now with this library, attaching the IR LED to the right pin, and googling for Sony remote codes, I can quickly get most of the project up and running. But what use is a remote that dies in a day or two even if no buttons are pressed?
So the next most important part is getting the atmega328p to sleep so that it barely uses any power until you press a button. There are libraries to handle sleep but I decided I already took the easy path for the IR protocol stuff so I ought to put in some effort for this part. Off to the datasheet then and reading the section on sleep modes reveals what I have to do to tuck the little processor into bed, read it a bedtime story and kiss it goodnight.
In the code that will be included in the files section of this project, I've commented basically what each line does so you can use it as a reference along with the datasheet to follow along with what is happening. In a nutshell the remote stays asleep most of the time, but when the user presses a button a pin change interrupt will wake the controller, figure out what button is pressed, and fire off the appropriate IR command before going to sleep again.
Seems very straight forward and for the most part it is, but there were a few gotchas I found during the process that I would like to share. First using an external 16MHz crystal will chew more current when operating so I opted for the internal 8MHz oscillator (have to use an external isp serial programmer and write the correct fuse bits!). Next, use the lowest power mode in sleep to get the best results. In this case we need the power down mode which basically turns as much off as possible while still allowing interrupts to wake the chip. Additionally a big gotcha is not manually disabling the ADC circuitry. It took me longer than I am proud of to realize that I didn't do this and why I was still consuming nearly a milliamp even in power down. Finally disabling watchdog will get you down to the single digit microamp range that we desire. So in the end after taking all of this into account I was able to achieve around 2uA in sleep and about 3.5mA while awake and blasting IR after a button press. Not bad, I found this site (https://oregonembedded.com/batterycalc.htm) which estimates battery life based on waking up periodically and found that pressing a button 5 times an hour all day would give around 4.82 years of battery life (likely a ballpark estimate, not accounting for many limiting factors). Still even if I only got 1-2 years I'd be happy.
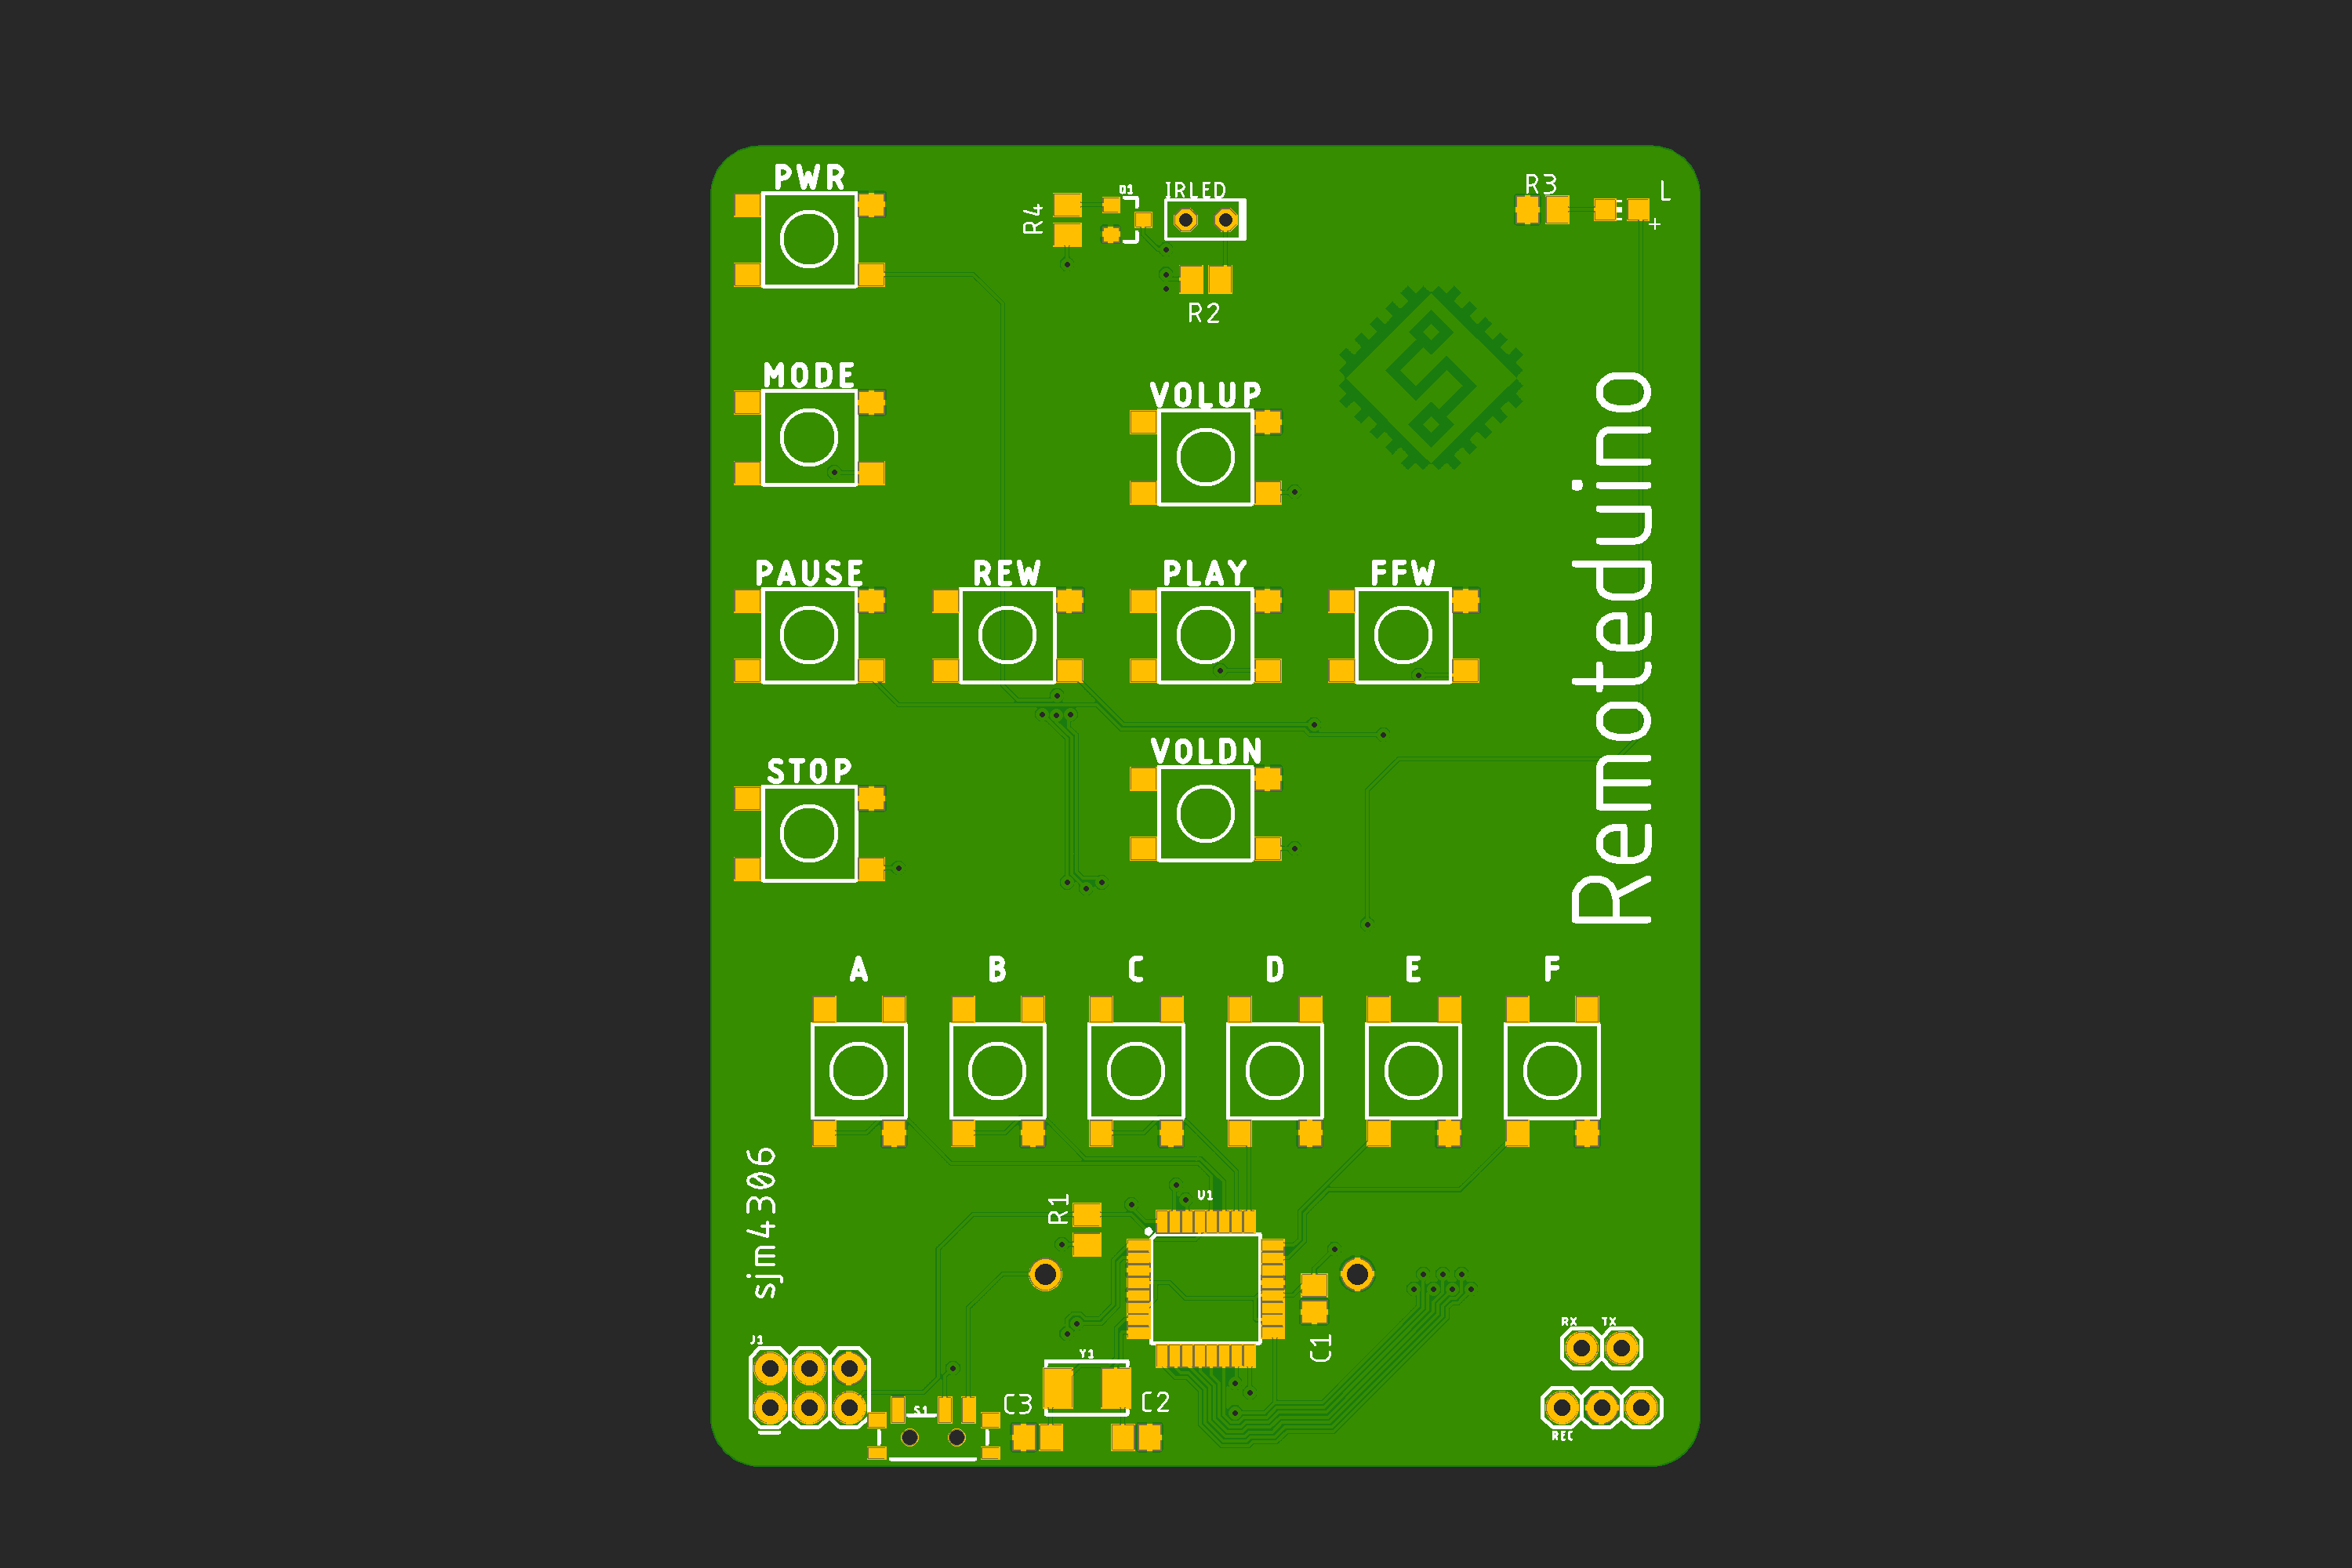
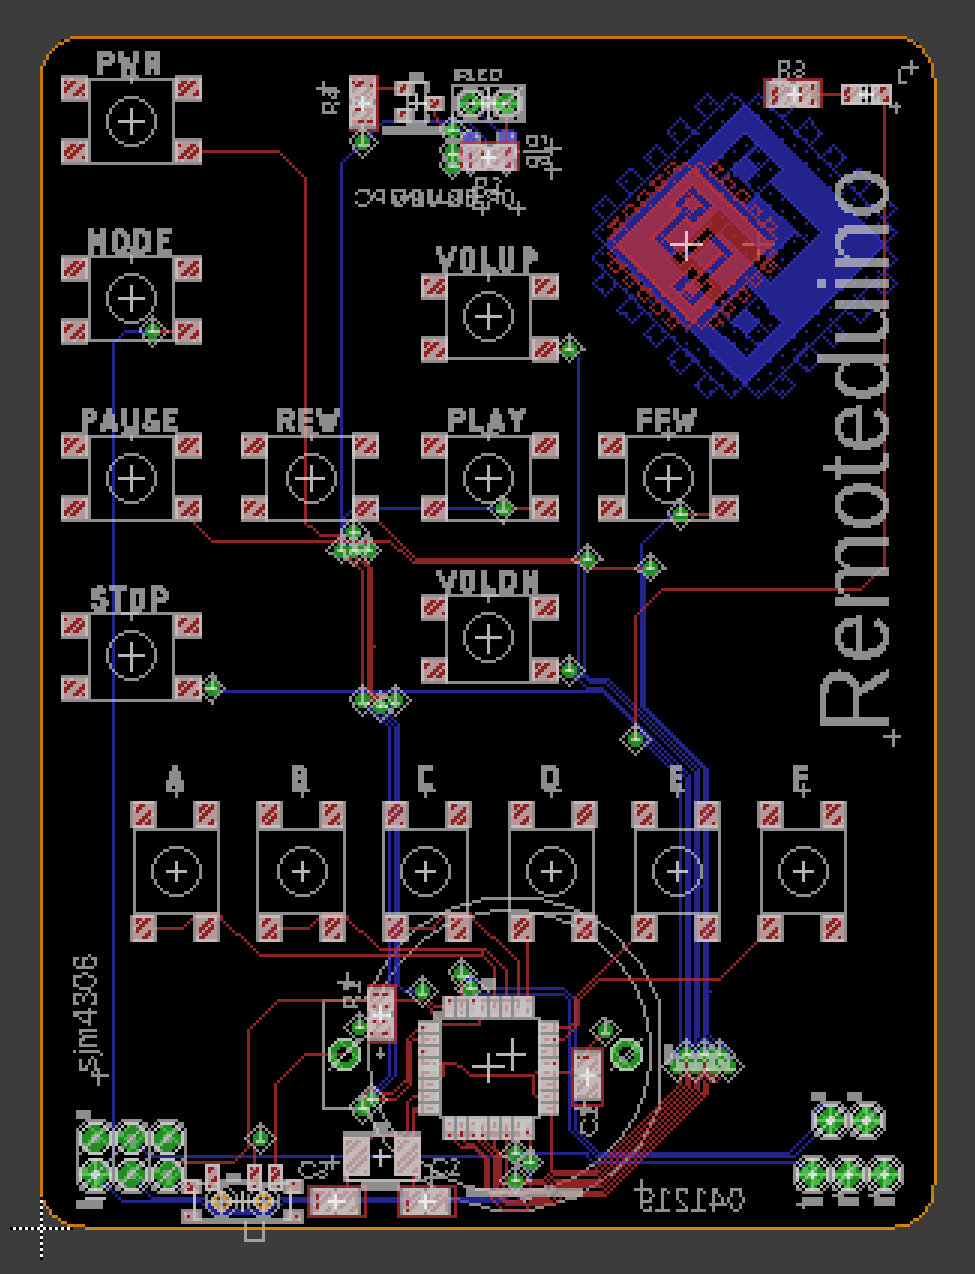
So next step was to throw together a pcb, solder it up and give everything a test. Here's the pcb I made in eagle (files available in project page):


And here's a video I made of assembly and some testing (including current measurements):
Not bad for a quickie project, but I plan on tweaking things and adding more functionality (as well as fixing the buttons that don't work due to wrong codes I found online). If anyone wants, feel free to use the code or board for your own projects, just don't forget to attribute me if you do ;-).
 sjm4306
Discussions
Become a Hackaday.io Member
Create an account to leave a comment. Already have an account? Log In.
hello and seen how interesting this project I want to know how I can get it
Are you sure? yes | no
I am thinking of building a big-button remote for my aging mom (who struggles with finding her channels on the TV every day). Your project has spurred me into trying this!
Are you sure? yes | no
That's awesome! The best projects are the ones that will actually get used and will help make someone's life a little better or easier.
Are you sure? yes | no