 Arduino Enigma
Here we go again:
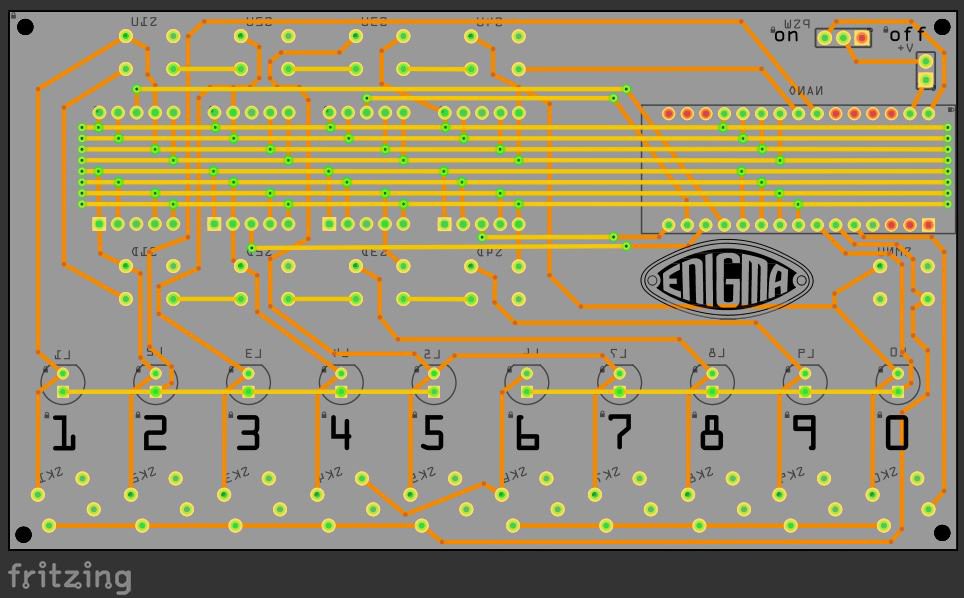
Here is an almost finished design, all it needs it a little tweaking of the bottom silkscreen. Time to add a USB label indicating which way the Arduino Nano is supposed to go.
Uh Oh...
The footprint for the Nano has been placed with the USB connector facing towards the LED displays. While this design will technically work, the USB port is concealed.
Time for a quick re-design:
Now the USB connector is facing left. Notice the location of the VIN pin, fed from the power switch. The cost of this redesign was two more horizontal traces in the front to get power to the right location now that is away from the power switch.
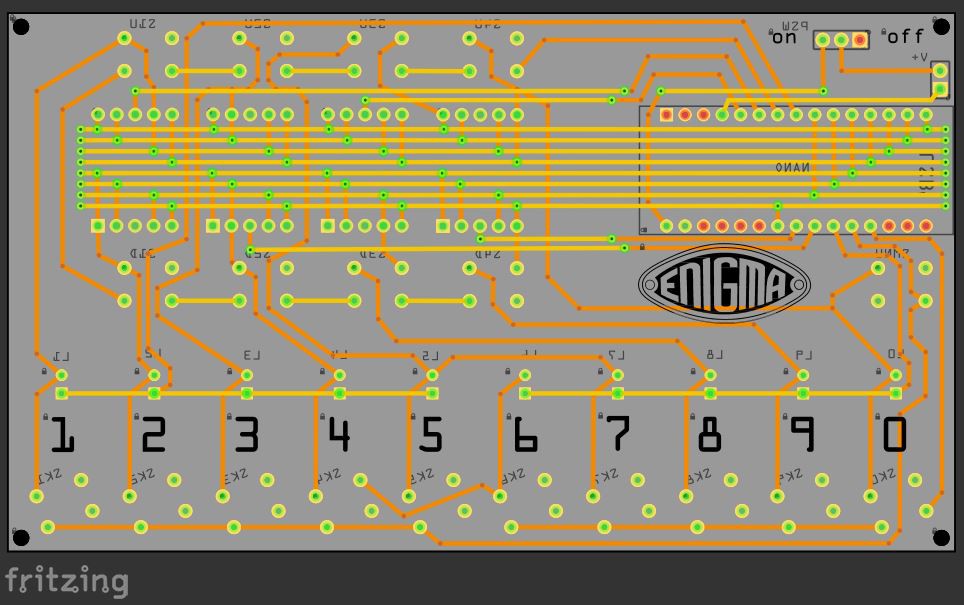
Time to check all the connections carefully.
Discussions
Become a Hackaday.io Member
Create an account to leave a comment. Already have an account? Log In.