Cees Meijer
-
Drawing the Schematic
06/10/2019 at 18:07 • 9 commentsAs I'm nearly finished re-drawing the schematic by Bodo Wenzel and Isidro Nuñez Blanco De Arenas there are some issues as to where to draw the line between staying true to the original, and add modifications that will make it more useful. I love Grant Searles 100% replica of the PCB, but this will require all original parts which may be very hard to get. But I do want to stay close to the original, because otherwise you might as well just put an Arduino board on it, and run an emulator.
Isidro's schematic already has some modifications, like using the 6116 RAM and a 27C64 EPROM which I decided to follow. Actually, after a suggestion from one of my followers I decided to go for a 27C512 and add some jumpers so it will be possible to select multiple images.
Next up is the decision to add a direct video output. The ASTEC RF modulator is not only rare, but it also serves no purpose so it makes sense to leave that out. After all, with every retro computer I get nowadays the first thing I do is add the video-out modification. I found a neat schematic for video out by '1024MAK' on the ZX forum:
![]()
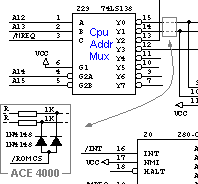
After looking at the annotated schematic by 'nocash' I also noted some small additions
![]()
marked 'ACE4000'. /ROMCS is a contact on the edge-connector. Not sure what they are used for, but I decide to add them as well. After all, if not used, the resistors can just be replaced by jumpers, and the diodes left out.
-
The Keys
06/09/2019 at 10:31 • 0 commentsAs the original rubber keyboard is not an option, I decided to use the standard 6x6 mini tactile switches. Which can be bought for around €5 per 100 in China.

Mini tactile switches 6x6x5mm
I already tried as a proof of concept to create the key-caps by printing them in white, spray painting black and then scrape off the paint from the cap-text.
3D Printed key-cap, prototype Which works out really nice. Next the caps needed to be modelled so he fit exactly on top of the switch. This took several tries as the fitting needs to be tight but not too tight and so it comes down to a tolerance of +/- 0.1 mm. But in the end this works fine. The caps stay in place, the key-press has a nice tactile feedback and it looks a lot like the original.

Assembling the key-caps and the mini-switch -
Redrawing the schematic
06/05/2019 at 06:47 • 0 commentsIt's taking time, but slowly I'm getting to complete the schematic in KiCad. All based on the original scan of the schematic and the re-draws by Bodo Wenzel, and Isidro Nuñez Blanco De Arenas. So far most of it is on it, just have to finish the keyboard.
![]()
-
Creating the housing
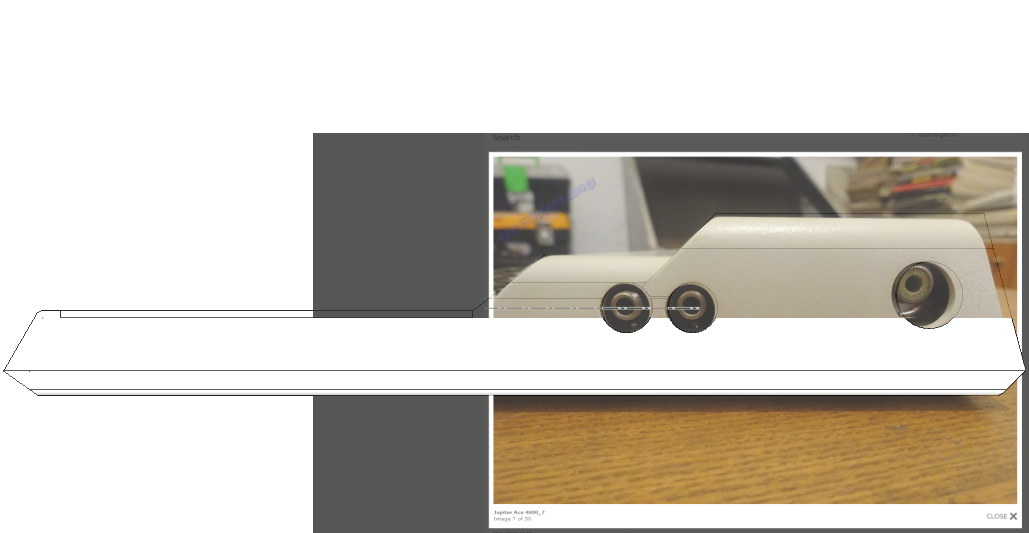
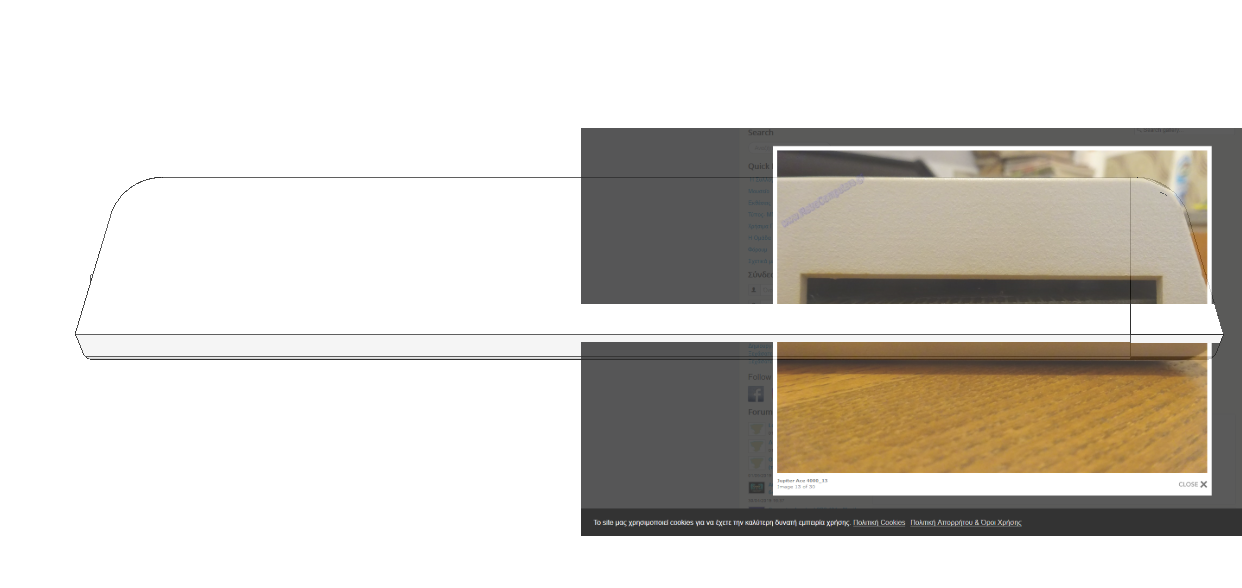
05/28/2019 at 09:18 • 2 commentsSince I have not been able to find a decent 3D drawing of the Jupiter ACE housing I created this myself in Designspark Mechanical.
I do not own one to take measurements from, so I collected as much photos as possible, preferably from the sides and top. The only fixed measures I had were those of the PCB, which I used as the basis. Then I placed the photos on different layers and scaled the 3D model until it fits the images.
![]()
![]()
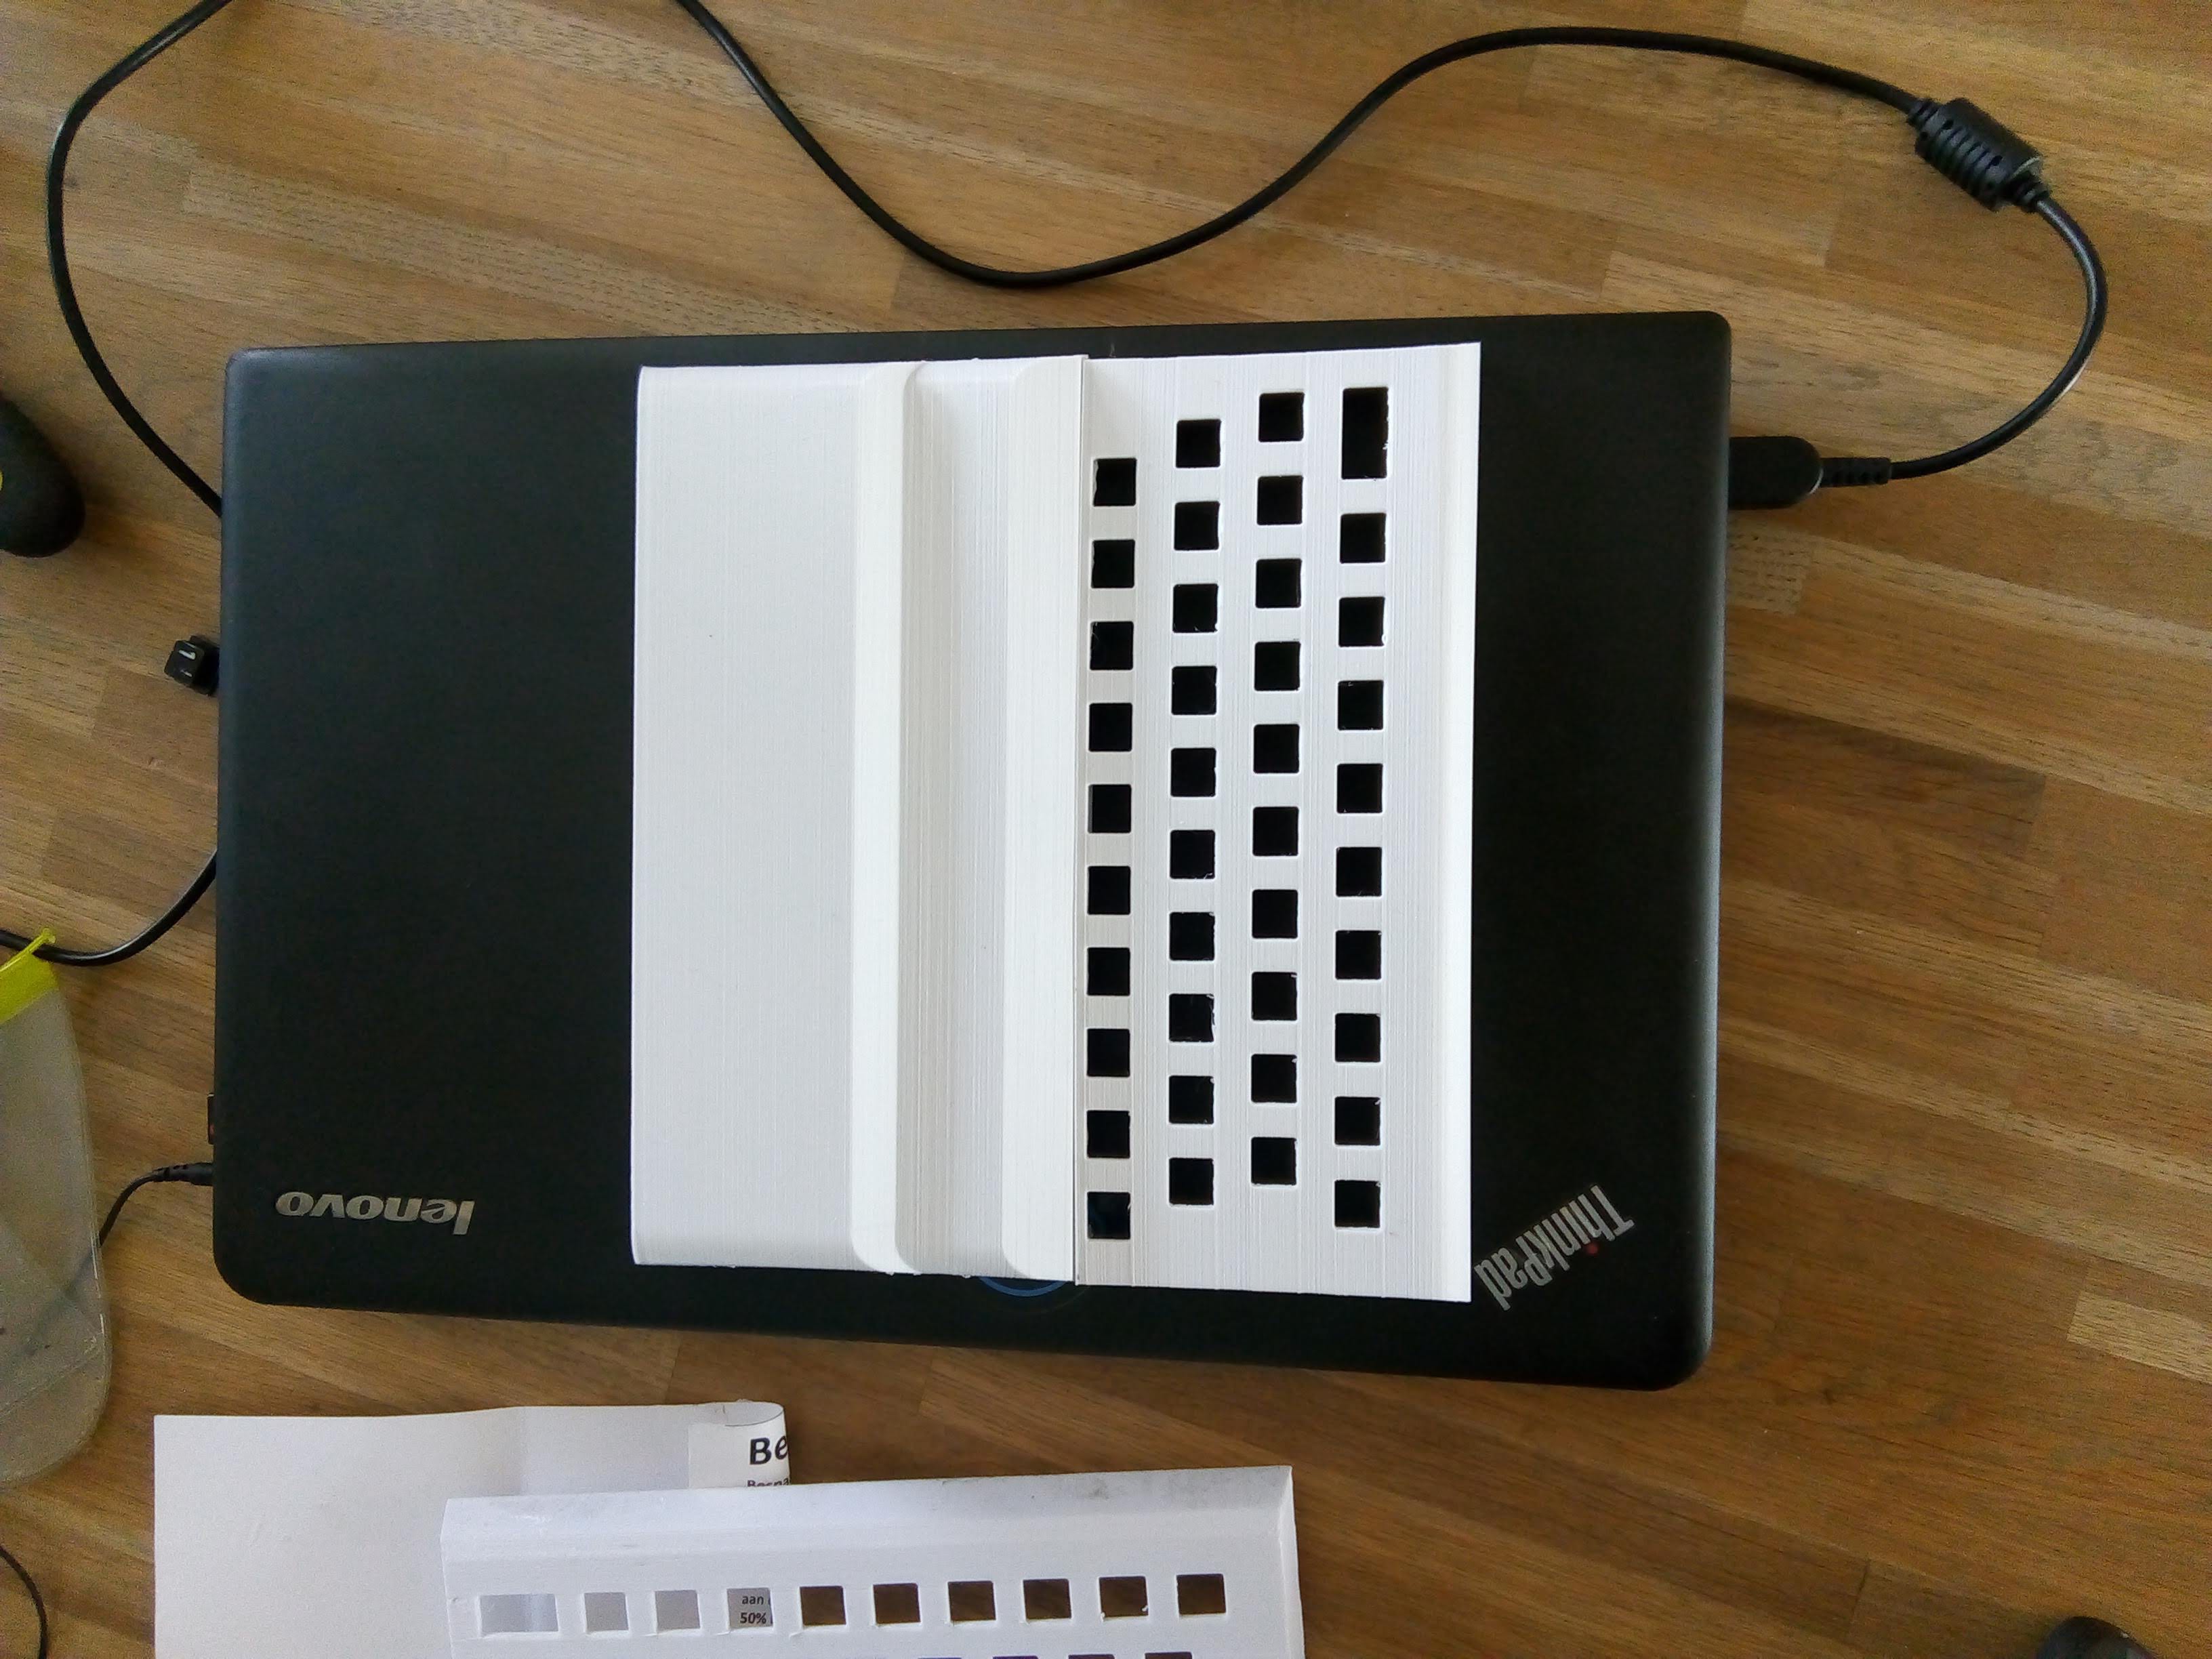
What I overlooked in the first place was that the housing of the ACE is significantly larger than that of a ZX-80, which I previously printed successfully. So I had to split the model into printable parts.
![]()
![]()
And once assembled, the top section looks a lot like the original.
Recreating the Jupiter Ace
Recreation of the 'Fastest computer in the Universe' that runs FORTH.