Today I will show how to start your vacuum tube experience on solder less breadboard.
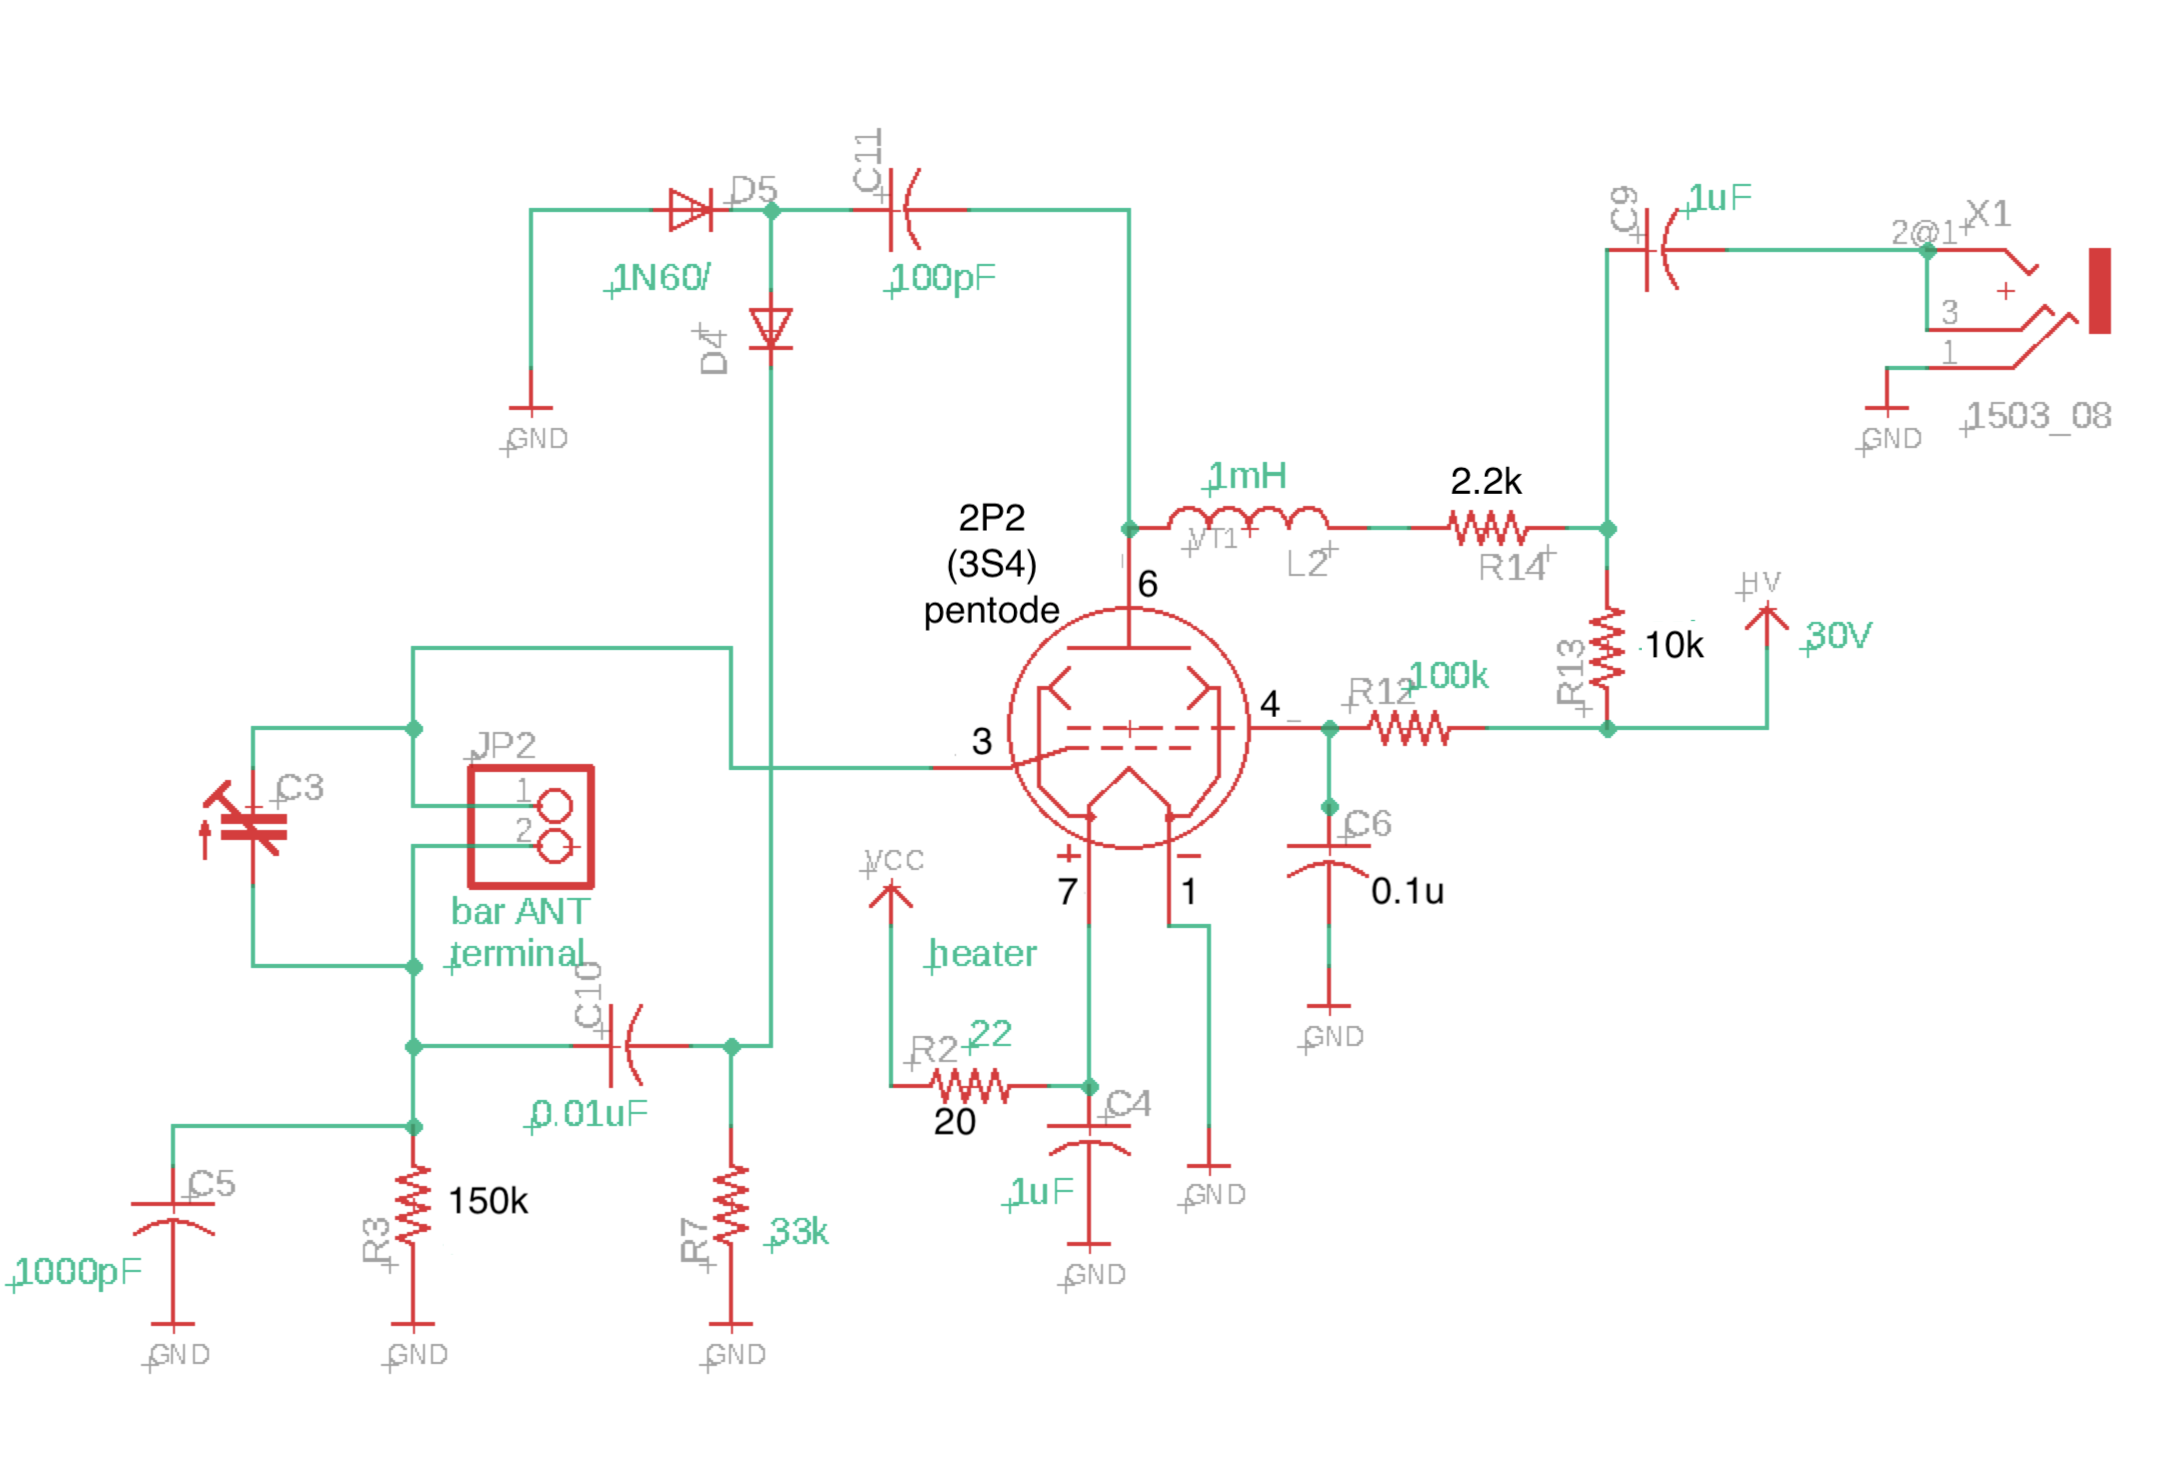
This is the objective circuit of today. It is reflex single tube radio and quite simple but shows very high sensitivity (and not so unstable as regenerative receiver..) Let's start now!

First of all, let's solder the wires to vacuum tube socket. Except of subminiature tube, vacuum tube requires "socket" (originated in incandescent lamp..). For breadboard connection, let's solder the wires to the pins. Some of vacuum tube as NC pin or overlapping pin, so not always we don't need every pins soldered.
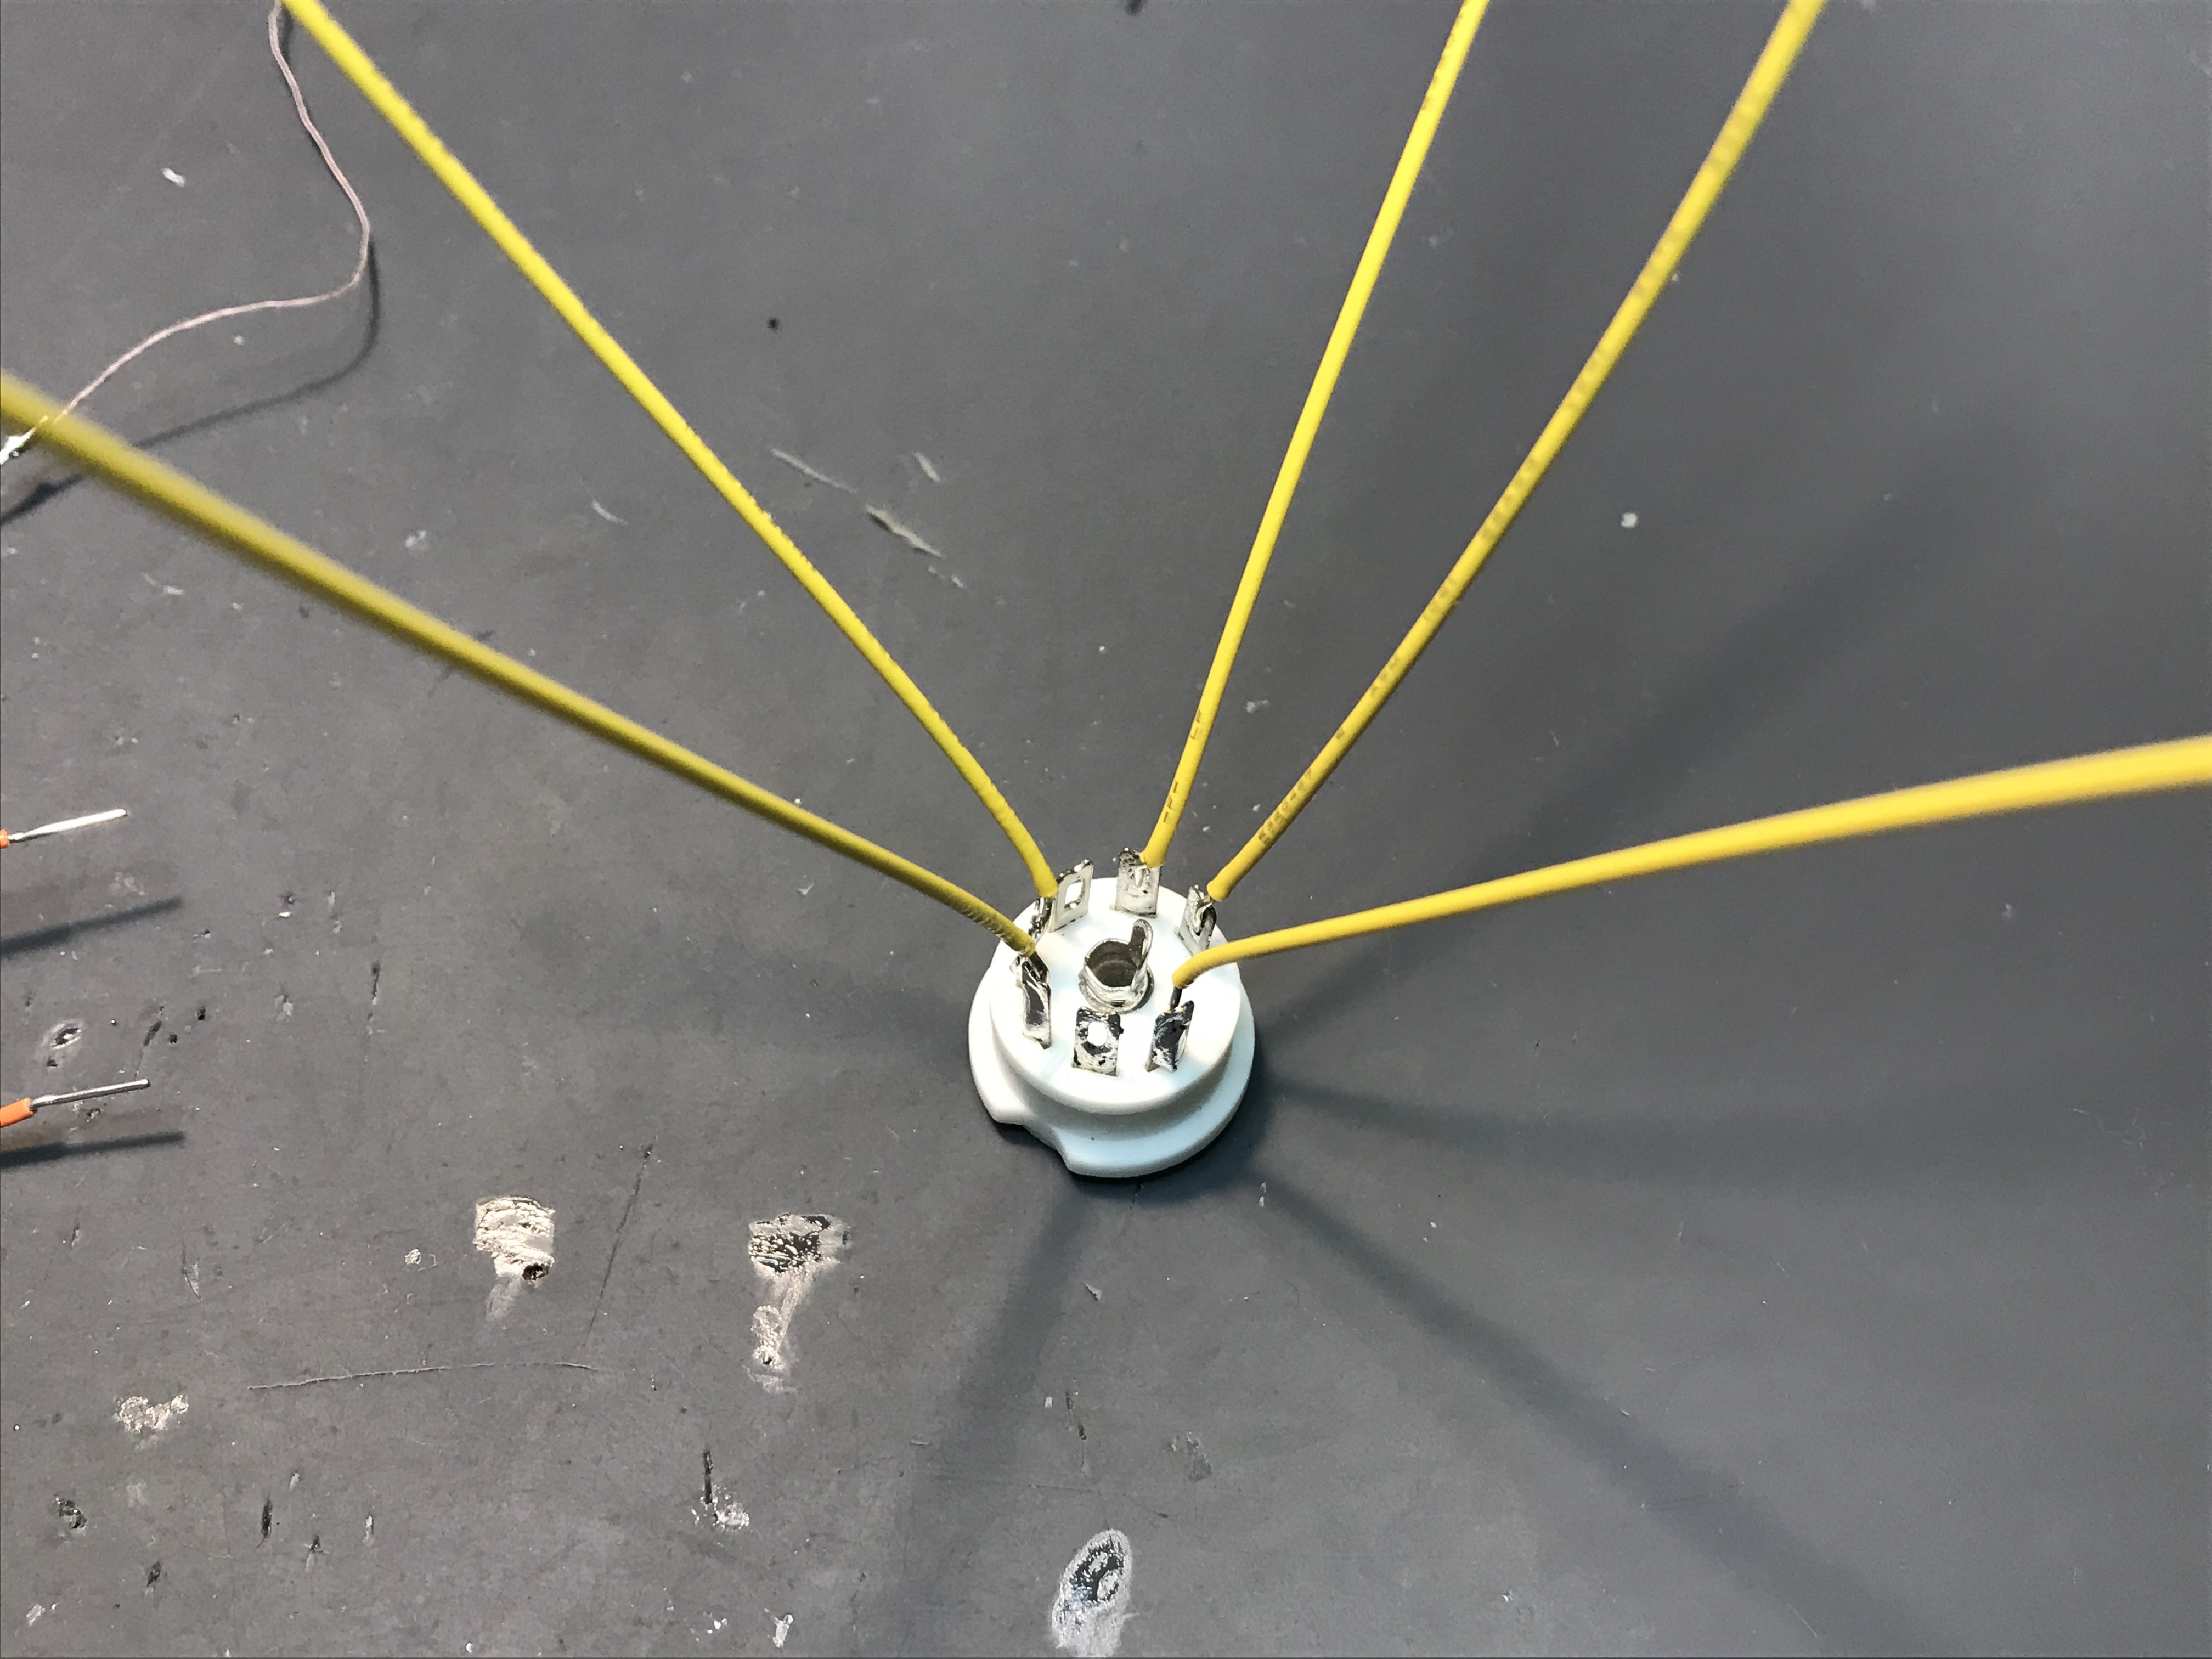
This is the completed one. 2P2(3S4) has 2-6 pin overlapping and also #5 is the heater center point and this time we don't need to solder 2 and 5 pins.
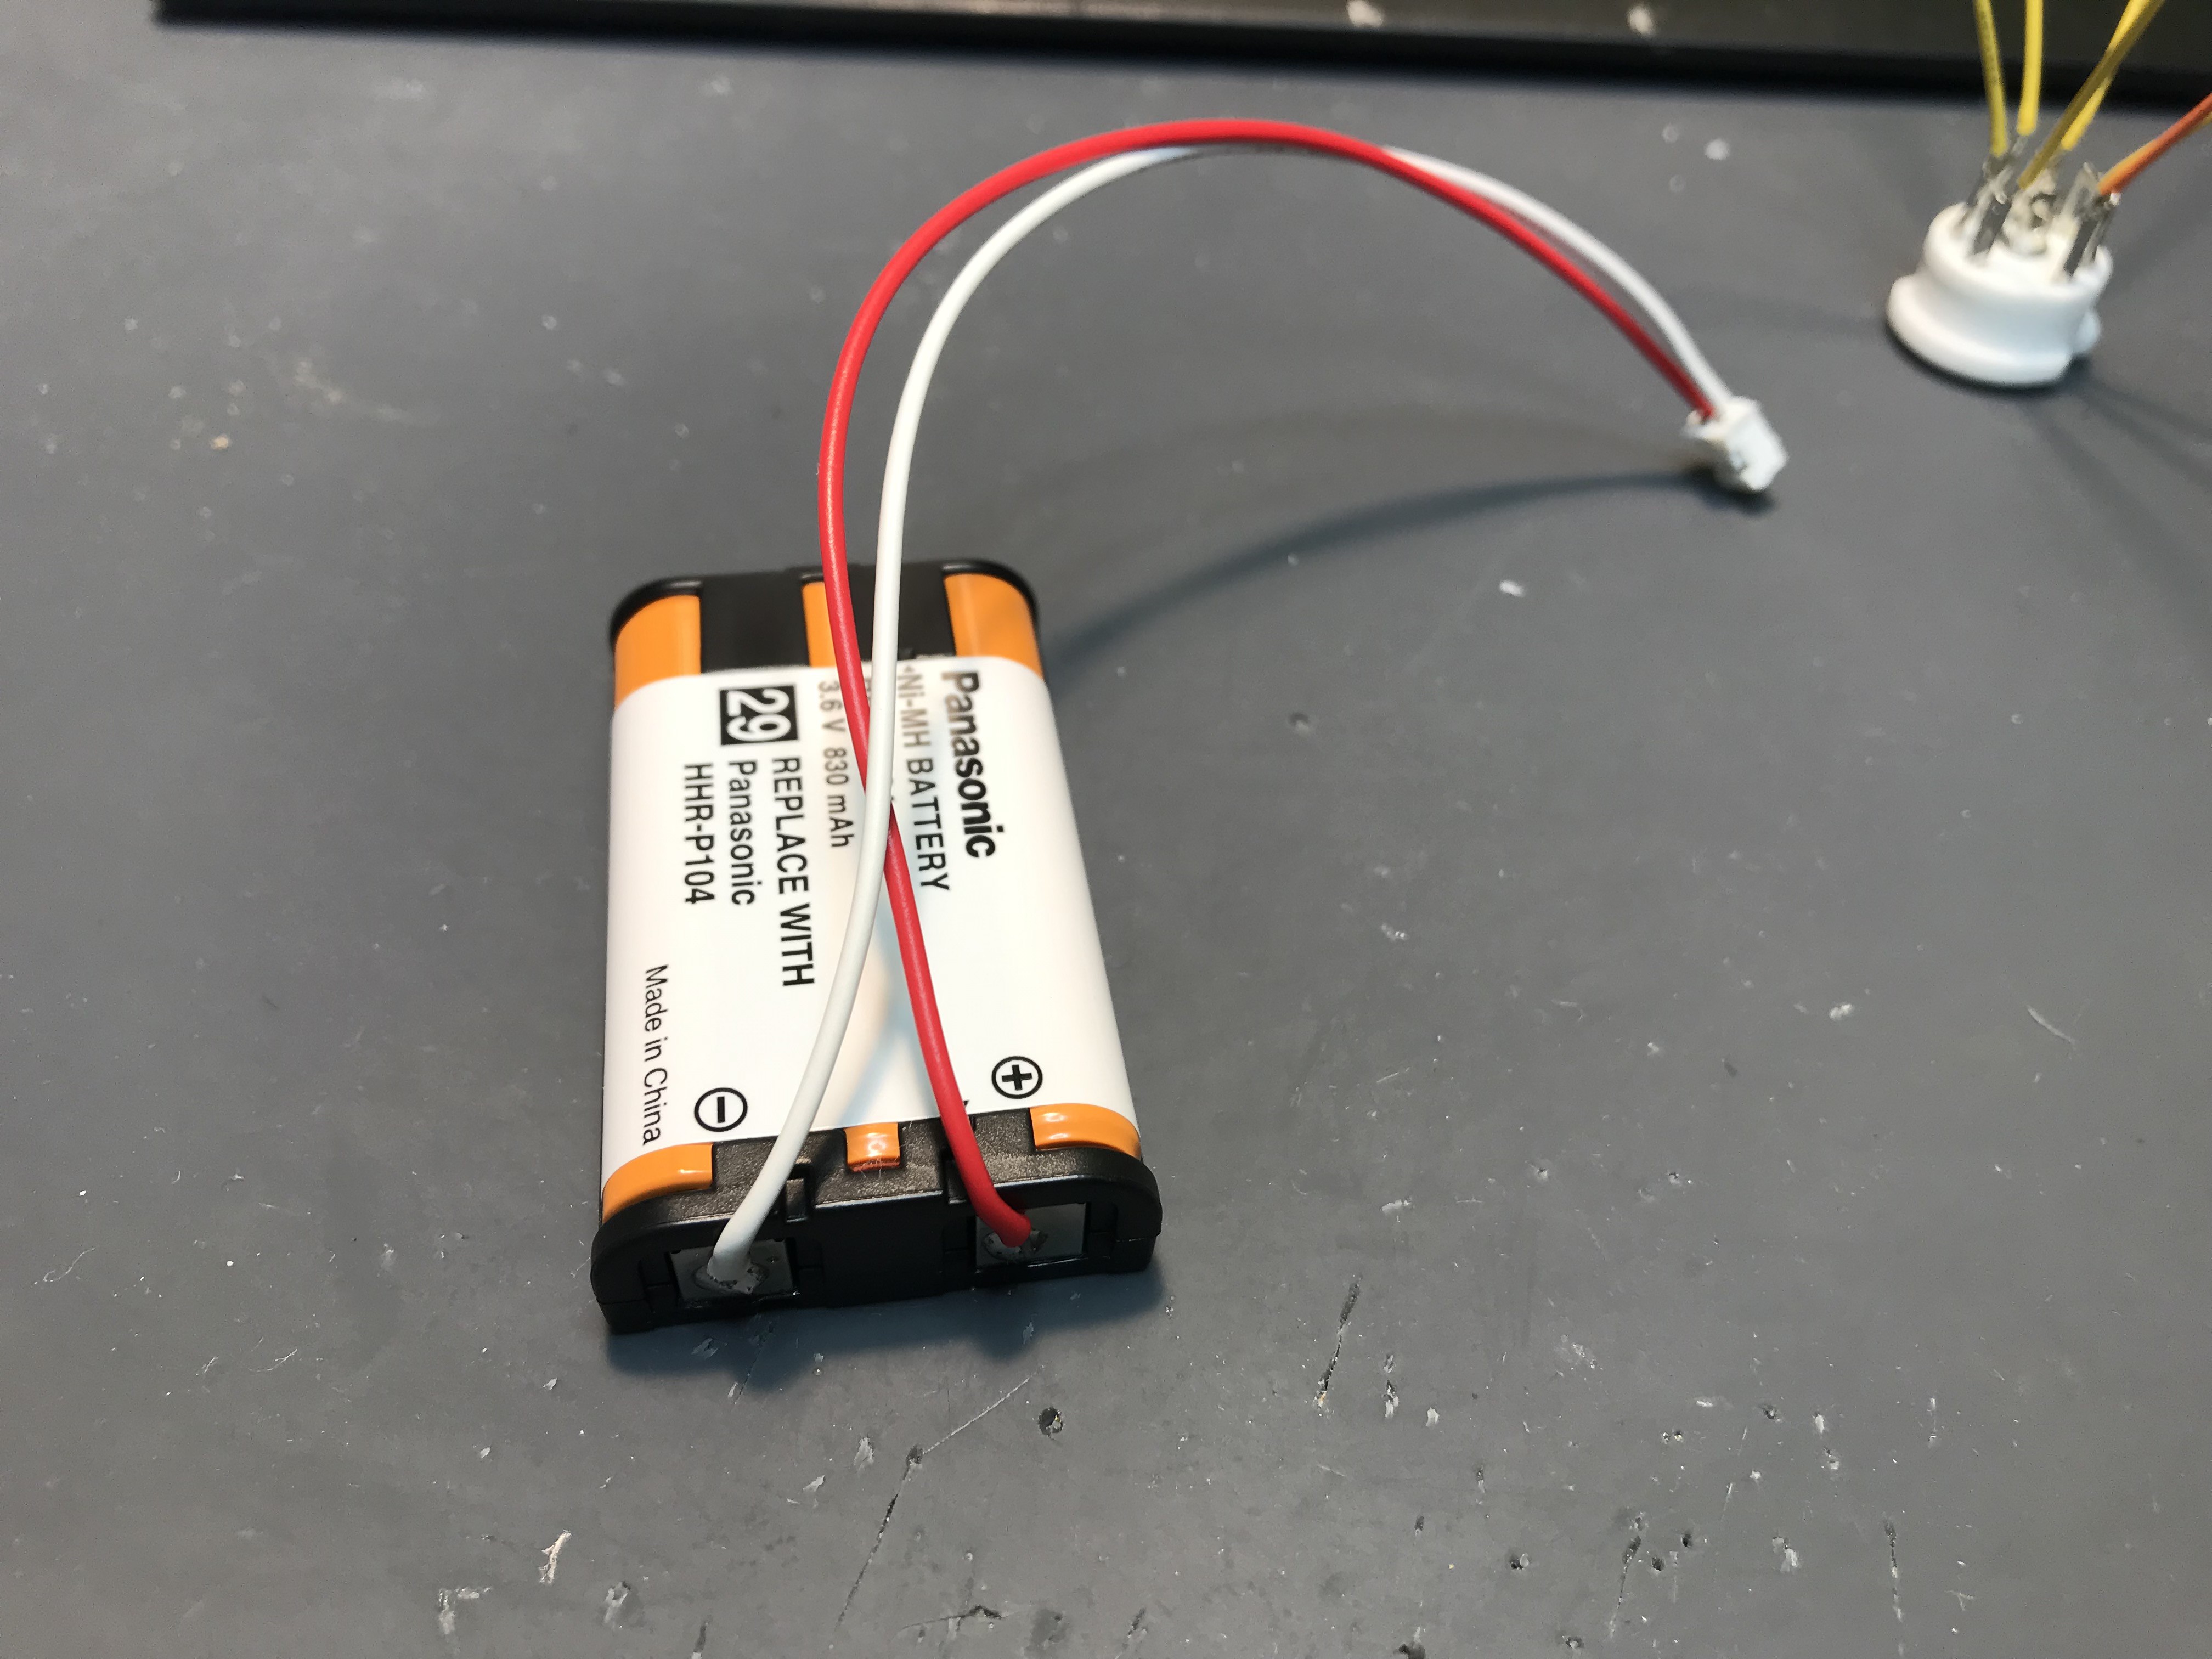
And now let's solder the battery connector as above. Please keep "red" to +. and...
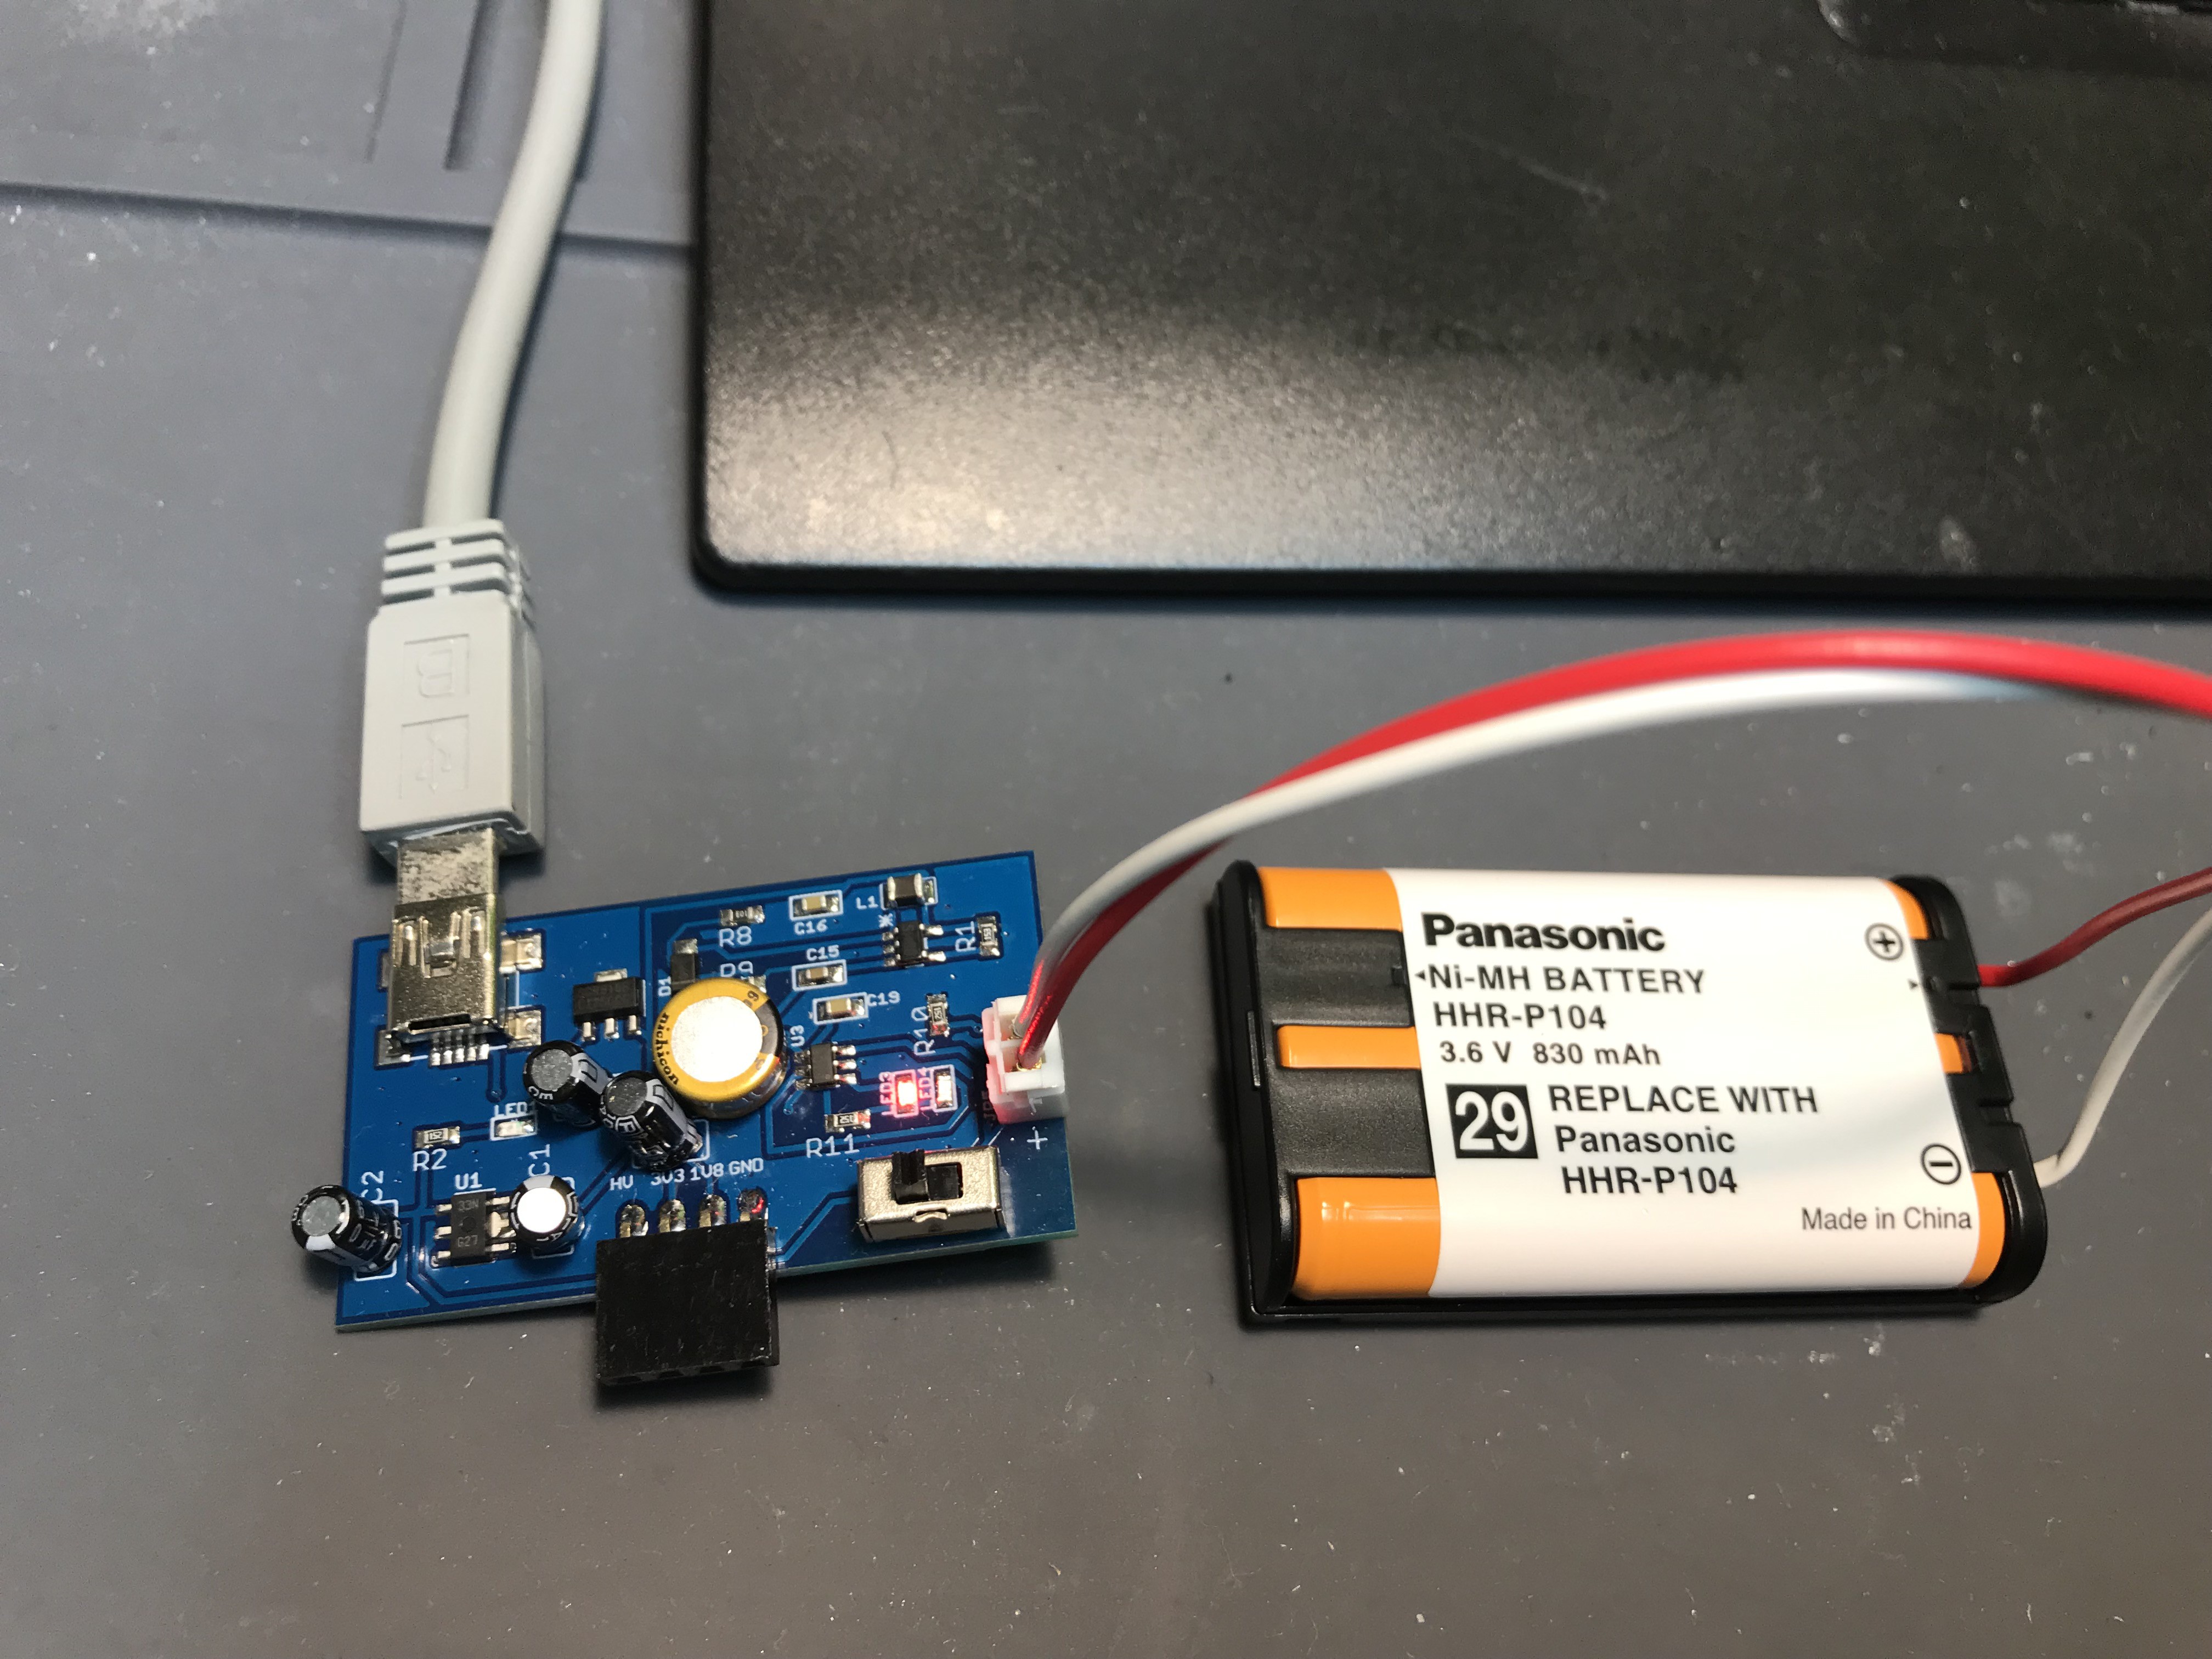
Now let's start charging Ni-MH battery during preparation by connecting connector with power supply PCB. When charging is done, on-board LED will turns to Green.
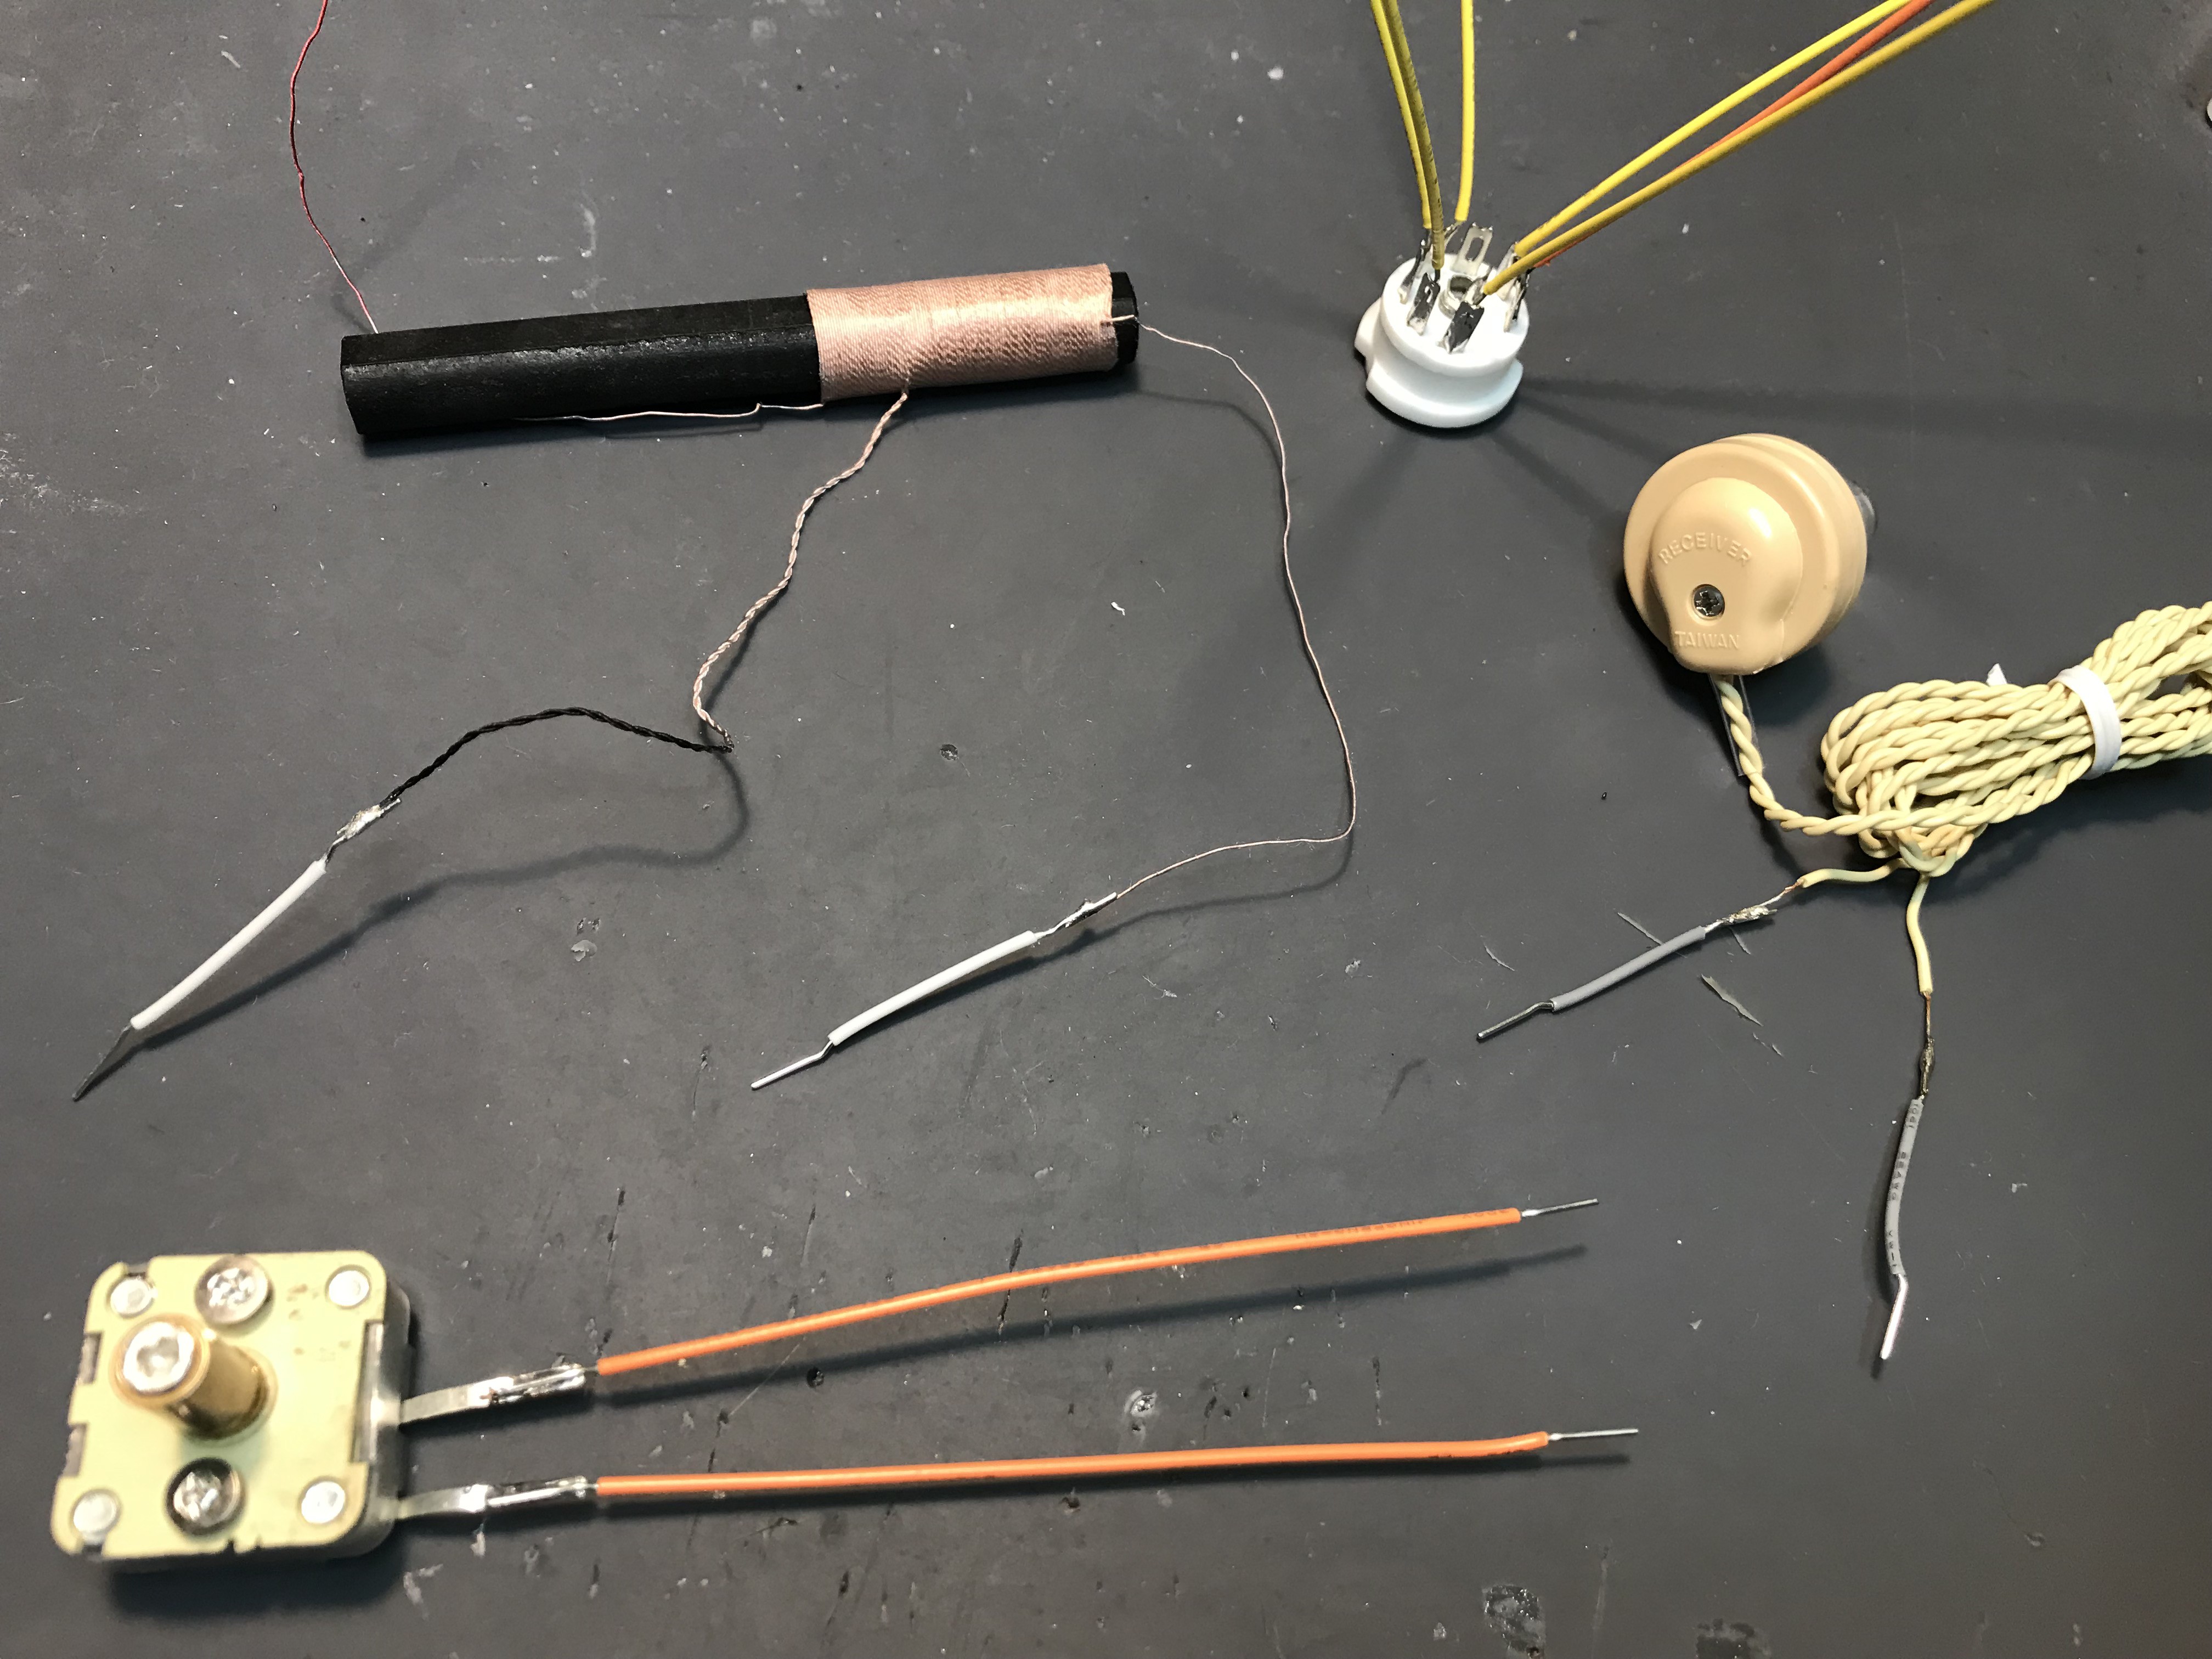
In the same manner, let's solder "jumper wires" to (1) variable capacitor, (2) ferrite bar antenna, (3) ceramic earphone, as above.. Now the soldering works are done.
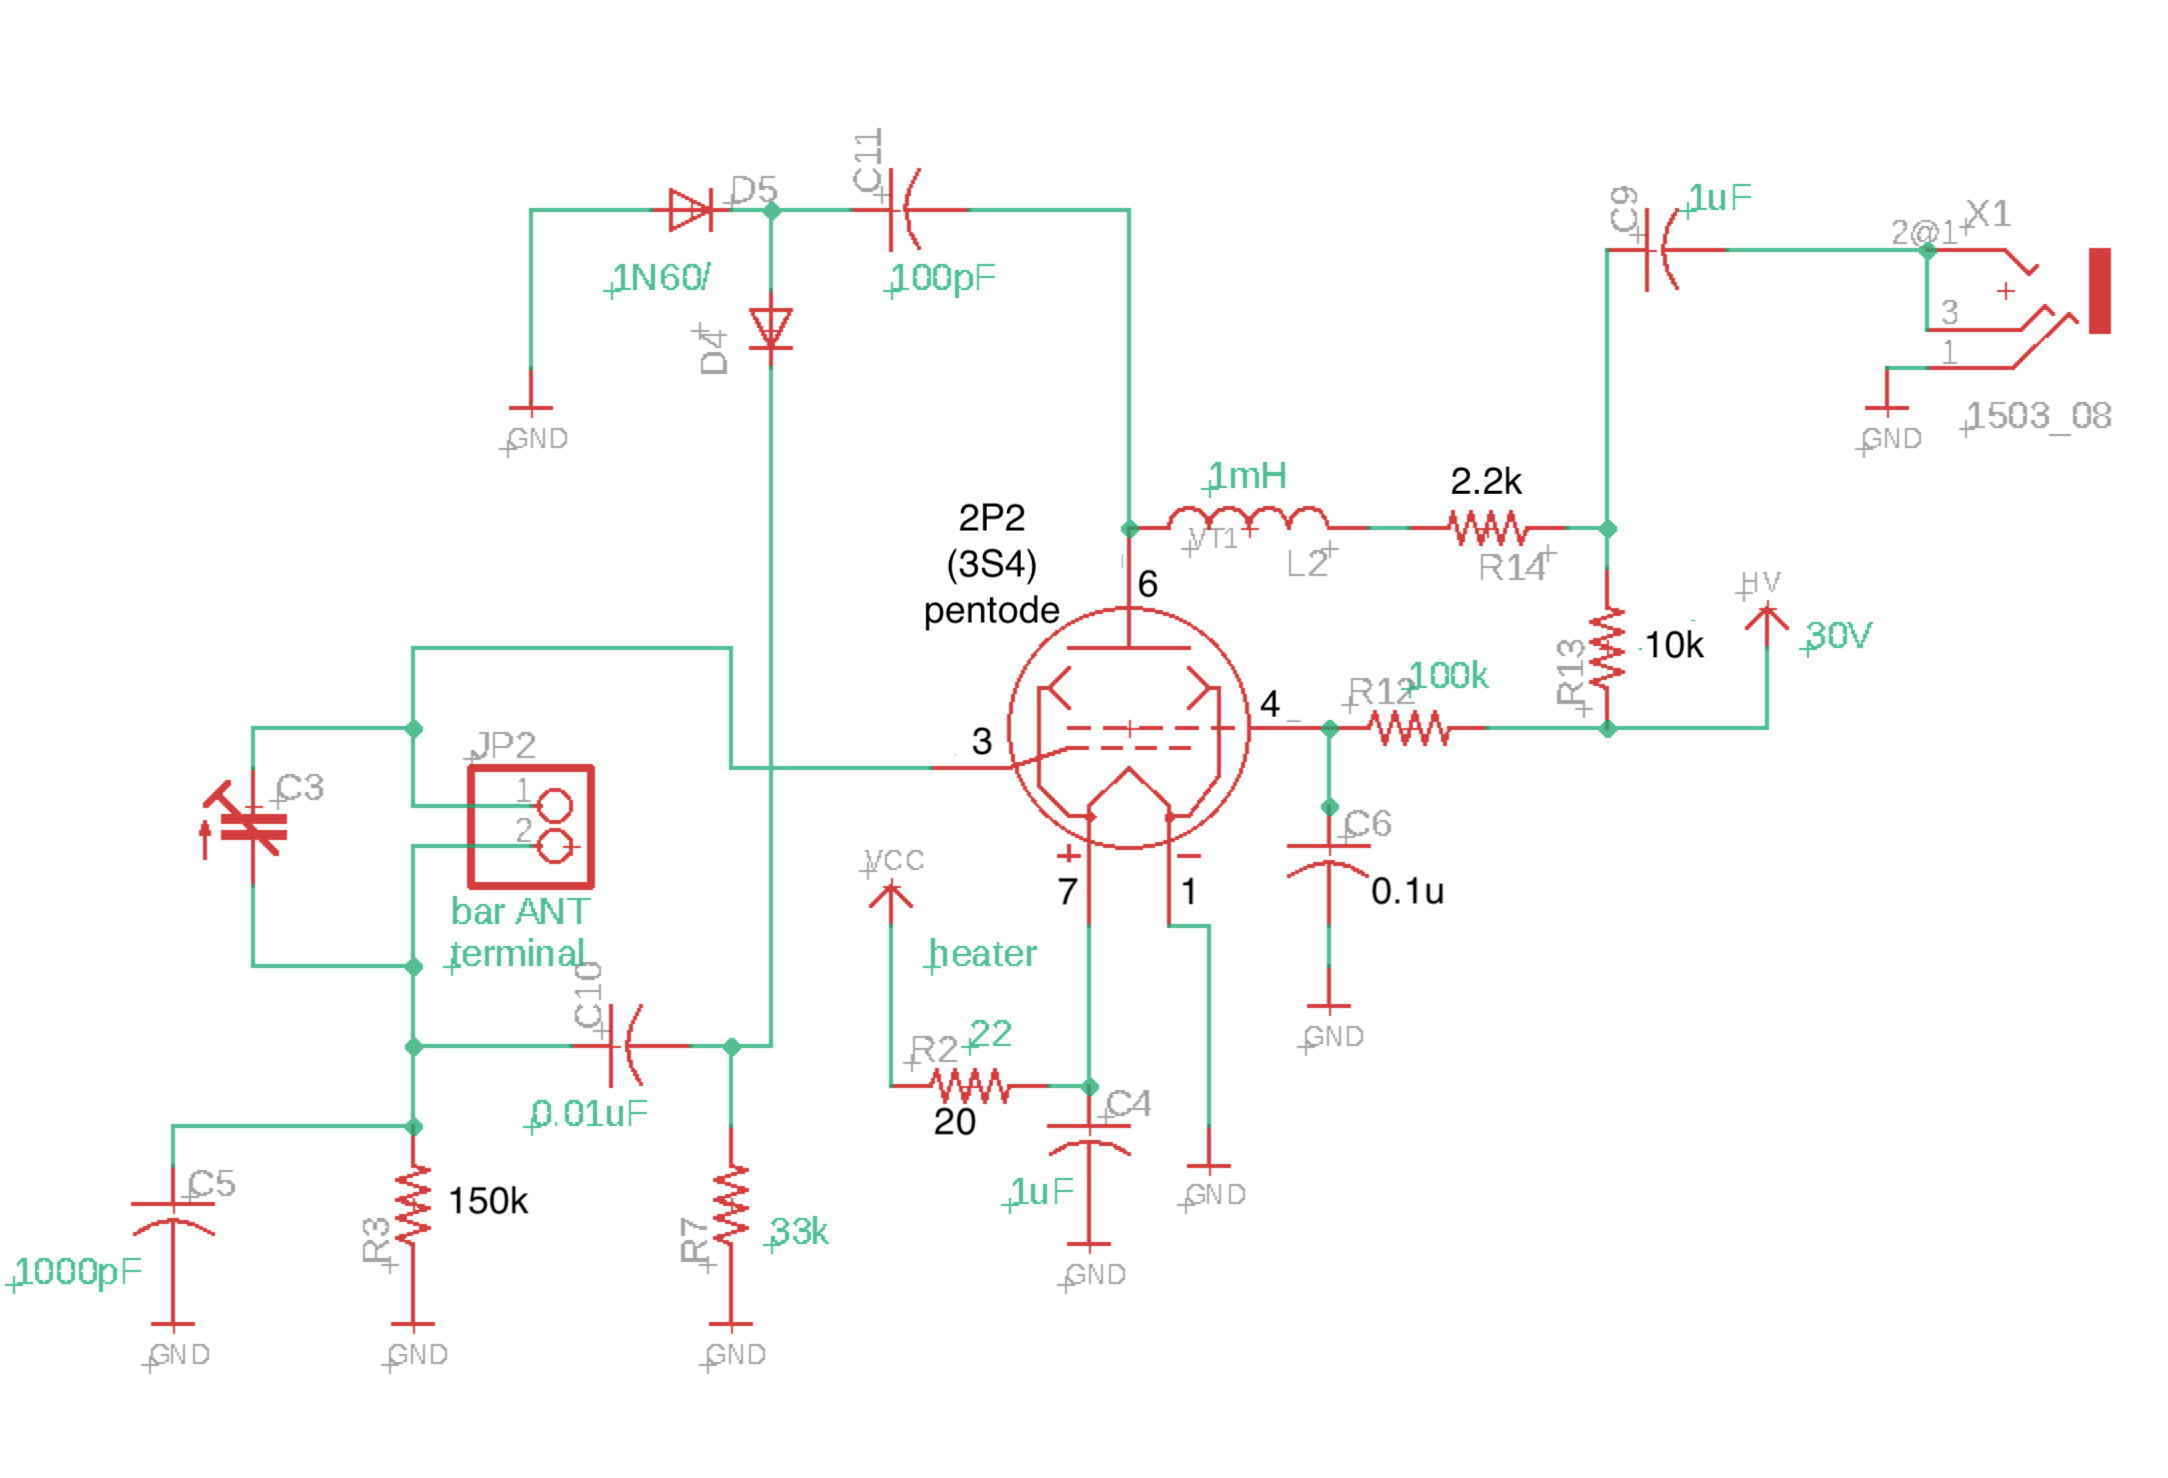
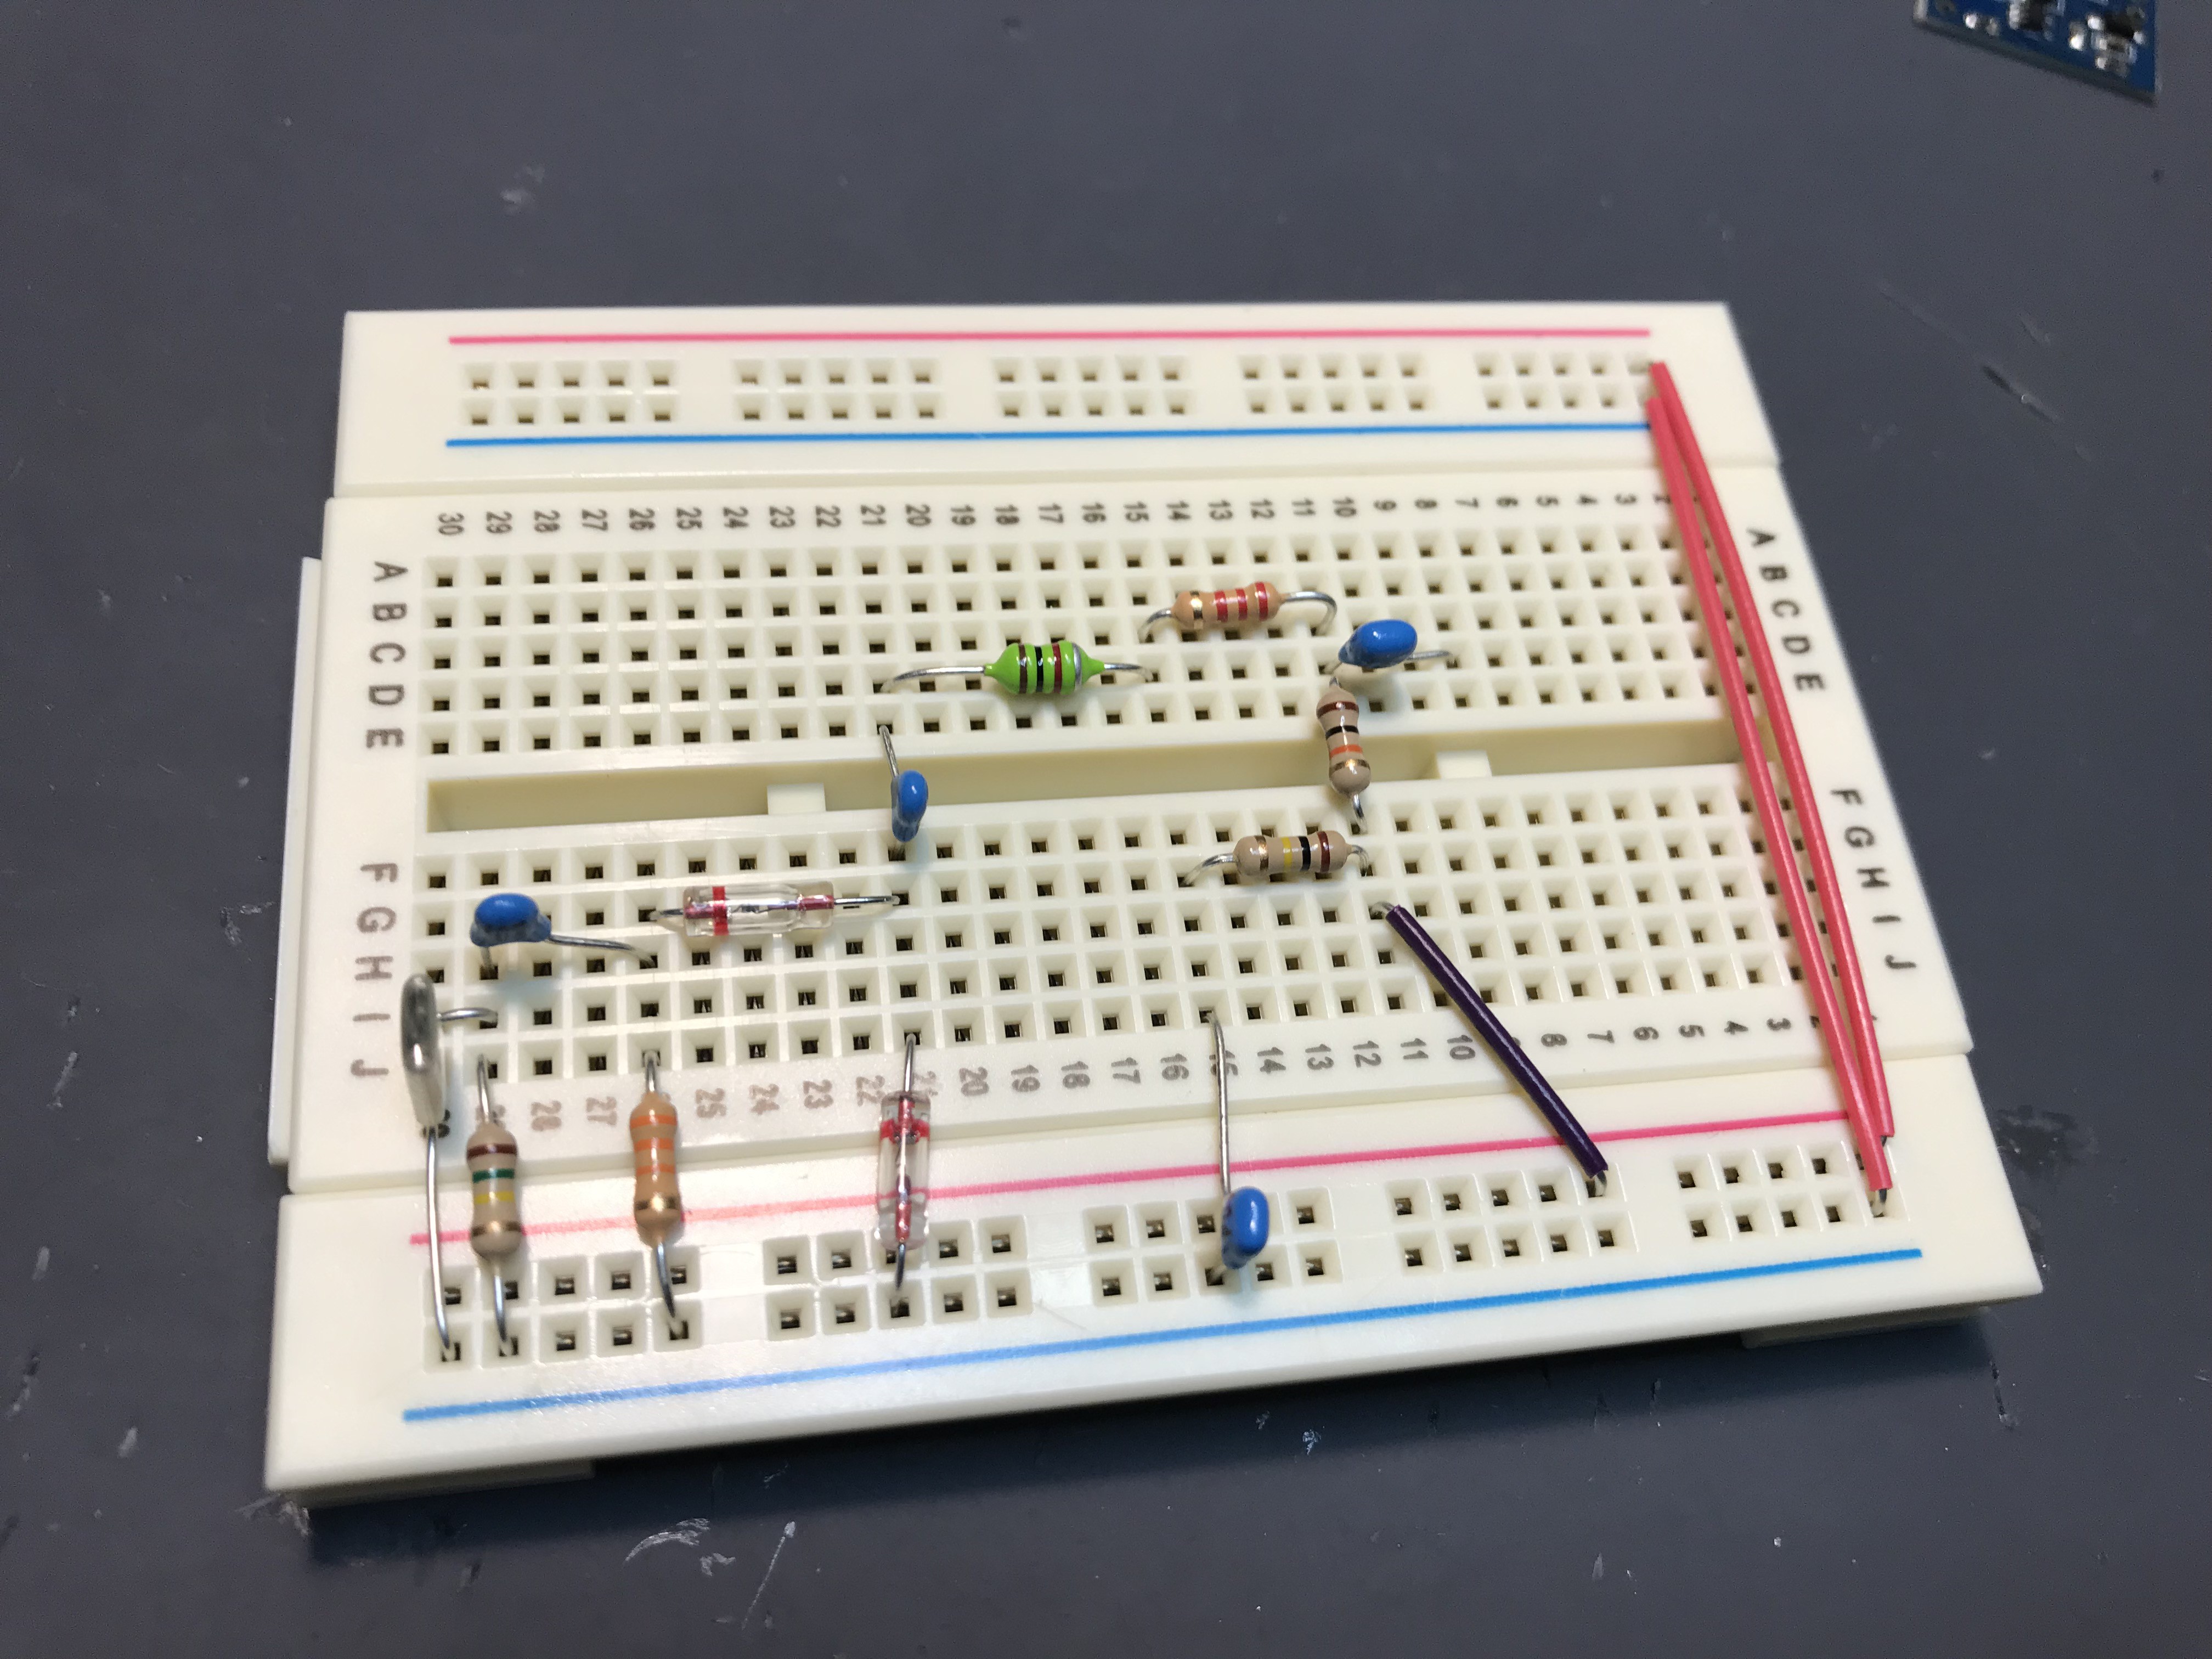
Now let's again see the schematic and wires all components on the solder less breadboard. If the connection is well, actual layout does not matter for the operation.
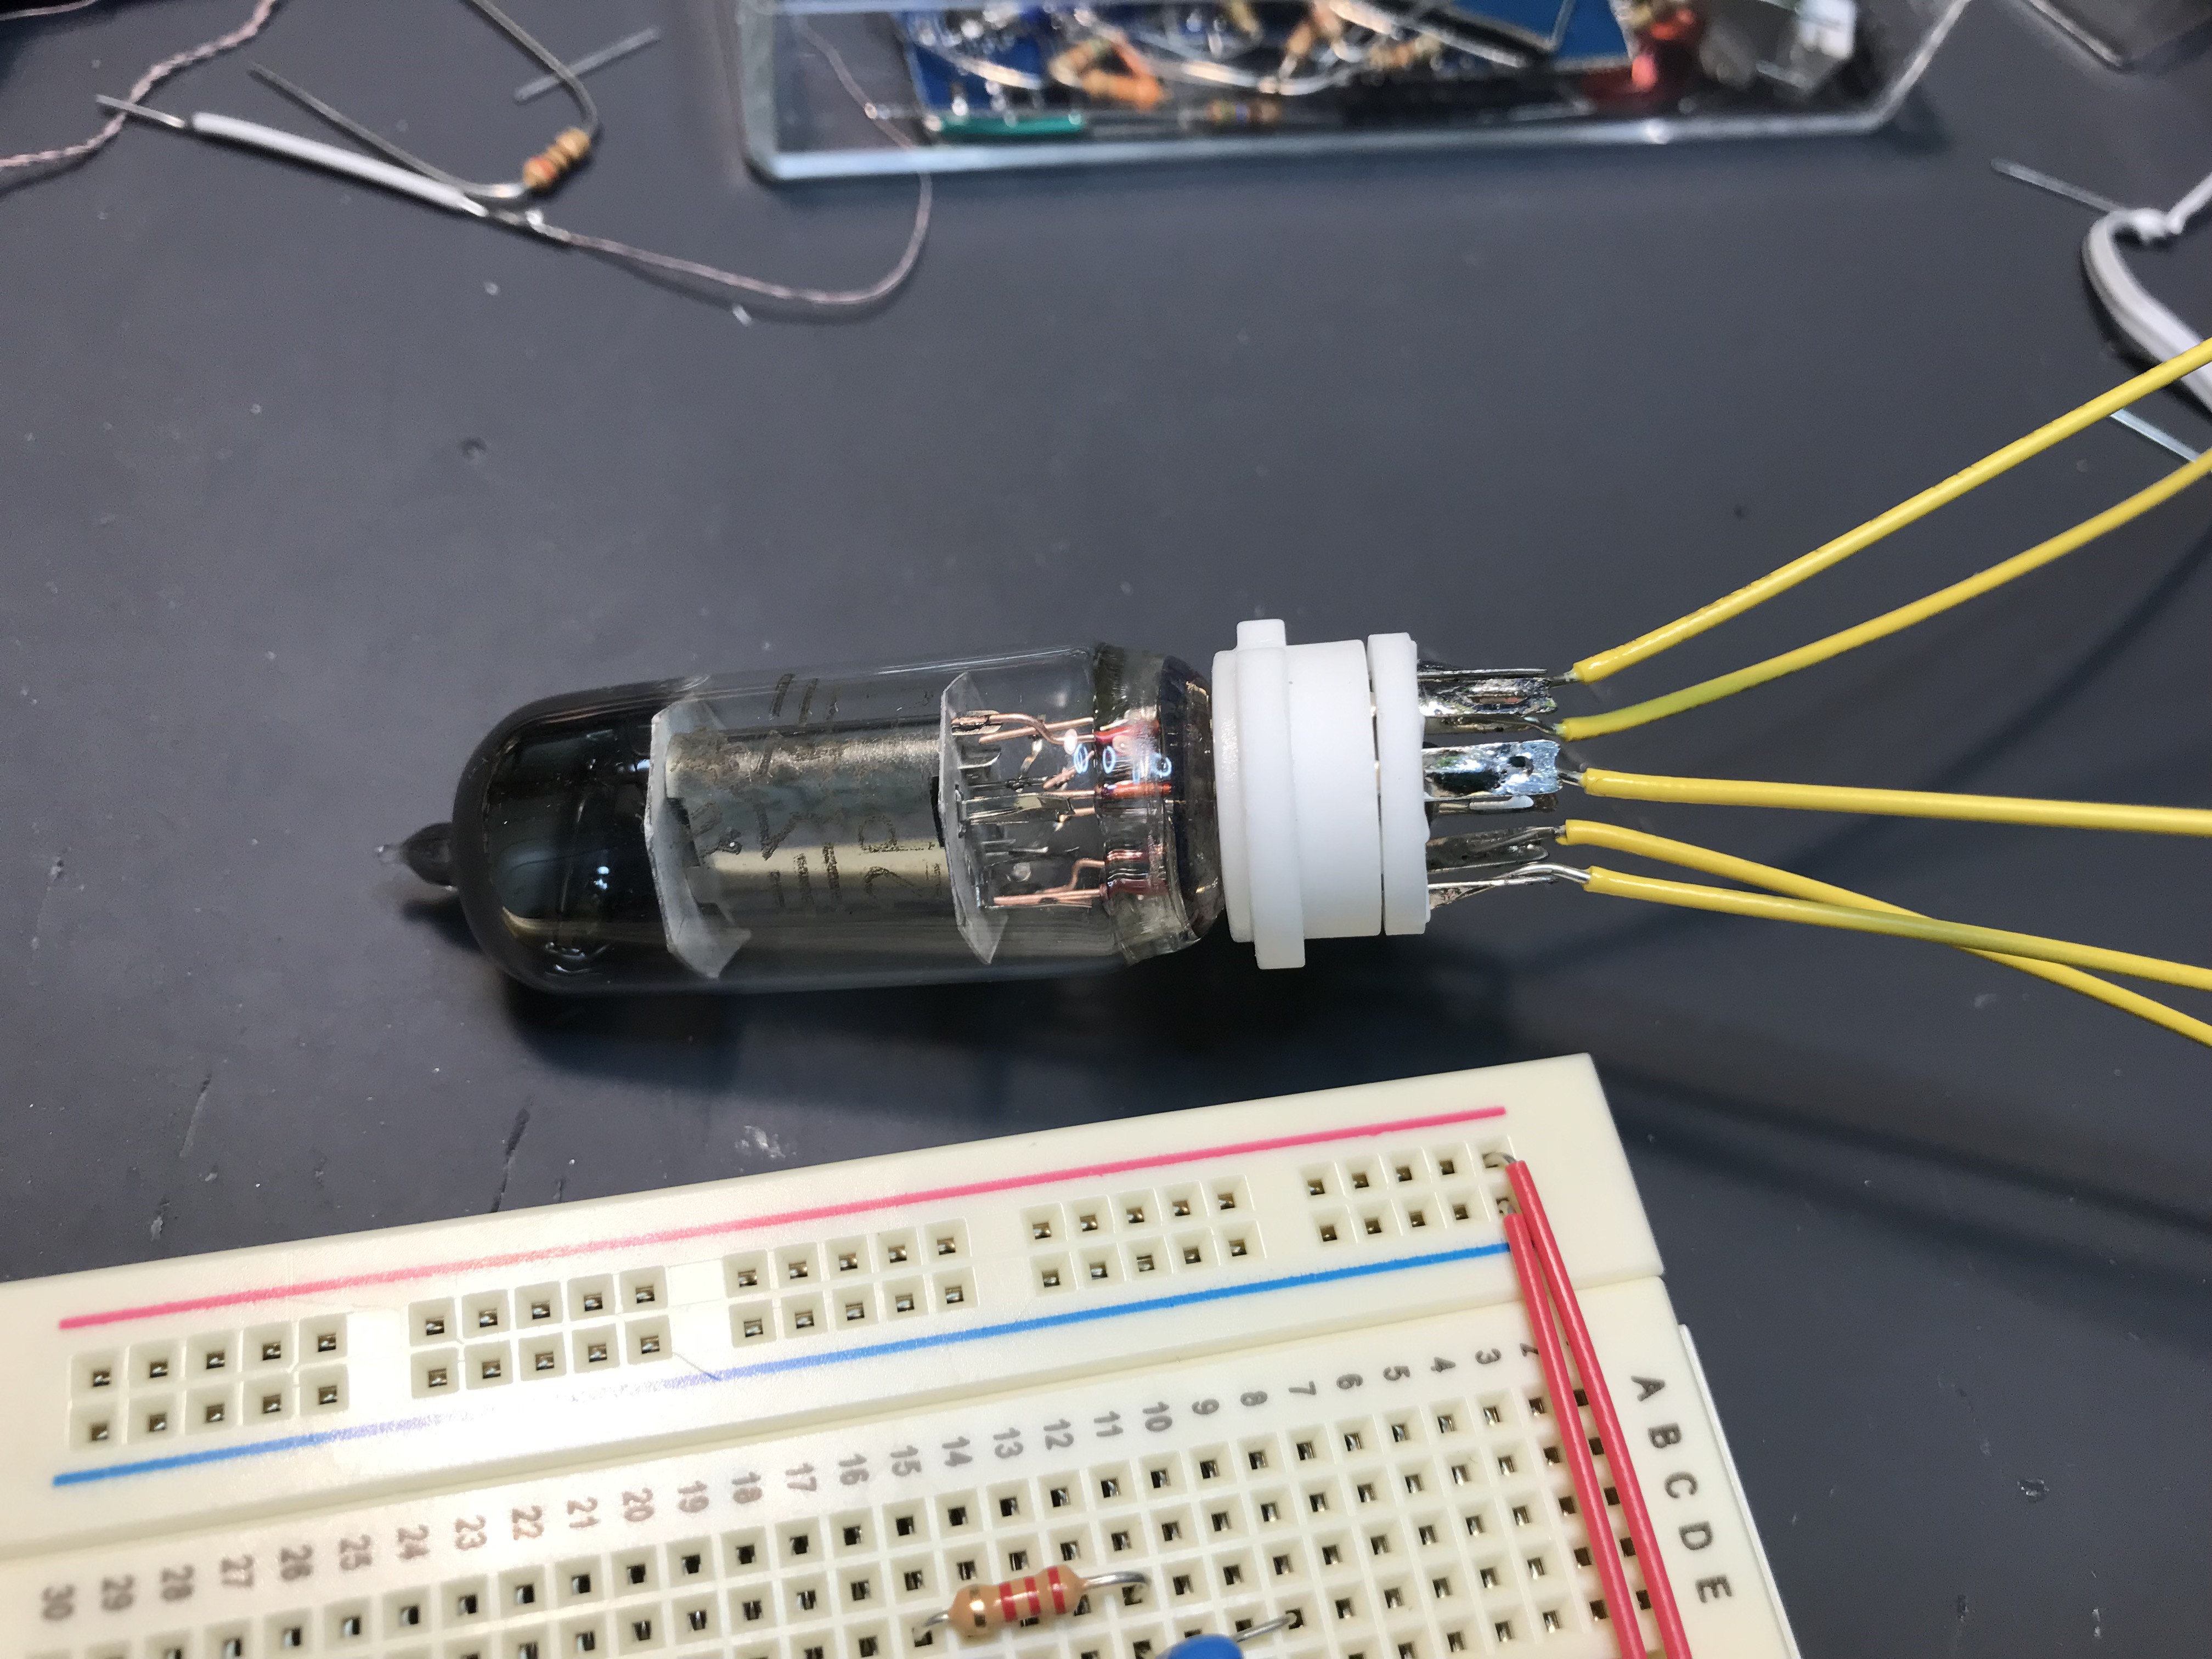
And now let's plug vacuum tube to the socket. I recommend to do it before connecting to breadboard....
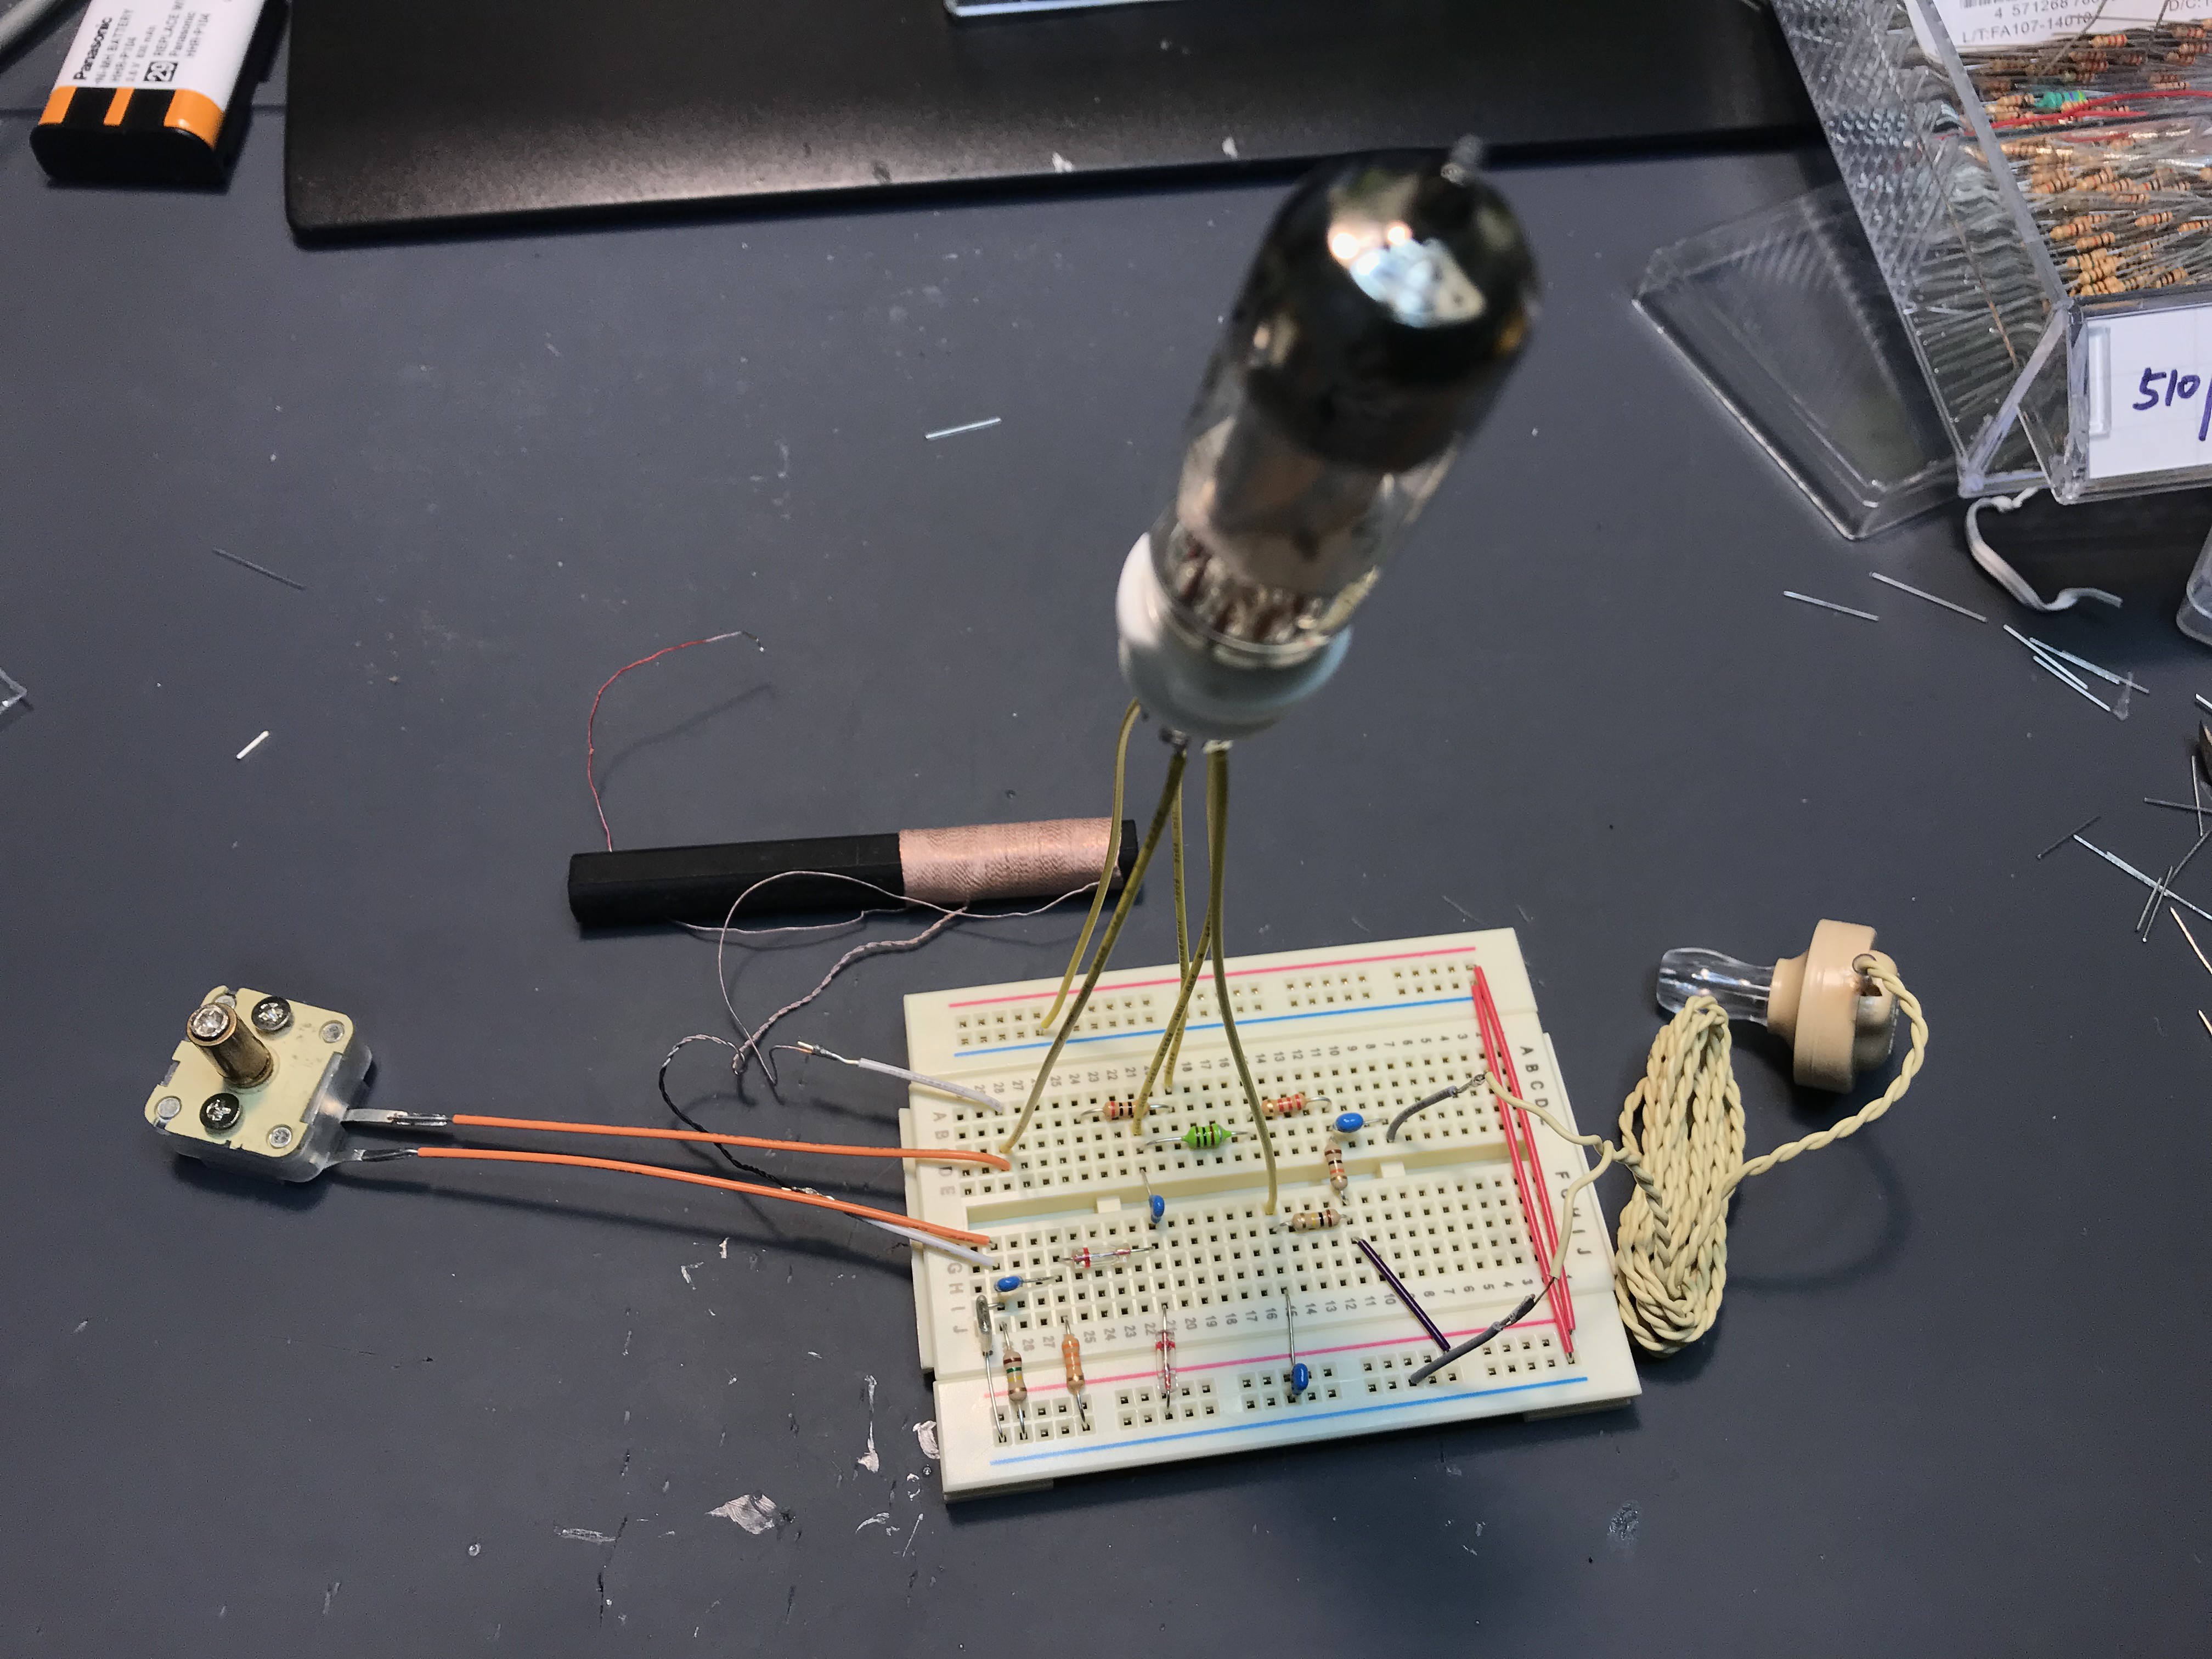
And let's connect all of the components, variable capacitor, ferrite bar, ceramic earphone and vacuum tube. At this time, please check short circuit between HV (+30 V line to GND). It should not be connected and if connected, power supply PCB may be destroyed.
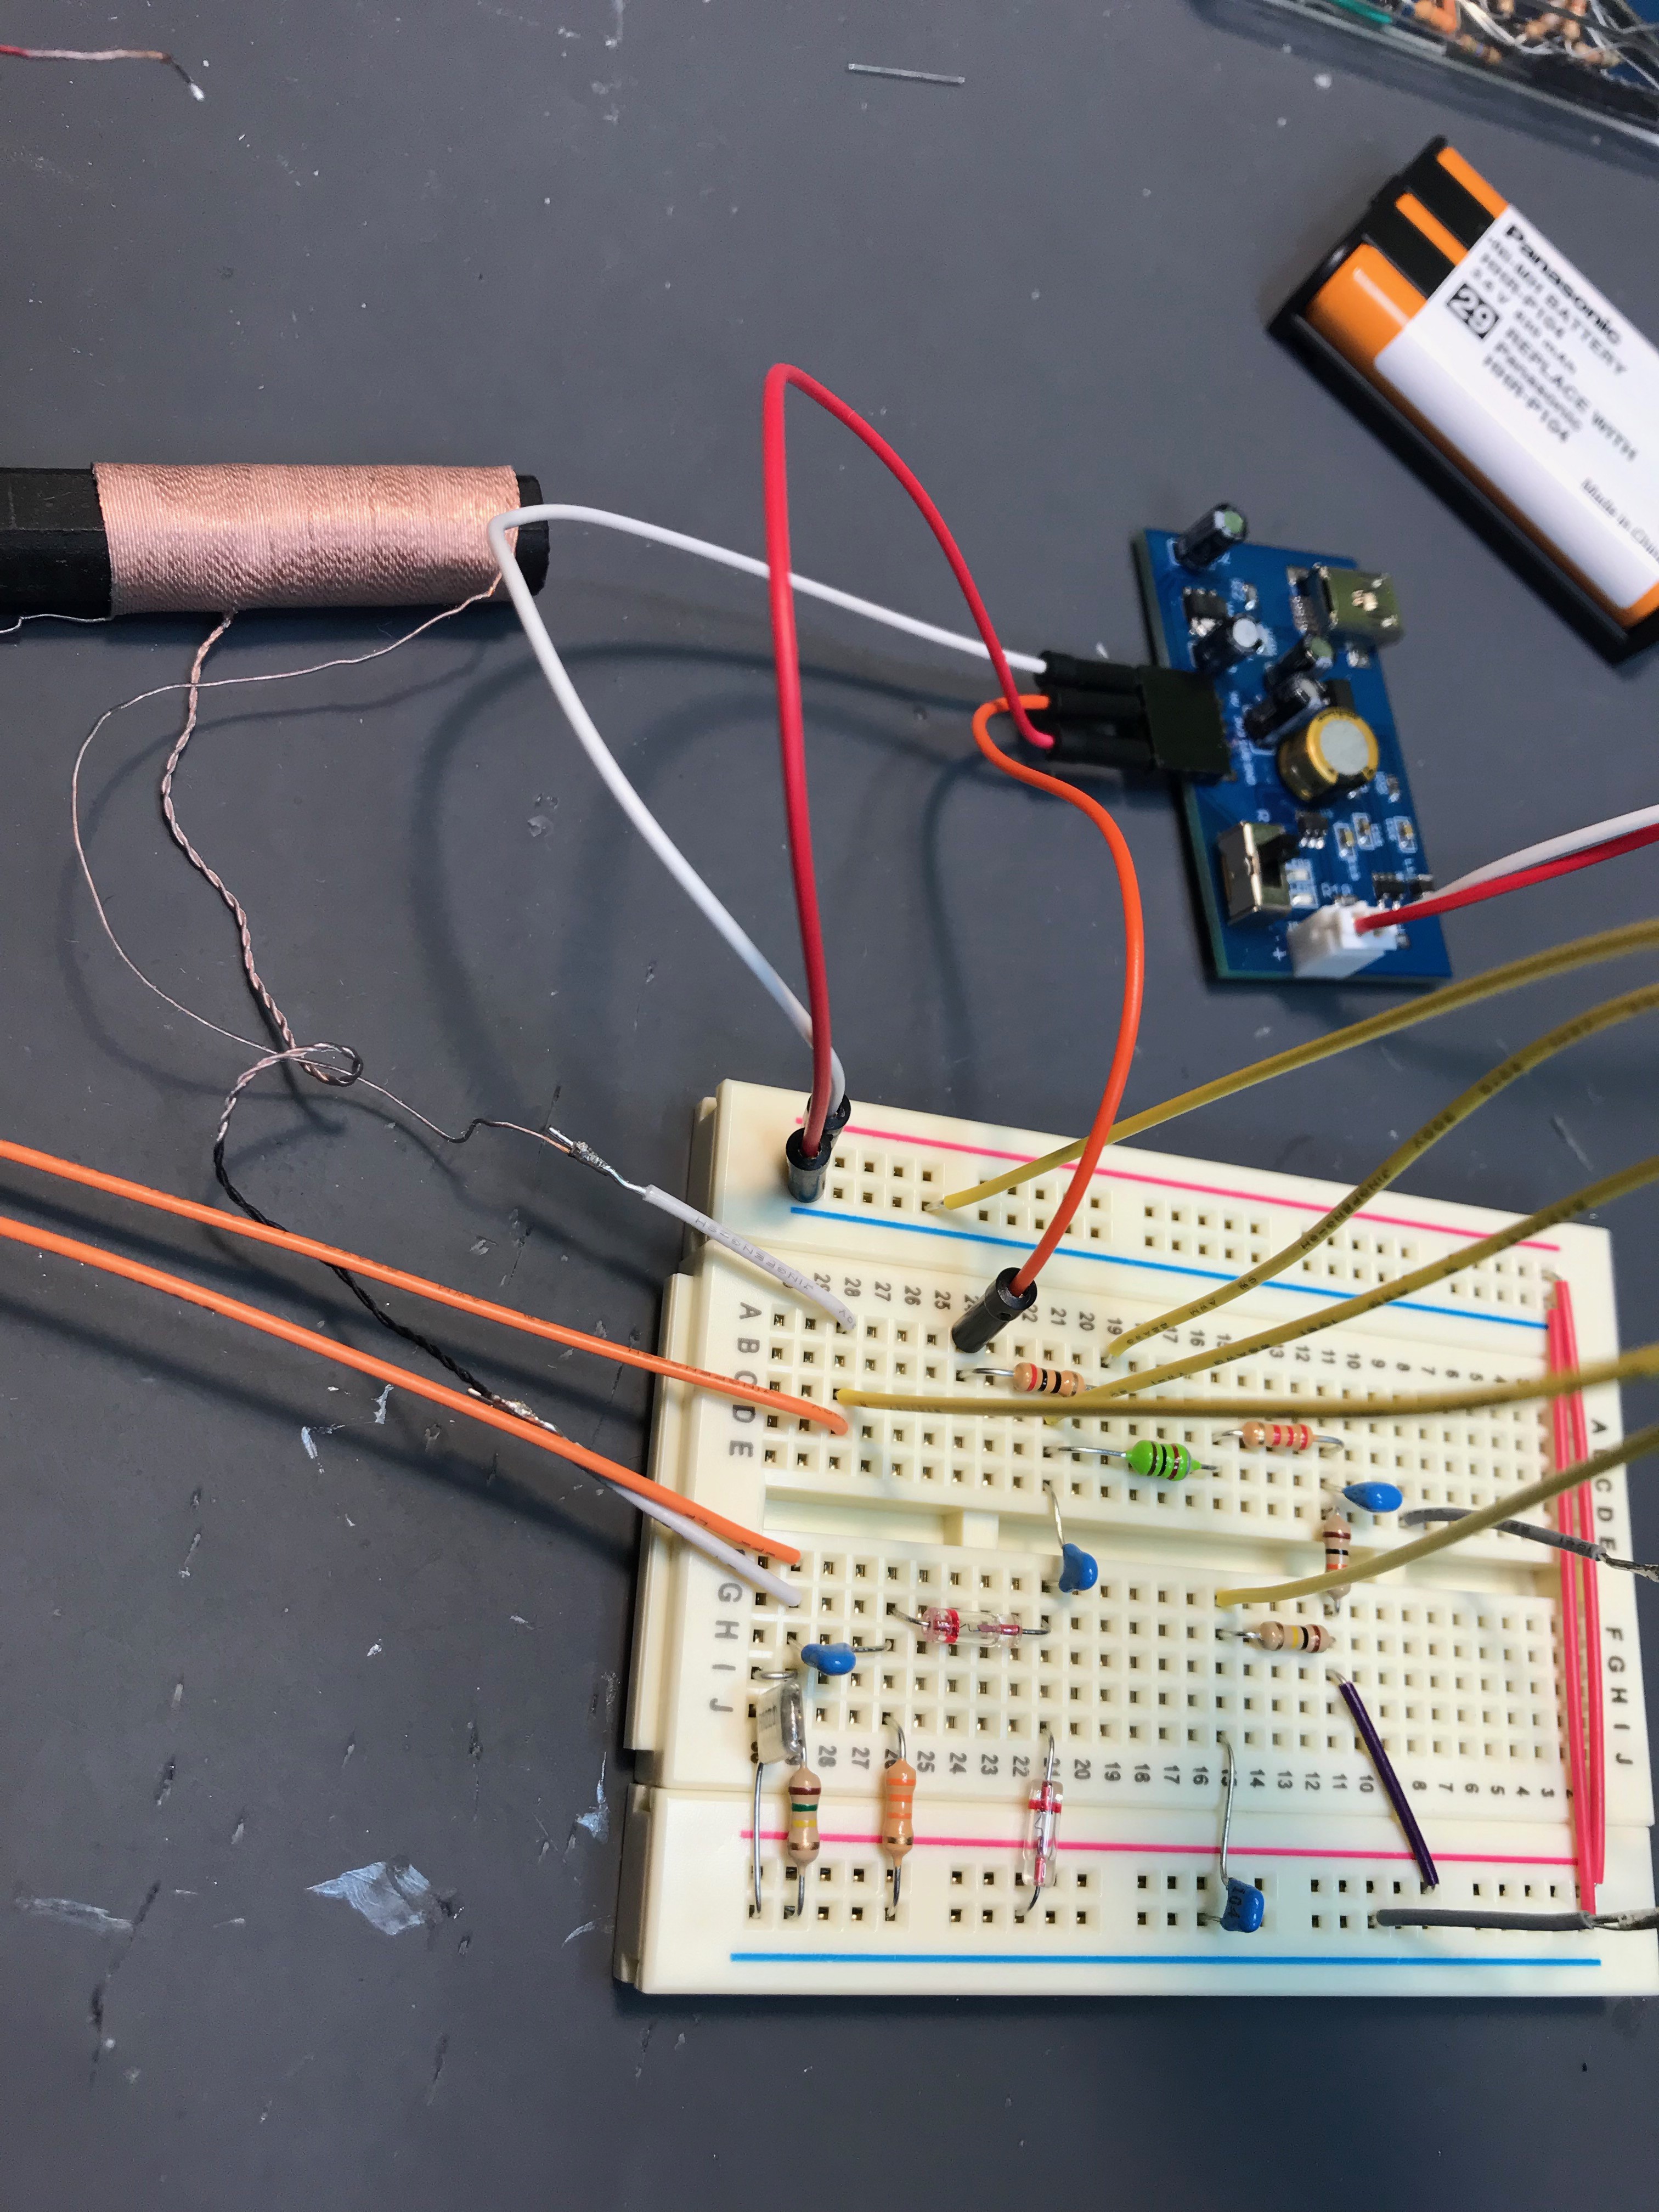
And finally let's connect breadboard to the power supply!
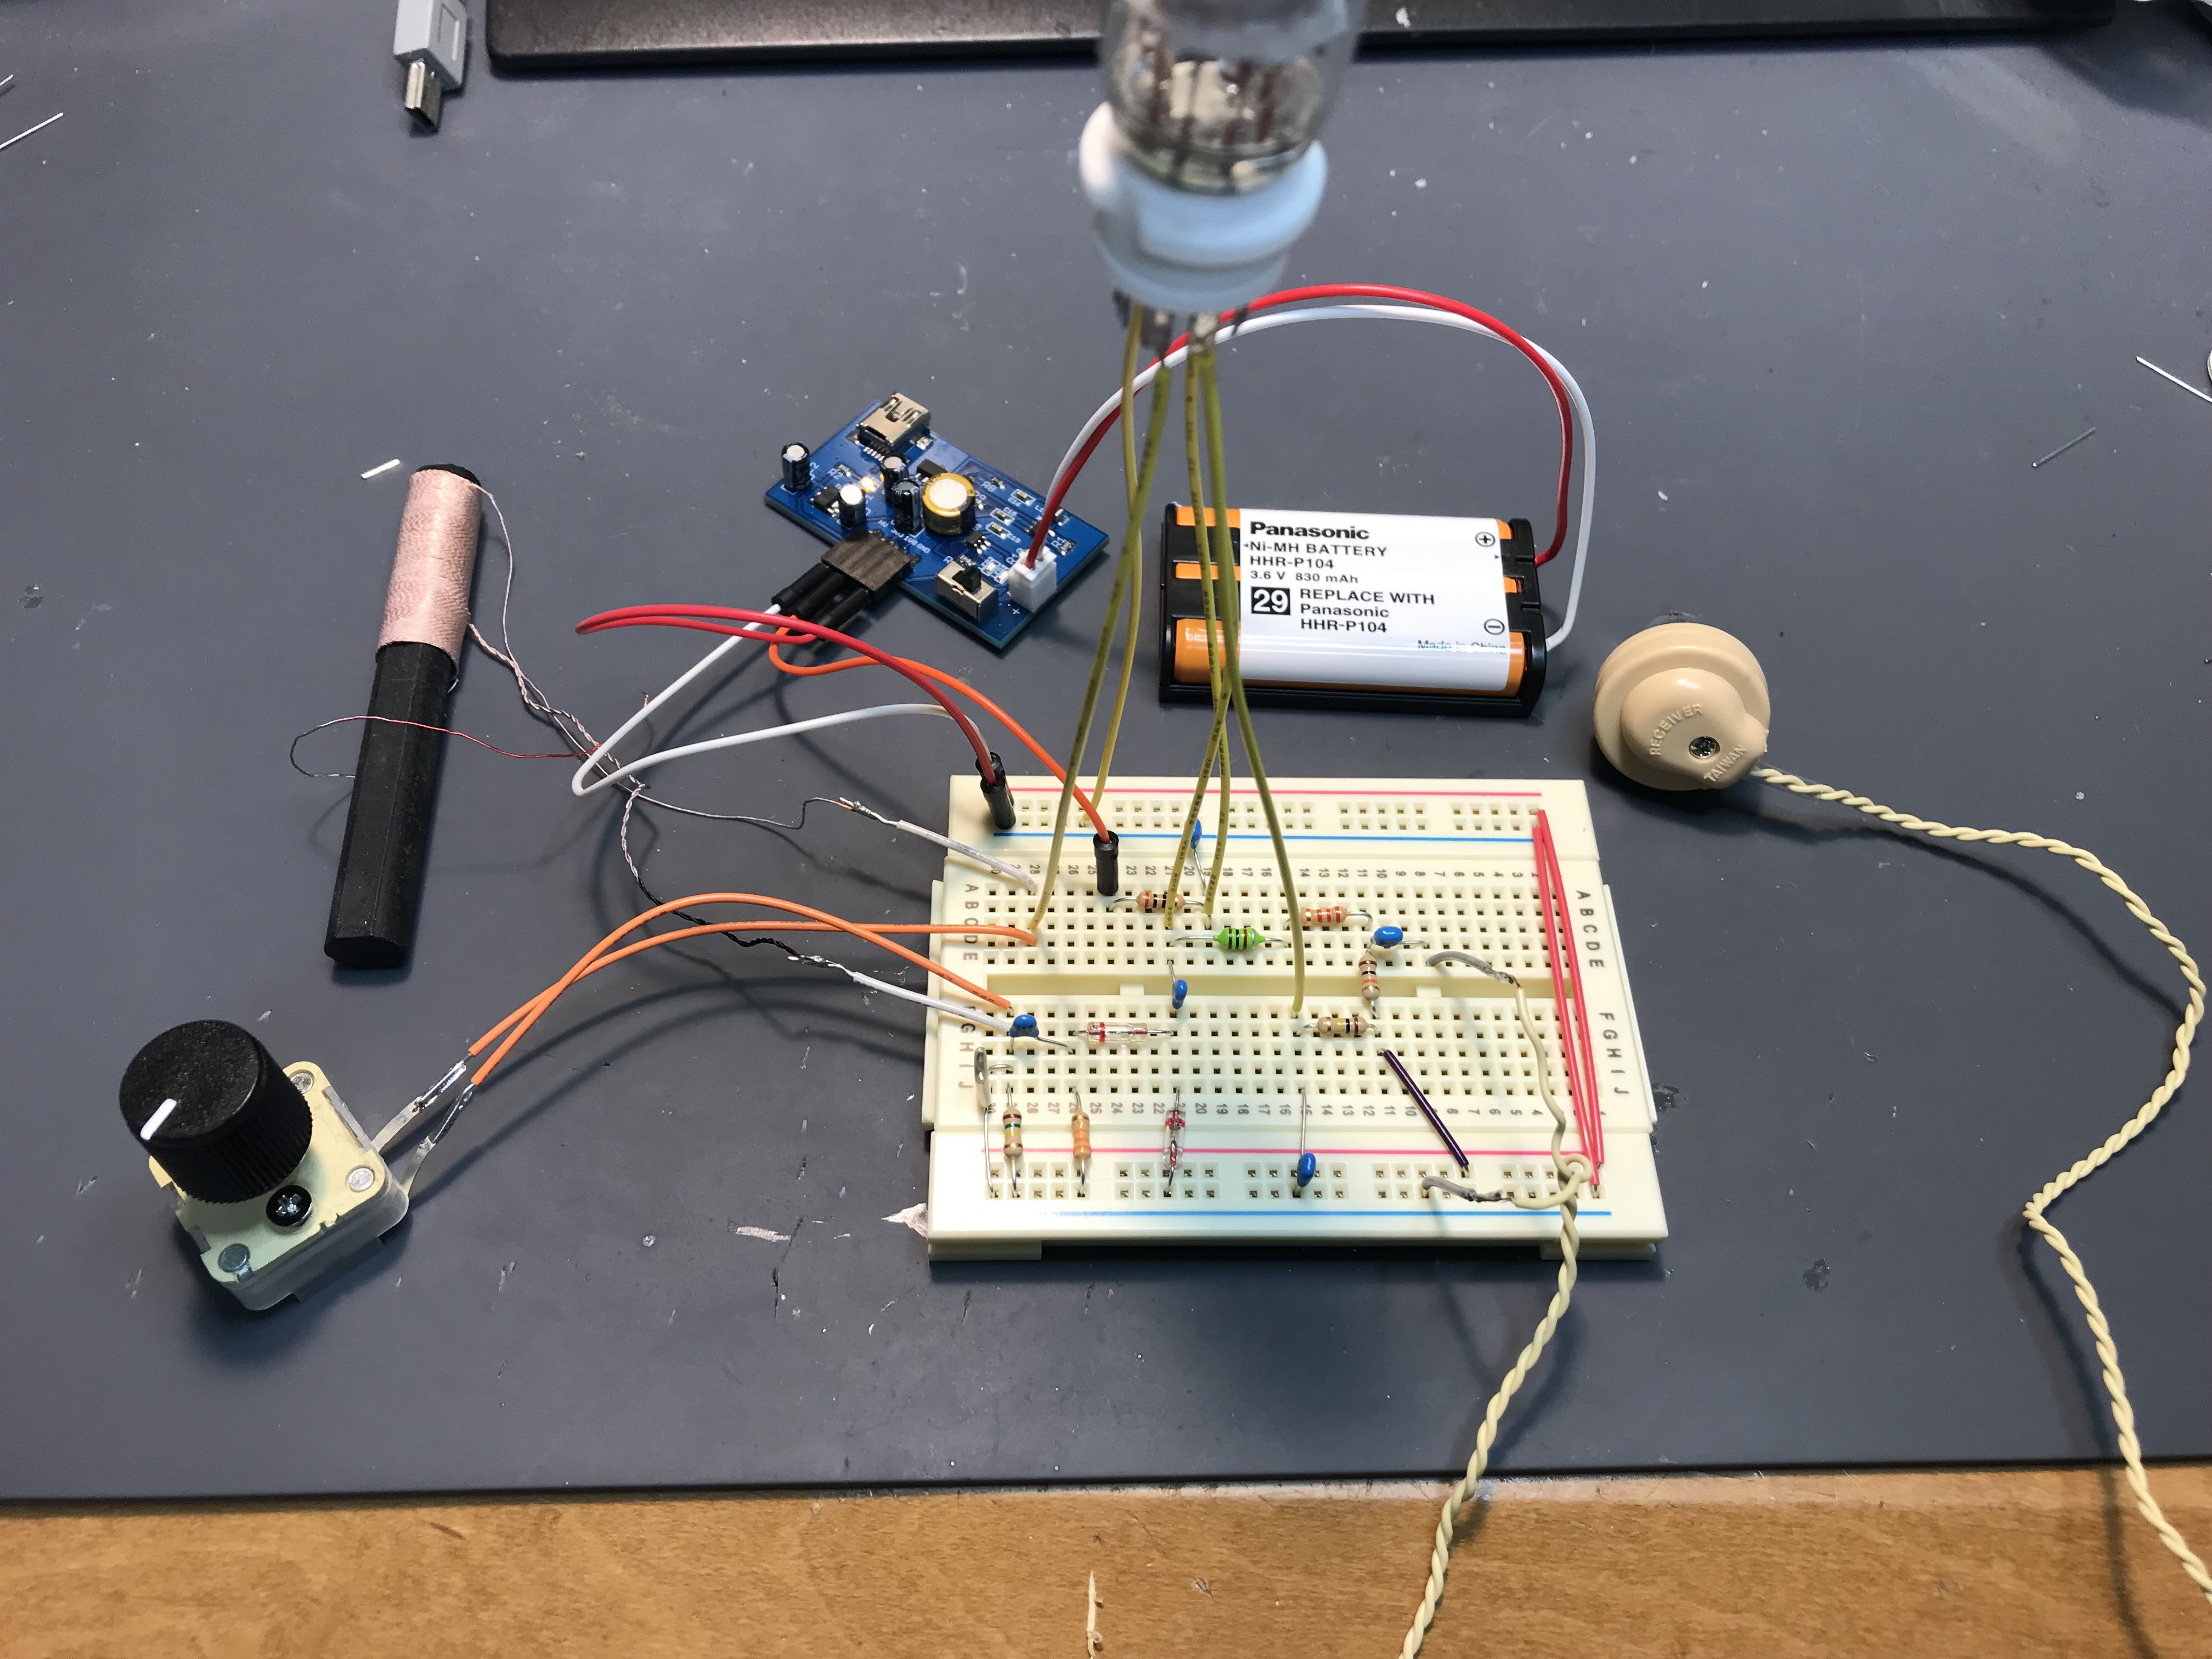
The moment of truth...... by changing tuning capacitor you will hear AM stations with very loud volume!
For those who may not find all of parts, I will release parts kit on indie soon. Enjoy vacuum tube experience!!
and this kit will be released at my tindie store by $42. Stay tuned!!
 kodera2t
Discussions
Become a Hackaday.io Member
Create an account to leave a comment. Already have an account? Log In.