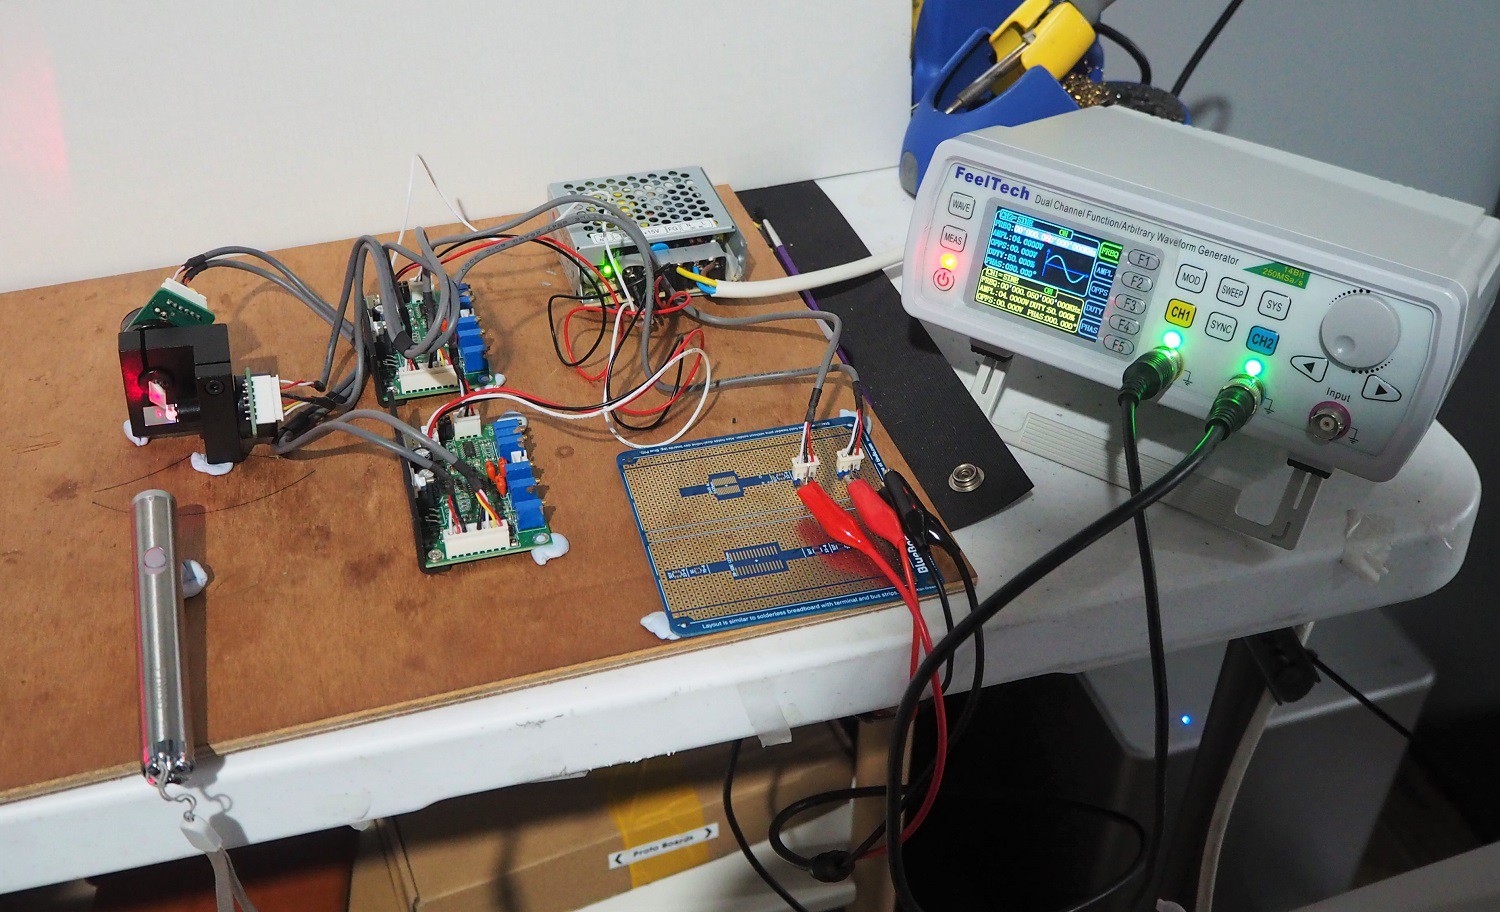
In which I wire up the laser galvos in minimal way, validate some concepts and learn some new things.

Turning on The Galvos
Here's what I did. At each step I was careful to test to make sure that no smoke came out and that everything behaved as expected.
- Wired up the power supply to a mains plug,
- Connect power to the driver boards
- Connect the driver boards to the galvos
At that last step, the galvos moved! I had not been expecting them to move, but it seems that their off position is at one end of their range.
At this point, I used Blu-Tack to hold everything down, just to make sure nothing got lost in the tangle of wires. These are the grey blobs you can see in the photos above.
I then stole the cat's spare laser pointer, Blu-Tacked it in place and lo! there was a dot.
Signal Generator and Pretty Patterns
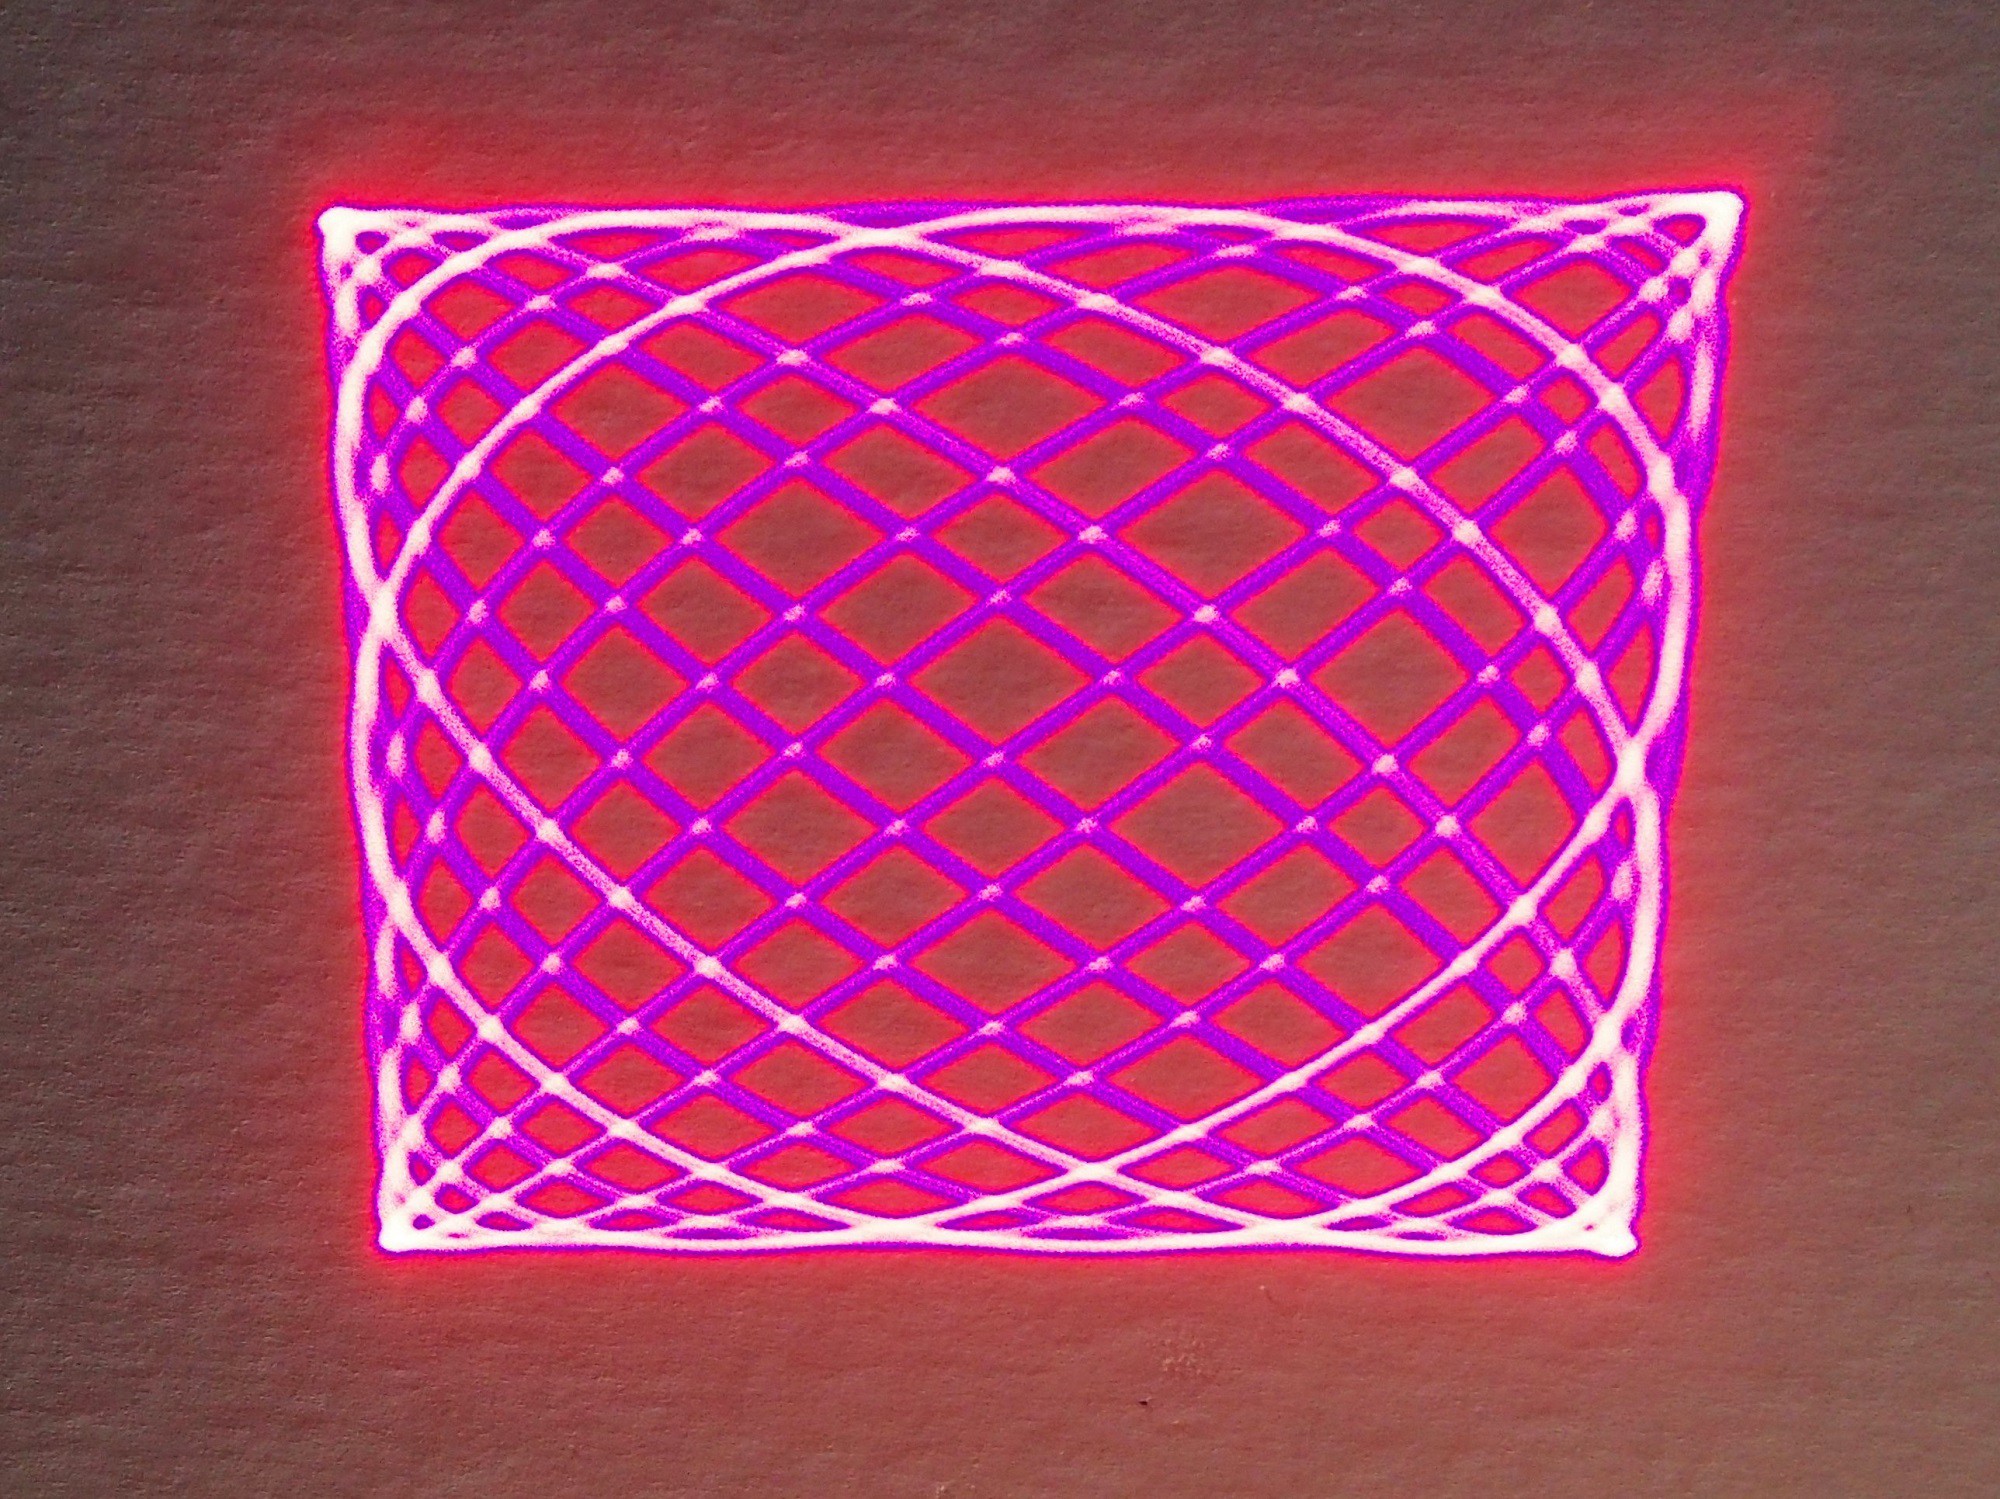
I have a dual-channel signal generator. Using a Blue Board #01 I soldered up a couple of connections. Each driver board is fed by three wires: ground, V+ and V-, with V+ and V- carrying a differential signal of up to 10V. I tied each driver board's V- signal to ground, then piped in the signal to V+.
The resulting patterns look different on camera than they do in real life, but are interesting nonetheless. The shapes are correct even if the colors are not.


Here are some things I learned:
- The upper frequency limit is around 1kHz. Above that, the range of movement becomes limited.
- Above 500Hz or so, the movement of the galvos makes an audible sound. The sound becomes louder with higher base frequencies, with larger signal amplitudes and with more complex waveforms, especially those with higher frequency components.
- The driver board heat sinks get quite warm.
- The power supply does not really get warm
- 50Hz is plenty for making a stable looking image.
- The mirrors and galvos have momementum and it causes overshoot and undershoot. Any drawing sequence is going to need to take these physical effects into account because it's not like drawing pixels on a screen.
- I will need a higher power laser for day time viewing. The cat laser is going strong after several hours.
I think this is going to work!
 Alan Green
Discussions
Become a Hackaday.io Member
Create an account to leave a comment. Already have an account? Log In.