Close
0%
0%

Shapeoko CNC Router Enclosure

Simple CNC enclosure build to reduce noise, dust and avoid getting kicked out of my house

Similar projects worth following
Recently bought a Shapeoko CNC to produce small batches of Stickvise jaws in various materials. Also this is an excuse to buy a toy, so why the hell not!

Goals for this build in order of priority:

-contain chips
-reduce noise
-make machine reasonably attractive
-$250 budget
-keep kids away from moving parts

Overview

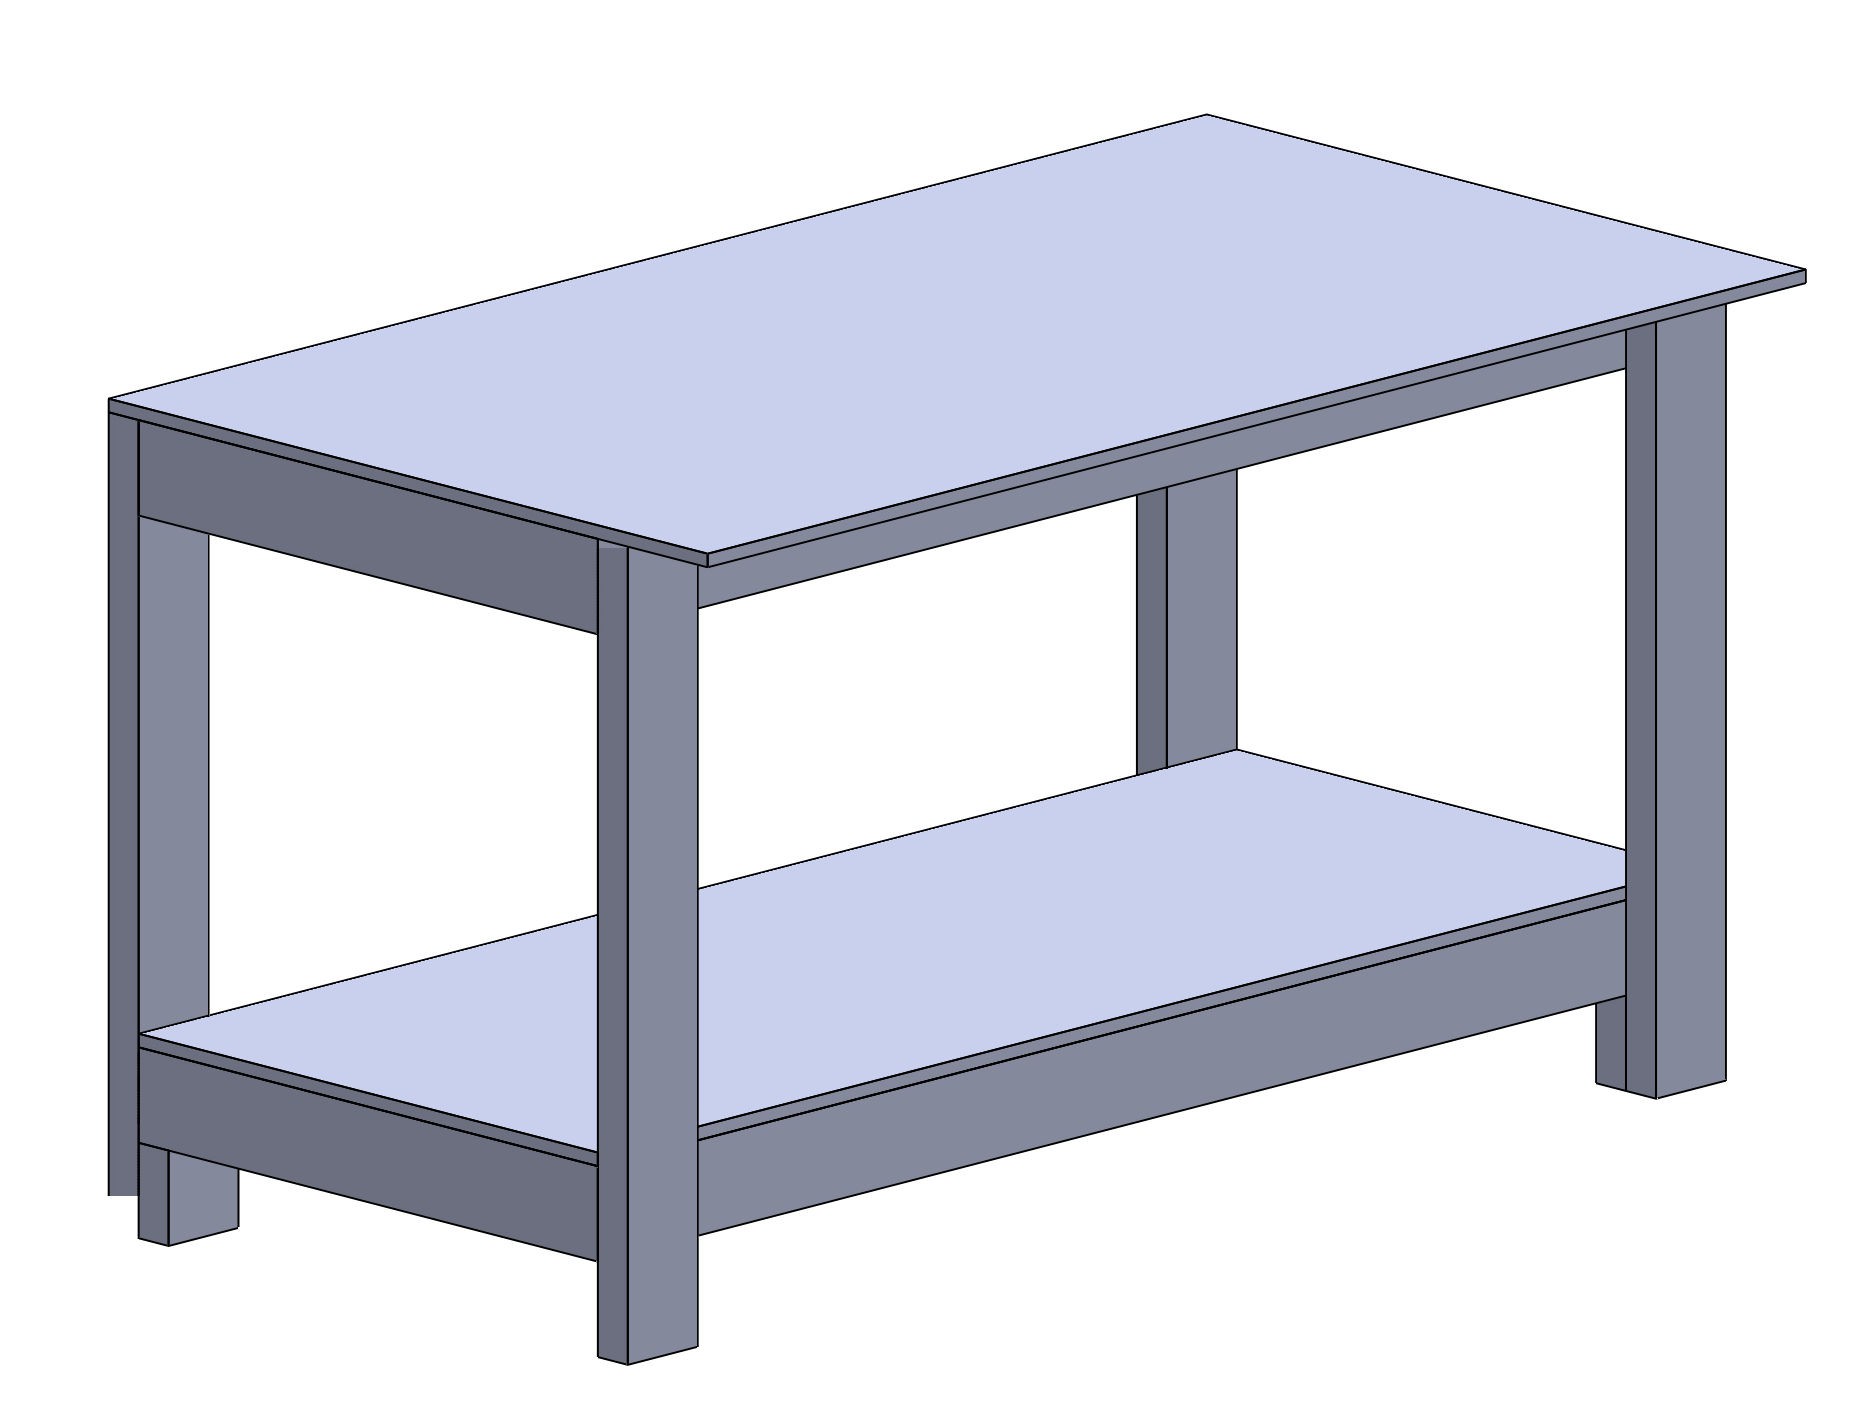
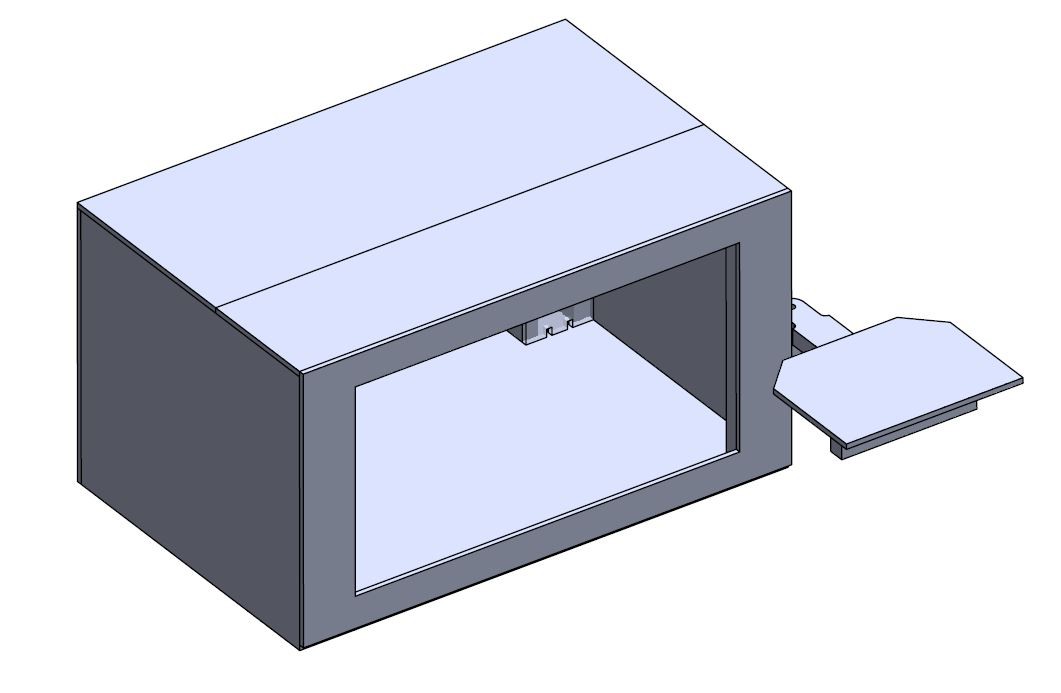
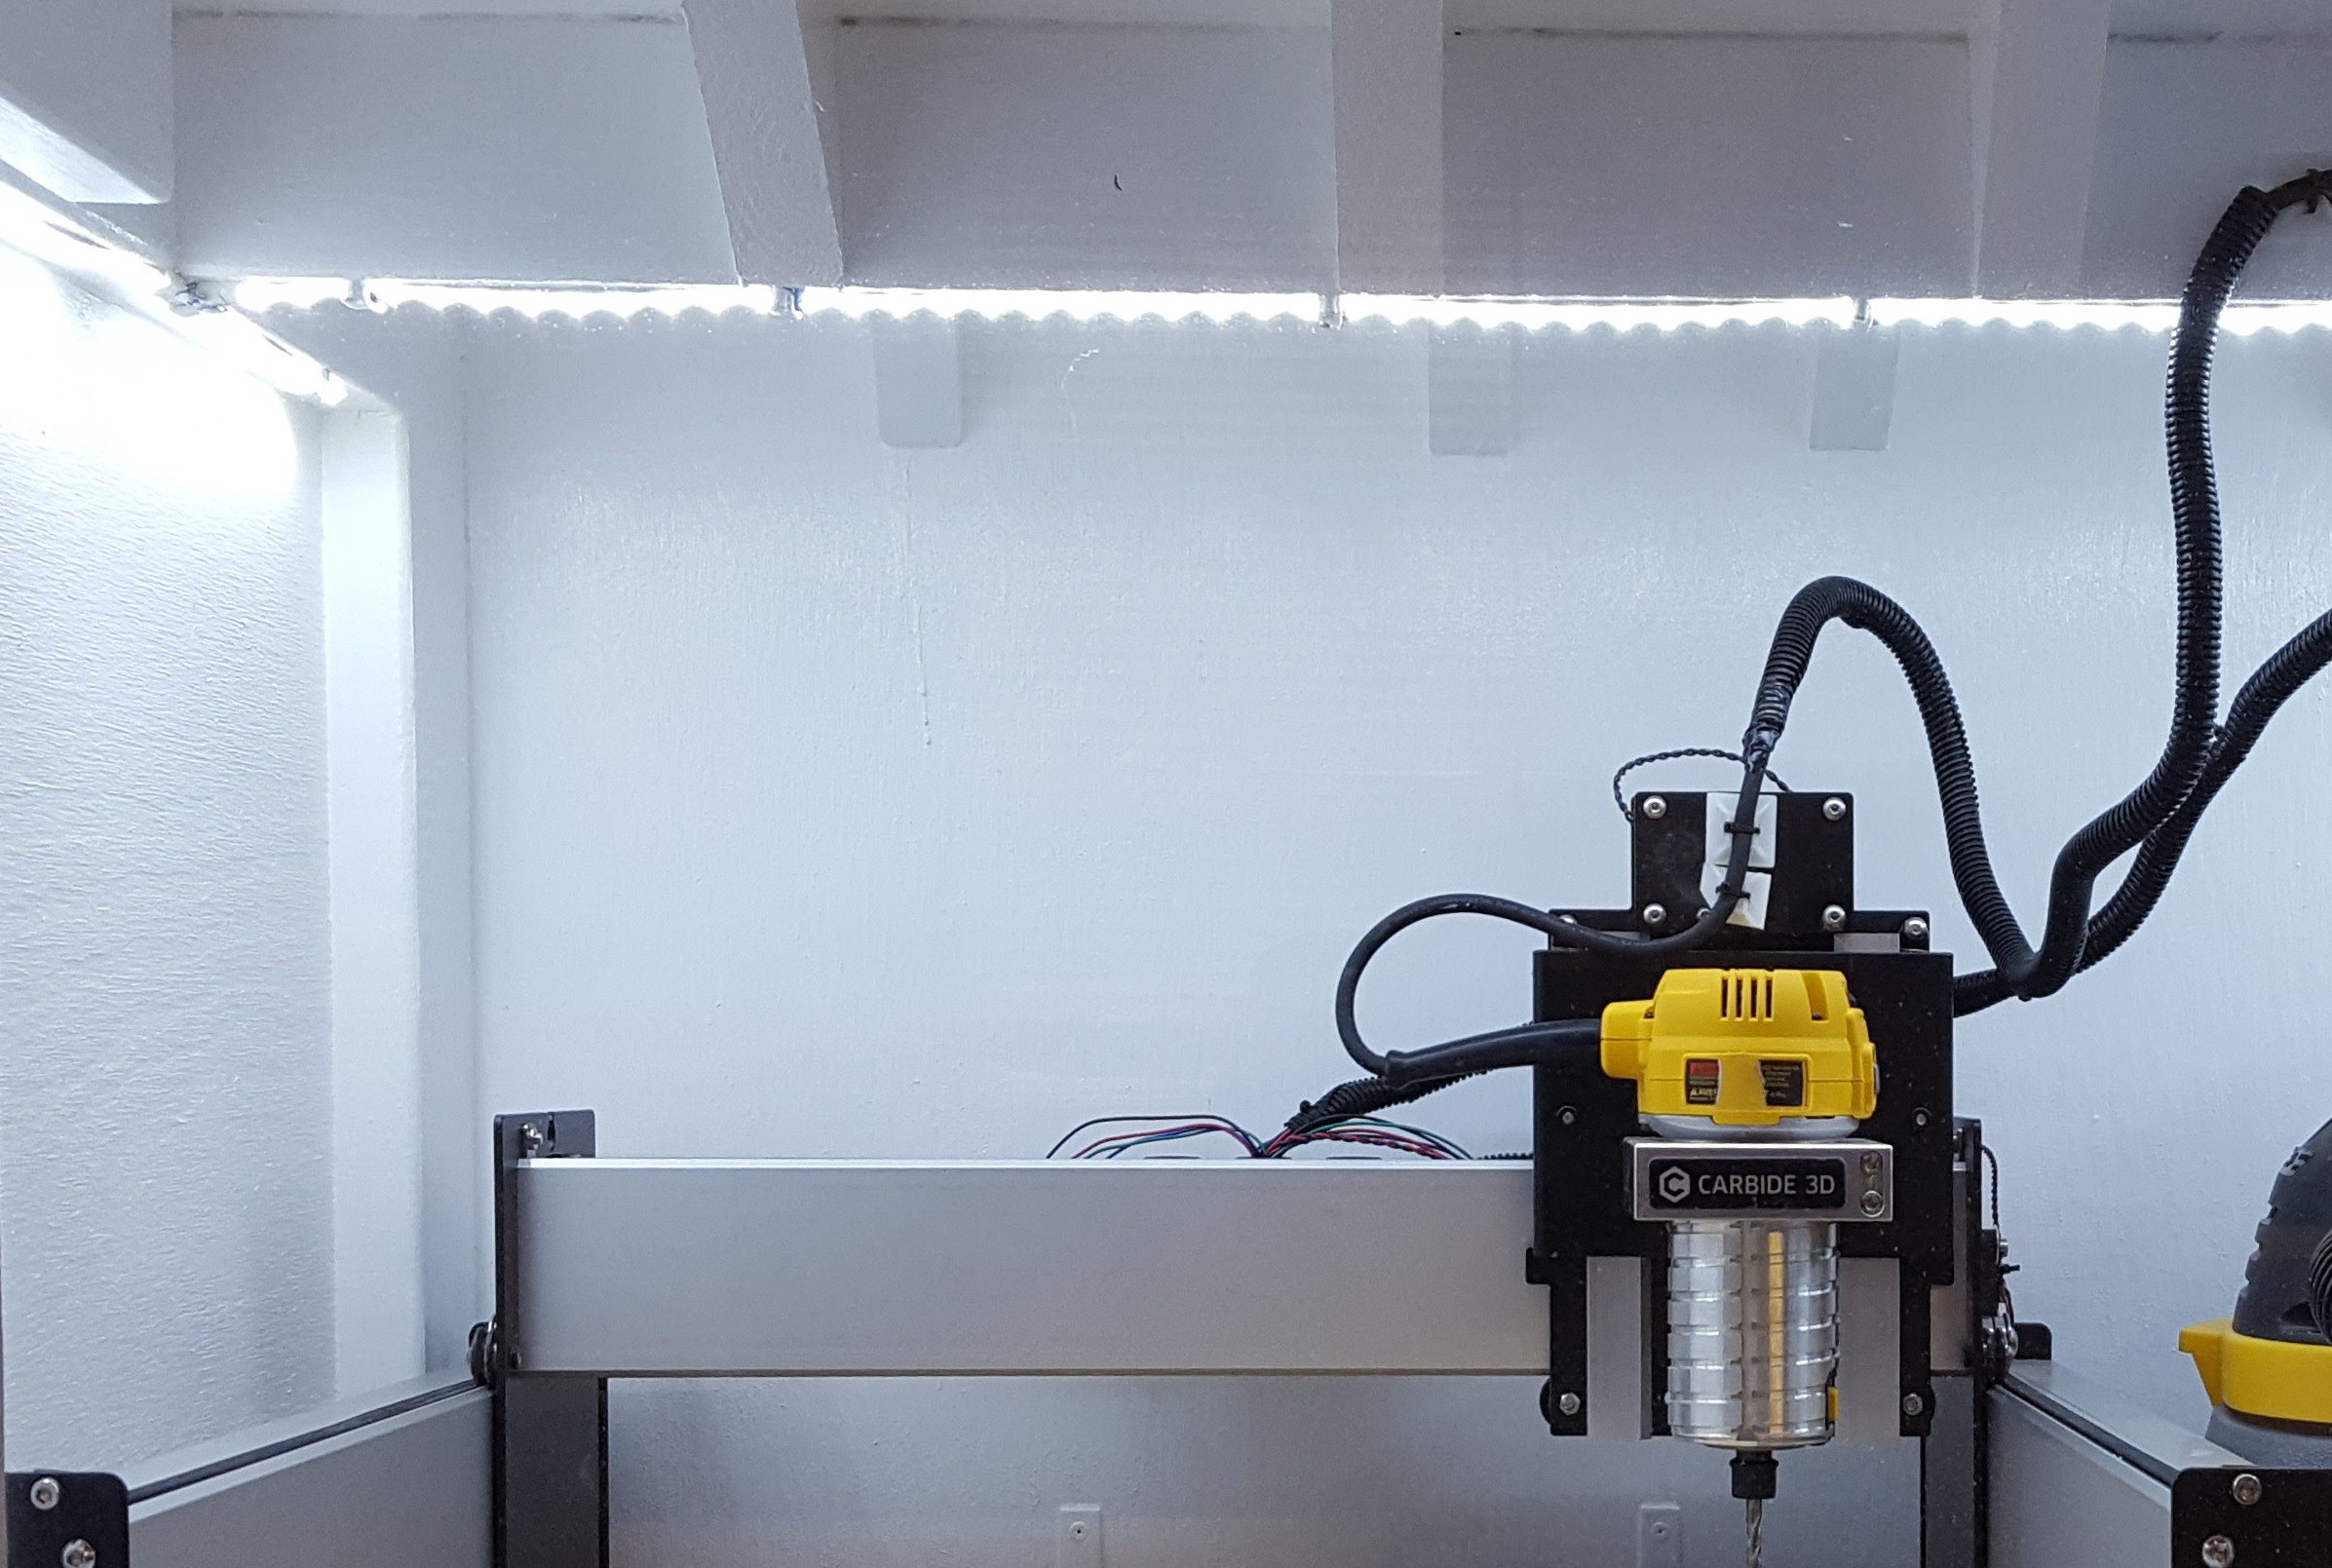
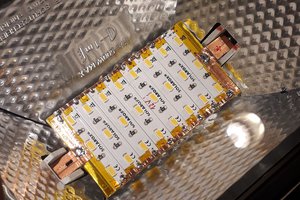
I built this out of 2x4 lumber, MDF and cheap plywood. It has a large door with a huge acrylic window that allows full access to the insides. A cheap but very effective LED light strip kit from Amazon made the interior lighting look great. There is a little rotating table on the side for my laptop that I built with leftover scraps from the build.

- Big single window made from acrylic (polycarb would be better but much more $$$)

- Enough space for a small vacuum inside the enclosure

- Laptop stand

- Painted the interior gloss white to reflect as much light as possible (should I have used mirrors?)

- Exterior is light grey semi-gloss for extra class

- Interior lighting accomplished with LED strips (see component list for a link to connectors, etc.)

  • 9 × 2x4 lumber, 8ft length for skeleton
  • 1 × Sheet of plywood ~3/8" thick for bits of enclosure that are not hugely structural, cheaper and lighter than MDF
  • 1 × Sheet of MDF 1/2" thick for workbench shelf, top and front lid on enclosure
  • 1 × Sheet of Acrylic 48" x 24" x 0.220" main window
  • 1 × Piano Hinge 48" for the main door, any will work, I picked one up at the hardware store

View all 12 components

  • Rough Drawings

    Alex Rich10/26/2016 at 01:30 0 comments

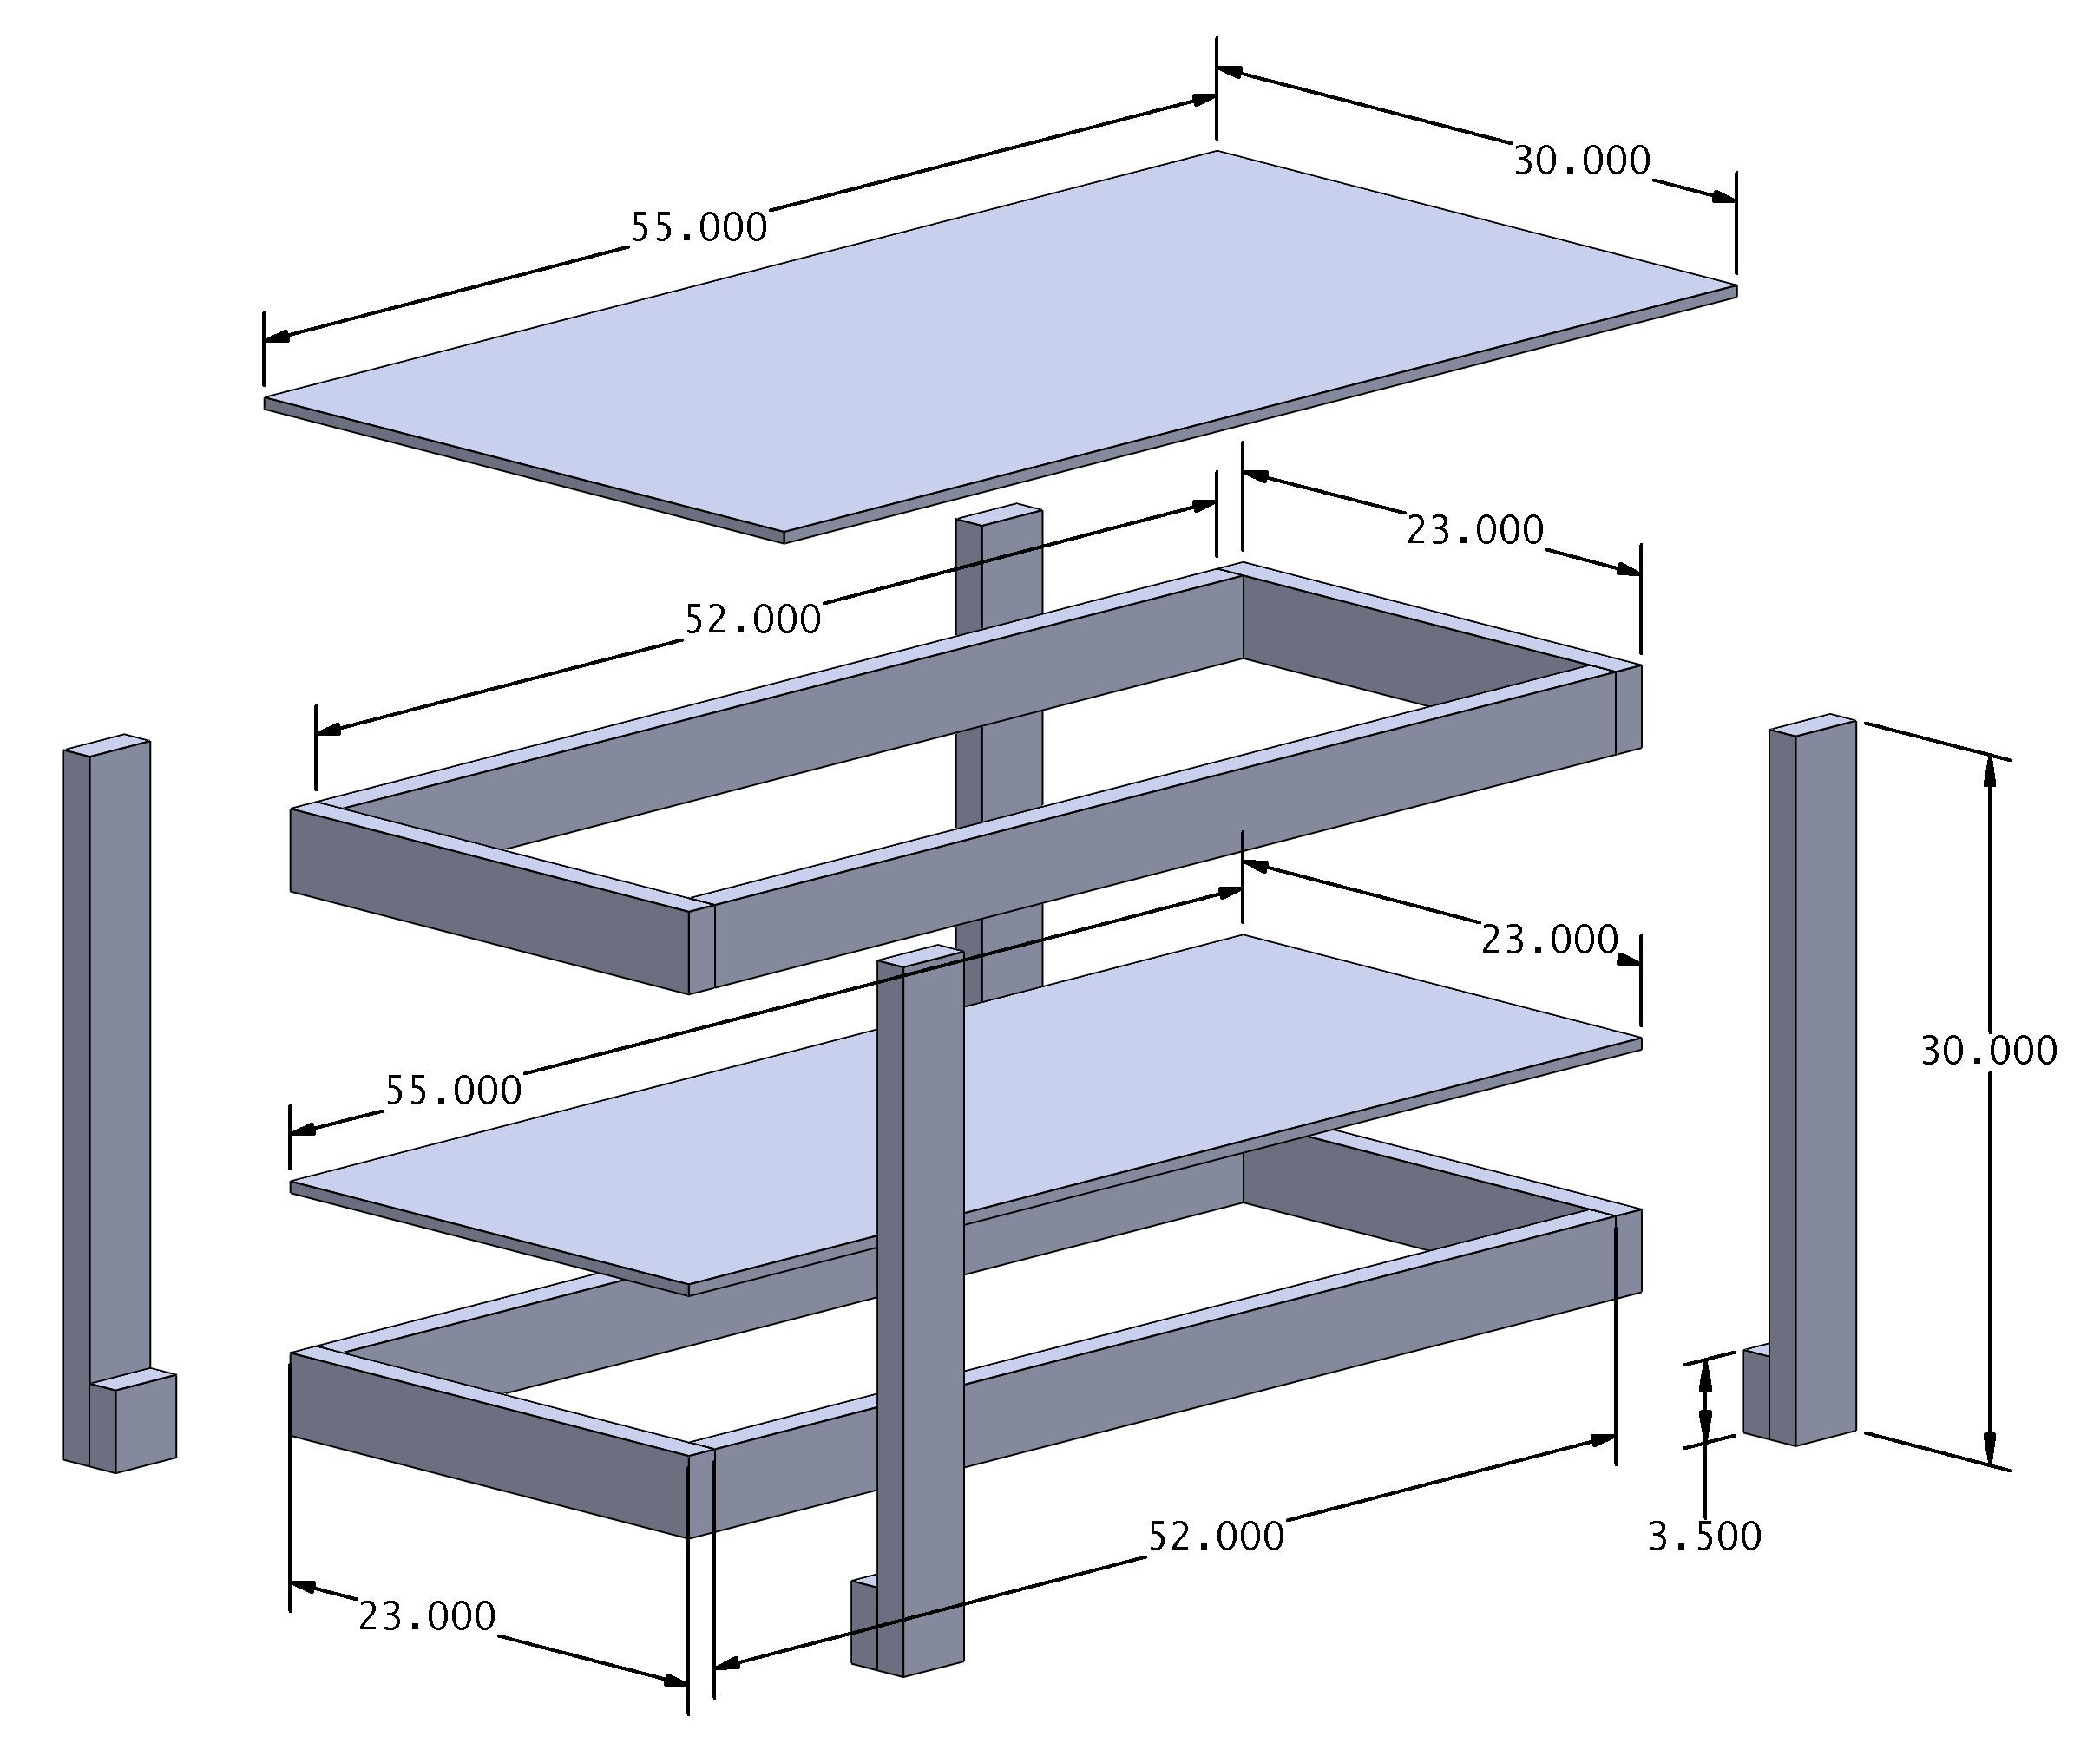
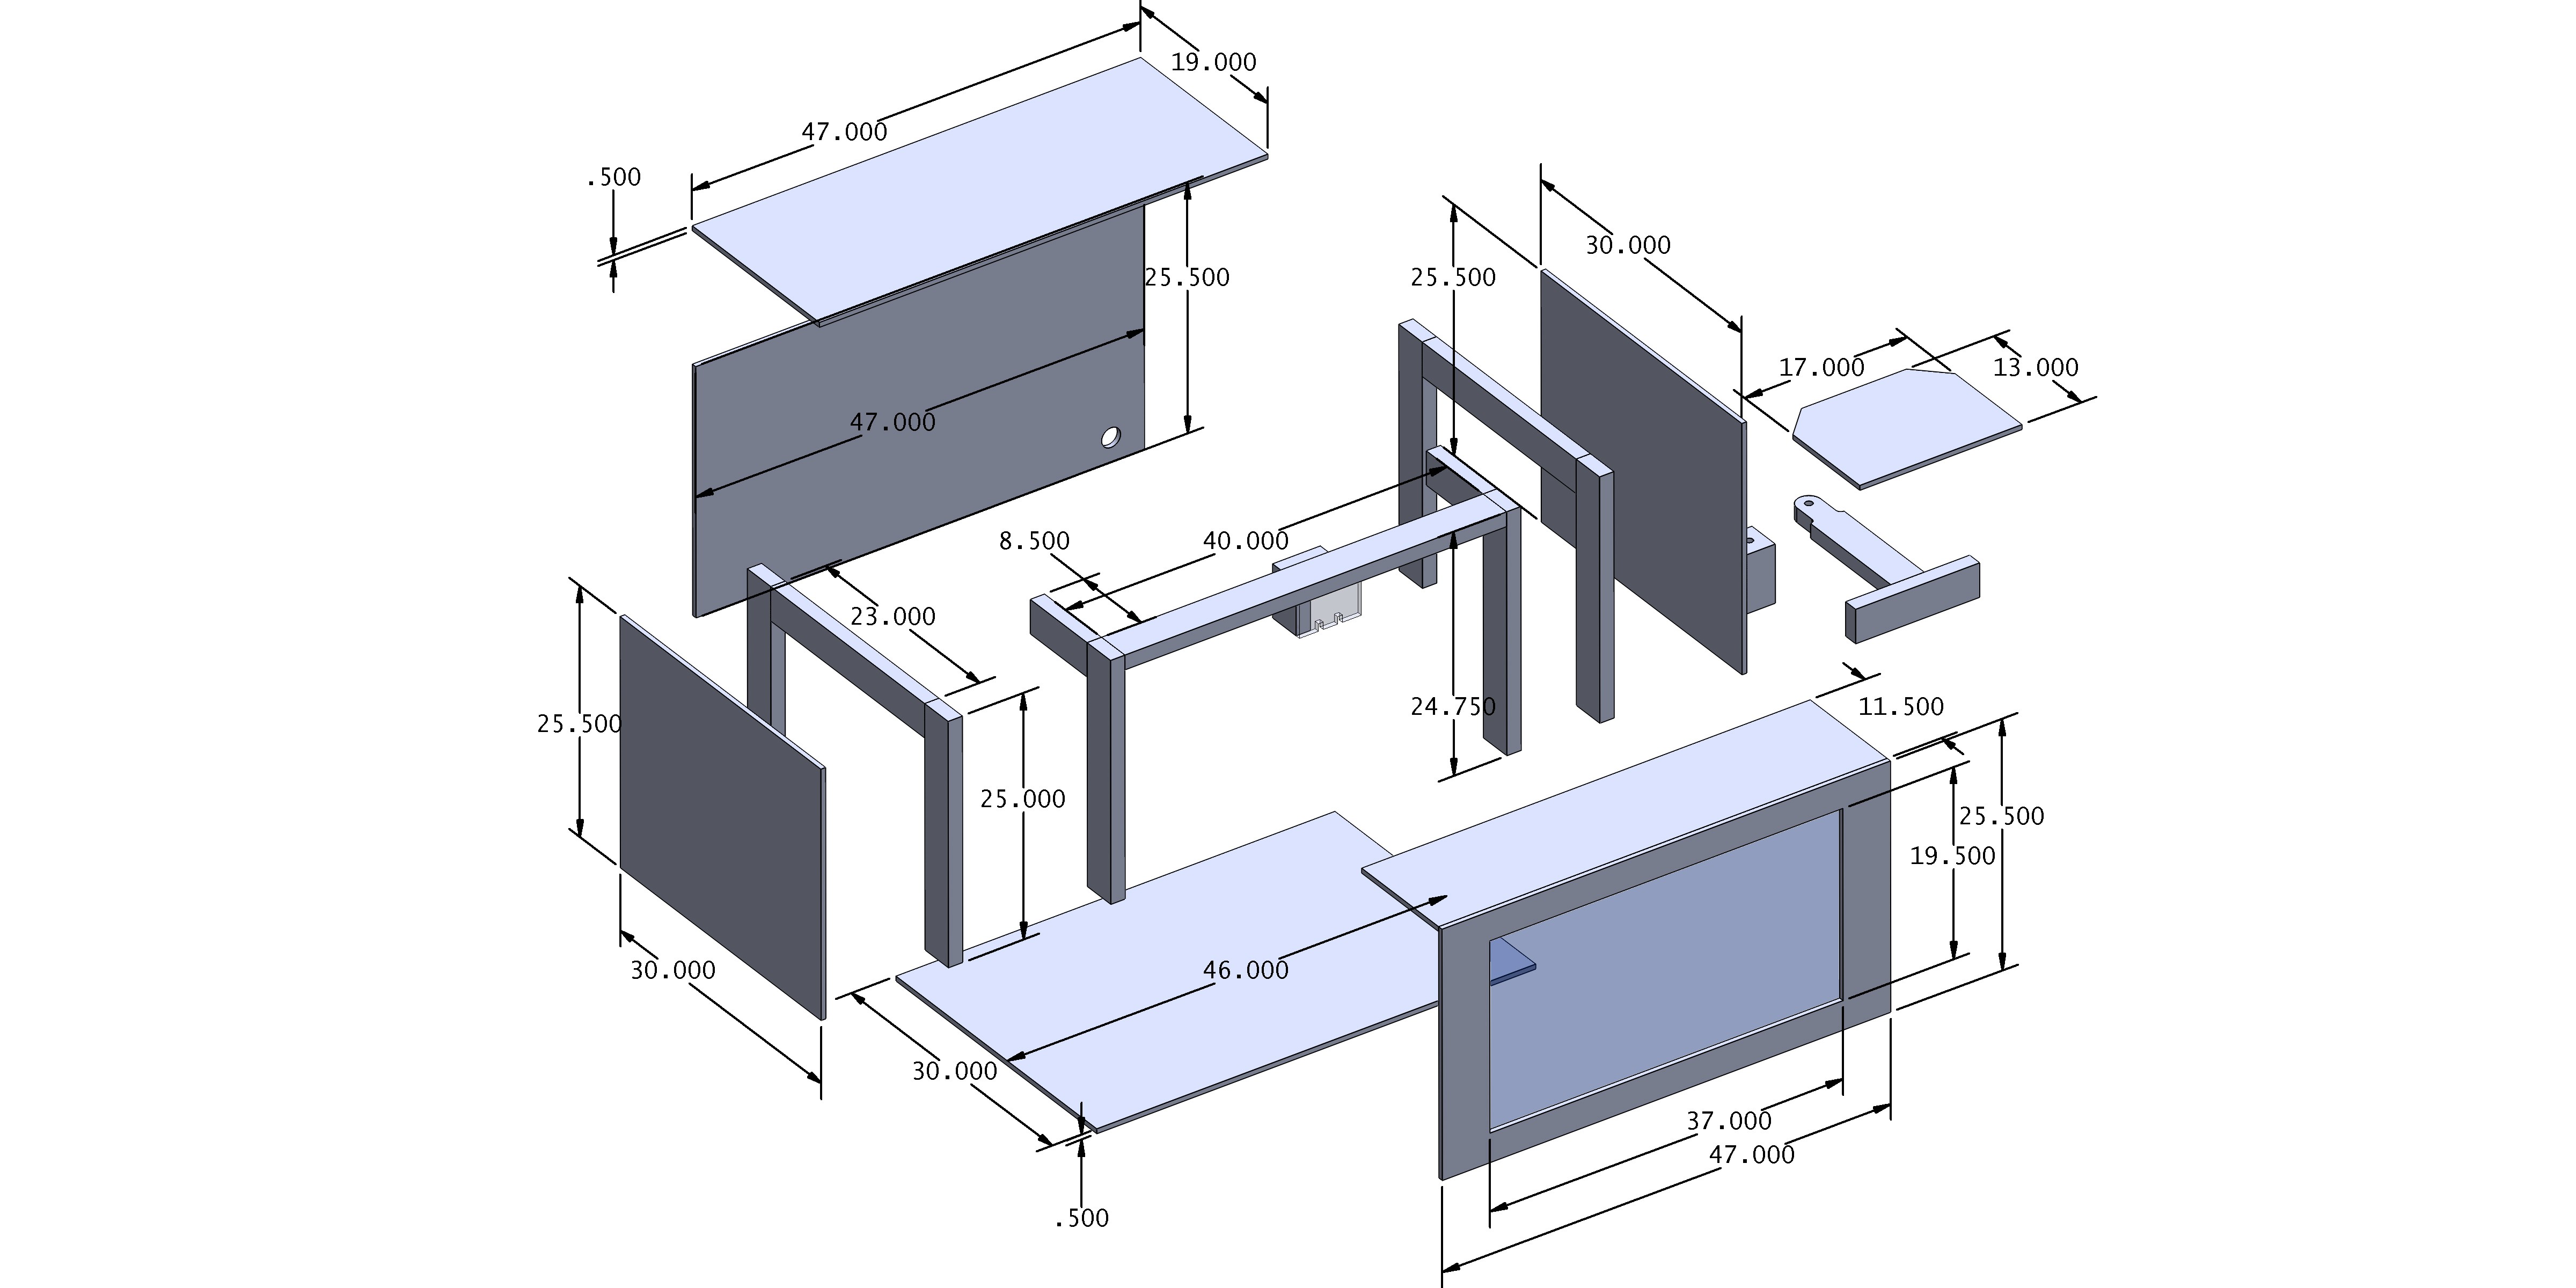
    Short of making a freaking instructable, here are dimensions of most of the cuts to make this workbench and enclosure. Drop a comment if interested in any details I left out, I'm happy with the size and the fact that it fits the CNC as well as the mini vacuum. Don't go crazy trying to replicate this exactly, but hopefully this helps get an idea of a good ballpark size if you want to make a similar enclosure.

  • Hold LED strips when adhesive backing fails

    Alex Rich10/24/2016 at 14:03 0 comments

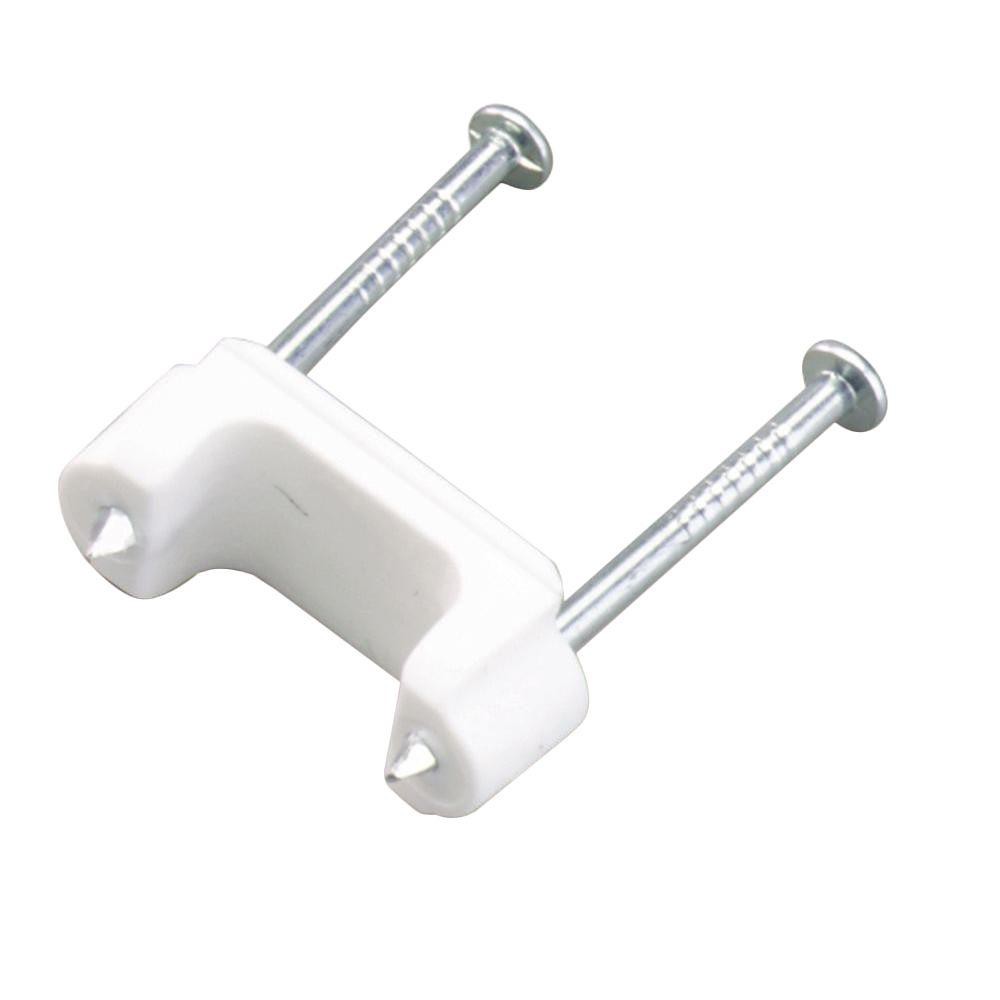
    http://www.homedepot.com/p/Gardner-Bender-1-2-in-Plastic-Staple-PS-225J/202523741

    This was such a clean solution, had to share it. After a few days, the adhesive on my LED strips failed, probably because the painted 2x4 lumber was too rough of a surface for them. I found a good solution was to use these little "staples" used in the US to support NM style mains electrical cable.

    They are sometimes called Romex staples or NM staples, but they are actually just a plastic holder with two nails. They make them in multiple sizes, the 1/2" size worked fine for me. They look nice and hold the LED strips securely, I just installed one about every 8" or so making sure not to cover an LED. Below you can see the result:

View all 2 project logs

Enjoy this project?

Share

Discussions

Similar Projects

Does this project spark your interest?

Become a member to follow this project and never miss any updates