Close
0%
0%

WiFi Tank Robot

Smart tank robot with facial recognition

Similar projects worth following

Adding my own features and functionality to a WiFi controlled tank robot.

I rewrote the controller program, so it is completely in English and simple to use.

Also, gave it the facial recognition and aruco tag tracking.

[This project page is still incomplete, I am still missing some more photos and project logs]

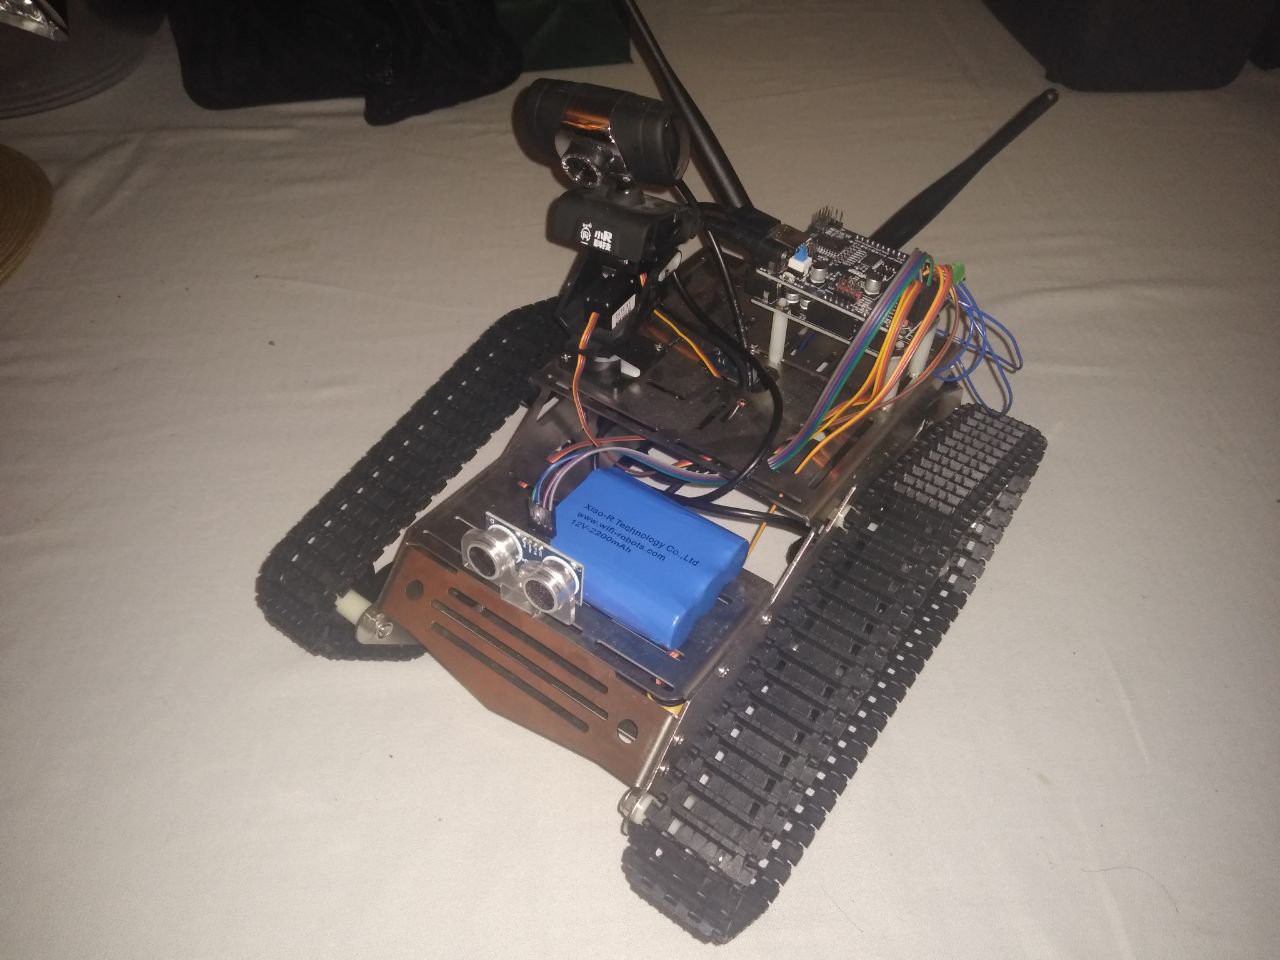
  • 1 × Tank base with integrated motors
  • 1 × Wifi Board and 2x Antennas
  • 1 × Arduino Uno Clone
  • 2 × Servos
  • 1 × Webcam

View all 7 components

  • A robot that remembers your face

    Sinclair Gurny06/24/2019 at 04:07 0 comments

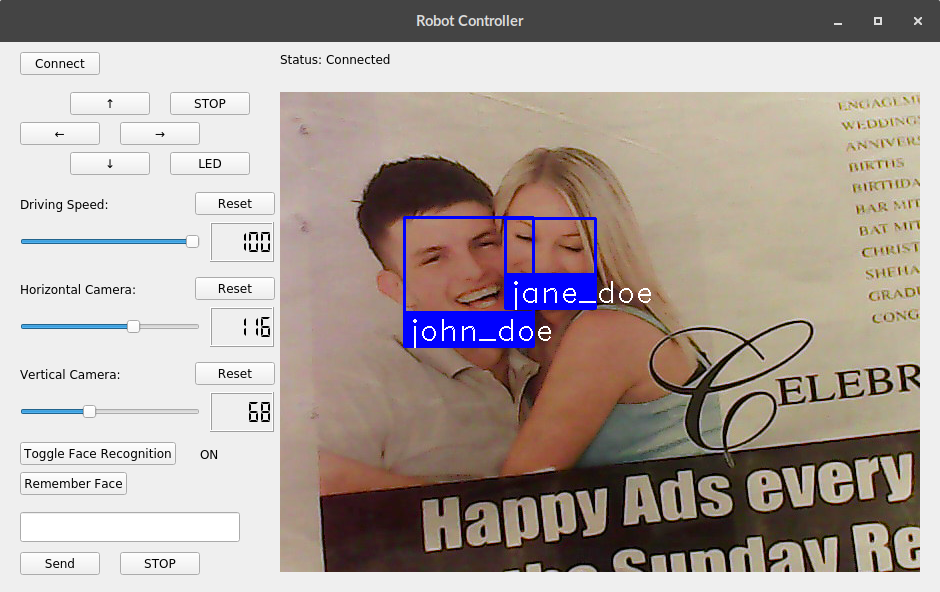
    So as any logical person would do with a robot that can be programmed to do anything. I add the ability to detect and recognize faces.

    https://github.com/ageitgey/face_recognition

    After some experimentation I add the code into the robot. Which makes it run so slow I can no longer drive it.

    So, after reducing how many times the recognition runs the robot becomes drive-able again. I also add the ability to save any faces currently in the view of the robot. 

    Later I add a slightly better way of importing faces, with a file (faces.txt) that links the name with the file of their face. The program on startup reads the file and processes it.

  • Realizations

    Sinclair Gurny06/24/2019 at 03:59 0 comments

    After digging through the contents of the CD again I find a lot of useful information, such as some documentation (in English) about the WiFi board, allowing me to ssh into it and check out the settings page (which also happened to be in Chinese). After some struggling trying to get the page to translate while logged onto the robot's access point I eventually adjust some settings.

    More importantly I find the original Arduino code running on the robot, after translating the comments from Chinese. I get a glimpse into some of the missing commands.

  • Improving the Controller

    Sinclair Gurny06/24/2019 at 03:55 0 comments

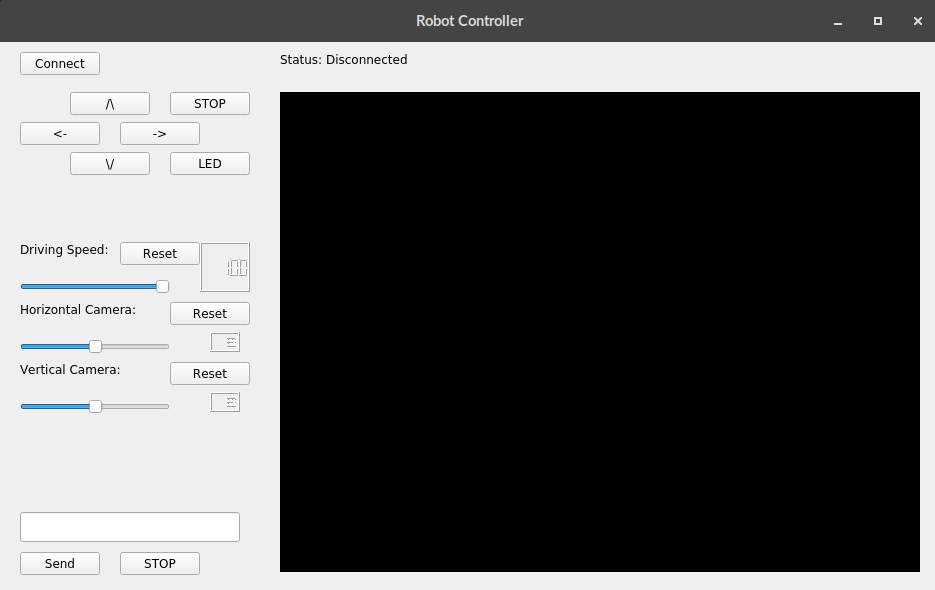
    I continue adding onto my controller program. I add another stop button, and LED button. At the bottom I add a custom command sender allowing me to test various other commands. After that I add sliders to control the pan and tilt of the camera and the driving speed. The picture below shows a glimpse of this stage of development, before I nailed down the details of the sliders.

  • Packet Sniffing!

    Sinclair Gurny06/24/2019 at 03:49 0 comments

    At this point I had no idea how to perform the other operations that the original control program could do, such as control the orientation of the pant tilt camera, change driving speed, etc.

    I decided to use a packet sniffer, Wireshark, and the original control program to see what the contents of other commands were.

    All of my known commands at this point:

    CommandByte String
    StopFF 00 00 00 FF
    ForwardFF 00 01 00 FFDrives forward until told to stop, or do another driving command.
    BackFF 00 02 00 FF
    RightFF 00 03 00 FFThe website said that 03 was left, but it wasn't.
    LeftFF 00 04 00 FF
    Servo ControlFF 01 VV AA FFVV is the servo number (07, 08), AA is the angle
    Motor SpeedFF 02 MM SS FFMM is the motor number (01, 02), SS is the speed (00-100 in decimal)
    LED ControlFF 04 00/01 00 FF00 - turns on, 01 - turns off
    HeartbeatFF EF EF EE FFSent approximately every 10s

    There are still some gaps missing, such as how to read from the sensors: Line followers and Ultrasonic distance.

  • Making my own control program

    Sinclair Gurny06/24/2019 at 03:31 0 comments

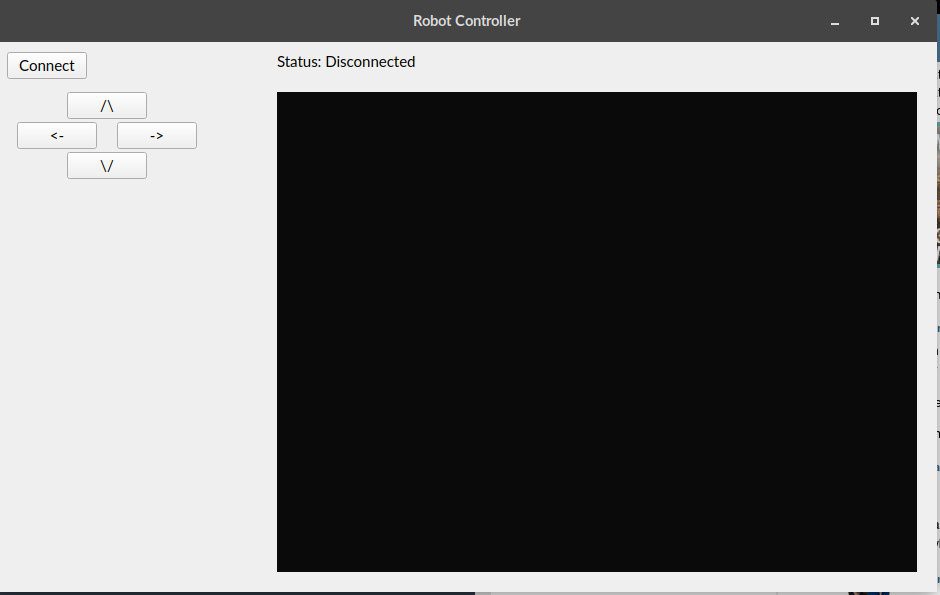
    To make my own custom control program I added PyQt5 for the GUI. My first iteration had buttons as well as WASD controls. A button to reconnect and a connection status.

  • Figuring out how to control it manually

    Sinclair Gurny06/24/2019 at 03:13 0 comments

    From the limited documentation all I really knew was that the robot had two open ports on its IP address 192.168.1.1, port 8080 for video streaming, and port 2001 for control. I also knew vaguely that some byte string like ff000100ff sent to the control port made the robot drive forward. I started working on a simple python program that could control the robot as well as view the video stream. OpenCV was used for the video stream and the socket library was used for the control port.

    The basic commands that I knew at this point:


    CommandByte String
    Stopff 00 00 00 ff
    Forwardff 00 01 00 ff
    Backwardff 00 02 00 ff
    Leftff 00 03 00 ff
    Rightff 00 04 00 ff

    The byte string is split into 5 parts.

    Head: FF

    Type: 00

    Command: 01

    Data: 00

    Tail: FF

    ------------------------------------------------------------------

    After realizing that the forward command drives straight until told to stop, and same for the other commands. I changed my program to take commands like: f 1.5 to drive forward for 1.5 seconds.

  • Figured out how to use the control program

    Sinclair Gurny06/24/2019 at 02:58 0 comments

    After downloading the contents of the CD that the robot comes with, and scanning the labyrinth of files I find the executable. The entire program can be used for multiple different models and doesn't have any great description of how to use it. Also the entire program is by default in Simplified Chinese I think.

  • Put it together

    Sinclair Gurny06/24/2019 at 02:29 0 comments

    Besides fiddling with a bunch of small screws it was very simple.

View all 8 project logs

Enjoy this project?

Share

Discussions

Similar Projects

Does this project spark your interest?

Become a member to follow this project and never miss any updates