This is a DIY smart display that you can embed in to your wall. You can control your smart appliance, set timer to control it, get weather info, and act as a cool clock. Let’s get straight into how I made it.
For more details visit https://www.eionix.co.in/2019/06/29/smart-home-display-iot-diy-google-home-hub.html
Architecture
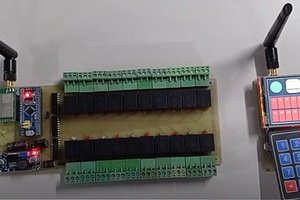
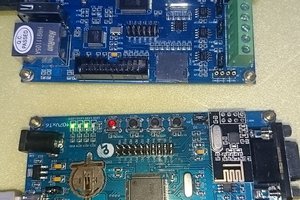
Hardware
It consists of
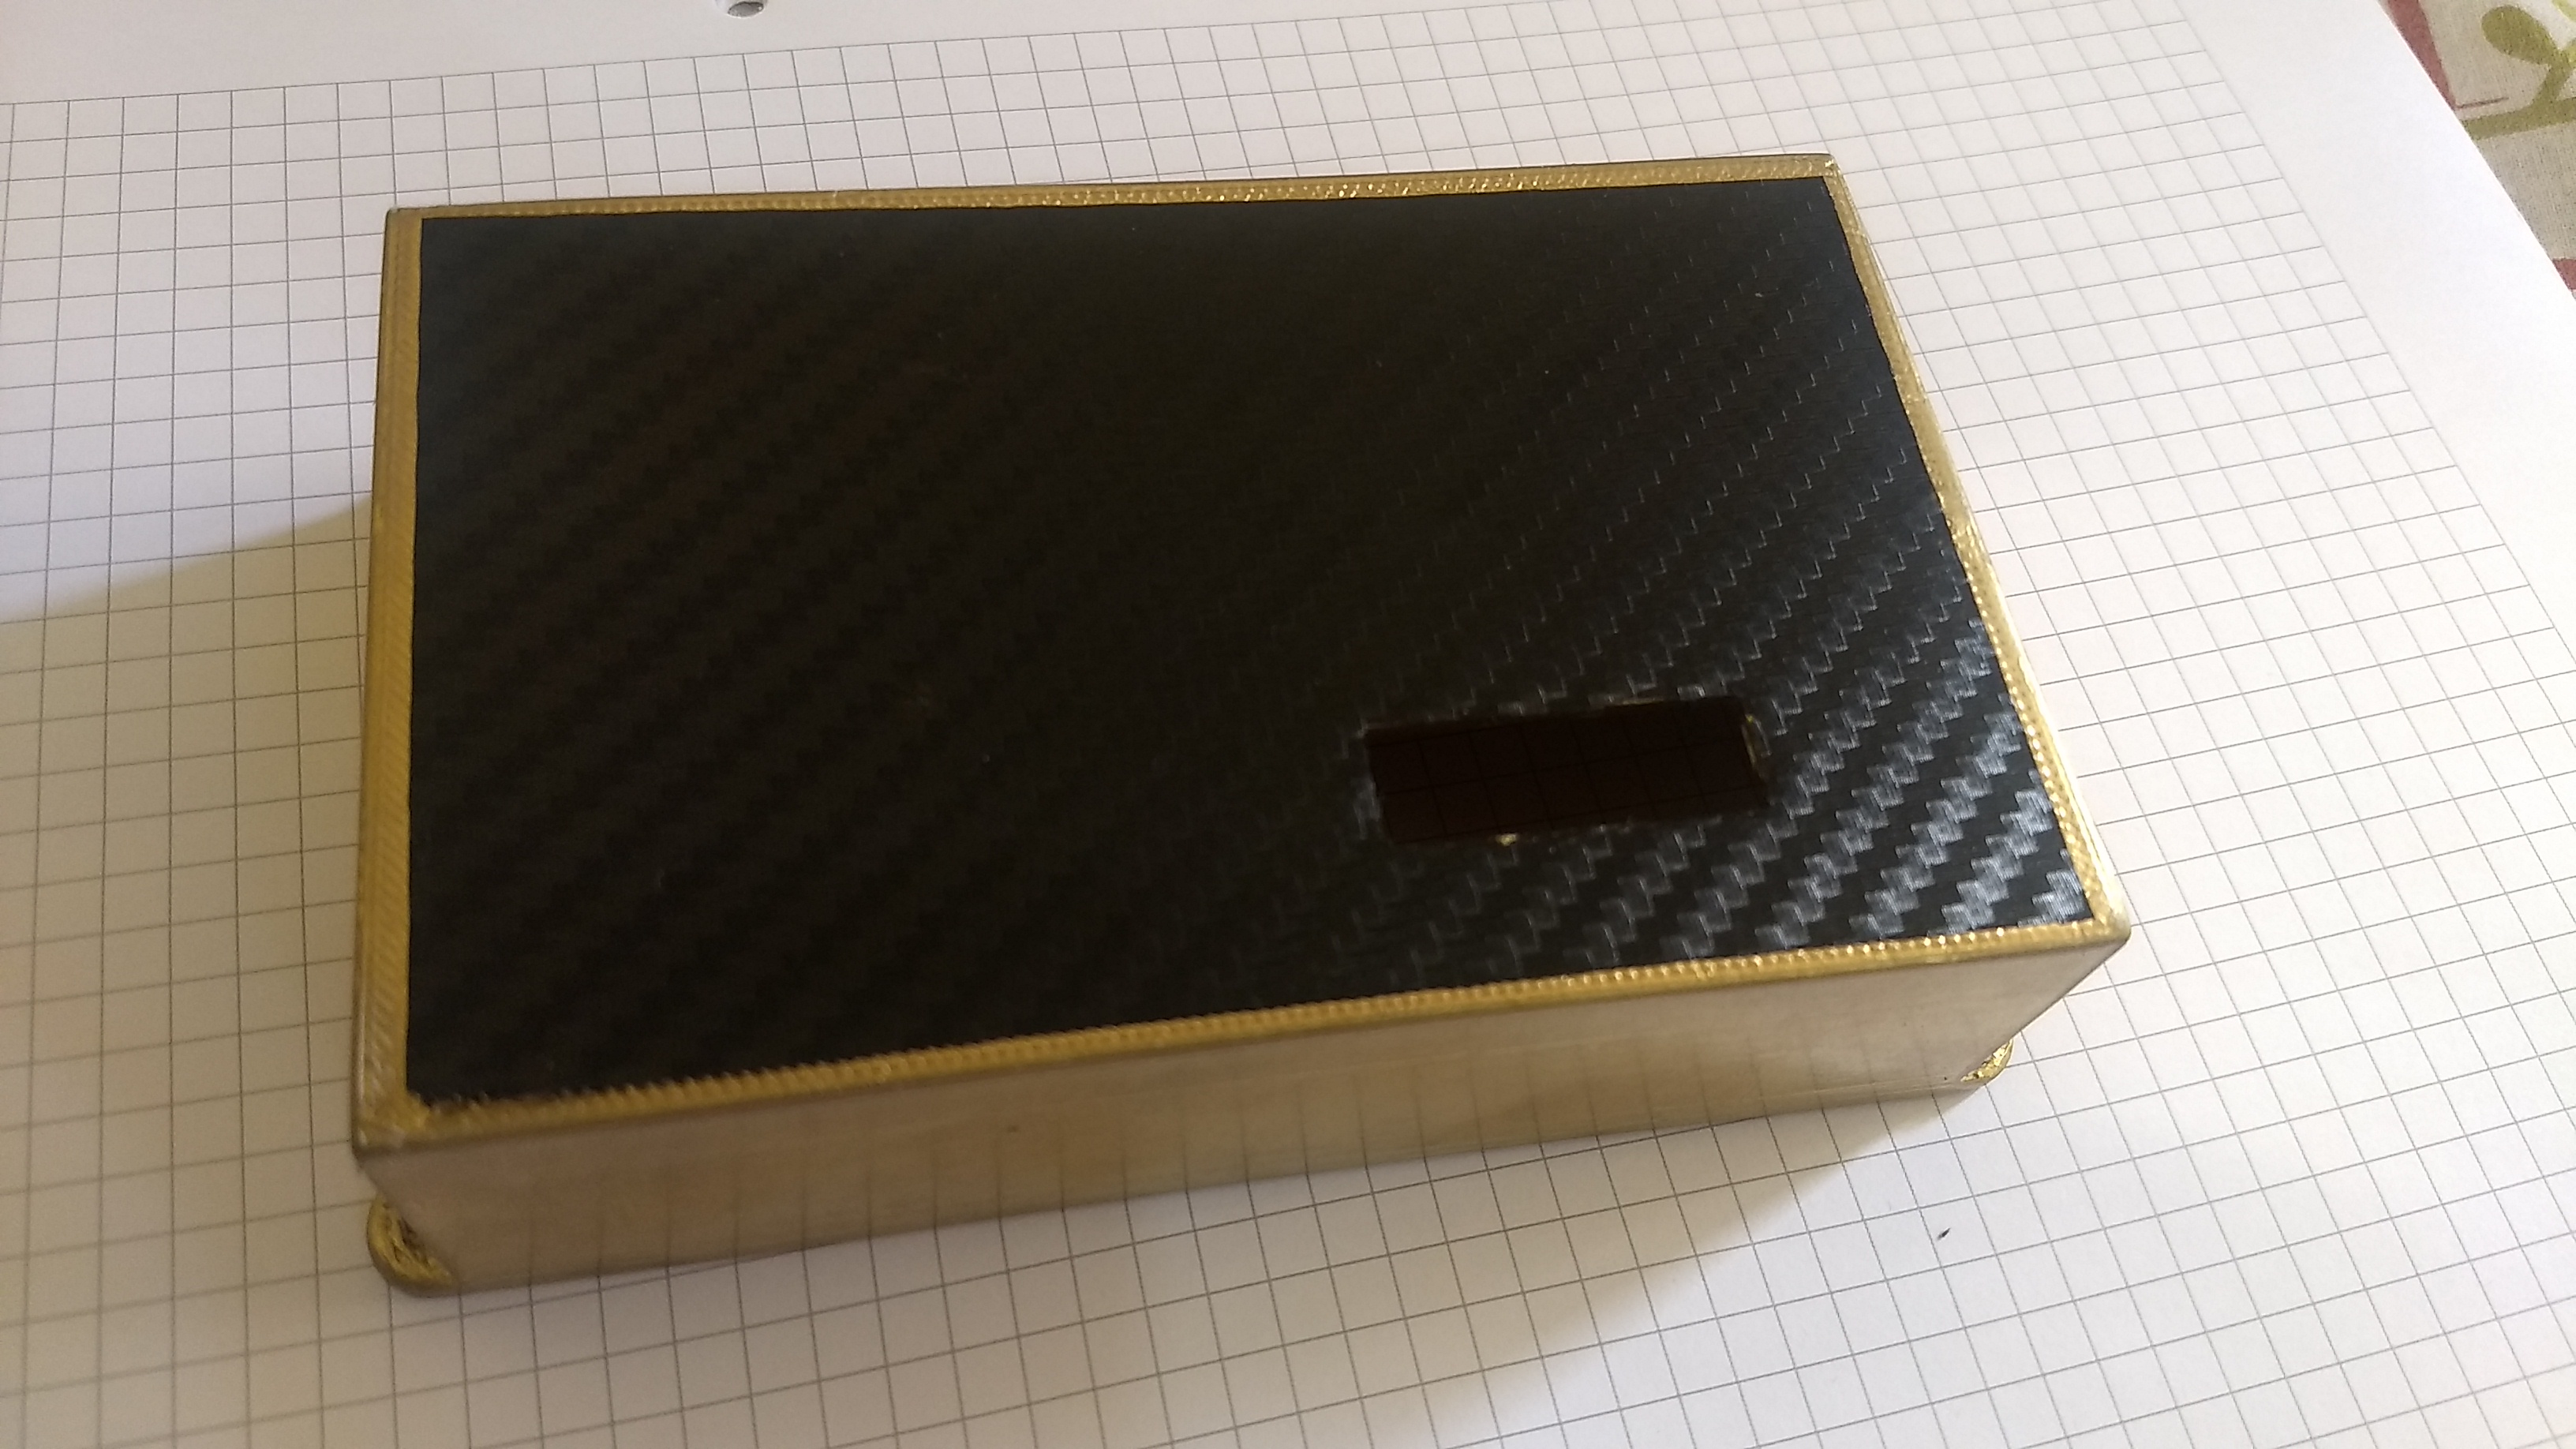
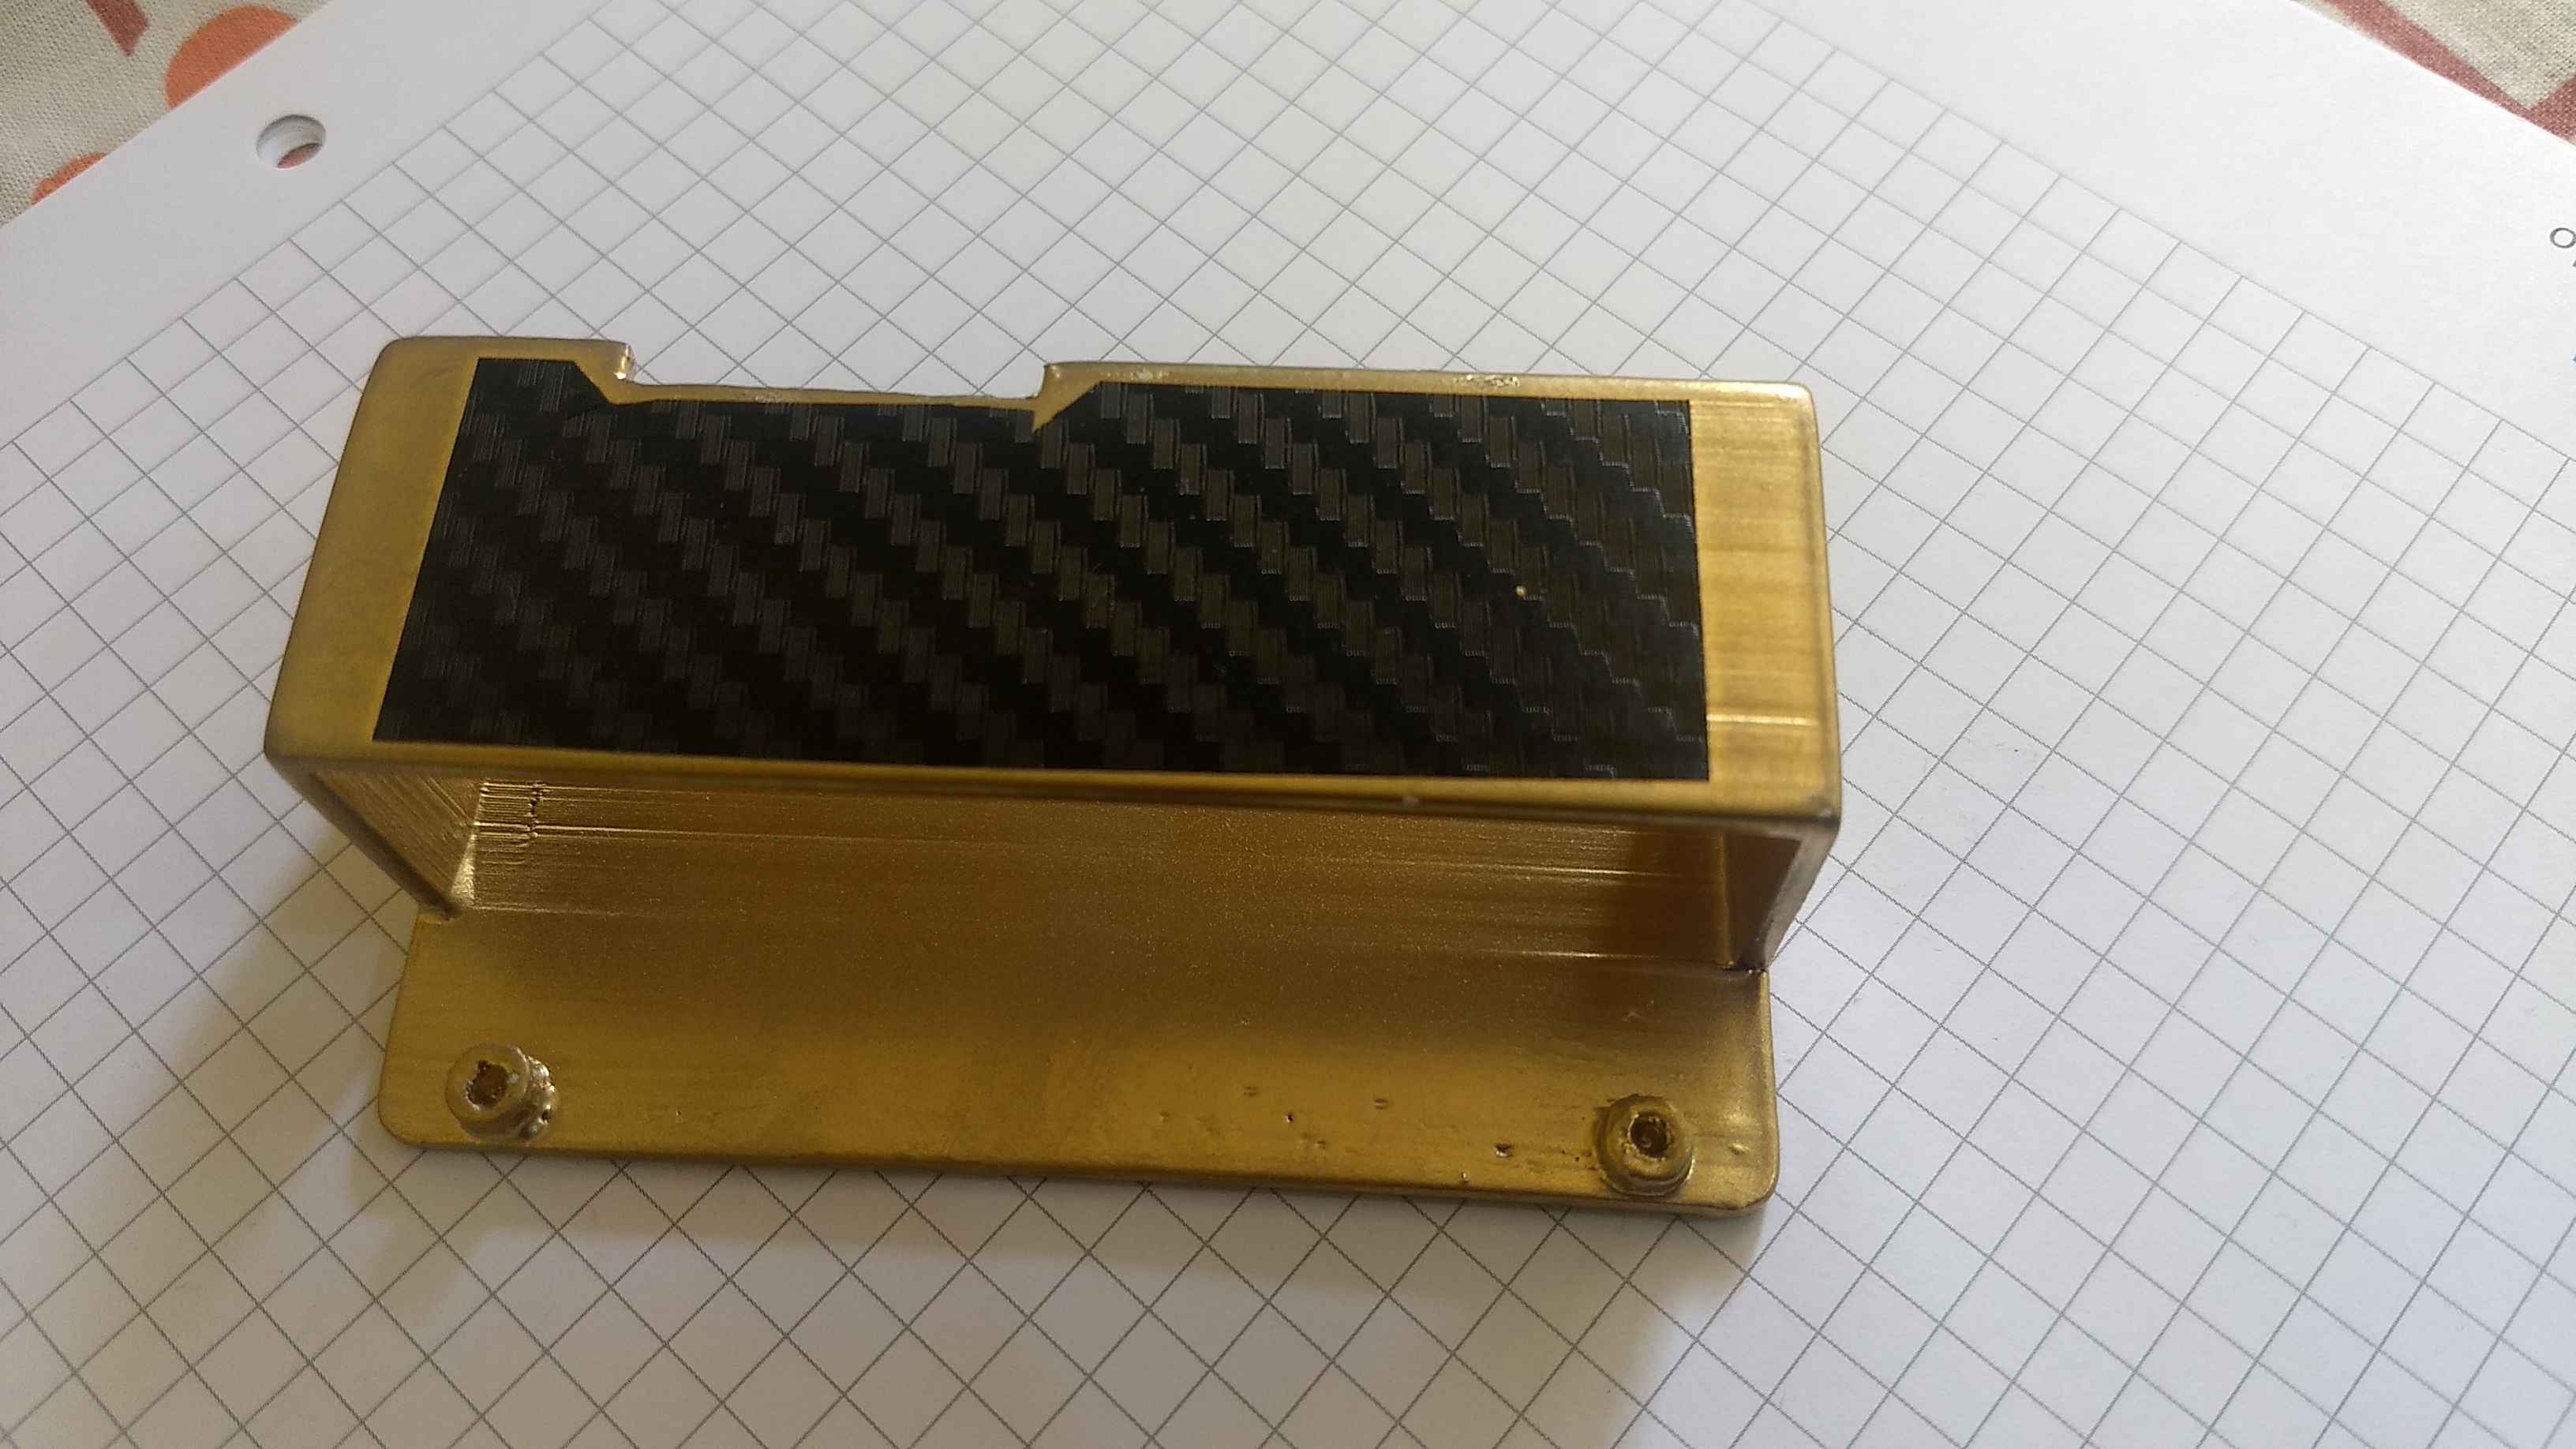
- Frame
- Front panel
- Back panel
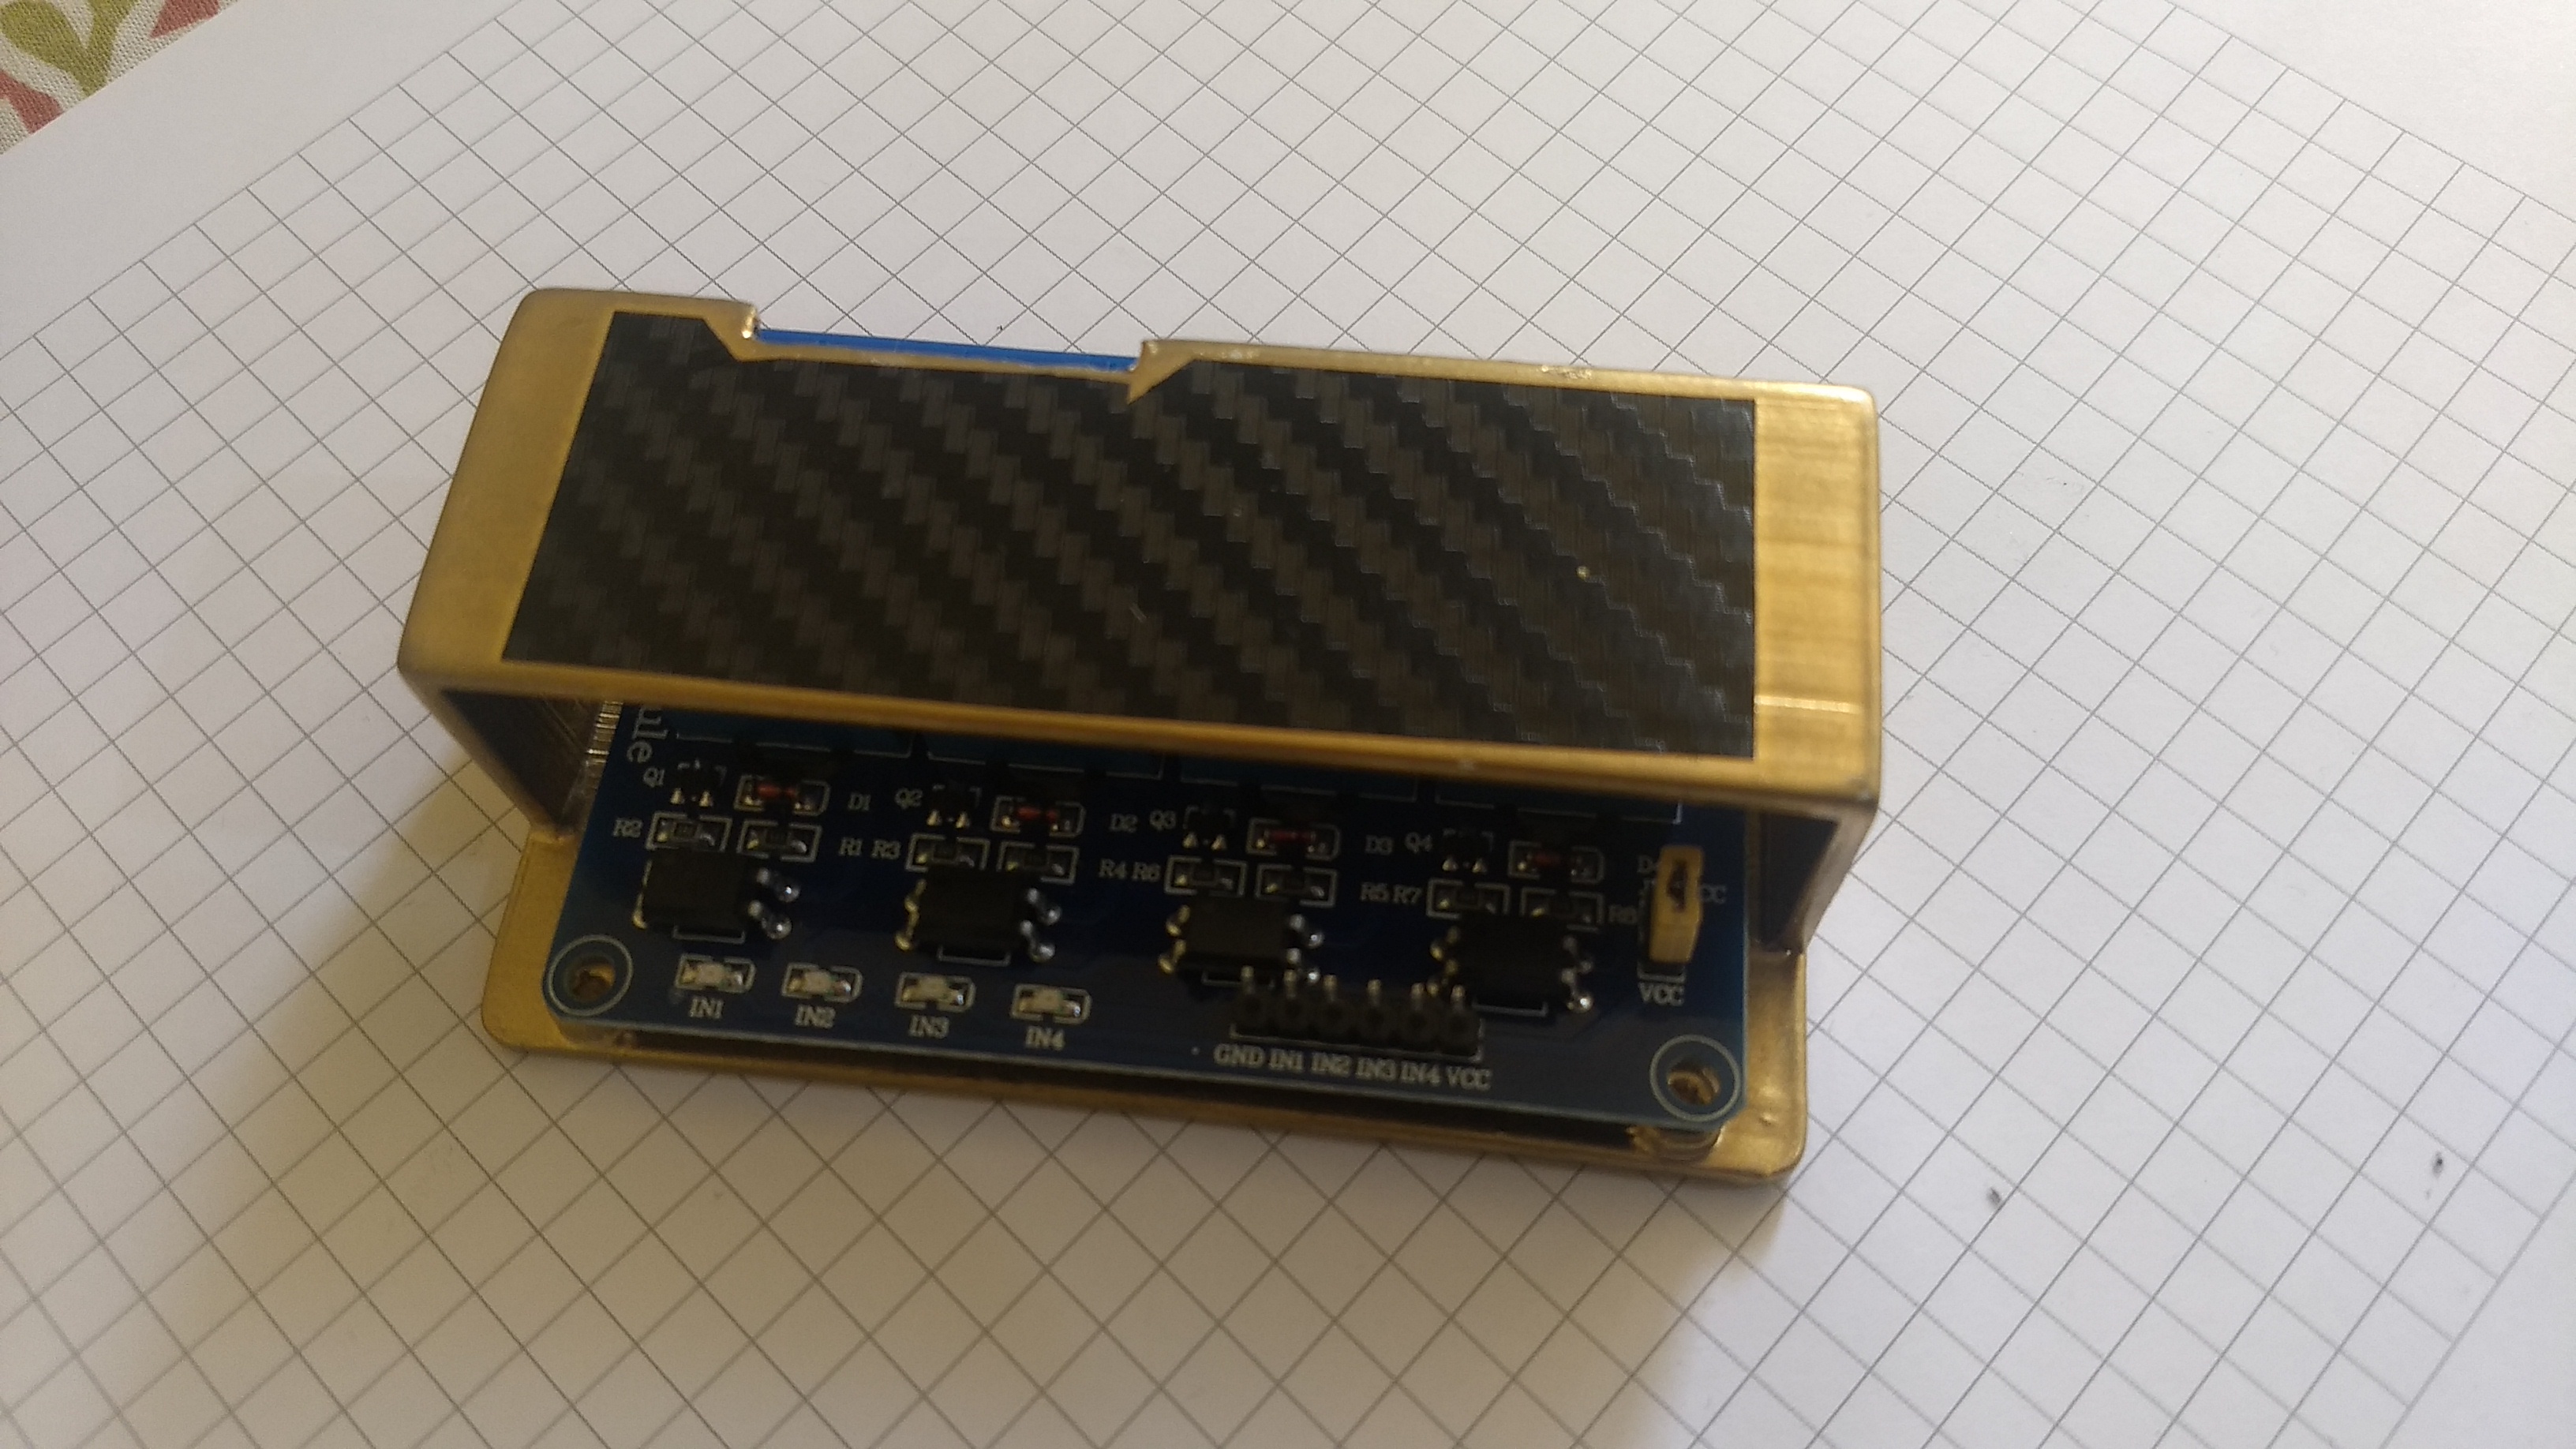
- Processing Unit Cover
- Relay Cover
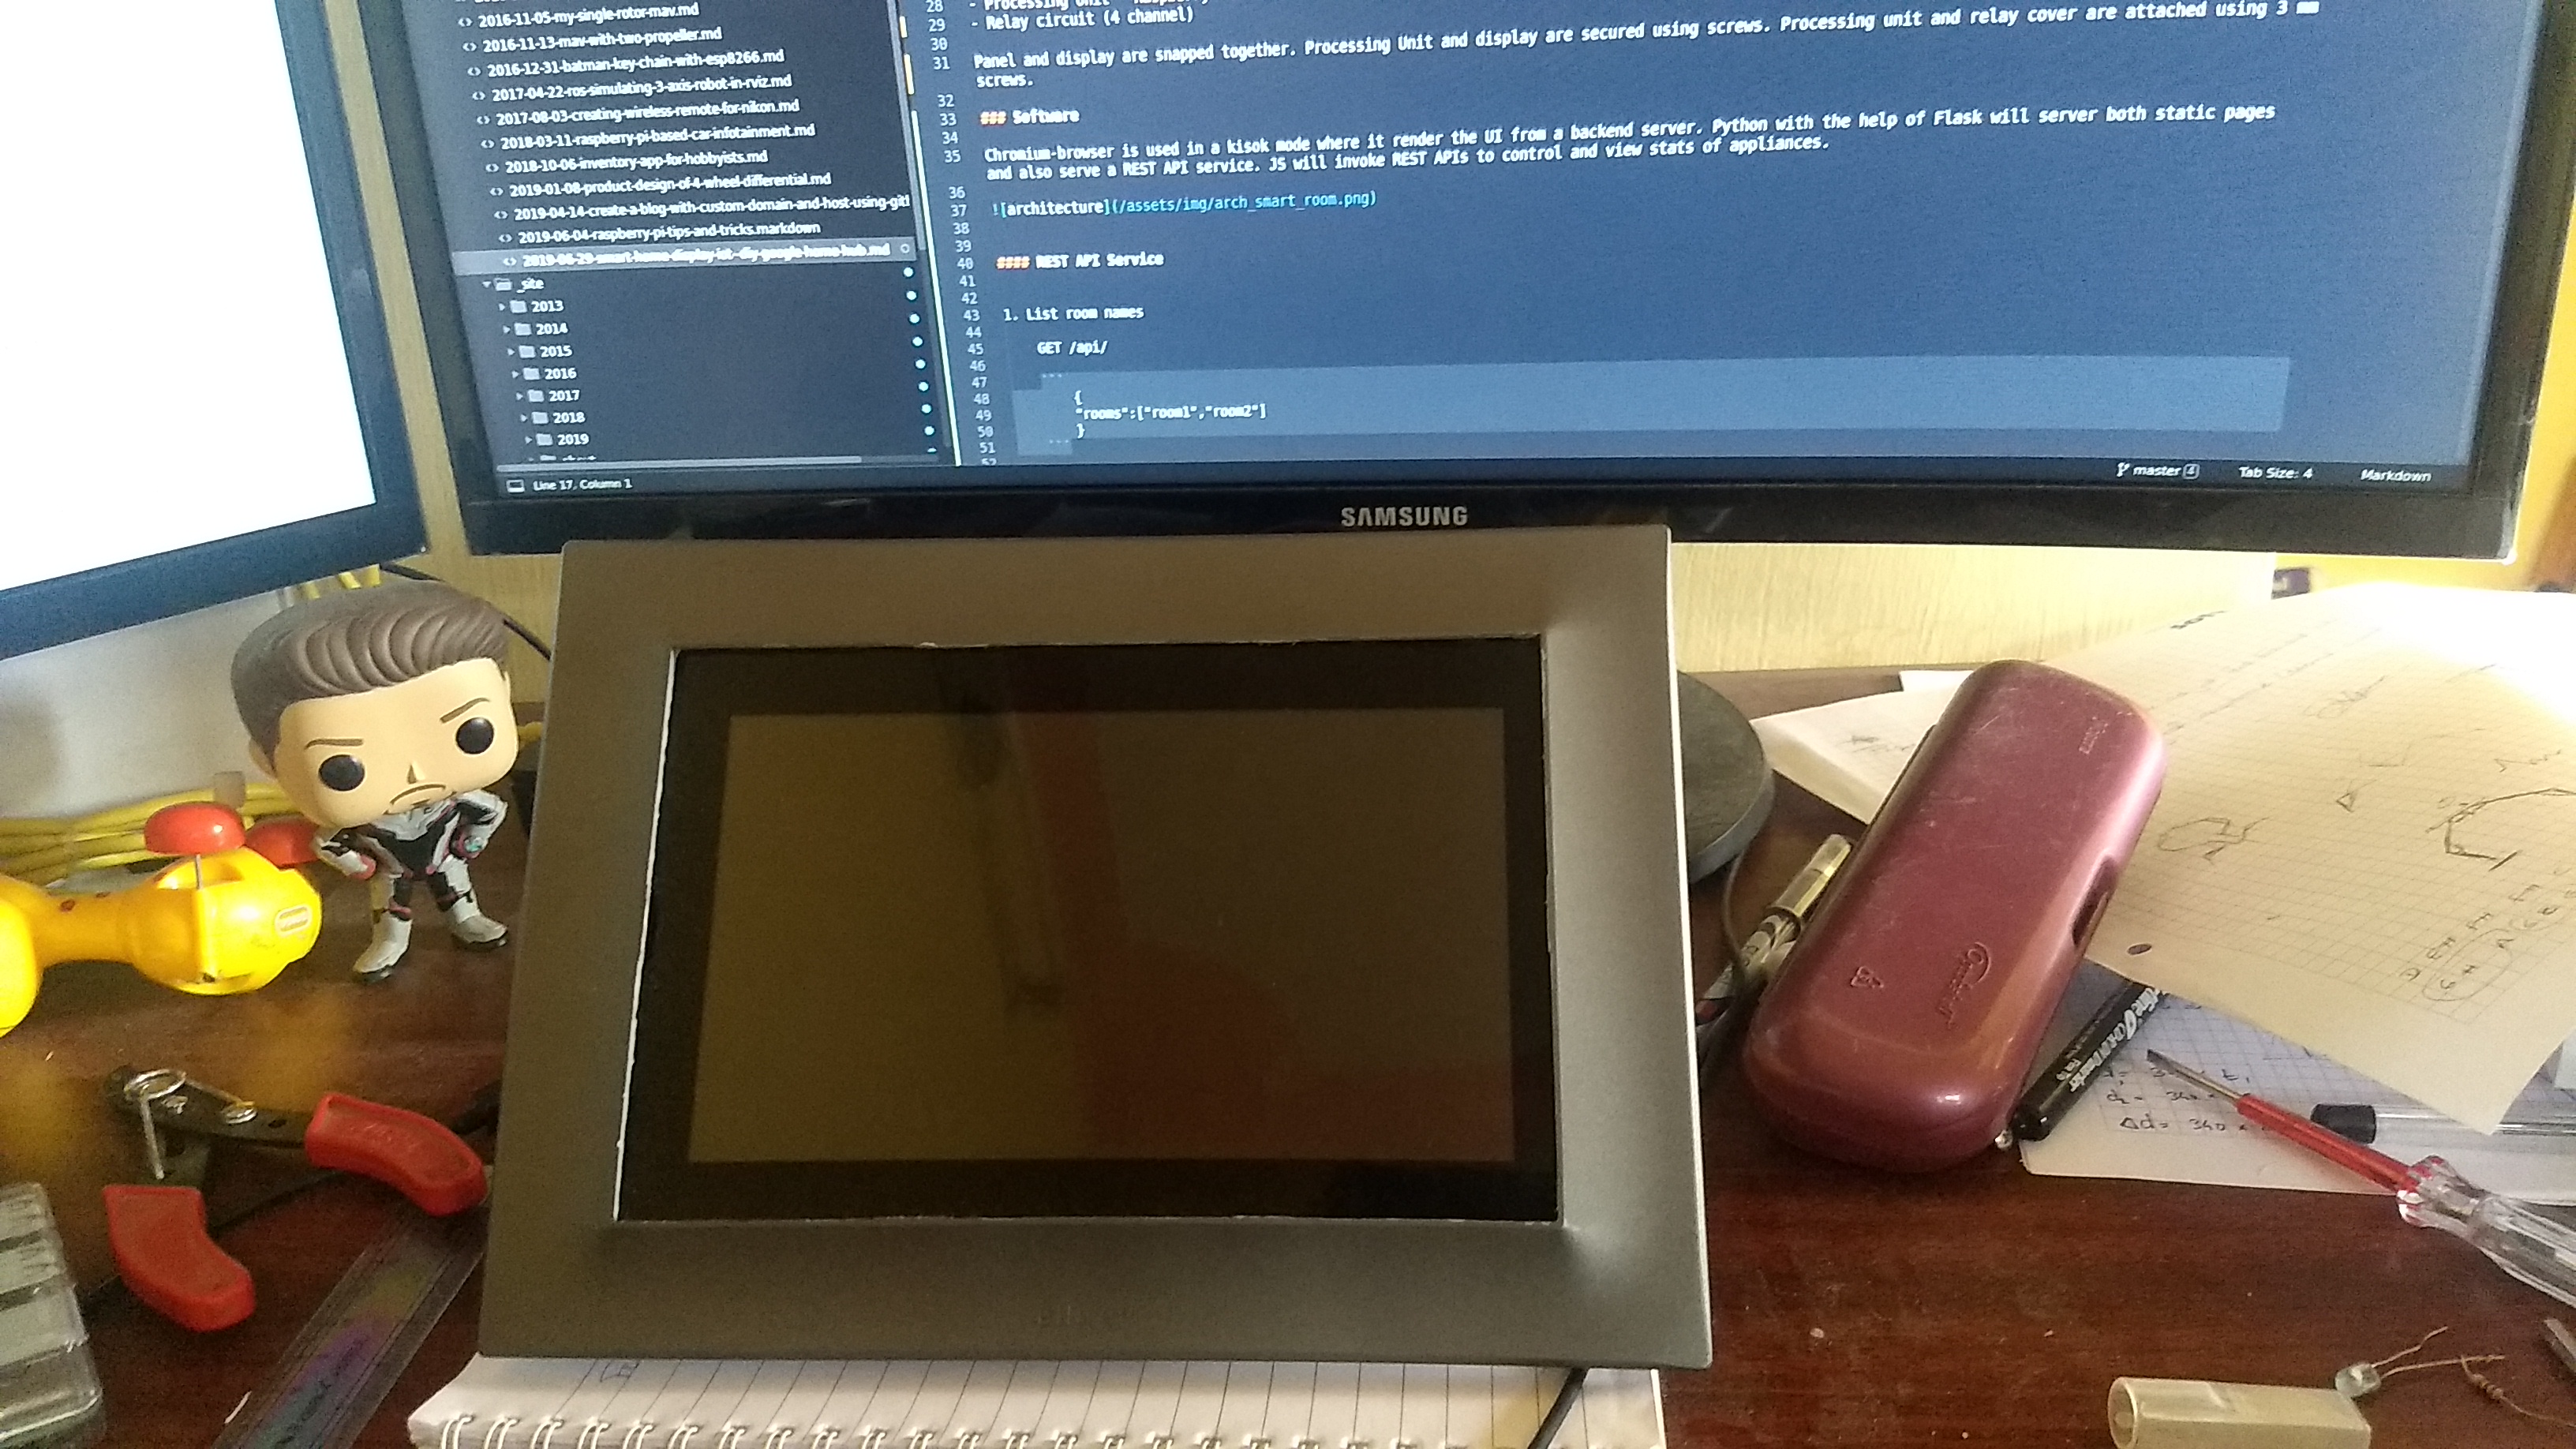
- Display (7 inch 800x480 resolution)
- Processing Unit - Raspberry Pi
- Relay circuit (4 channel)
Panel and display are snapped together. Processing Unit and display are secured using screws. Processing unit and relay cover are attached using 3 mm screws.
Software
Chromium-browser is used in a kiosk mode where it render the UI from a backend server. Python with the help of Flask to serve both static pages and a REST API service. JS will invoke REST APIs to control and view stats of appliances.

REST API Service
- List room names
GET /api/
{ "rooms":["room1","room2"] } - List all appliances in a given room
GET /api/{room_name}
{ "Fan 1": { "power-control": { "enabled": true, "level": 100 }, "status": true, "timer": -1, "type": "fan" }, "Light 1": { "power-control": { "enabled": false, "level": 100 }, "status": true, "timer": -1, "type": "light" }, "Light 2": { "power-control": { "enabled": false, "level": 100 }, "status": true, "timer": -1, "type": "light" } } - Change appliance properties
POST /api/{room_name}/{appliance_name}
{ "status":true, "timer":10, "power-control":{ "level":50 } } - Scan wifi APs
GET /api/wifi_scan
{ "result":["WiFi-1","WiFi-2"] } - Connect to an AP
POST /wifi_connect
{ "ssid":"WiFi-1", "passkey":"password" } - Disconnect already established connection
POST /api/wifi_disconnect
{ } - Get current ip
GET /api/ip
{ "ip": "192.168.1.5" }
UI features
These shows the features that are supported.
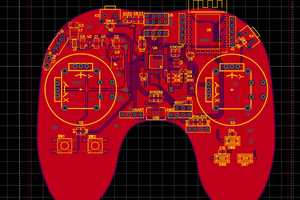
CAD Design
I have used fusion 360 to model the parts.
3D printing
Thanks to Sumit Goyl for helping out with 3D printing and beautifully painting the parts.
Final preview

 Electronic_Maze
What a great idea to create a smart display that can be embedded into a socket to control all the IoT devices in your home! To implement such a project, you can use Flutter to develop the interface. Cogniteq’s article on Flutter app development https://www.cogniteq.com/flutter-app-development describes the benefits of this technology, including cross-platform compatibility and high performance. This will allow you to quickly create a beautiful and intuitive interface for controlling devices that will work across different platforms.