Andrey V
-
Let's add some POWER
09/12/2019 at 14:04 • 0 commentsToday I'm trying to install Banana Pi M2 zero instead Raspberry Pi Zero W.
Here a quick comparison:
![]()
I've tested real speed in different applications and found that Banana PI M2 zero is around 2 times faster than Raspberry PI Zero W.
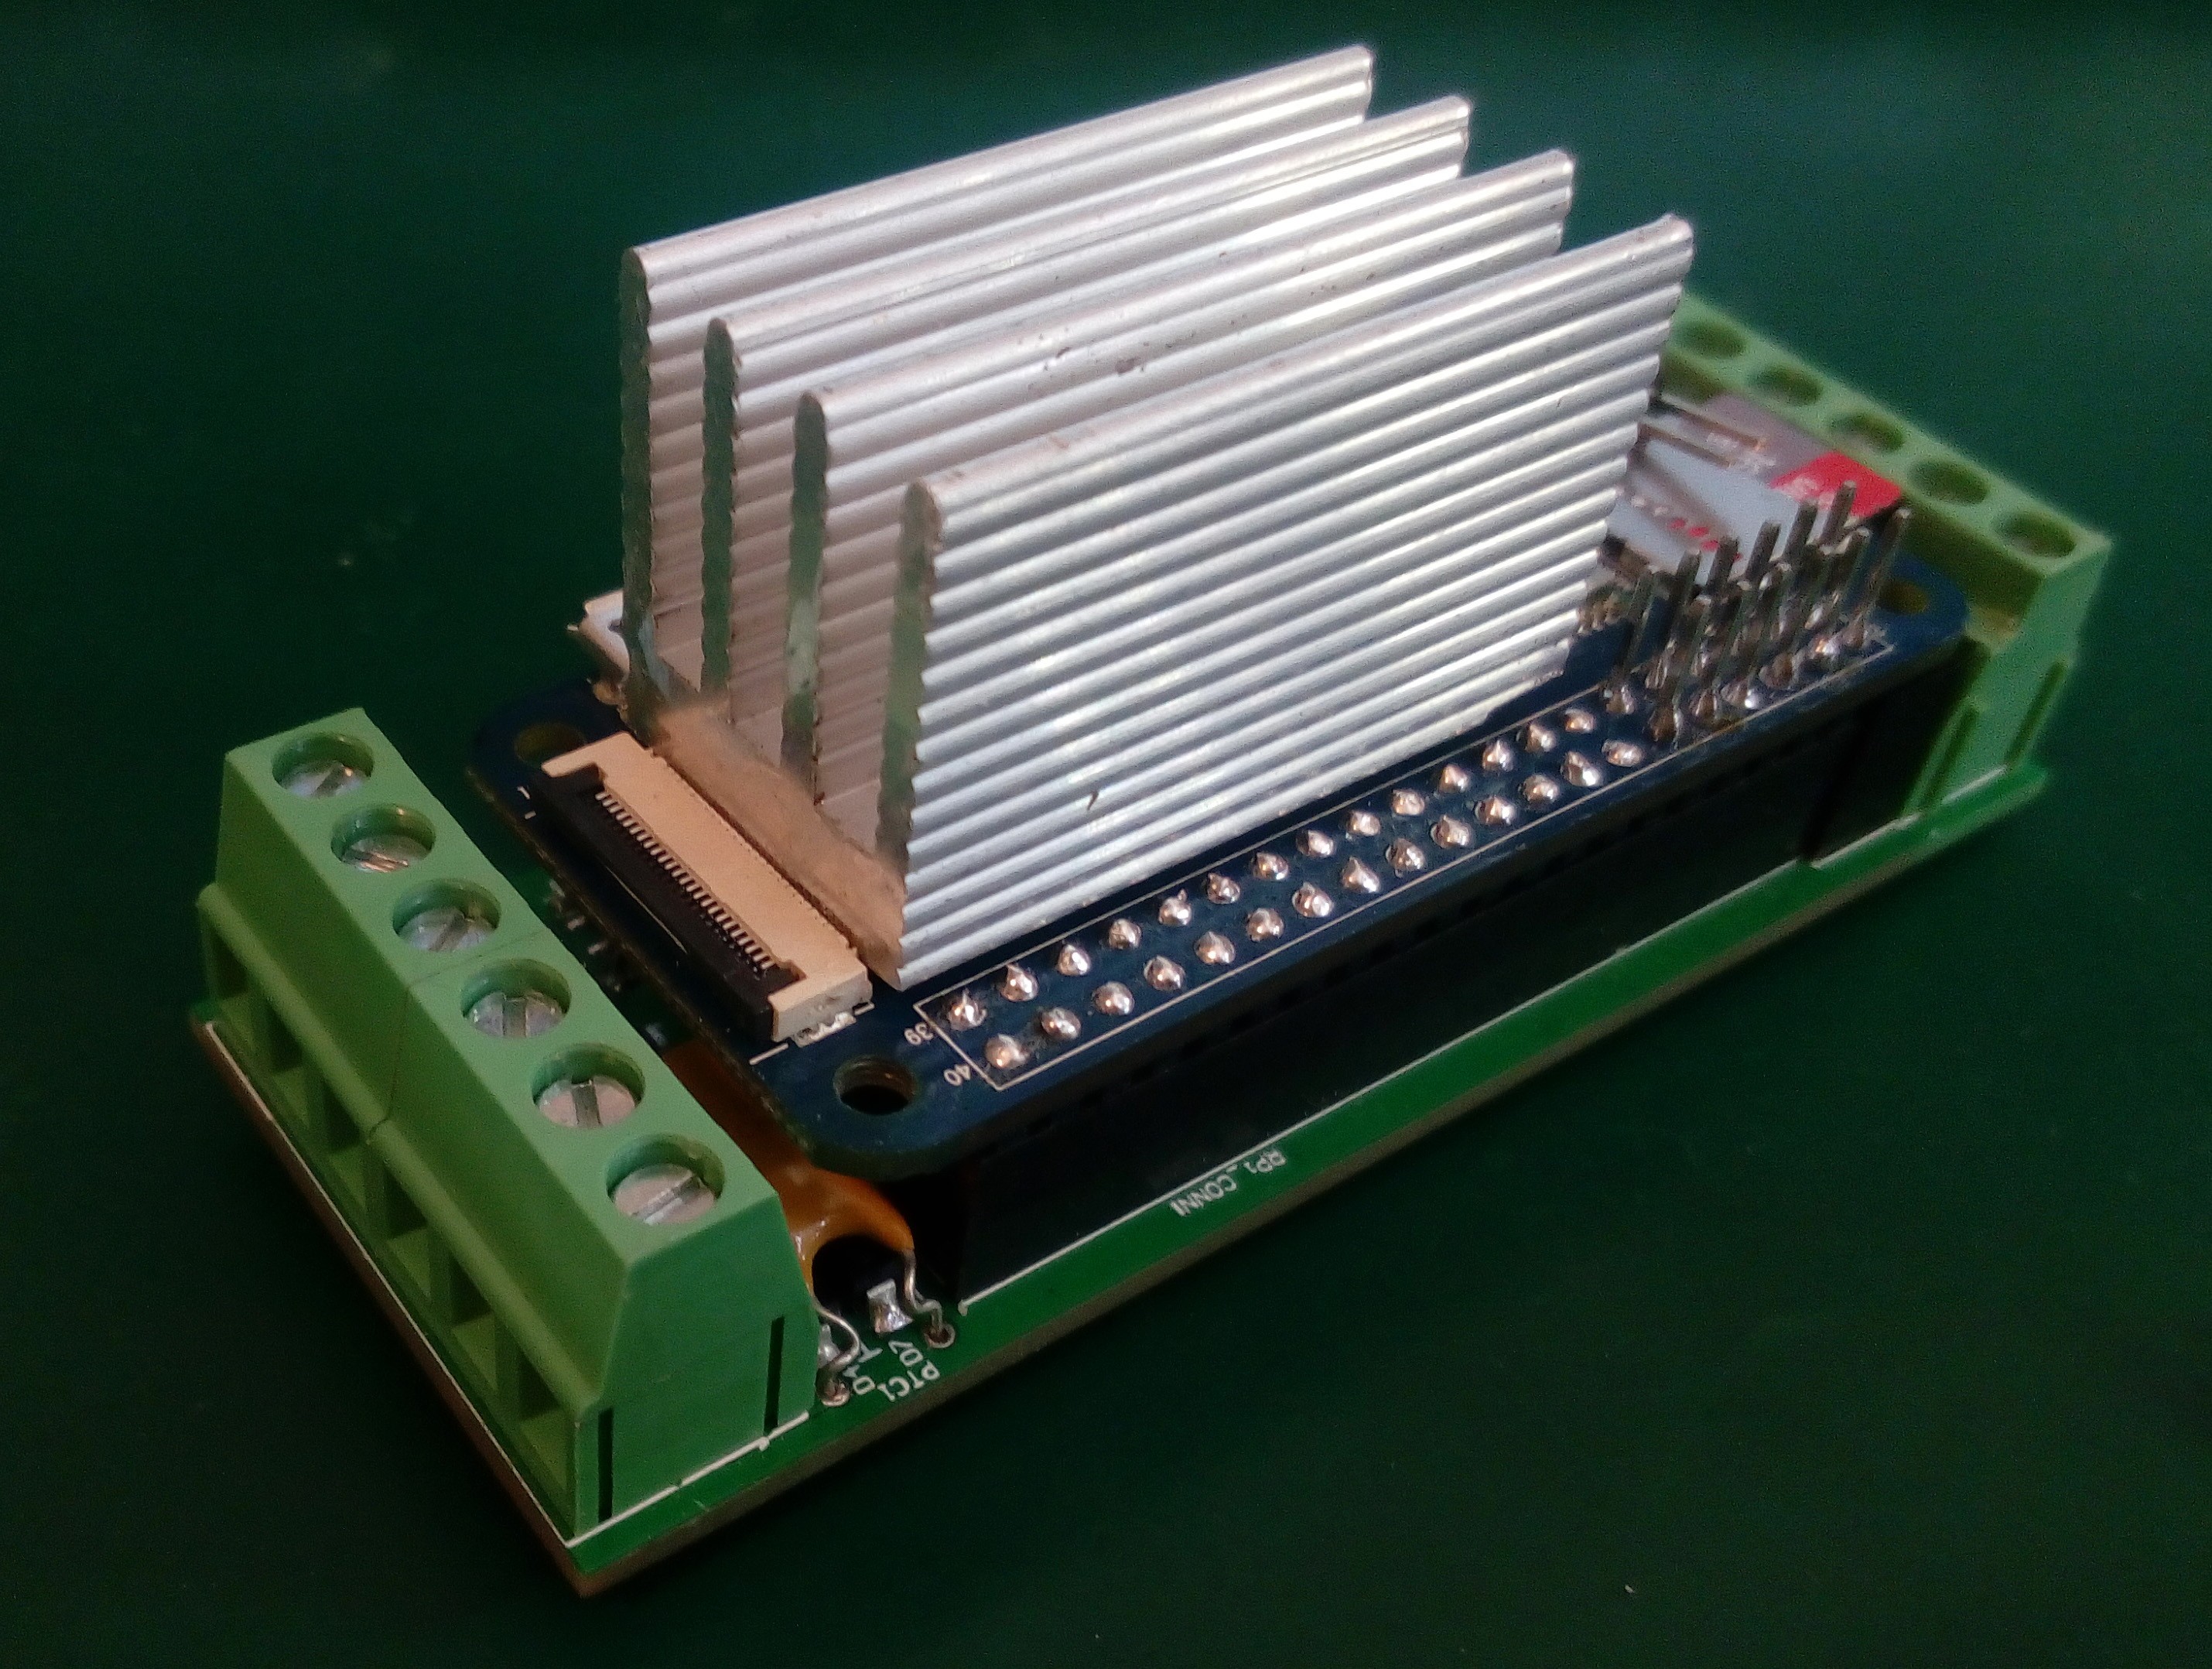
But M2 has one problem, it dissipates much more heat than PI Zero....
My enclosure is small therefore I need a big heatsink for M2 processor and memory cooling, also I need to create special profile on the bottom of the heatsink (because of some components more height than the processor and memory).
So I found old heatsink from the computer PSU, cut piece from it, machine bottom on the CNC and glued it right on processor and memory ICs.
The whole sandwich looks like this:
![]()
Now it's time for the temperature tests. I will tell about the results next time. Stay tuned)
-
IOTON MICRIO - Fifth element of a successful IIoT project
09/09/2019 at 09:52 • 0 comments![]()
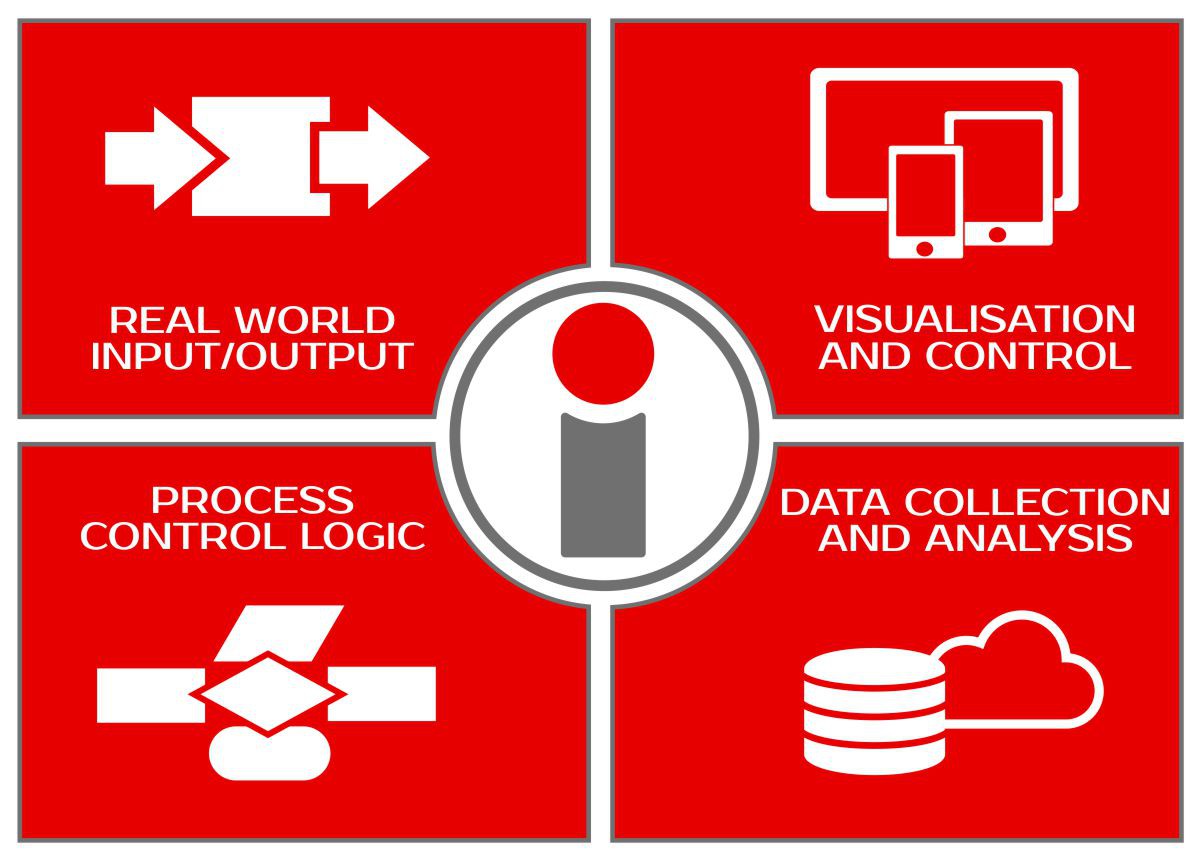
Four elements are required to build a successful Industrial Internet of Things (IIoT) project:
- Inputs/Outputs are wired directly to sensors and devices and translate between the electrical signals devices use and the digital ones and zeros computers understand. Inputs/Outputs brings data from the physical world and sends instructions out for controlling equipment.
- Logic in software processes data from I/O and determines what automated actions to take. Logic sends I/O the instructions to control equipment and processes.
- Visualization presents data to human. GUI allows human to control the system manually.
- Data collection and analysis for the process optimization and predictive maintenance.
IOTON MICRIO combine all of these, like in movie.
-
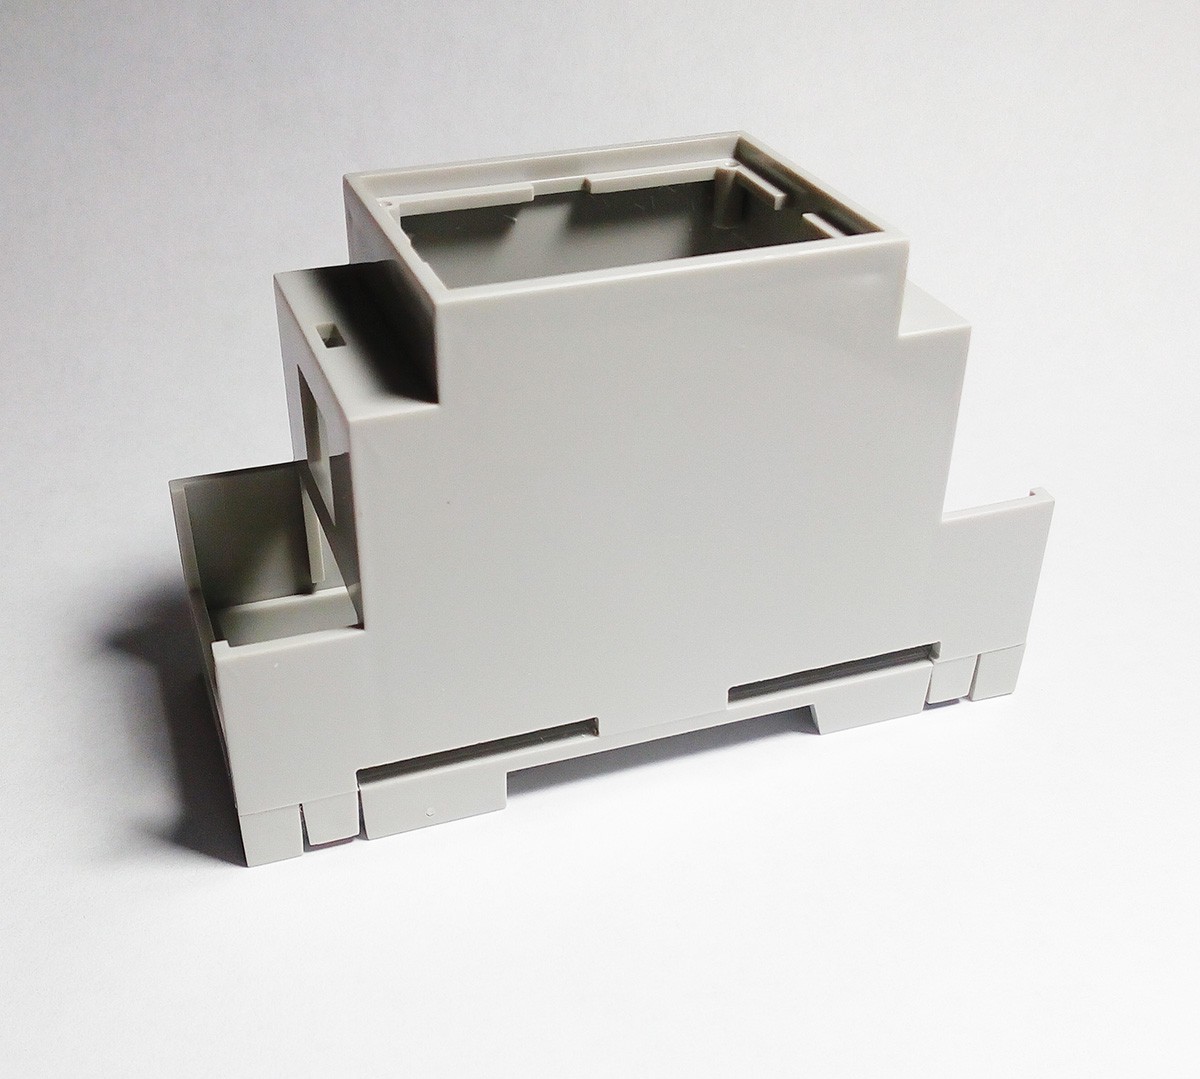
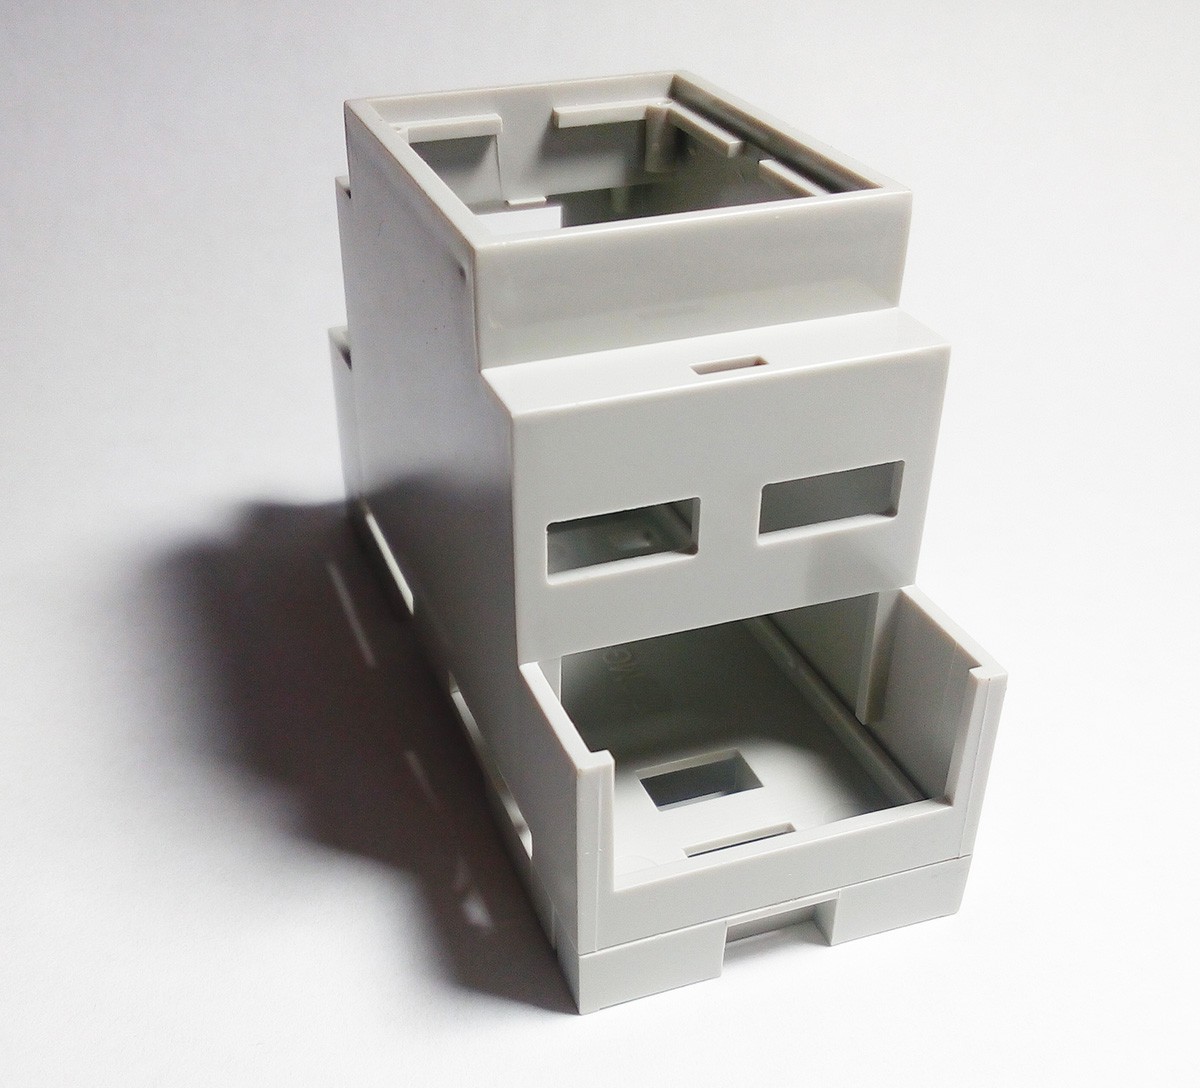
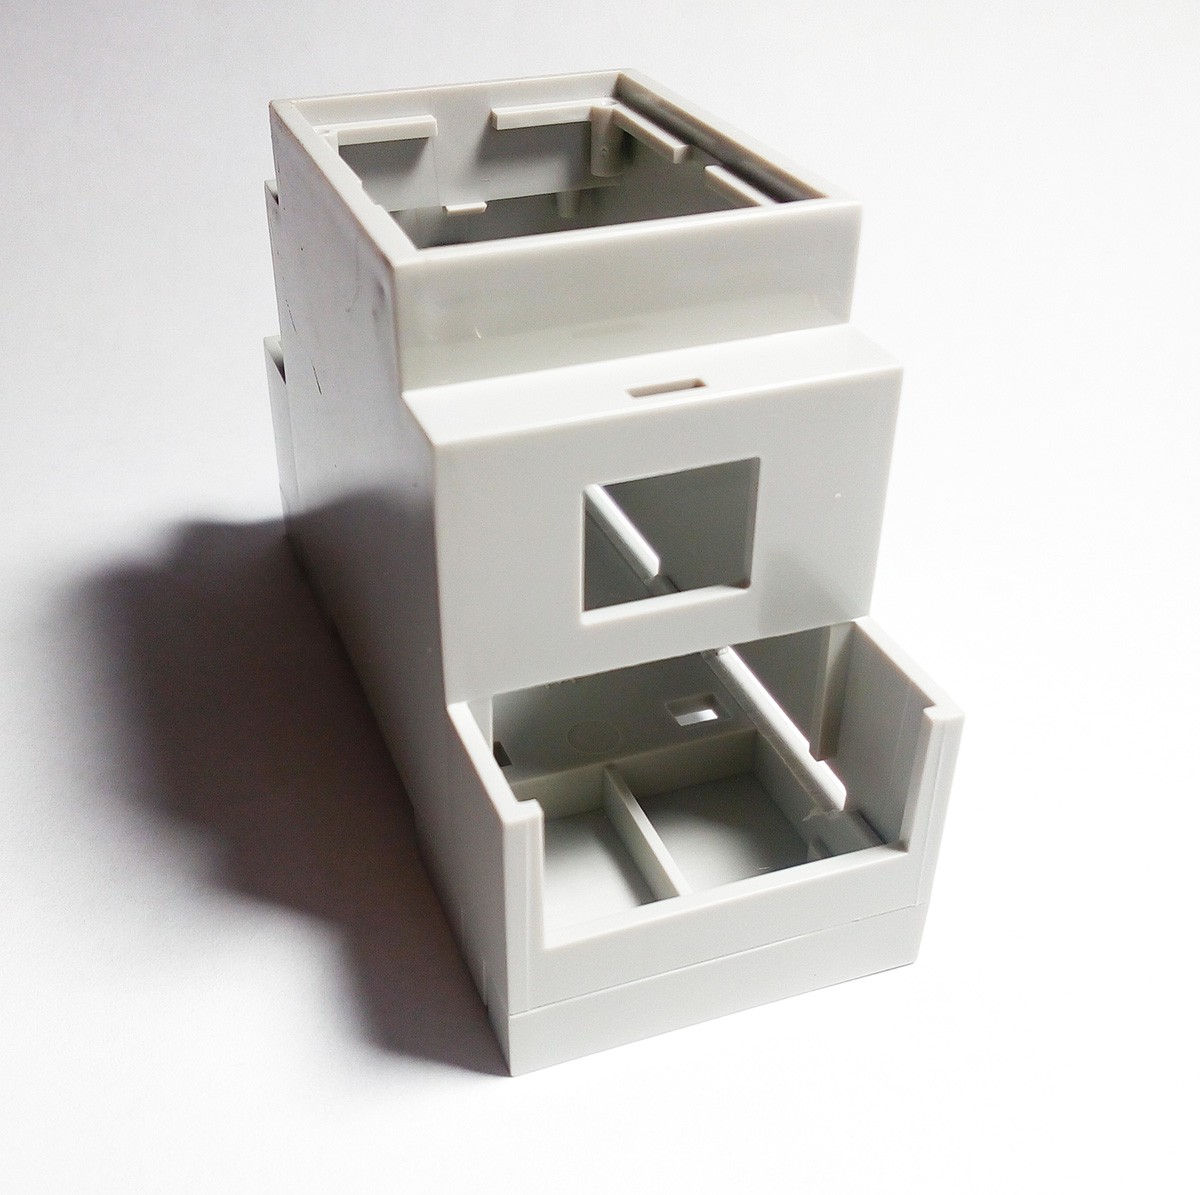
ENCLOSURE HOLES MILLING
09/04/2019 at 12:59 • 0 commentsAs you can see all of the enclosures in my project have holes (for the USB, LAN, Antenna or GPIO connectors).
![]()
I did some special tools which allow me to cut holes with good precision and repeatability.
It's also saving me a huge amount of time. Because after installing the fixing tool I can quickly change the enclosures for milling.
You can see the whole process on video:
Timeline:
0:00 Tool for fix the enclosure for the side holes milling
0:10 Setting XY zero by the template
0:17 Changing the template to the new enclosure
0:35 Setting Z and side holes milling
1:16 Changing fixing tool for USB and LAN holes milling
1.36 Setting XY zero by the template
1:43 LAN hole milling
2:30 USB holes milling
2:53 Changing fixing tool for the antenna hole milling
3:10 Setting zero and the antenna hole millingFinal result:
---------- more ----------![]()
![]()
![]()
![]()
-
MAIN ENCLOSURE DONE
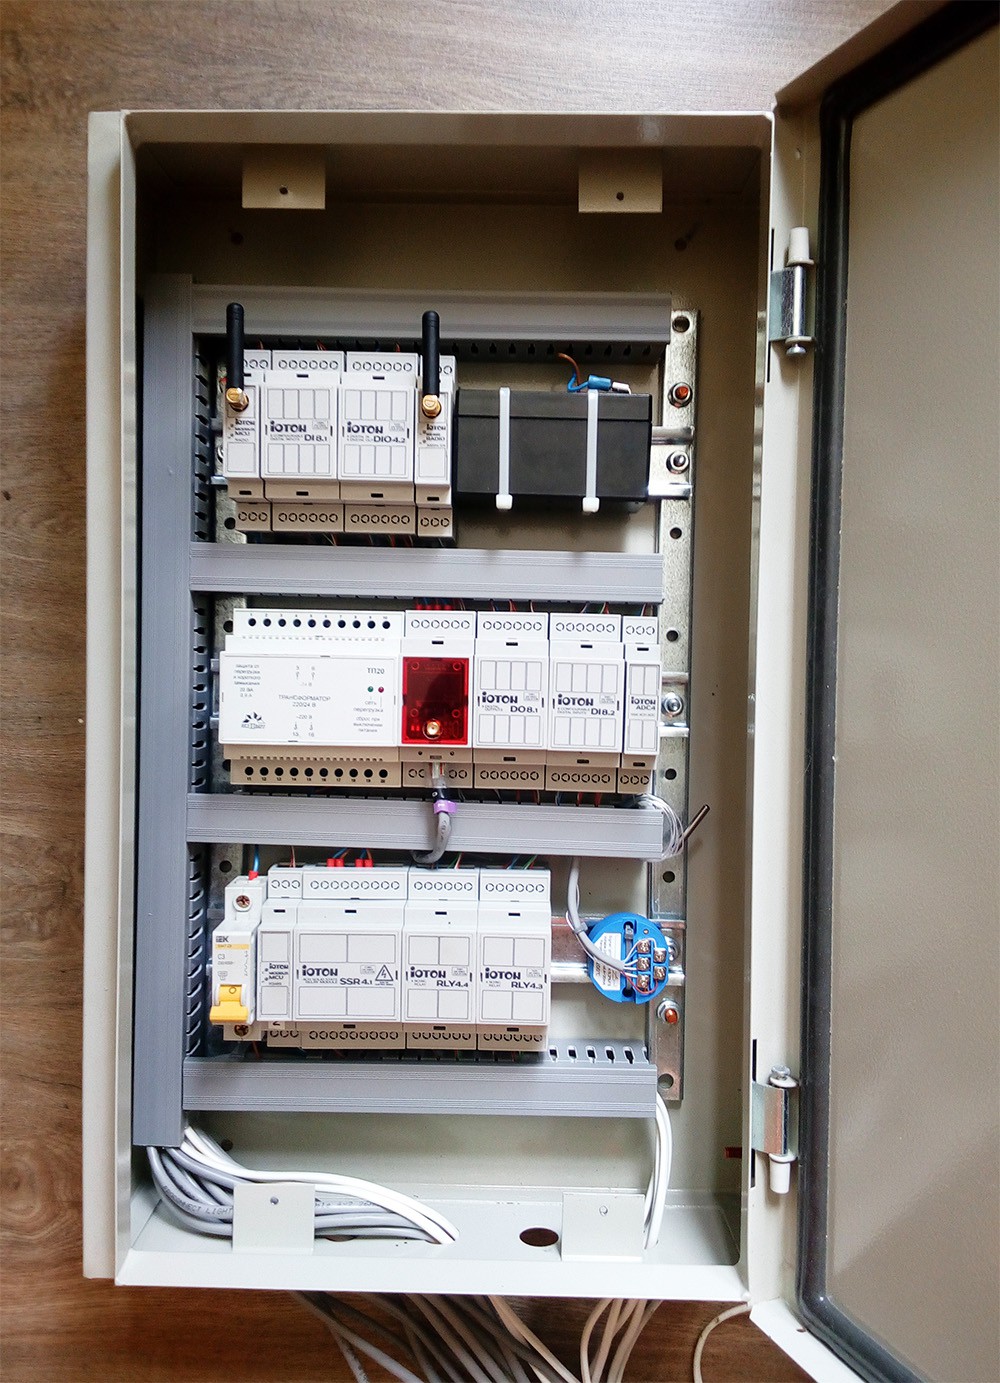
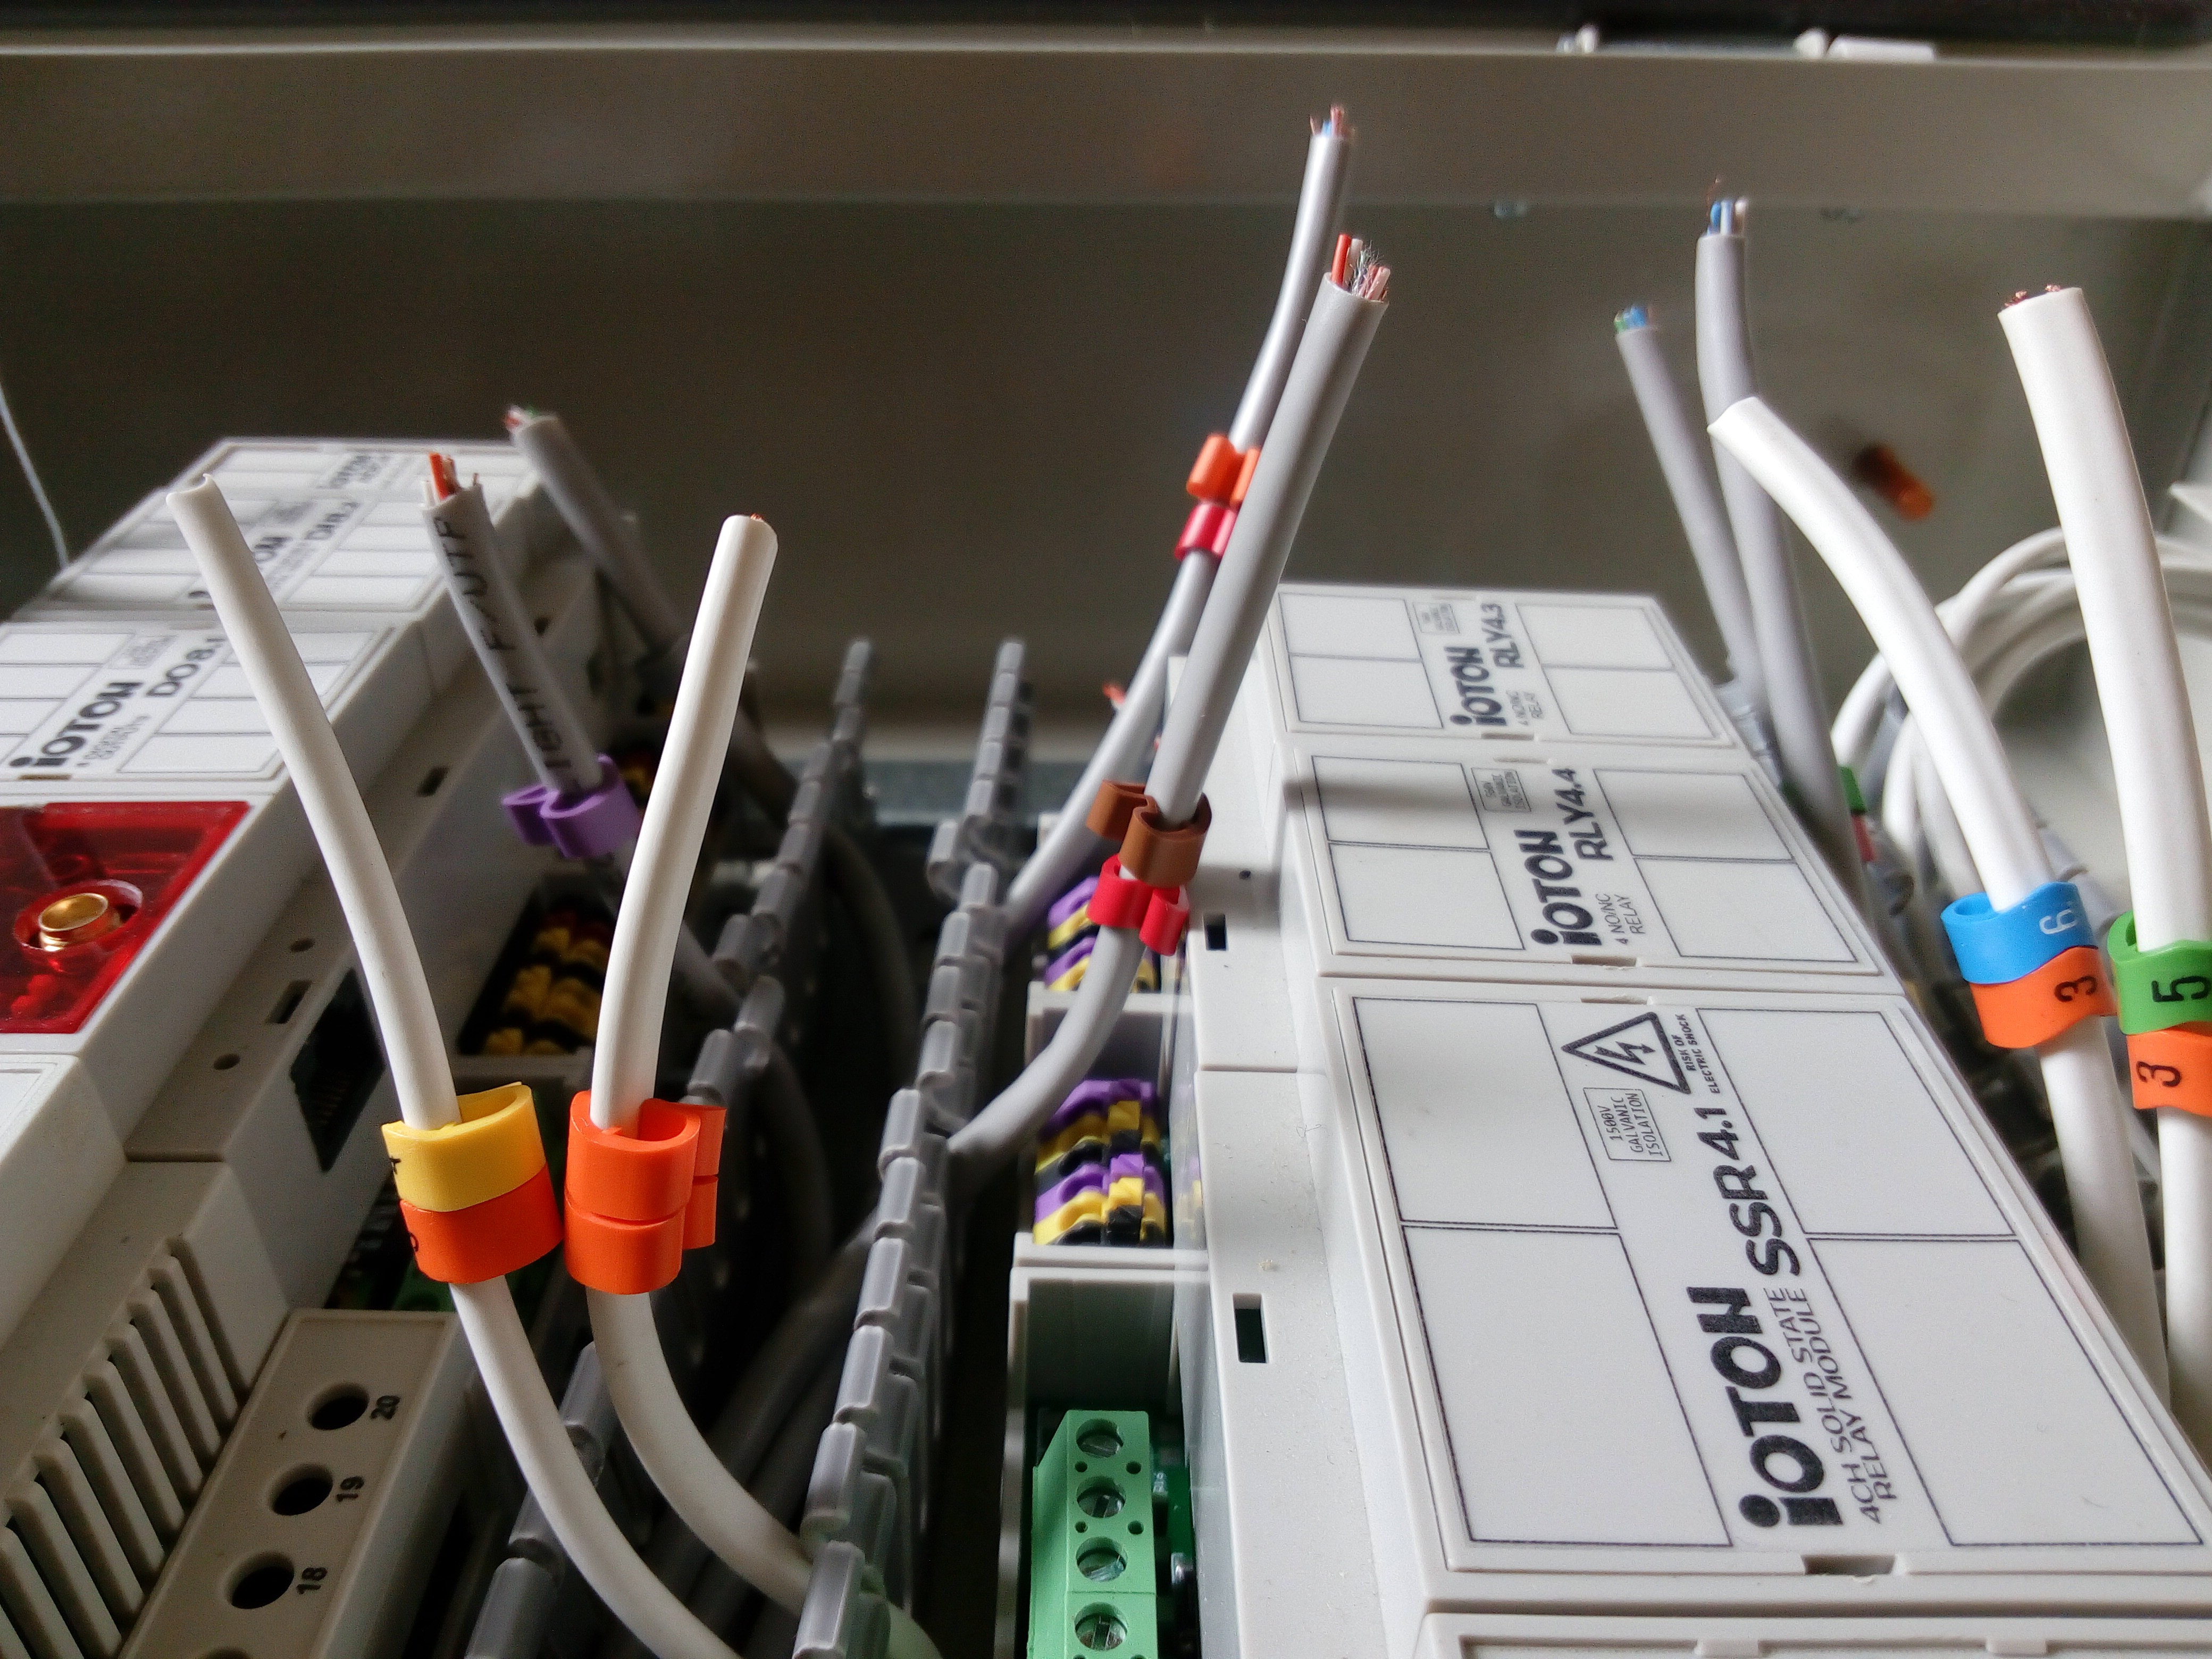
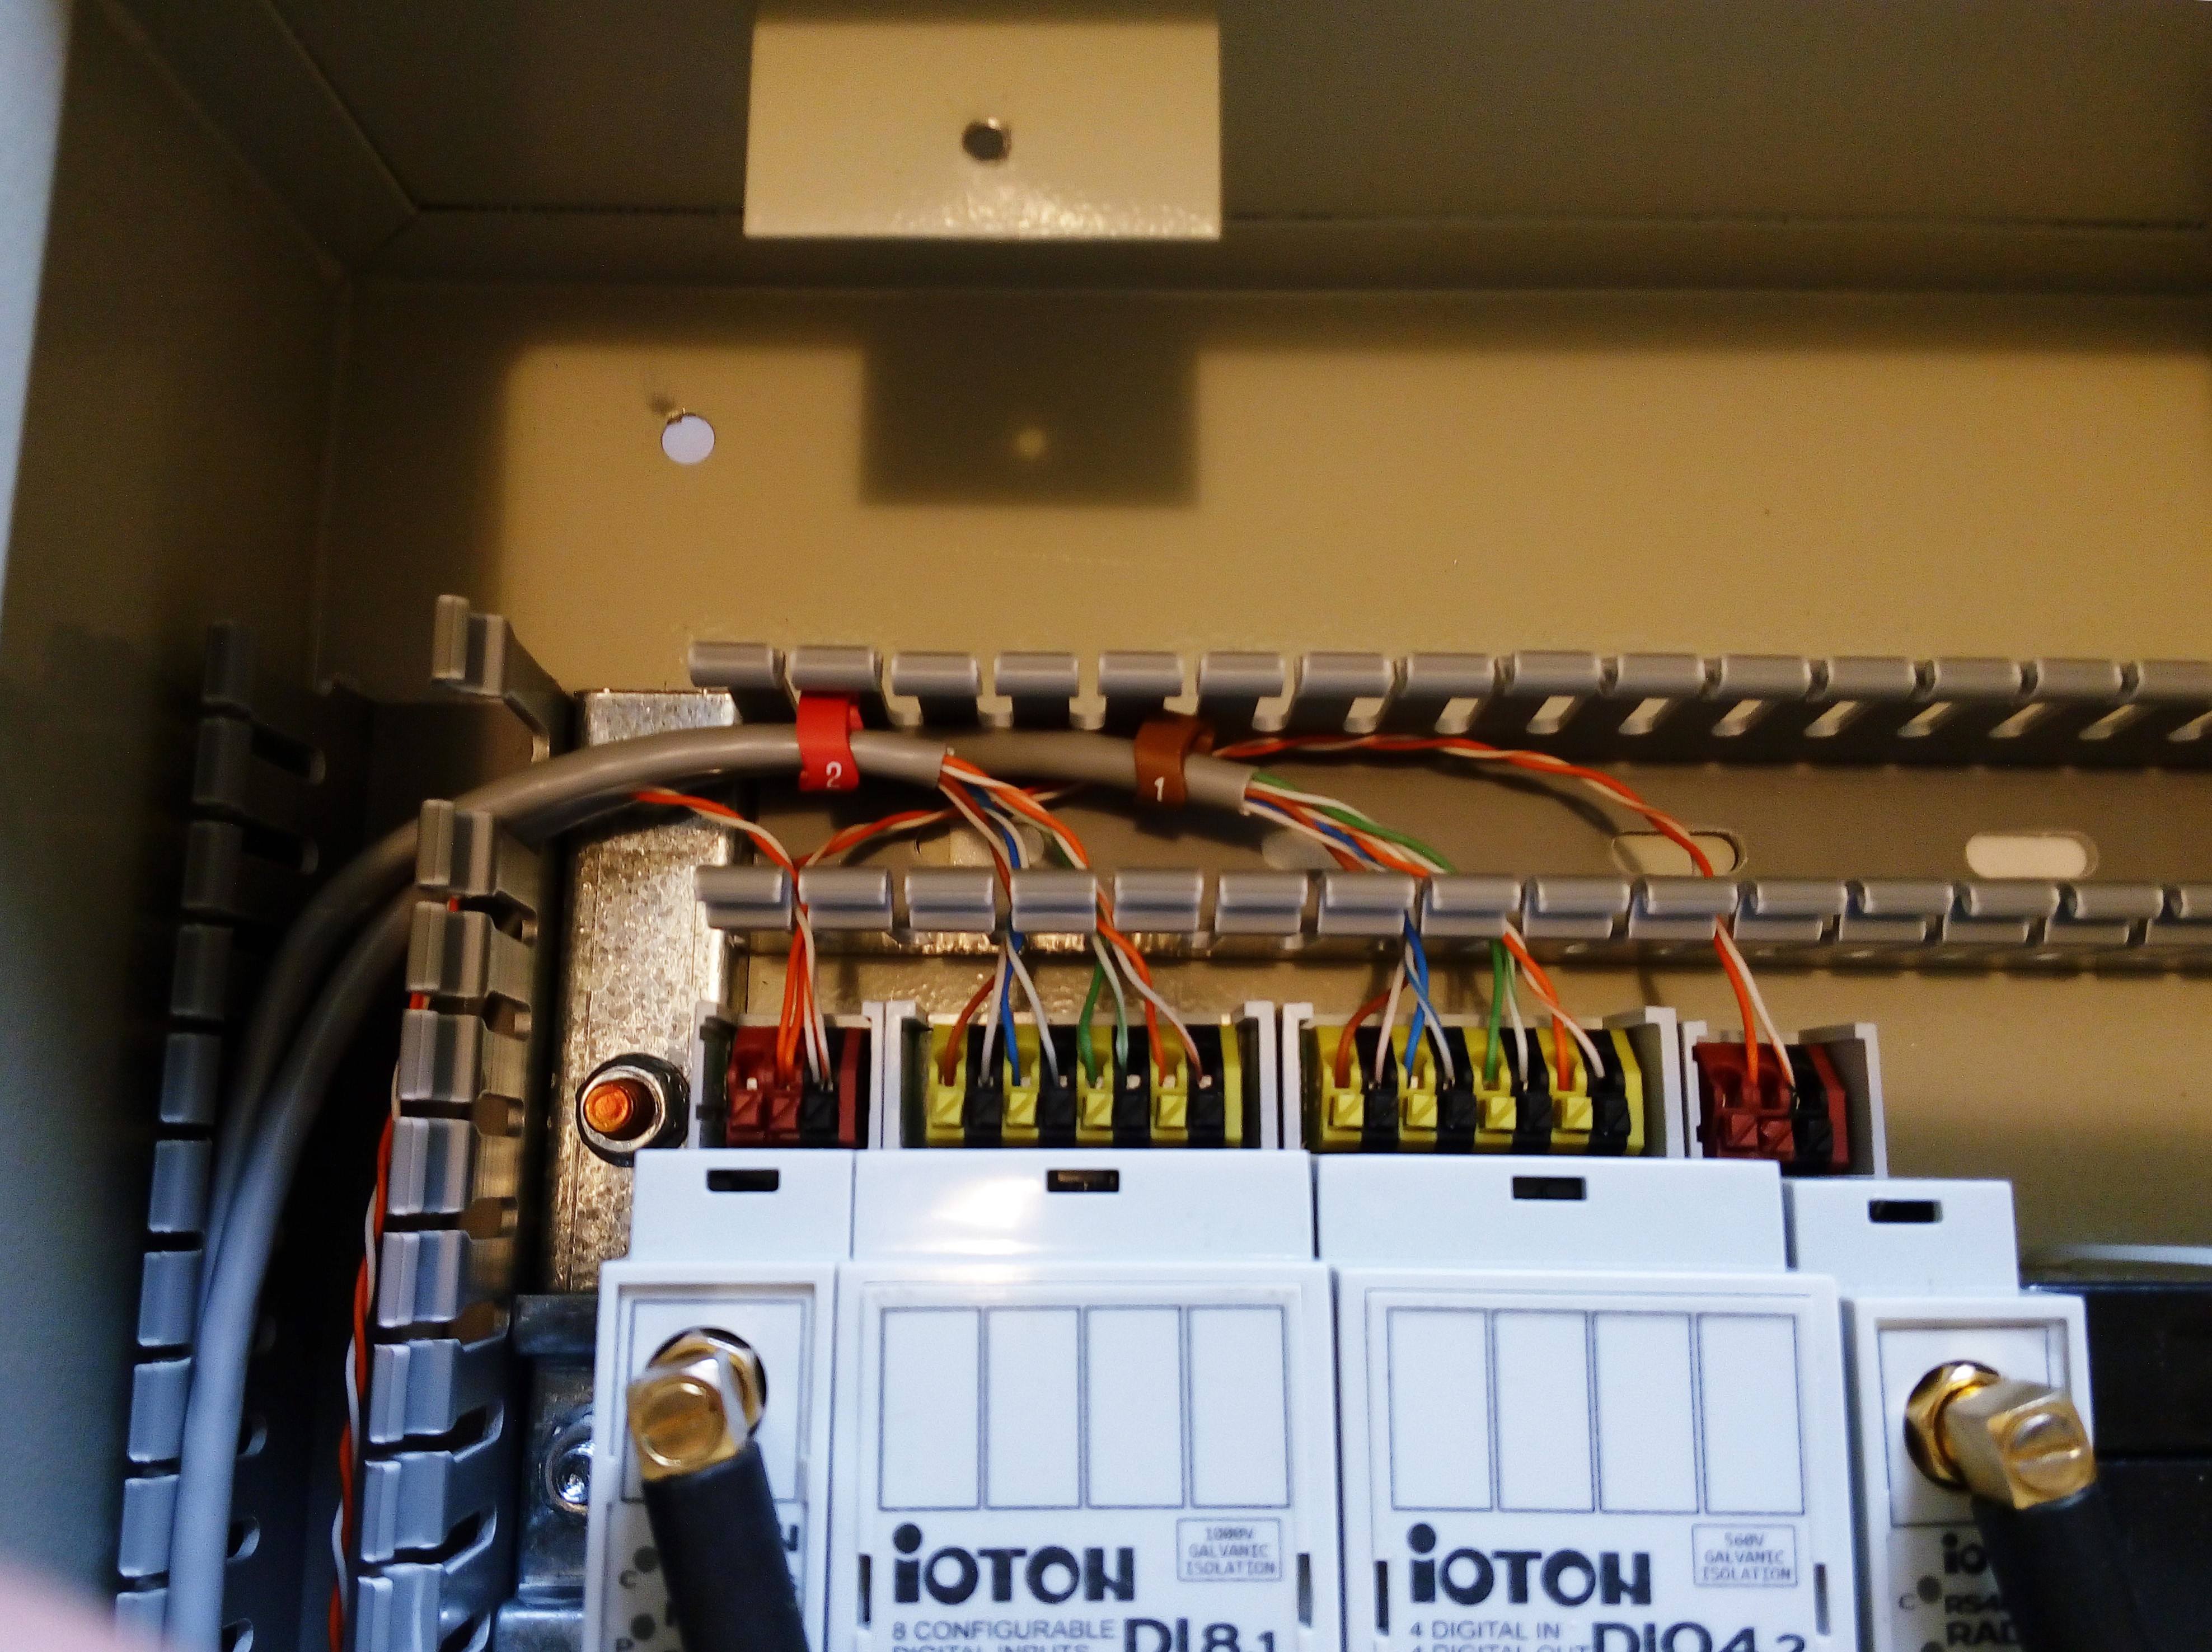
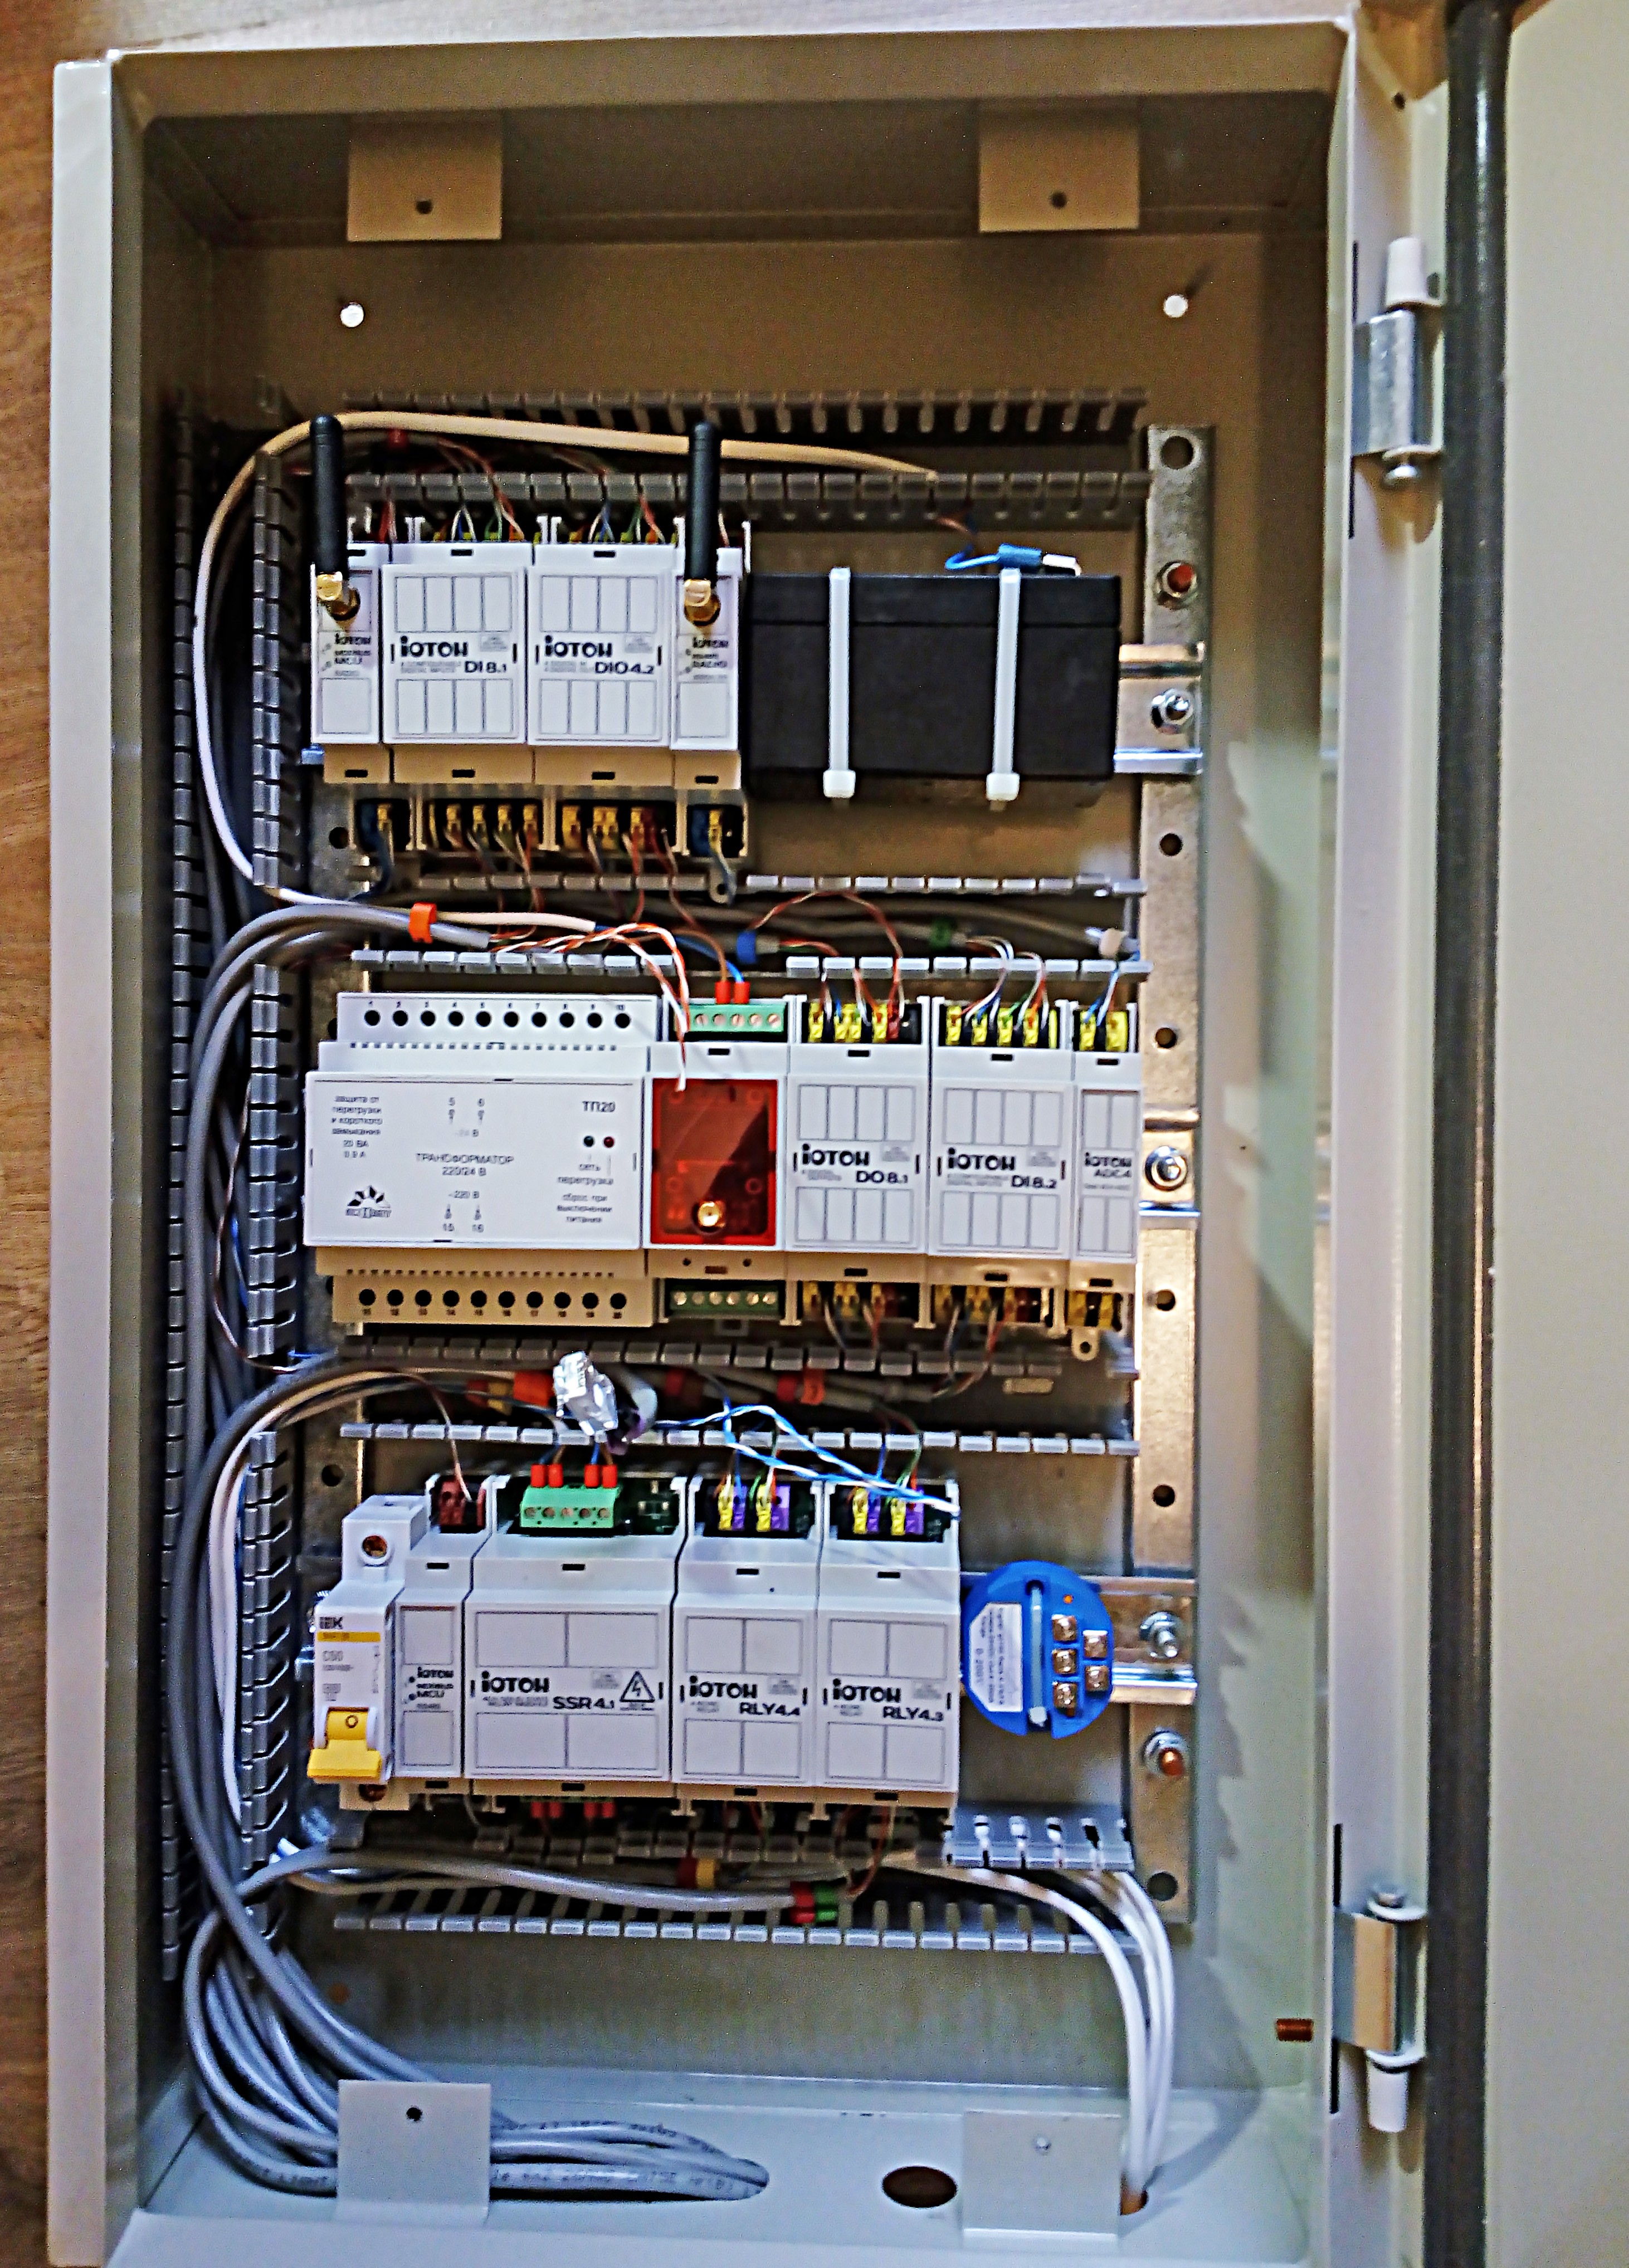
09/04/2019 at 09:24 • 0 commentsIt's the part of the mini-hotel automation system project (SIEMENS to IOTON replacement).
I think I finished the main control enclosure wiring and test.
Totally I have 143 wires in it.
Now it looks like this:
![]() ---------- more ----------
---------- more ----------![]()
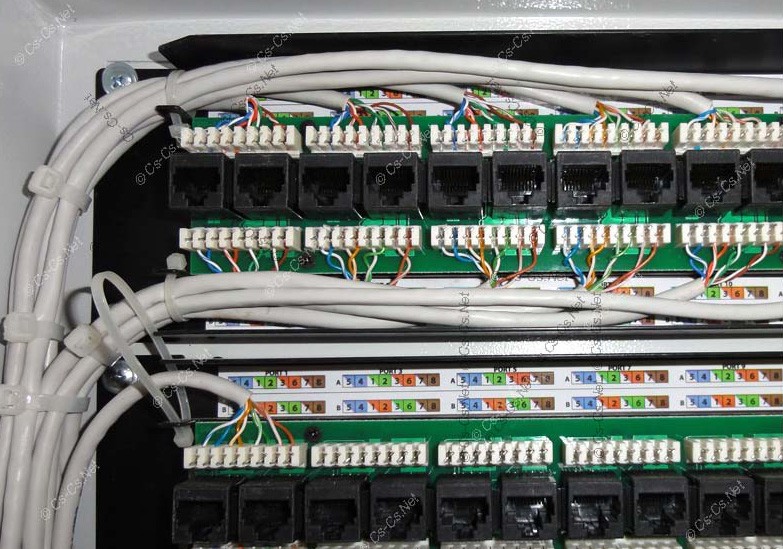
If you are wondered why the wires outside is so short and how to connect it in the building, I will try to explain it.
In the most cases cross panels with spring or screw terminals used for the connection between the control box and the equipment in buildings. On the picture below, cross panel for around 60 wires (I have twice more wires):
![]()
I chose another way. For high current connections I will use spring or screw terminals, but for the low current connections I will use RJ45 cross panel. I will pace it in another enclosure(for connections only) right below the main enclosure. It will looks lite this:
![]()
This way to connect has some advantages, like savings on the wires, easy connection and space savings.
-
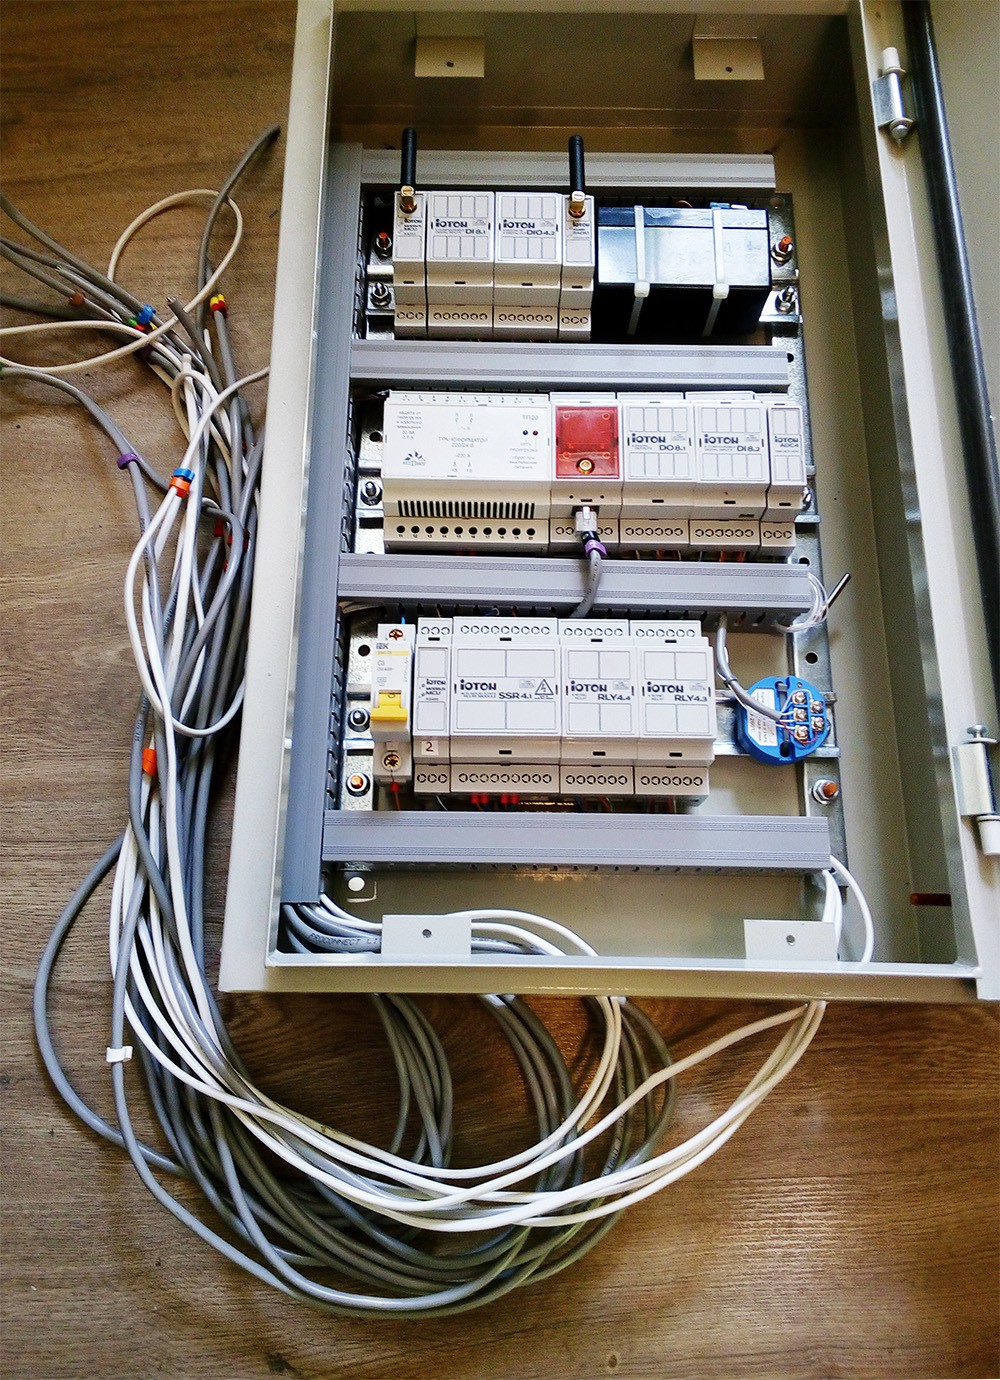
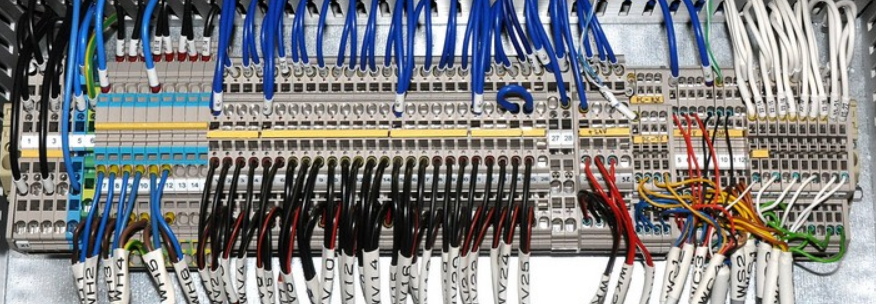
WIRING
09/02/2019 at 17:36 • 0 commentsSo far so good...
Today I made some wirings for the mini-hotel automation system.
![]()
I think it was a very good decision to combine 4 inputs or outputs in one group because to connect one group I need one UTP cable. Now wiring is as easy as possible.
---------- more ----------![]()
I spent only 3 hours to complete around 95% wiring. It's not so complicated project, It's only around 150 wires to connect. But I'm glad about the result.
![]()
-
Replacement SIEMENS to IOTON.
08/30/2019 at 06:18 • 0 commentsOne of my friends is an owner of 3 mini-hotels.
He renews one of it and wants to add an automation system. It's not so large building (3 floors, 26 rooms).
Initially, the project was made on Siemens equipment, but after a quick conversation with him and his system integrator, the decision to replace Siemens was made. Preliminary money savings on equipment is around 3 times.
Initially, he is planning to equip only one floor(8 rooms) to reduce risks (my equipment is very new). And if it will work w/o problems, to scaling it for all his buildings and connecting in one grid.
Basic functionalities:
1. Illumination control
2. Heating control
3. Doors status
4. Several sensors (move, temp, humidity)
5. Connection to power meters
6. Control dashboard for personnel
7. Database for future statisticsIt will be 1 main control box, 1 power box(for HV equipment) and two small mixed boxes.
The main control box will look like this:
![]()
I think, I will start wiring for test next week. Also, some radio interfaces will be added for real life test reasons.
-
Family portrait
08/28/2019 at 08:24 • 0 comments![]()
Andrey V
"Dad and son calmly lie next to each other without noticing a predatory snake creeping up behind"
Silicium and Stannum. Painted in Shchelkovo 2017-2019. Louvre long gallery.
In fact, MICRIO predecessor was a huge disaster for me. I made many critical errors in concept and design. I spent a huge amount of time and got an expensive and inflexible product. It was so hard to start a new project after that.
Some words I can say to developers who younger than I:
A big part of our life experience was received from mistakes and disasters. It's the truth of our life. In theory, only one man didn't make any mistakes - who did absolutely nothing.
So never give up, be strong and move on!
-
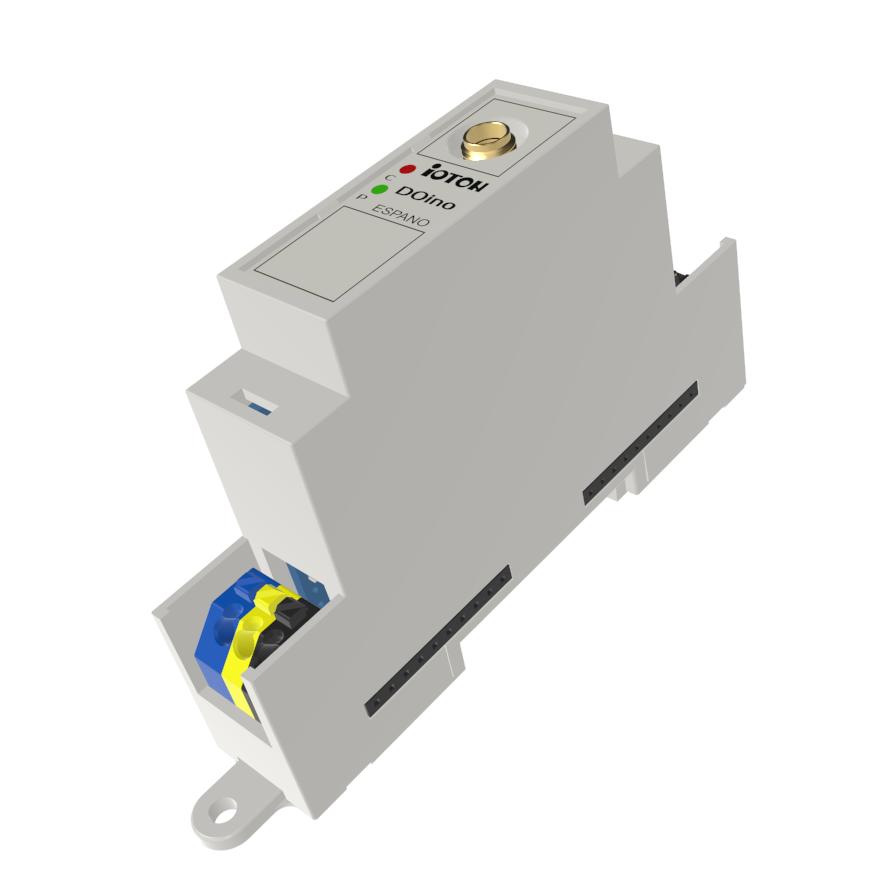
IOTON DOino
08/28/2019 at 06:45 • 0 commentsToday I've started a new product development.
![]()
It will be a controller for real-time applications with extra interface and wireless possibilities.
This module will able to work flawlessly with the next IOTON extension modules:
- DI8.1, DI8.2 (universal input modules)
- DO8.1, DO8.2 (output modules)
- DIO4.1, DIO4.2 (universal input/output modules)
- RLY4.1, RLY4.2, RLY4.3, RLY4.4 (relay modules)
- DIM4.1, DIM4.2 (dimmer modules)
- SSR4.1, SSR4.2 (Solid State Relay modules)
- ADC4 (16bit ADC for 0-10V or 4.20ma)
What will be onboard:
- ATmega32U4 microcontroller.
- ESP8266 module (option)
- UART radio extender up to 3000m(option)
- Two micro USB ports for ATmega32U4 and ESP8266 programming
- 24V PSU
- RS485 isolated port(option)
- SMA connector for antenna
I think I will get working prototype in around two months(PCB manufacturing, components order and delivery takes some time).
-
USER MANUALS
08/27/2019 at 16:23 • 0 commentsI think my work with user manuals is near to the end.
![]()
You can find the draft versions in the files section.
Only Russian language now because I haven't any friends who can translate it.
If somebody can help me with it please, write to me!
-
Schematics
08/27/2019 at 16:04 • 0 commentsNow, you can find the schematics for all modules and interfaces in the files section)
Files are in the DXF format, I did it for convenience when I will start work with the service manual. Just no time for it right now.
You can open it with any online .dxf viewer.
Enjoy!
IOTON MICRIO
Raspberry PI based, fully modular PLC for home and industrial automation.