PRUSA MK3S BUILD AND INITIAL TEST
Although this is perhaps not perfect hackaday.io material, please forgive me. It’s just a kit that I put together, but I wanted to document it.
I finally got my first-ever 3D printer. The kit arrived in the office on Thursday, but I didn’t pick it up and bring it to the boat until Saturday afternoon. I started the build about 5:00pm on Saturday. I finished step 6, the Print Head Assembly around 2:00am.
Starting on Sunday around noon, I did the remaining steps, so that by about 3:00 the printer was fully assembled. So I guess it took me about 12 hours to build it. I feel like I took a reasonable number of breaks, especially including sleeping.
So, I made a simple 3D printable design using Sketchup, and printed a few examples of it. It took me about an hour to design the coin as I’m new to 3D printing and had to figure out Sketchup, download, install, and learn the basics of a slicer (Prusa slicer), and so on, but it worked! I printed it out a few times, starting with the basic Prusament gray, and then using some extra colors.
It all worked very well, and I’m very happy 😊
Today I start learning fusion (as soon as I post this project).
PACKING AND SHIPPING
The kit arrived very well packed. Exceedingly well packed. The outer box was solid and withstood the rigors of being shipped from internationally Czechoslovakia to Miami, then from there to Panama, and finally here to the remote island of Bocas Del Toro.
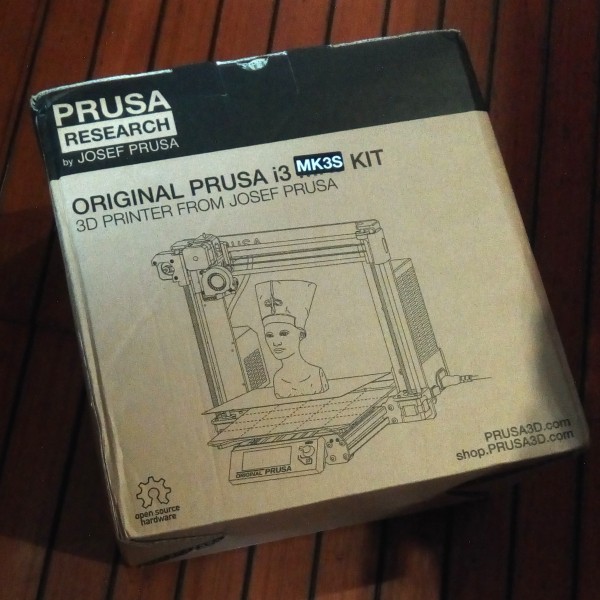
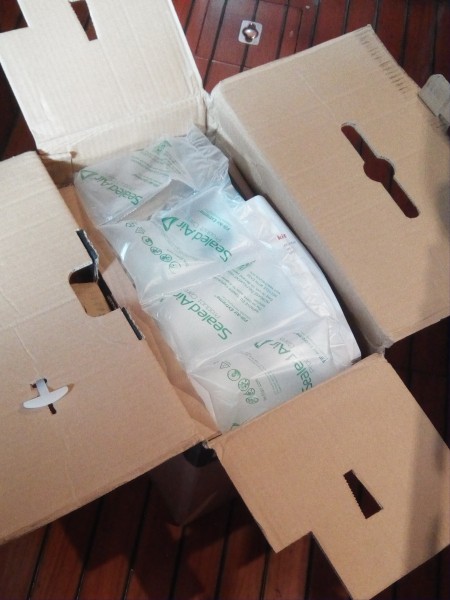
Upon opening the box I was greeted by the assembly and user manuals, the factory quality assurance checklist, and a number of individual boxes containing the components and parts, sorted by the steps to be completed during the assembly.
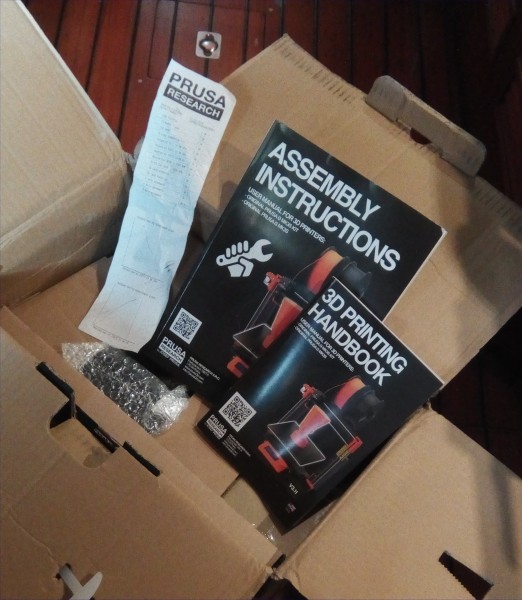
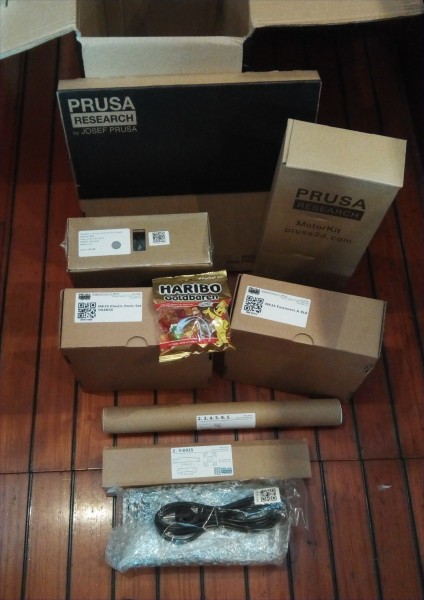
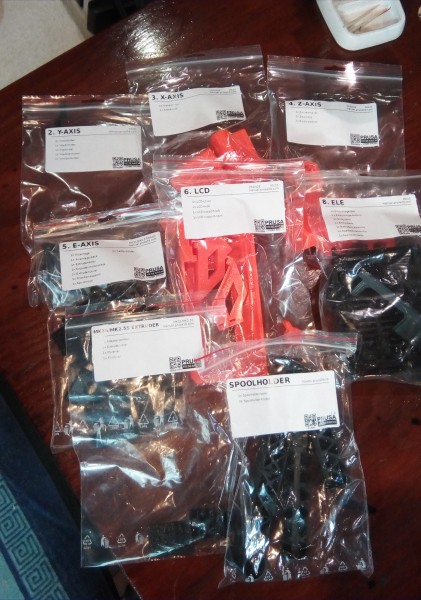
Each box was then individually (exceedingly) well packed, with each box clearly labeled, and within it, each part clearly labelled, once again, ordered by the steps in the assembly, which made the assembly a very ordered and relatively simple process.
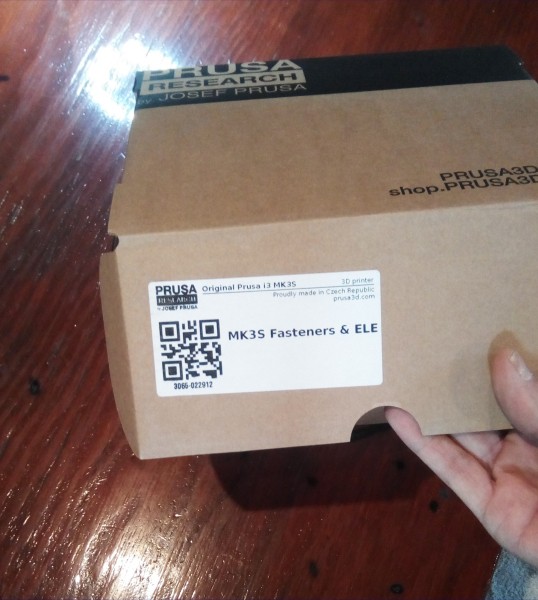
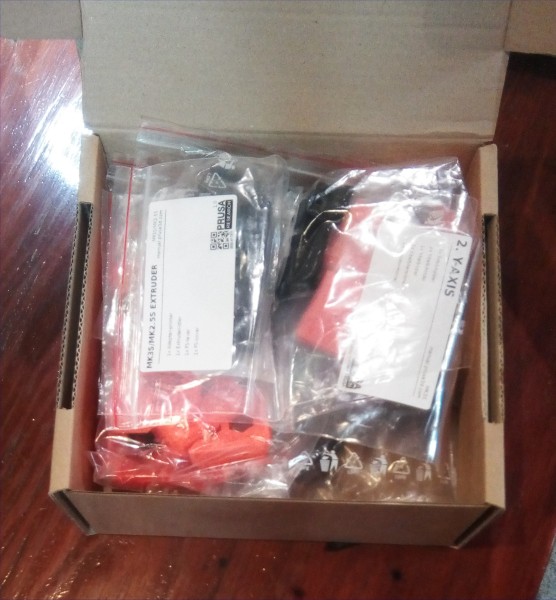
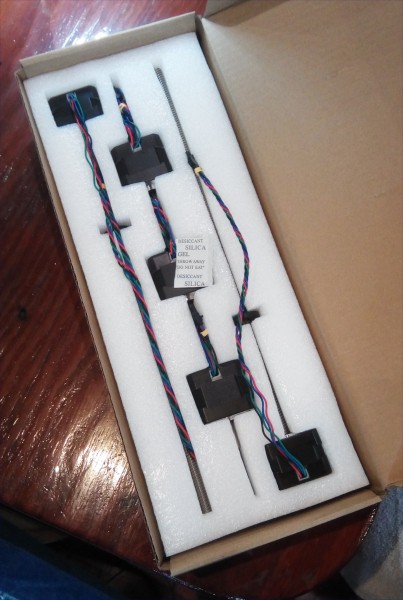
For example, the motors were exceedingly well packed in this box, each one individually labelled, all screws and connectors attached. Each bag was not only keyed to a step in the process, which really helped, but generally included a life-size picture of all the connectors, bolts, screws, and other parts, in the packet. So when I completed almost every step, there were no parts left over. And I didn’t have to keep track of parts across the whole project.
They even included the minimal set of tools to assemble the printer, although most hobbyists will have their own additional tools they’ll want to pick up during the process, and a package of the famous Haribo candies, along with instructions on how many to eat at each step of the process.
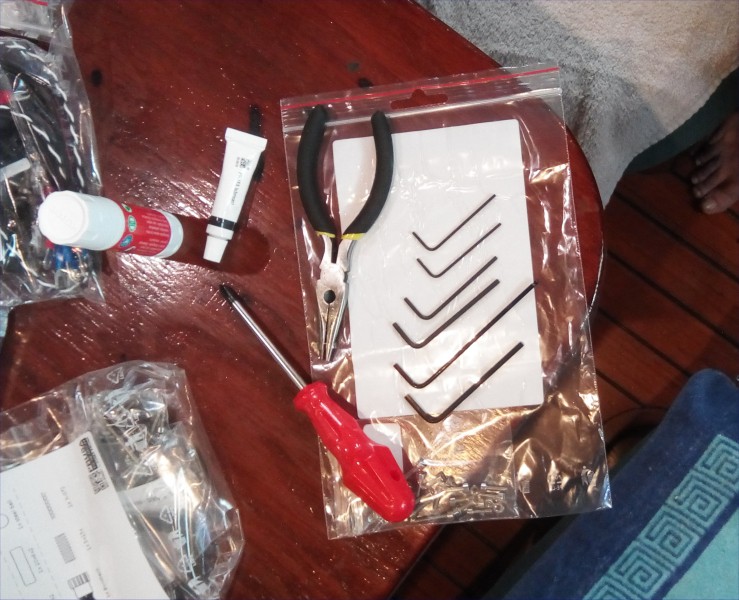
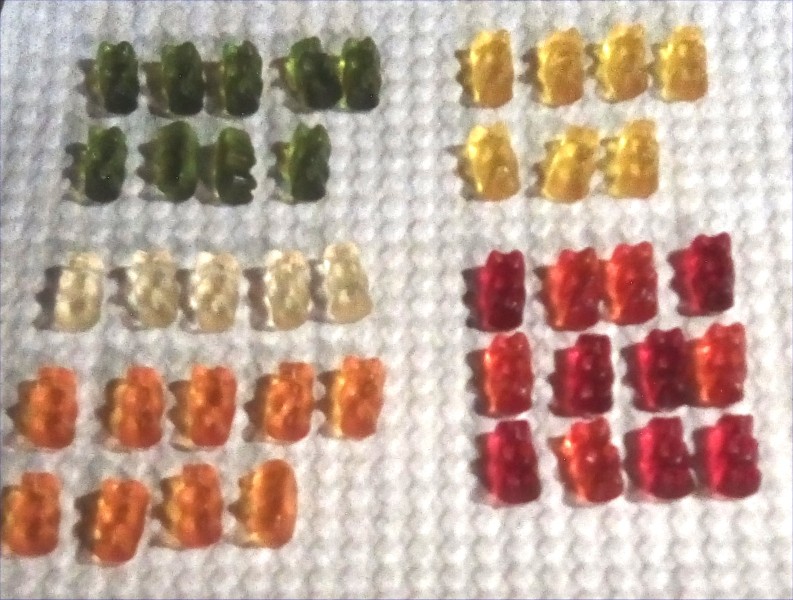
All in all the product was, as I have said three times now, exceedingly well packed. In the end I could have probably done without the printed assembly/user manuals, and sometimes it seemed like the packaging was a bit excessive. However, you pay a premium for a Prusa printer, and this is what they deliver … very high quality throughout … from the parts themselves, to the documentation, to the packaging, and finally to the support. I did not have to use it but they actually have 24/7 online support from actual knowledgeable human beings. So, basically AAA++ on the packing and shipping.
ASSEMBLY
I had been worried that there might not be a MK3S specific assembly manual, but there was. All in all the documentation is beautiful, super informative, easy to follow, and gave me confidence during the assembly that I was doing the right things in the right order. ...
Read more » Patrick


 the.wretch
 Michal Wojciechowski
 johnowhitaker
 Sam Smith
so nice