I have finally gotten Wheatley up onto the track. Here is a video.
Here are the things I have done since my last update.
Printing and Assembling the Frame
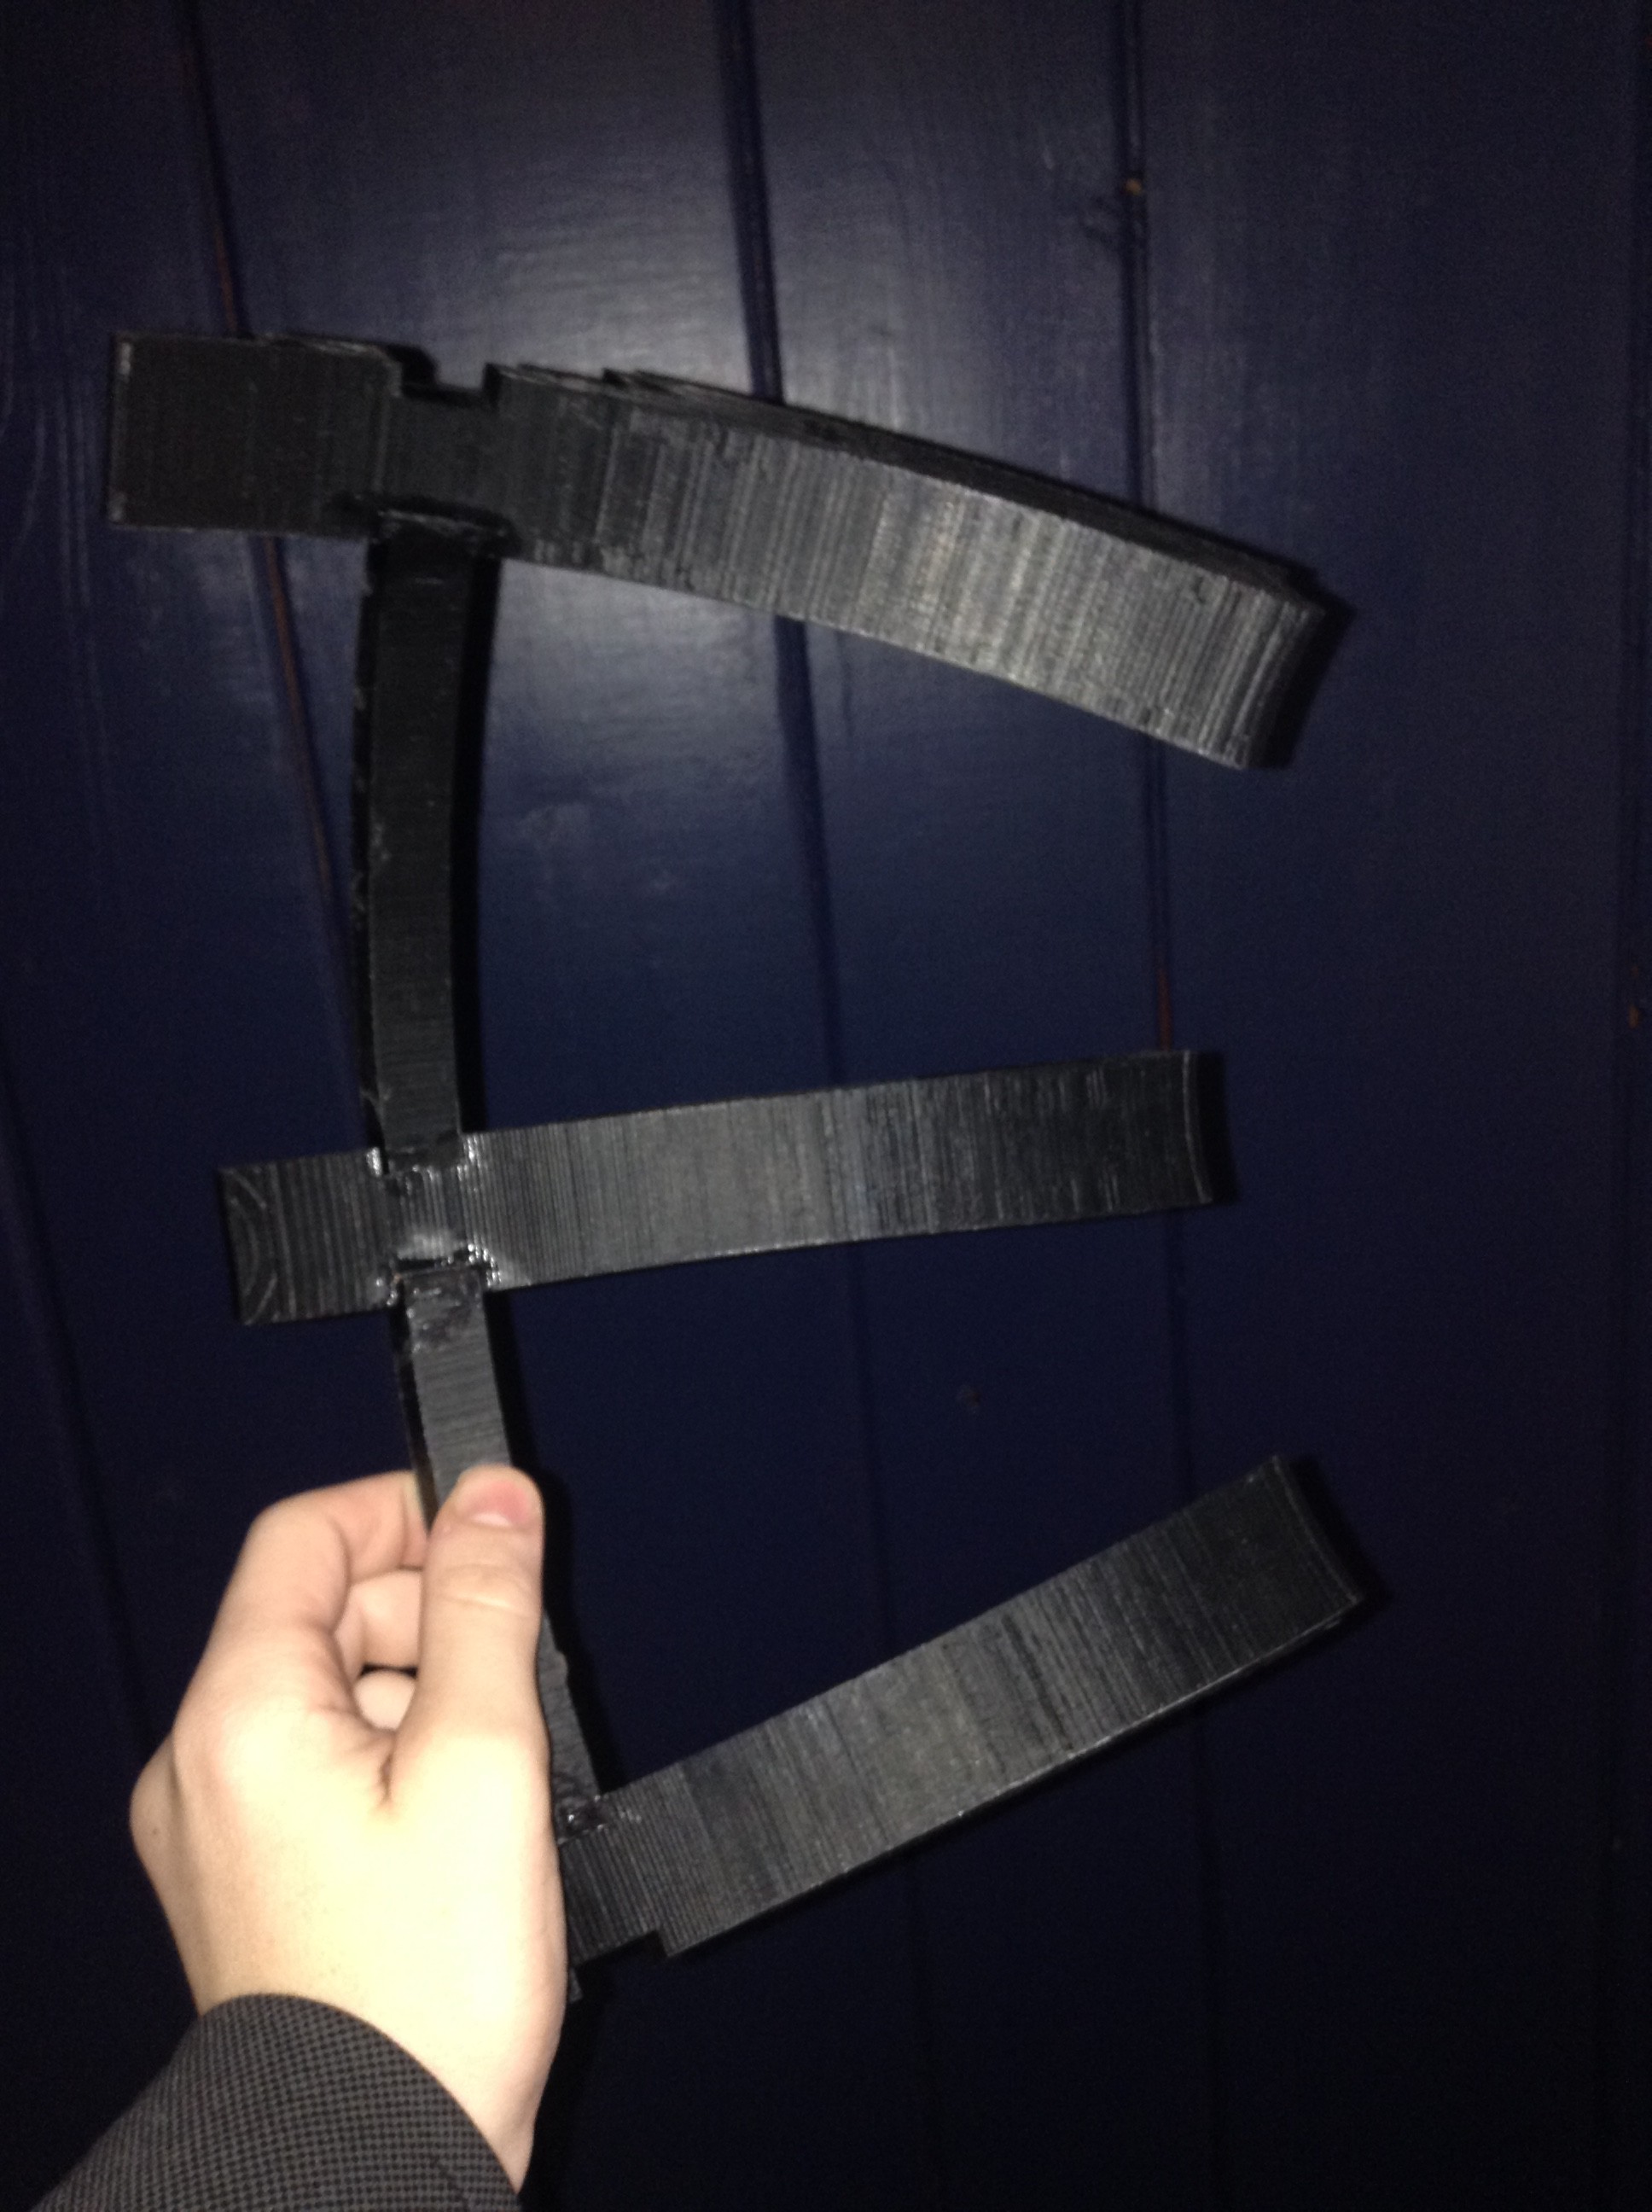
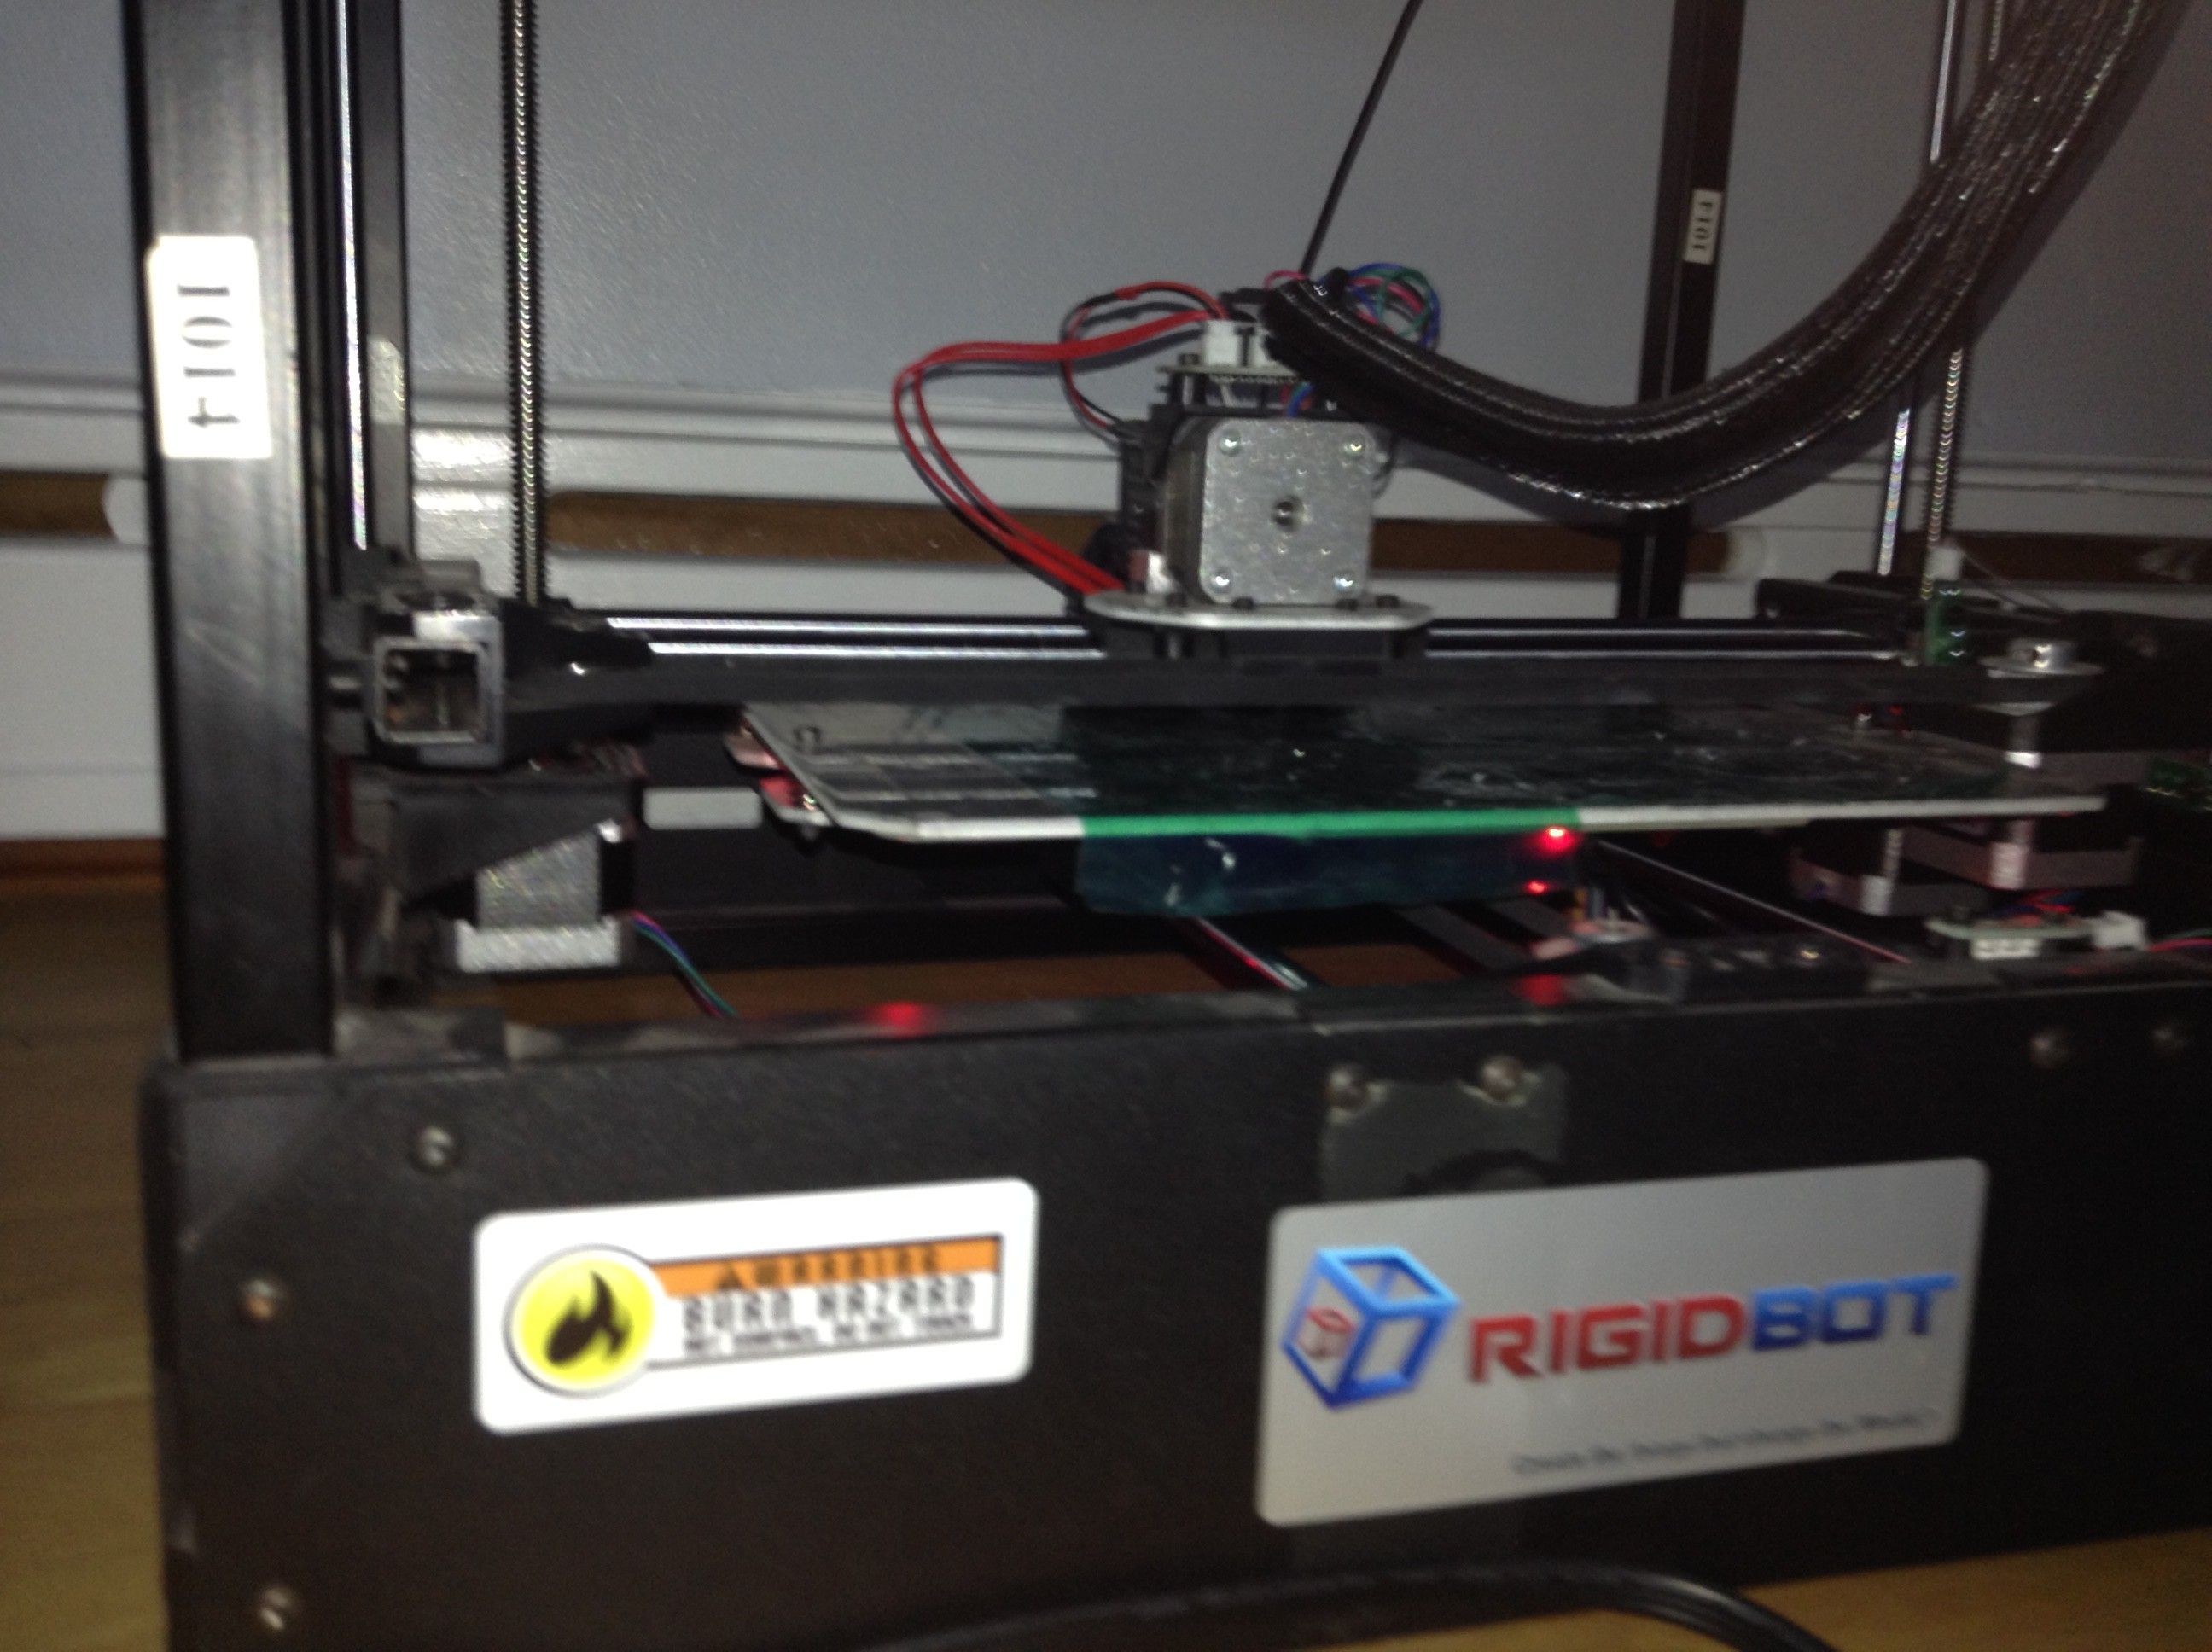
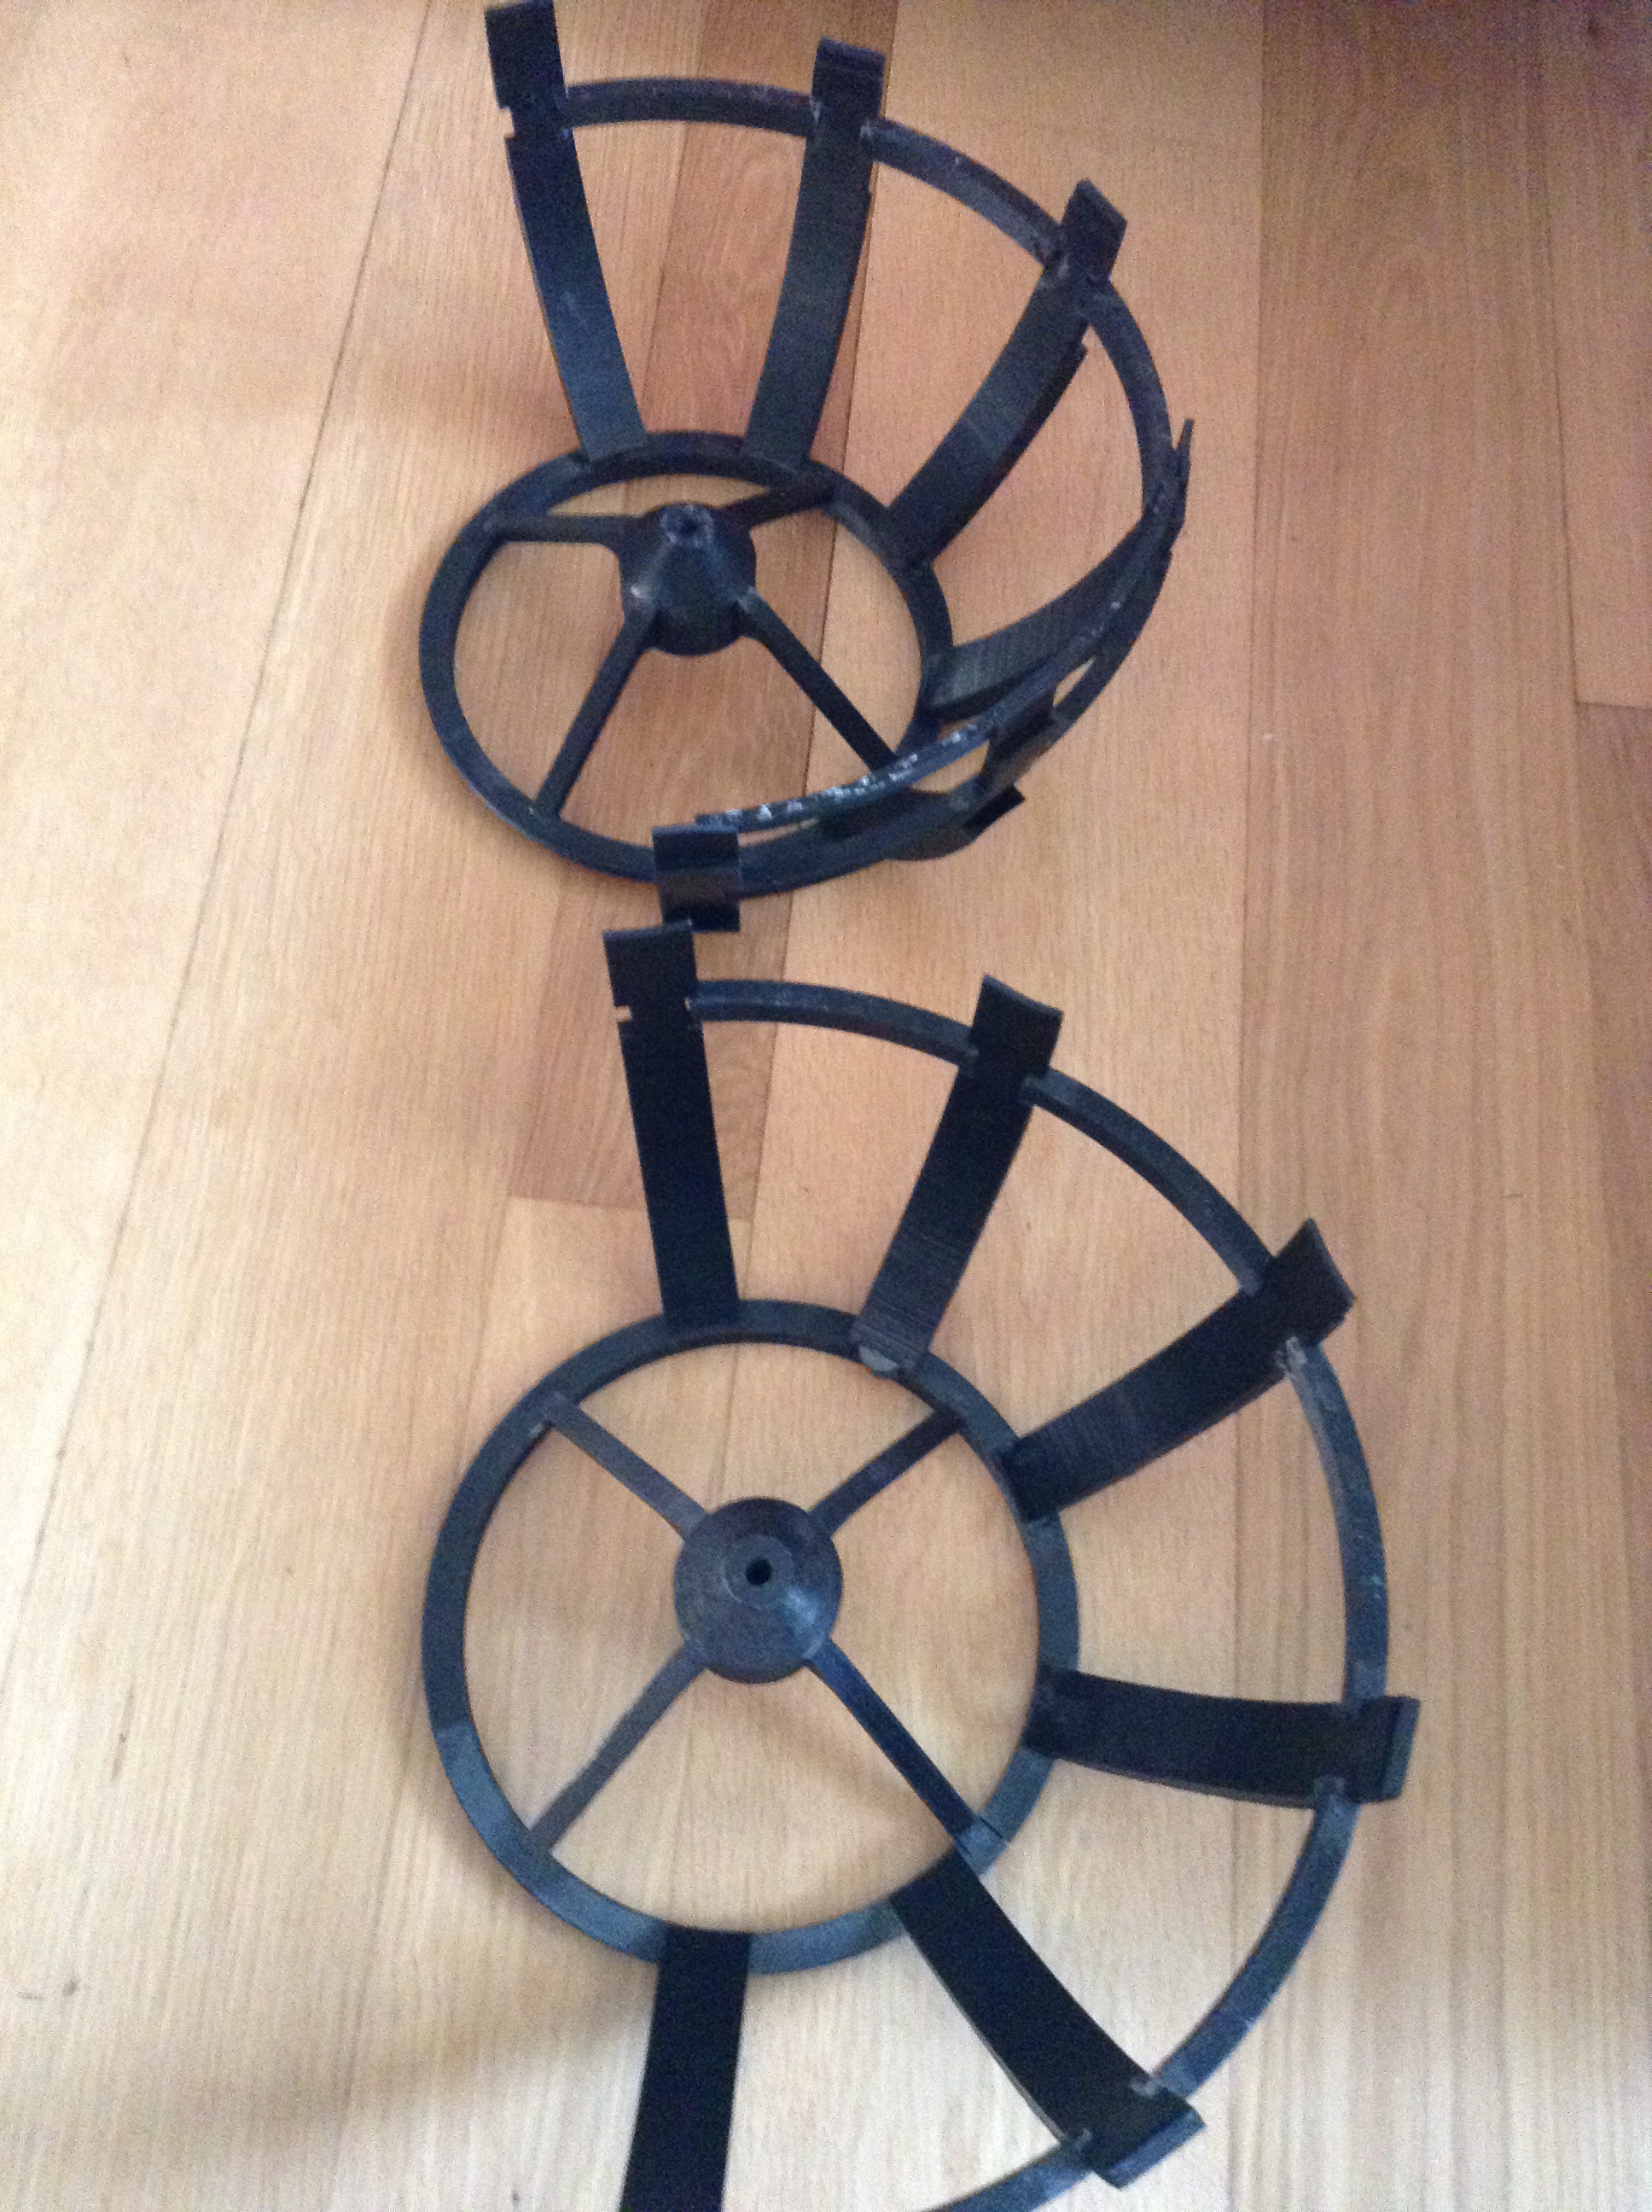
After countless hours of 3d printing, I had all of the pieces for Wheatley's frame. I used acetone to chemically weld the pieces together.
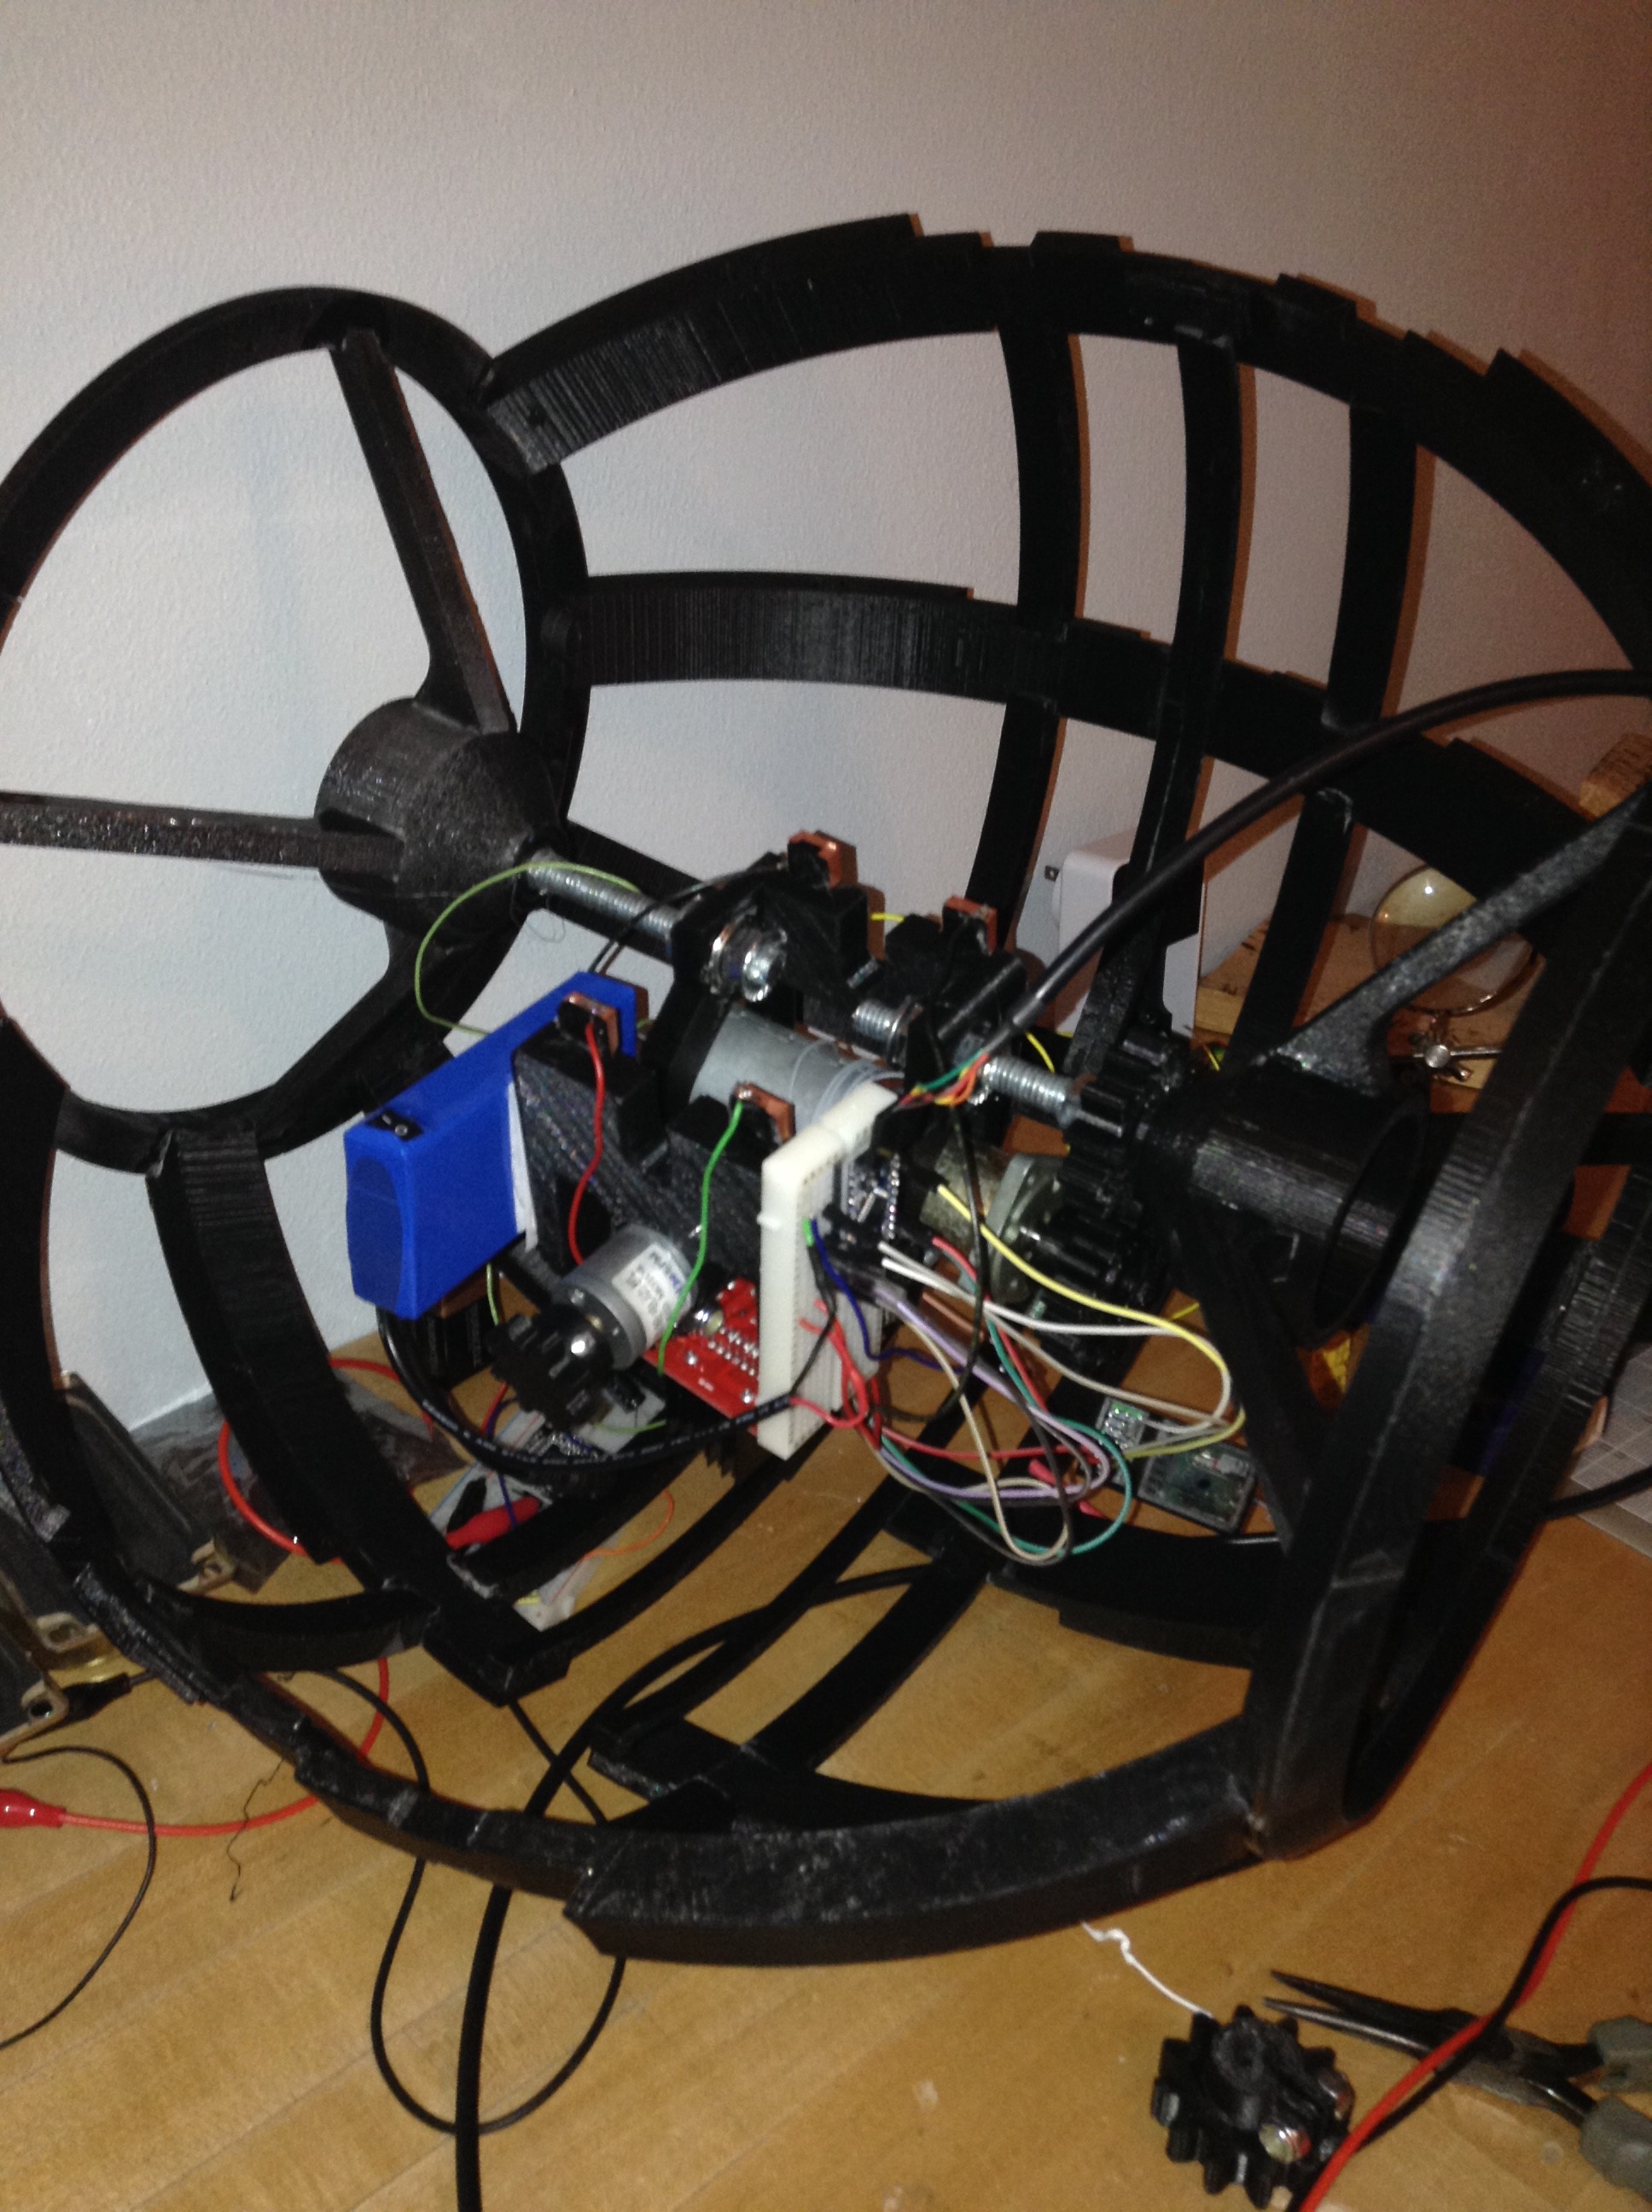
After assembling the frame, I hot glued all the electronics onto the middle for testing. My code is available for download on the main page of this project. I am using 2 motor controllers, 1 to control the up-down and left-right movement, and another to control the movement on the track. I wired up a RC remote so I could control him remotely.
When he magnets onto the TAD (Track Attachment Device, talked about in the last project log), springs come into contact with copper plates so the signal can travel to the motors on the TAD.
As you can see, everything is very temporary and I am planning to redesign most of the core because the movement was sloppy.
Finishing up the Track Attachment Device
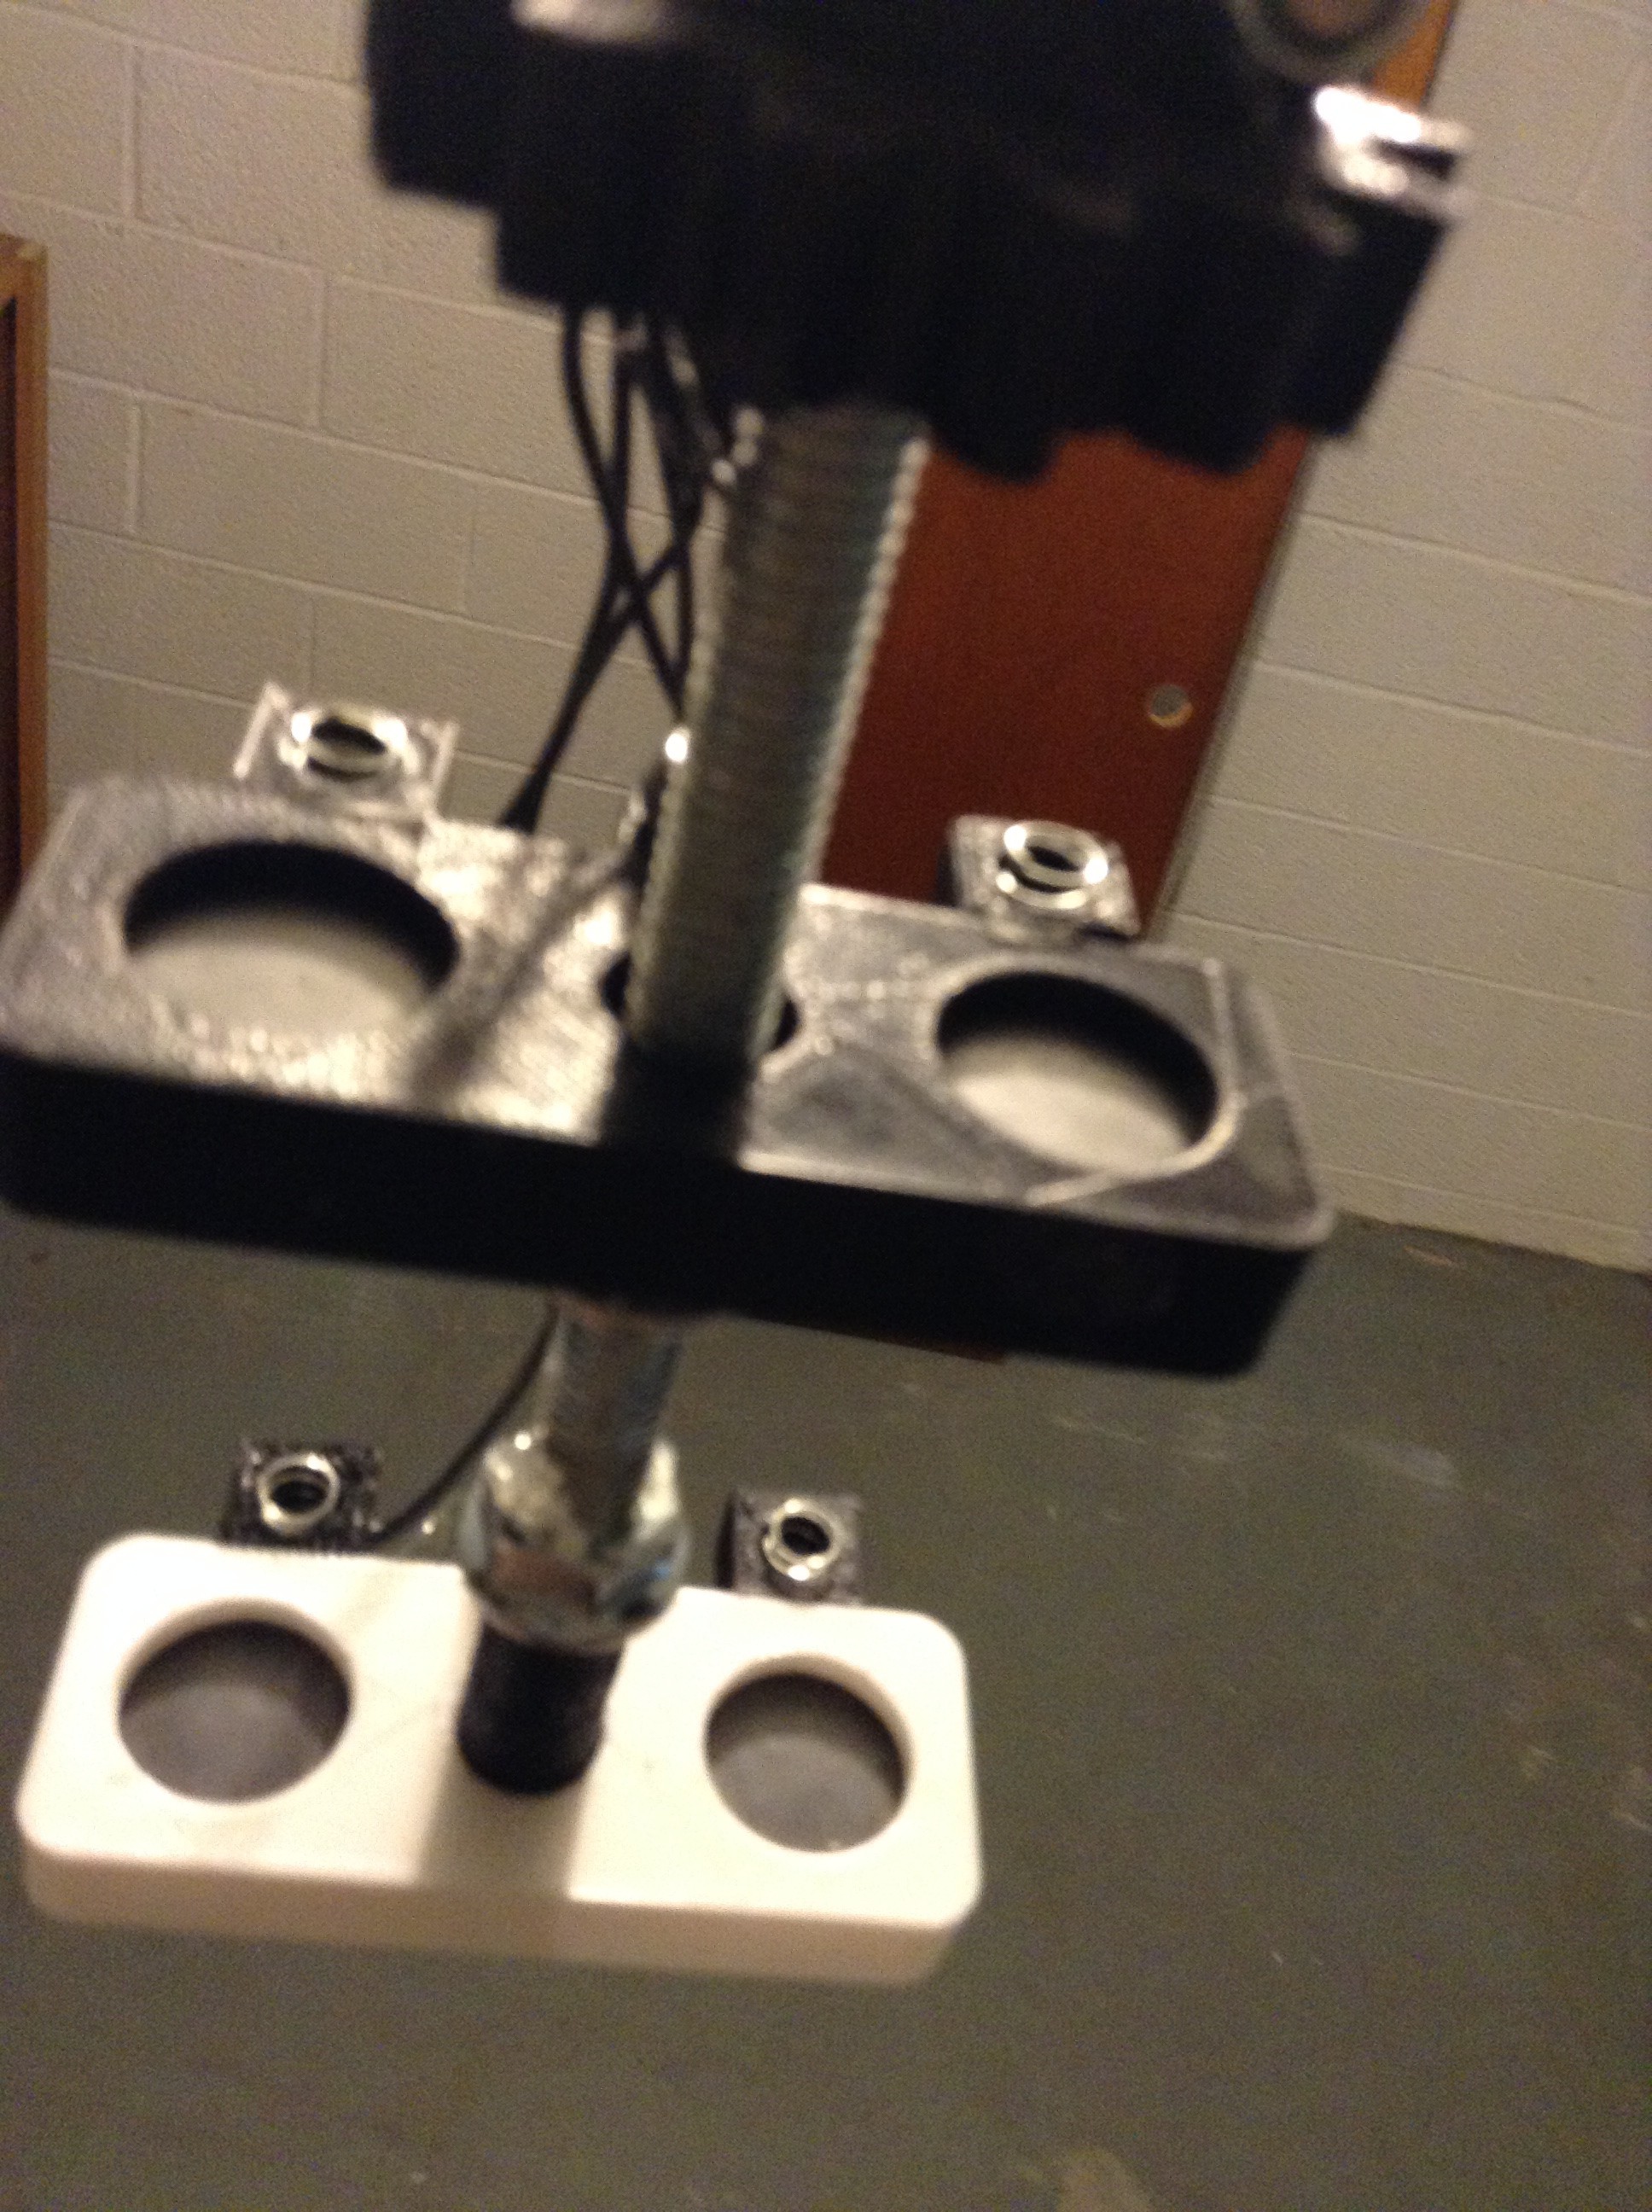
I finished designing and building the TAD. There are magnets that click into place when the TAD is connected to Wheatley. Connecting Wheatley to the TAD was harder than I wanted it to be, so I will also work on redesigning that so the two pieces connect easily without me having to wiggle them around and stand on a stool to line them up just right.
There are small springs on the part of the TAD that connects to Wheatley. These come into contact with copper plates on Wheatley so power can be transferred to the motors on the TAD. The motor controllers are on the main body of Wheatley.
Future Plans
The next thing I plan to do is redesign and reprint the core of Wheatley. As I mentioned earlier, the movement was very sloppy and there is lots of room for improvement.
When I started playing with the sounds, the sound had lots of static noise. I put a 100 ohm resistor in series with the speaker and that got rid of the static, but decreased the volume. I am working to try to get the most volume I can out of the speakers without static.
My current code is uploaded onto the main page of the project. I used two arduinos for this test, but in the future, I will control this with three mini arduinos.
Discussions
Become a Hackaday.io Member
Create an account to leave a comment. Already have an account? Log In.