 Jonathan Bumstead
I completed the design and layout for the upright laser harp shield, and now I am working on the shield's CAD model. Here you can see how the ULH shield will stack on top of the Arduino Mega and Music Maker shield.

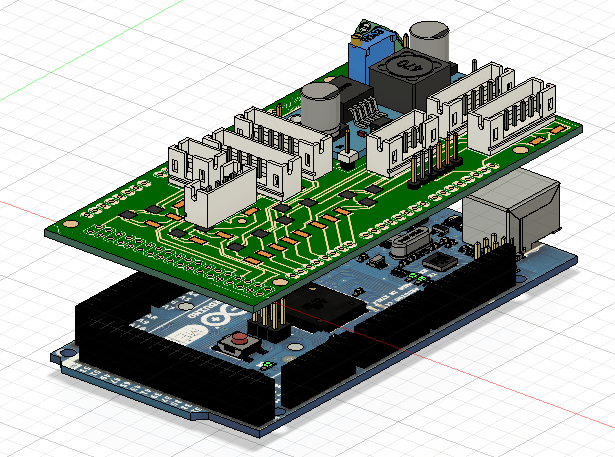
The following connectors are on the shield:
- Laser and photoresistor signals for corner one (7-pin JST)
- Laser and photoresistor signals for corner two (7-pin JST)
- Laser and photoresistor signals for corner three (7-pin JST)
- Laser and photoresistor signals for corner four (7-pin JST)
- Potentiometer (3-pin JST)
- Rotary encoder (5-pin JST)
- Photointerrupter (4-pin JST)
- Motor driver board (5-pin header)
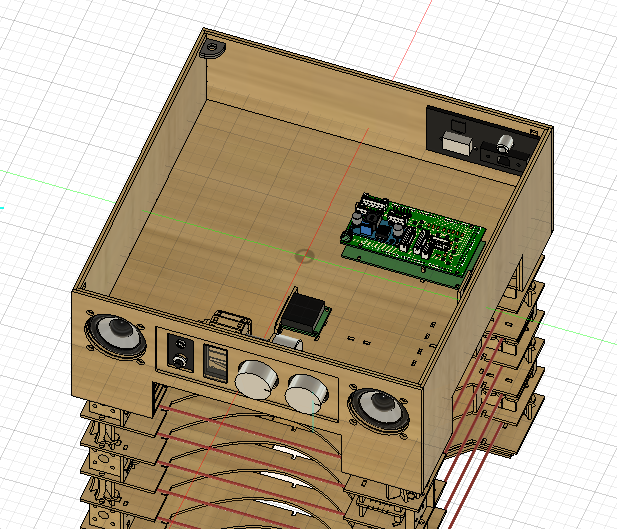
Instead of the hundreds of cable connections required for prototype one, the second version will only have a few cables running through the box, making the electronics much cleaner and easier to assemble. The white boxes in the diagram below are JST connectors.

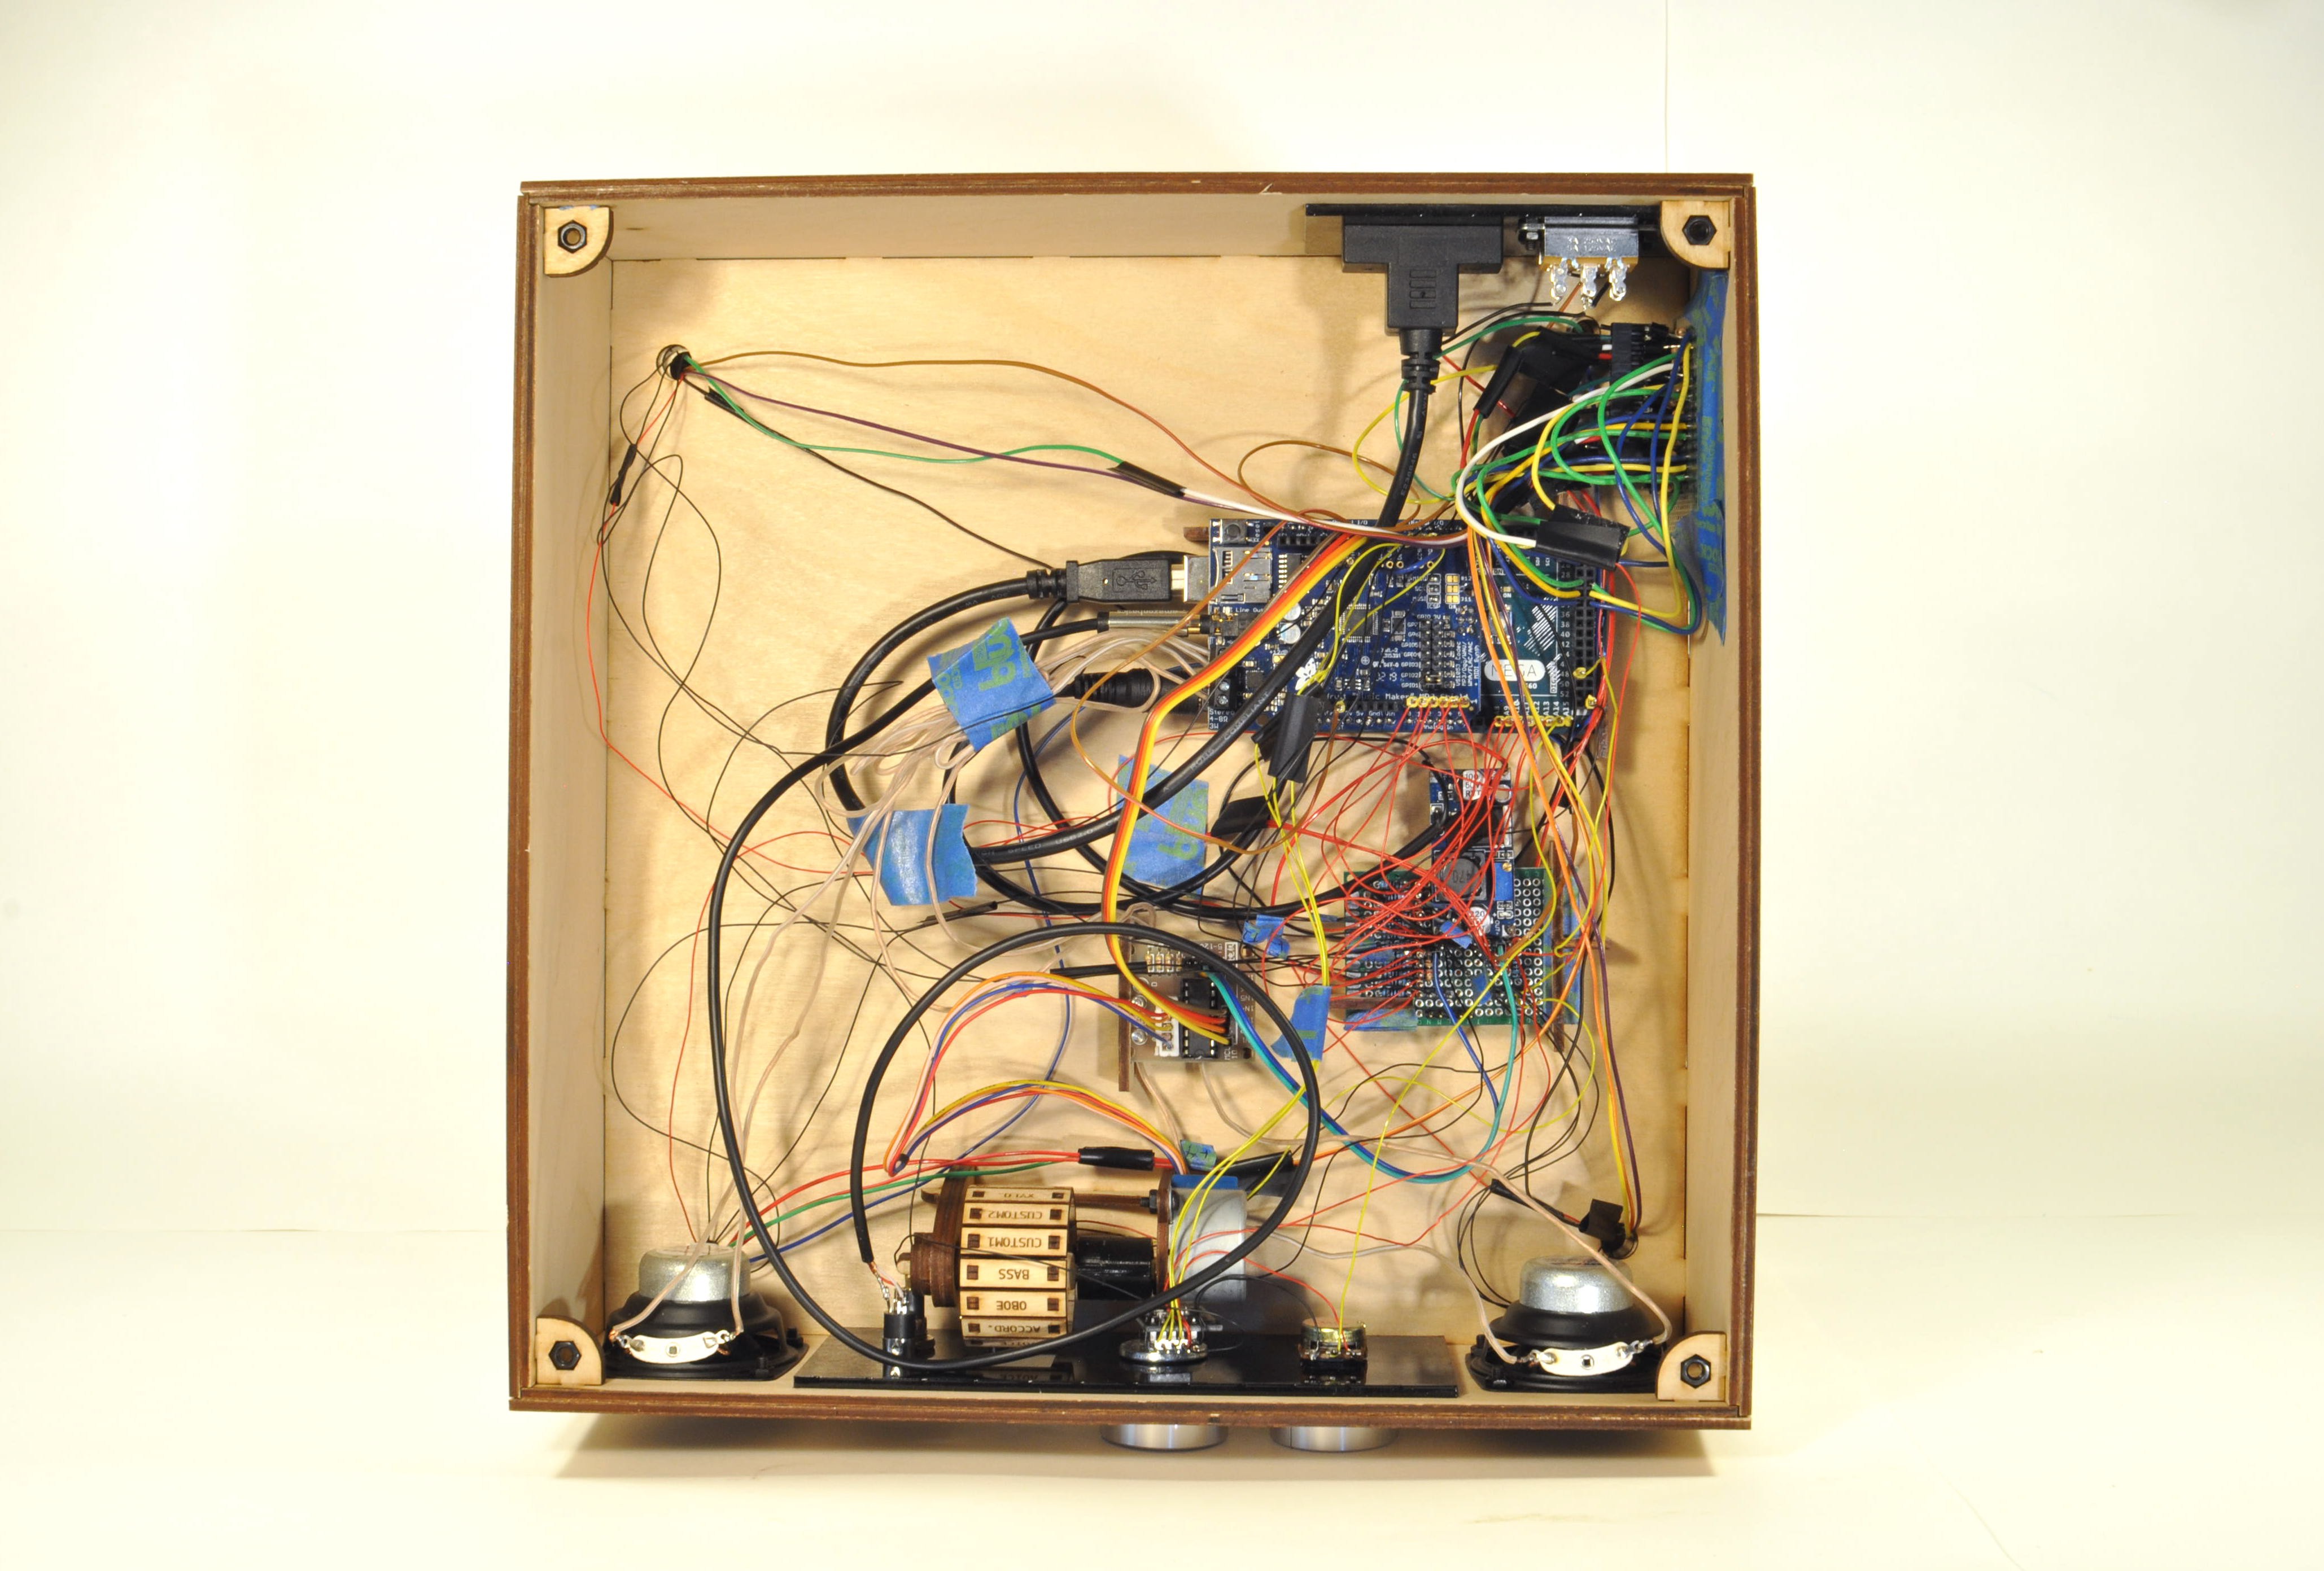
The first version (pictured below) is a lot of wire management! This challenge will go away in version 2.
Discussions
Become a Hackaday.io Member
Create an account to leave a comment. Already have an account? Log In.