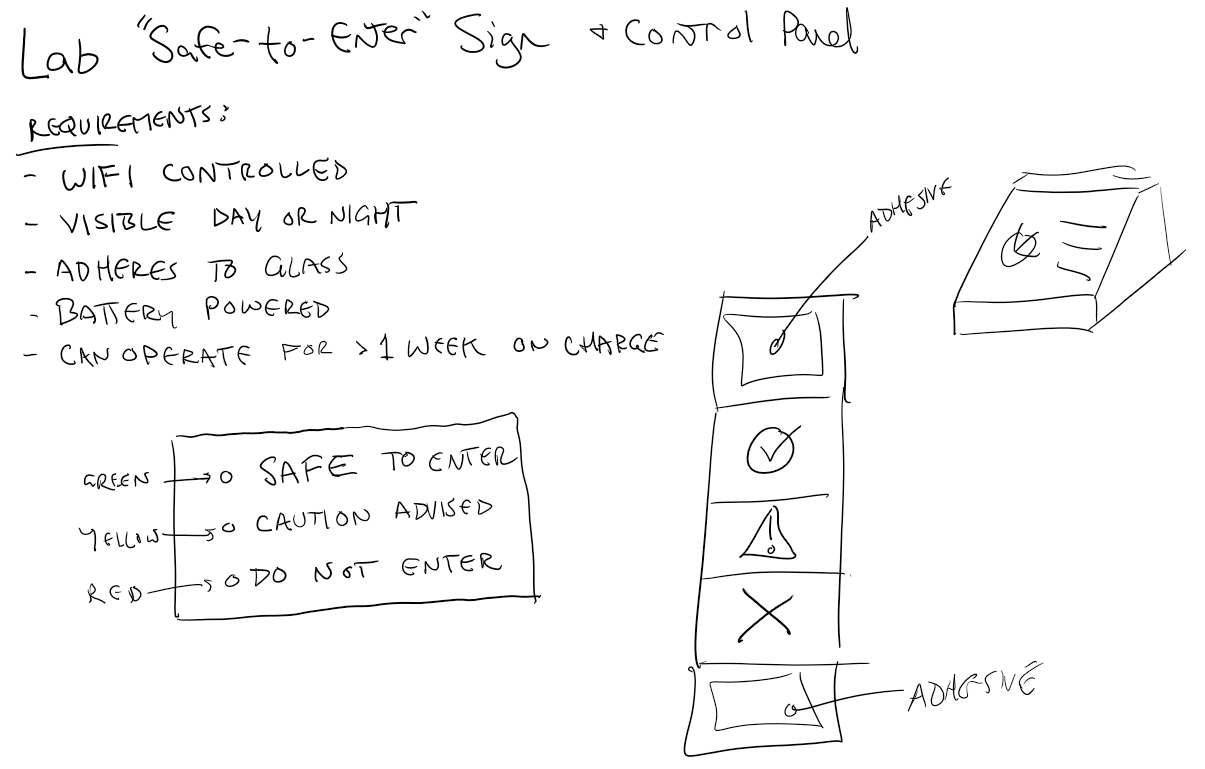
I started out by putting together a rough sketch of what this thing is supposed to do and what it might look like. Some of the requirements are bound to change as I think more about the users (myself and my wife) and how I can optimize communication without creating MORE distractions.

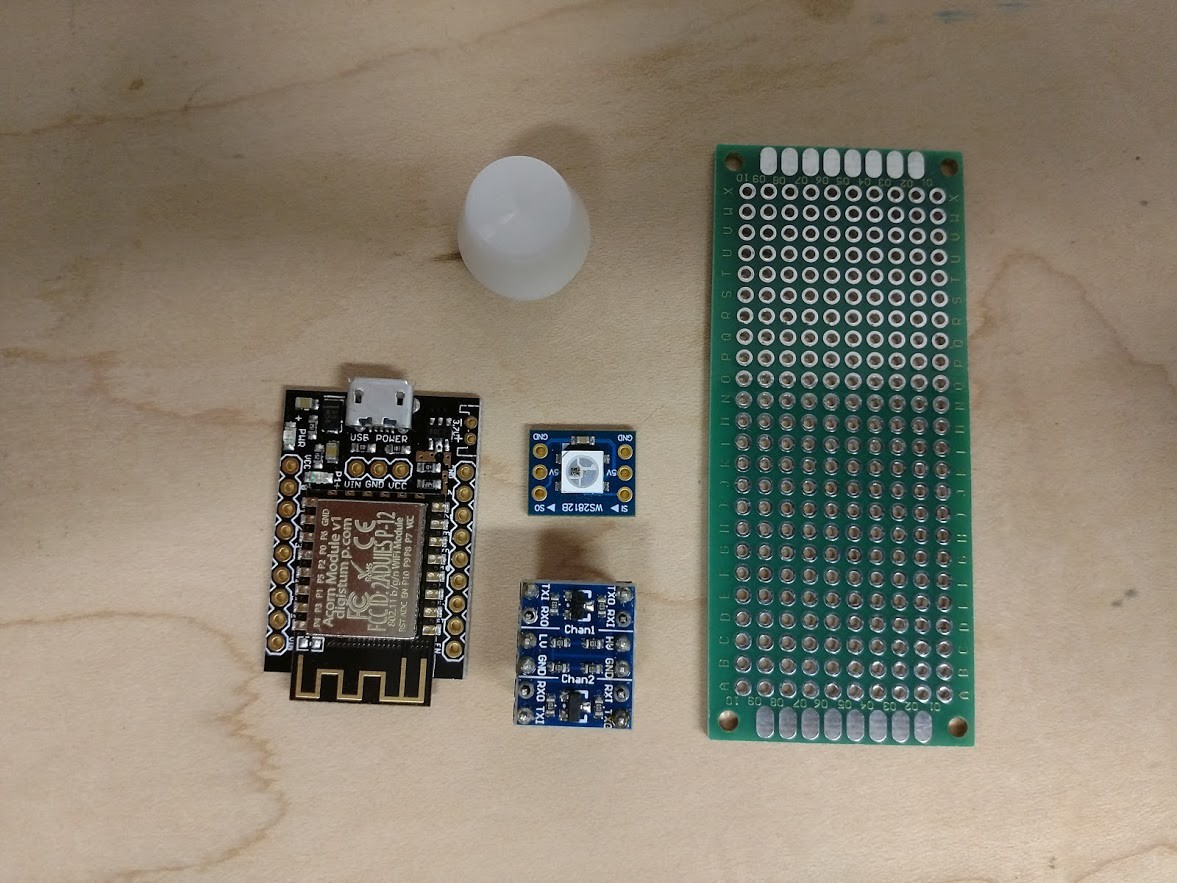
After I put this together, I started rummaging through my parts drawers to figure out what I was going to build this out of. The parts I landed on for the build were:
- A Digistump Oak (ESP8266 with 5v VREG and MicroUSB)
- A single WS2821B NeoPixel on breakout board
- A logic level shifter (for the 3.3 to 5v communication)
- A 1000uF capacitor (for power stability)

The concept was to have the ESP host a simple WebUI which shows the current status and provides buttons to change the status. As the status changes, the LED changes colors to match the status.
I hunted down my FTDI 3.3v cable (the MicroUSB on the Digistump Oak is for power only -- it does not provide a programming interface) and started pulling up all the documentation for the pinout of the Oak and the board support for the ESP8266 in the Arduino IDE.
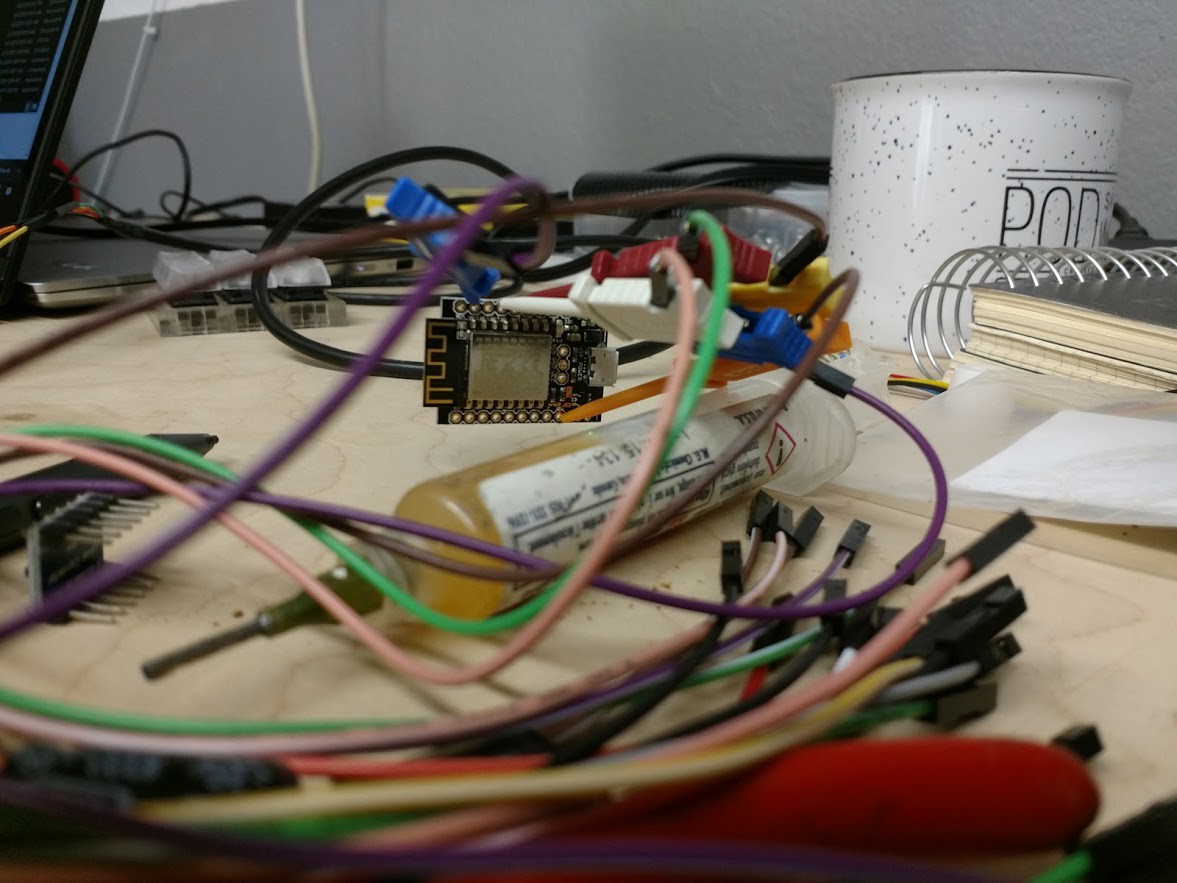
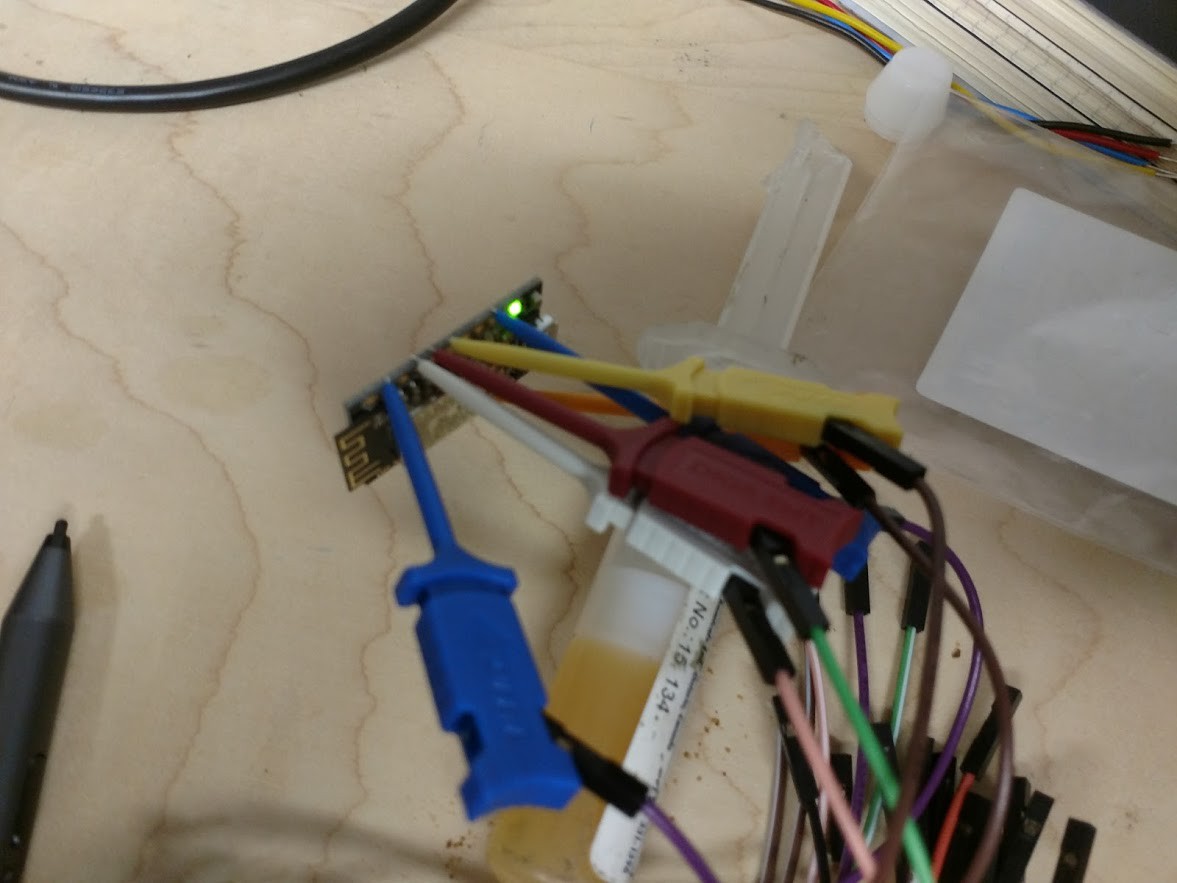
One of my favorite features of WiFi IoT devices I've come across is when an unconfigured device hosts an access point for setup. No nonsense apps to download off the Play Store -- just a simple as pie web interface to configure the wireless settings on the device. Thankfully, [tzapu] has already made WiFi Manager -- a nice little package to do just this. At this point, I spent a LOT of time fiddling with little logic probe clips and jumper cables to try to get a solderless programming connection. It was a disaster -- The clips are likely lovely for pins, but for through-holes, it was a constant fight to keep them from popping off with the slightest movement.

I eventually got it to work long enough to write out the program, but I believe I'll have to experiment with a different type of clip, or maybe pogo pins next time around.

I managed to get vanilla Wifi Config up and running, and was able to join the ESP8266 to my home network. Next time, I'll solder some headers to the Oak, and get some example libraries for the WS2812B.
 scott.mcgimpsey
Discussions
Become a Hackaday.io Member
Create an account to leave a comment. Already have an account? Log In.