 Dongil Choi
I would like to introduce the process of replacing the motor controller of the actuator of steadywin with VESCular6. The actuator that I have is an early model of Steadywin and was purchased from Aliexpress about two years ago. I was surprised by the quality of the product at the time of purchase, but I haven't used it for a while. I recently changed the motor controller to VESCular6, so I want to show you this process.
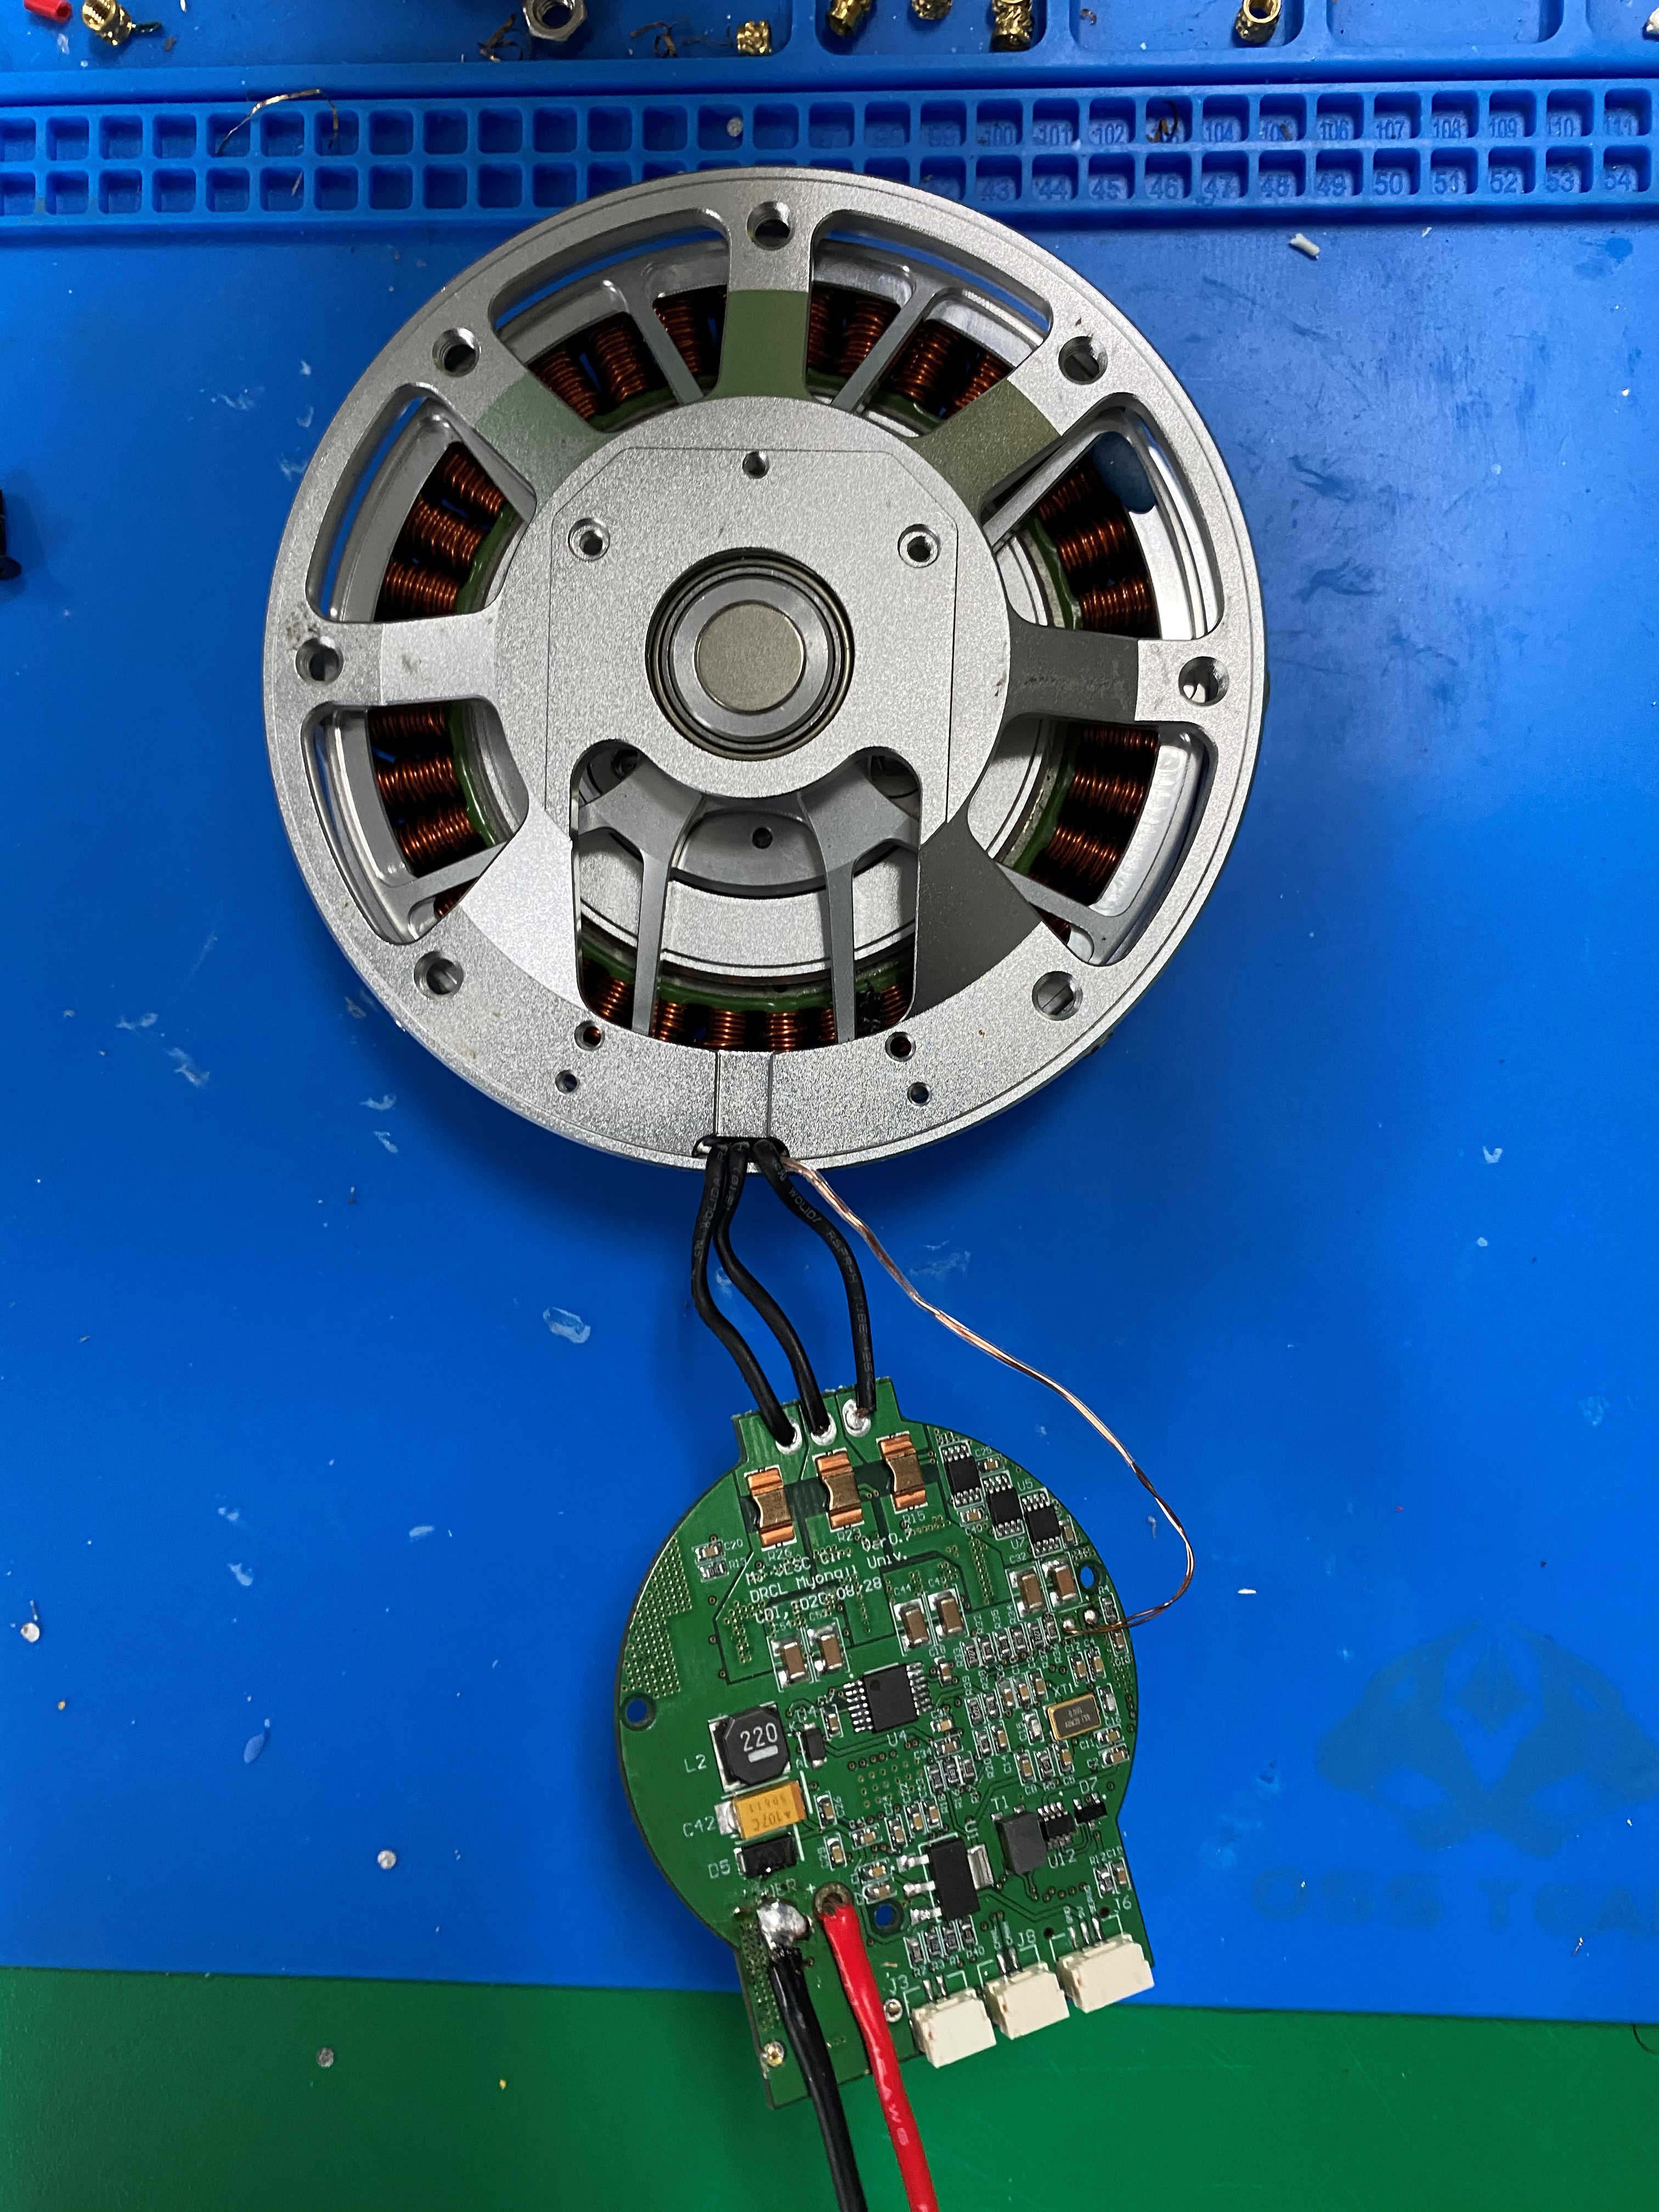
1. The interior of the steadywin motor is as follows.
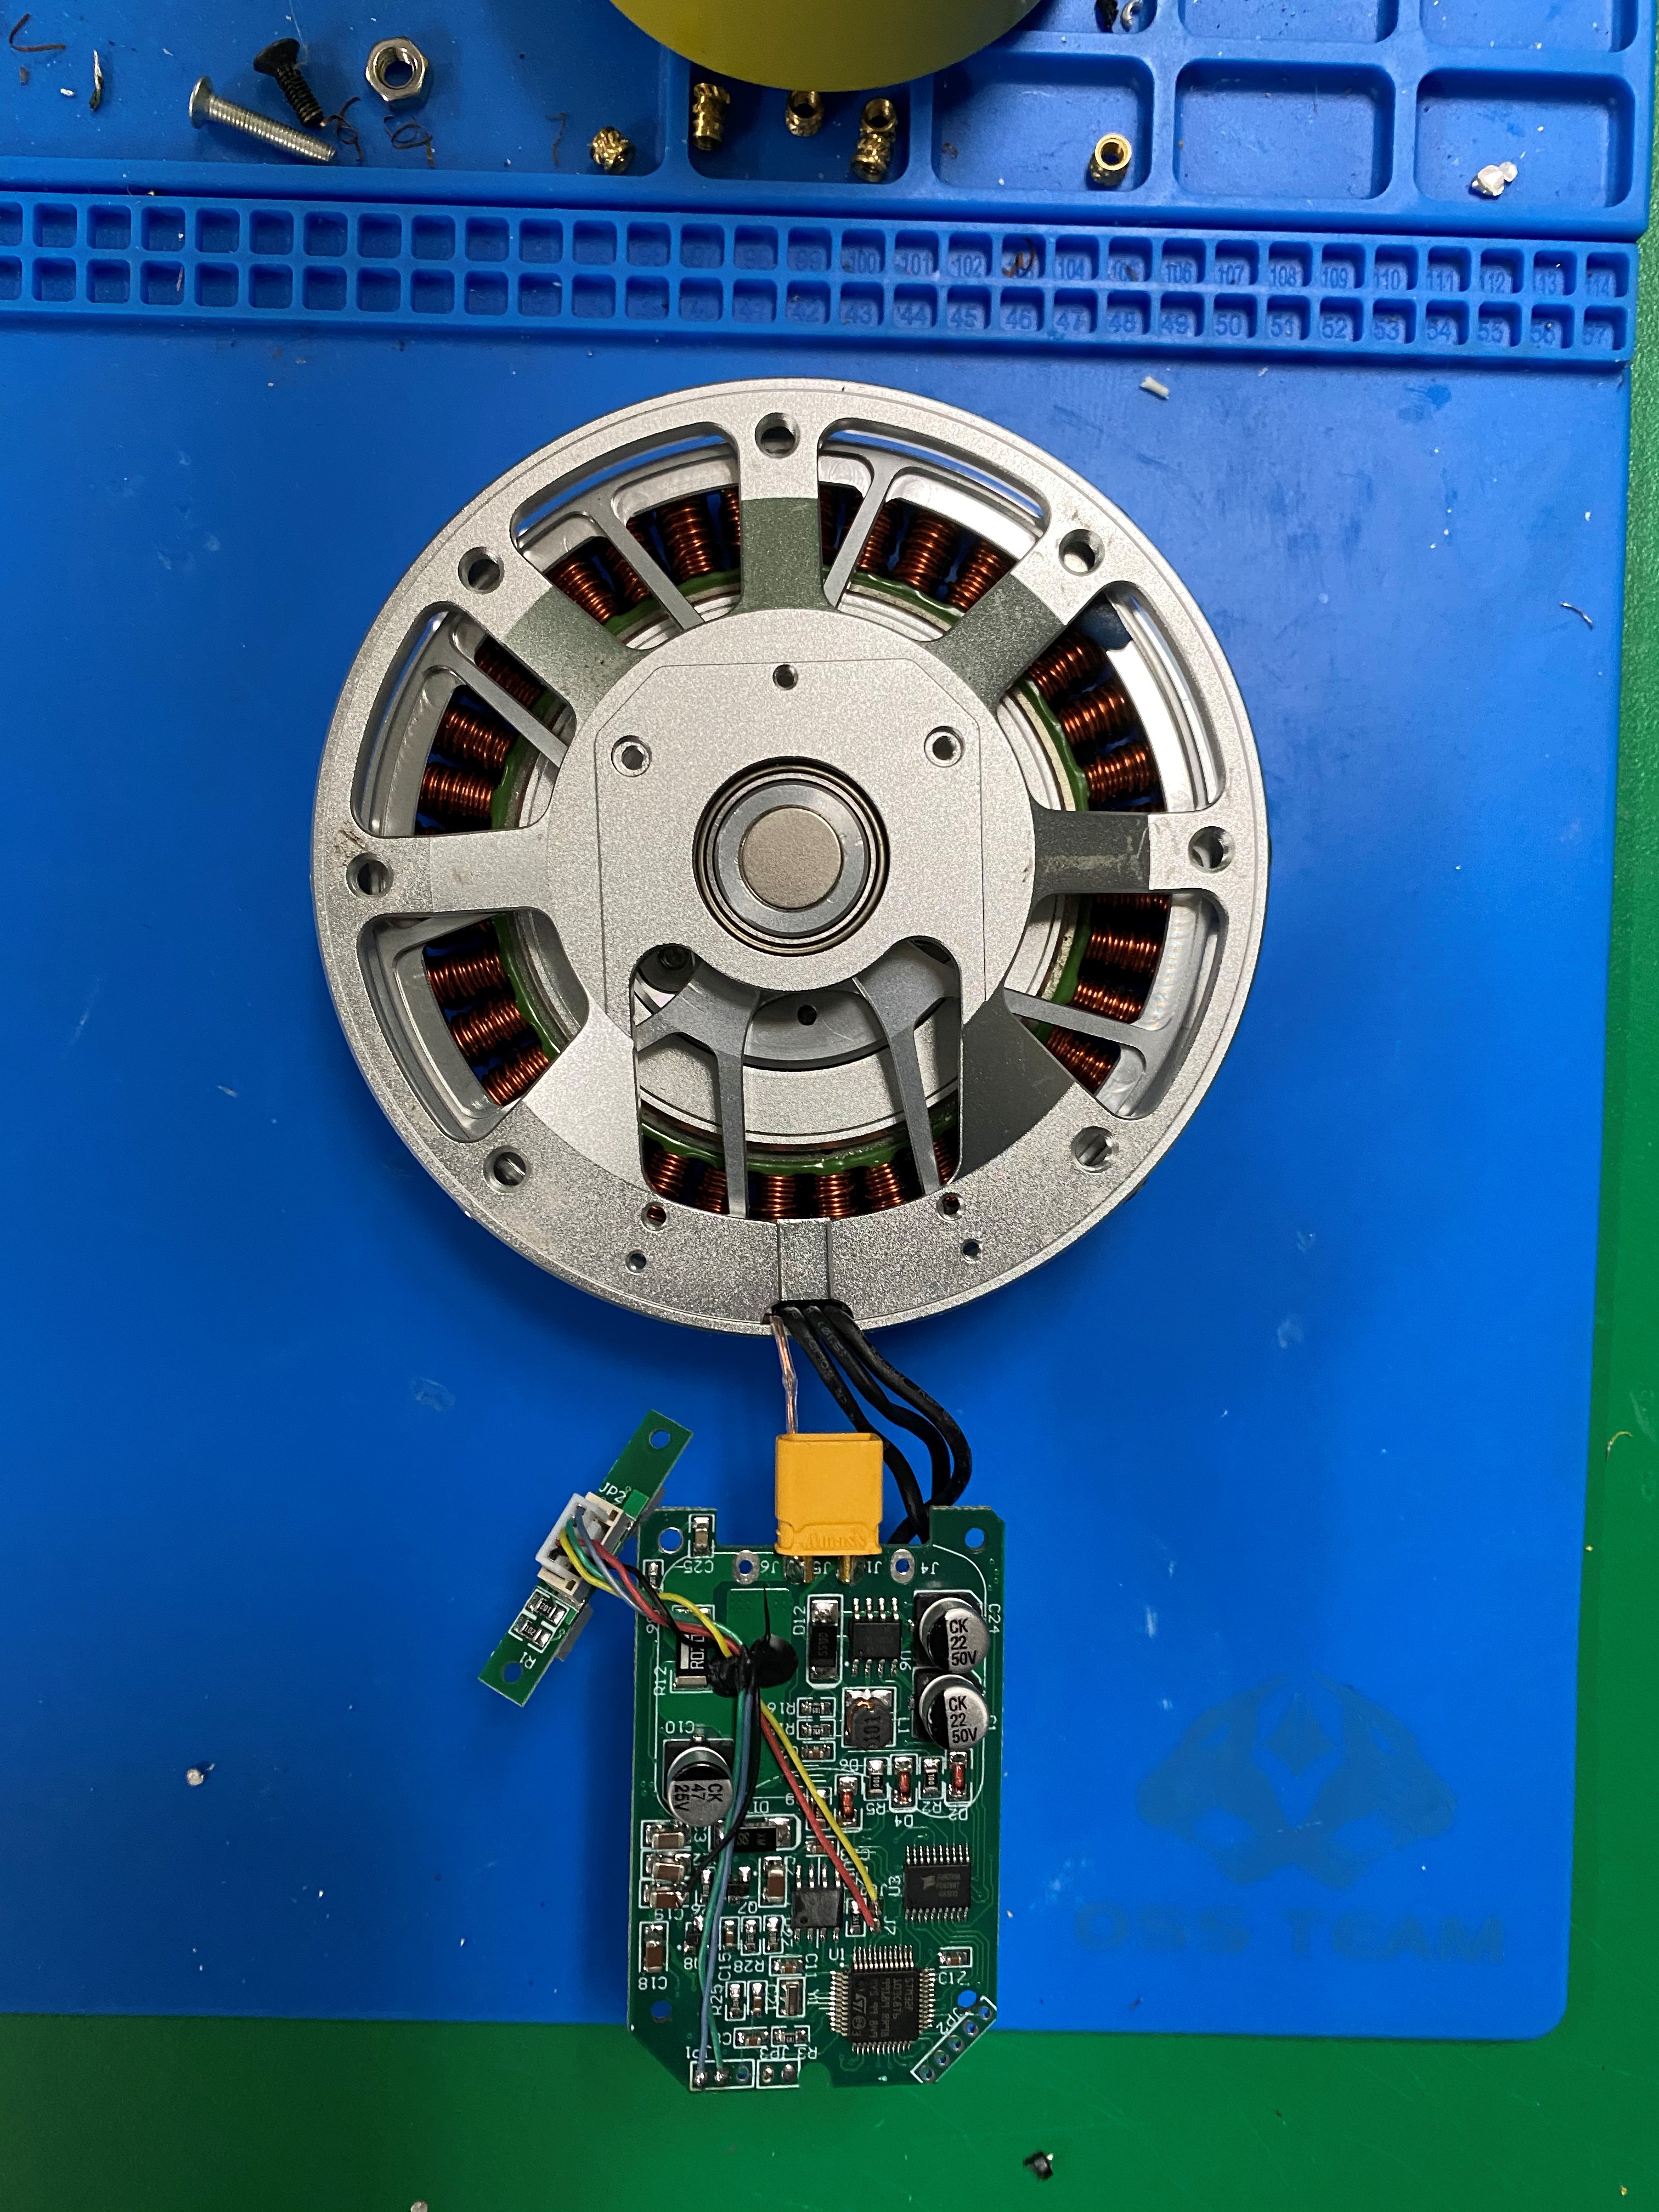
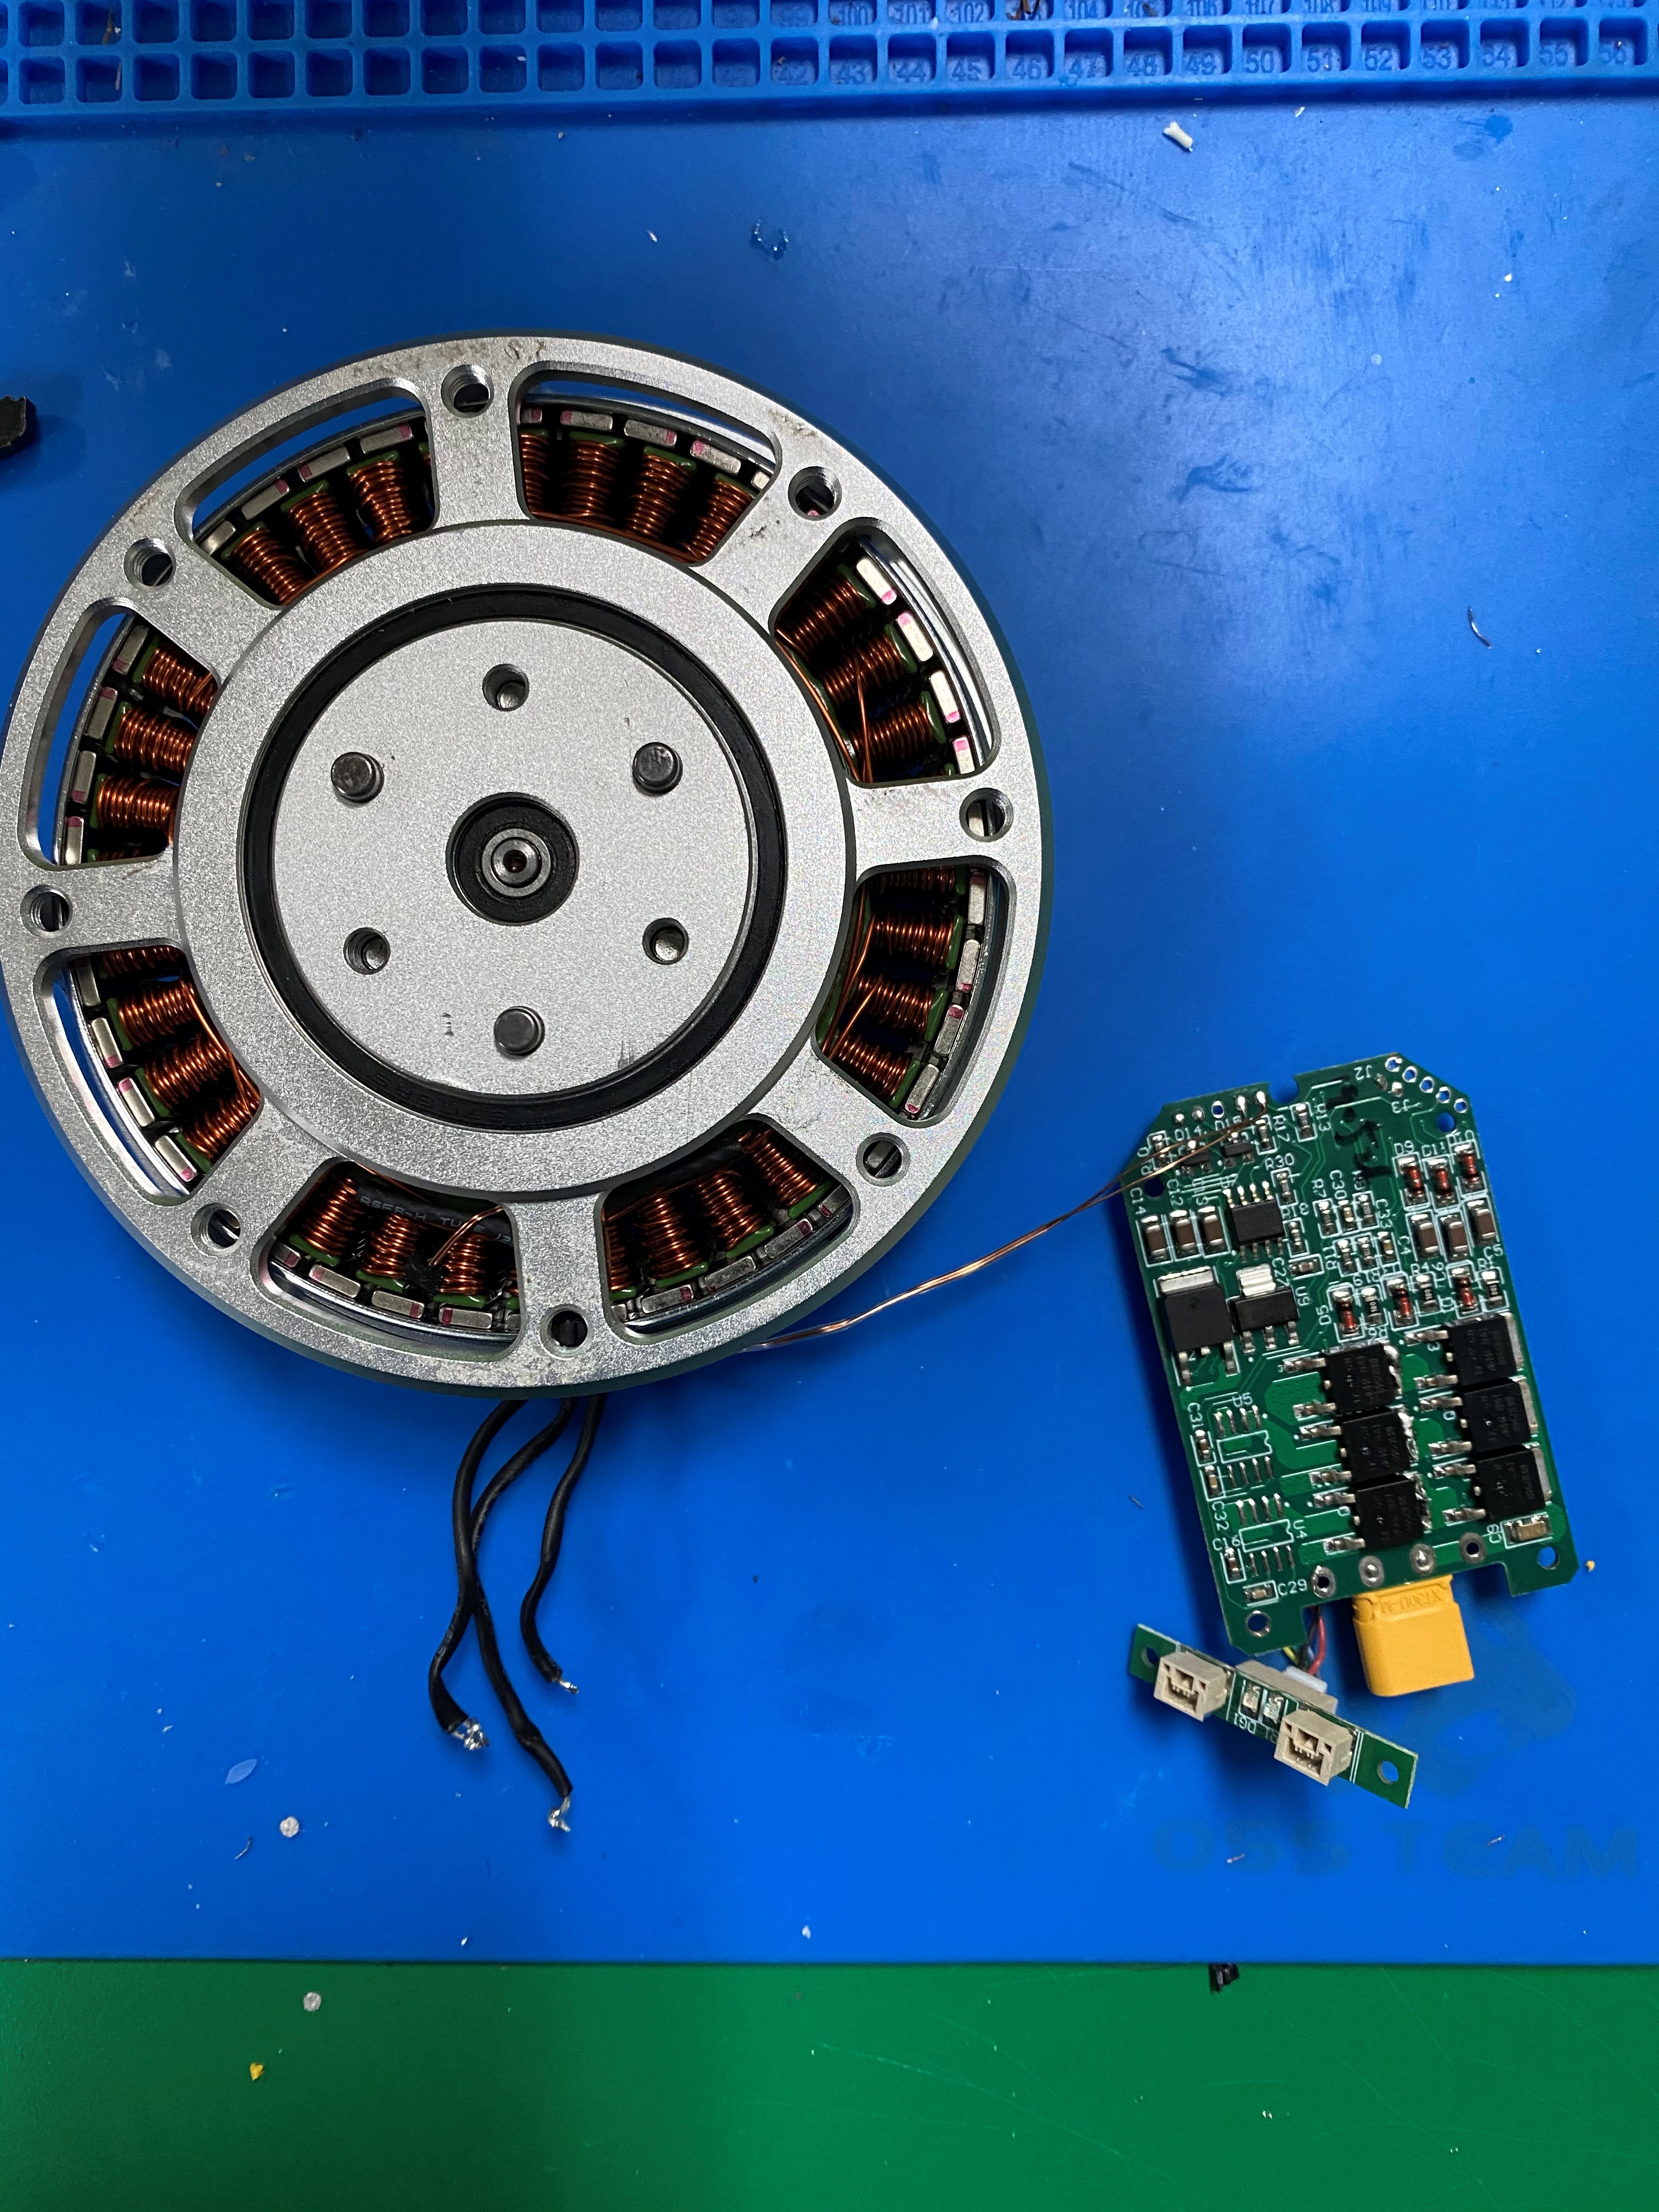
2. Remove Existing Motor Controller
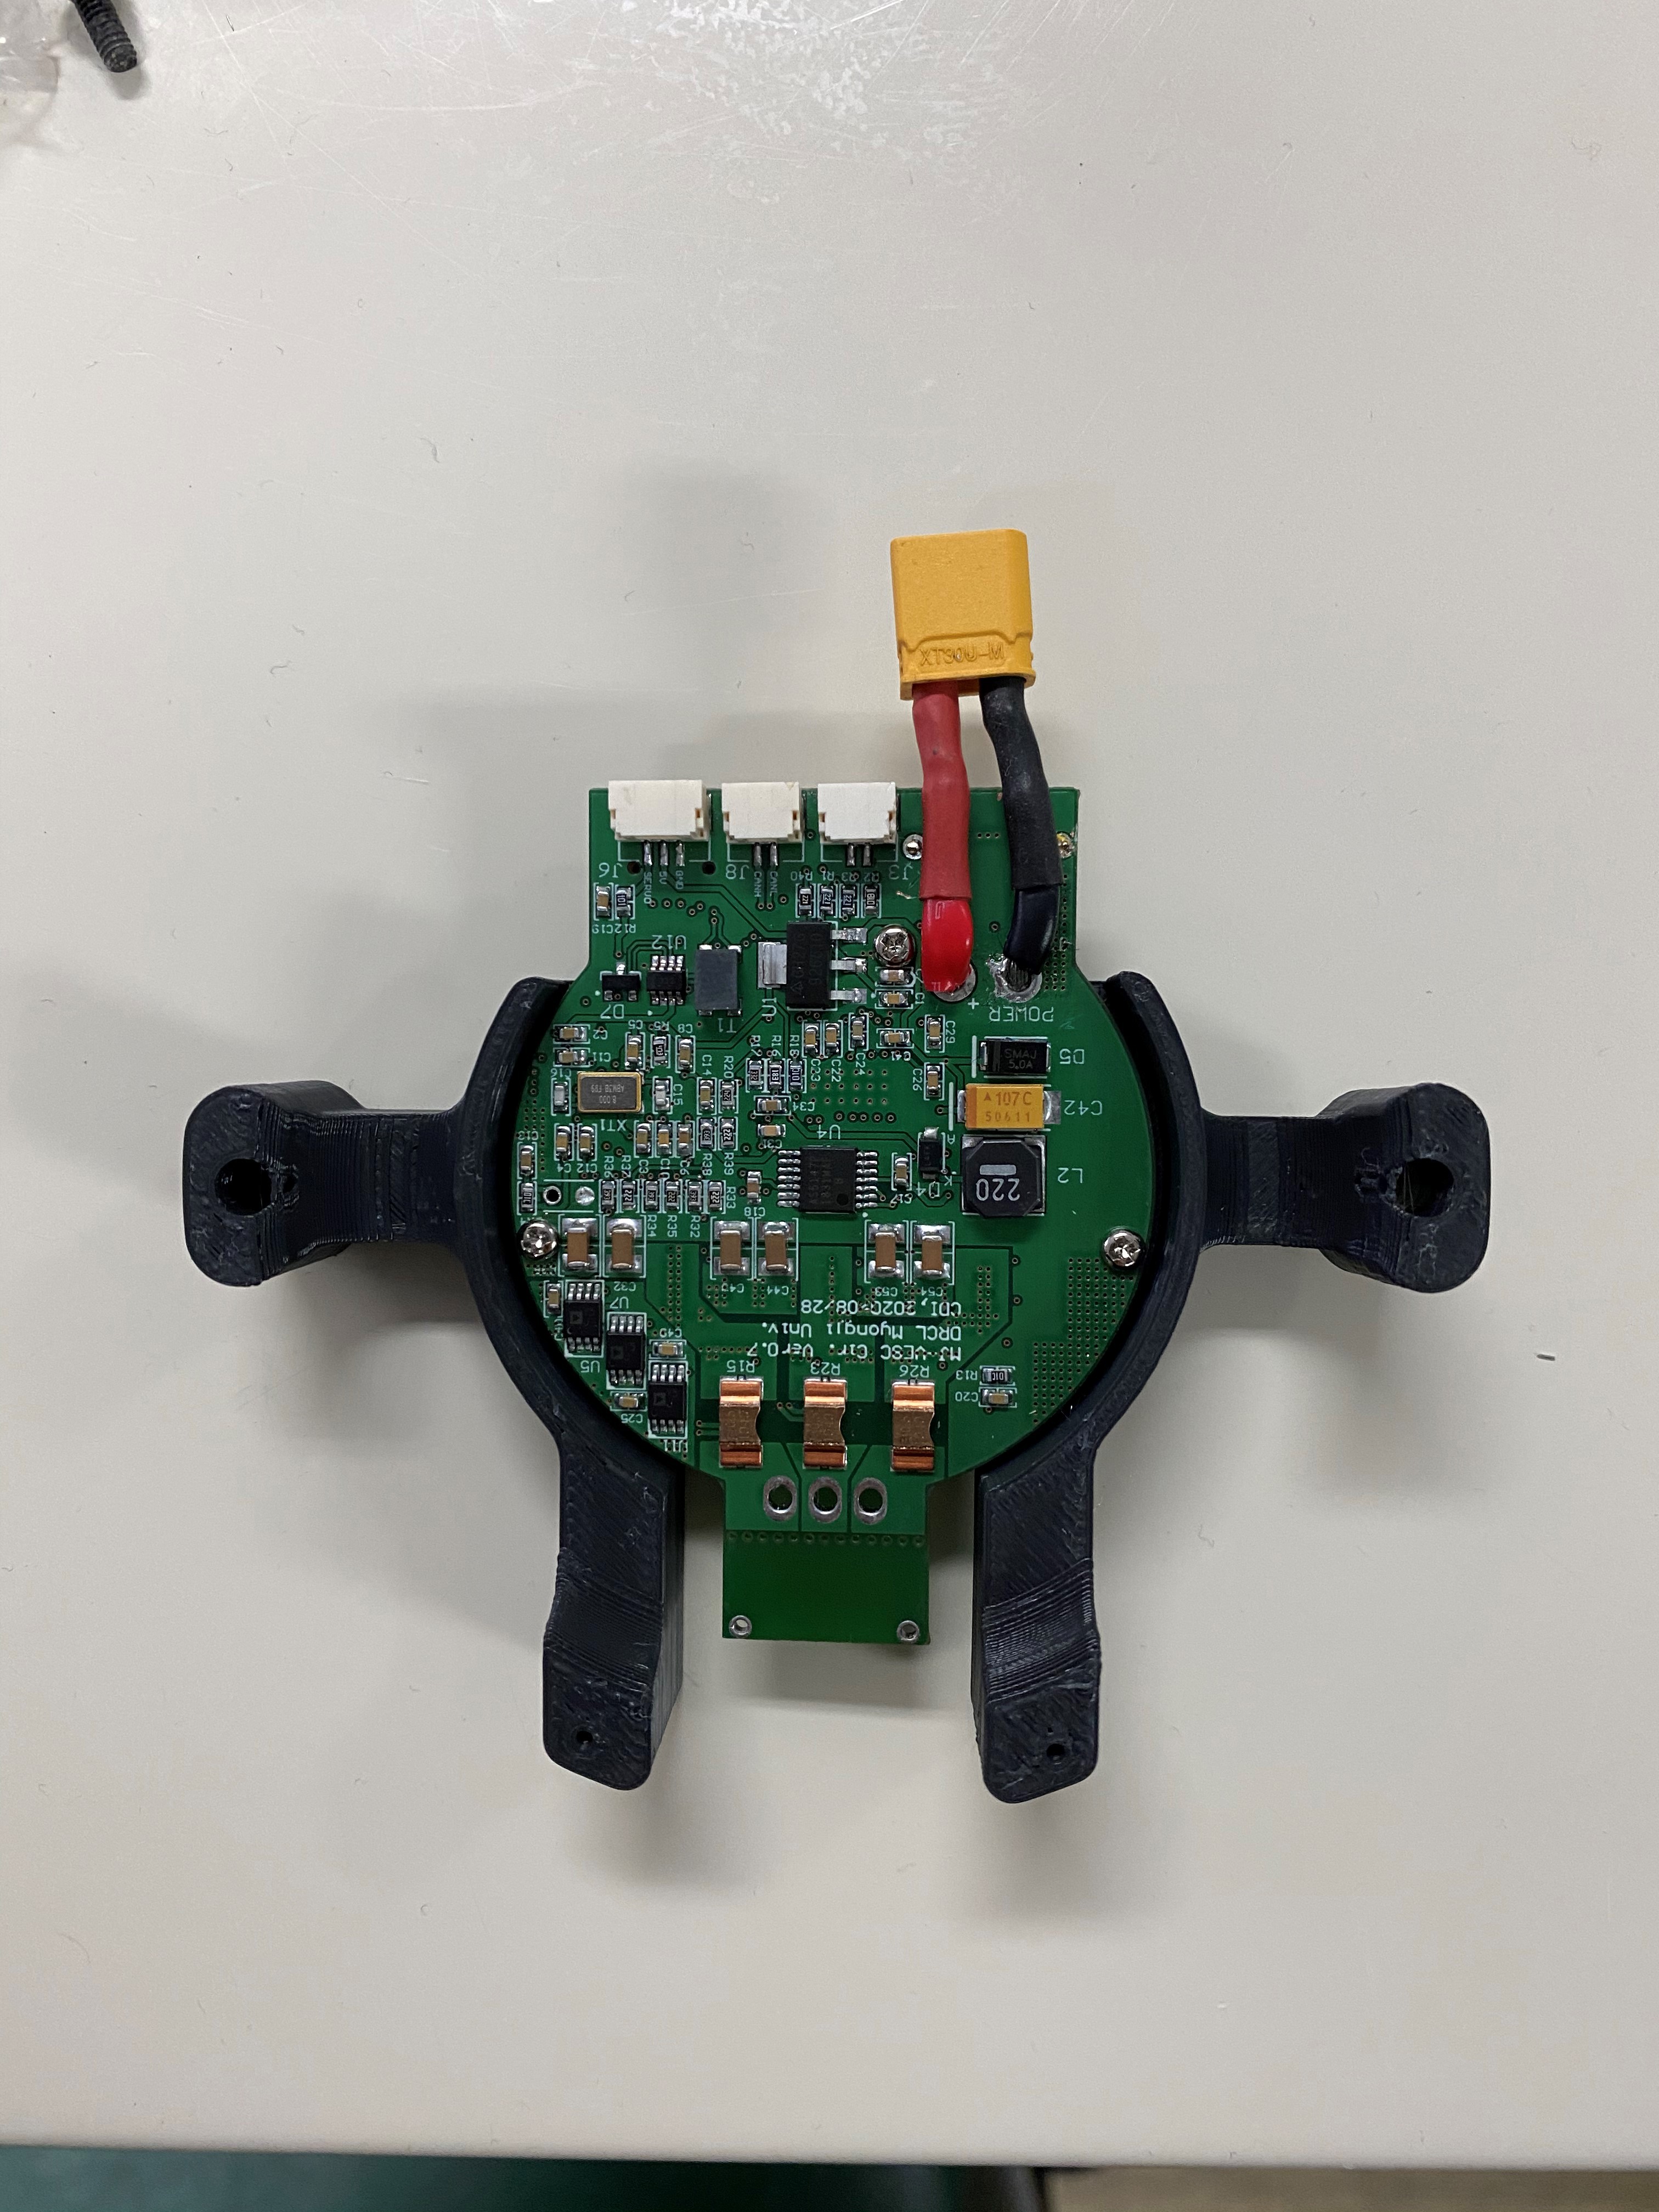
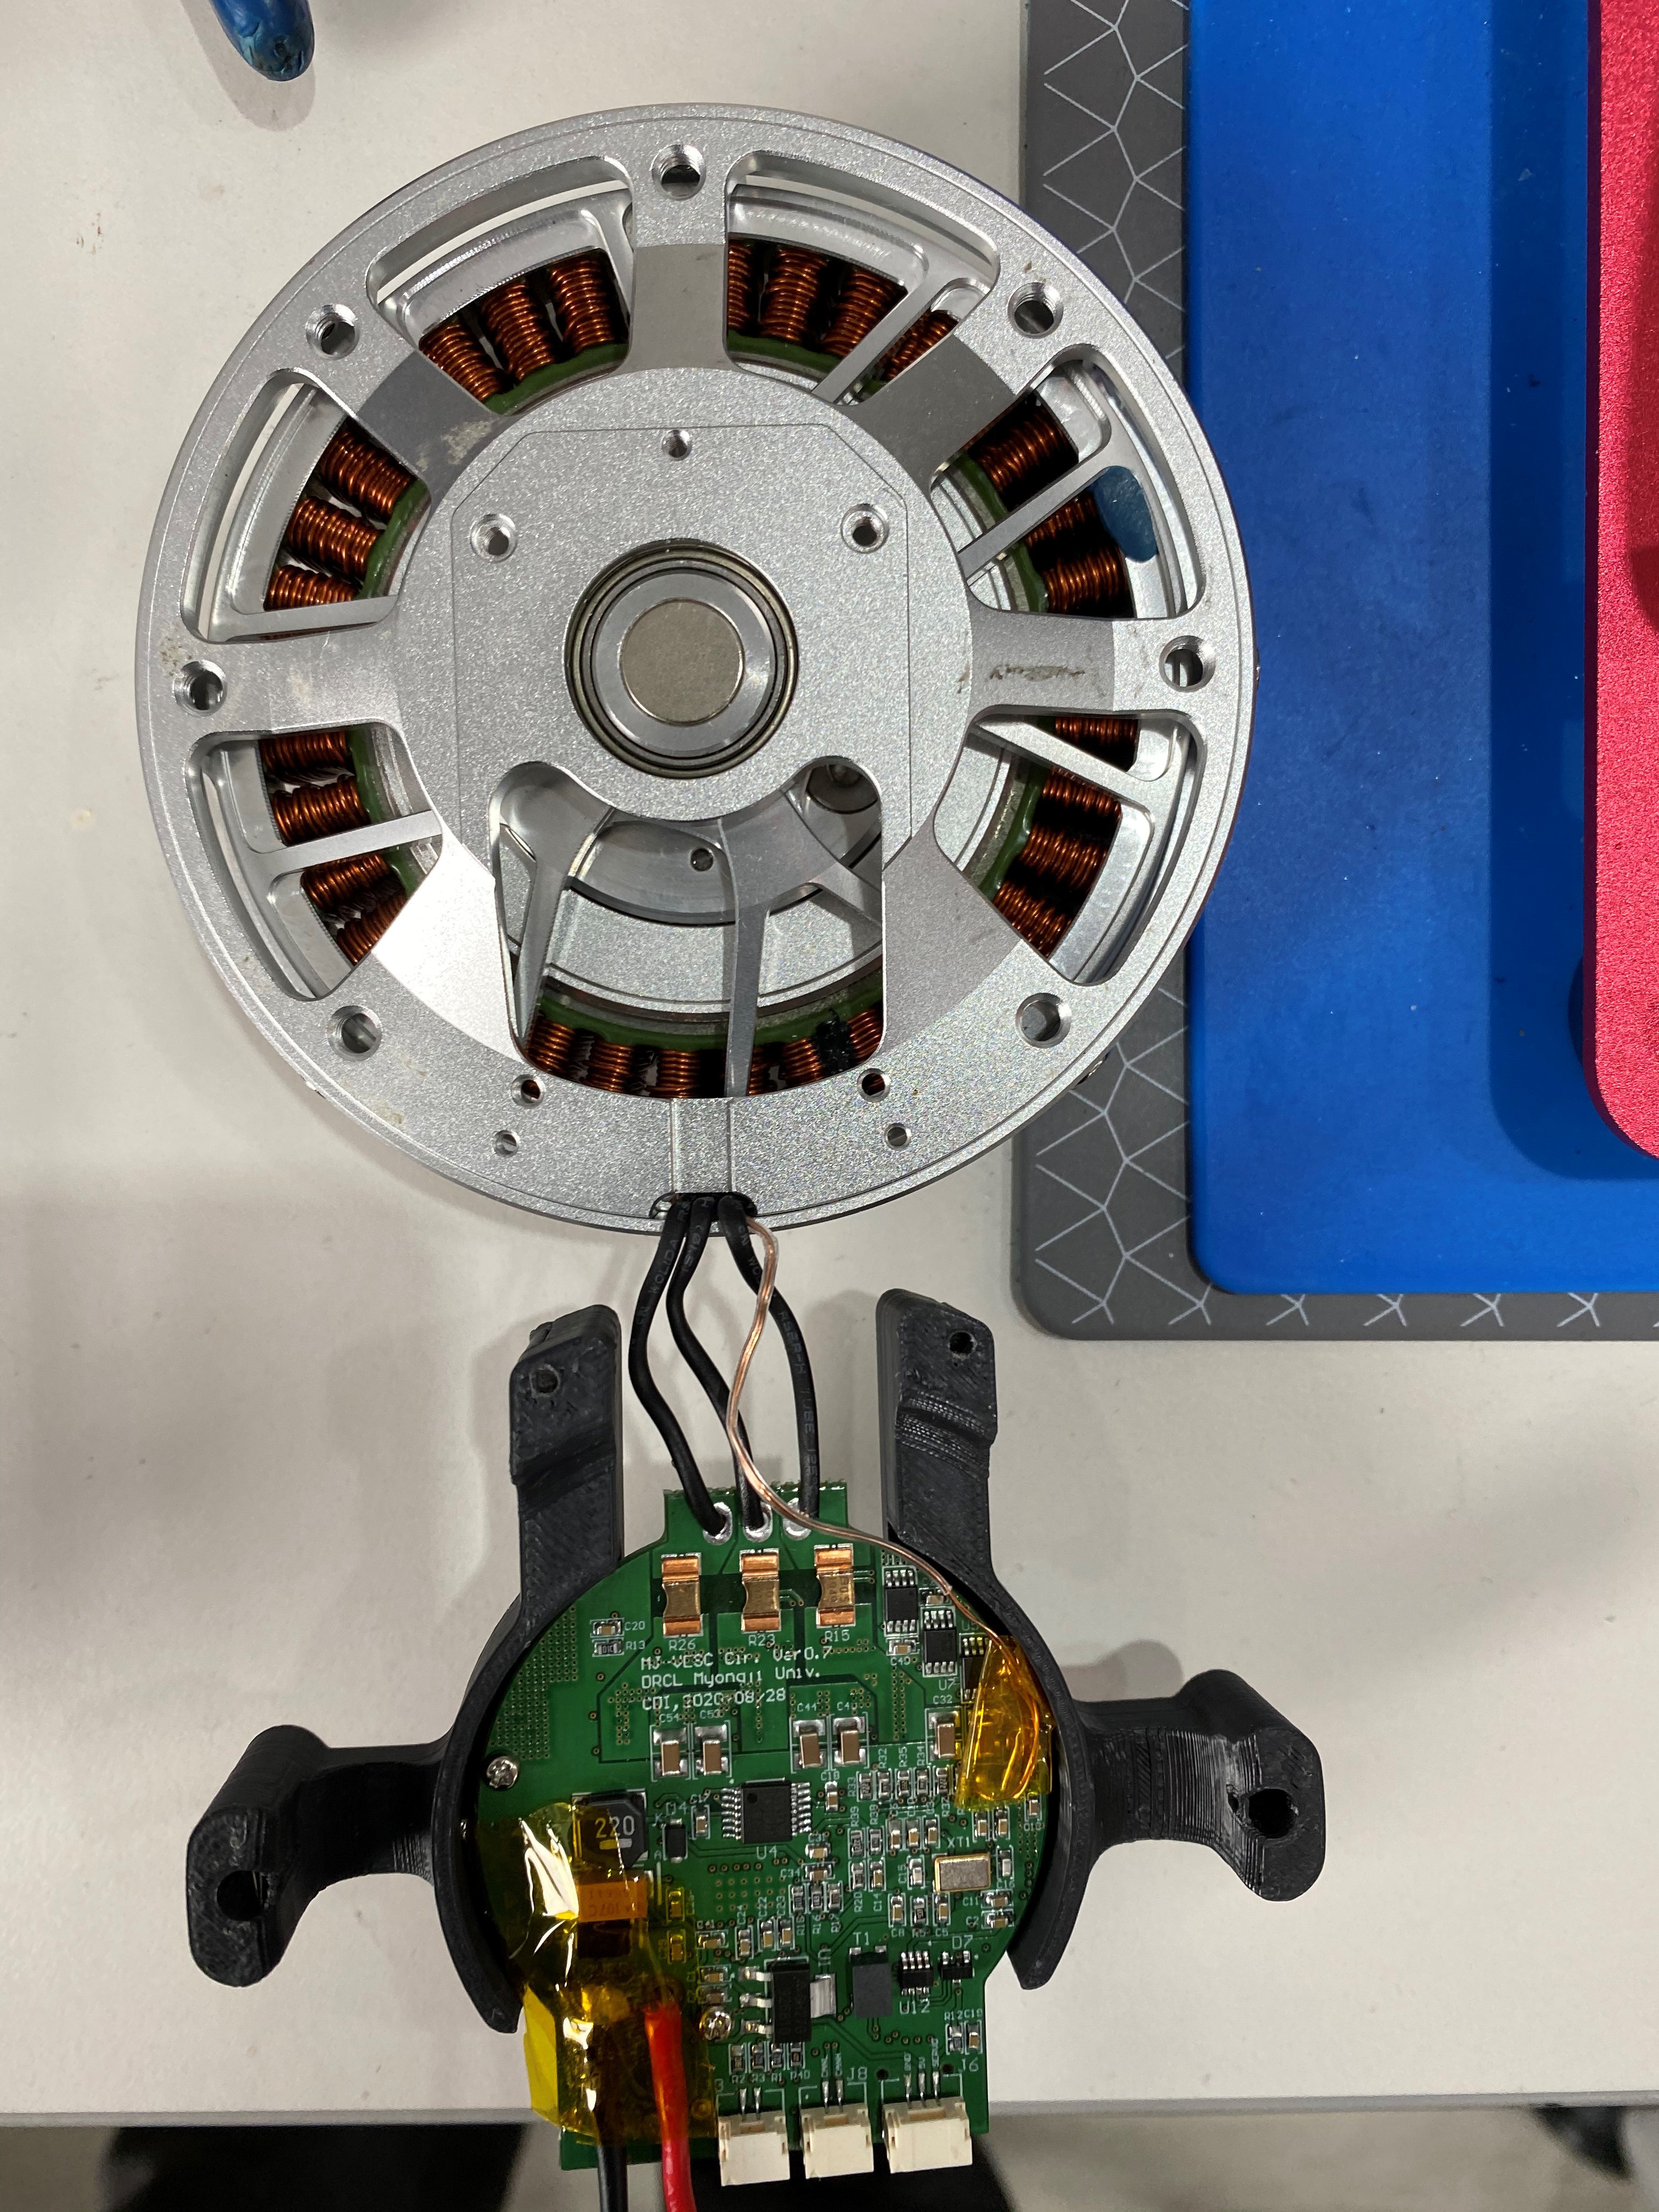
3. Fixing VESCular6 to a 3D printer-designed cover
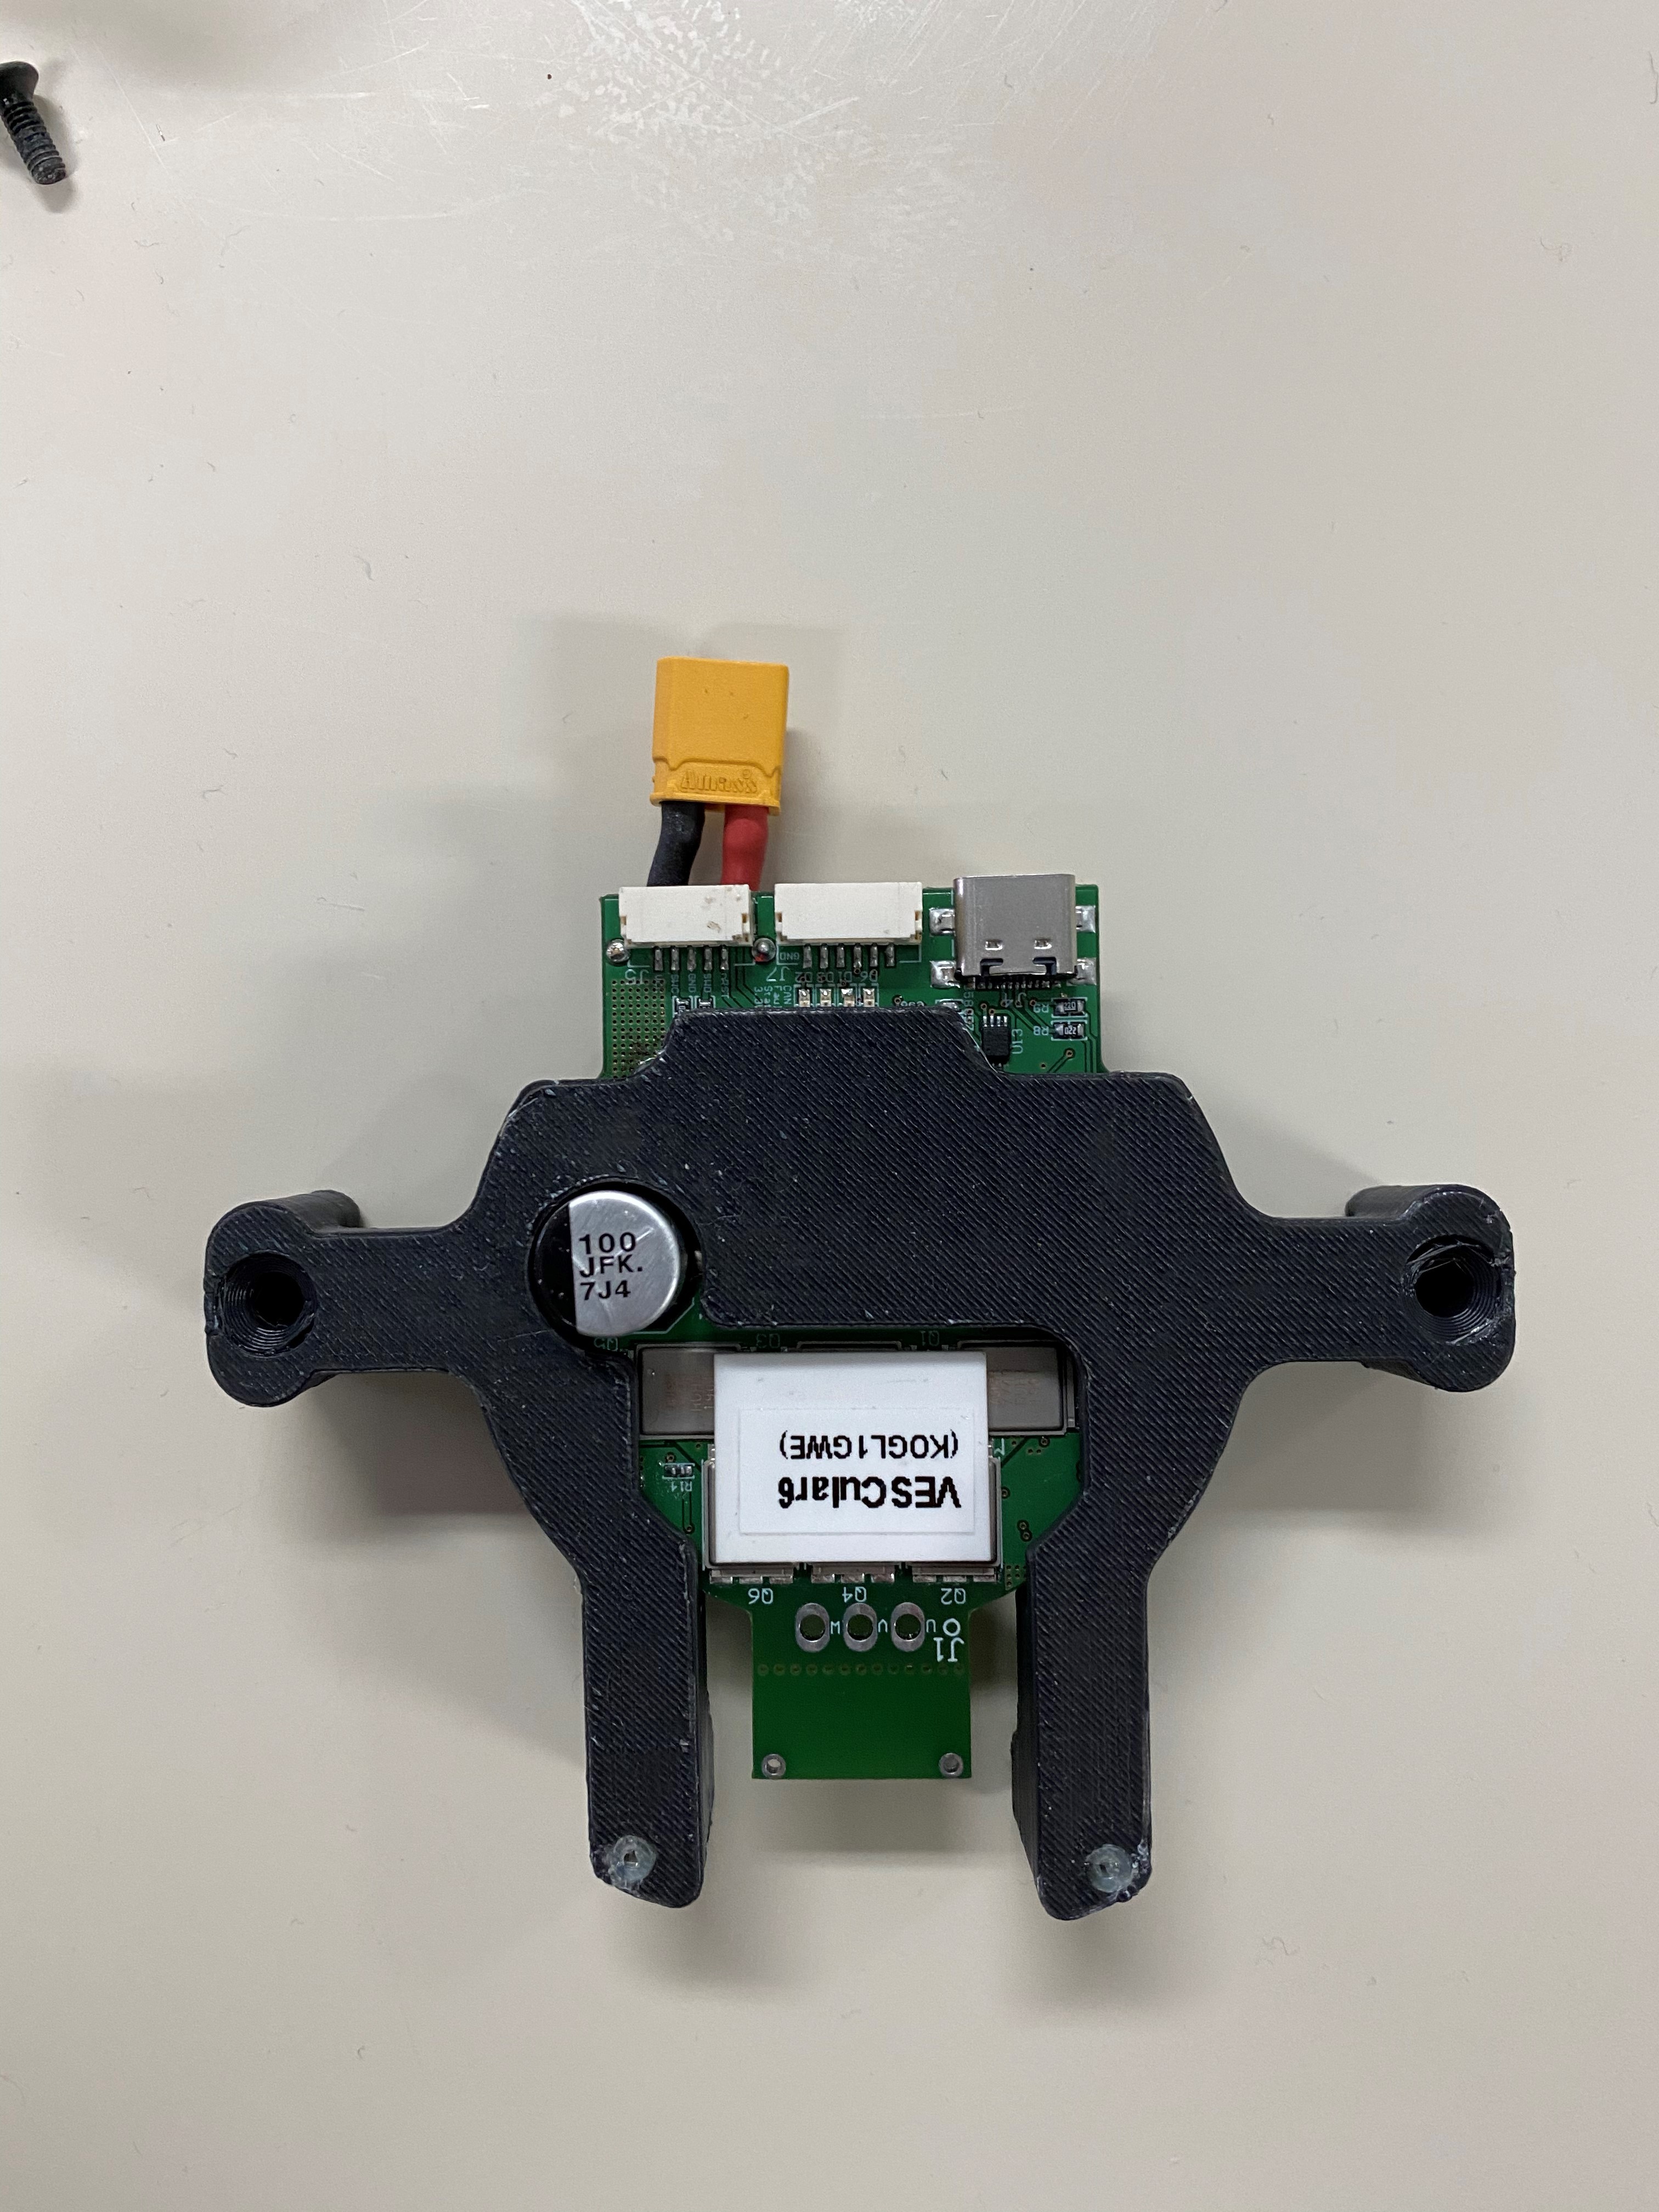
4. Connecting VESCular6. Remove the default NTC 10K temperature sensor on VESCular6, and connect the temperature sensor wire of the motor instead. (Polarity is irrelevant)
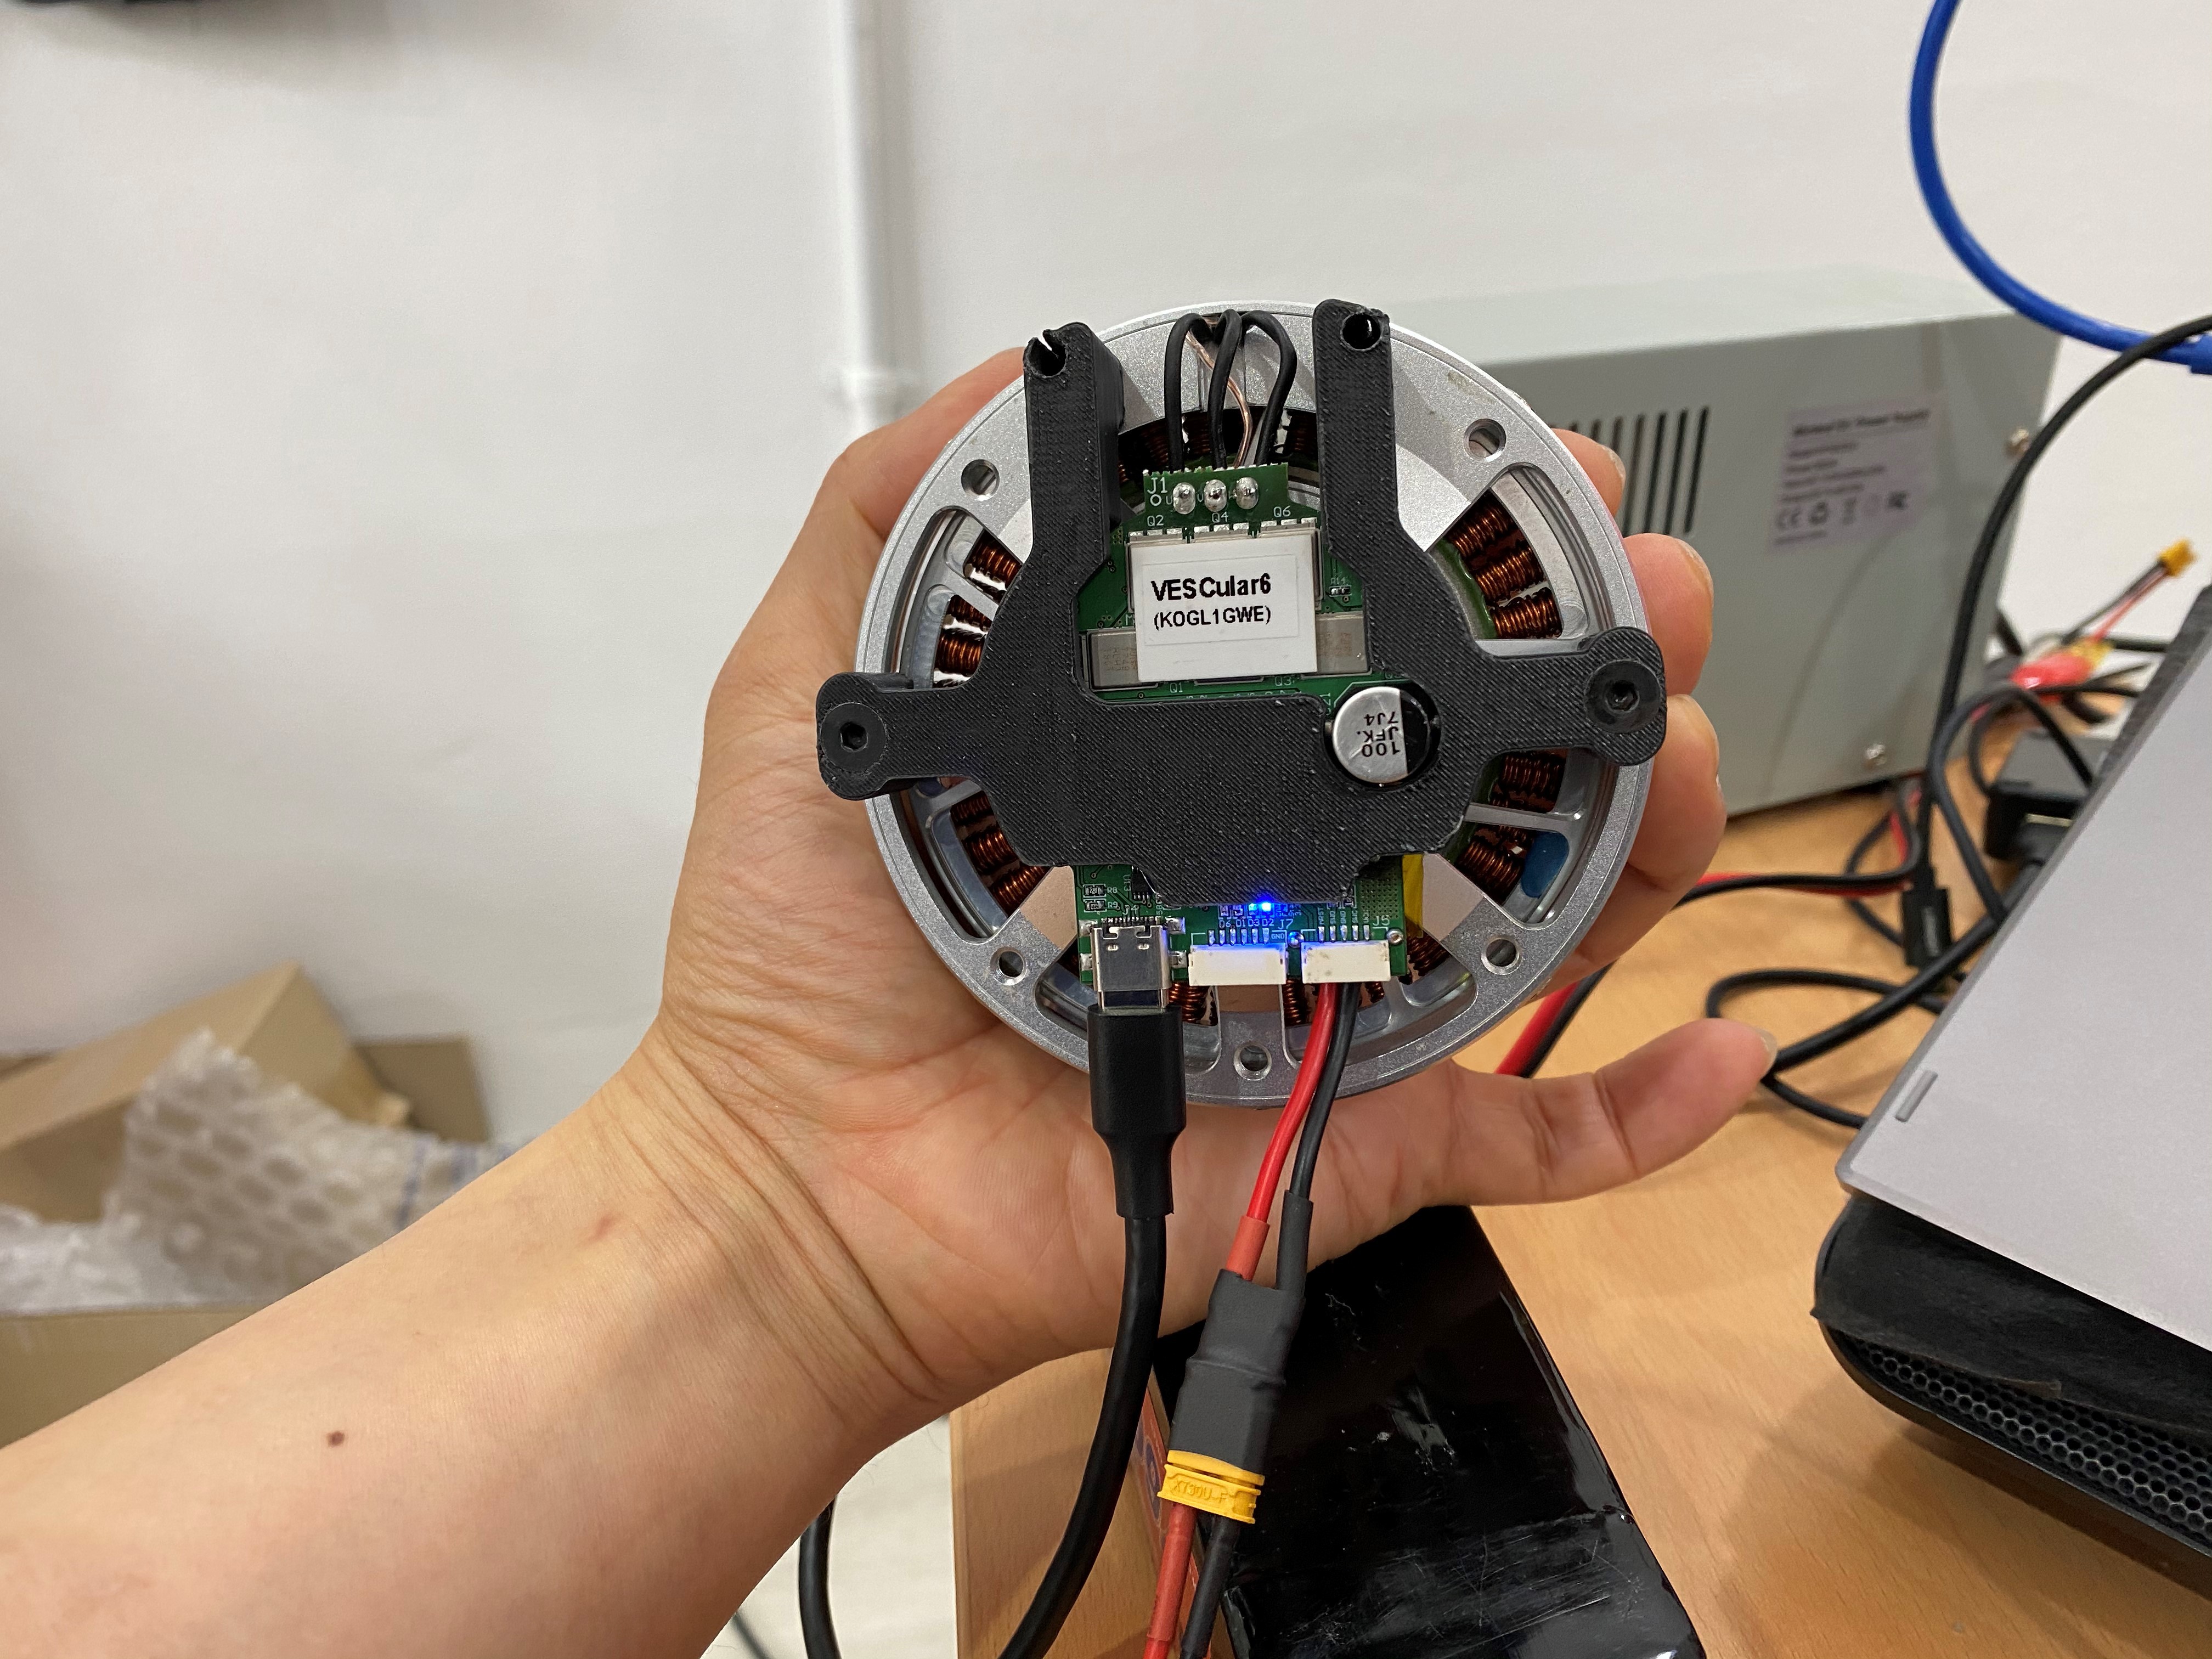
5. Assemble and complete
* The test video will be uploaded later.
Discussions
Become a Hackaday.io Member
Create an account to leave a comment. Already have an account? Log In.