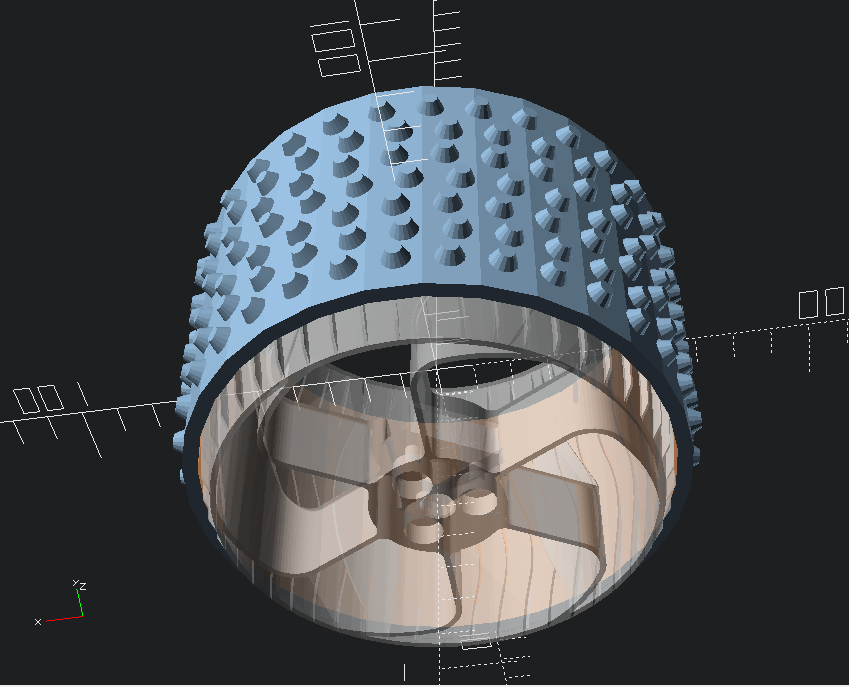
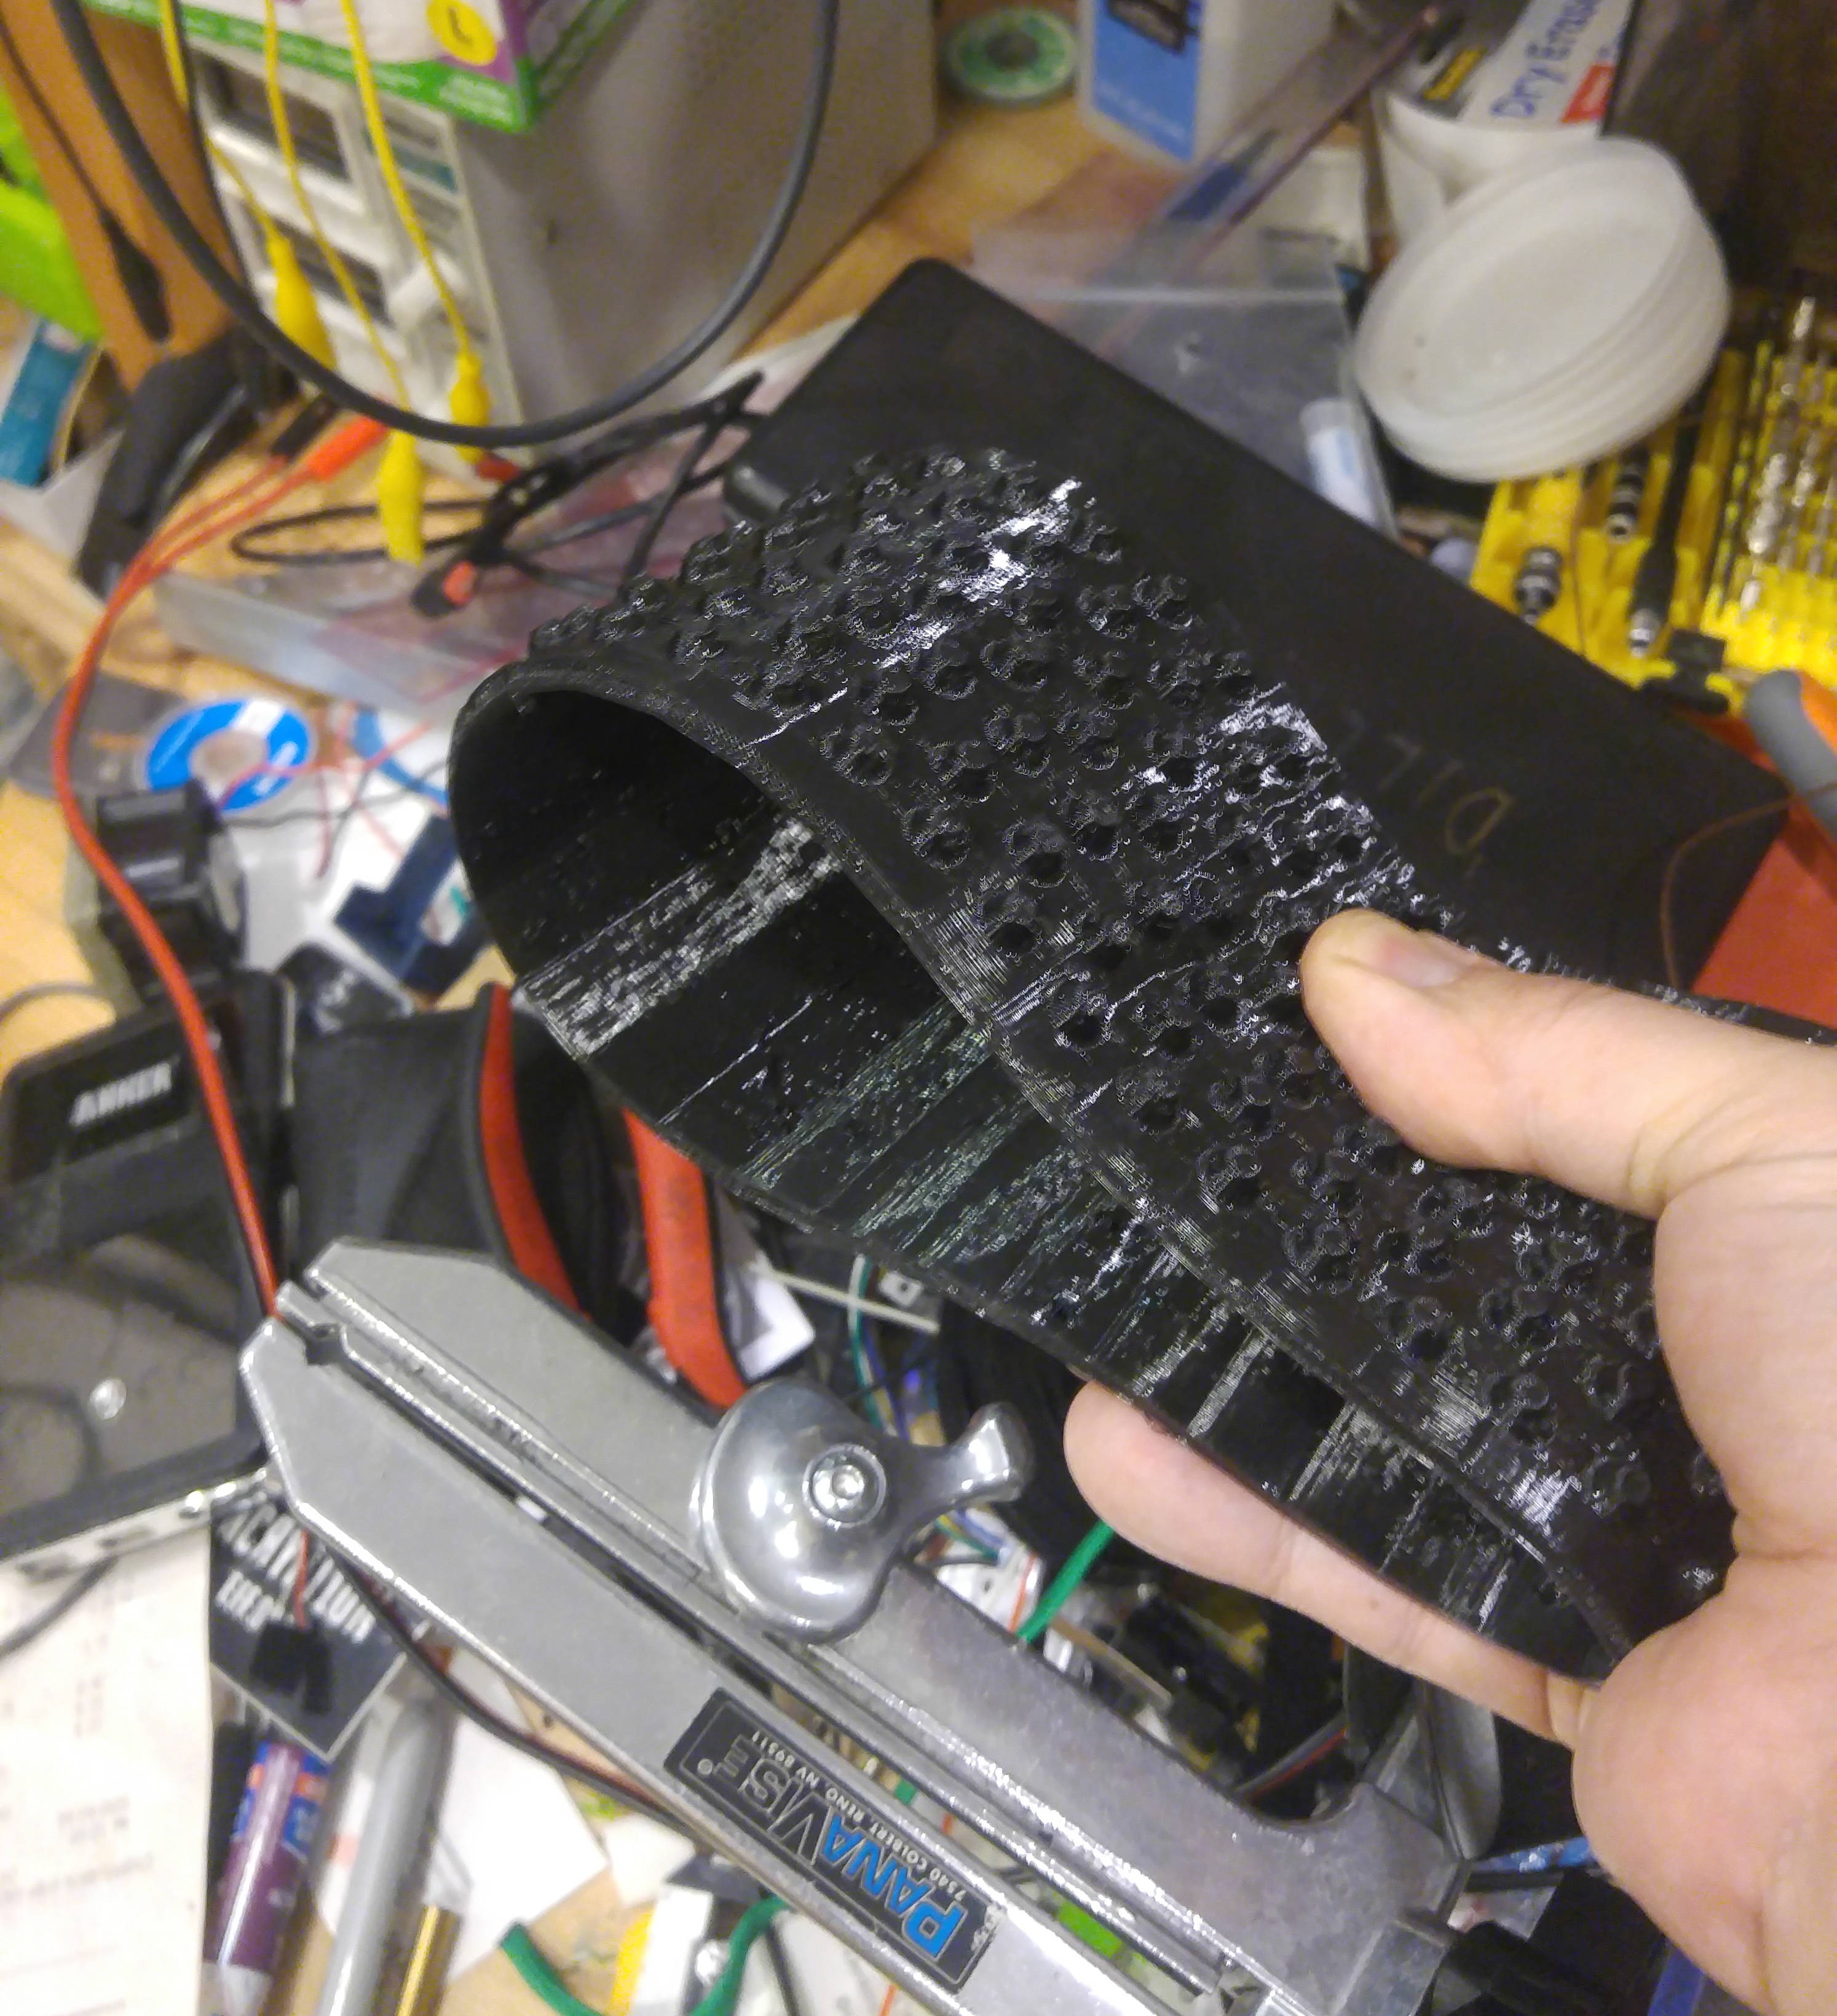
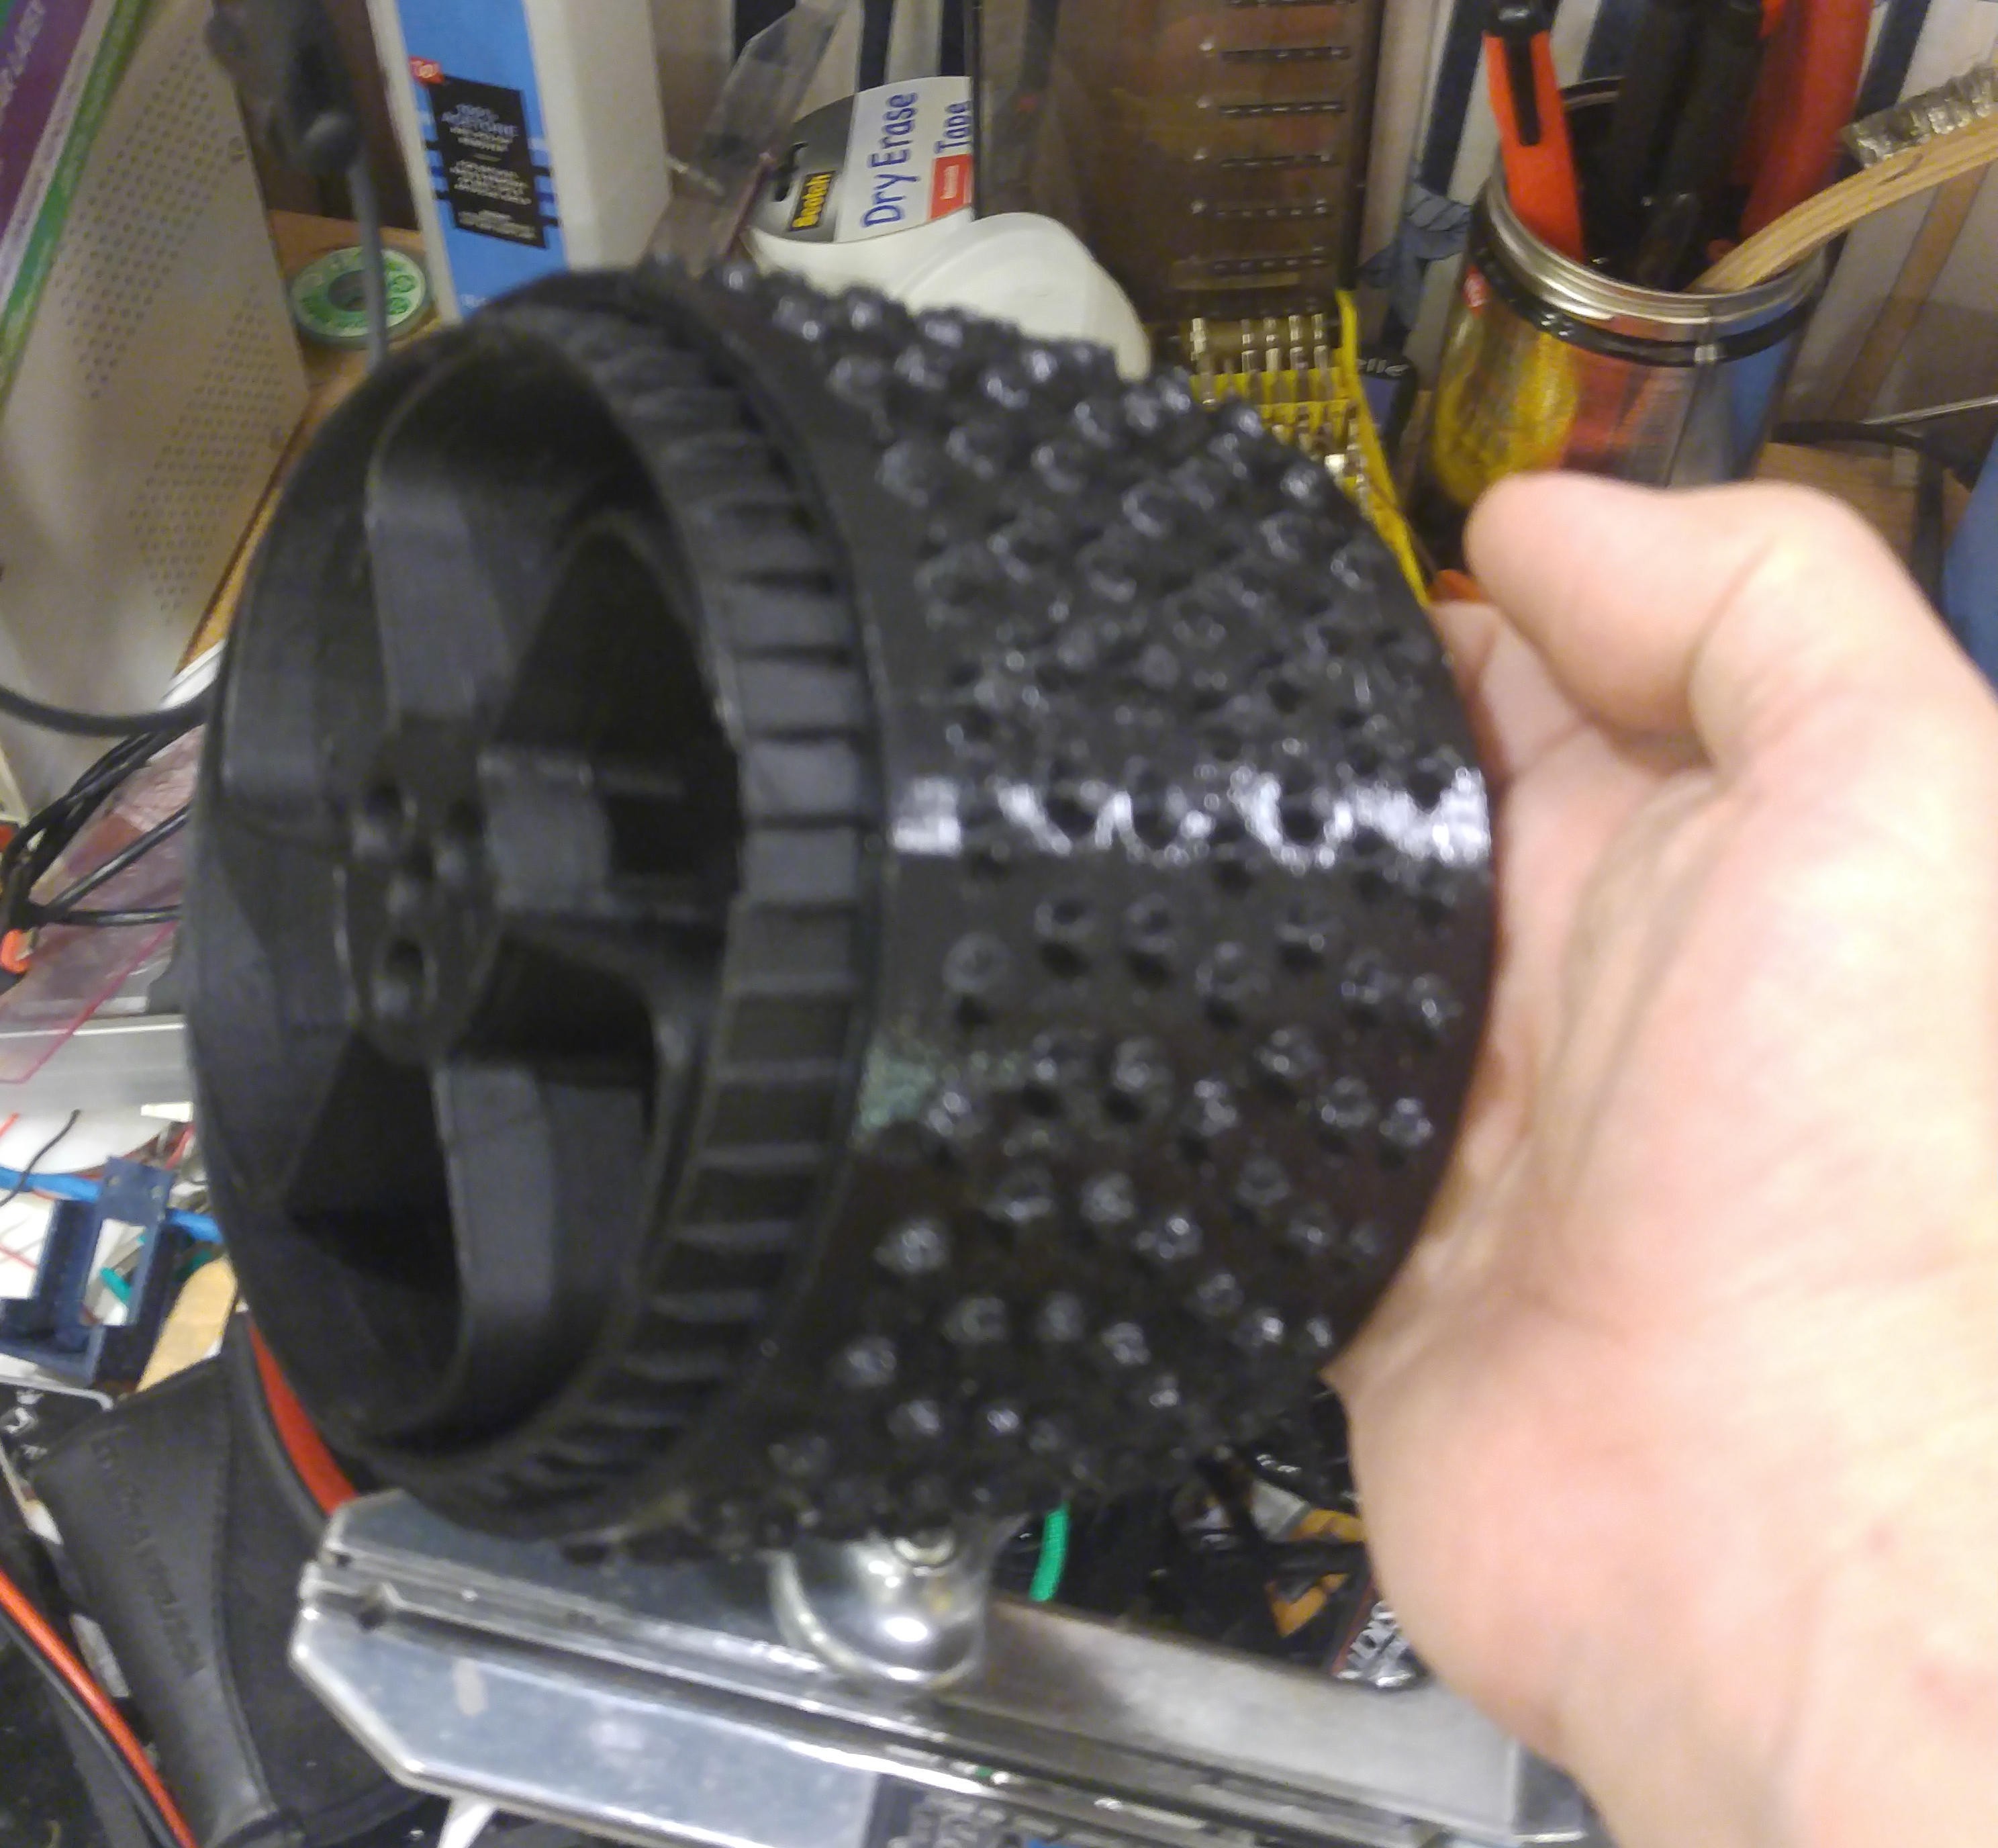
I've been playing with this idea of an "airless" tire for Tenacity for a while now. I like Roger's original design WRT faithfulness to the actual style and dimensions of the Perseverance Rover wheels, but I think they're going to wear pretty quickly in the off-road conditions I hope to have Tenacity rolling around in.
I like the design of the wheel "knuckles", and don't want to completely redo all that, so as an intermediate step I was thinking last weekend about "Hey, maybe I could give it some slip-on treads...".
So, here you go: Procedural, parameterized slip-on "snow-tires" for your rover !
OpenSCAD script here:
https://www.thingiverse.com/thing:4582109
Pics below...


 Steve
Steve
Discussions
Become a Hackaday.io Member
Create an account to leave a comment. Already have an account? Log In.
The issue I've found is that my rover doesn't get very good traction on smooth surfaces, so cannot climb over rocks, etc well. When on carpet of or rough surfaces, it has a tremendous amout of climbing ability. I thought about 'rubber overshoes' also, but have not done it yet. I will be interested in how the traction on your rover changes with the 'Nobbly bits'. My rover has quite a bit of running time, both inside and outside. I am not seeing the grousers wearing flat.
Are you sure? yes | no
I would redo the whole exterior portion of the wheel: Rim in ABS and Tire in Flex
Are you sure? yes | no
Yeah, this was a quick hack to see what I could get away with. I'm working on a proper tire design.
Maybe you could print the whole thing in PCTPE vs having a hard core w/ soft outside ?
Do you have any ideas about how you might attach the two (without resorting to a lot of glue)
Are you sure? yes | no
I wouldn't use glue, I would put 6 screw from the outside tire and matching locking nuts on the inside rim portion. It's not like we will see the black screws once in a black Flex print especially if we leave a relief that covers some portion of the screws. I can make a simple design on Fusion but I think you know what I mean.
I would have done this already with the wheel that Roger has, but the first thing I printed was the wheels so i moved on.
This is what the wheel would be, It wasn't strong in his case though so it needs improvements.
https://cdn.hackaday.io/images/8566301597067872683.jpg
Are you sure? yes | no
Nice! I look forward to your field test. I'm especially interested in whether you'll need to add interior features to better lock against the wavy grousers on the existing wheel, or maybe they wouldn't be necessary.
Speaking of existing grousers, I have also wondered if they'll wear away quickly given how rolling on a flat surface would focus wear on the outer edge of the grouser. That's not a lot of surface area! But while wear is definitely visible on my Sawppy wheel grousers (and Marco's, which has traversed a fair distance over its life) they haven't worn flat just yet.
Your nobbly add-on is a good way to postpone/avoid that fate.
Are you sure? yes | no
Yeah, that's really what I'm going for. TPU is pretty tough stuff.
I'll definitely post updates
Are you sure? yes | no
I've got 4 printed so far, so I slid them on the wheels yesterday and took Tenacity out for a spin. No real appreciable differences in control. The TPU might be a bit more slippery against the carpet indoors, but not uncontrollably so. Also, this particular brand of TPU flexible, but not super stretchy. It took some effort to get the treads over the wheels. They didn't slip or work their way off after a good 15 minutes rolling around, so here's hoping they'll stay on.
I'll be back over at my space at the end of the week. Hopefully by then I'll have 2 more printed and will be able to take it out for a full outdoors test.
Are you sure? yes | no