Steve
Steve-
Tenacity gets a voice...
01/07/2020 at 03:23 • 0 commentsWhile I'm doing a lot of deep under-the-hood type stuff, I've noticed my little roving friend has been getting kind of antsy recently. Having tasted what it's like to rove and being stuck up on its crate over the holiday break, I've detected a distinct whiff of Grumpy Rover syndrome wafting about my hackspace of late. So, I've tried to appease my little friend with a means to express itself by adding a little USB speaker and it chose to quote one of my favorite movie bits back at me :)
Hang tight there buddy, you'll be back on your wheels in no time and roving better than ever.
(The more detailed update here is that I've been busy pretty much redoing the entire guts of the rover over the past month or so. In an attempt to get it ROS-ready and move on to a PI or Jetson from the Arduino(s) that were driving it this summer/fall, it turns out a complete rewiring was needed. Things are almost done and there's much more space to install needed boards, sensors and widgets than before). -
A young rover looks towards its future...
11/10/2019 at 06:48 • 0 comments![]()
I've "fixed" the steering axle that broke last week by cutting a new metal one out of the 8mm stock I have left over from Tenacity's steel differential shaft using the drill-press-and-hacksaw method to cut the grooves. Even when everything is properly marked and jigged, there's still a good bit of approximation and hand-waving going about. I also took the opportunity to look at the rocker shafts and fix some of the slop in how they fit against the body box. Suddenly, with those re-grooved and the gaps gone, the rover suddenly drives a lot straighter. There is still some drift, but it's over the course of several yards and not just a foot or so.
I also found an issue in the Arbotix Controller code that could see the Dynamixels being allowed to relax vs. being actively driven to maintain their position at all times. This could also cause some unintentional castering as well. There's one final bit of deflection to be taken care of at the rear, where the back wheel pods are splayed out a bit at the back. I don't think the other Sawppy-'bots out there that I've seen are doing this. In other words, the system as a whole is working well enough to highlight individual parts that need tuning and general work.
I'm going to be bootstrapping ROS onto the 'bot in the next few weeks, the question is onto what board. The temptation is to install a Jetson or other high-end board onto it, but the real "Curiosity" is really just a data-gathering platform with the processing being done back on Earth, plus space is kind of at a premium in the body-box there, so a Pi is a more likely choice. -
Get out there...and break an axle!
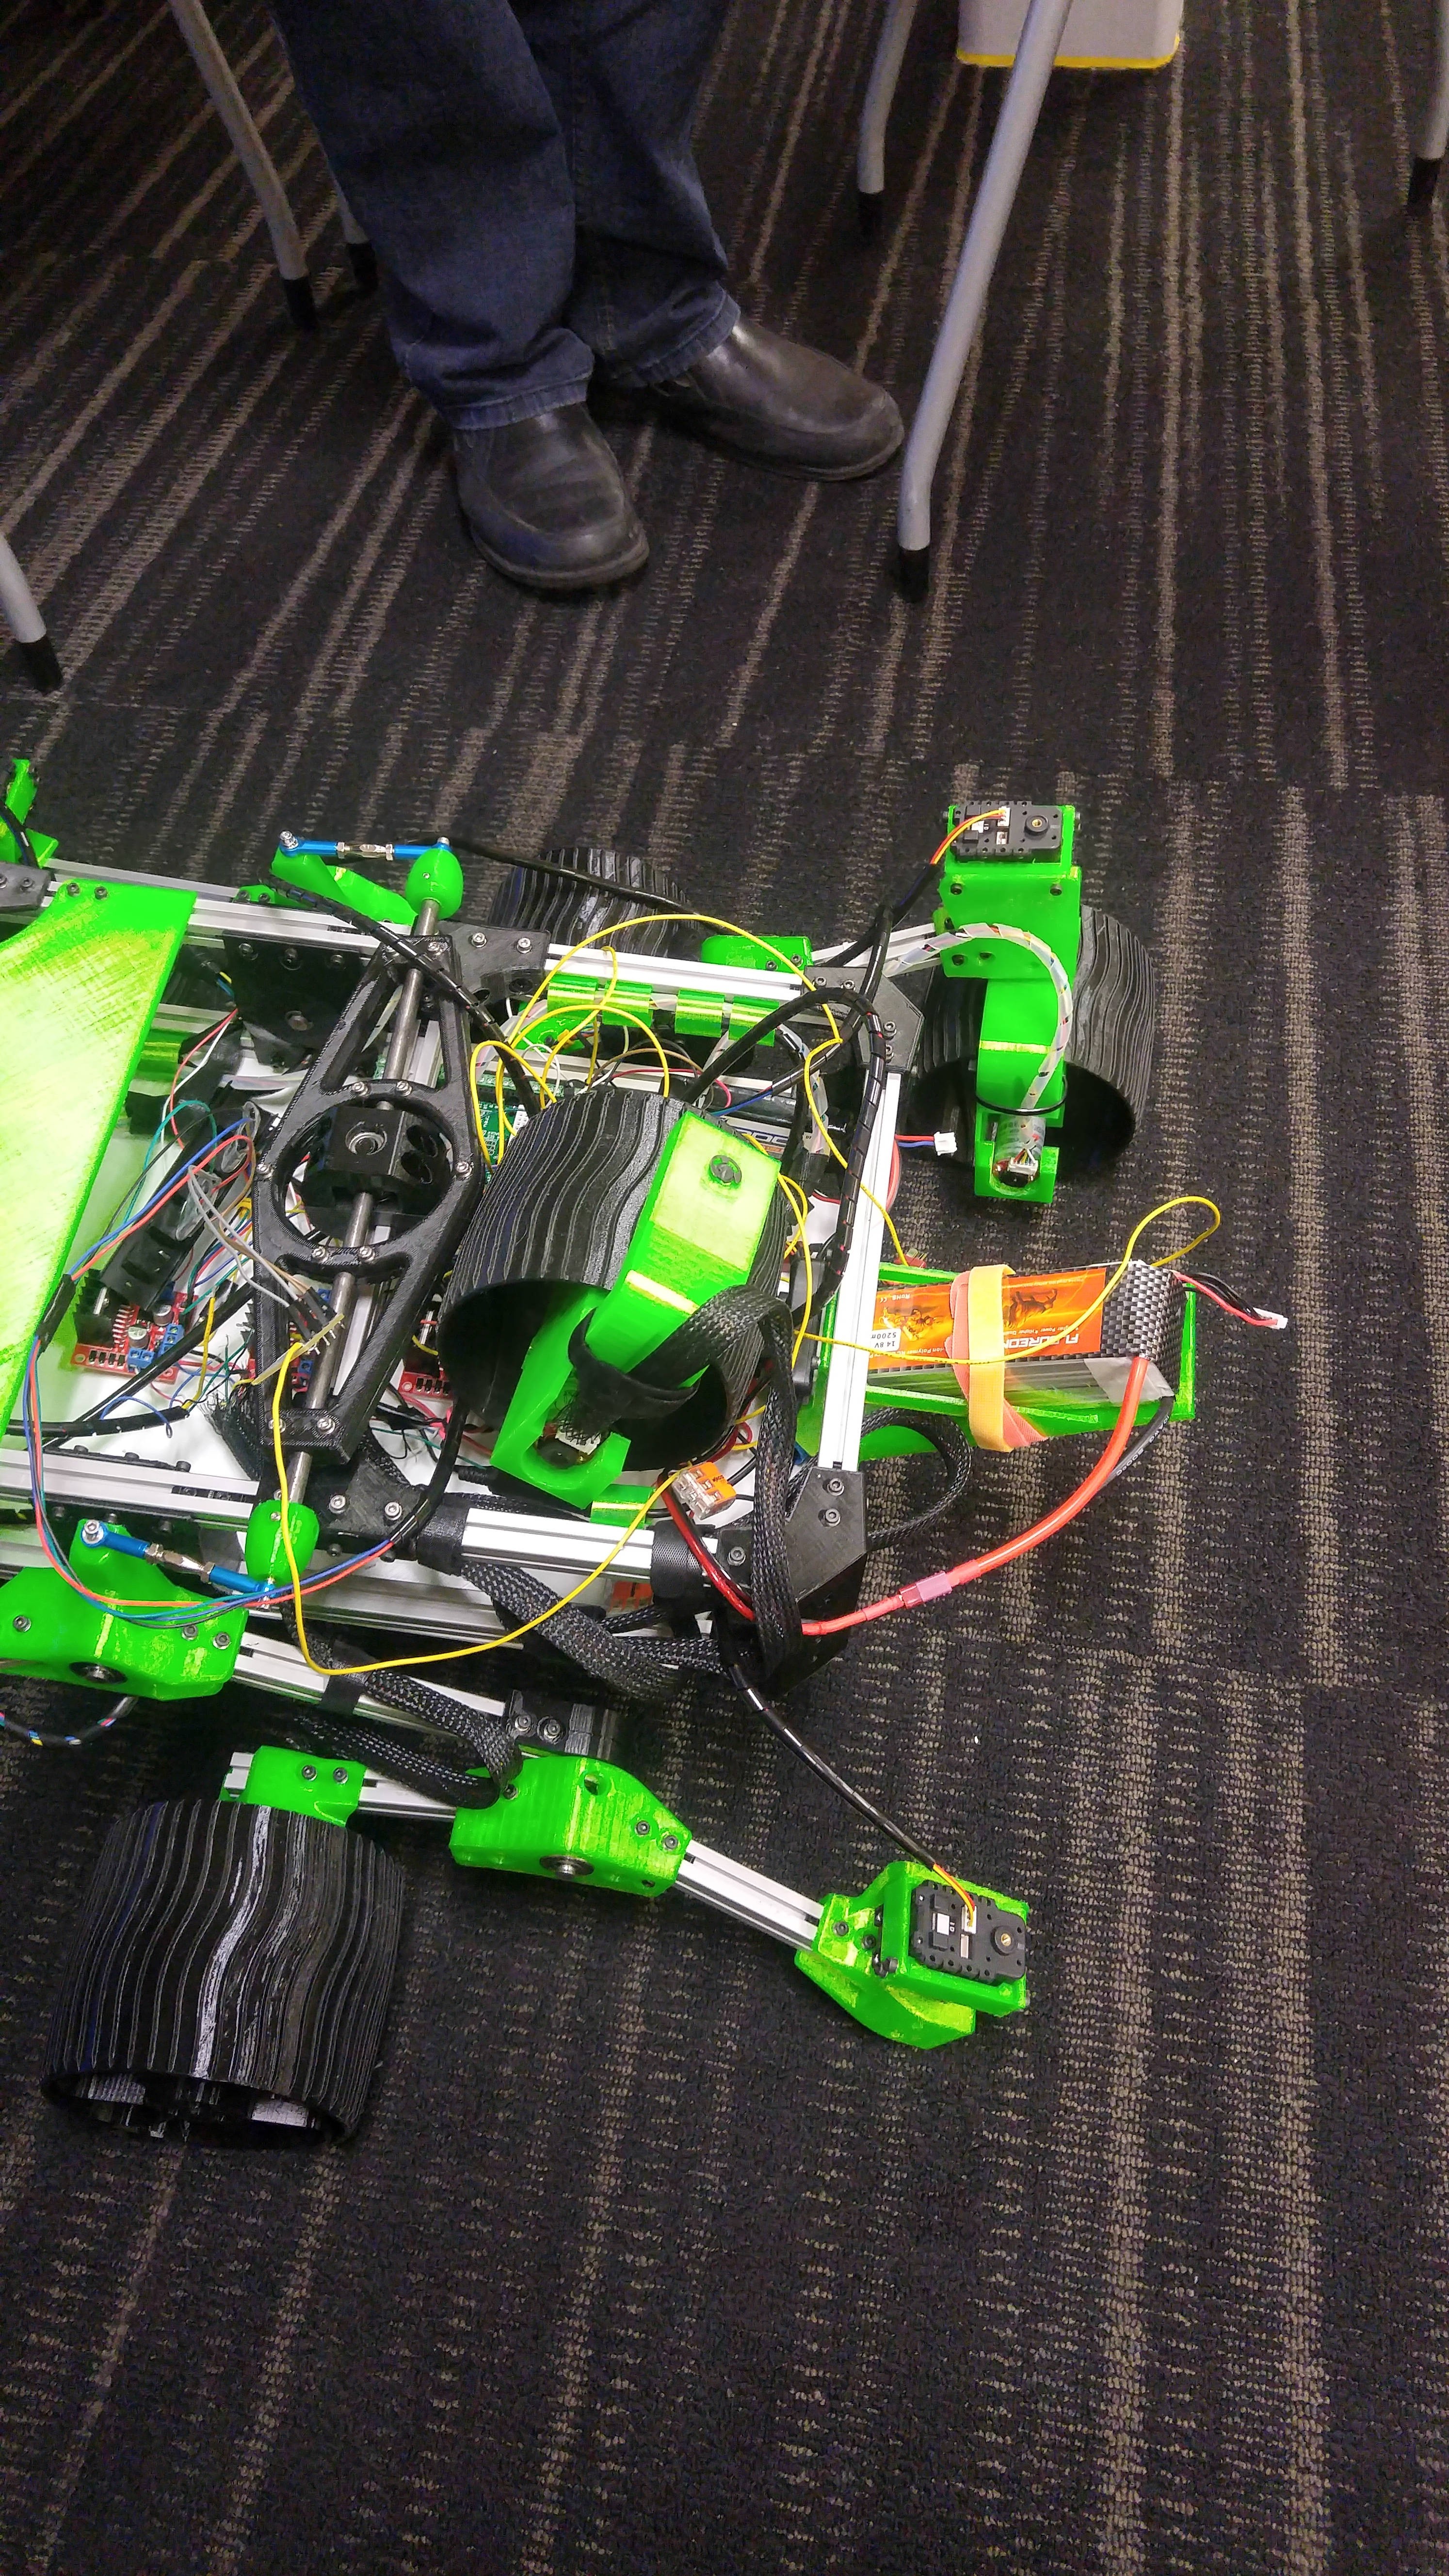
11/01/2019 at 12:24 • 0 commentsSo, after a successful evening roll around the Homebrew Robotics Club meeting, I was starting to drive the rover(Which, in the spirit of other rover names, I've decided to name "Tenacity"), towards the door, when it skidded to a halt.
Yup, I broke another steering shaft.
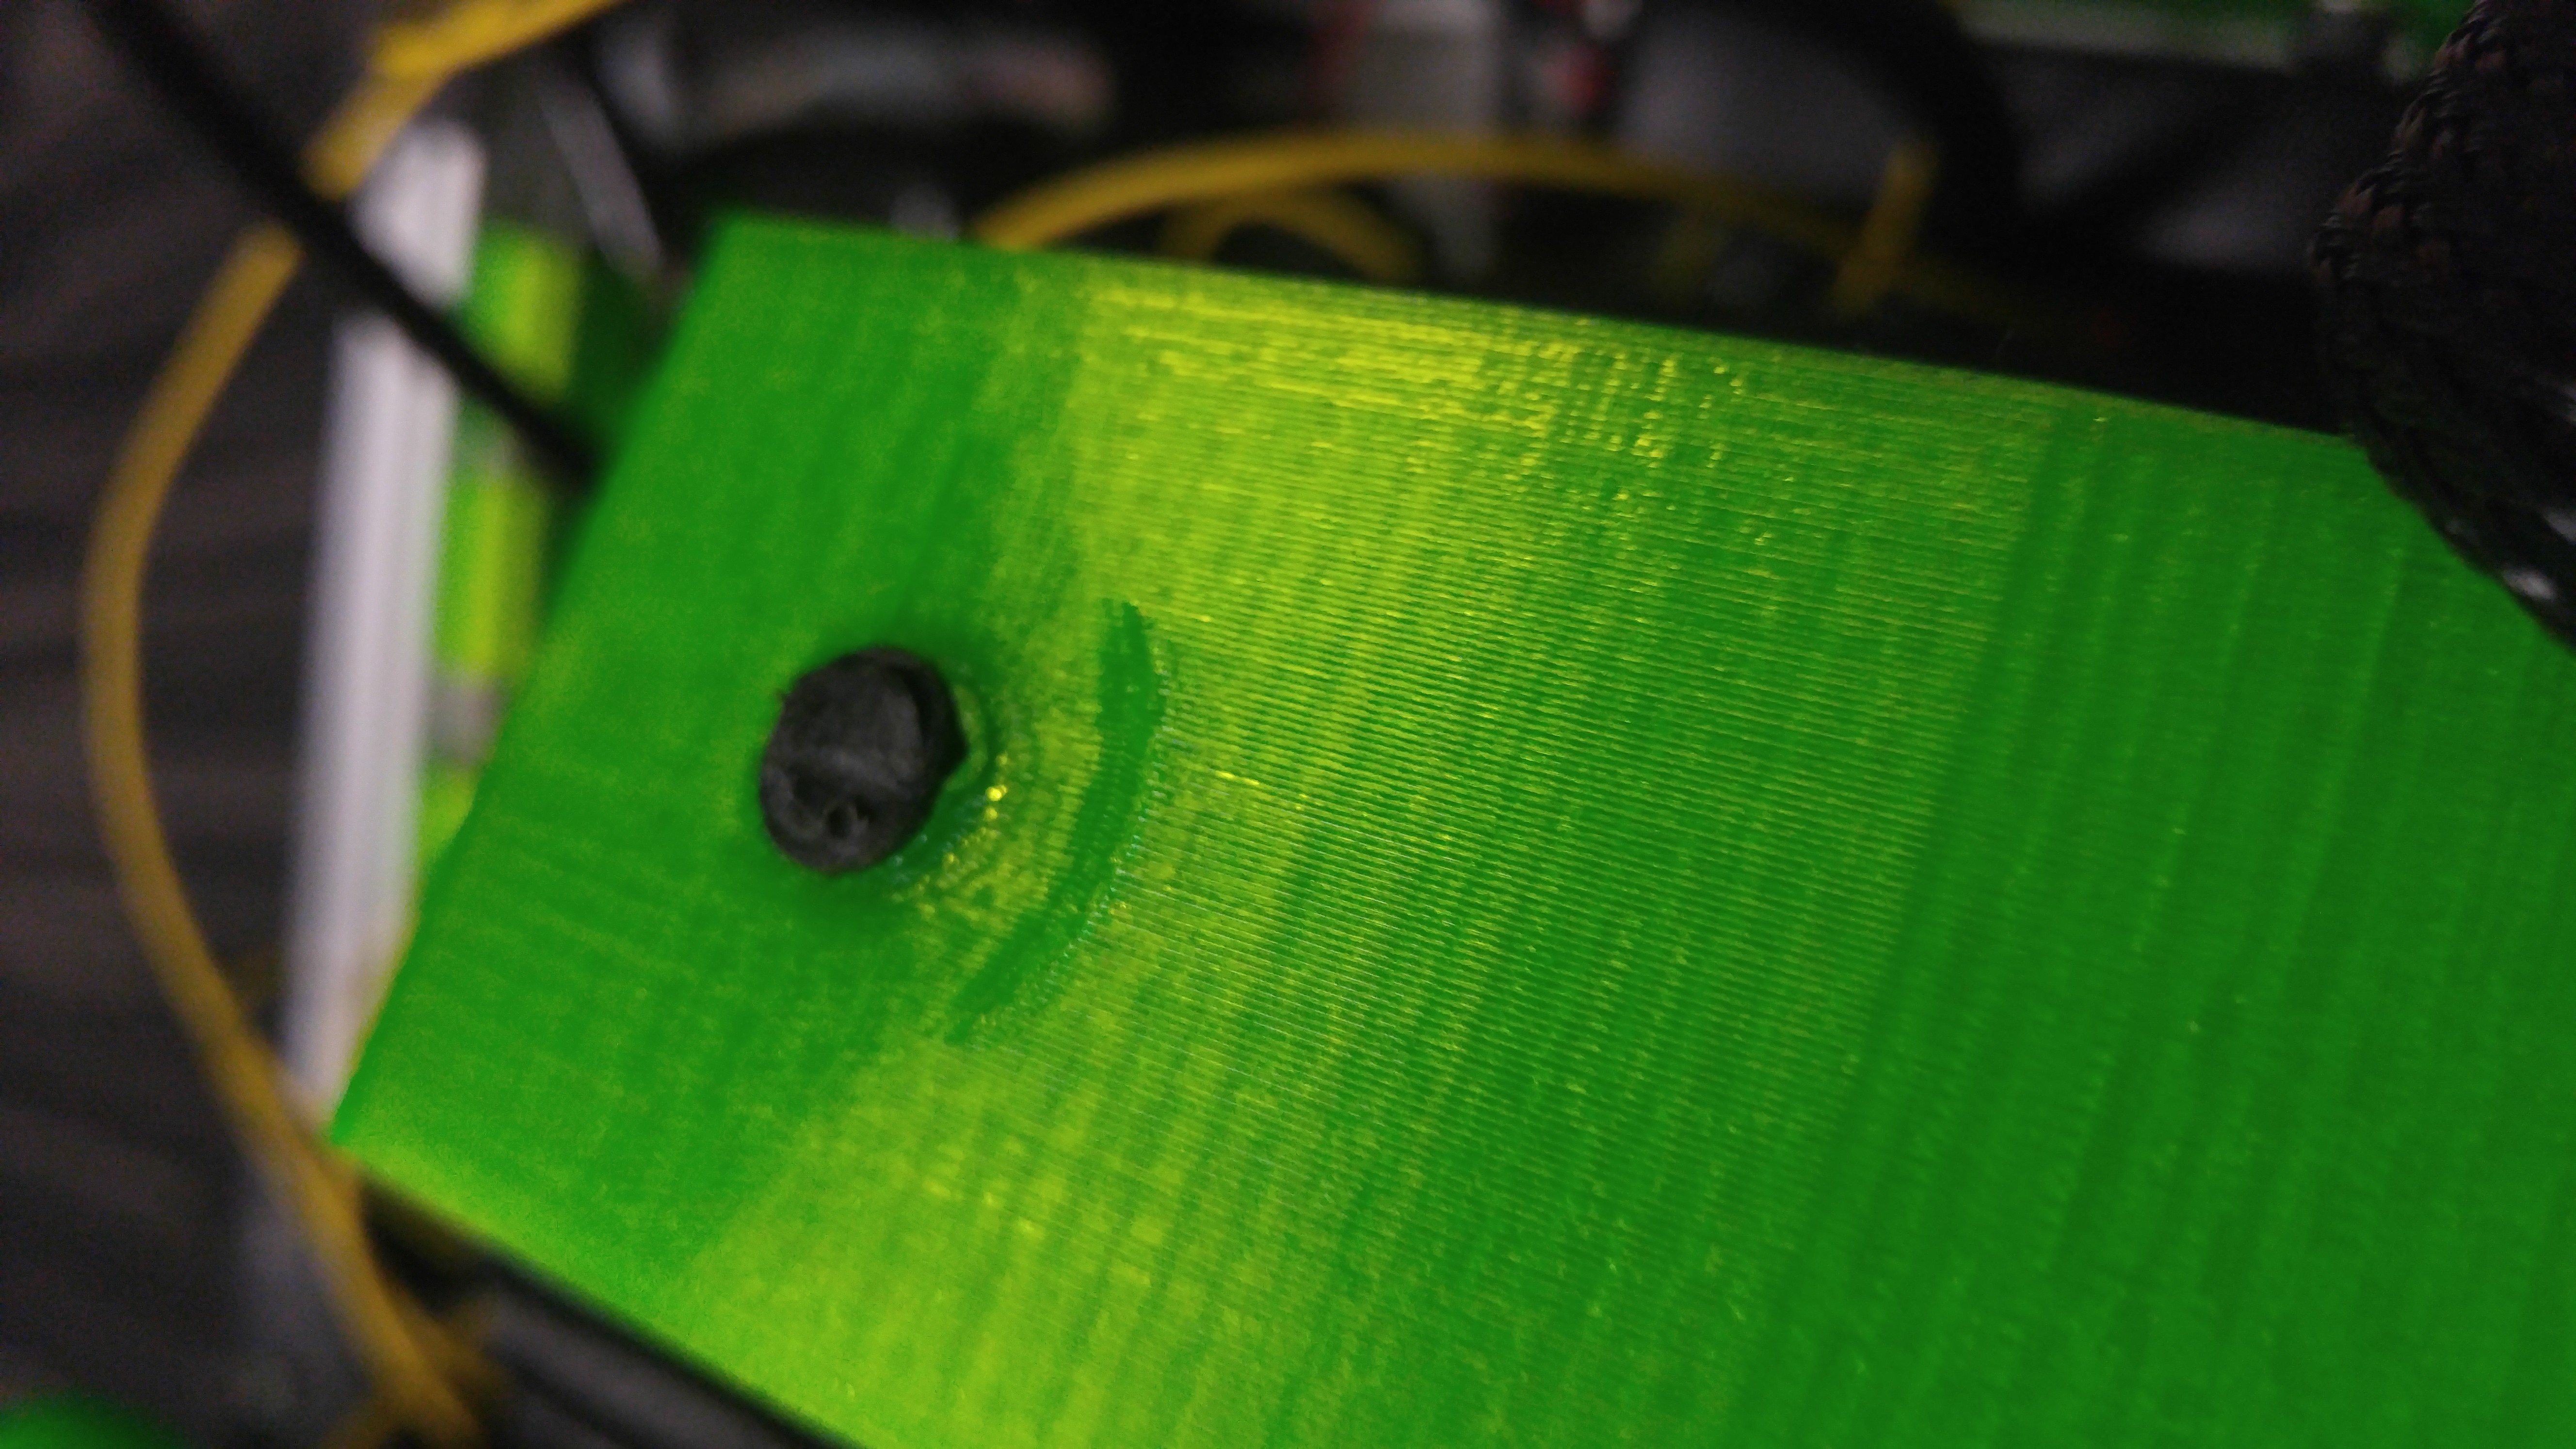
![]()
What you see here is NylonX at 100% infill snapped clean off during a turn, but not one it hadn't done earlier that night or day. These parts can clearly support Tenacity's weight at rest, and even in motion, but they deflect and eventually break with use. So far, all the 3D-printed shafts, other than the shorter ones for the wheel/motor pods, have failed.
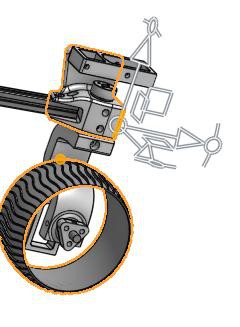
If we look at the Sawppy Parts List, and in particular, the 8mm shaft stock docs, we see that the drive shafts are spec'ed to 50mm long and the others are 60-84mm long. So, 50mm by 8mm is some sort of strain limit for 3D-printed nylon parts, even if they're stiffened with carbon fiber. The other thing worth pointing out here is that each of the failed parts is getting shear forces either vertically or horizontally. The steering shafts sit vertically, attaching the steering motor pod to the steering servo. The rocker-bogie shafts mount horizontally. So this isn't purely a matter of not being able to bear the weight of one whole side of the robot. Nylon does best when used to make parts with significant bulk, for lack of a better term.
So, where to go from here ?
I have a spool of PC(Polycarbonate) and, of course, the STLs for all the related parts, so I'm thinking about giving that a go. I also have some 8mm steel rod and access to a drill-press again, so I could go the Poor man's lathe route. Right now, just to get the 'bot back on it feet again, I think this is the best, quickest, route to take.Unless, of course, Matterhackers wants to sponsor Tenacity a set of shafts with their new metal filament and sintering service. What do you think guys ? (Baby) Rover needs a new set of shafts(shoes) !
![]()
If you're not breaking things, you're not making things!
-
Who rolls the 'bots? ---We roll the 'bots!
10/31/2019 at 14:09 • 0 commentsWe're rolling! I demo'ed the 'bot at the Homebrew Robotics Club meeting last night.
In the spirit of the names of the other actual rovers rolling around on Mars, I've decided to name this one "Tenacity" or more fully "S.P.R. Tenacity" with "S.P.R." standing for "Spare Parts Rover".
It feels great to get to this point! -
CAD update and some notes about building with 3D-printed parts.
10/01/2019 at 05:08 • 0 commentsI pushed up a bunch of changes to my fork of the Sawppy Repo, that, among other things, include a good number of the models I had to rework because of issues with the heat-insert holes on things like the Steering Knuckle assembly, wheel hubs, etc. being too big. This is not at all a slam on Roger or the work he's done, it's just the current reality of building things with parts made by a printer that doesn't cost as much or more than a new late-model car.
If you are going to be building something like a Sawppy be prepared to budget for failures, even if the print completes successfully. Things may just not fit right and post-processing may or may not help and you might have to resort to other methods to resolve the situation. For the Steering Knuckles that provide corner-steering for the rover, I did not re-print them but instead went with #6-32 inserts instead of the 3mm that are used elsewhere in the model. I would allot a whole extra spool for these sort of problems because printing them out at full-size in your final material is really the only way to figure it out. Resist the temptation to print out things in super-cheap PLA for fit-and-finish because it's going to flow and expand and contract differently than PETG.
Anyway, that's more of a ramble than I'd planned on about all this.
![]()
![]()
-
6 Wheels rolling!
09/28/2019 at 07:41 • 0 commentsI got all the motor pods connected and running tonight. There's a bit of precession going on with a couple of them and I'm not exactly sure what's going on with that. It could be a wheel or axle that is not mounted entirely flush against a hub or mount or something. I'm going to take them off this weekend and investigate. The important bit though is that I can command each motor pod individually and that all the time I've put into wiring and mapping out the pins and terminals and everything has paid off. I flipped the switch this afternoon and all the wheels started rolling in the same direction at the same speed, first time off, which is HUGE.
I'm using 3 LM298N dual motor controllers, hooked up to an Arduino MEGA 2560 via screw-terminal shield.
That will ultimately be connected to a Pi or maybe even a Jetson that is running ROS.
For now though, I'm pretty psyched that I've gotten this far. Teleop control is just around the corner, hopefully sometime in the next week or so, after I get the precession issues sorted. -
Motor test
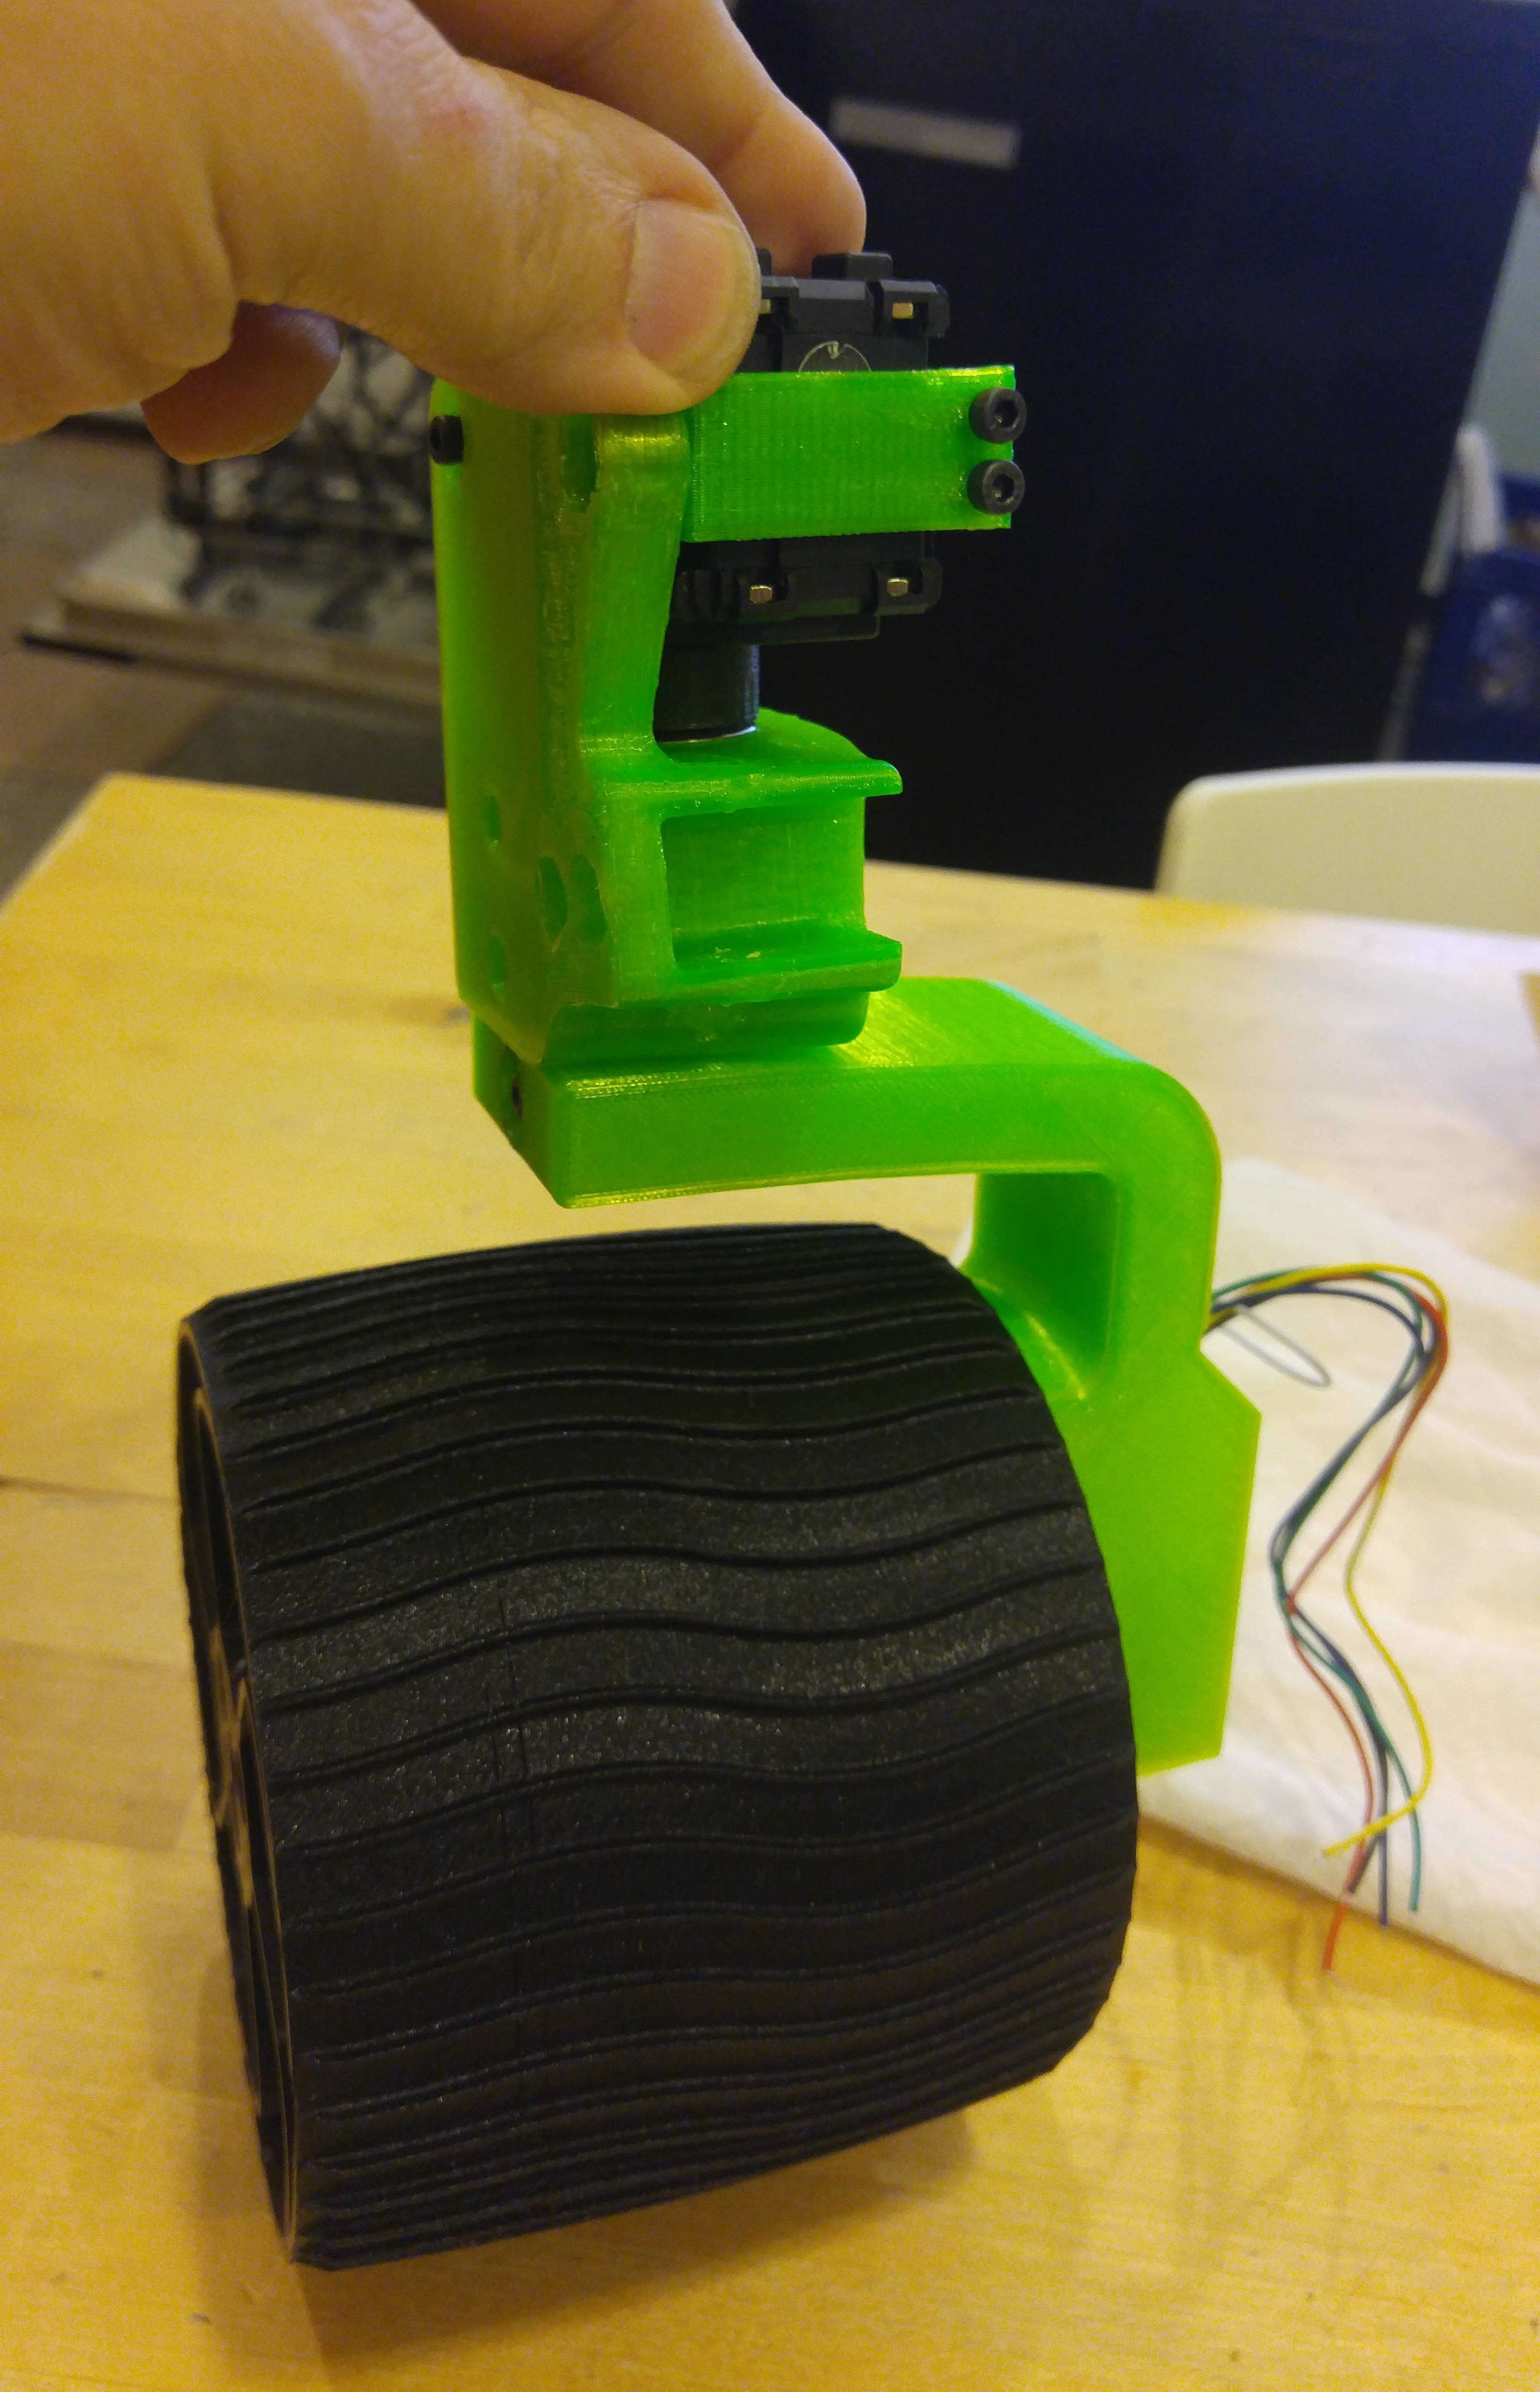
09/26/2019 at 20:52 • 0 commentsThis is a test of one of the motors after I'd printed out the housing, shafts, etc. and screwed everything down. Mostly I was just going through the full sub-assembly here, checking out how it all moved once assembled. The bracket/housing here is printed in a red PLA because I wanted to save the nicer, slightly more spendy PETG for the actual model vs. using it on a test-stand that would probably get tossed or might break or need another round of CAD & printing if things didn't fit exactly right.
I generally keep a couple spools of bargain-basement PLA on hand for just this sort of thing. I get the super-cheap $9.99 whatever-Amazon-throws-at-me or what Matterhackers has on clearance and then print all my test-fit parts with that, saving the more expensive stuff for the final print when I'm sure all the fit-and-finish has been worked out.
Google Drive is being annoying about inlining videos that I've uploaded there. The inFrame method I've used before to include a link to a video I've uploaded to drive doesn't seem to work anymore. So you'll just have to check it out here:(If somebody has figured out the current way to inline display videos from Google Drive or something this isn't YouTube/Vimeo, please comment below.
Thanks! -
"in media res..."
09/22/2019 at 20:33 • 0 commentsI'm posting this actually quite a ways into the project. I started working on it around March-ish 2019, about the time that the final collapse of TheShop.build(nee' TechShop) happened and I lost access to a metal shop within a reasonable drive of SF.
So, here we are. My as-yet-unnamed SAWPPY-alike has now been moved to Circuit Launch in Oakland, CA. where I am one of their Roboticists in Residence, focusing on rovers and off-road, ruggedized robots.
Anyway, here are a few random pics of my build process. My rover was printed on a Raise3D N2+. The wheels are PETG-CF from Matterhackers. The drive axles and steering shafts are NylonX(About which I'll write more later) . The rest of it is printed in PETG from a variety of suppliers.
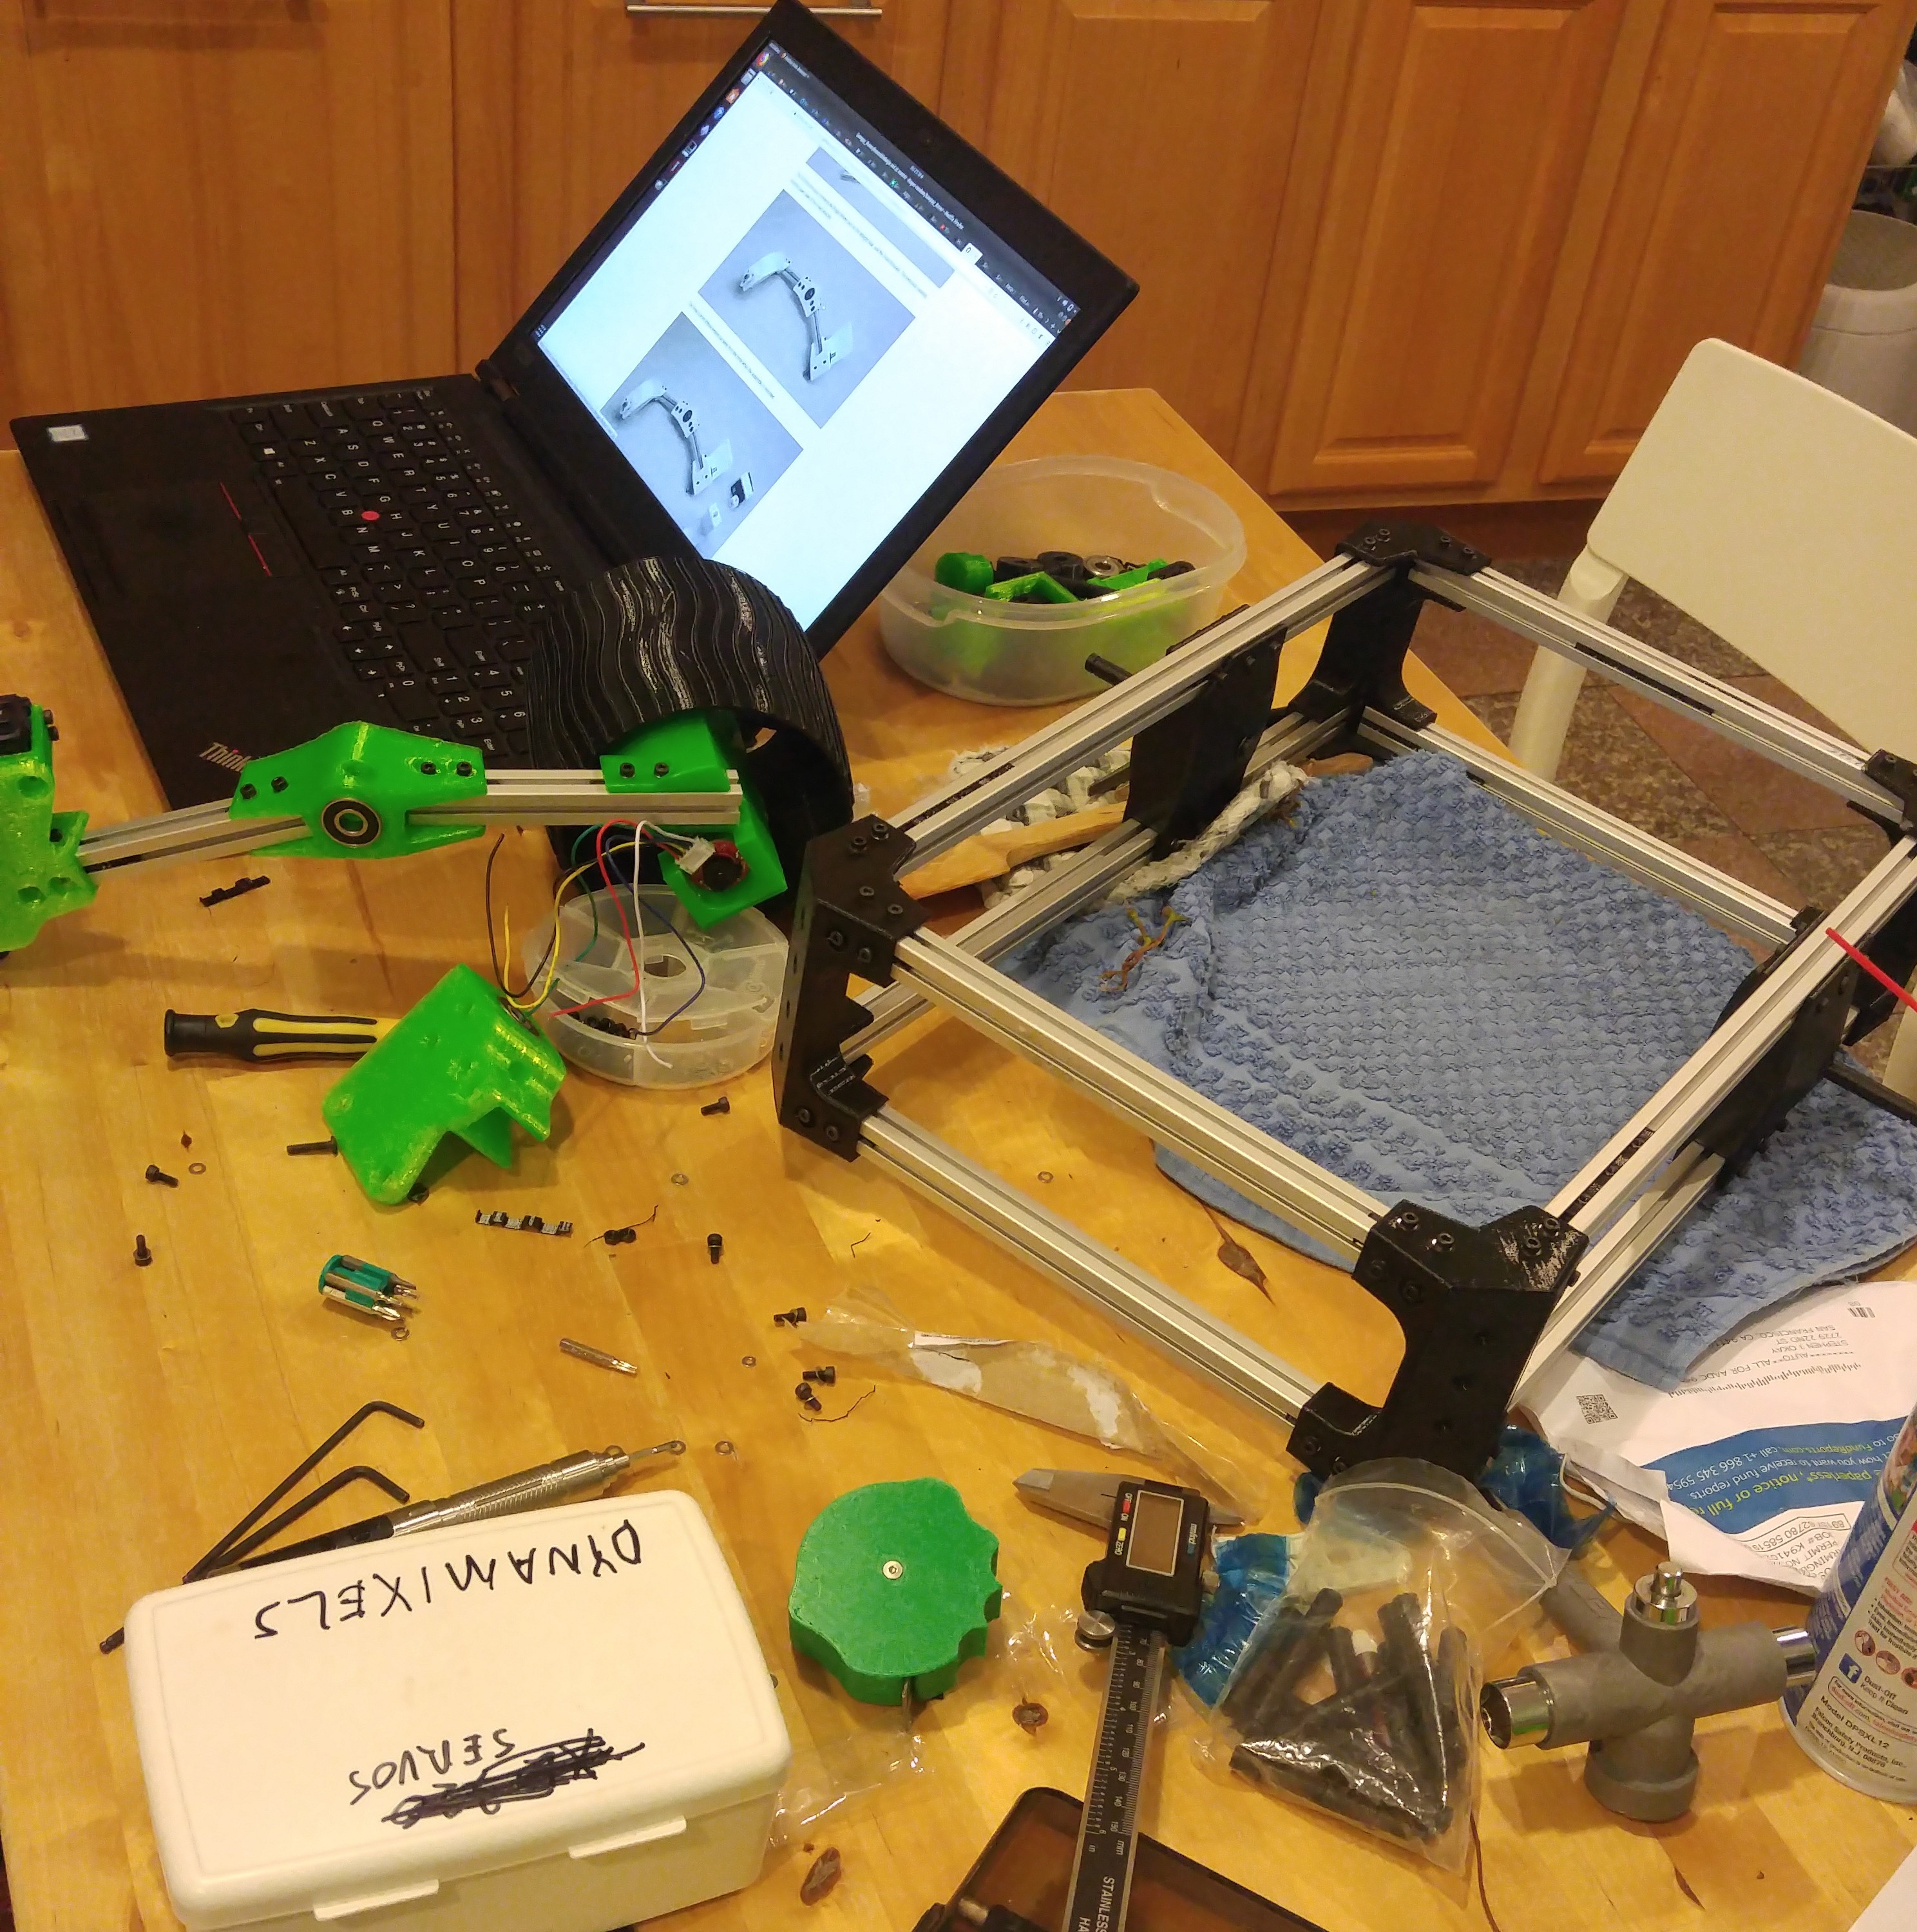
All great projects start out on the kitchen table:
![]()
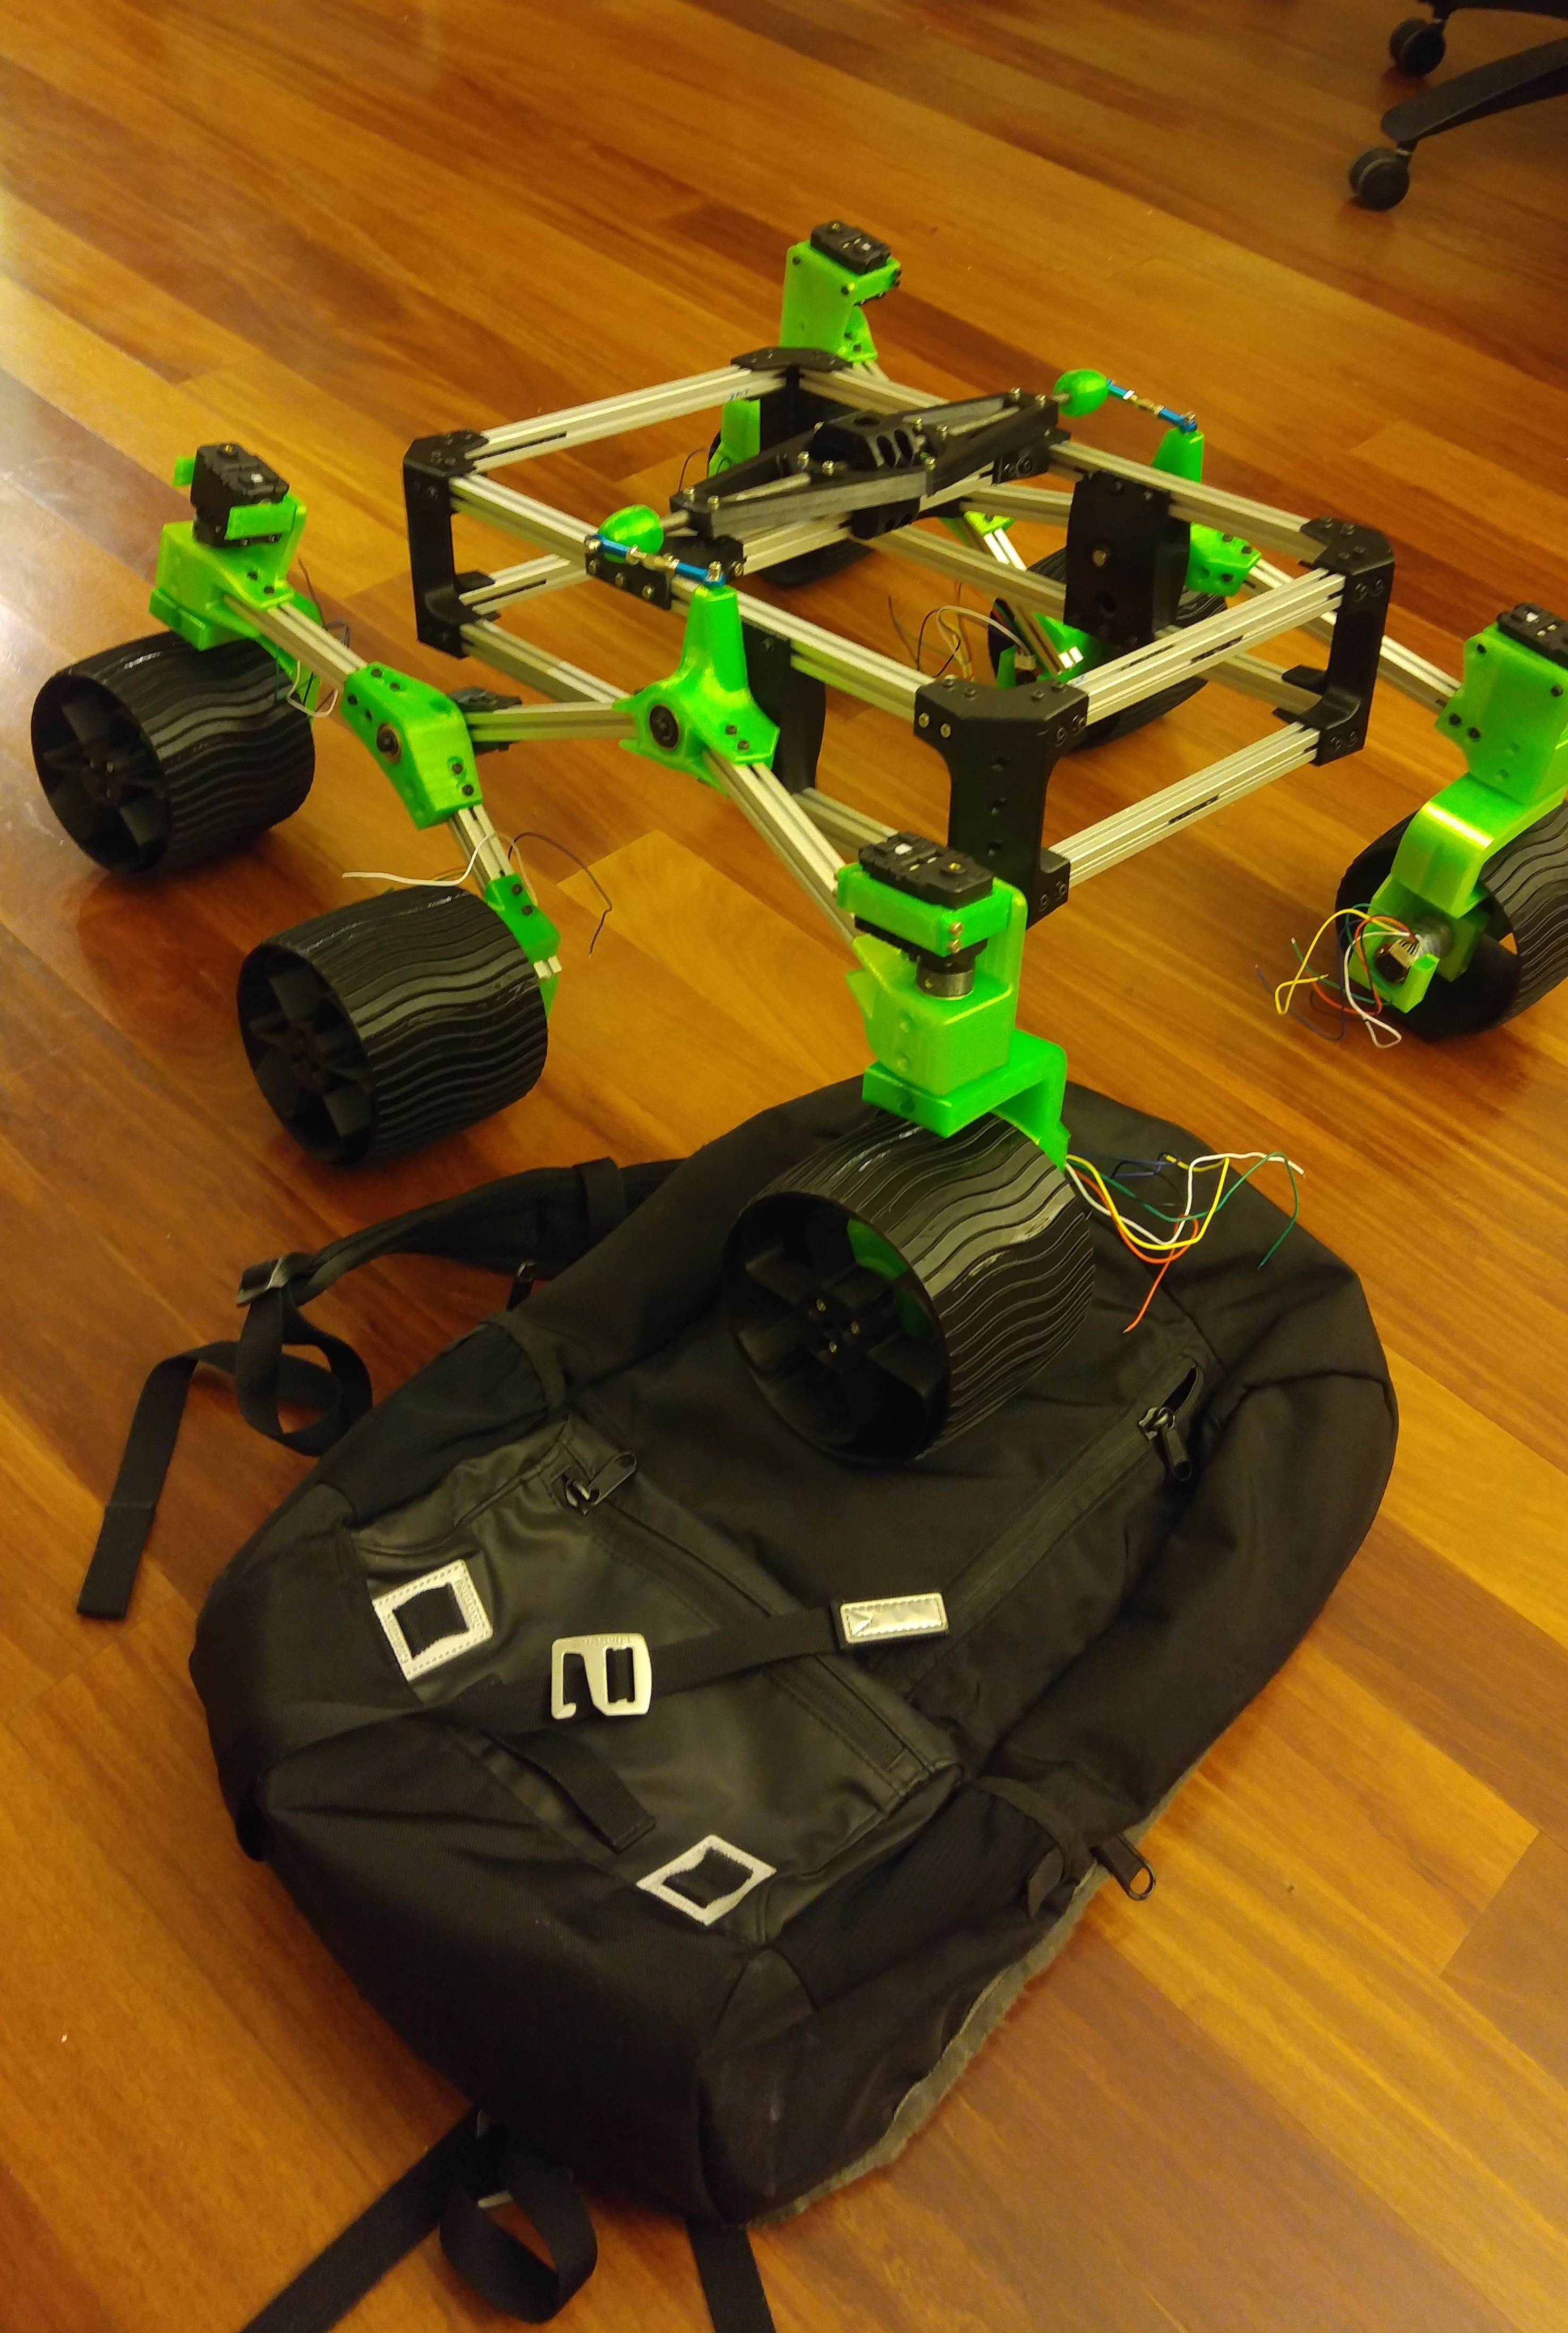
The all-important mechanical "backpack test", when it was still occupying whatever random corner in our apartment I could put it in that night.
![]()
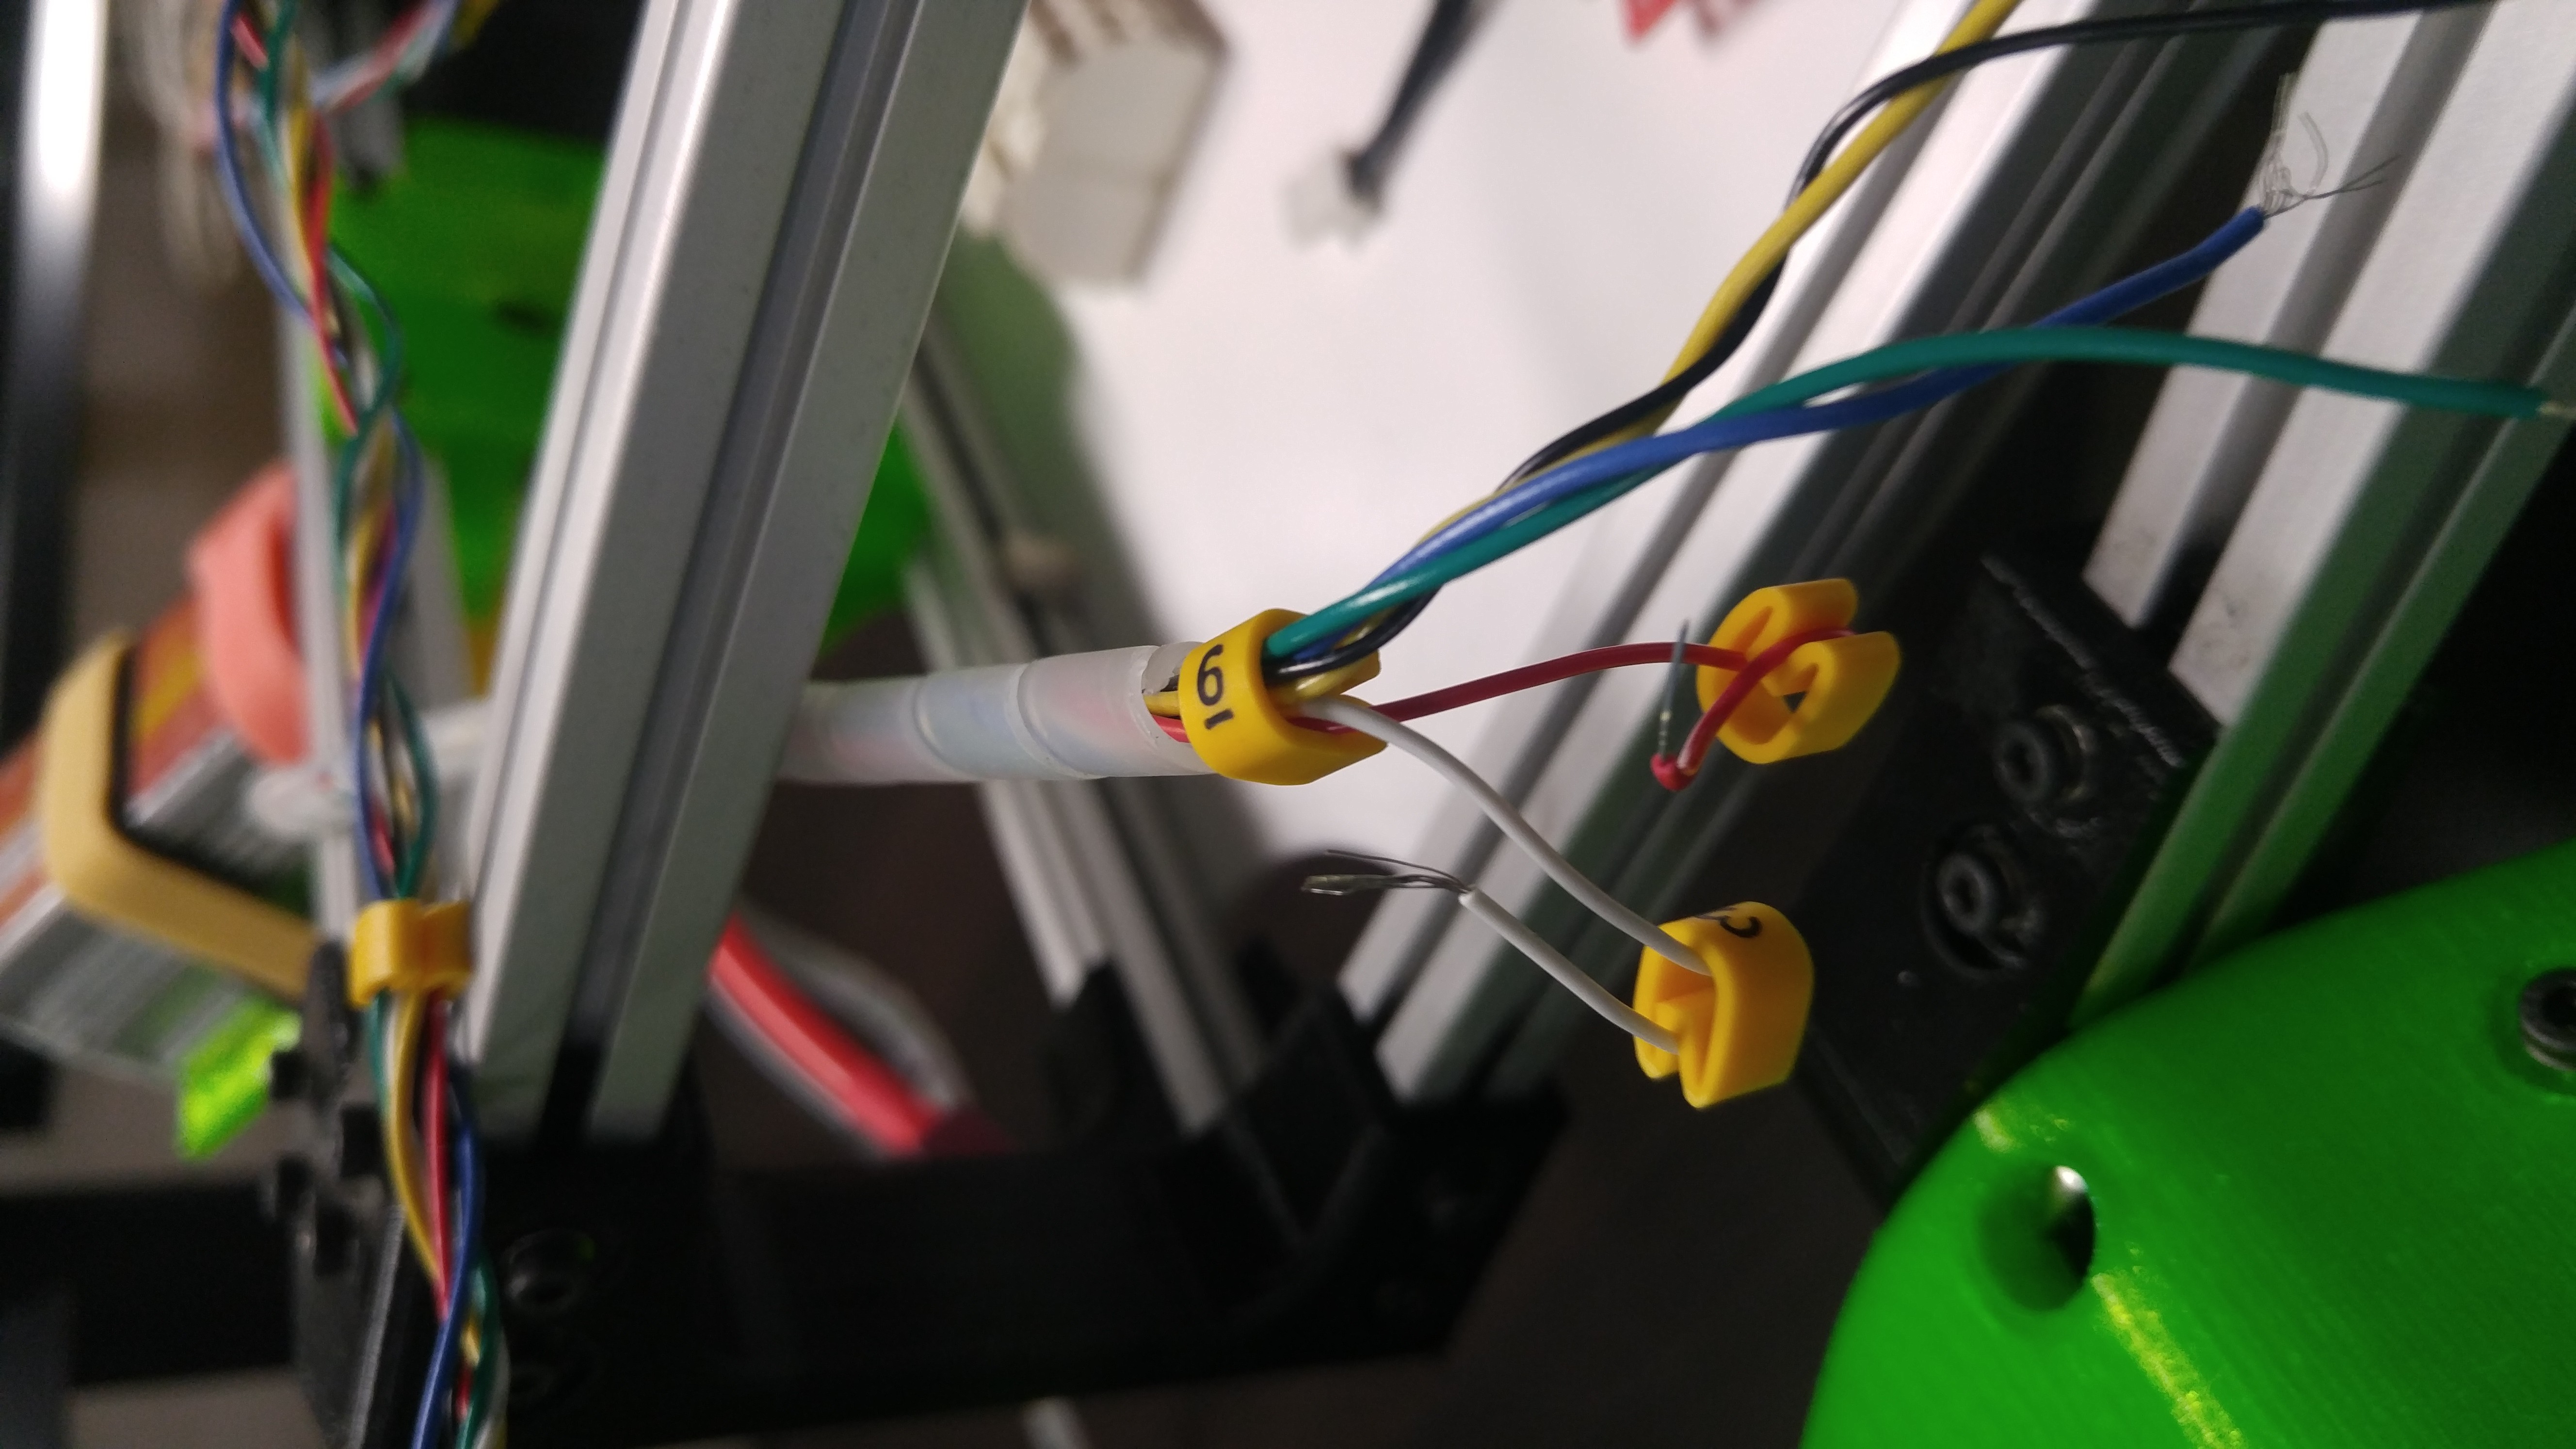
I spent (and am just now finishing) a LOT of time on the wiring. I've built enough robots of significant size to know that organizing and "dressing" your cable runs will save a lot of debug time later.
![]()
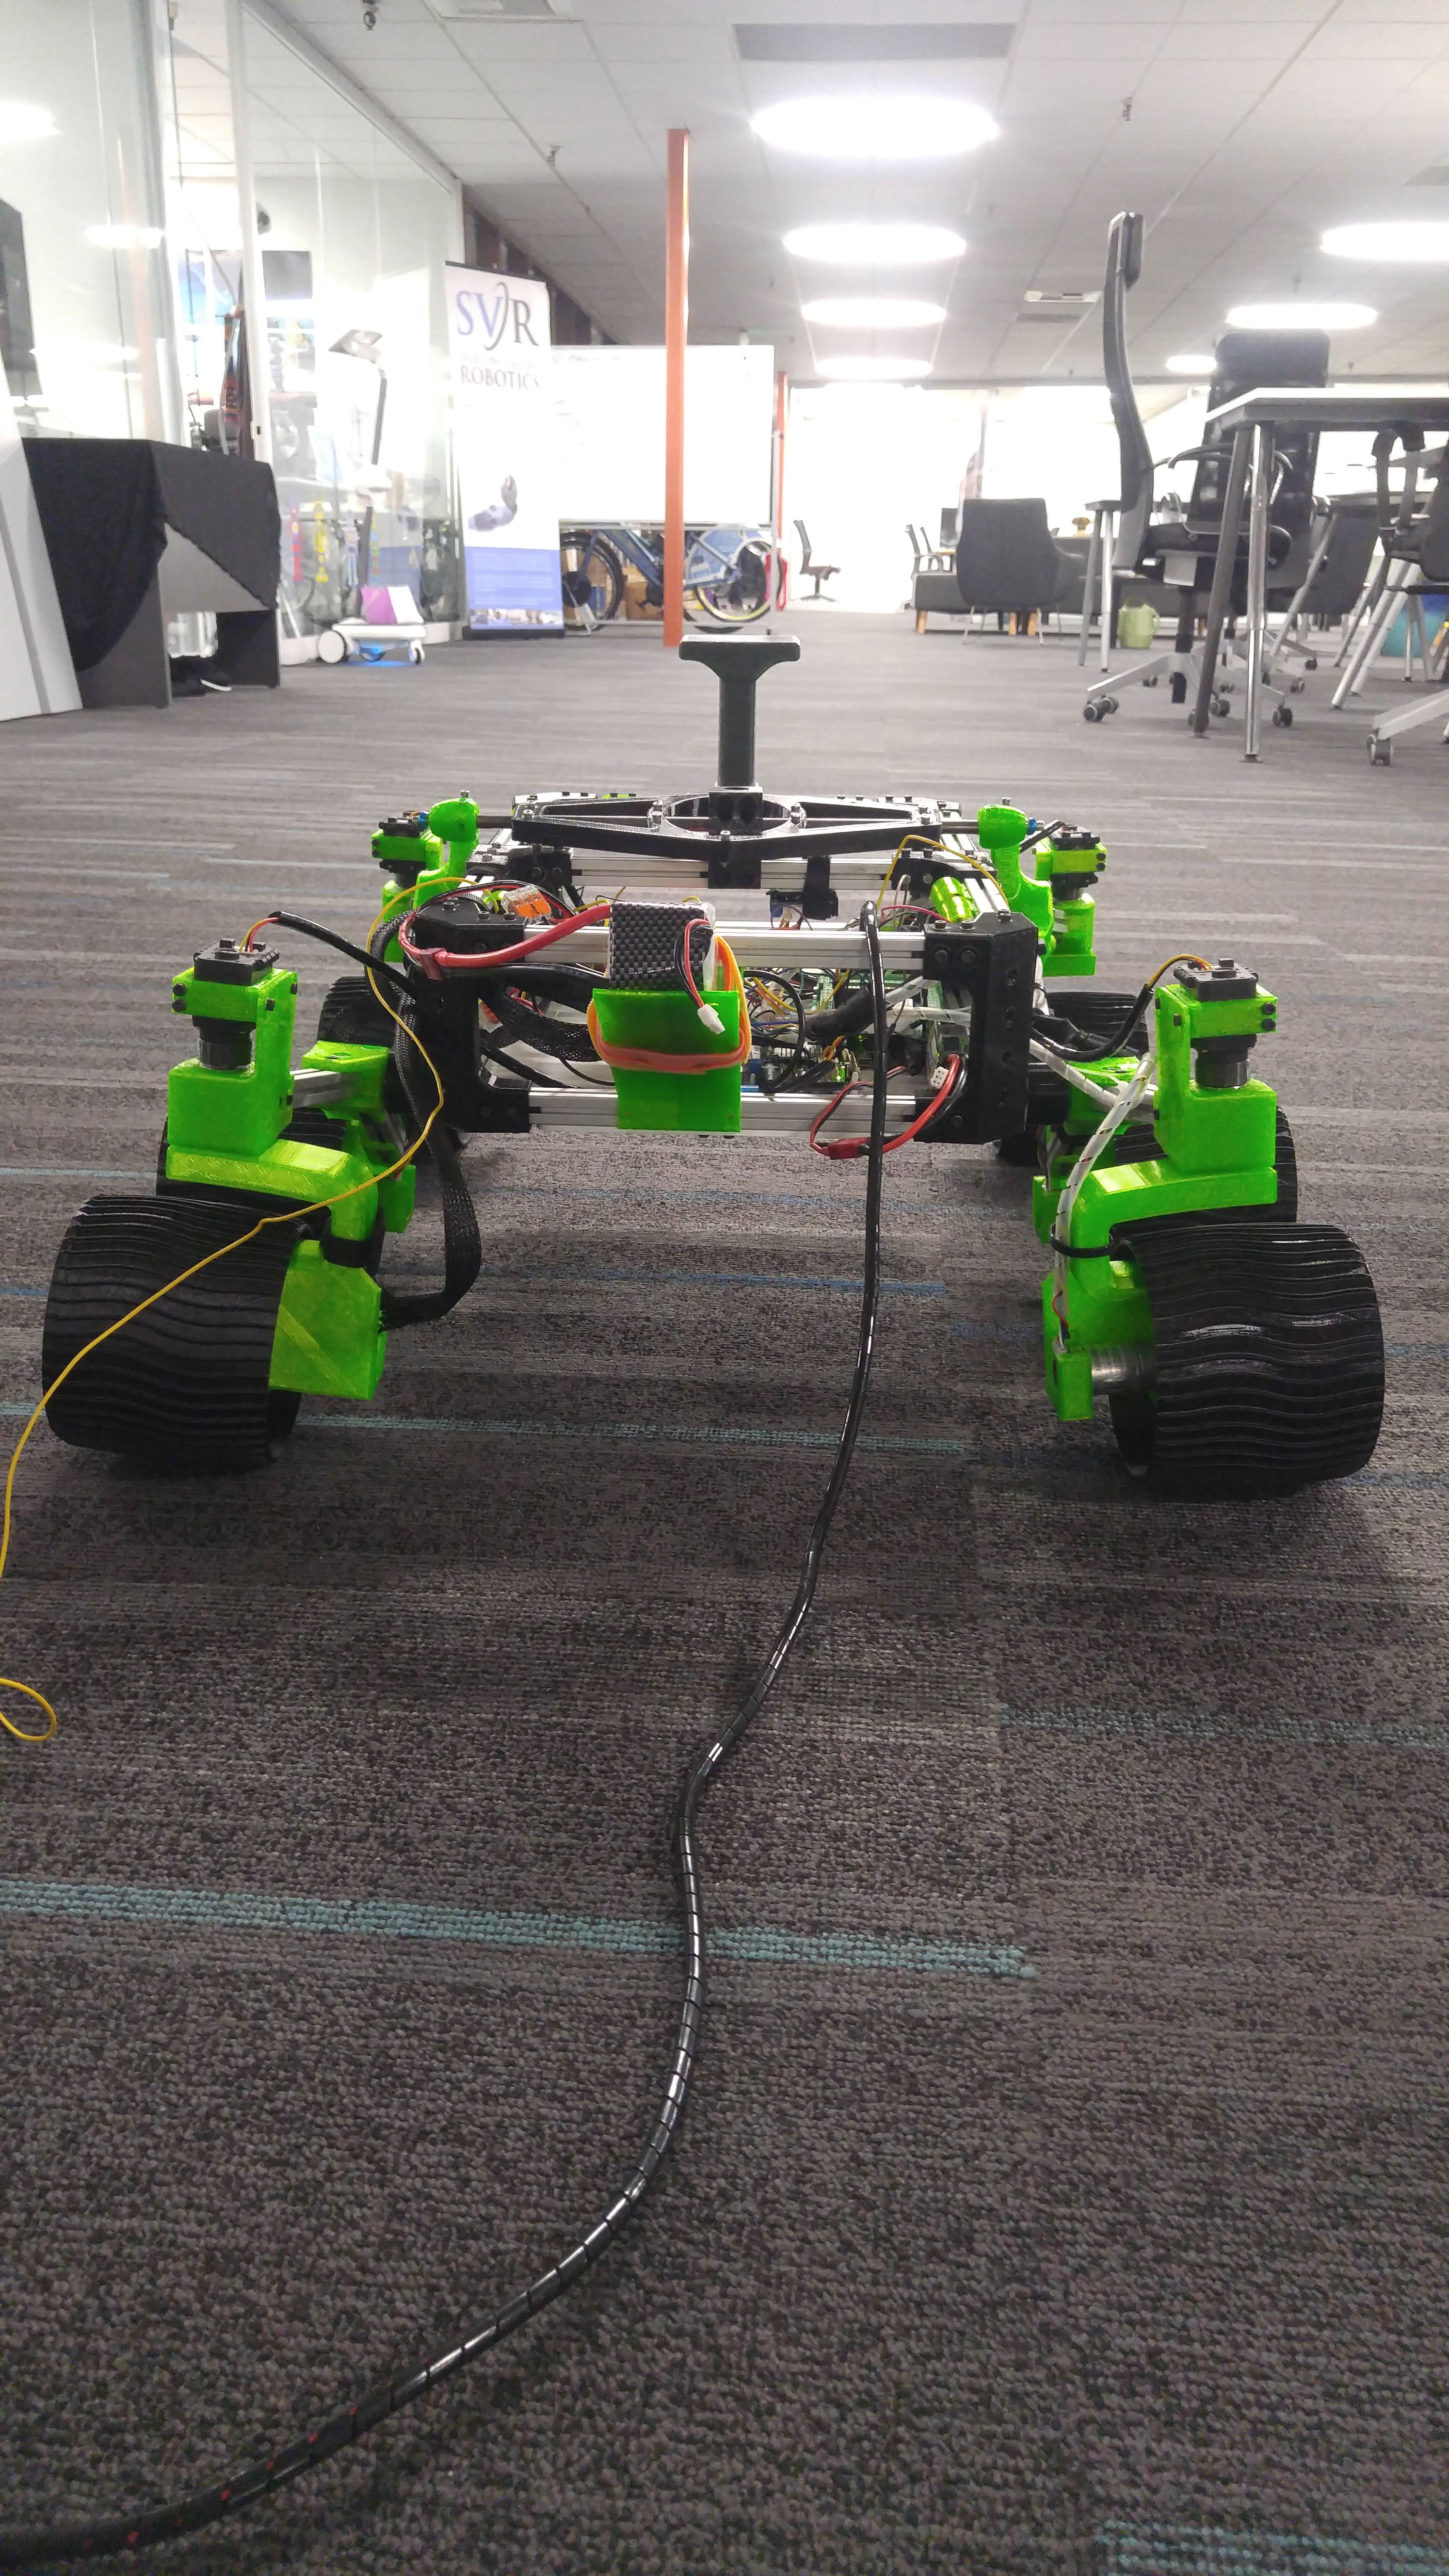
Anyway, this is kind of where we are right now. I'm expecting to wrap up the wiring in the next couple days and start some motor tests followed by actual roving Real Soon Now.
"Tenacity": Yet-Another-Sawppy-Project
Inspired by Roger and others, I'm making a SAWPPY-Alike rover, adding my own tweaks and mods.