As I get to the most complicated parts of the 74HCT6256, such as the Serial Data Register, or the Time Of Day set of registers, the amount of logic required to mimic the behaviour of the original MOS6526 increases.
Luckily, as my skills are improving, I'm managin to cram more component on each board. Proof of this is that the two remaining boards will have more ICs combined than the first three.
However, as complexity increases, so does the mistakes in the design. I've choosen to take a shortcut, and go the FPGA route for development and testing. This way, I can try and test many design, without the need to order, build, and test new boards each time.
To do that I needed a small setup. with a FPGA, it's programming hardware, and the ability to rearrange all connections as needed, including voltage level shifting, and prototyping space.
Thanks to the leading PCB manufacturer PCBWAY, I've managed to get some PCBs manufactured. And the requirements where pretty high! Some spacing were the smallest I've ever worked with, with 0.4mm pitch in some components.
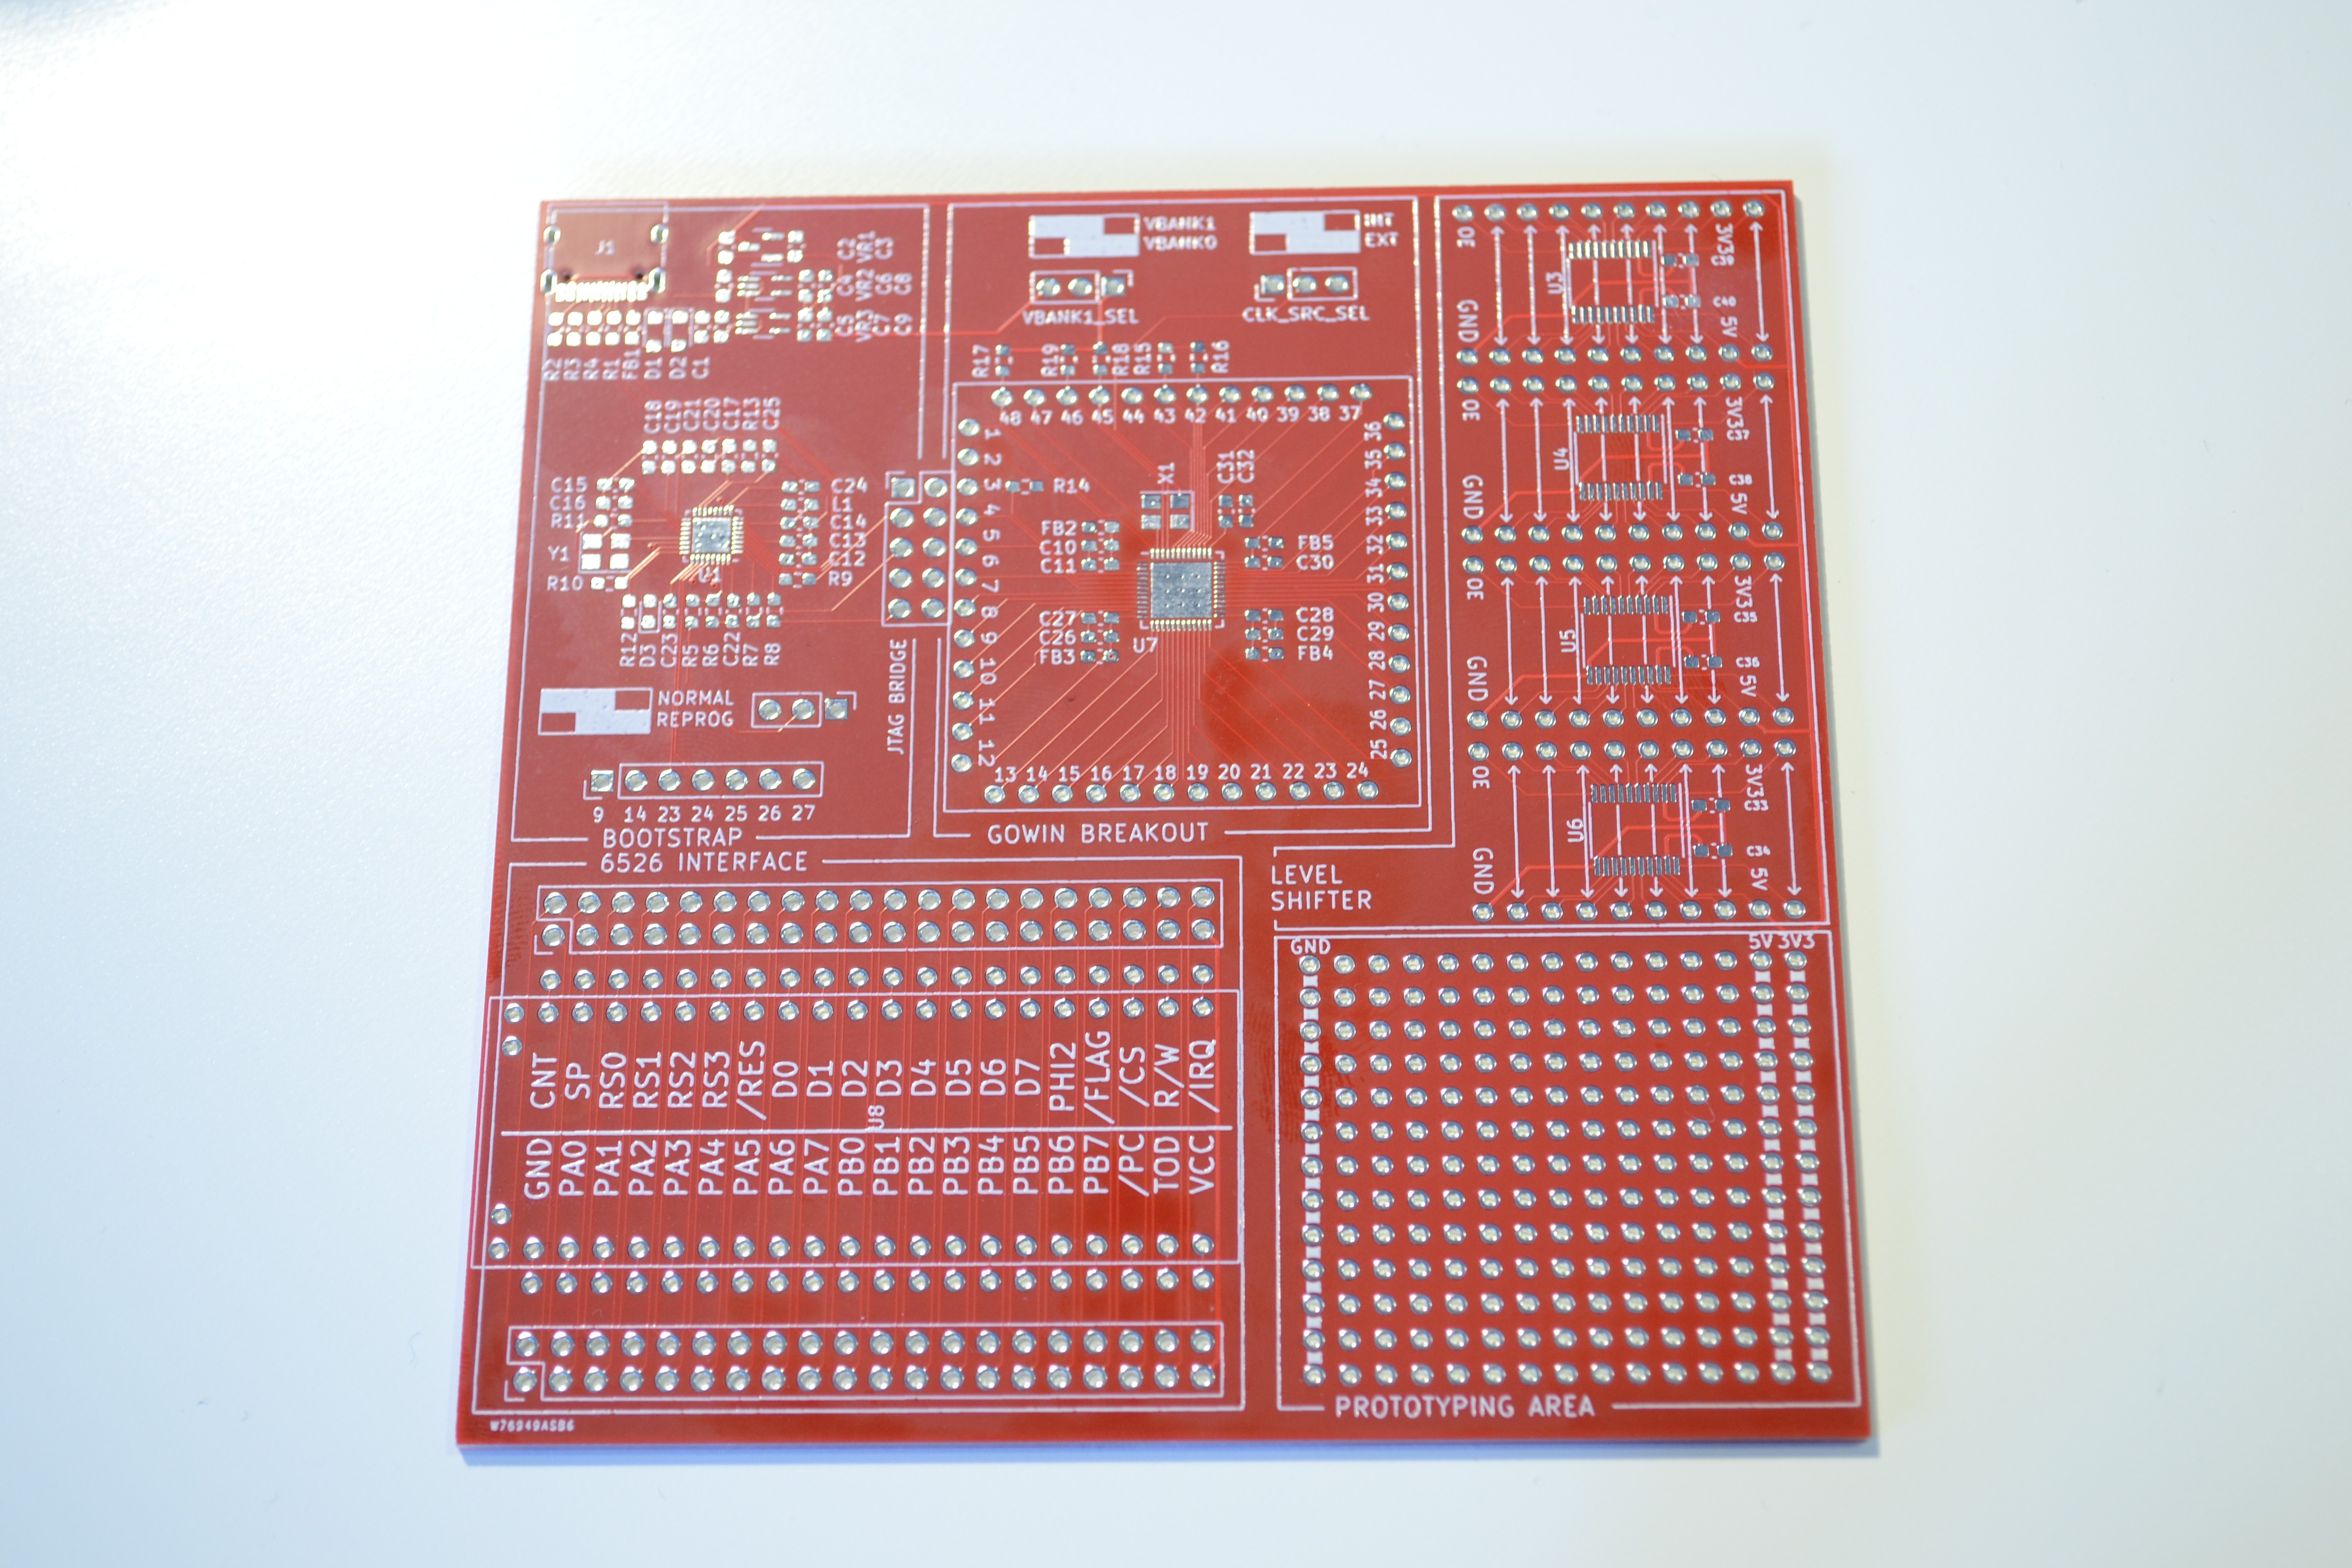
This is what the full (unpopulated) board looks like.

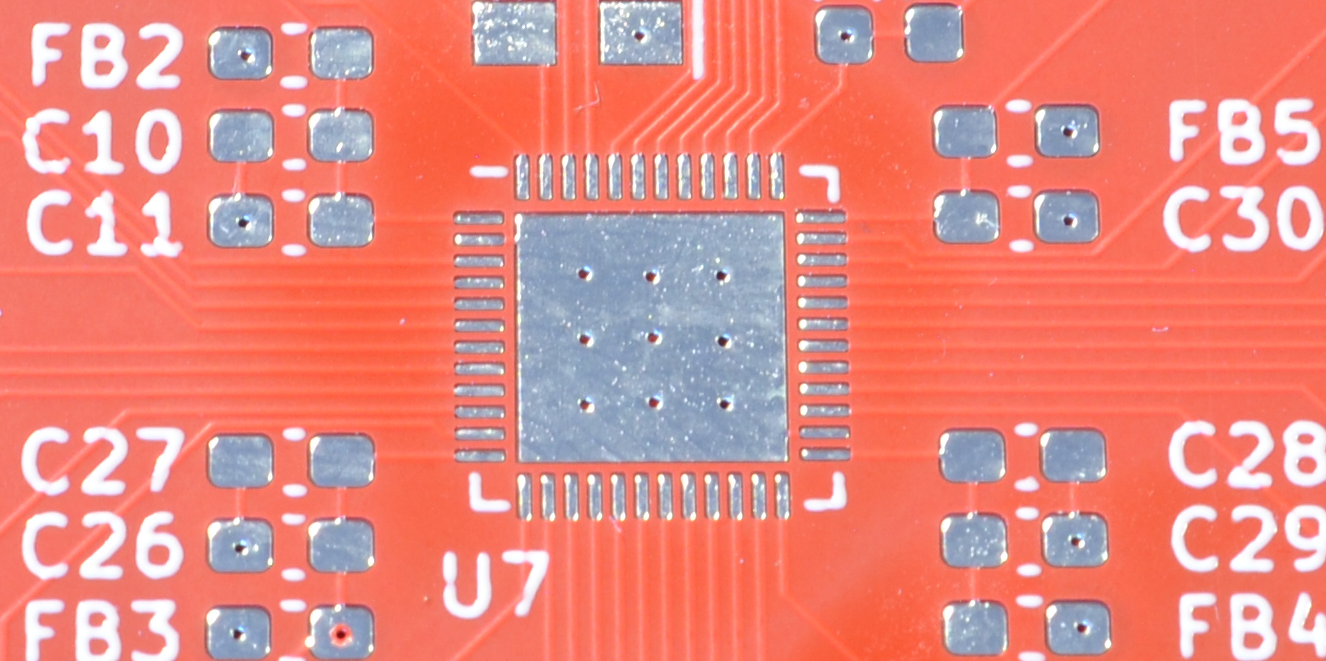
The smallest details are incredibly accurate:

Solder mask alignment was crucial and PCBWay got it spot on. 100% accuracy.. Those footprints on the sides of the main IC are 0603 SMDs, so imaging how tiny the space between the pads of U7 is. Vias in the picture have a 0.2mm drill hole, which is the smallest you can go. Vias on a pad? Oh yeah, no problem!
Being my first board with this requirements, It had some minor mistakes. Communication with PCBWay engineers was fast, efficient, and helped my getting a perfect result. In the then, less thay 24 hours went since I uploaded the design, to manufacturing completion.
There are cheaper alternatives to PCBWay, for sure, but you usually get what you pay for. If you need very small features, tolerances, and assurance that any mistakes on your board will be detected beforehand, PCBWay for sure can handle it.
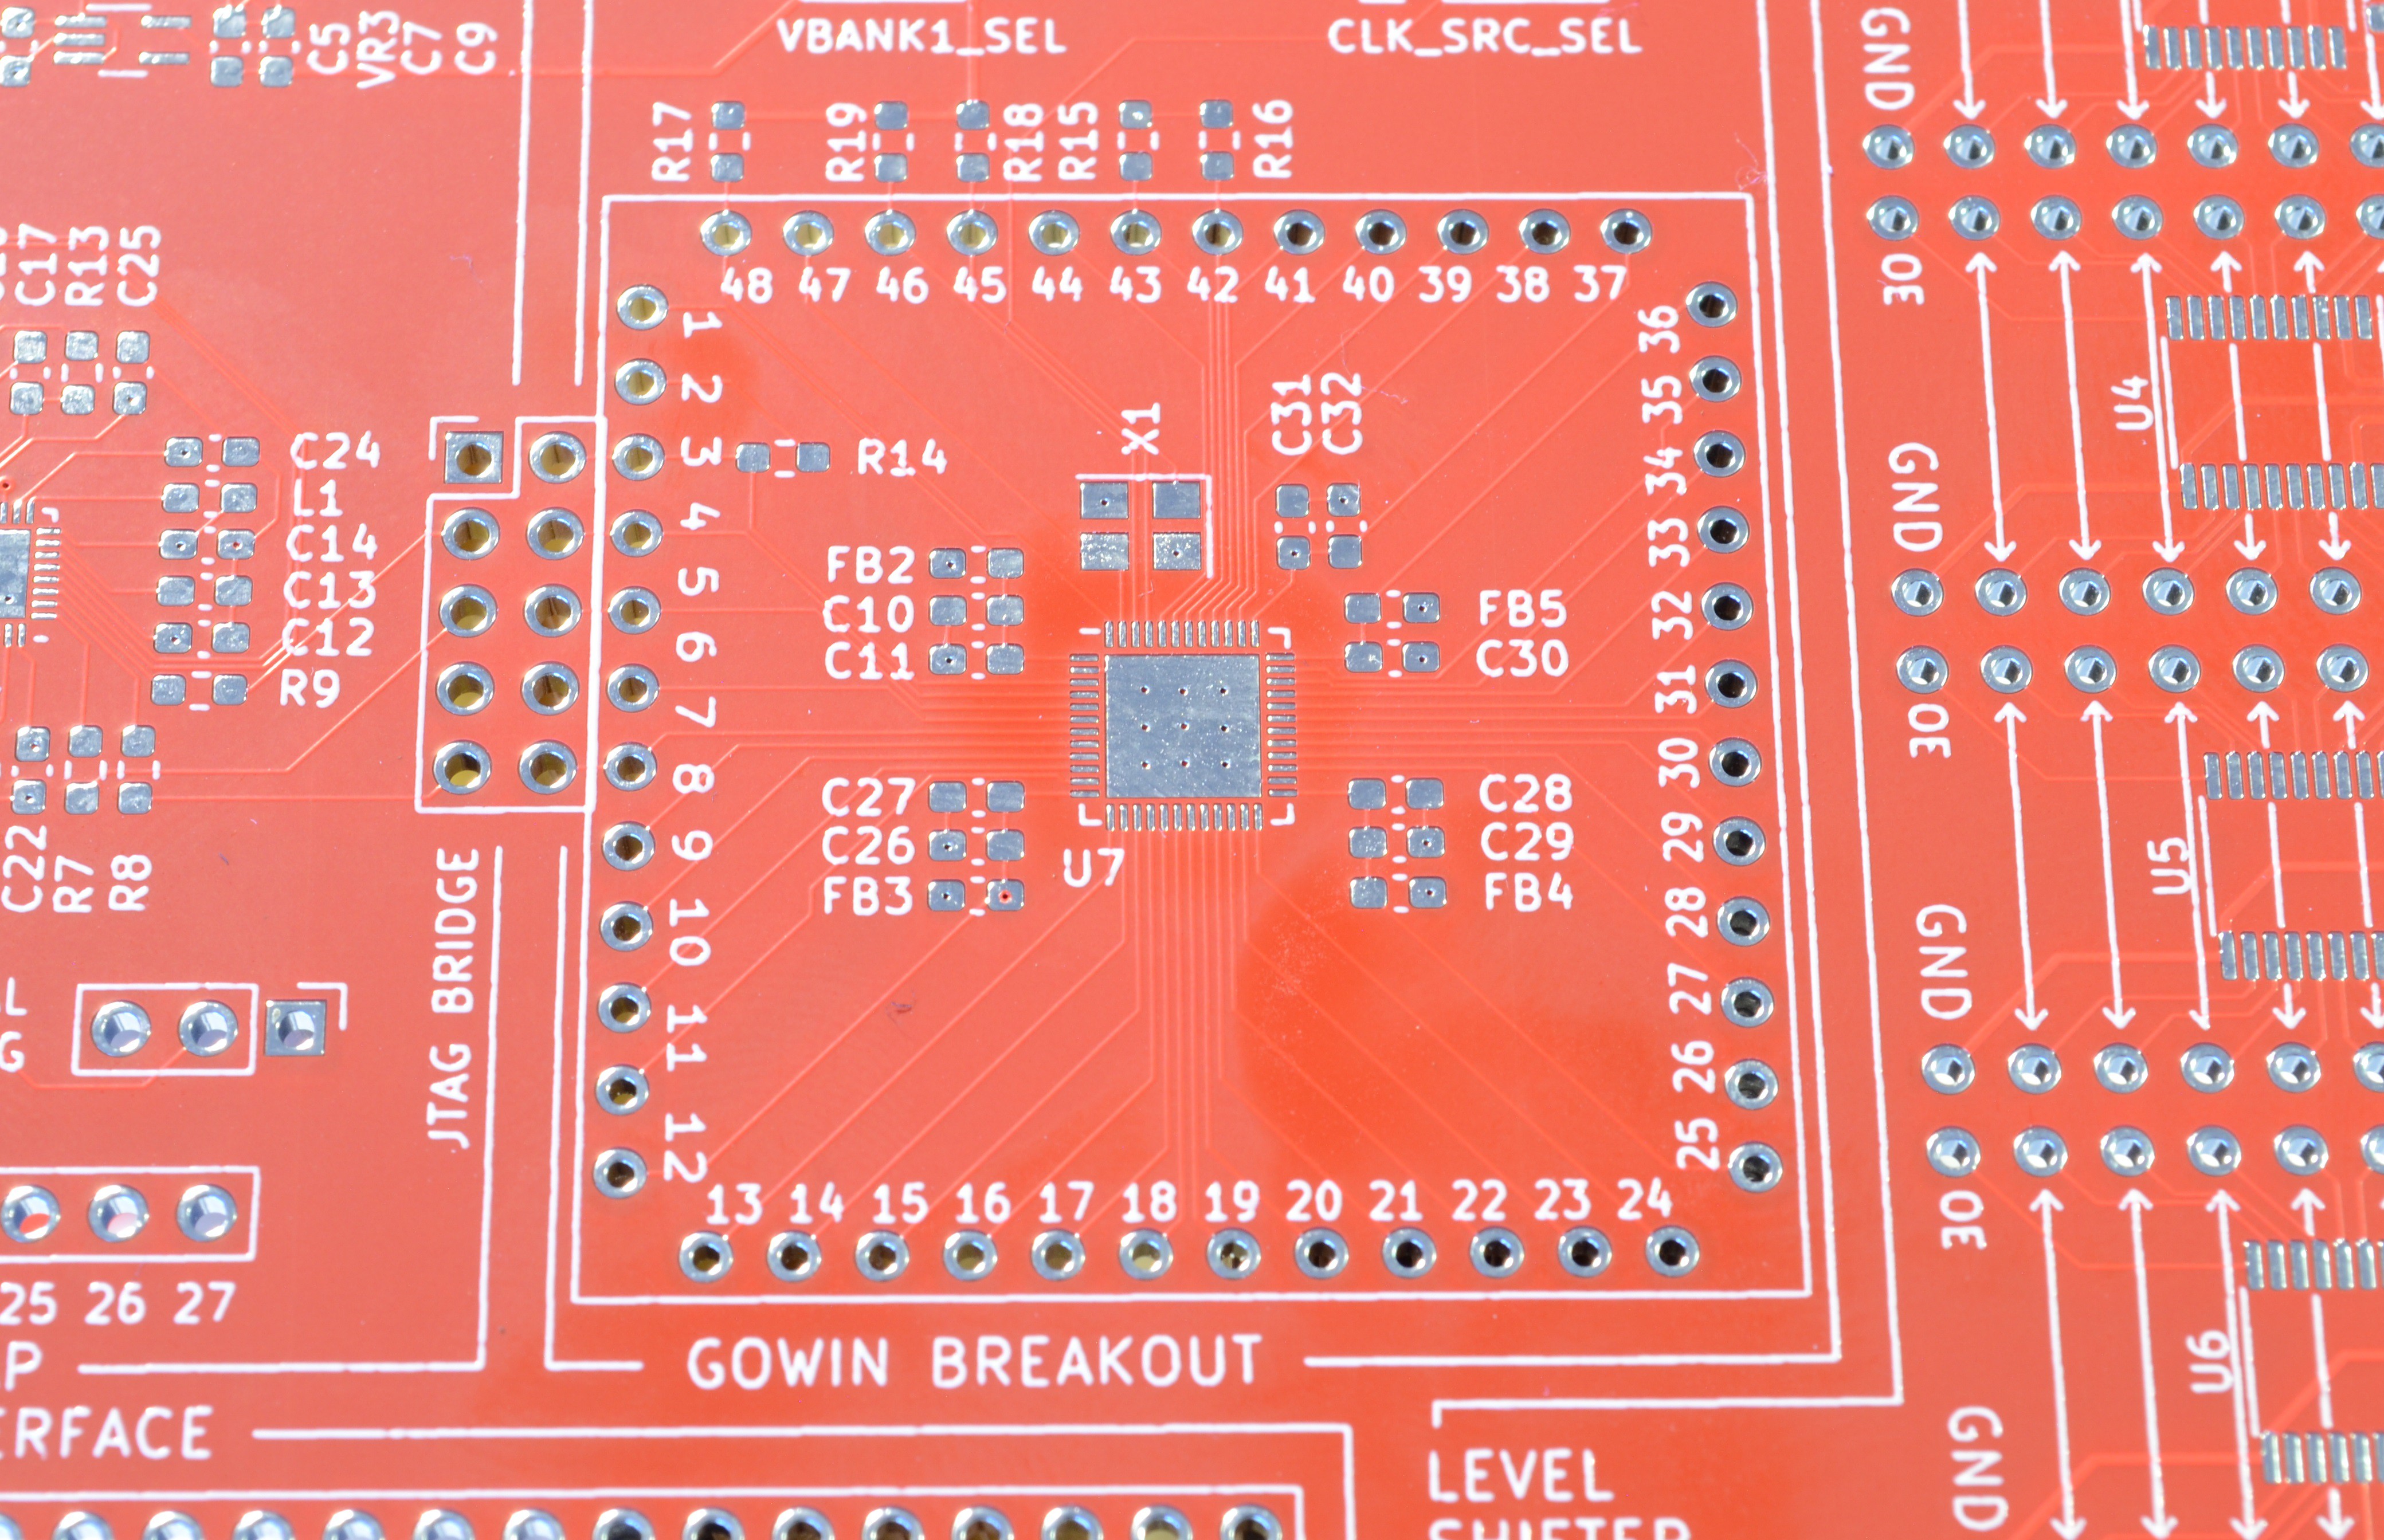
Silkscreen quality is also close to perfection, with even the smalles details showing barely any blurred edges, aligment issues, or any other kind of problems.

And, by the way, if you spot an arrow in the left missing half of his head... that's an issue in my design, as I inadvertently deleted that bit. Ouch!
In the end, after a fast production, I had the board at home within a week, ready to give the development of this project a big push. Thanks PCBWay for this!
Discussions
Become a Hackaday.io Member
Create an account to leave a comment. Already have an account? Log In.