 ServError
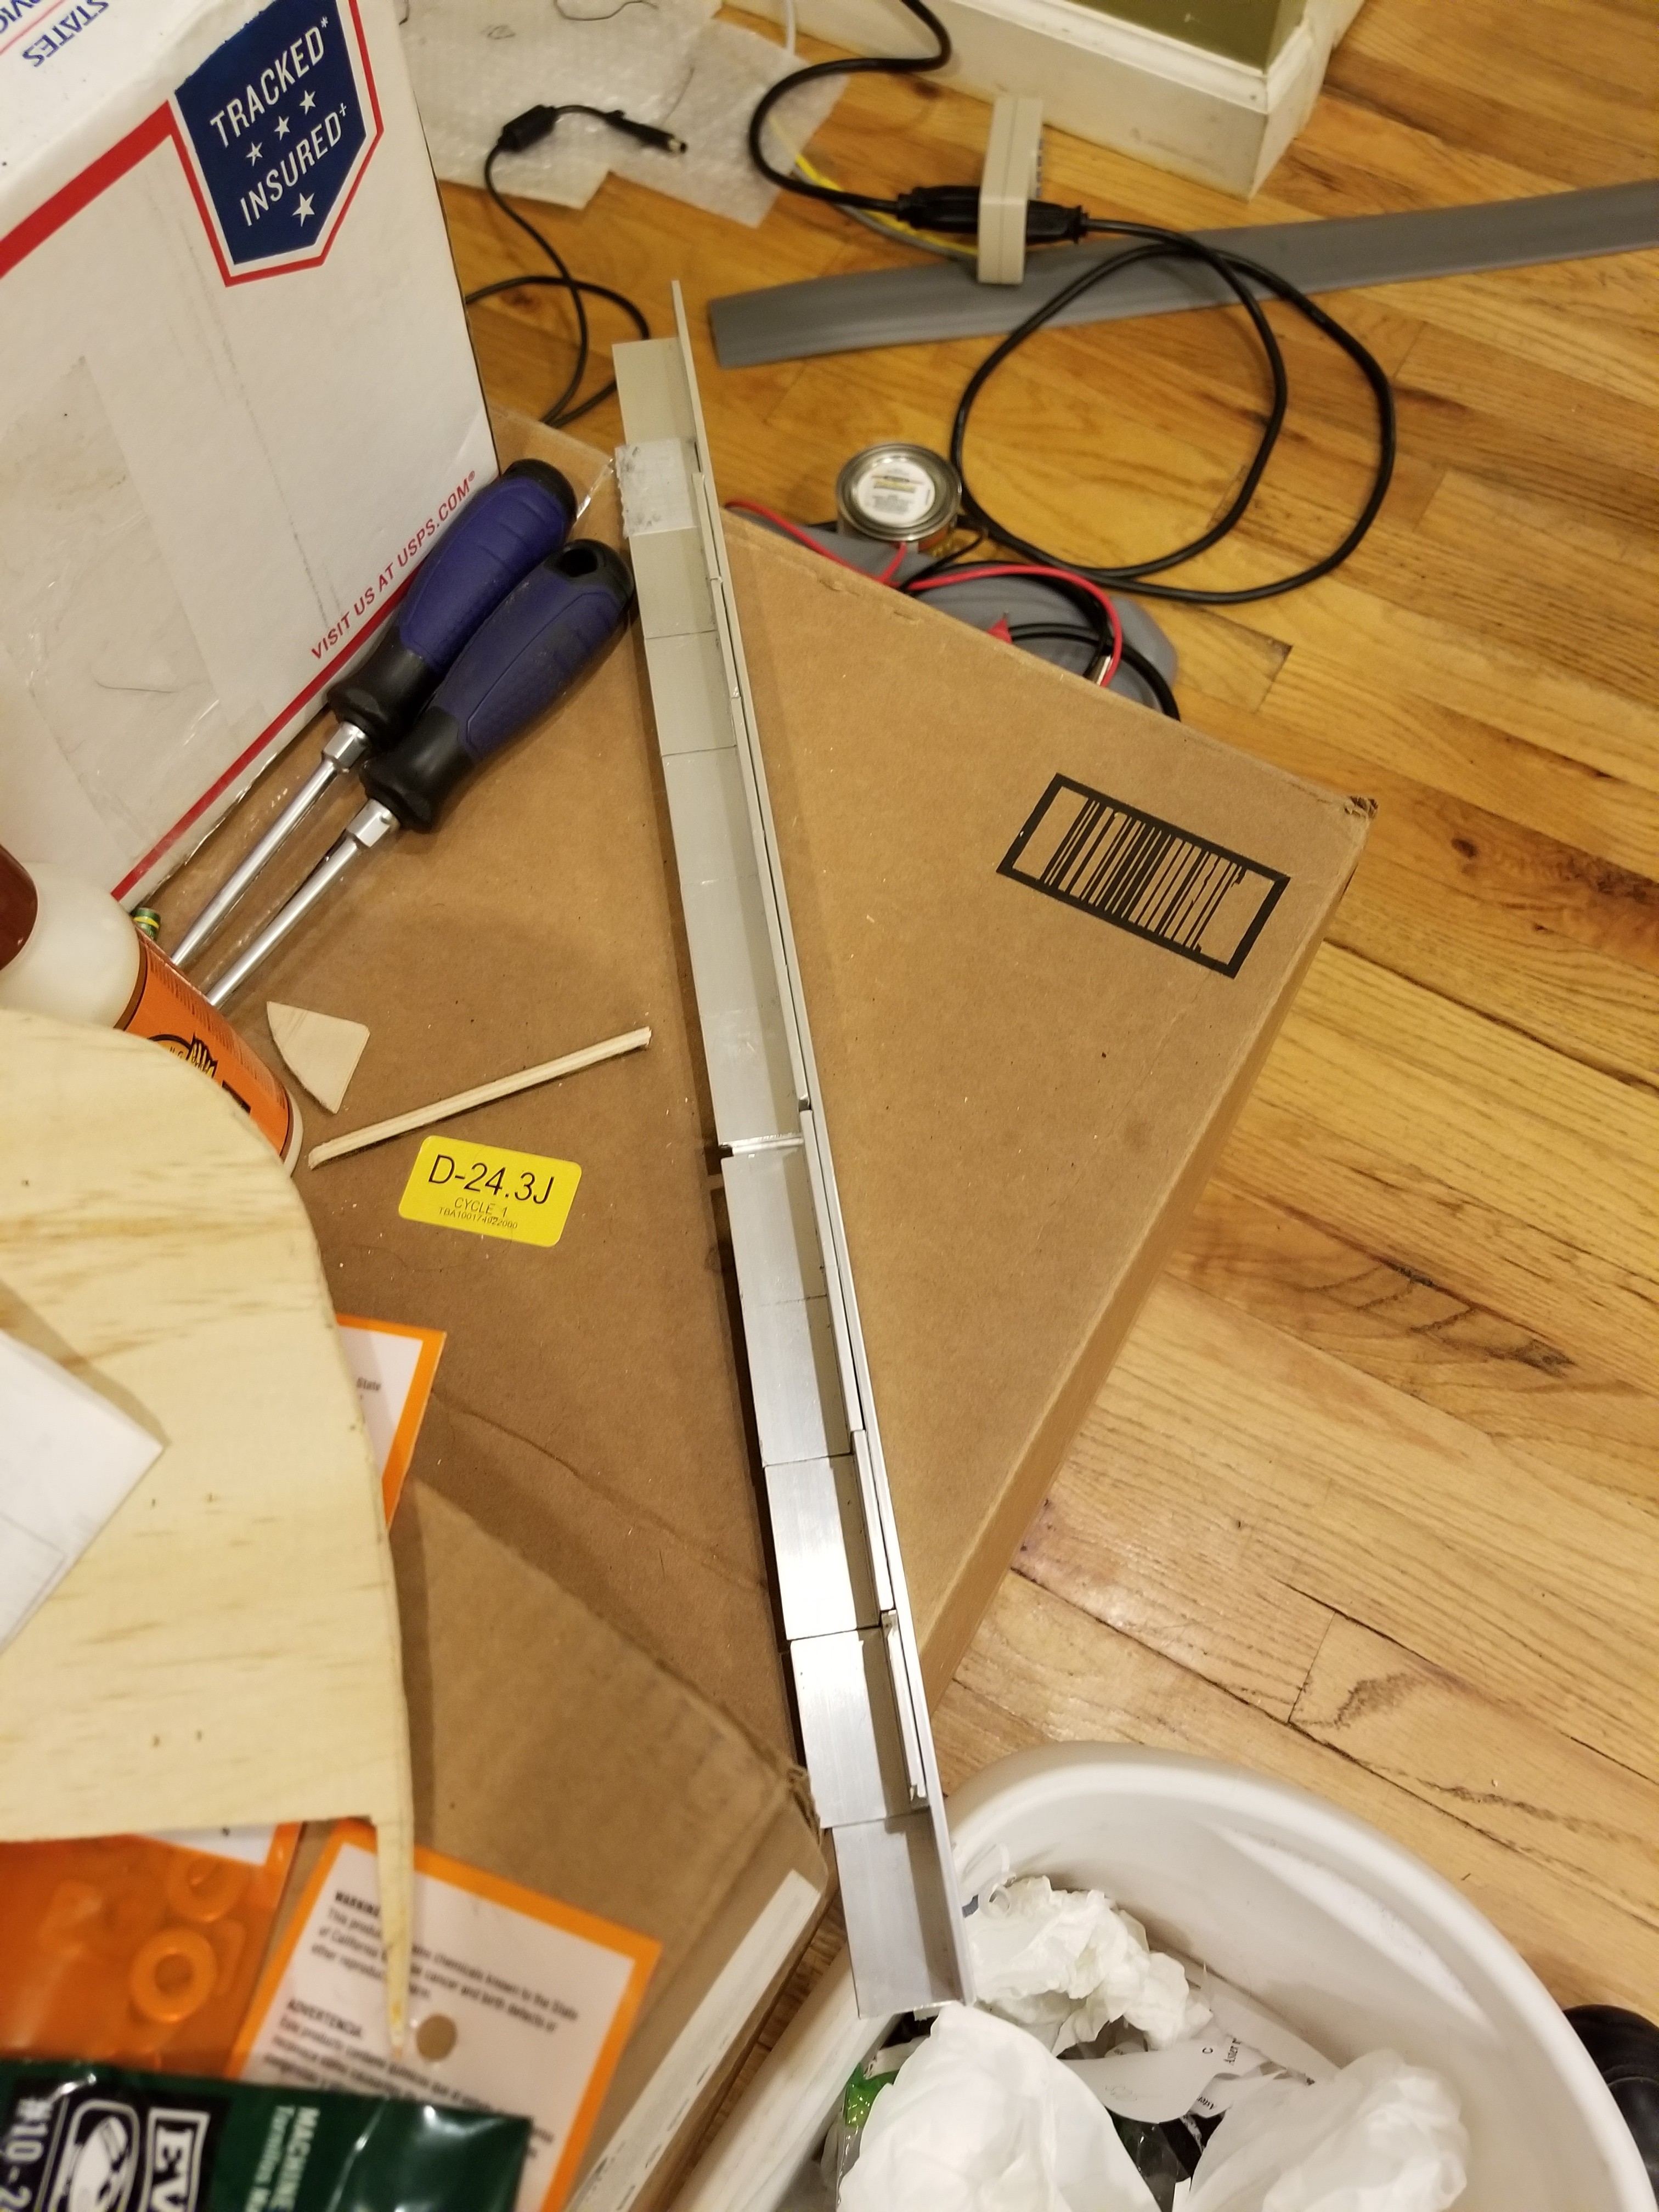
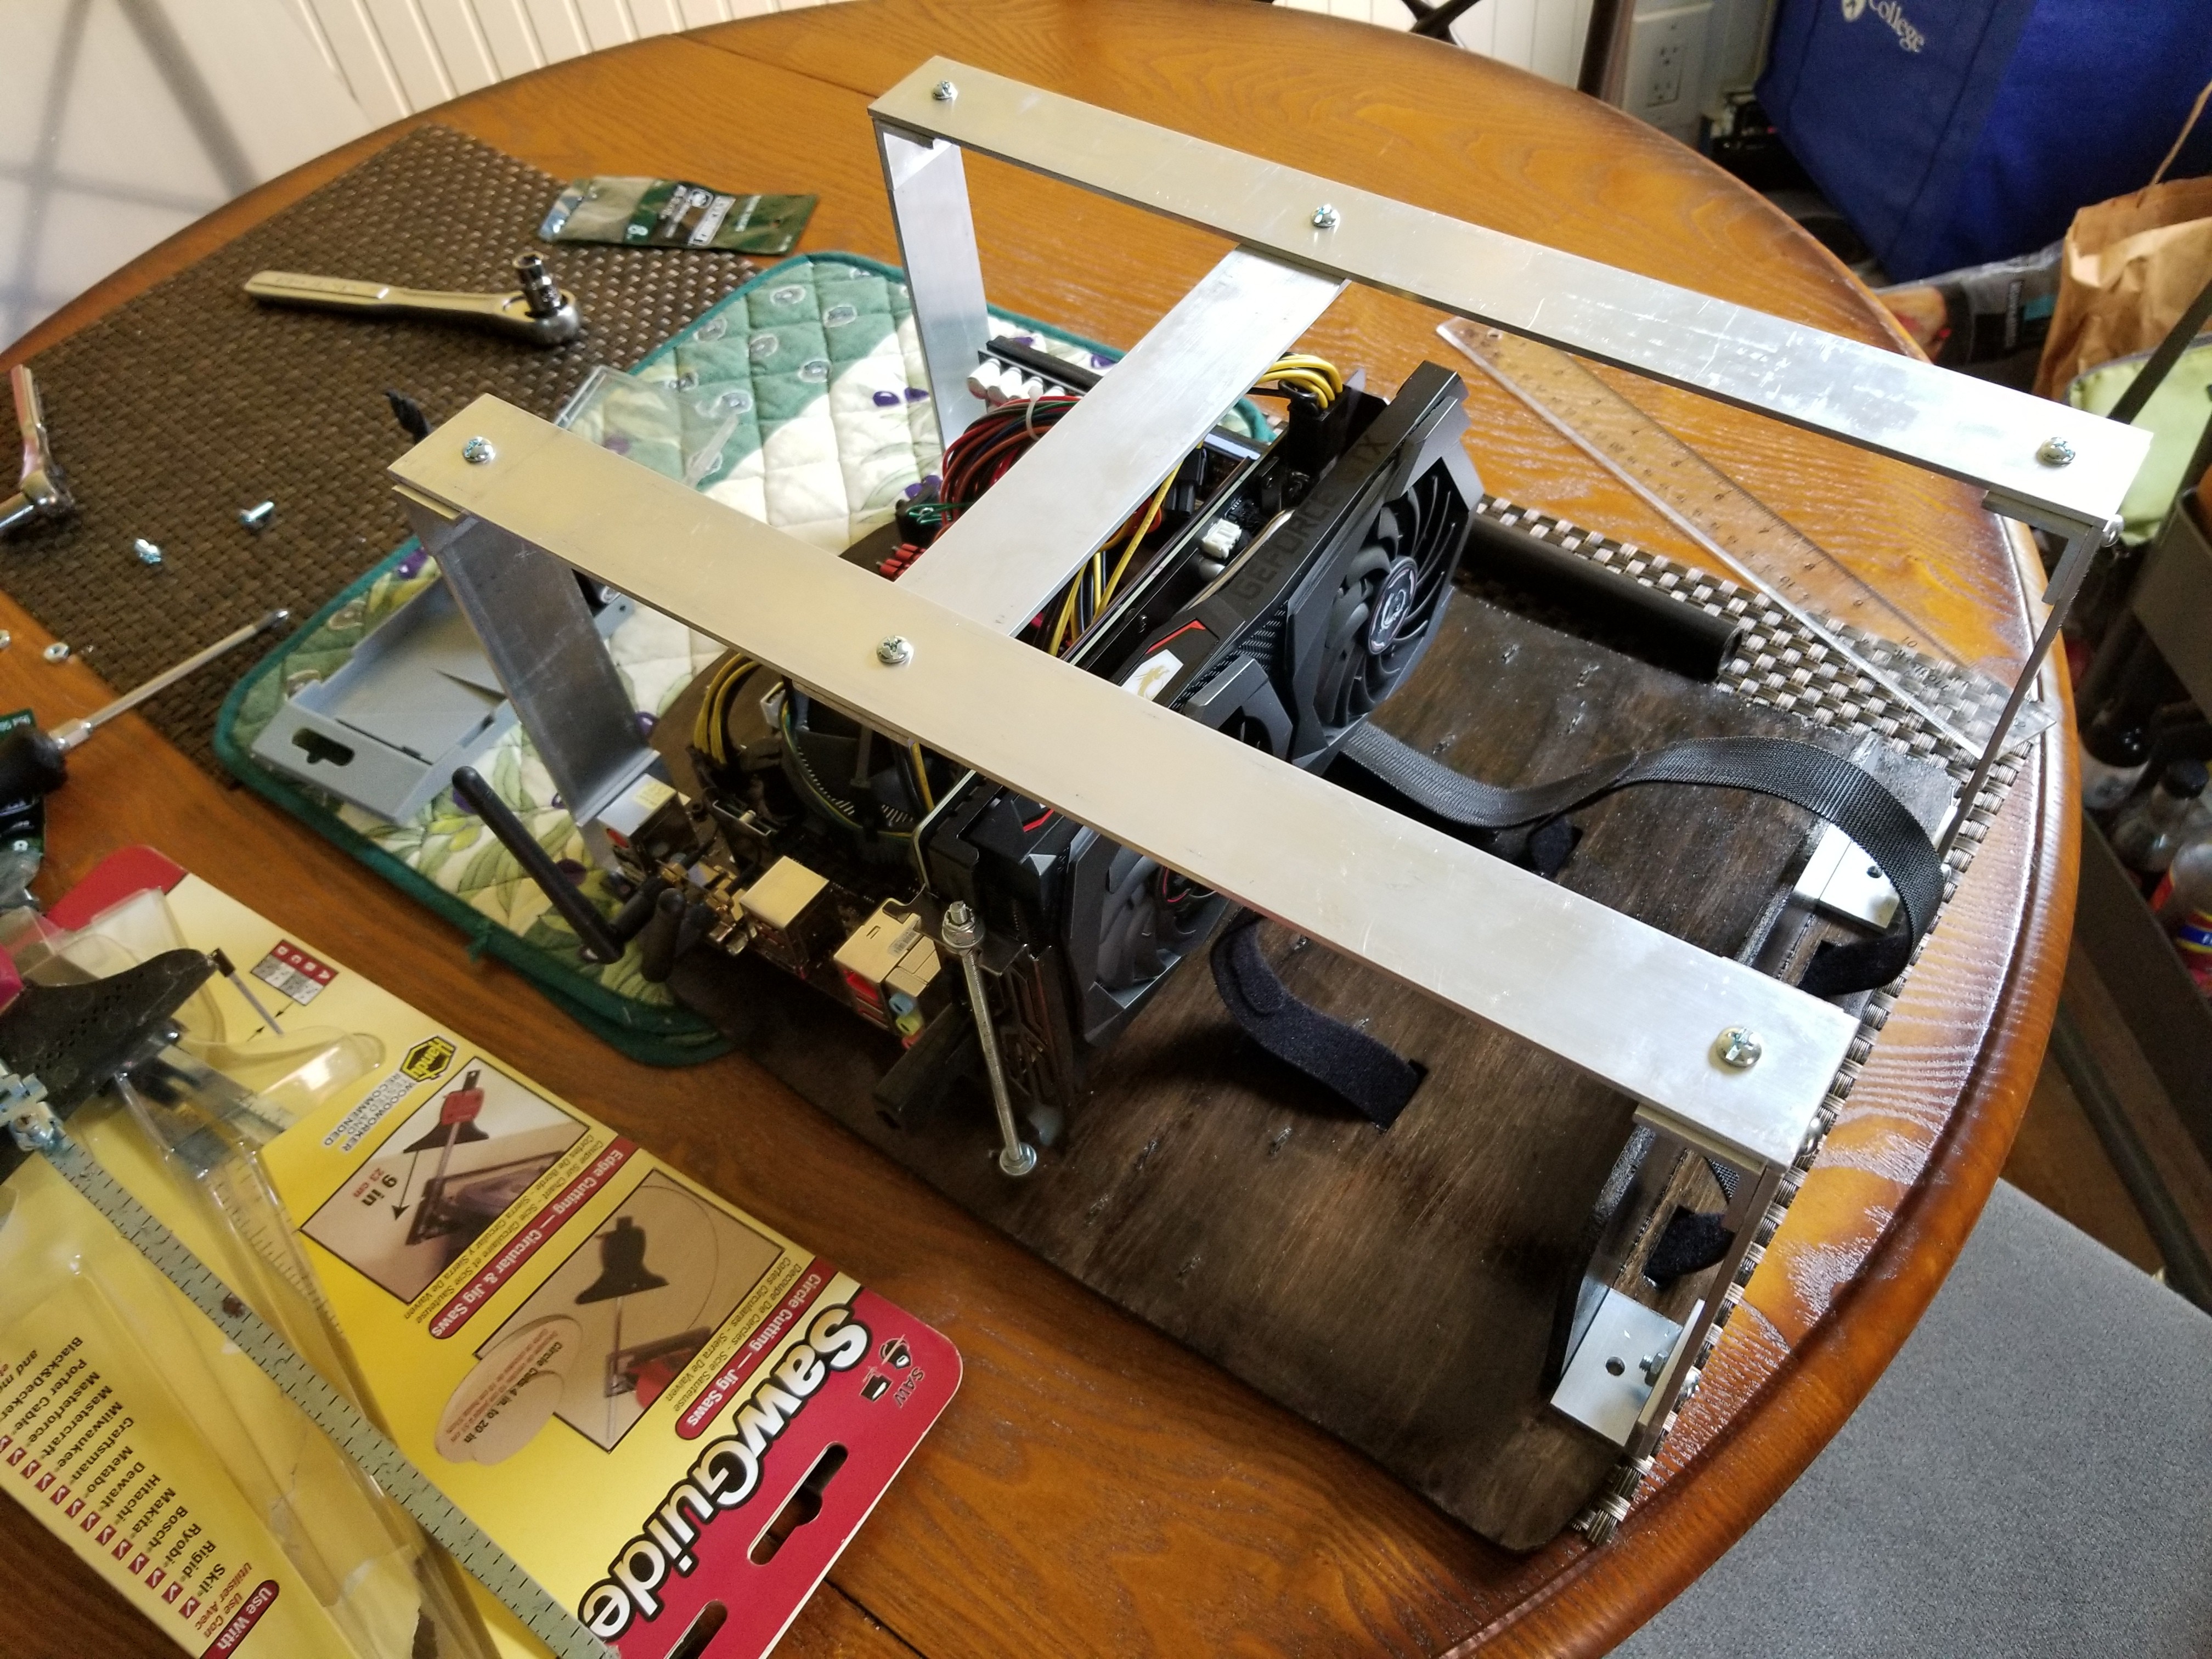
Now came the point where I needed to work out how to secure the backpack from outside elements, while also adding some convenience for the user. A trip to the hardware store started as a plan to buy two long aluminum bars to bend to the shape I wanted, but trouble finding the type of aluminum I wanted and concerns with the bending process led to me buying 90 degree bent aluminum bar and some straight aluminum bar, along with all the nuts, bolts, and washers I would need. With this approach, I could cut the bent aluminum bar to the width of the straight bar and screw everything together.
This was also about the time where I started to feel like I wasn't pushing the limits of my build enough. The i5-6600T processor was limited to a fairly low total power, and the new generation of Nvidia cards included some offerings that used a similar amount of power as the GTX 1060 while offering some new VR tech that Oculus had leveraged specifically for the Rift S. Sounds good to me!
A new GTX 1660Ti that was very briefly on sale for $230 caught my eye and seemed like the perfect candidate. It was rated to use 10 watts more than the 1060, but I was planning on downtuning it anyway. Along with this I got a decent deal on an i7 7700. The non T variant meant it used a hell of a lot more power. Using overclocking utilities meant I could limit the frequencies and voltages of both to a territory I was comfortable with. Keep in mind, you can shave a lot of power consumption off of computer components and lose only minimal performance. The amount of power expended to obtain that last 5-10% of performance is not worth it in lower power setups.
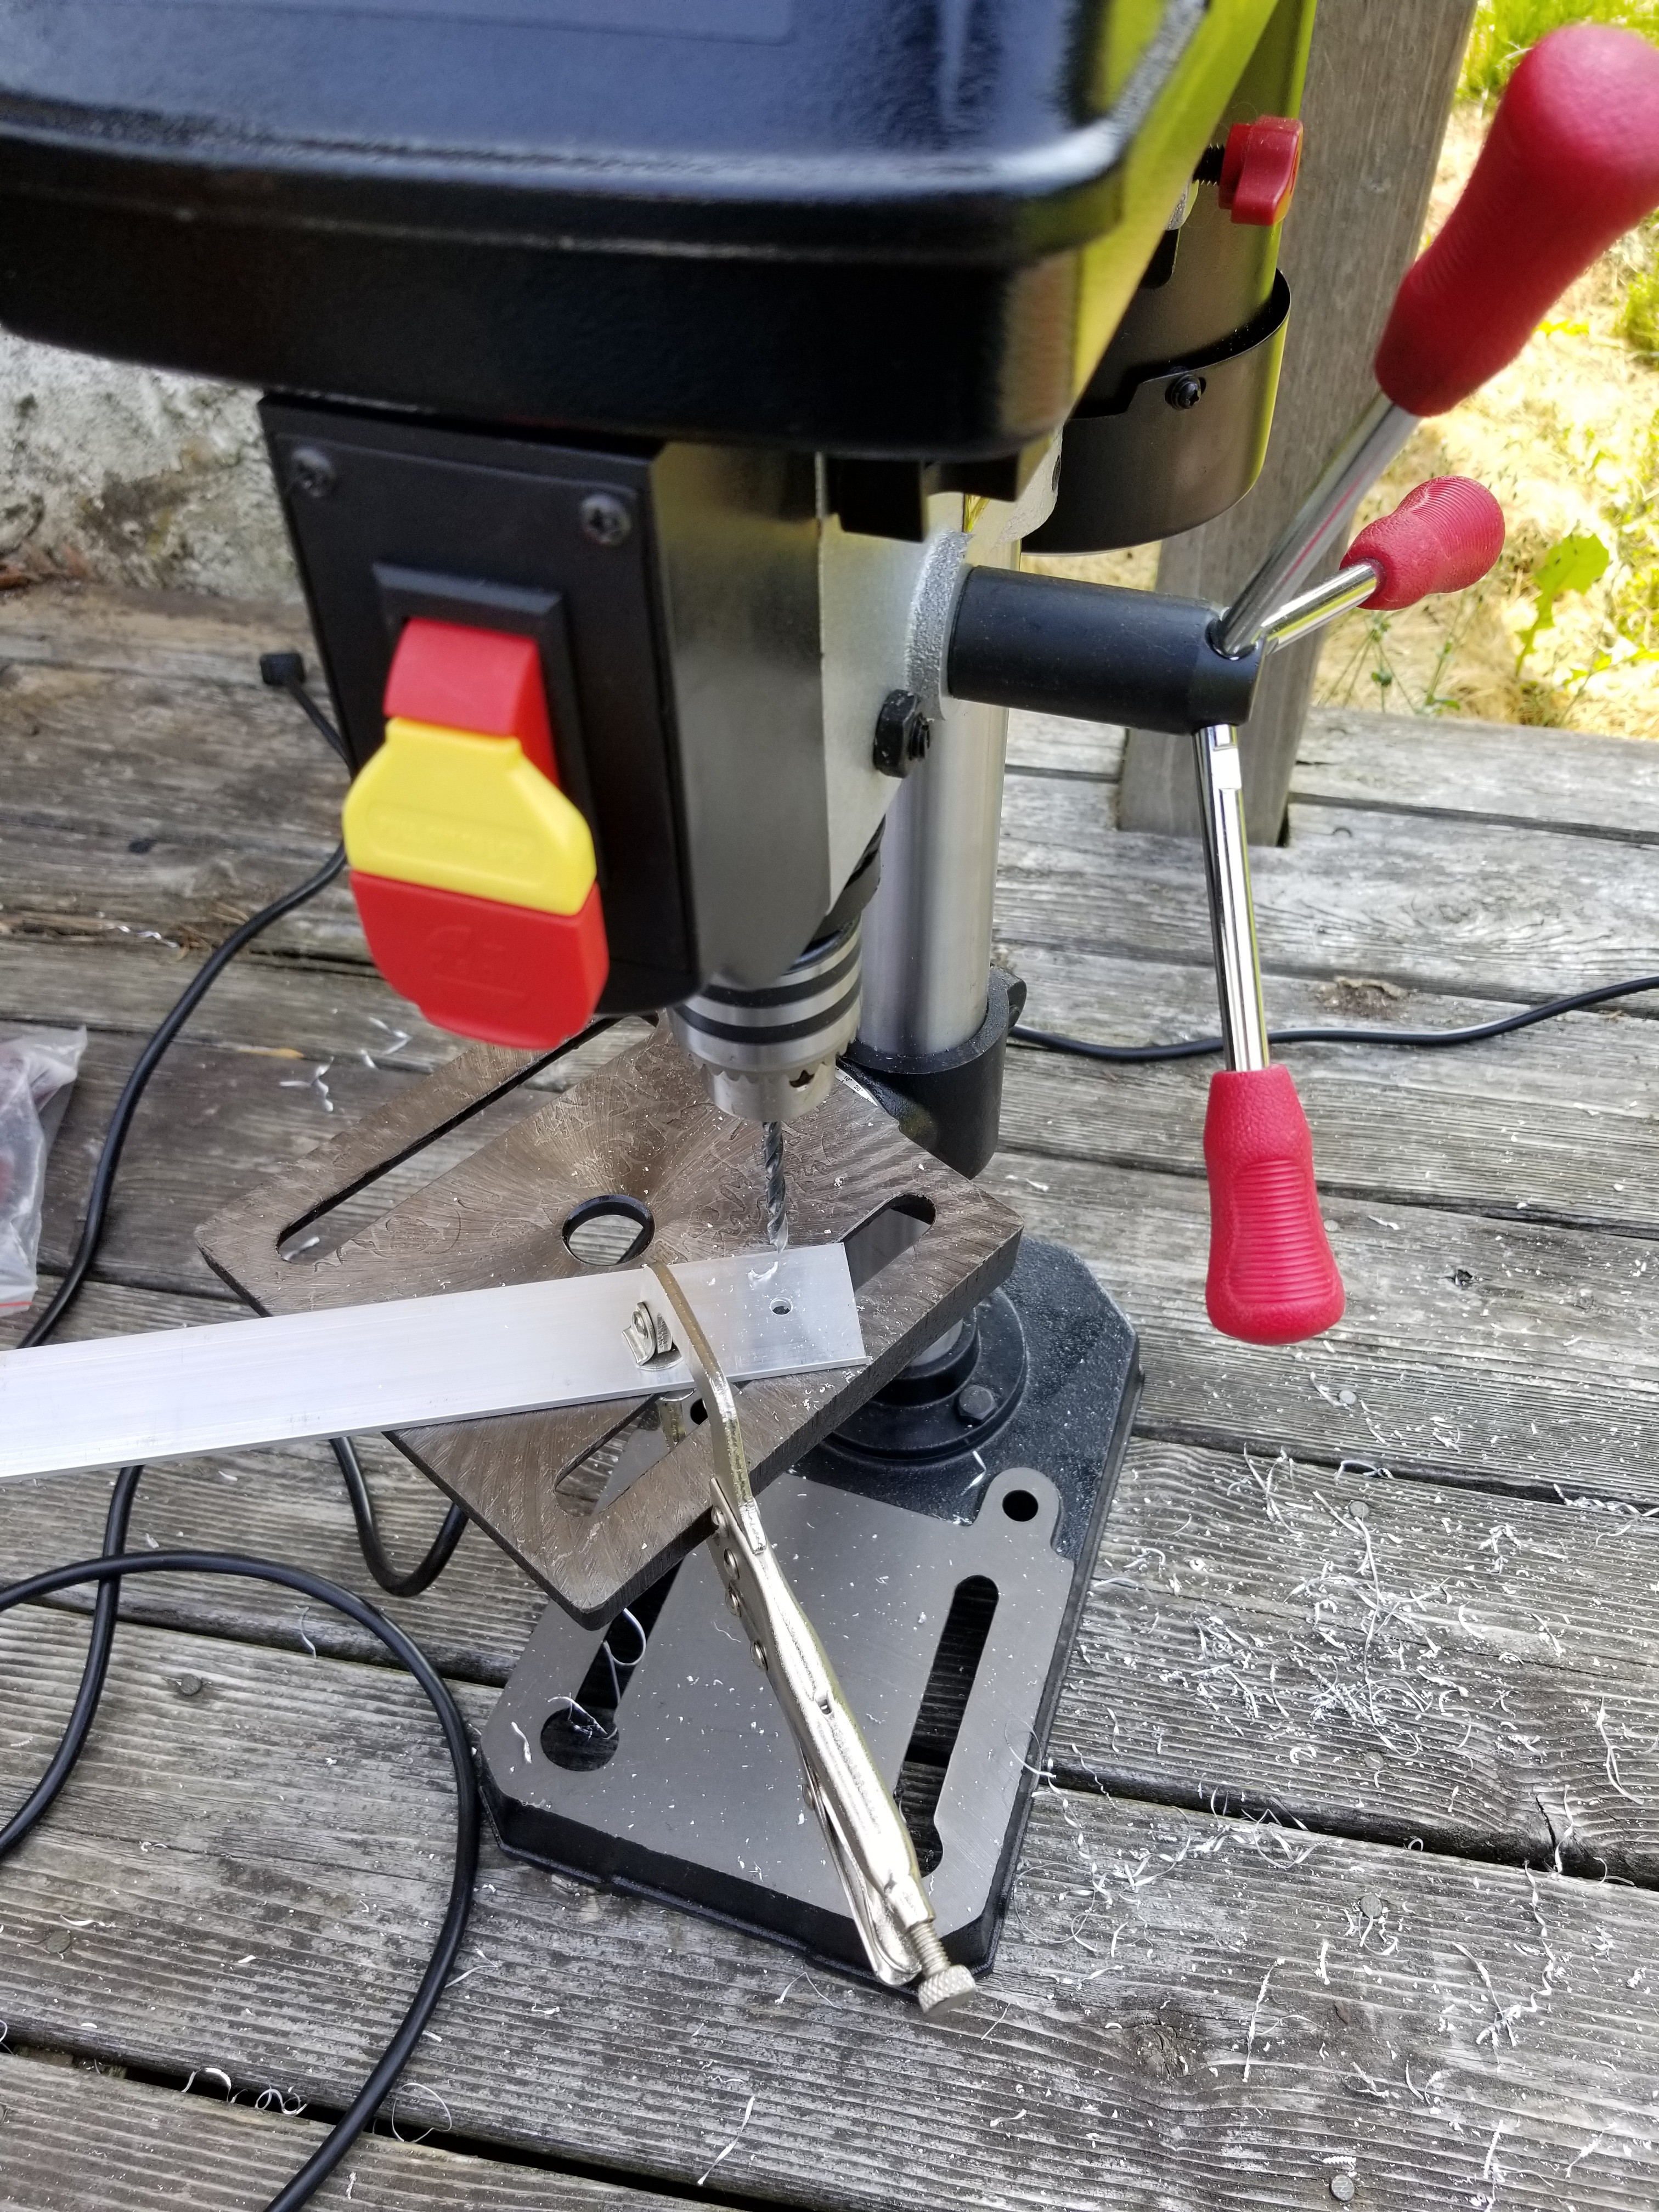
I picked out suitable bolt hold locations for the plywood and cut and drilled my 90 degree aluminum bar and flat bar to make the main frame rails.
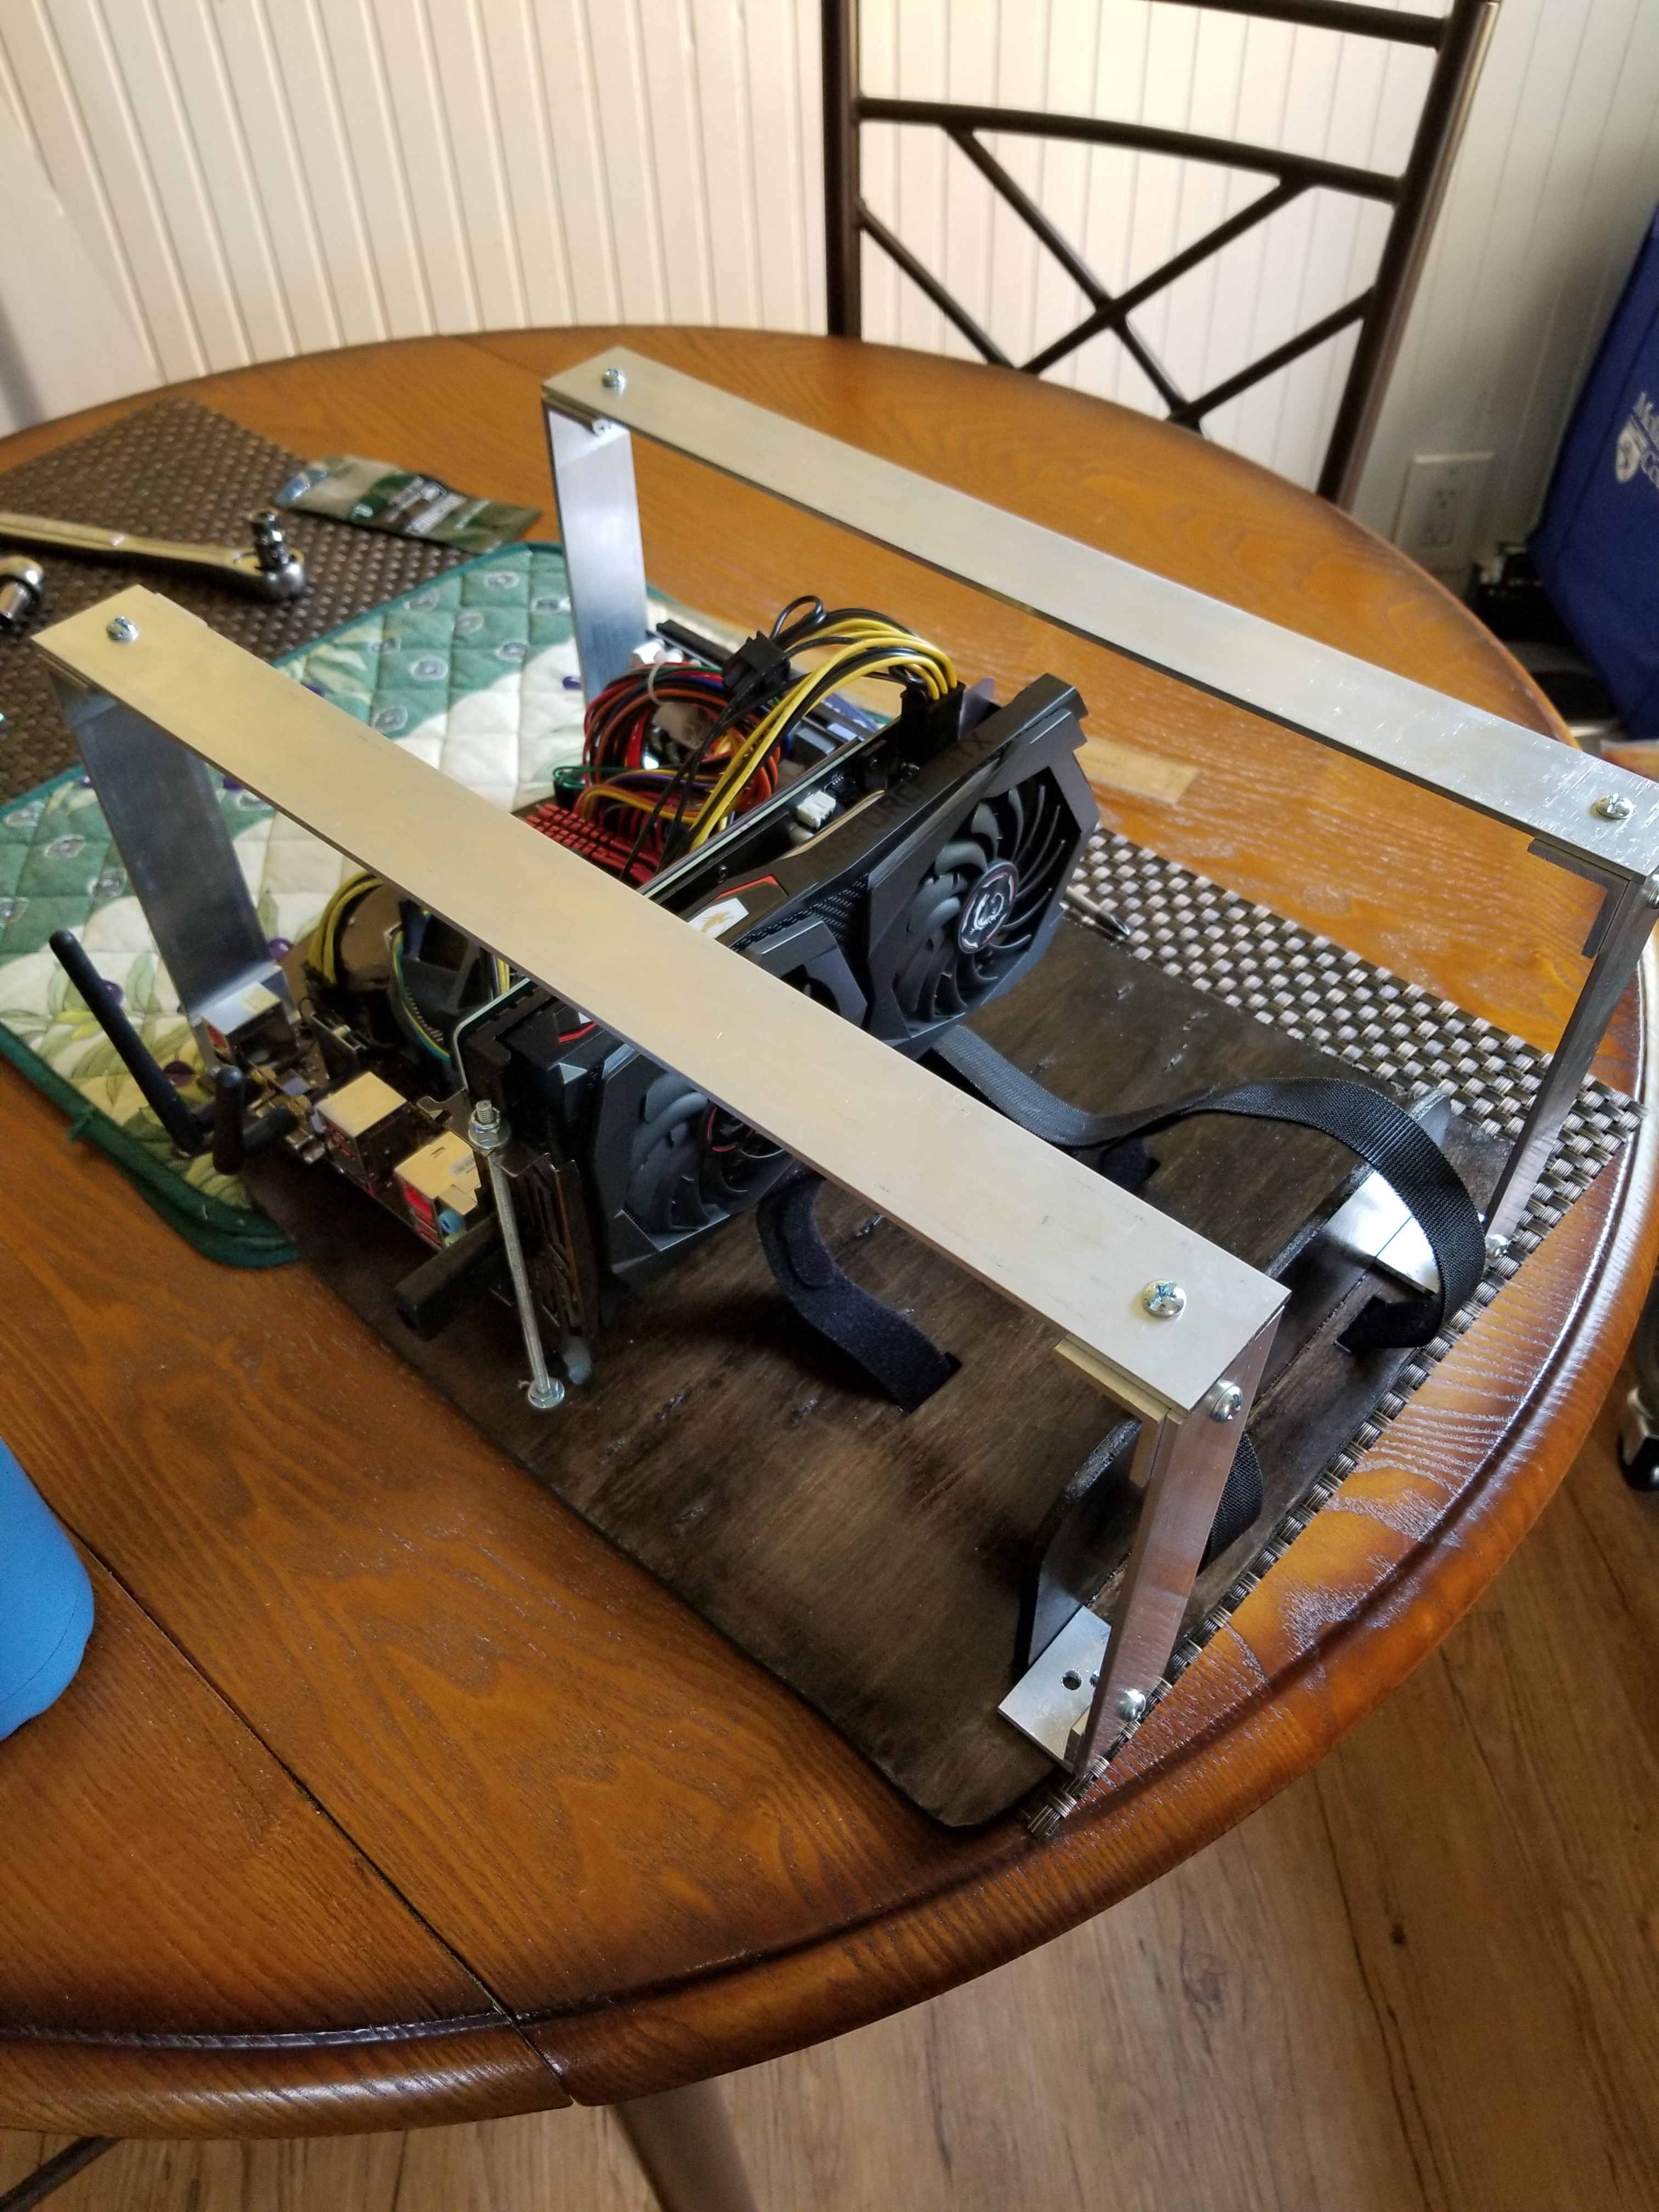
The flex in the center was significant and called for the addition of a cross member.
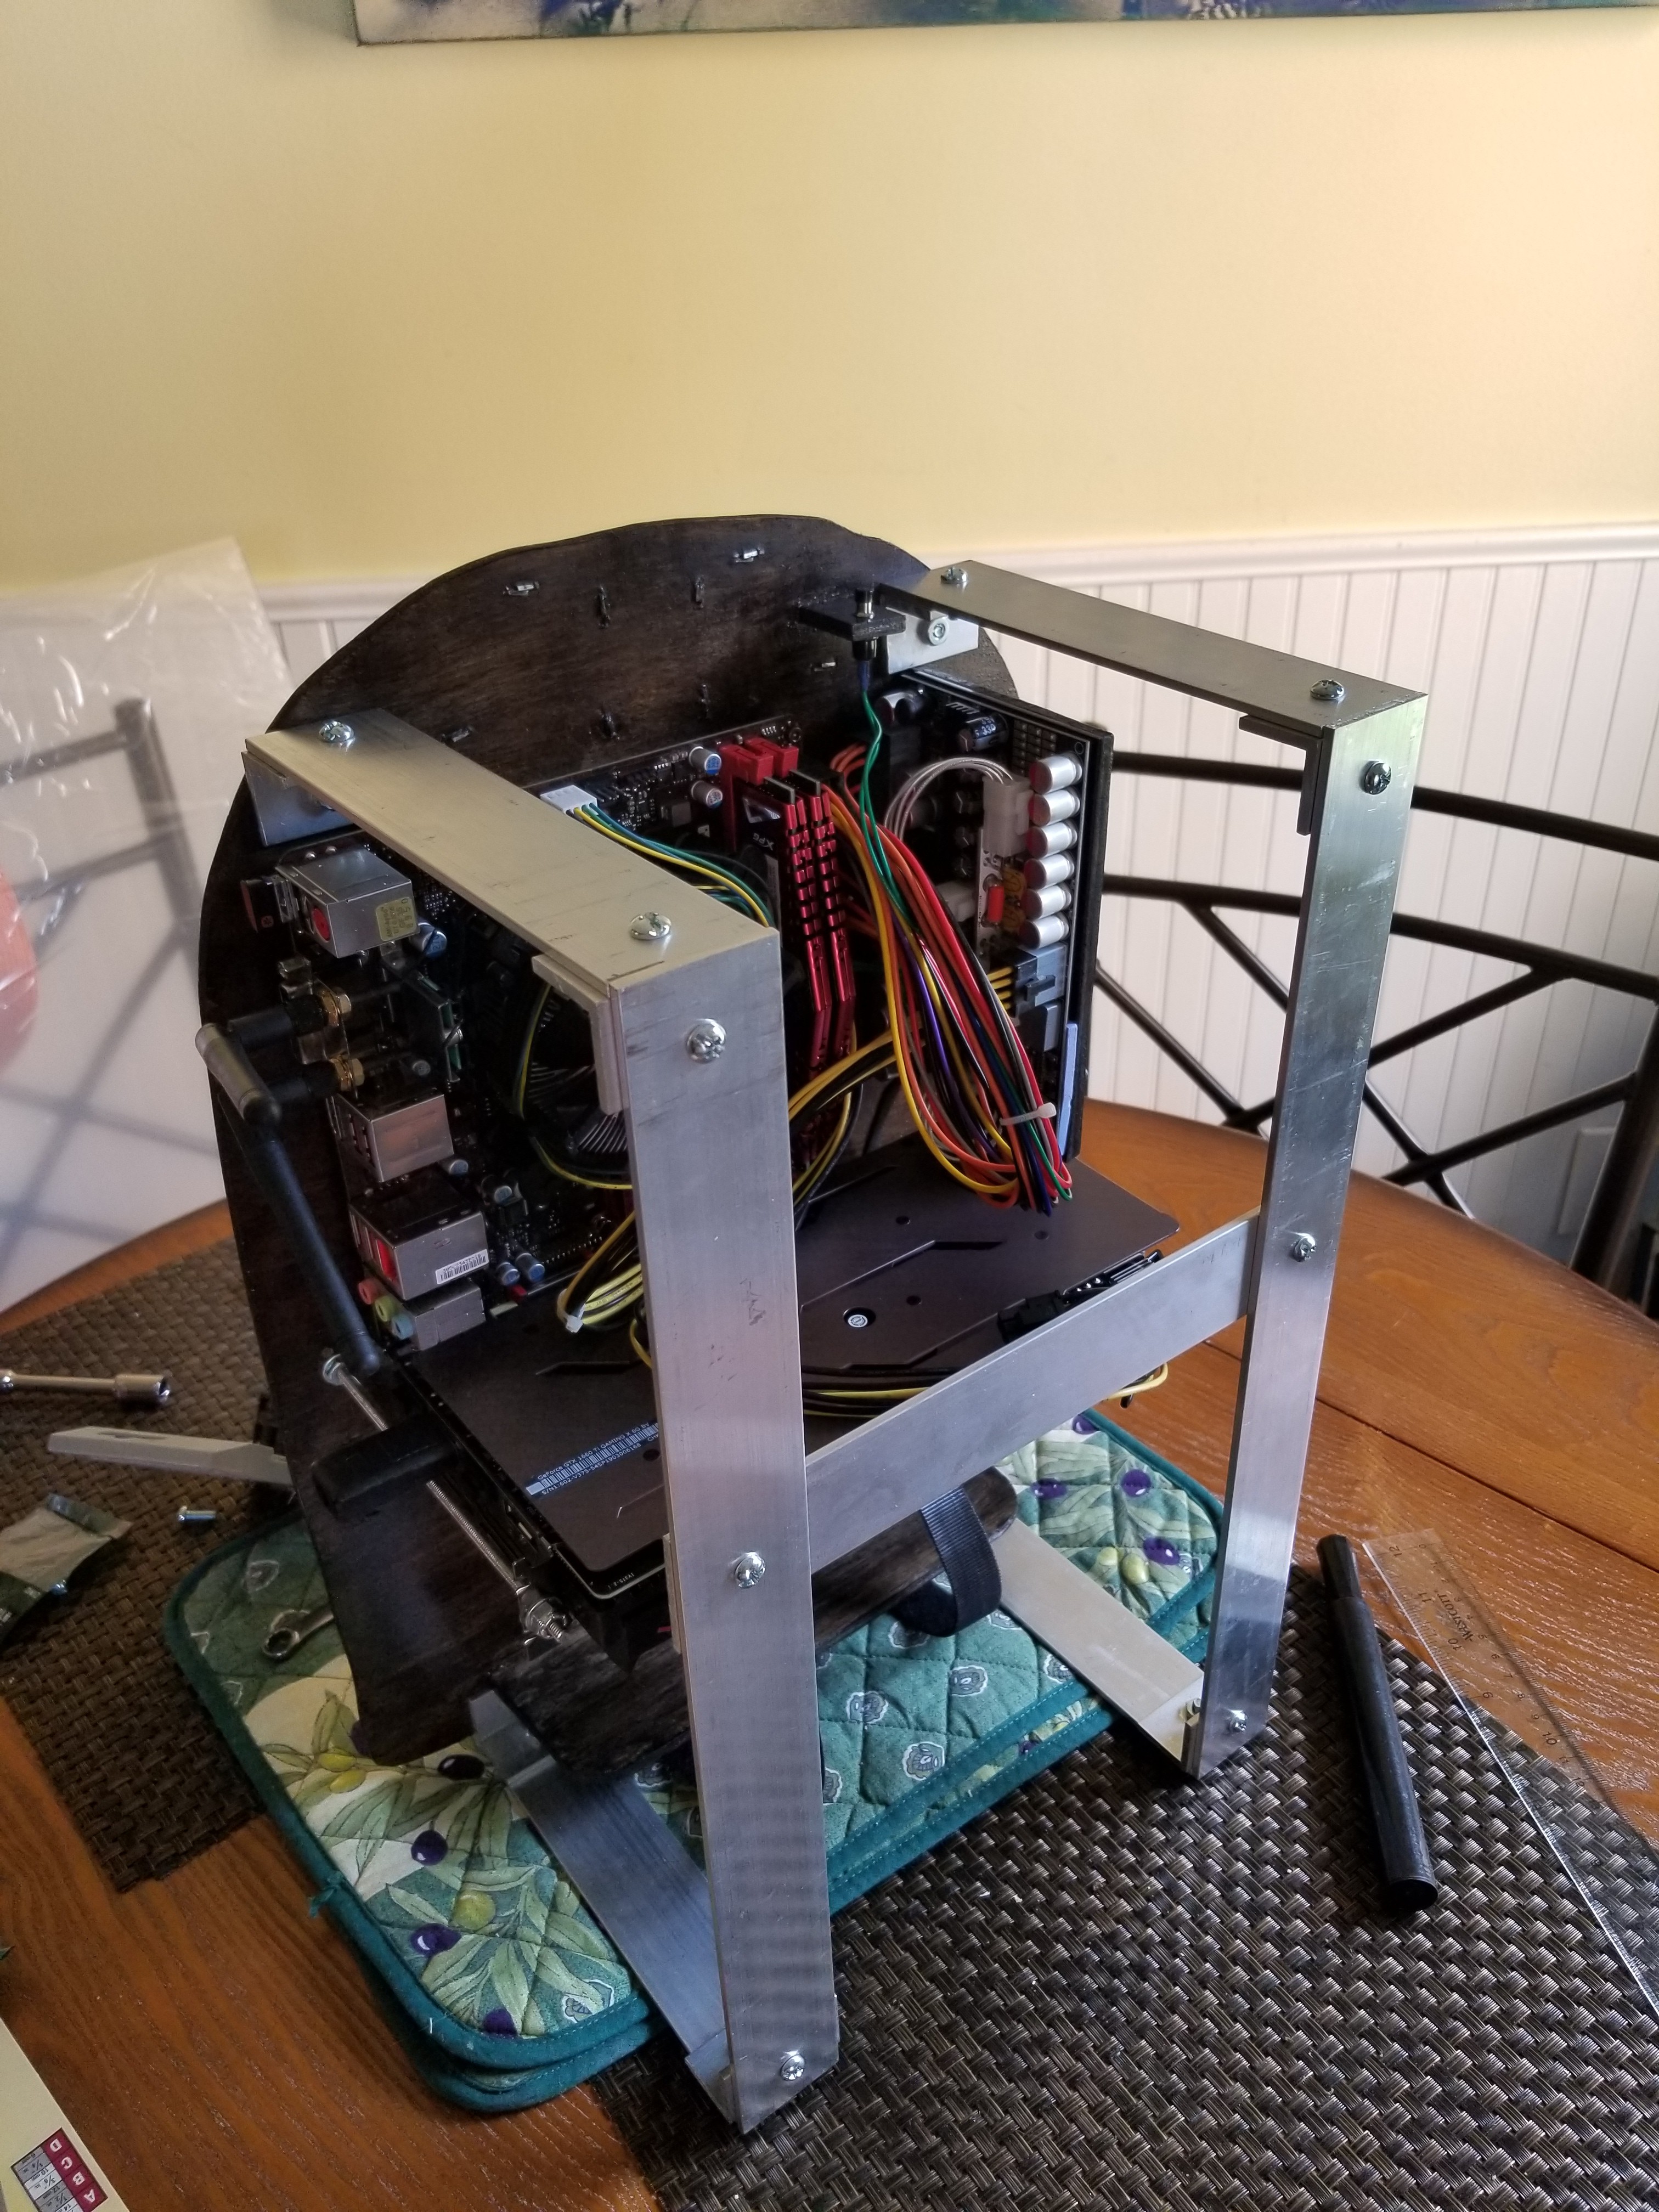
With the frame, the unit is finally able to sit upright.
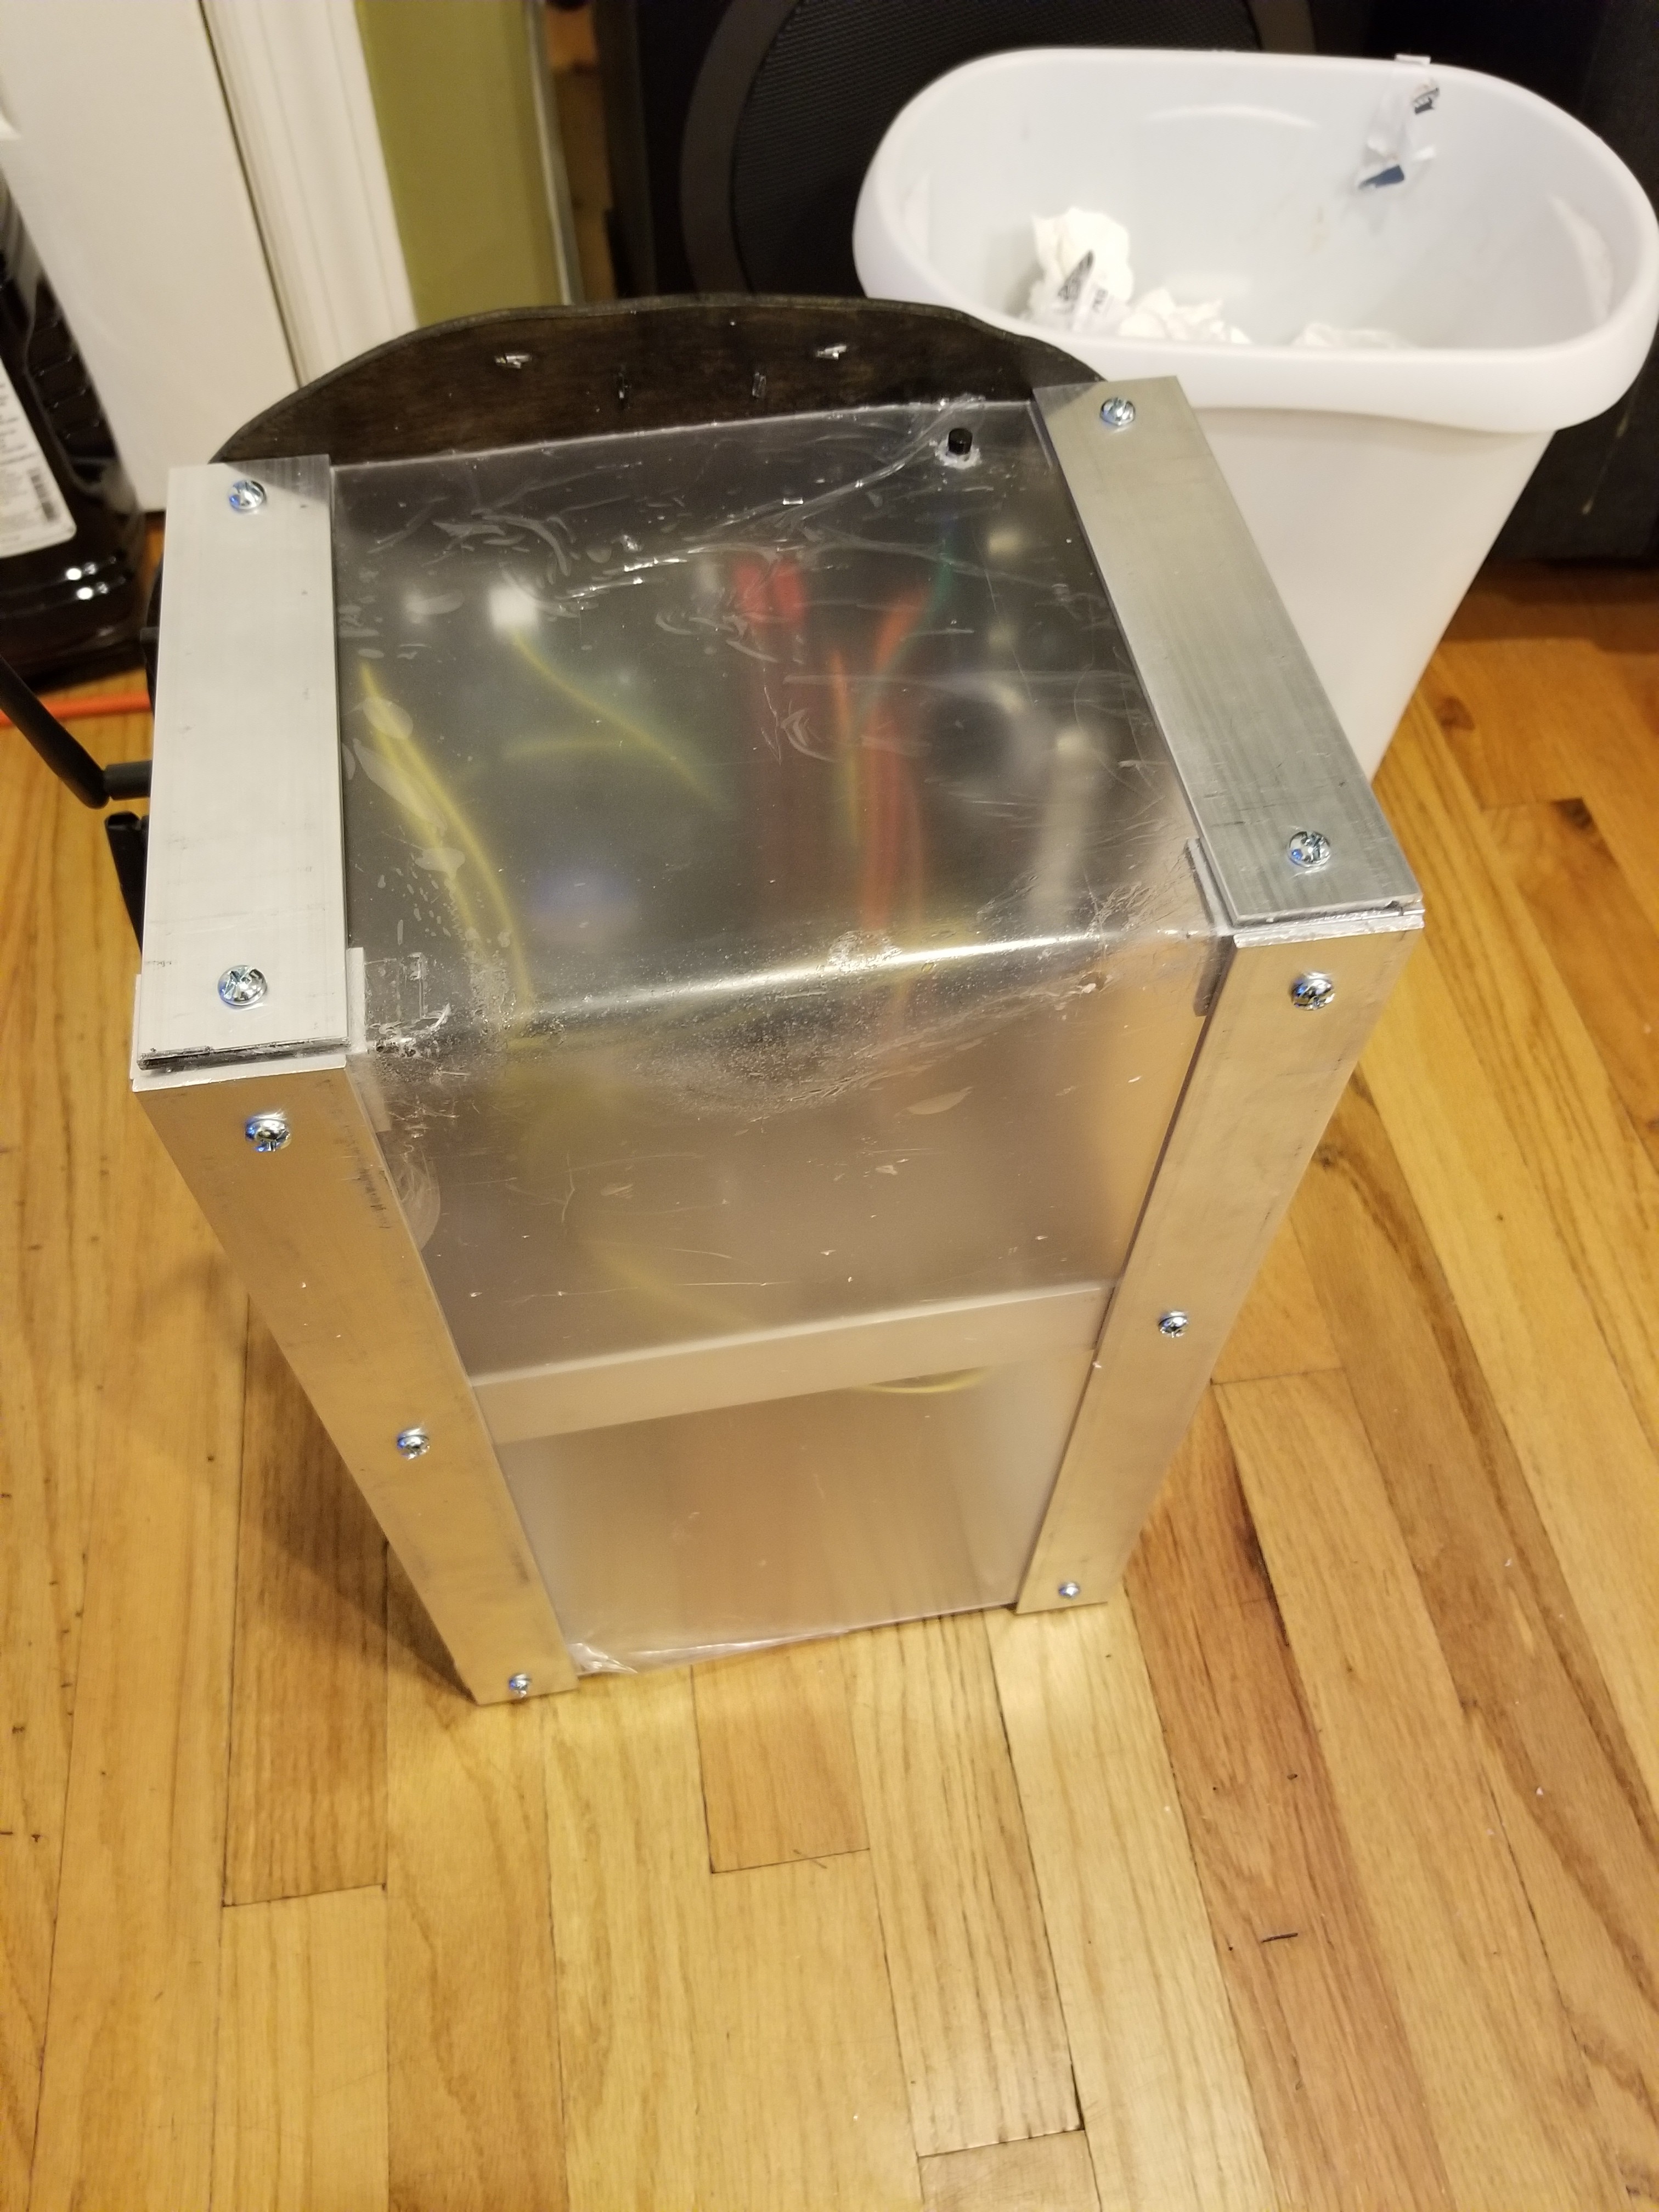
I picked up some acrylic to close off the open sections. Bending it using the frame itself proved doable, if a bit sketchy at some parts.
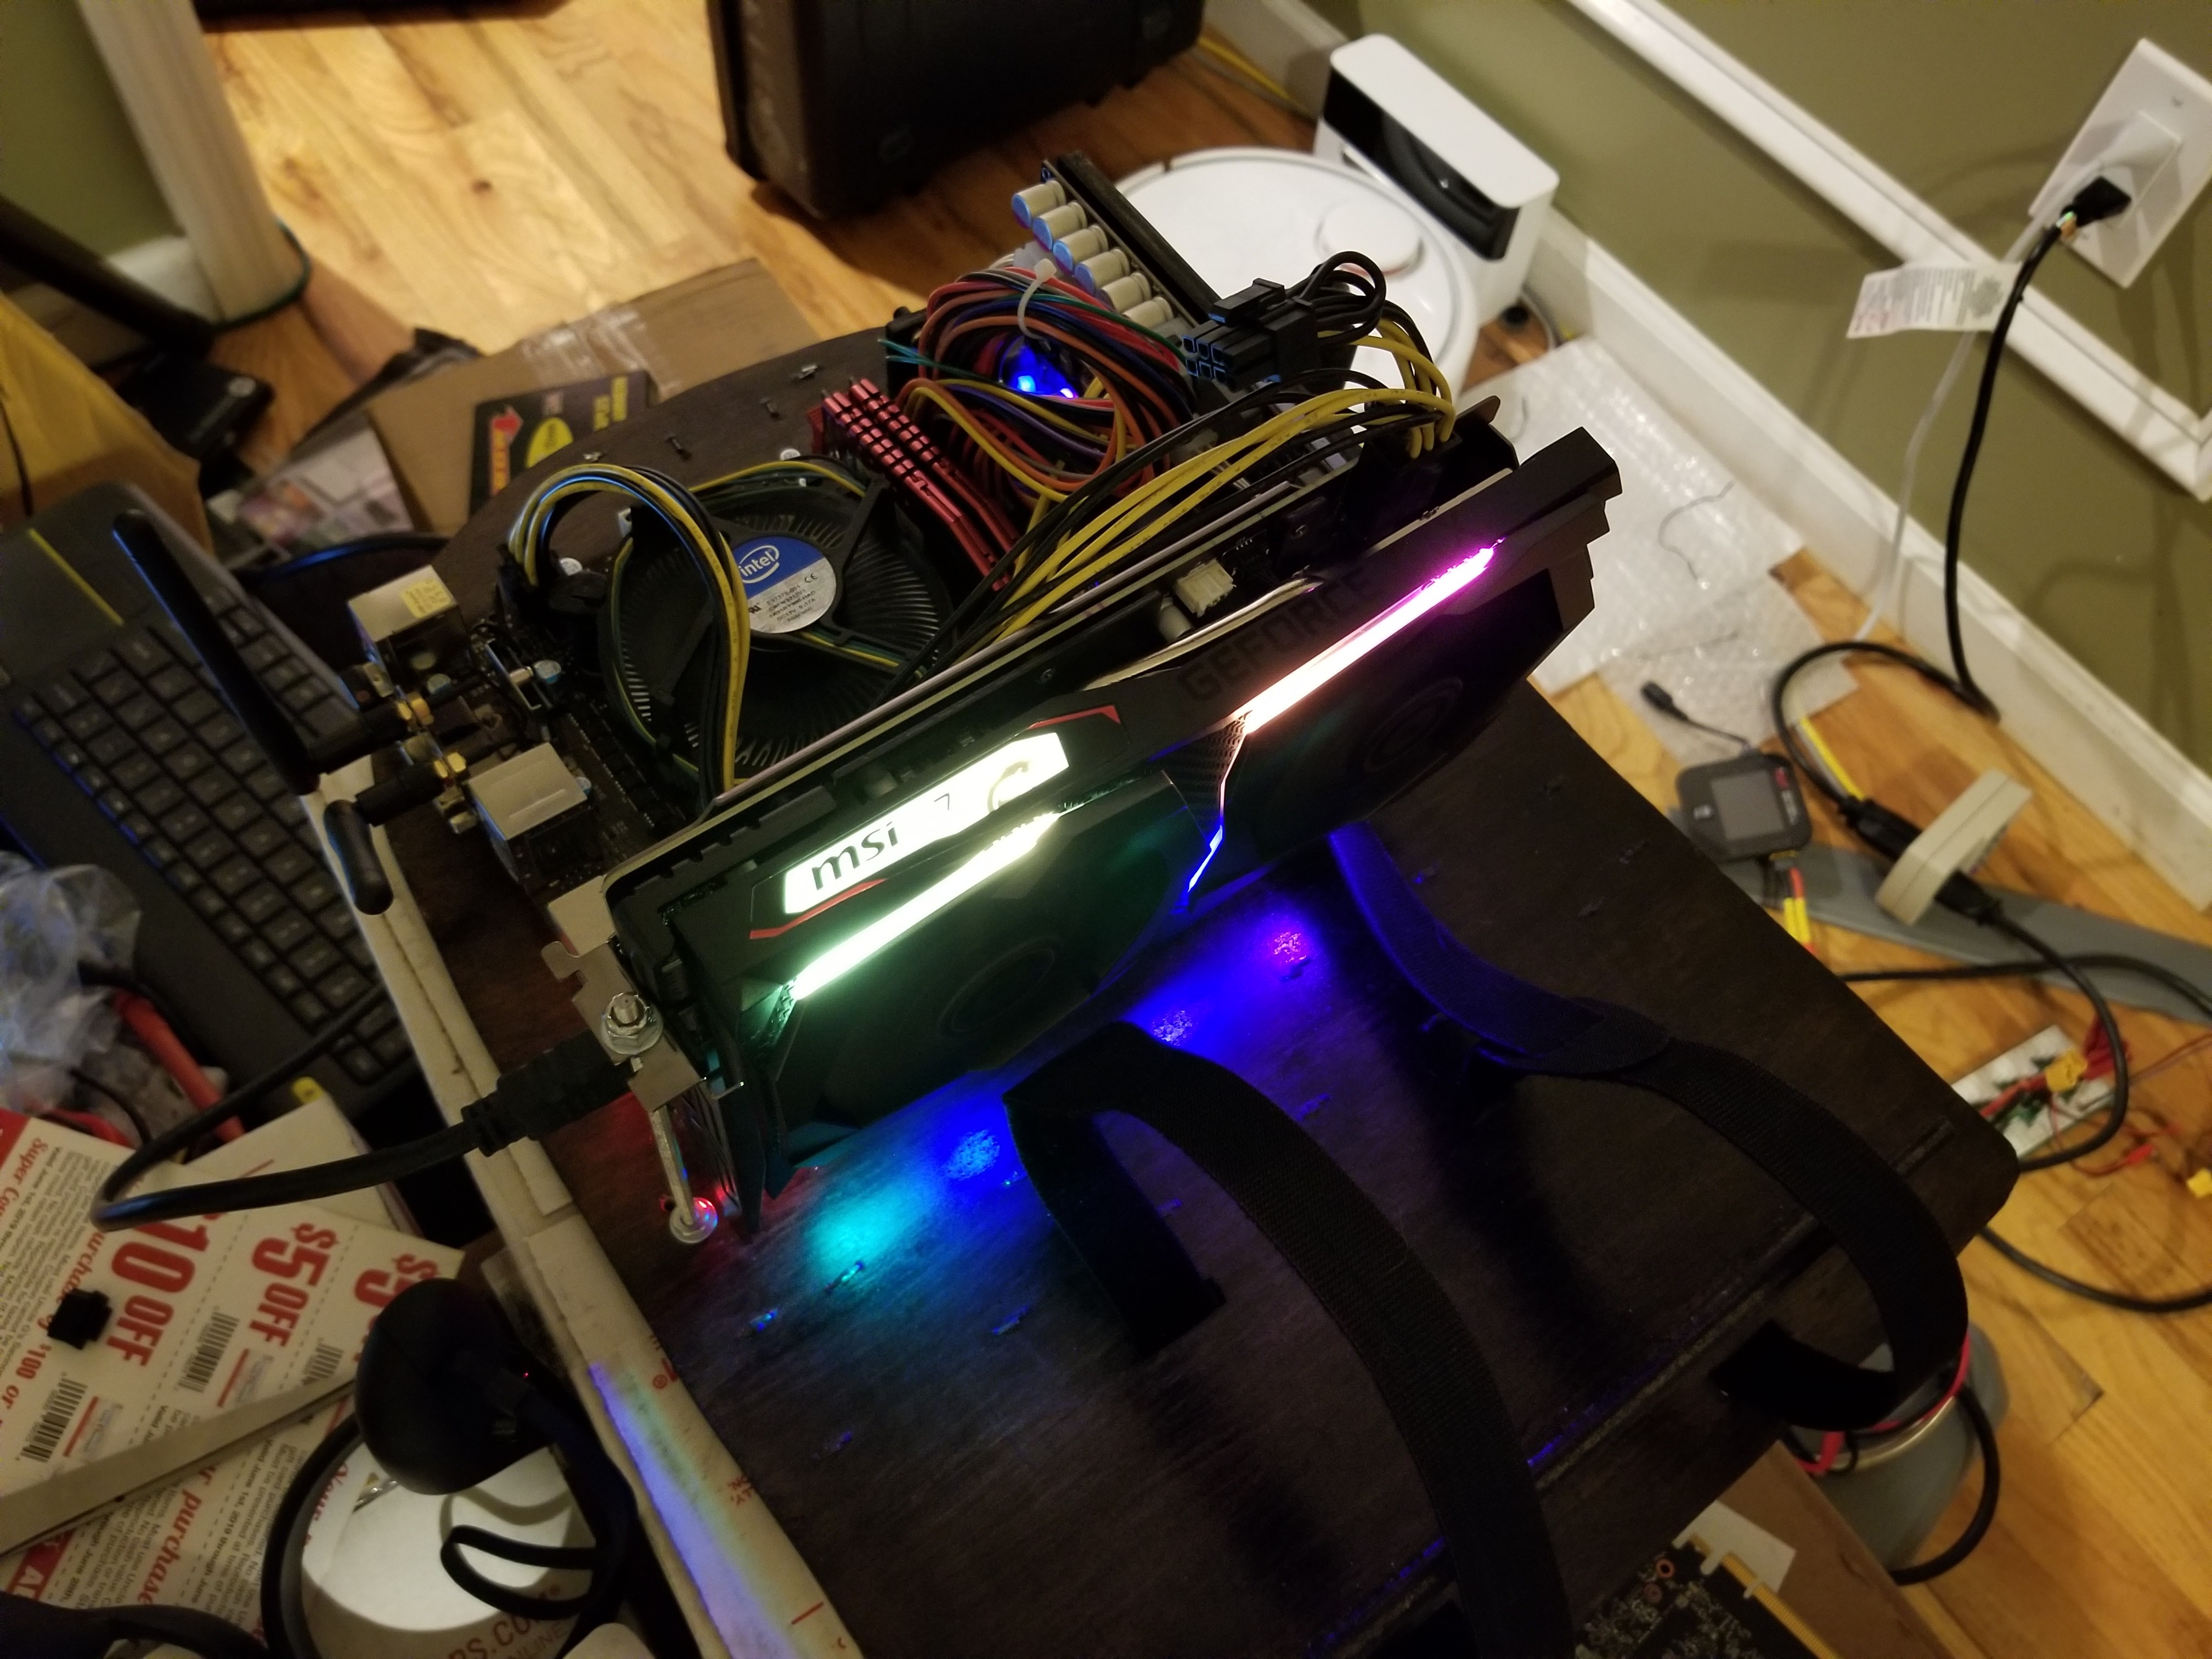
Success? Survey says....
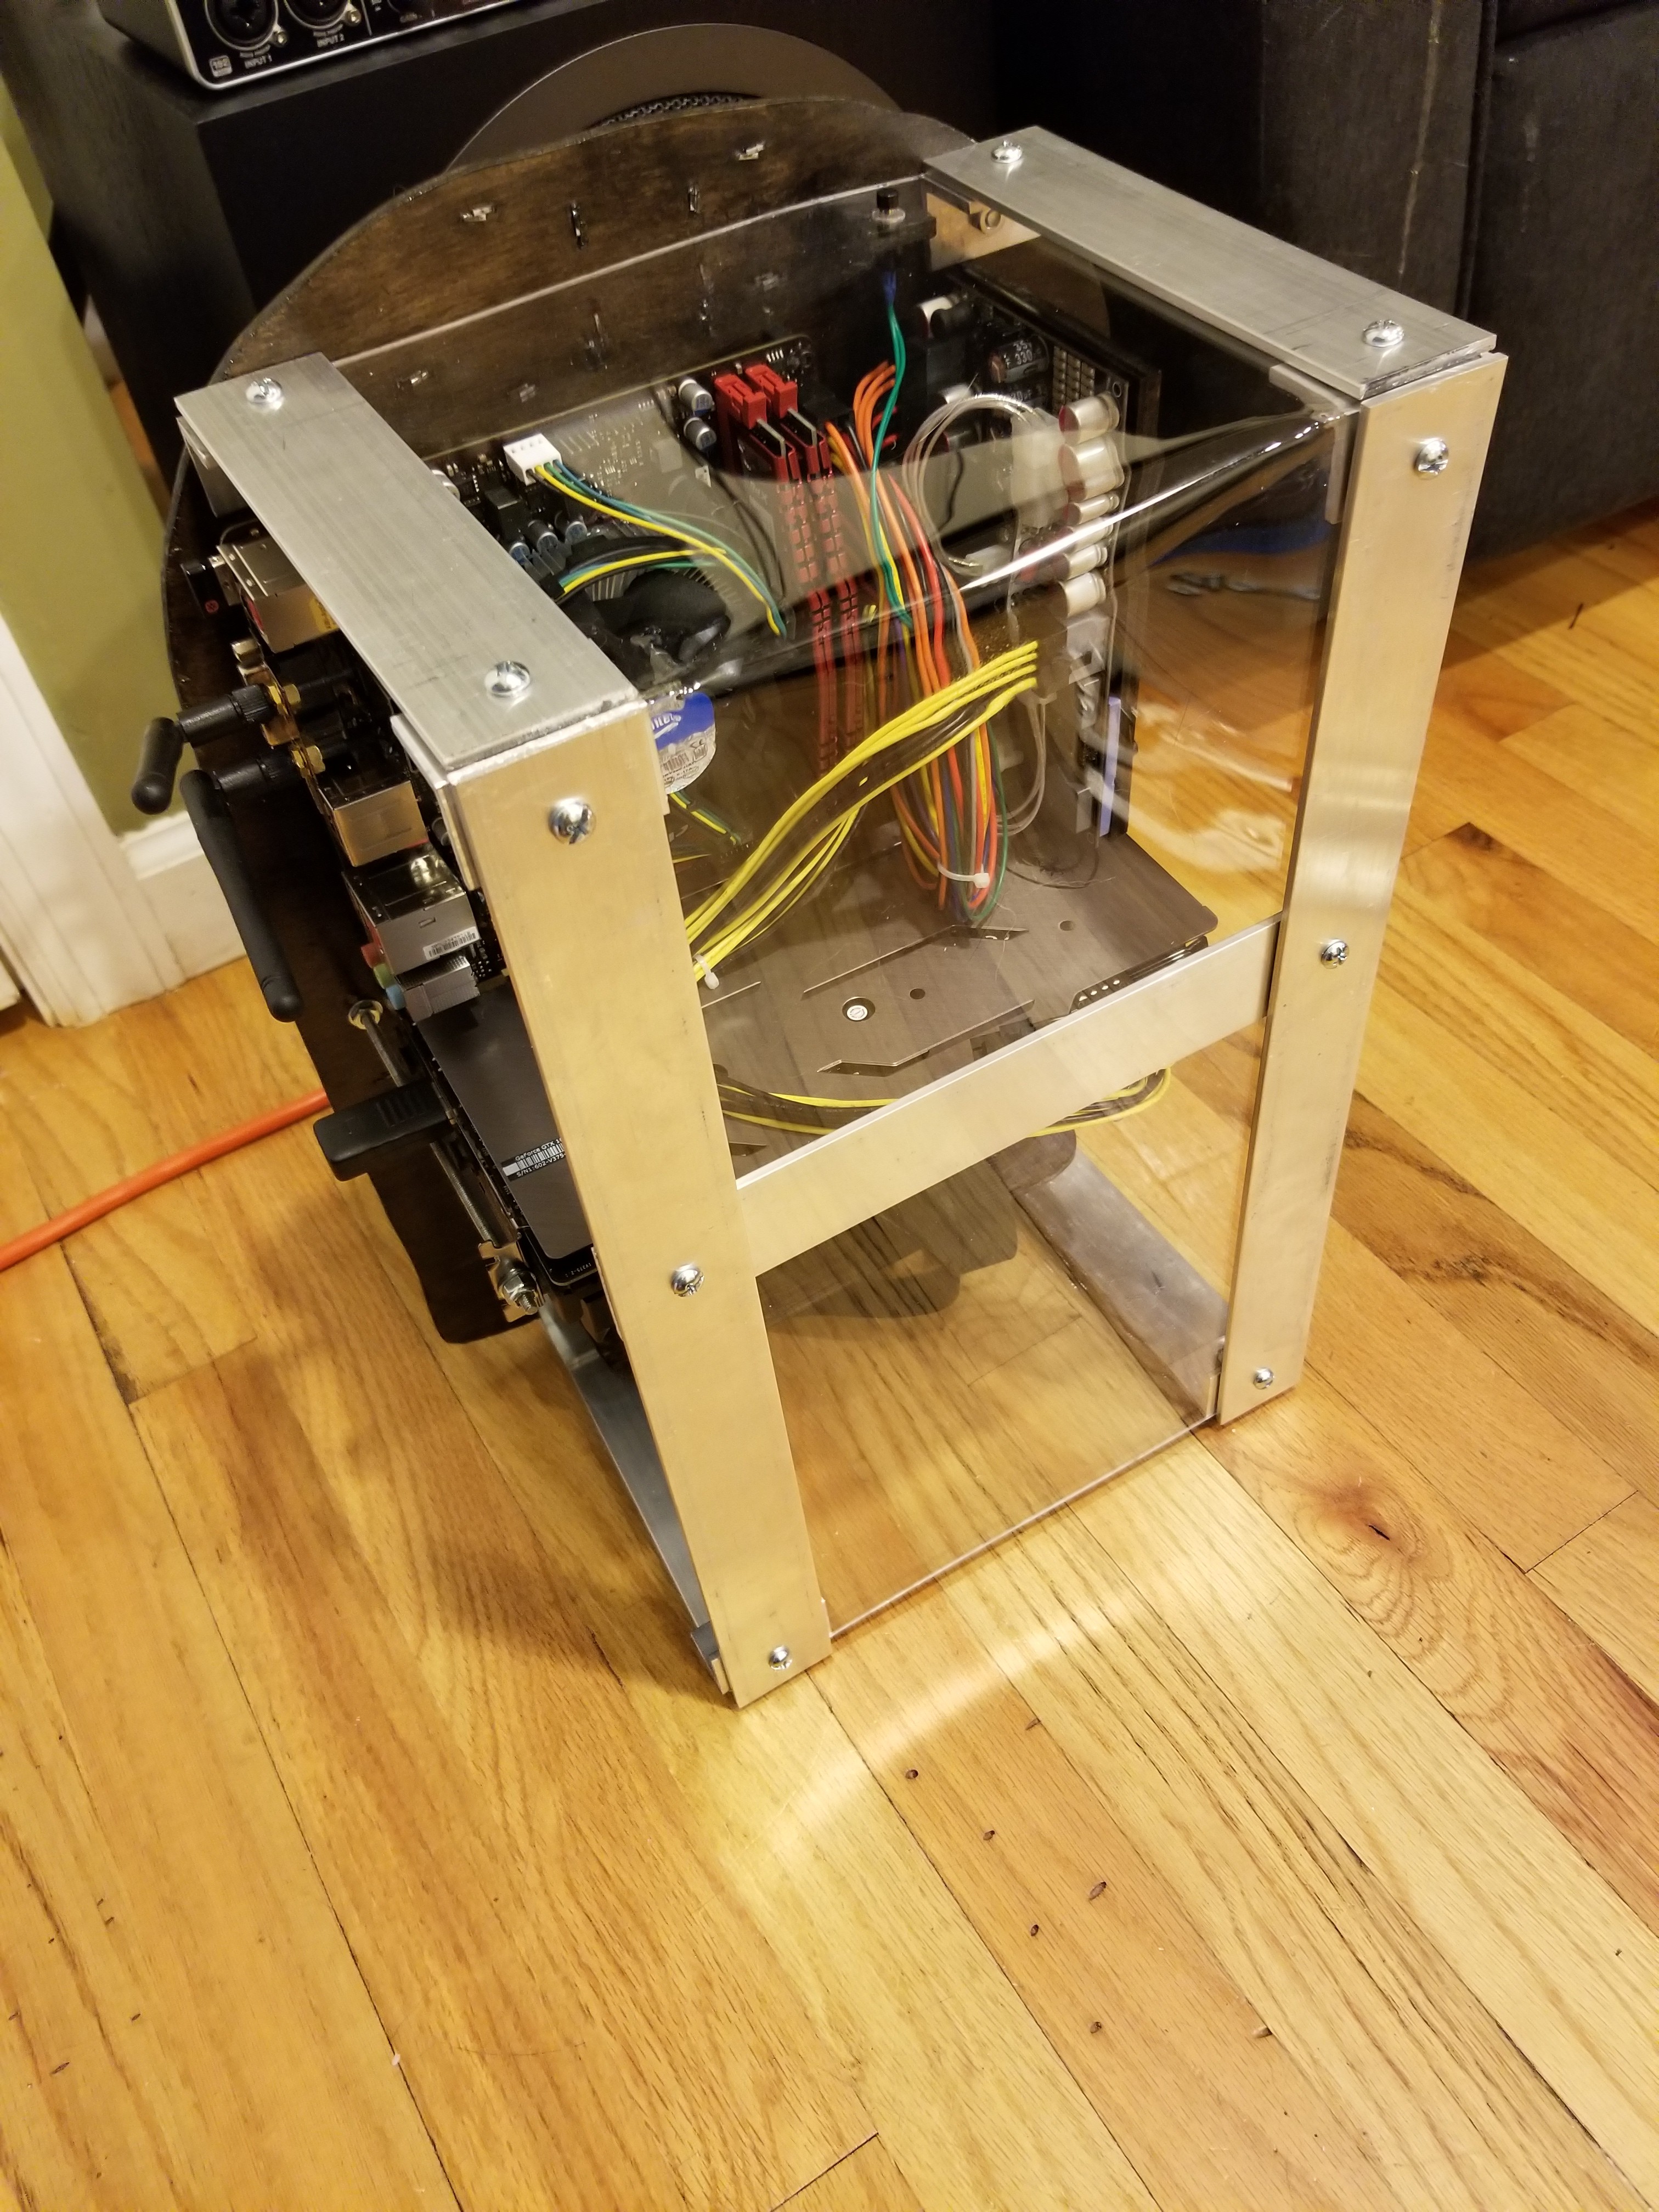
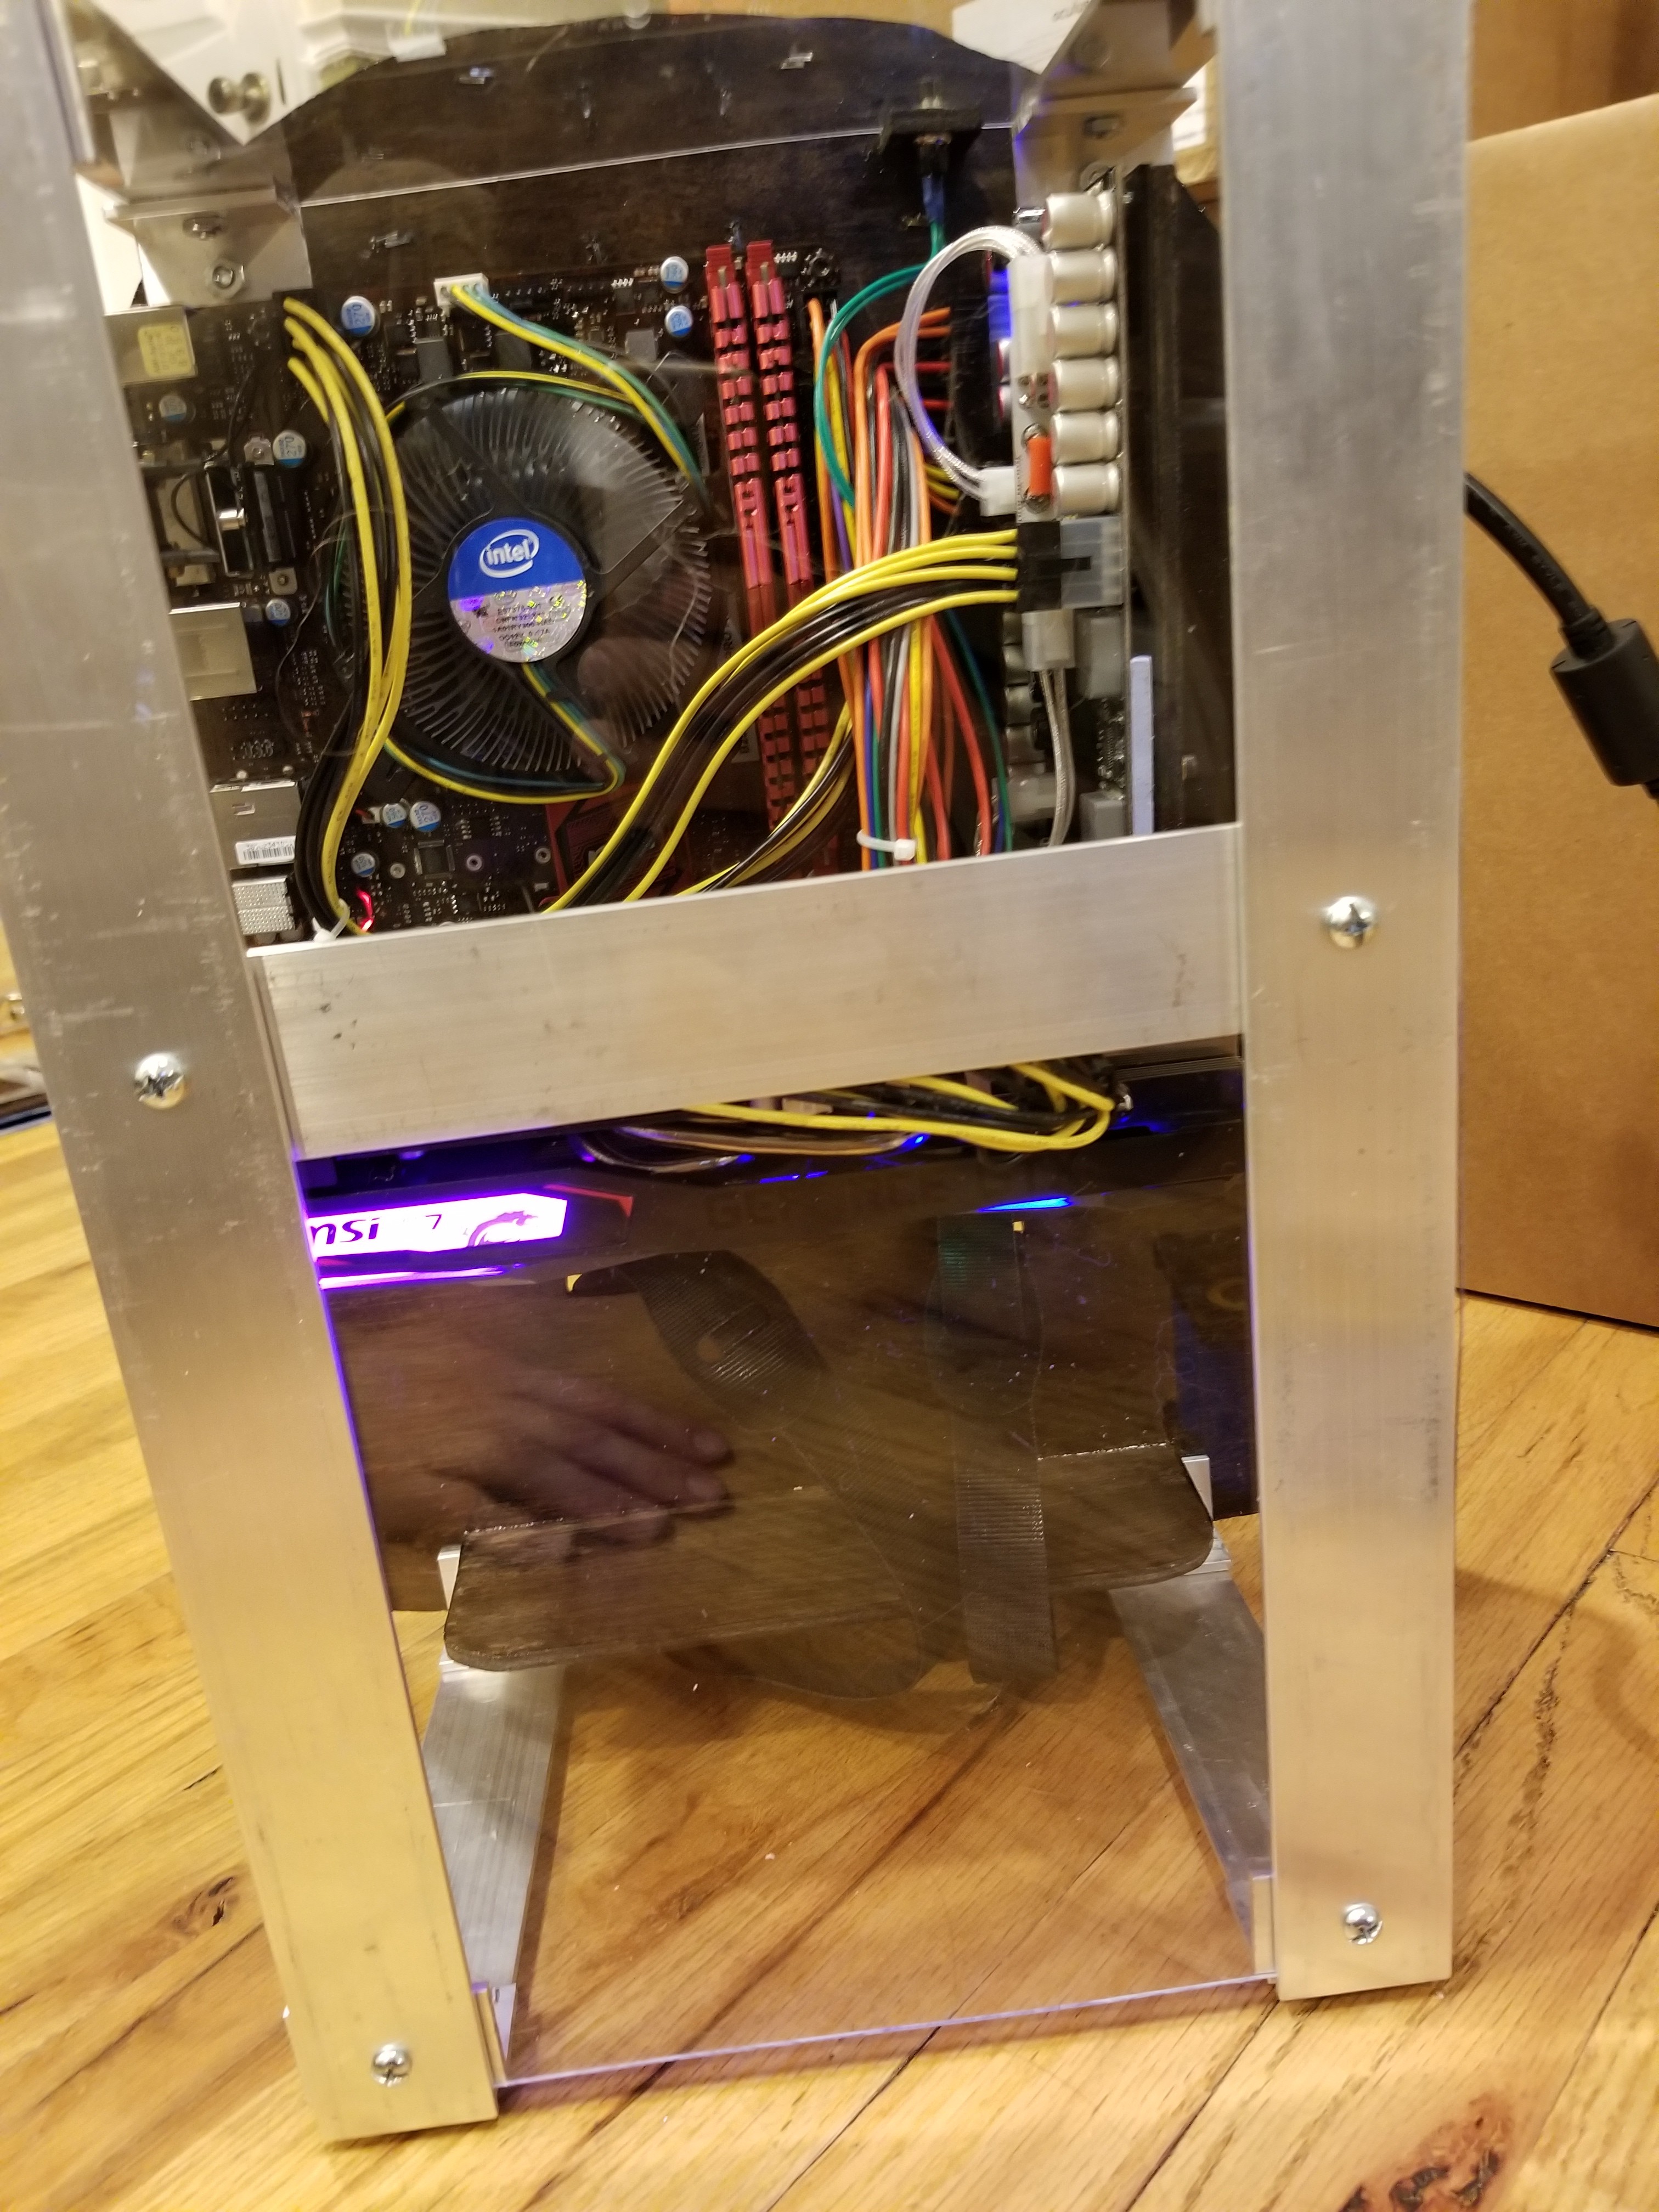
Yes! I didn't specifically intend to buy a GPU with LED lighting, but here it really shines (sorry again).
Not shown: Adding furniture feet to the bottom of the frame to avoid scraping the floor, and countless other bits.
Time to try it on.
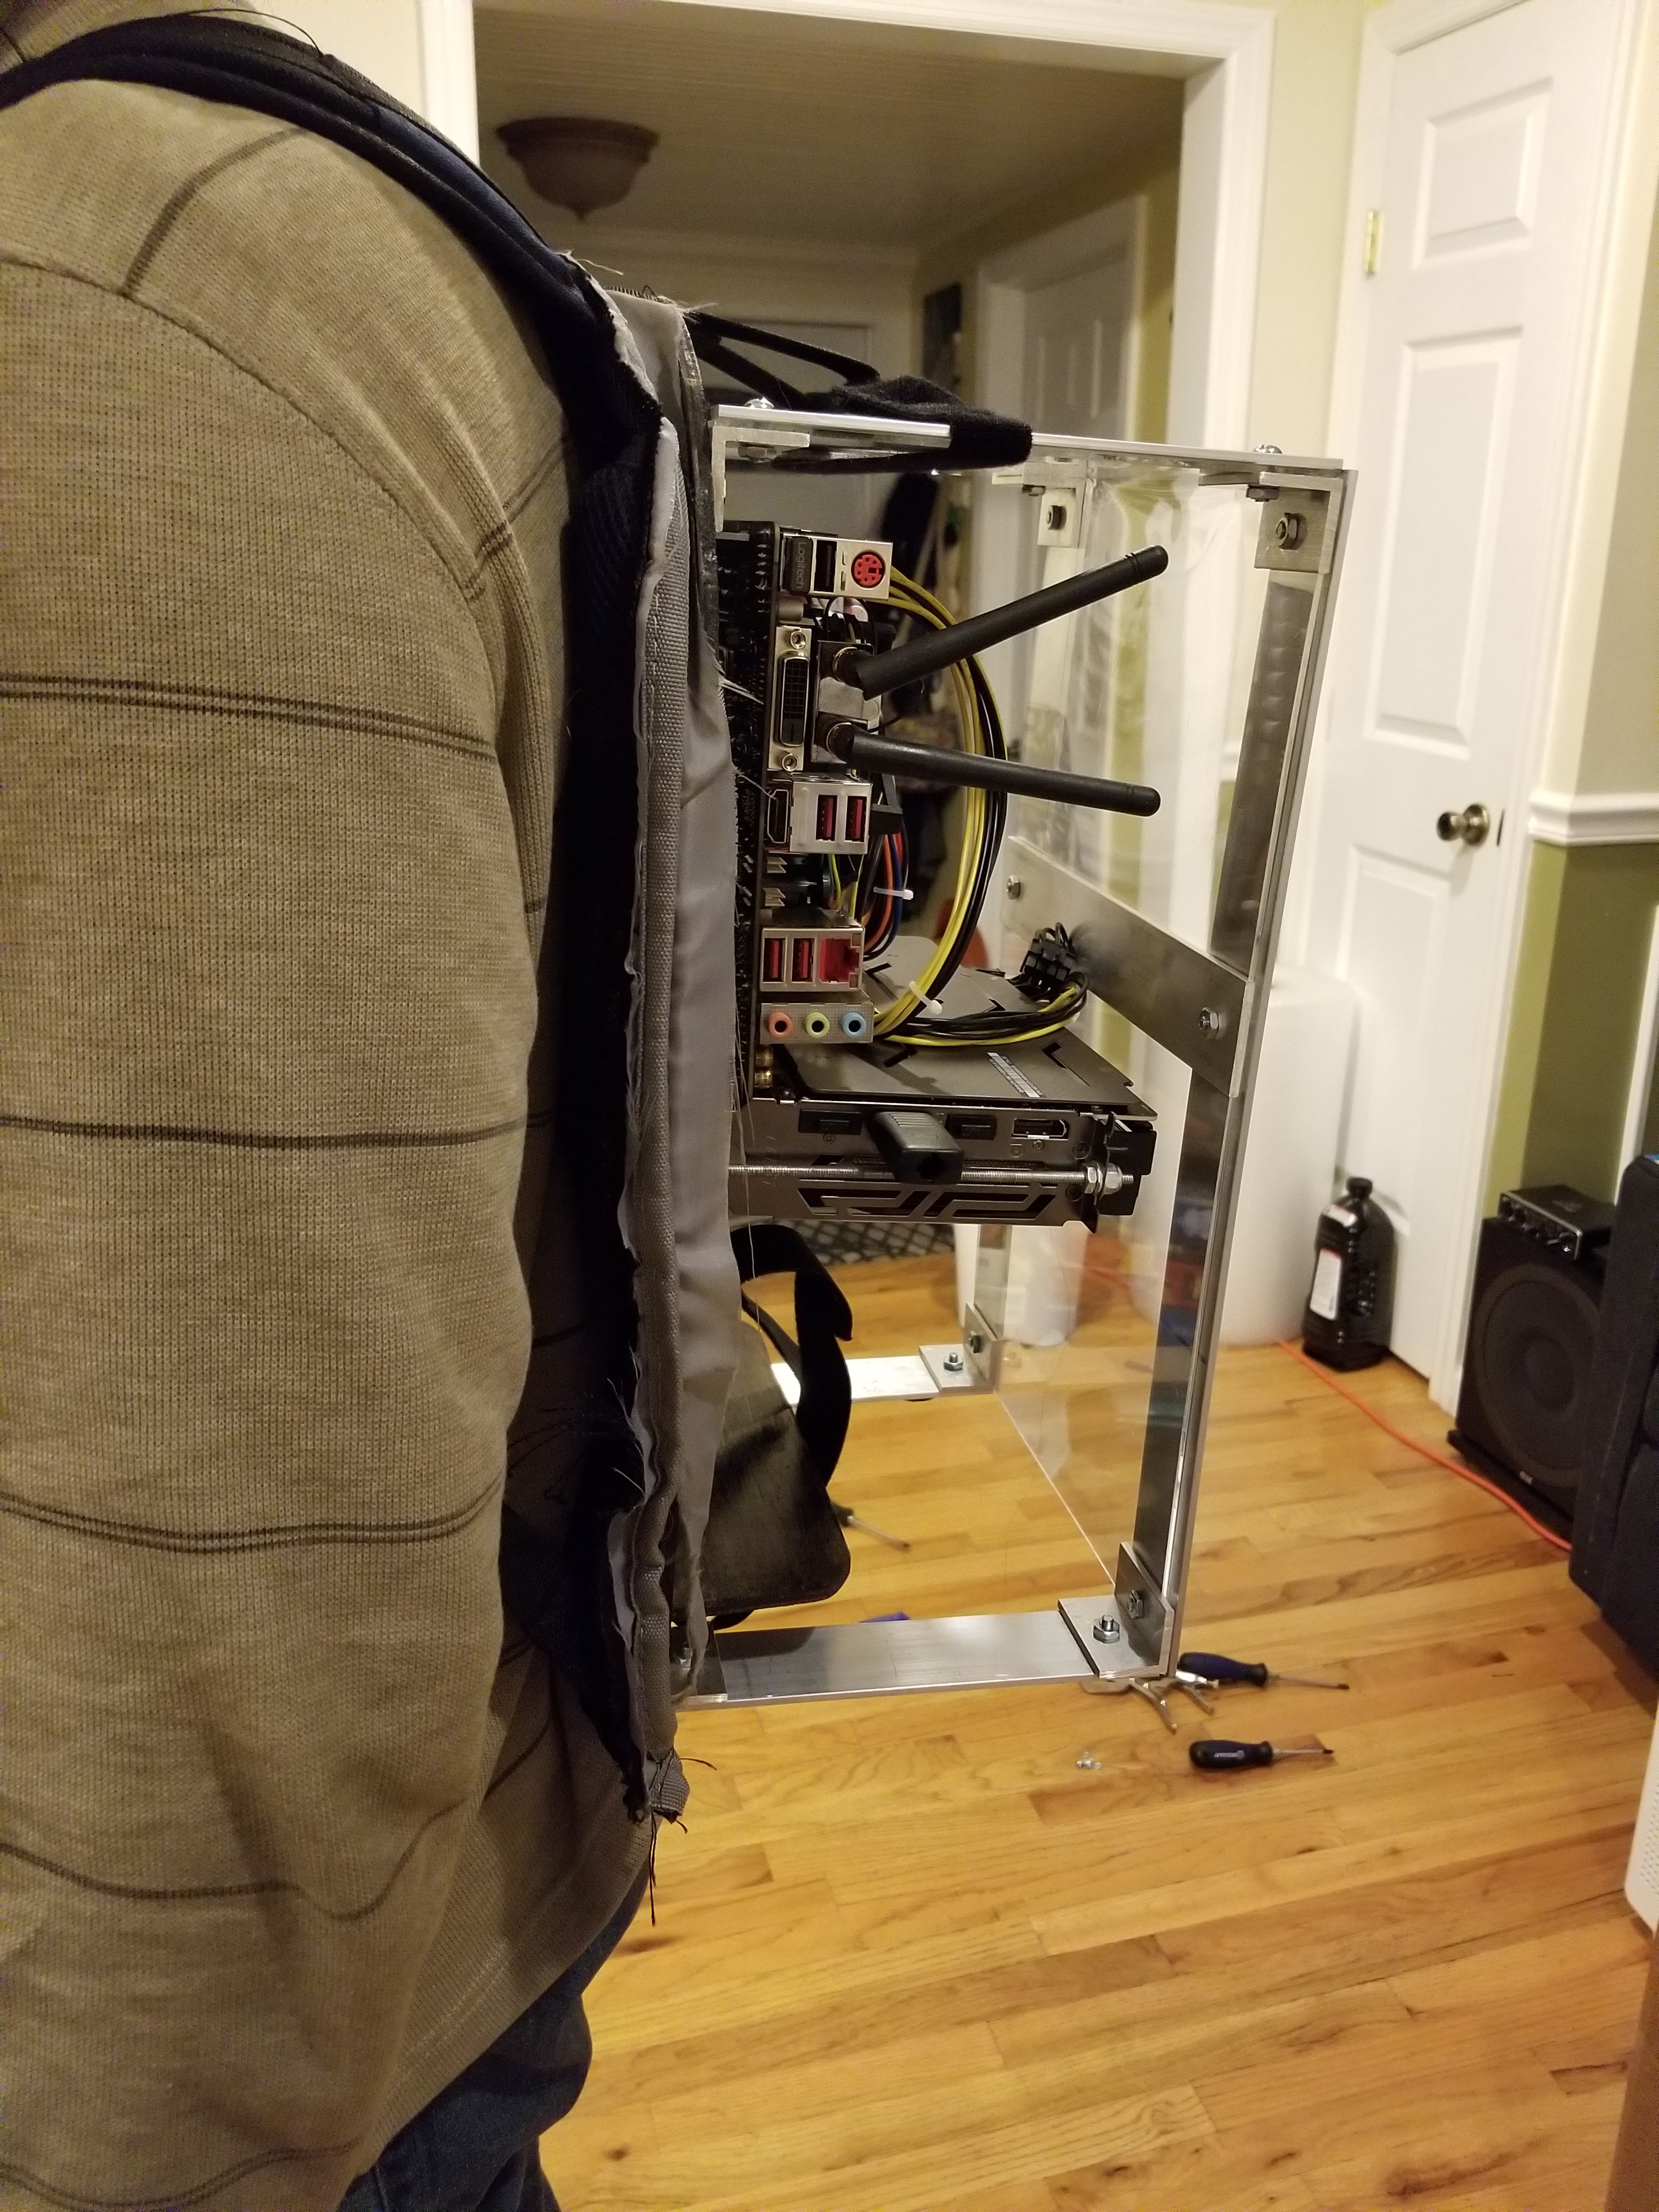
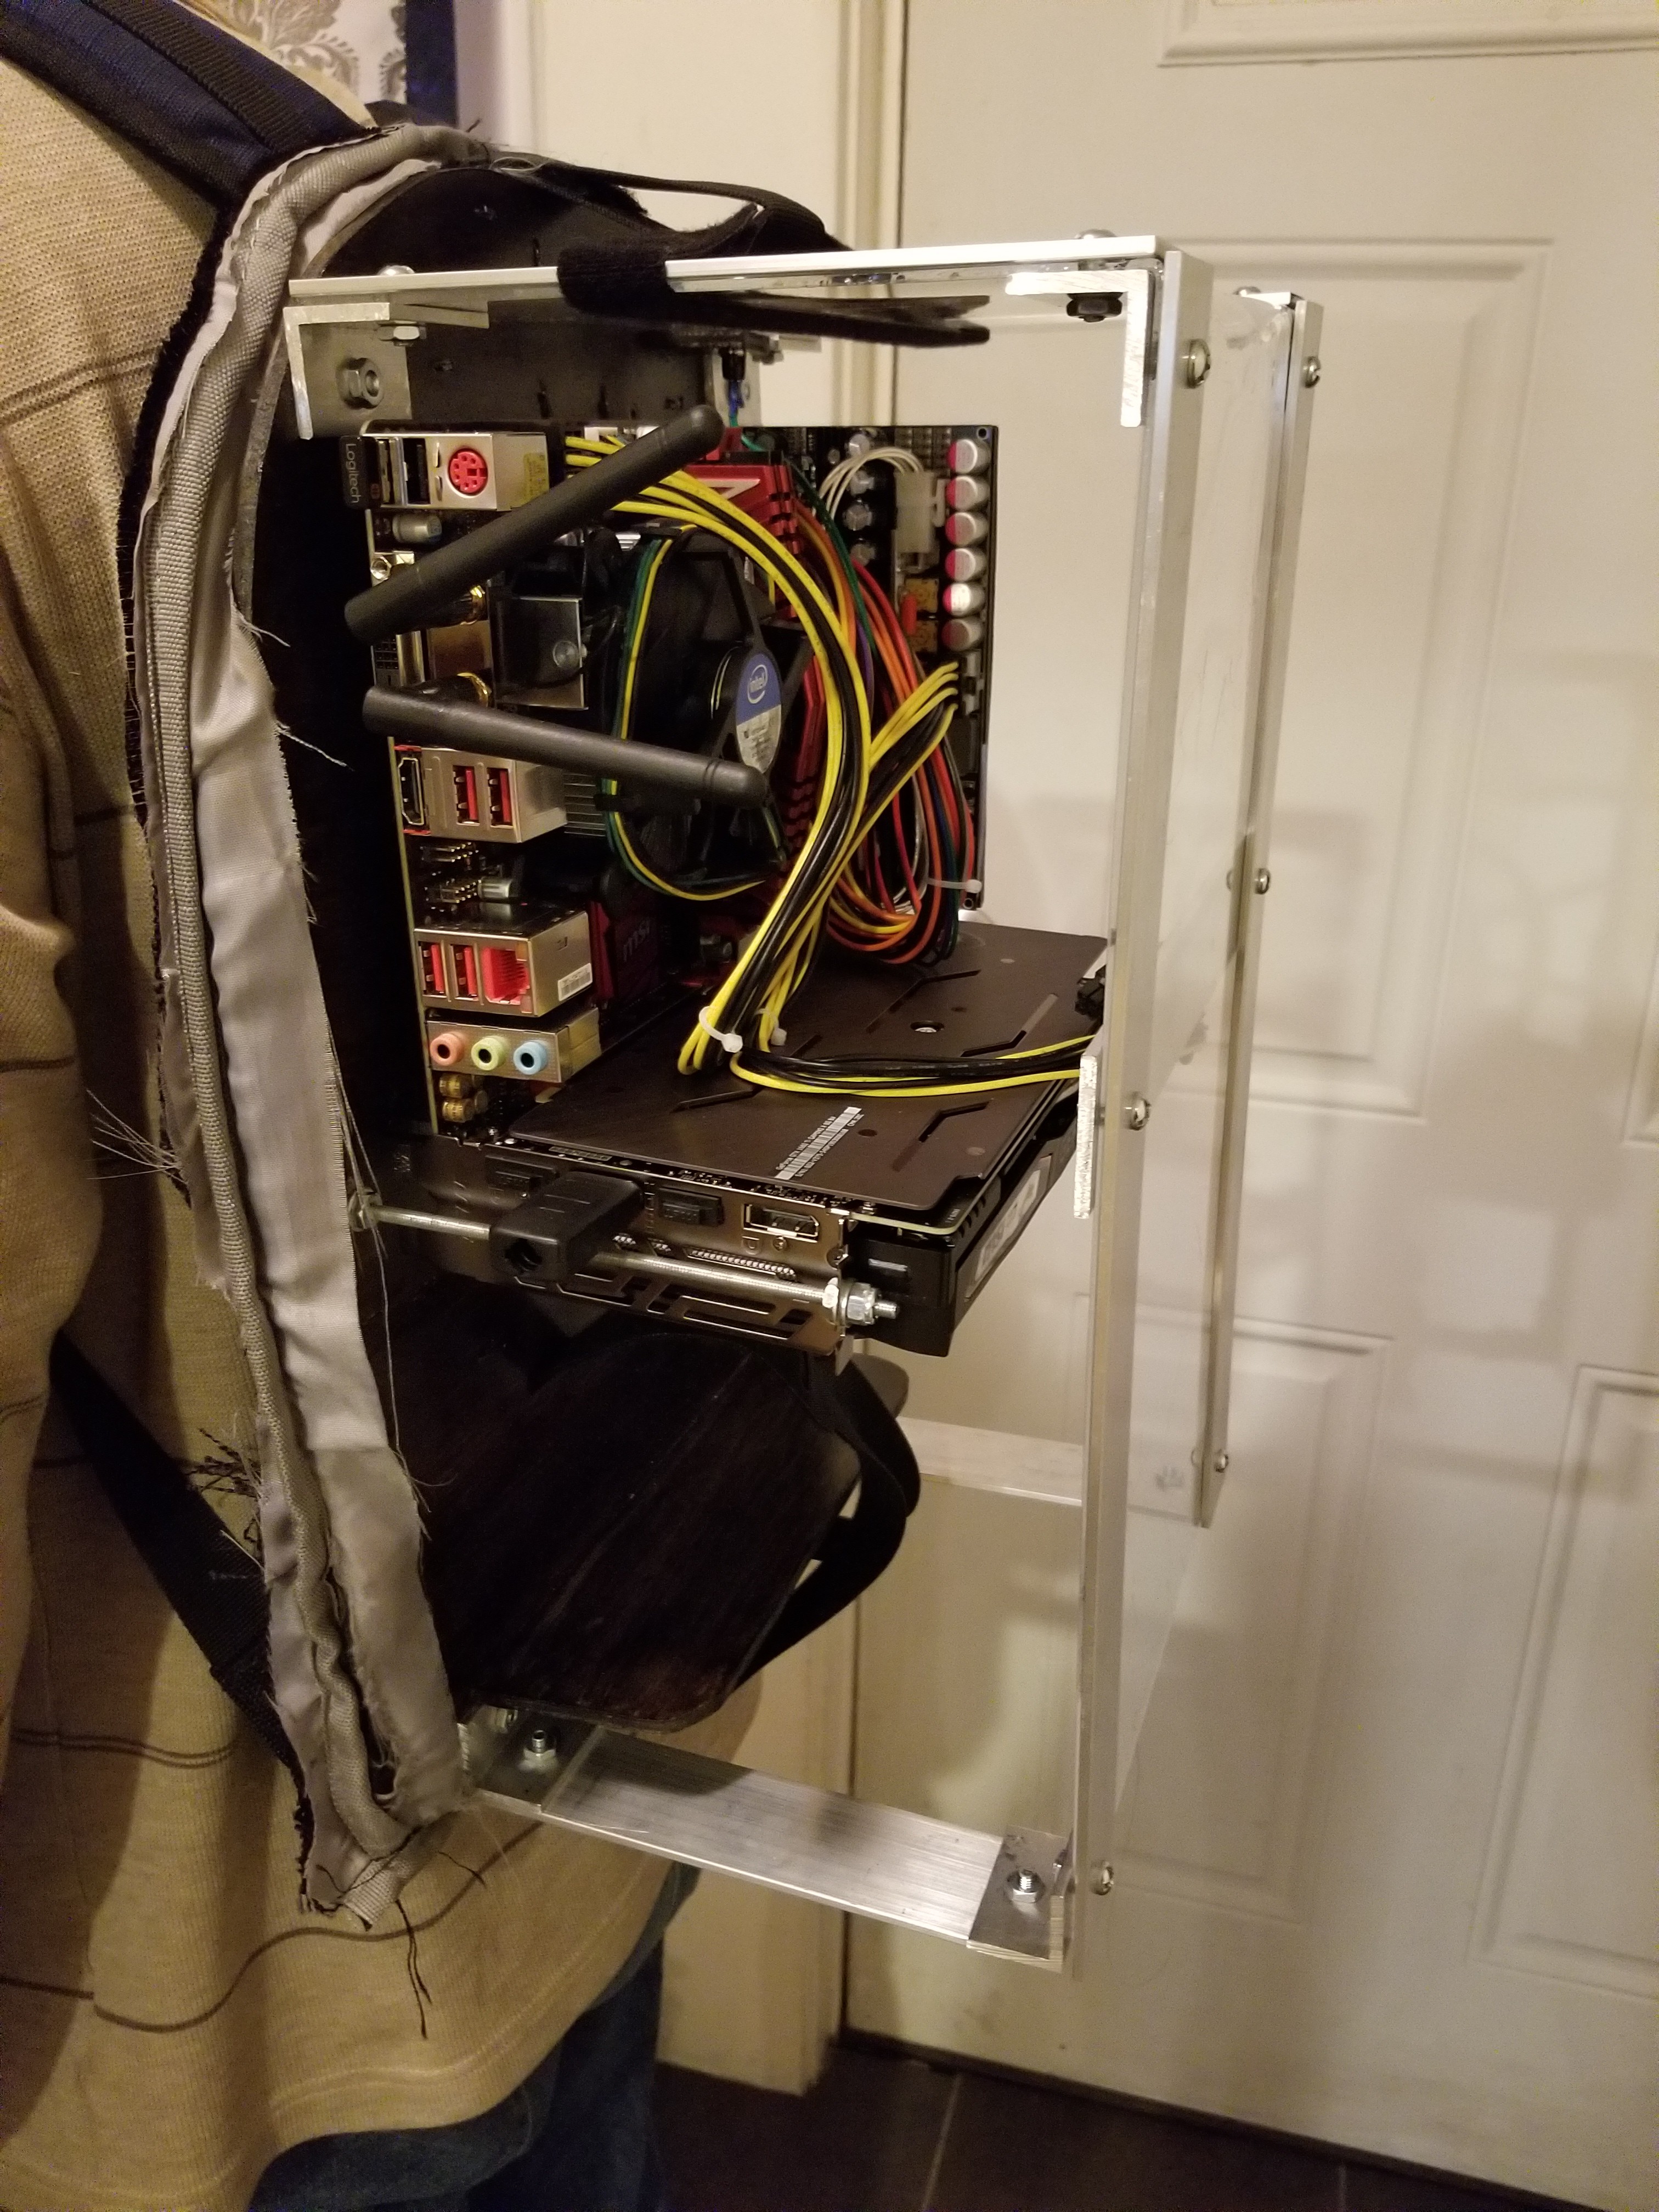
It works, but it's honestly pretty wide. A few months pass and I use the backpack in this format, but eventually the release of some new hardware and my acquisition of something special encourages me to pursue the backpacks next form.
Discussions
Become a Hackaday.io Member
Create an account to leave a comment. Already have an account? Log In.